WhatsApp Cloud Integration Setup
Introduction
In WOZTELL, you can setup your WhatsApp Business API (WABA) account by going through the Embedded Signup. Before setting up your WABA, you should prepare:
Phone Number: Must not be associated with any WhatsApp account, including personal and business WhatsApp. Landlines are acceptable phone numbers as well. The number must include valid country and area code, and be bale to receive either SMS or voice call for verification.
Facebook Business Manager (FBM) account: The FBM account ID is required for the WABA registration. If you don't own a FBM account, you can still create a new account during the embedded signup flow.
Embedded Signup Flow
To register a WABA phone number, the business needs to have a Facebook Business Manager Account and a WhatsApp Business Account, which can also be created during the embedded sign-up flow.
Reminder
Upon successful registration of the phone number, the business can send message templates to up to 250 unique customers in 24 hours. In order to scale up beyond this limit, business is required to complete the Business Verification and have the Display Name approved by WhatsApp.
Create WhatsApp Channel
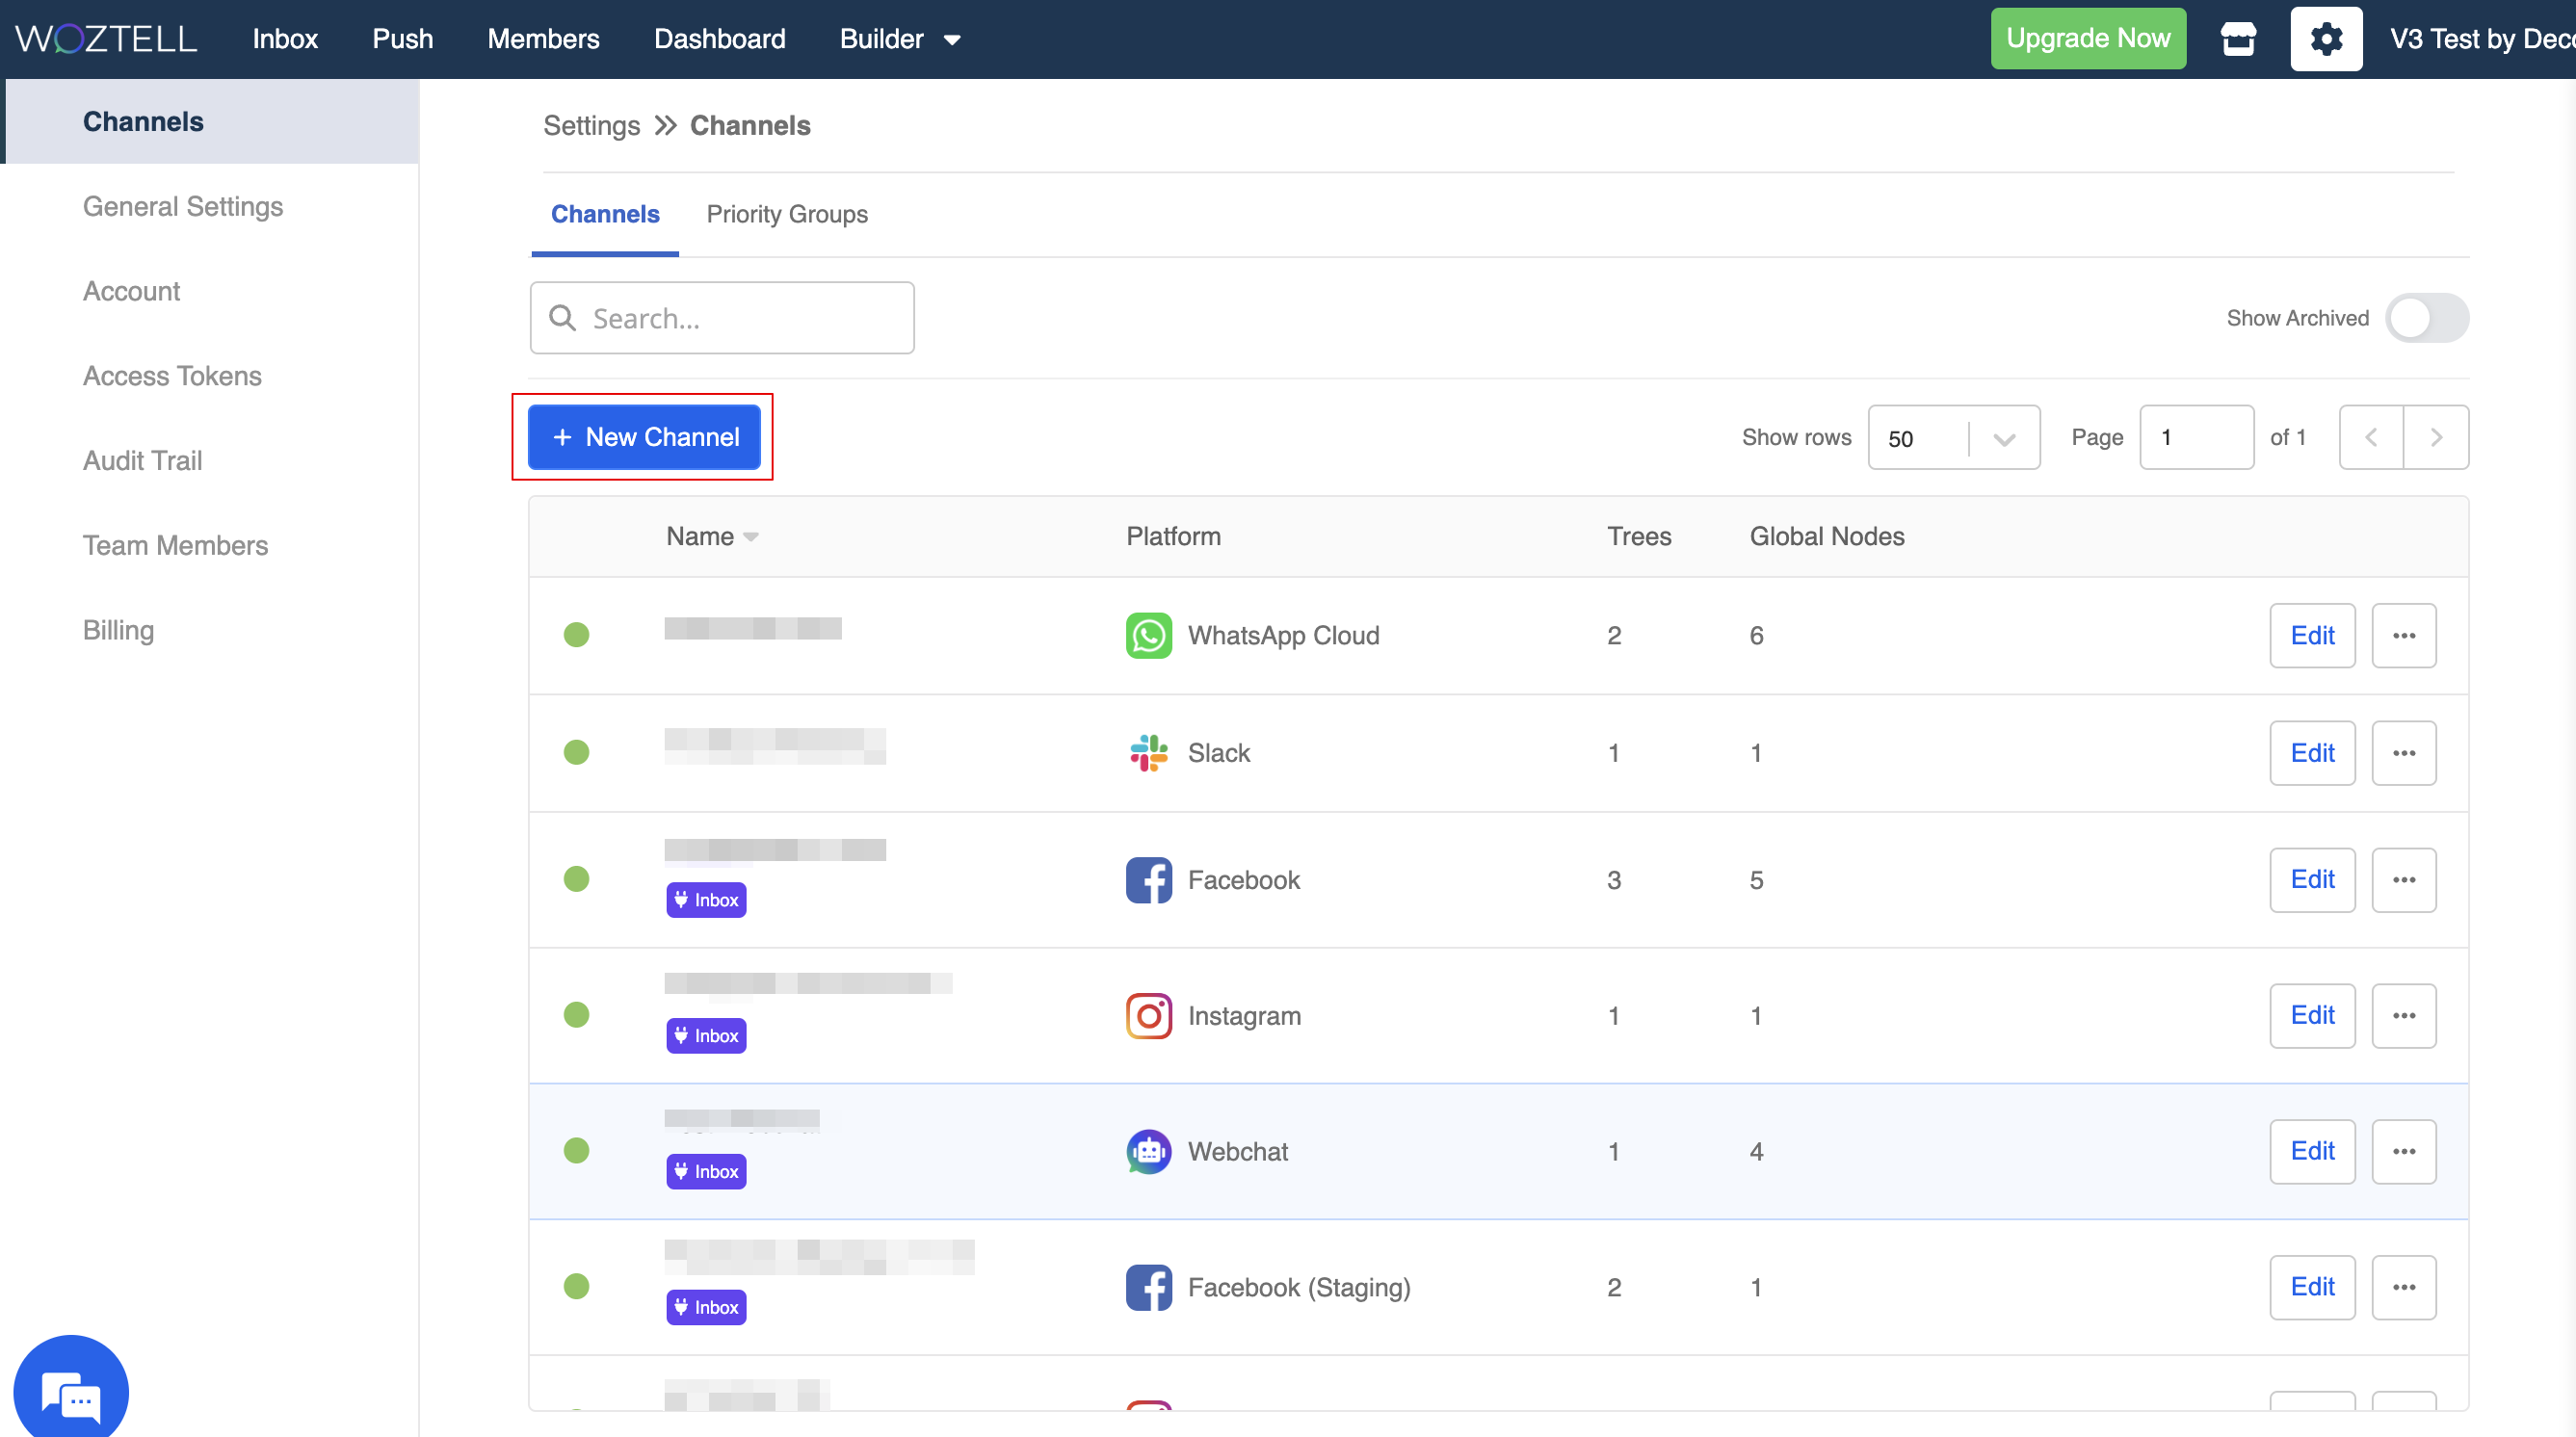
- In Settings -> Channels, select "+ New Channel".
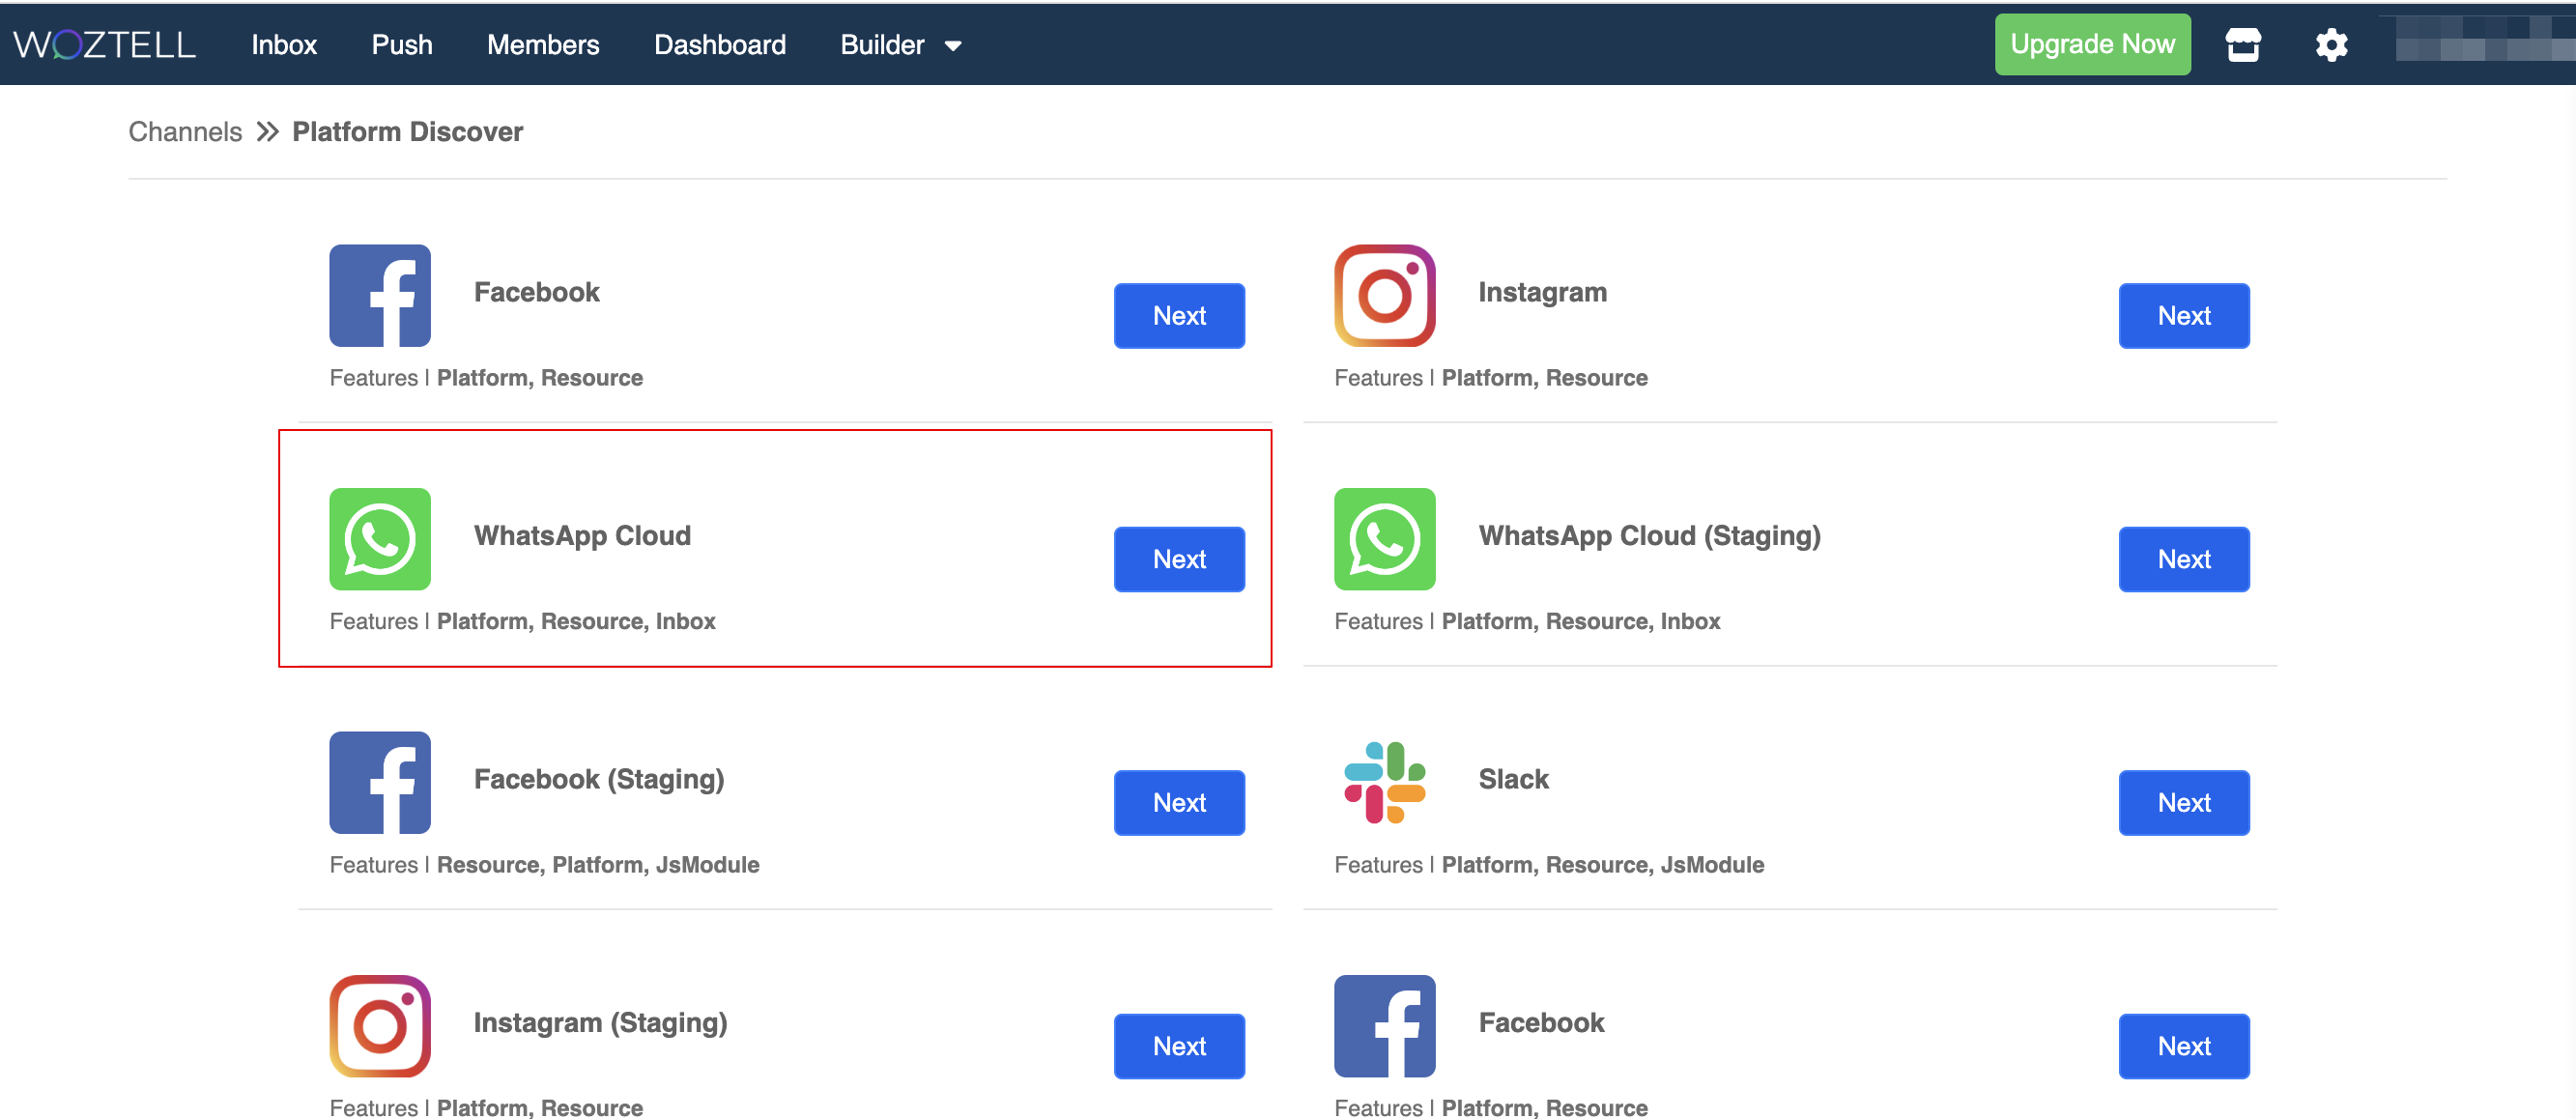
- Find the WhatsApp Cloud Integration, and select "Next".
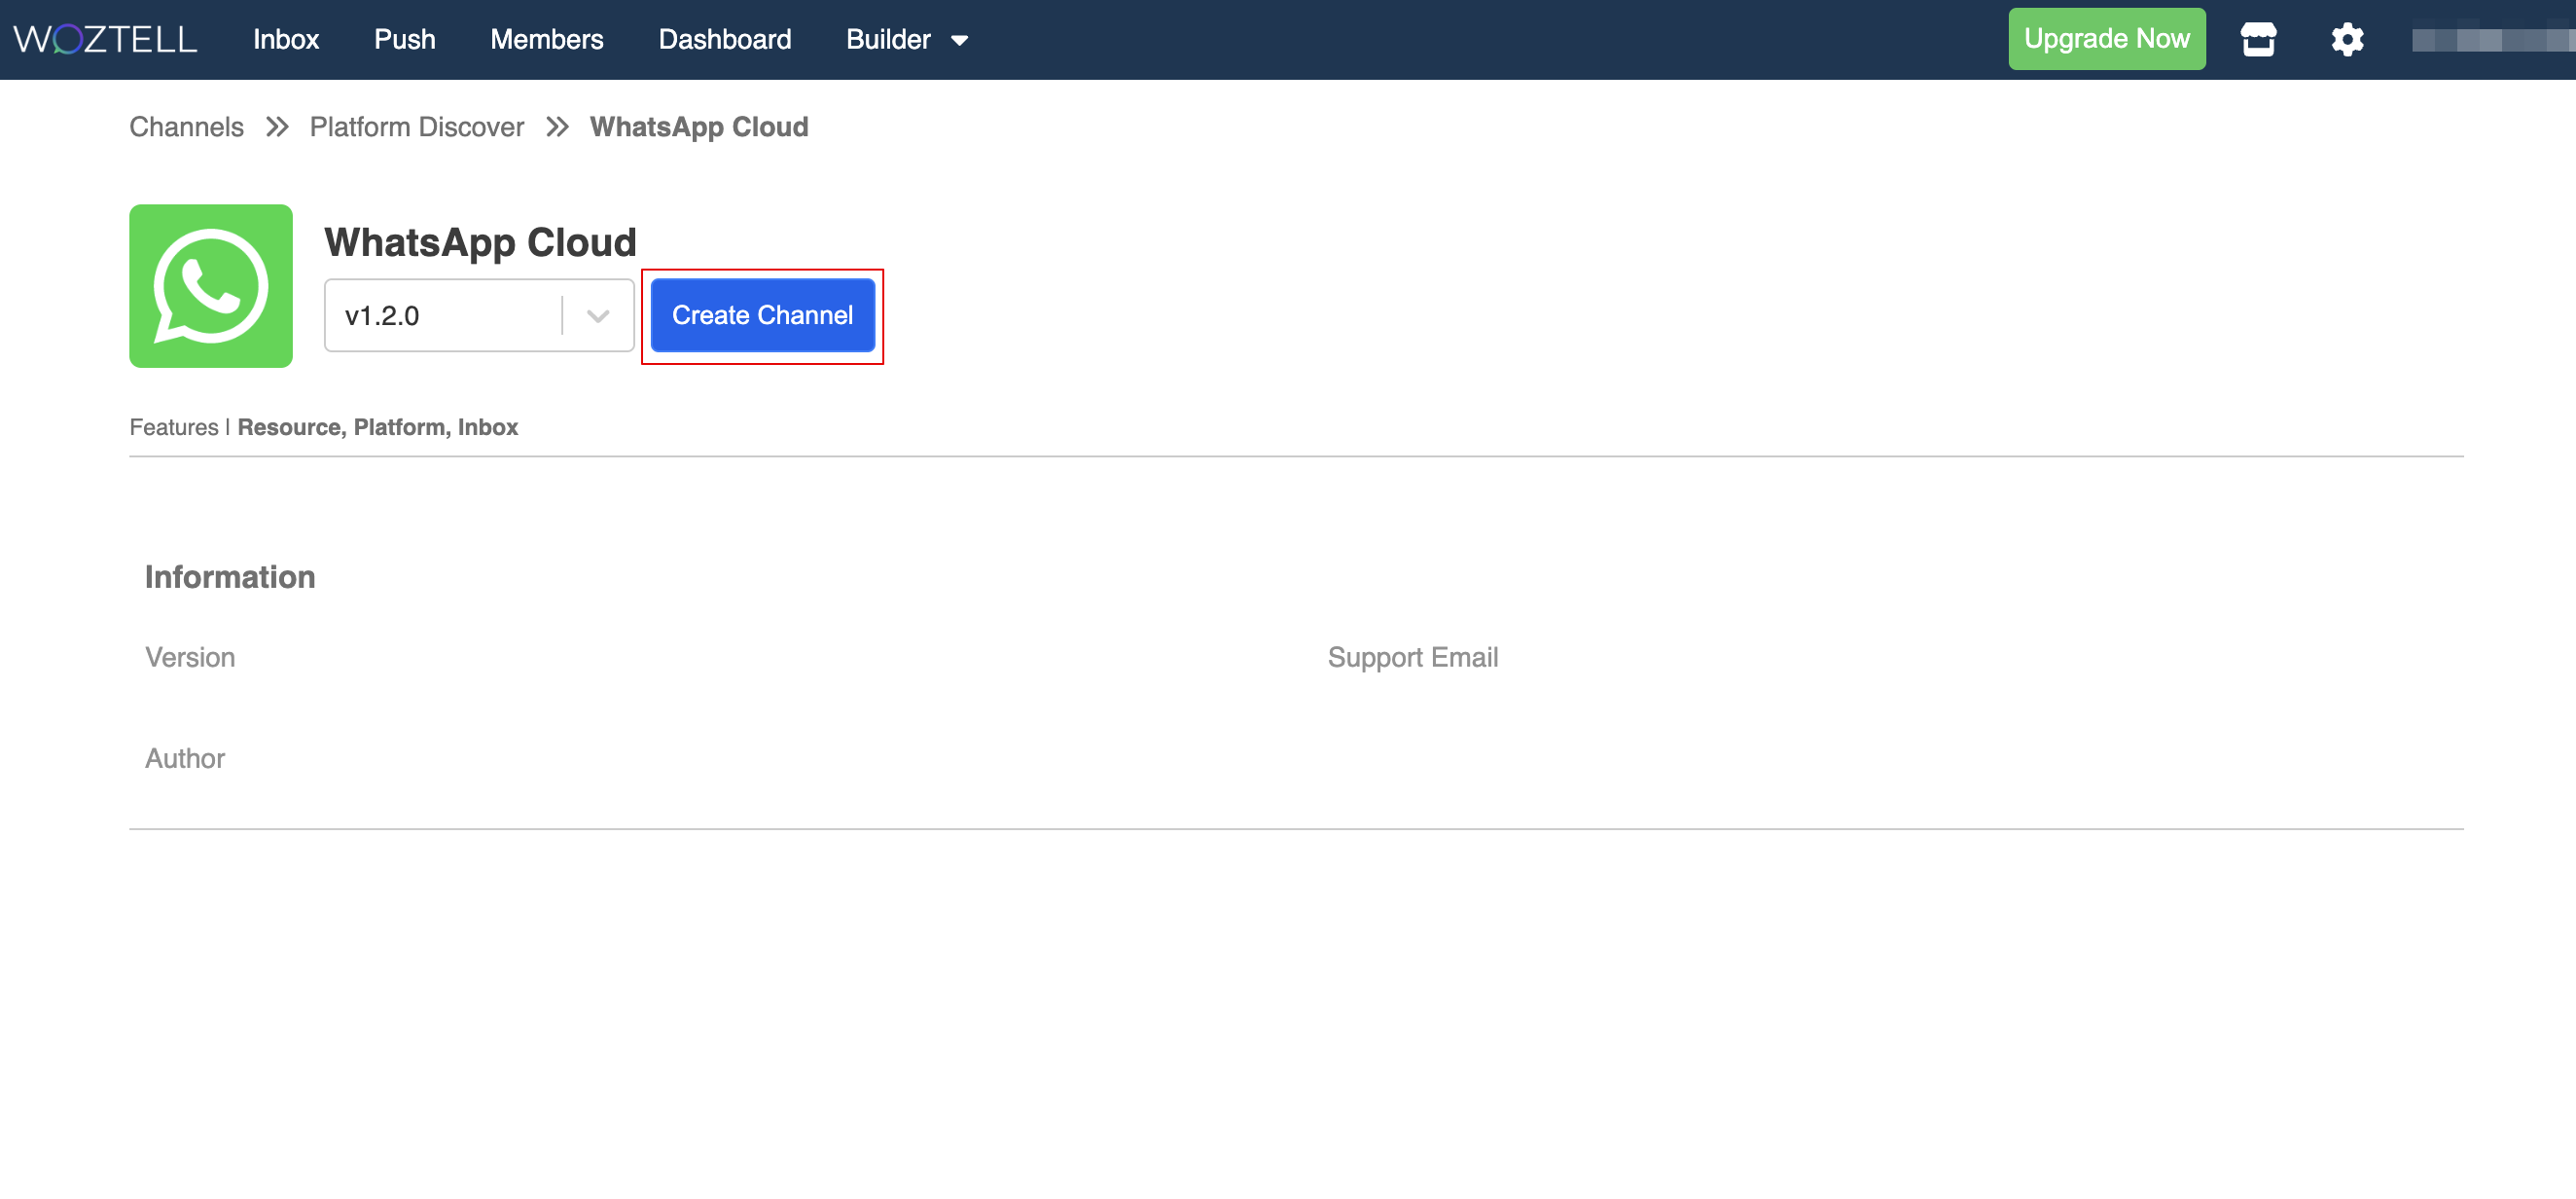
- Select "Create Channel".
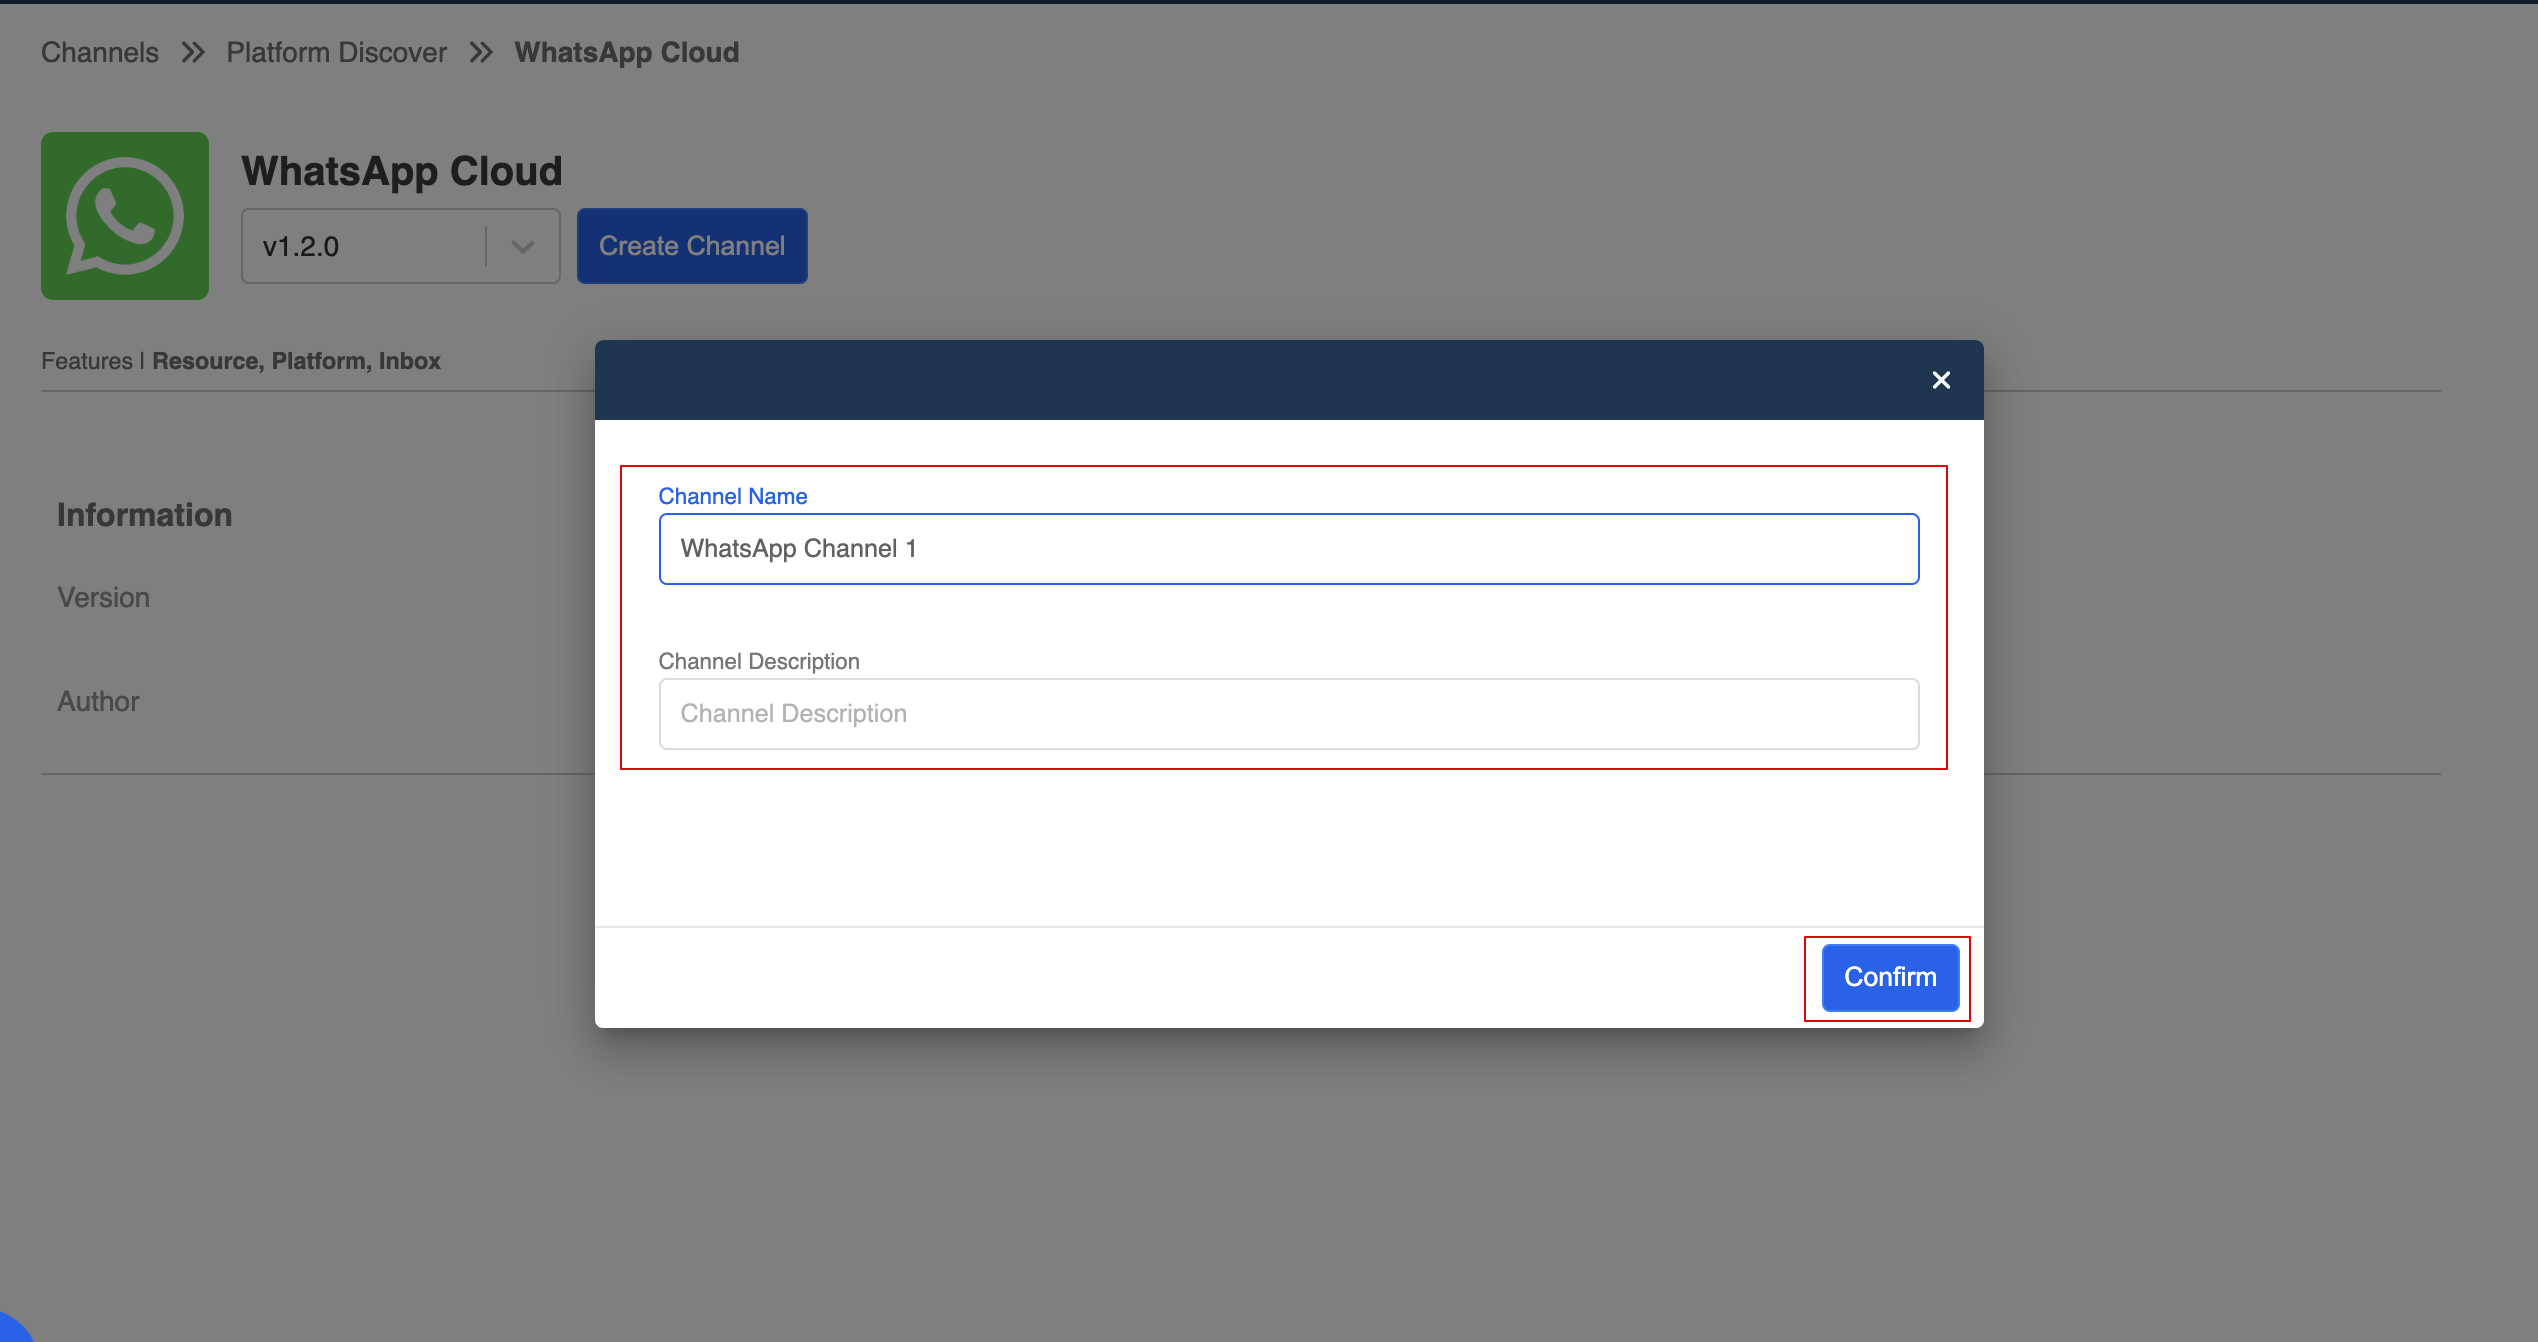
- Fill in the Channel Name and optional Channel Description. Select "Confirm".
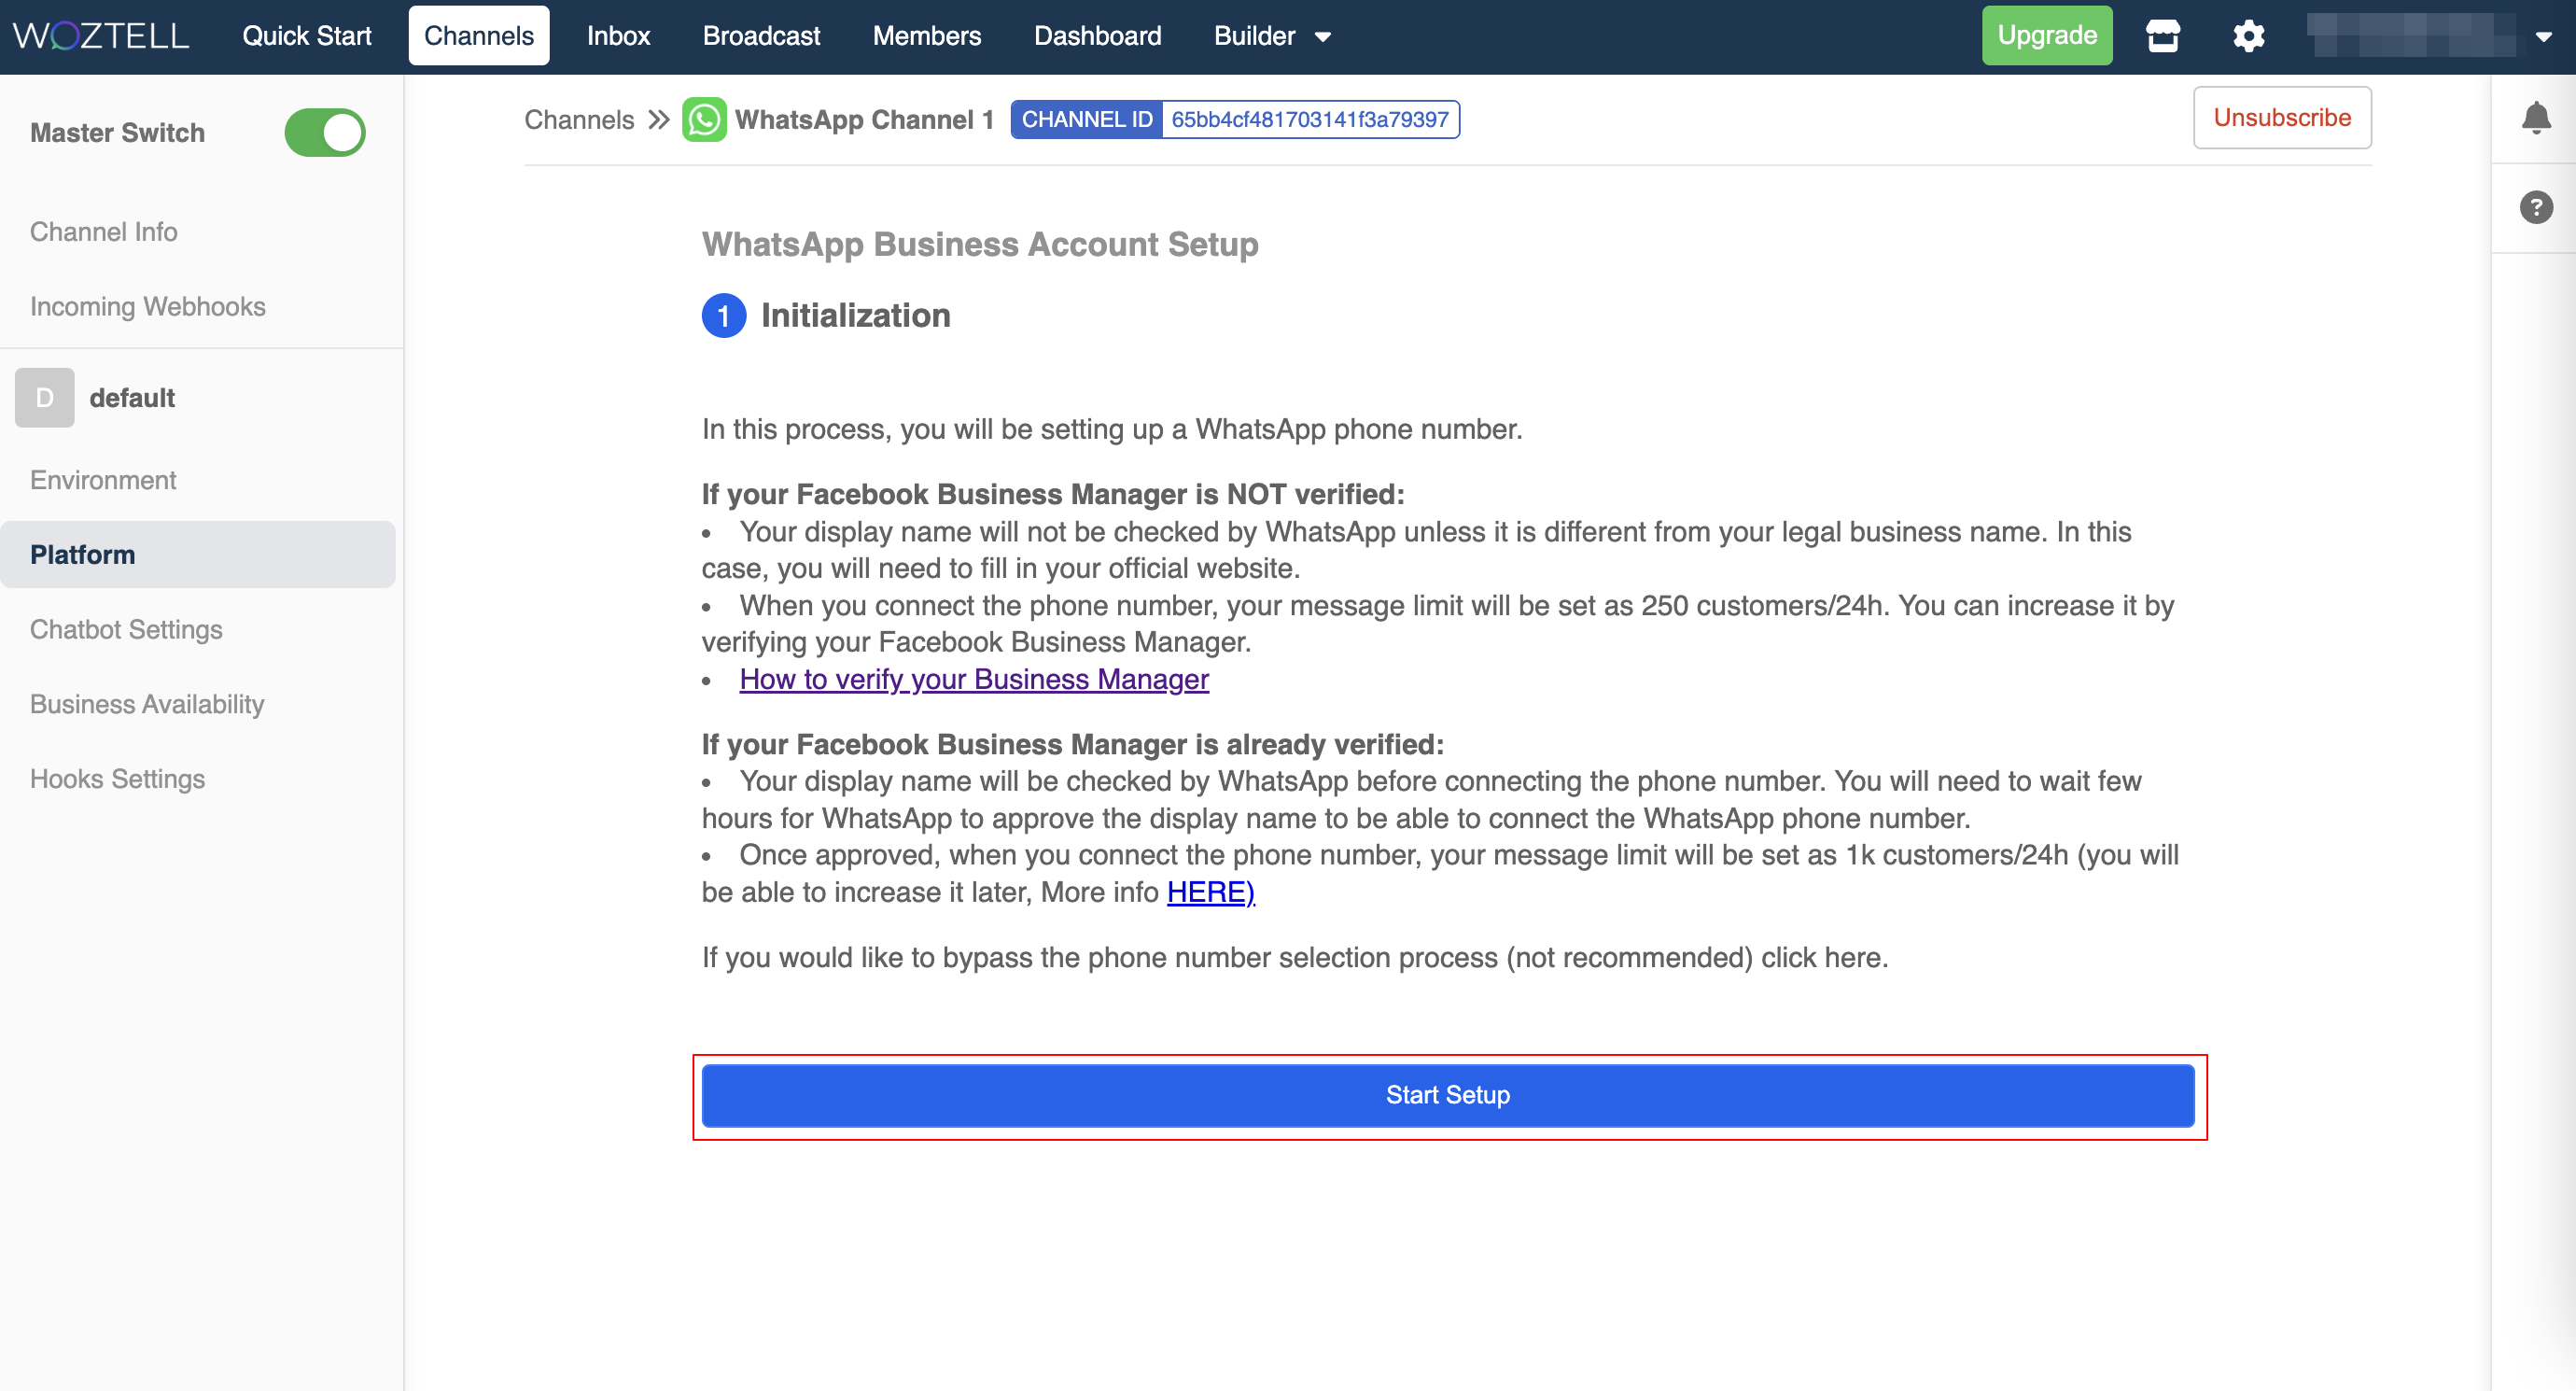
- The channel is created. You can click on Start Setup to start setting up your WABA.
Embedded Signup Window
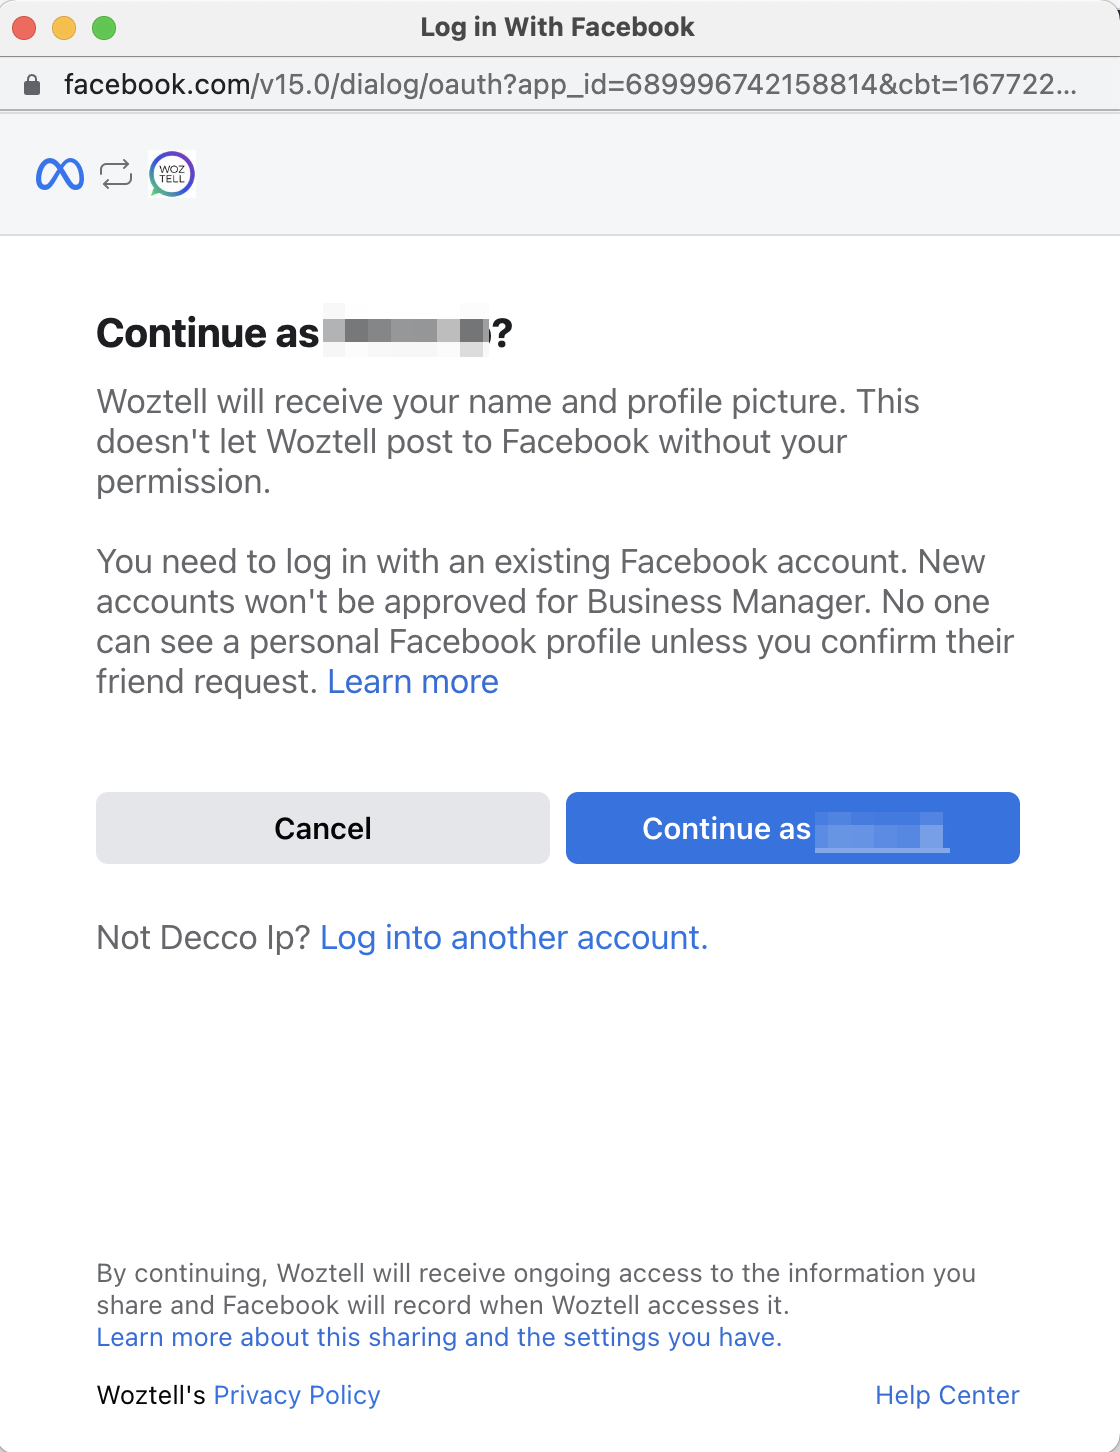
- The Embedded Sign-up will begin once you click "Start Setup". A Facebook window will pop up.
- You will be asked to log in your existing Facebook account. New Facebook Account will NOT be approved for Facebook Business Manager.
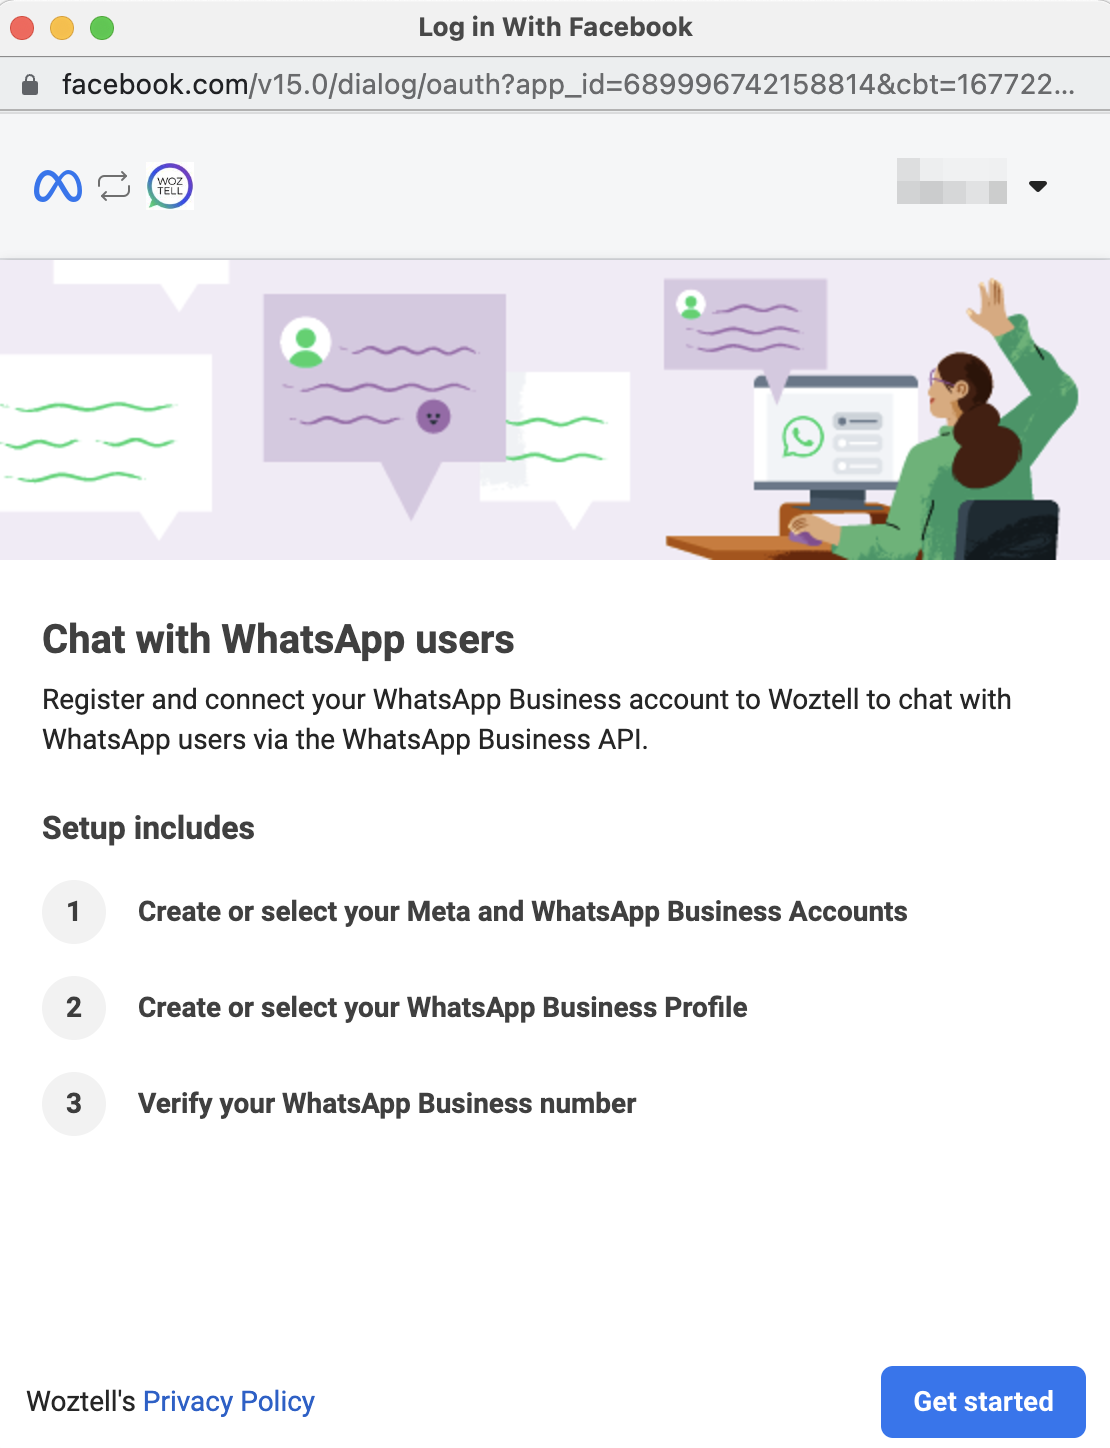
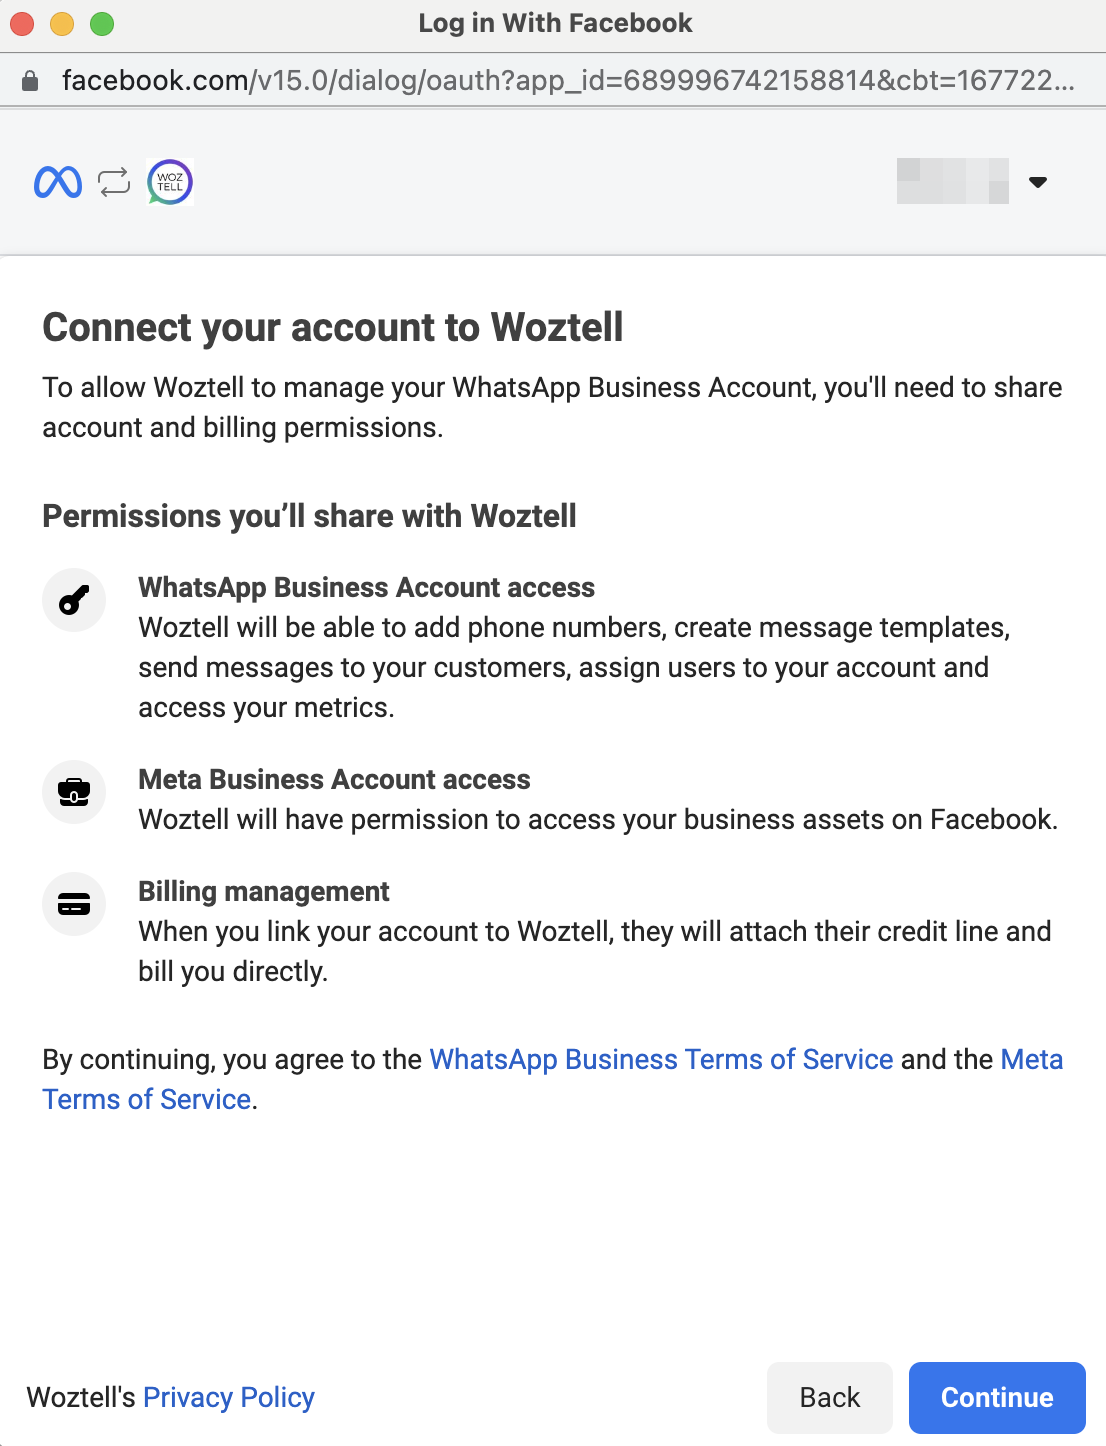
- Once you have logged in your Facebook account, select "Get Started" to connect your Facebook account to WOZTELL. Then select "Continue" to share account and billing permissions with WOZTELL.
Create Facebook and WhatsApp Business Accounts
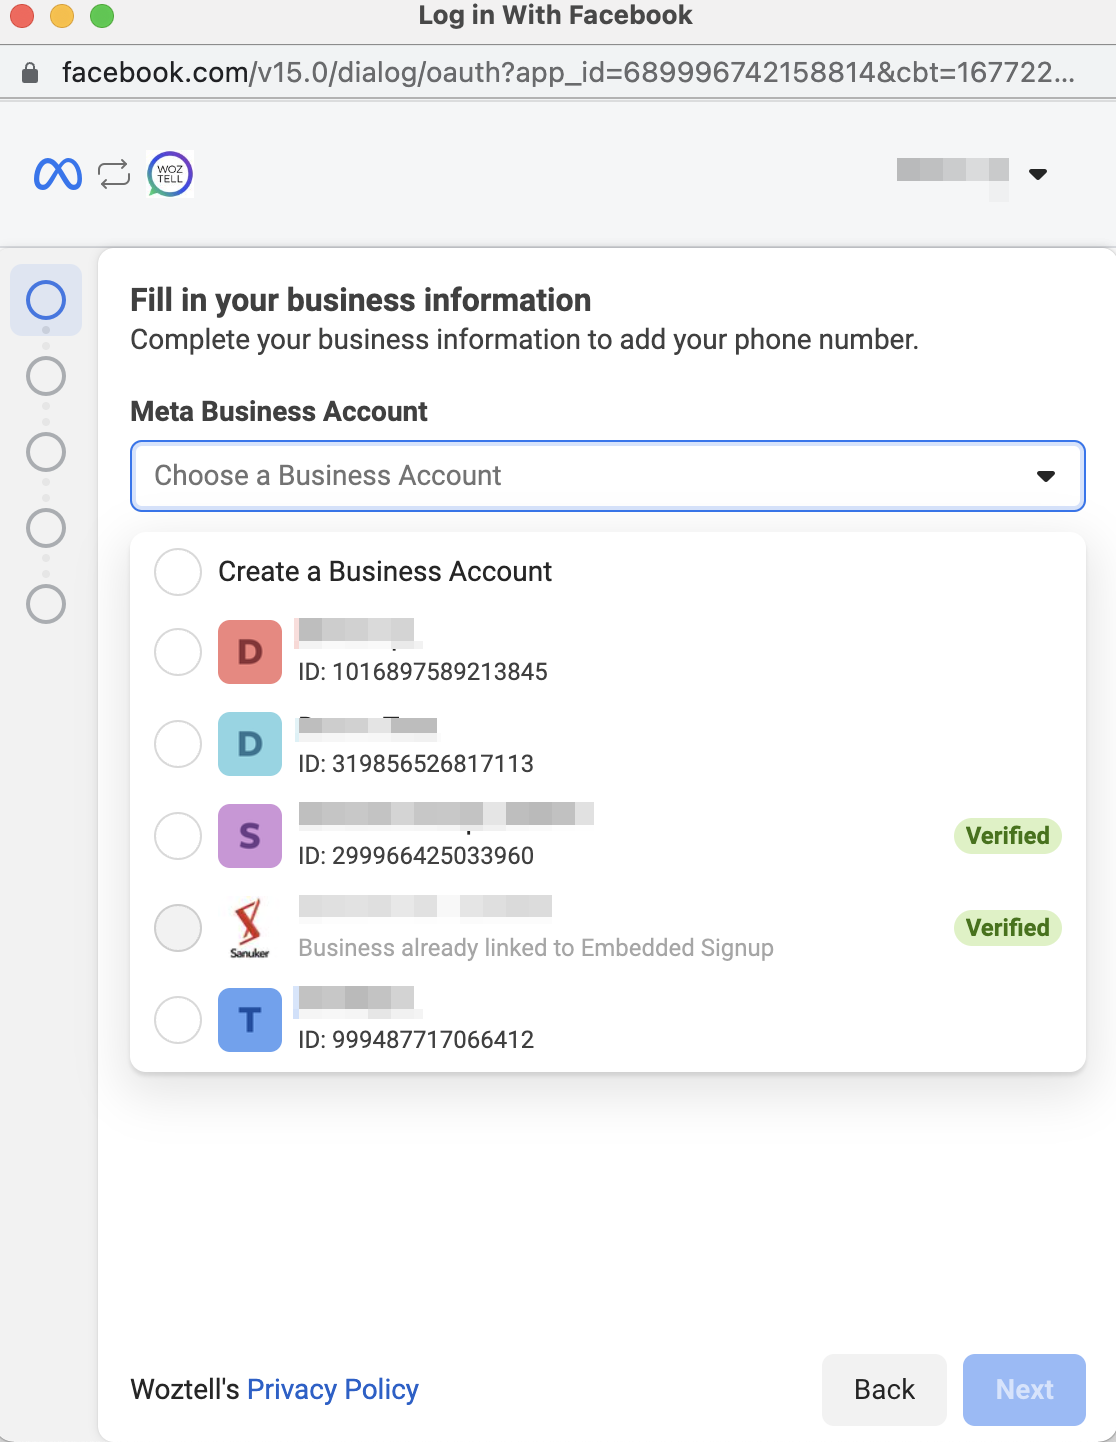
- Create a new Facebook Business Account or select an existing Facebook Business Account.
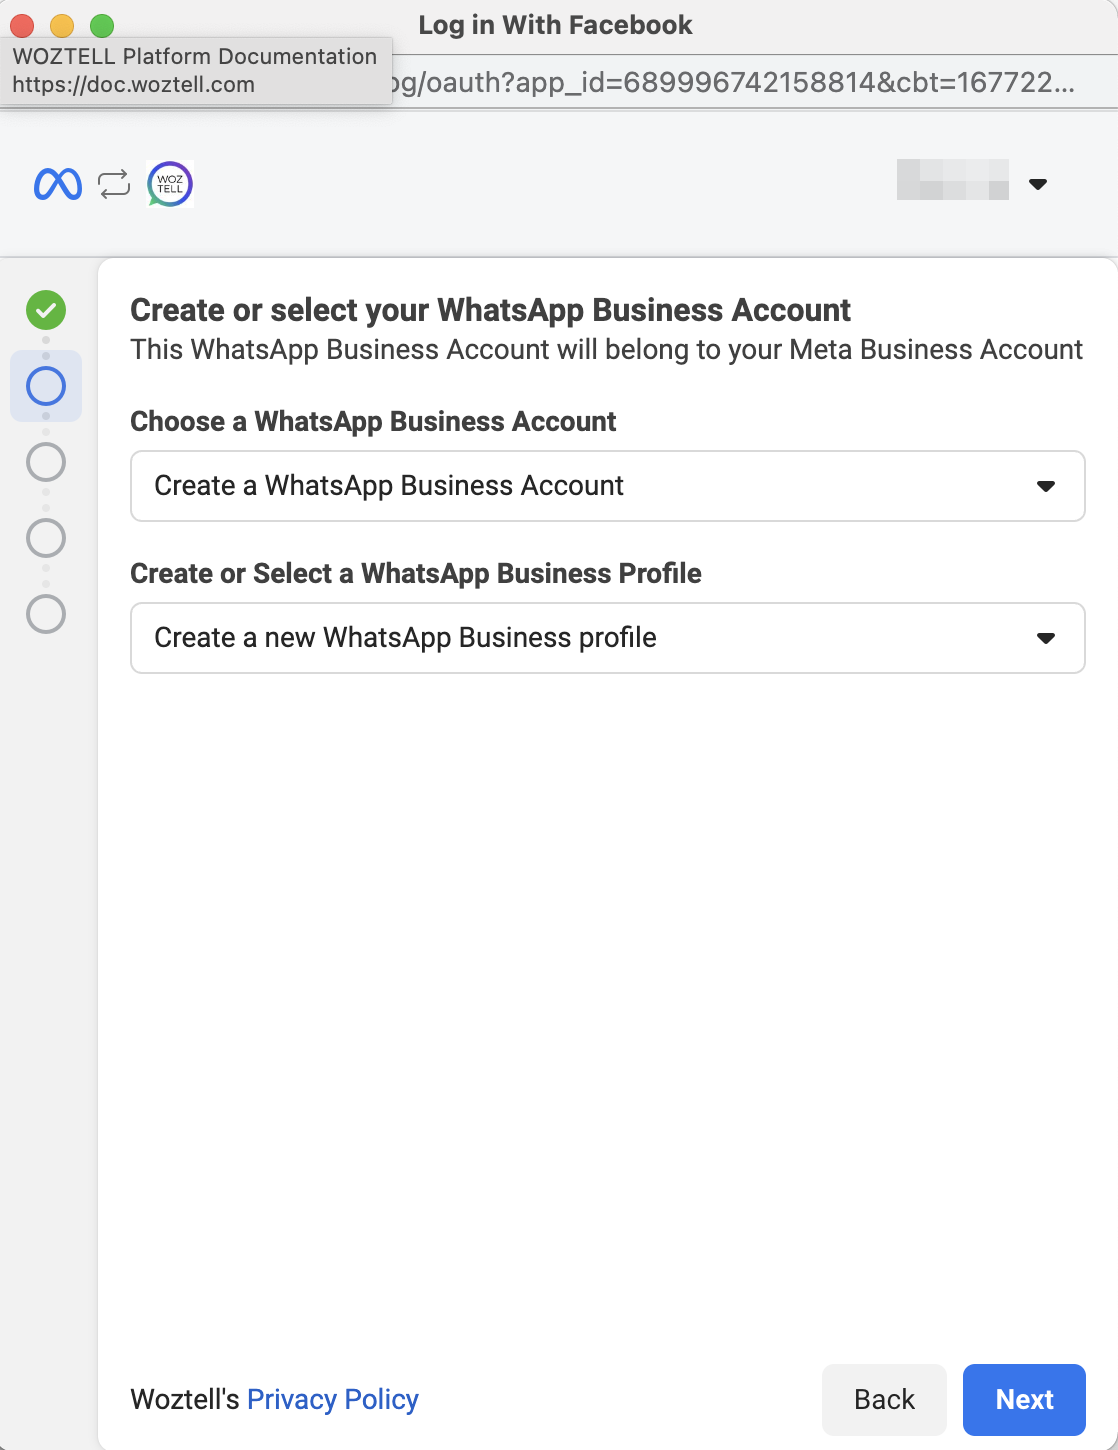
- Then, create a new WhatsApp Business Account or select an existing account.
Create WhatsApp Business Profile
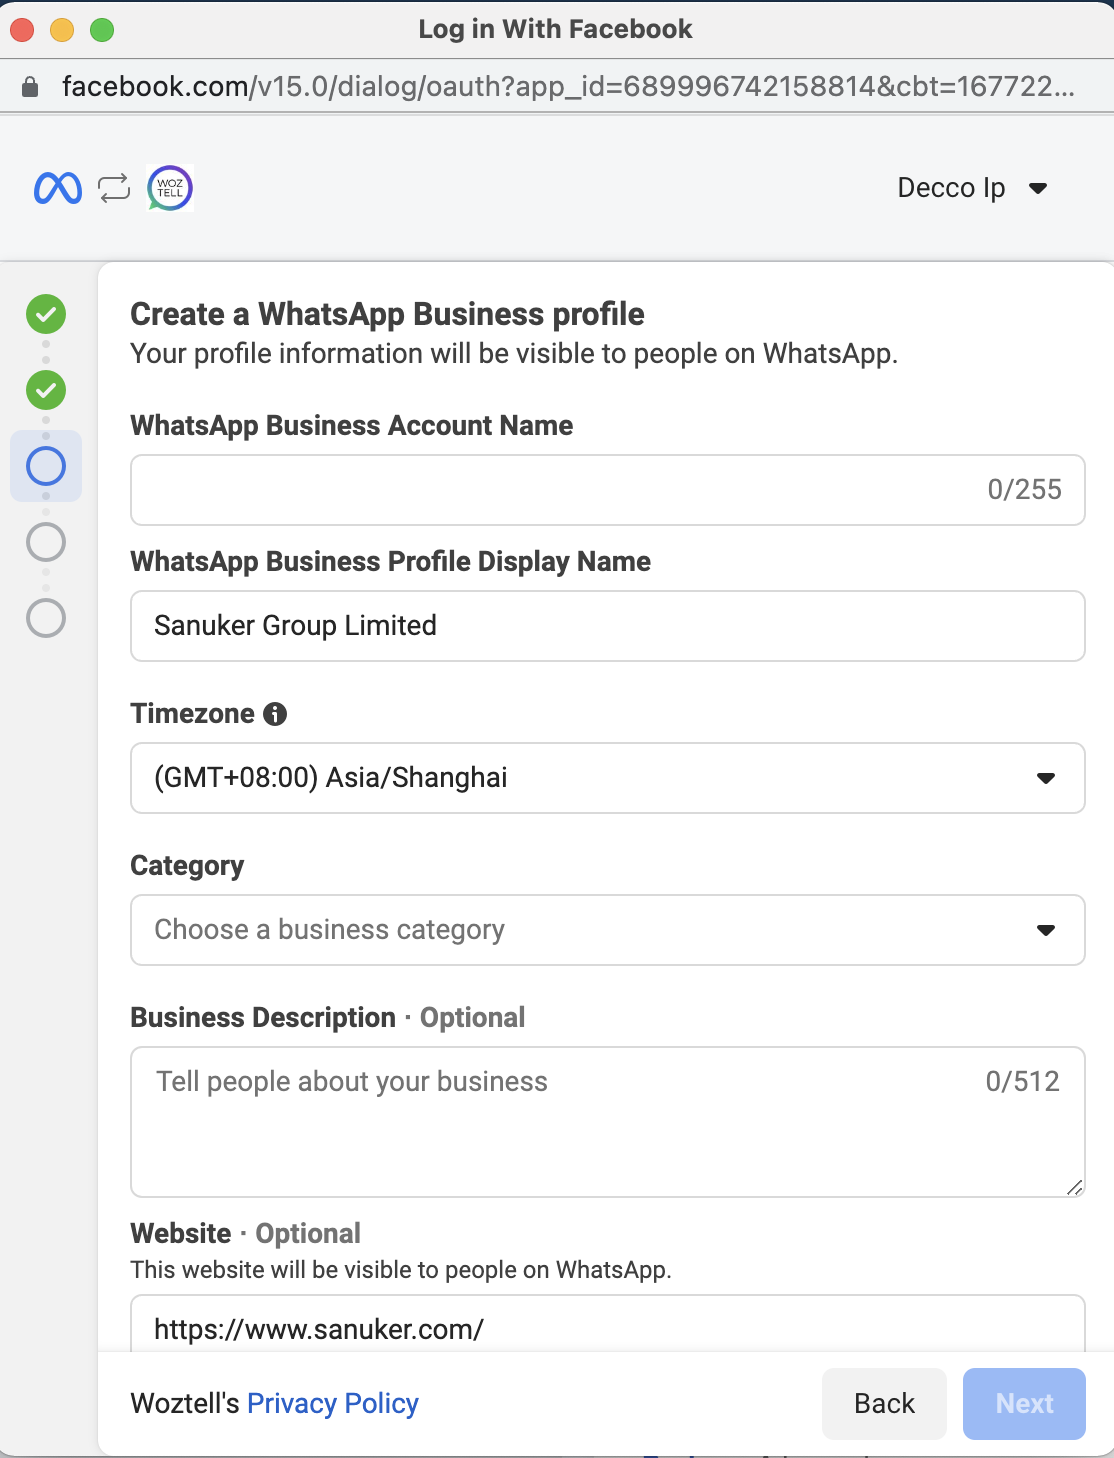
- Complete the WhatsApp Business Profile settings.
Verify WABA Number
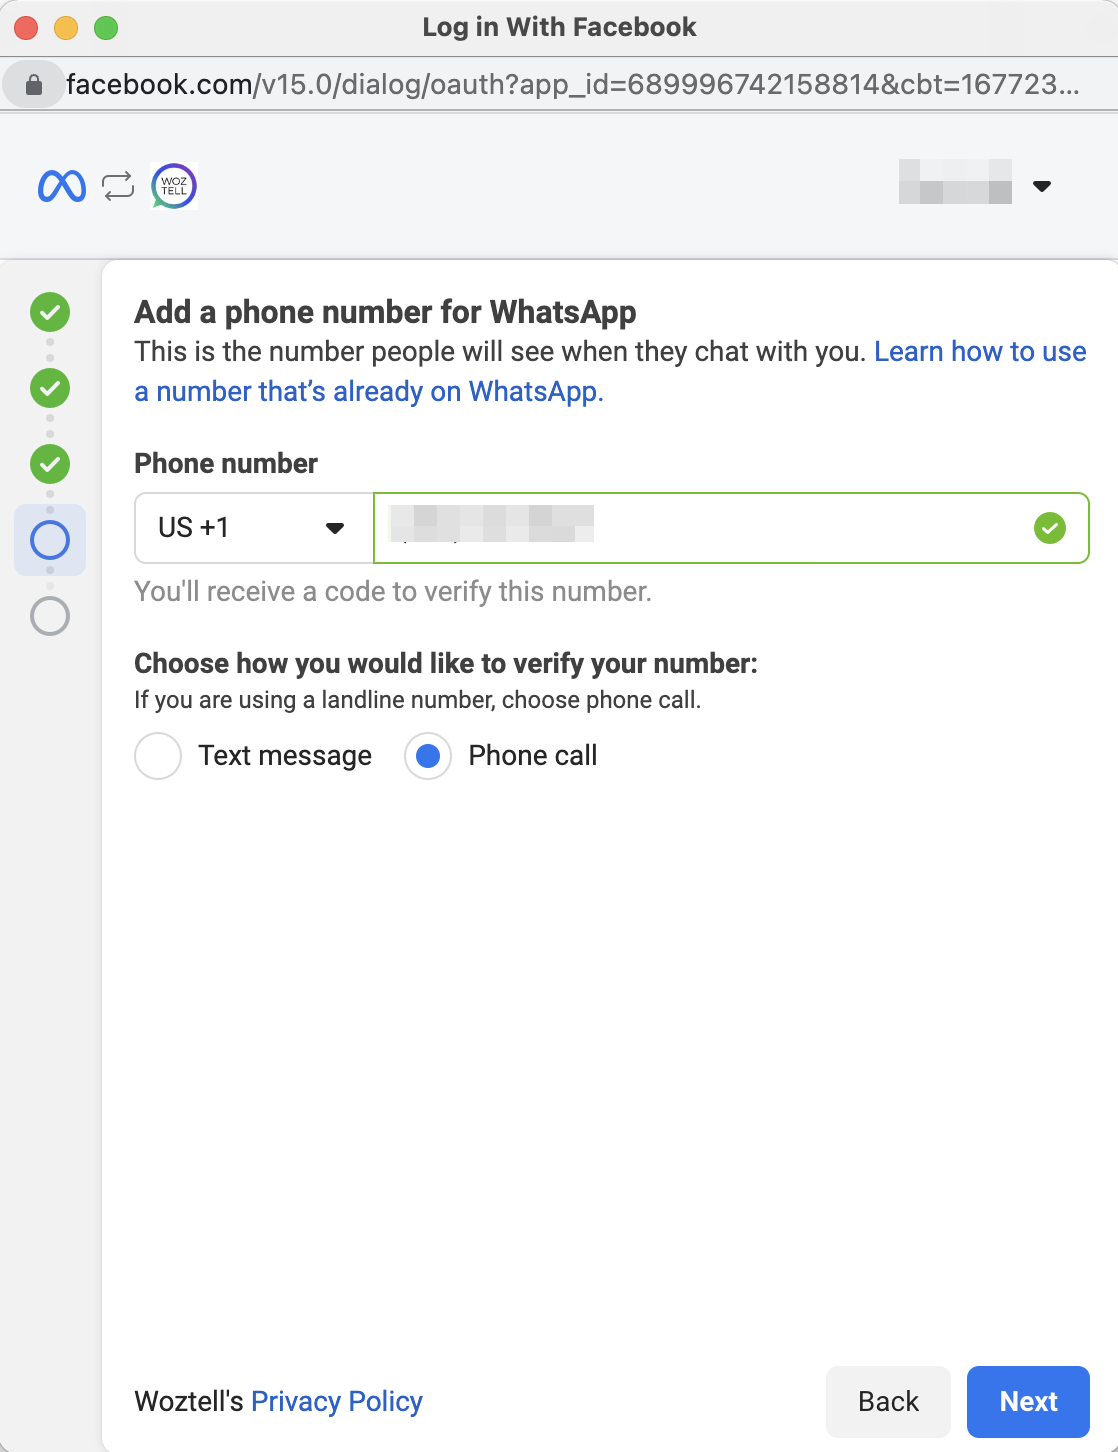
- Enter a phone number with its country code to register the number on WhatsApp. Make sure this number is NOT registered to any existing WhatsApp account. Then, select a Verification Method between Text Message or Phone Call. Select "Next".
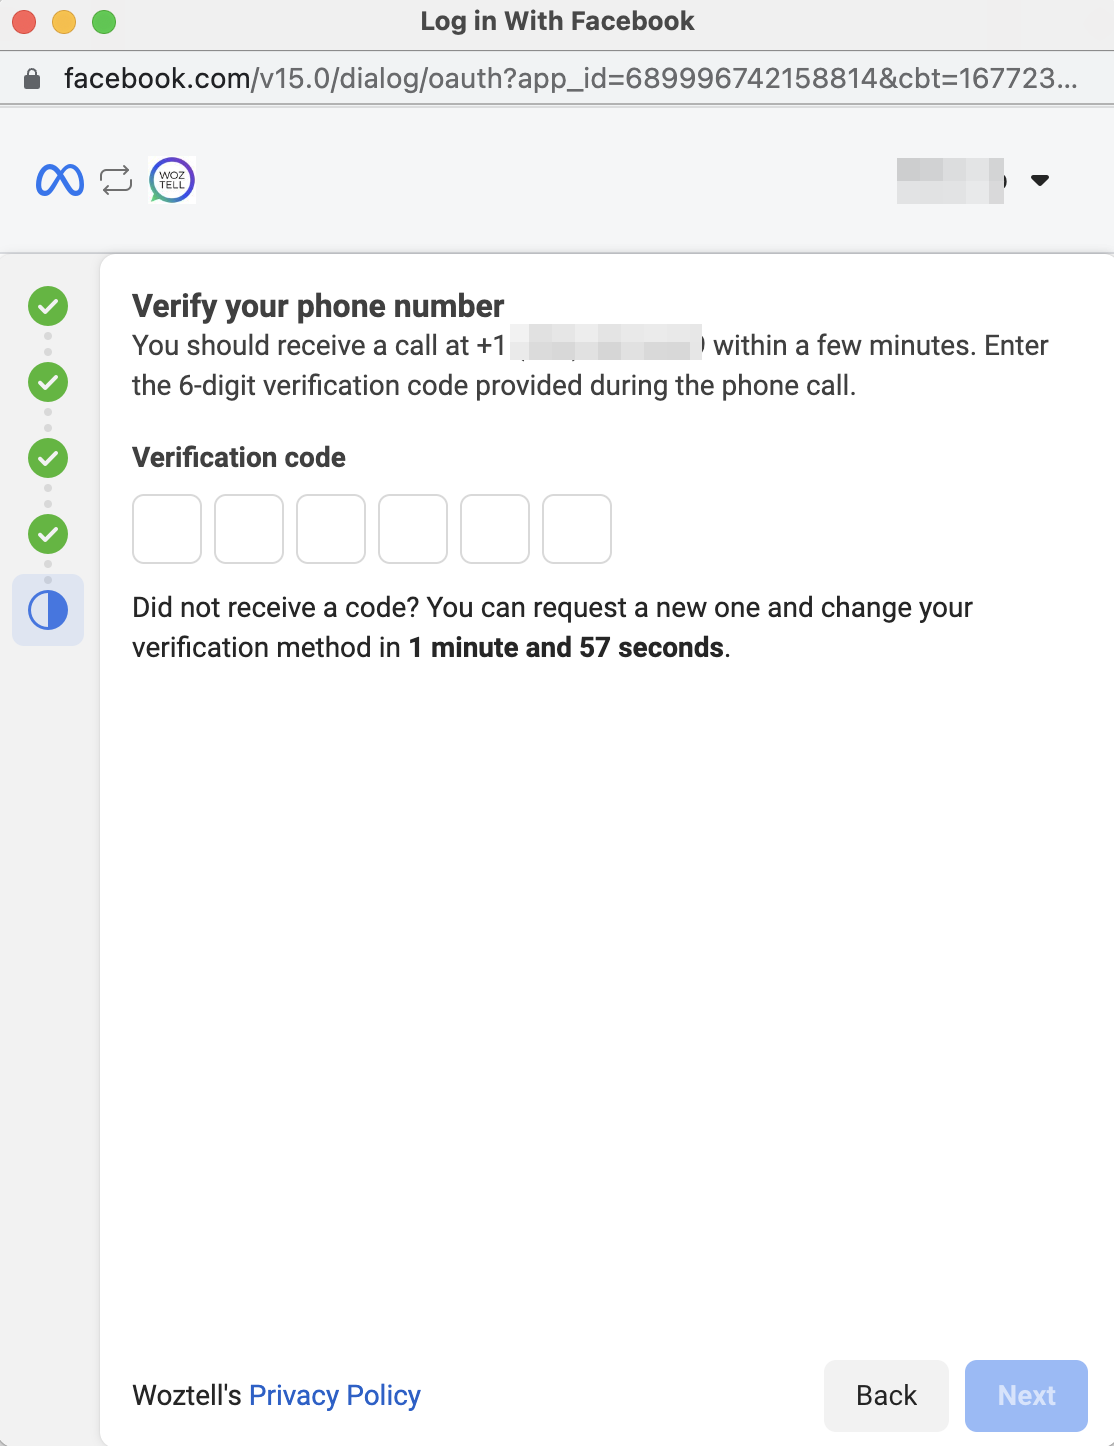
- Once you have received the 6-digit verification code via Text Message or Voice Call, enter the code and select "Next".
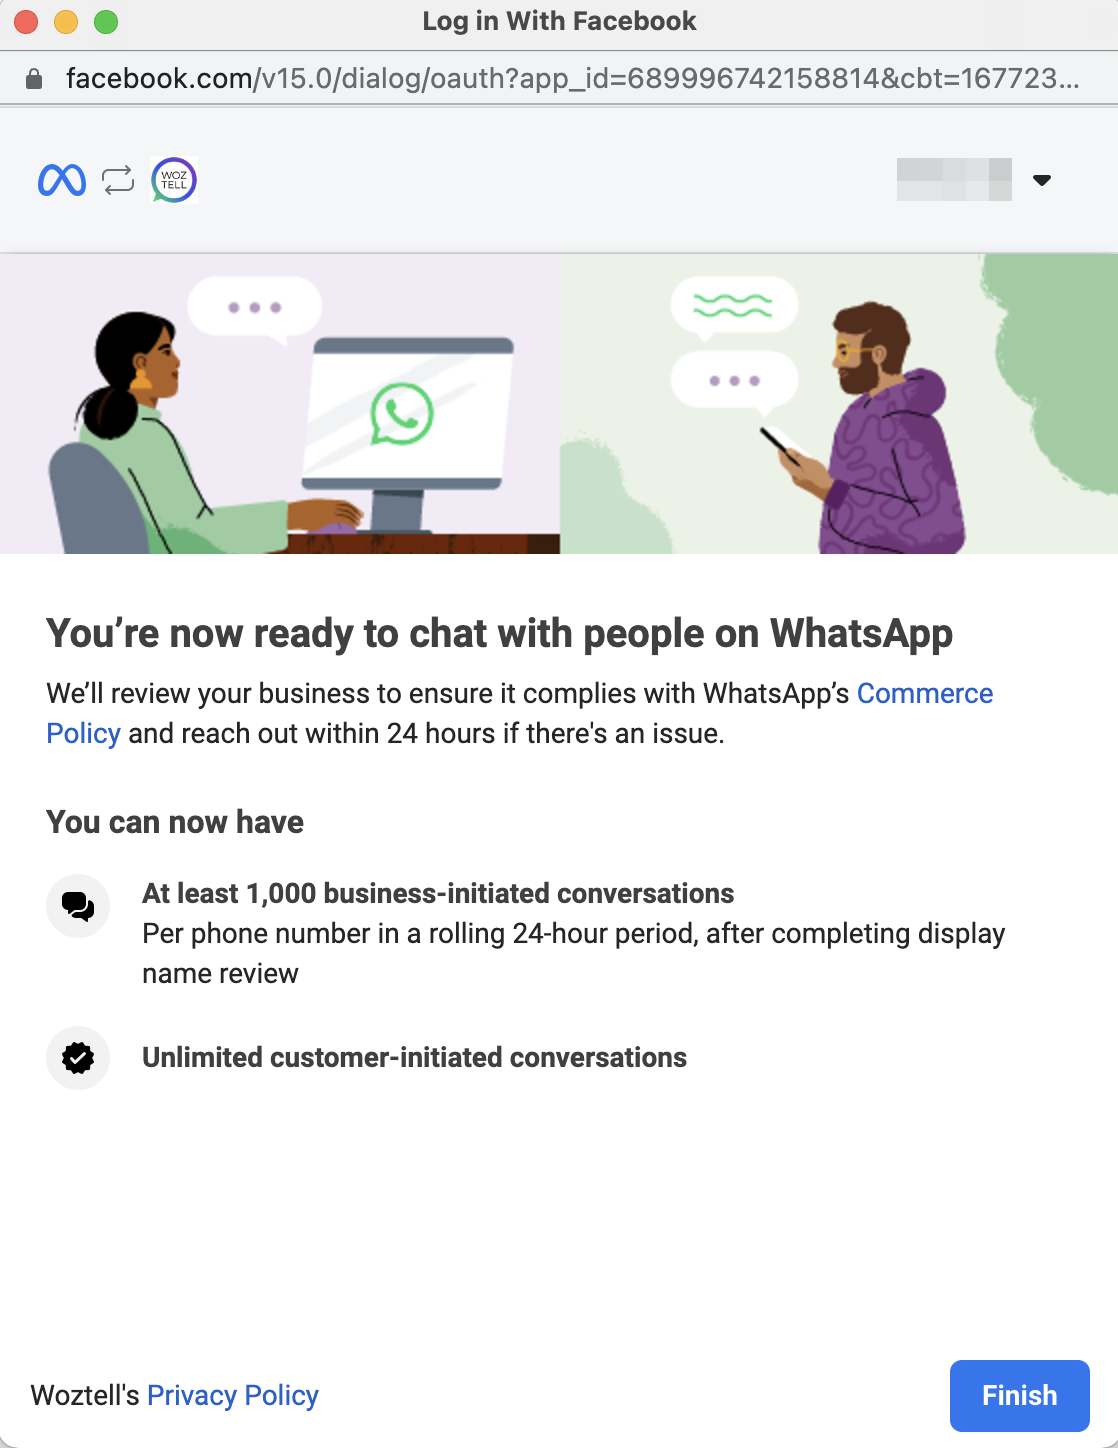
- Once your phone number has been verified, select "Finish" to complete the setup. The features available to you will be limited if your Facebook Business account is not verified.
Deploy WABA Number
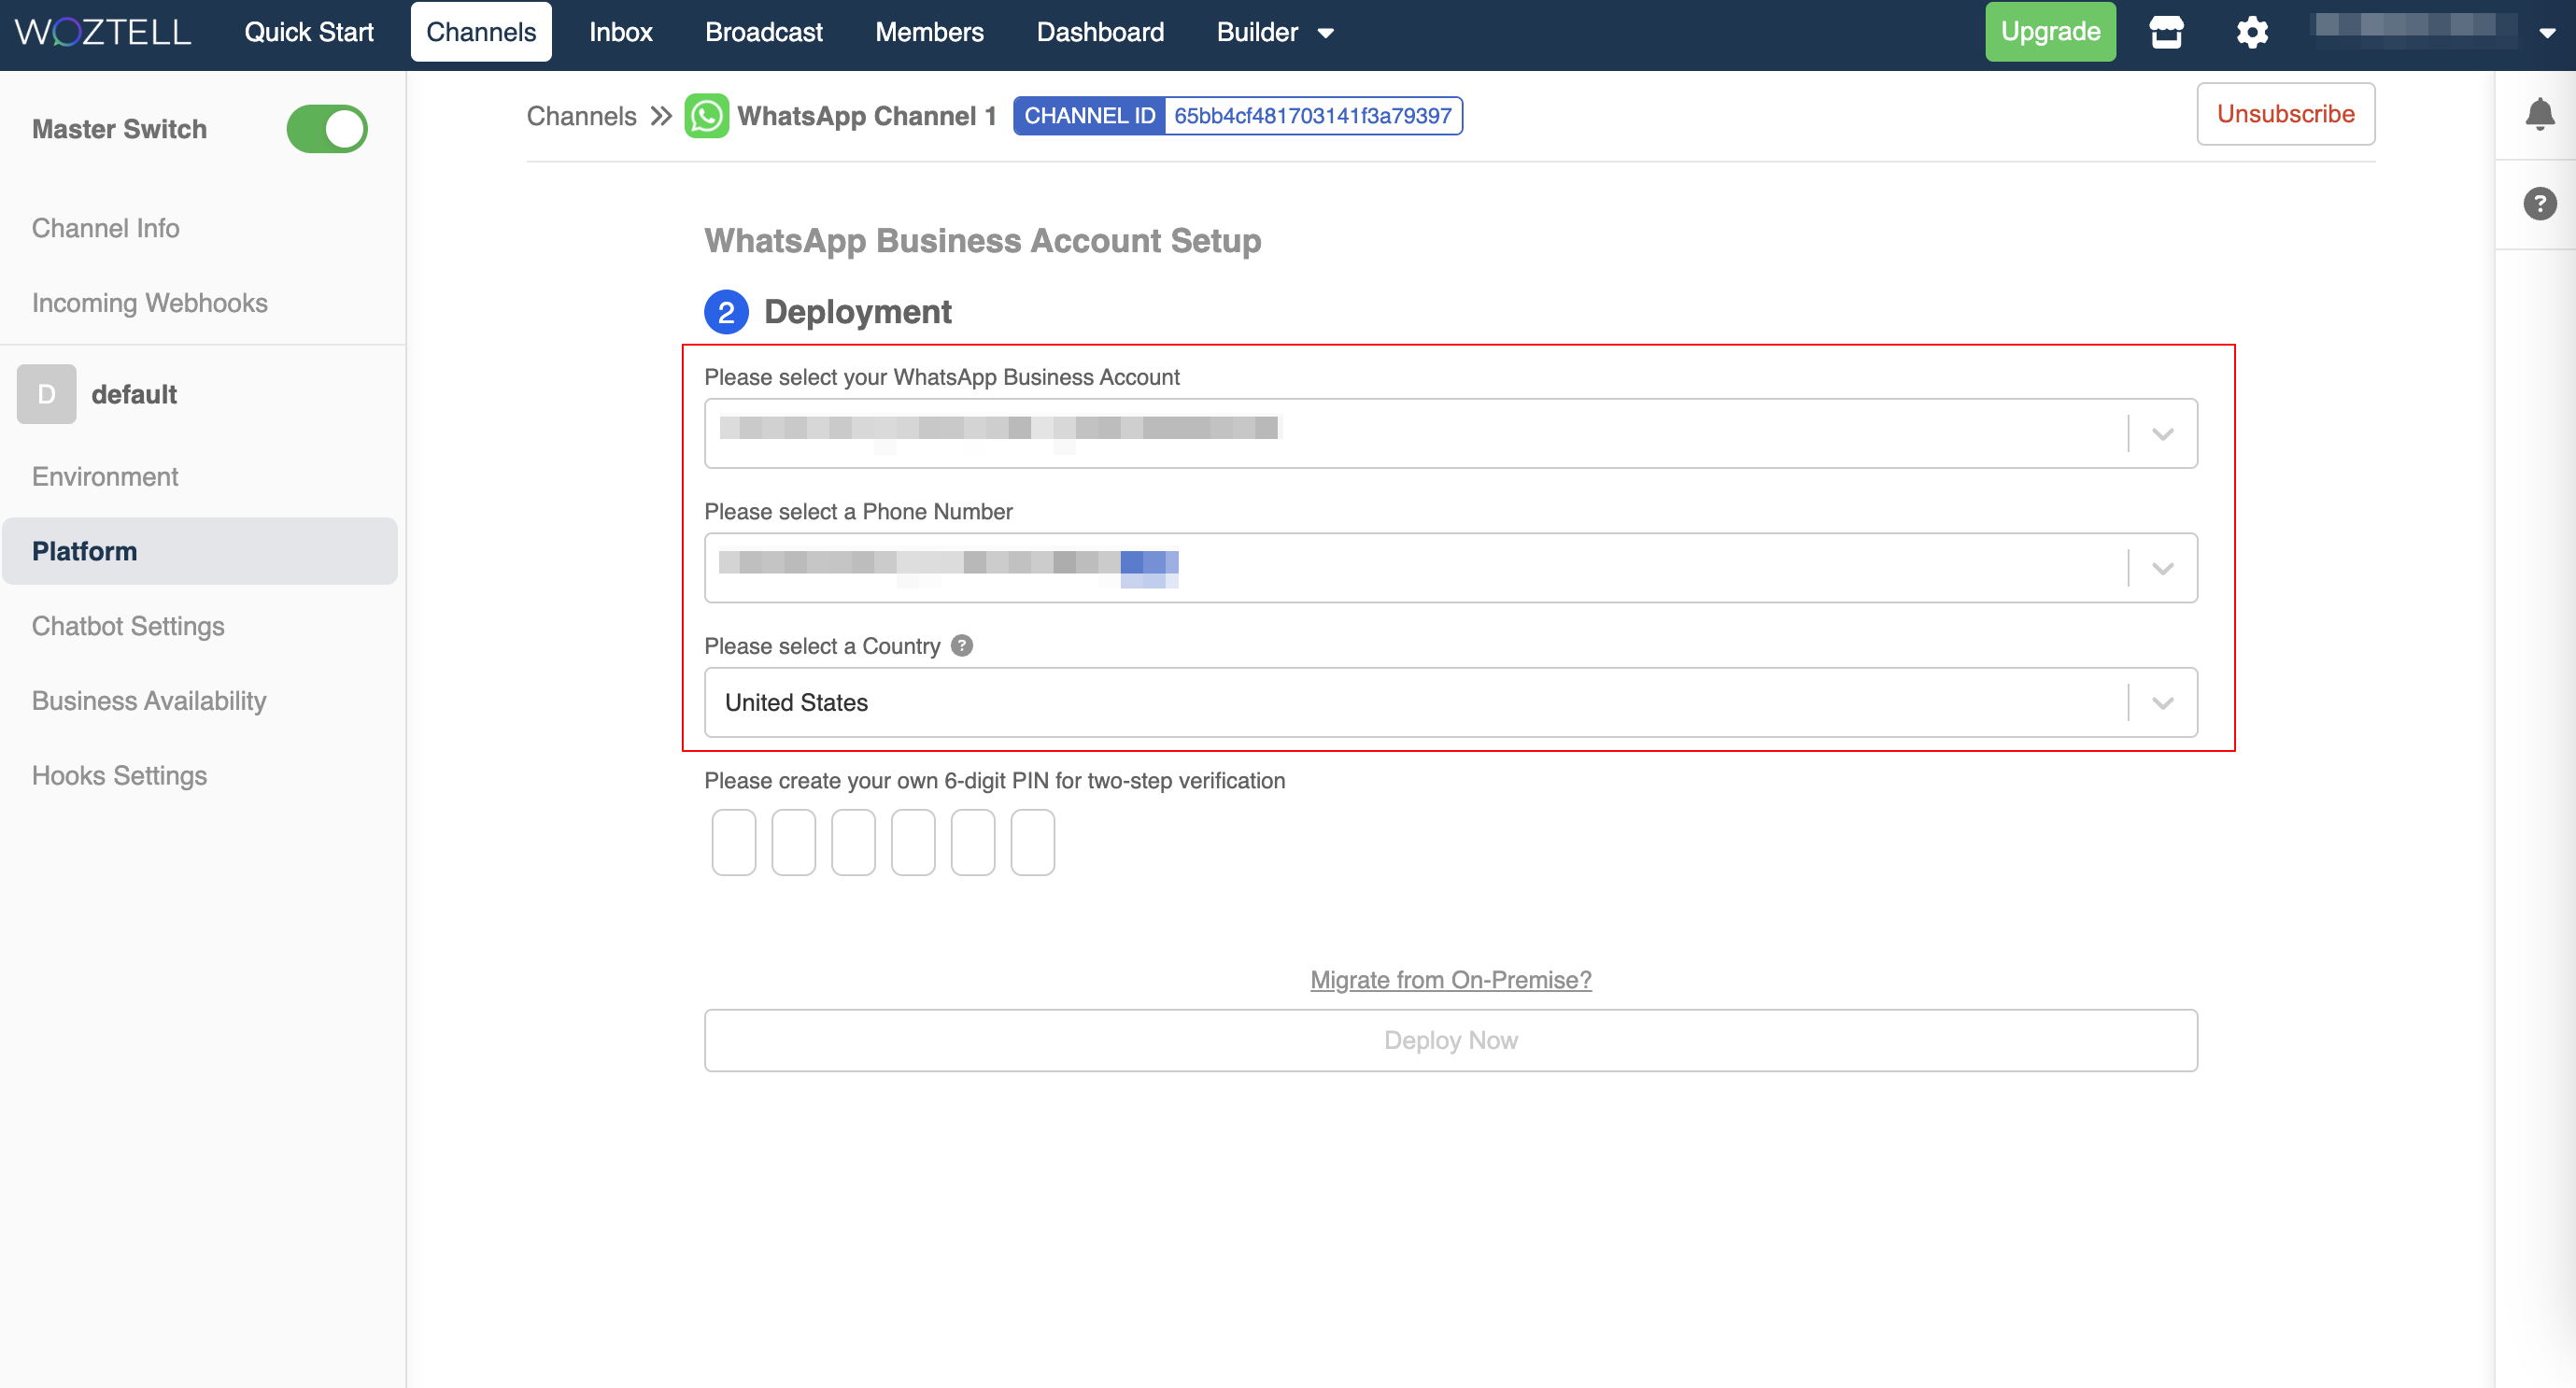
- Select the WABA account and phone number, then select country for the data storing location.
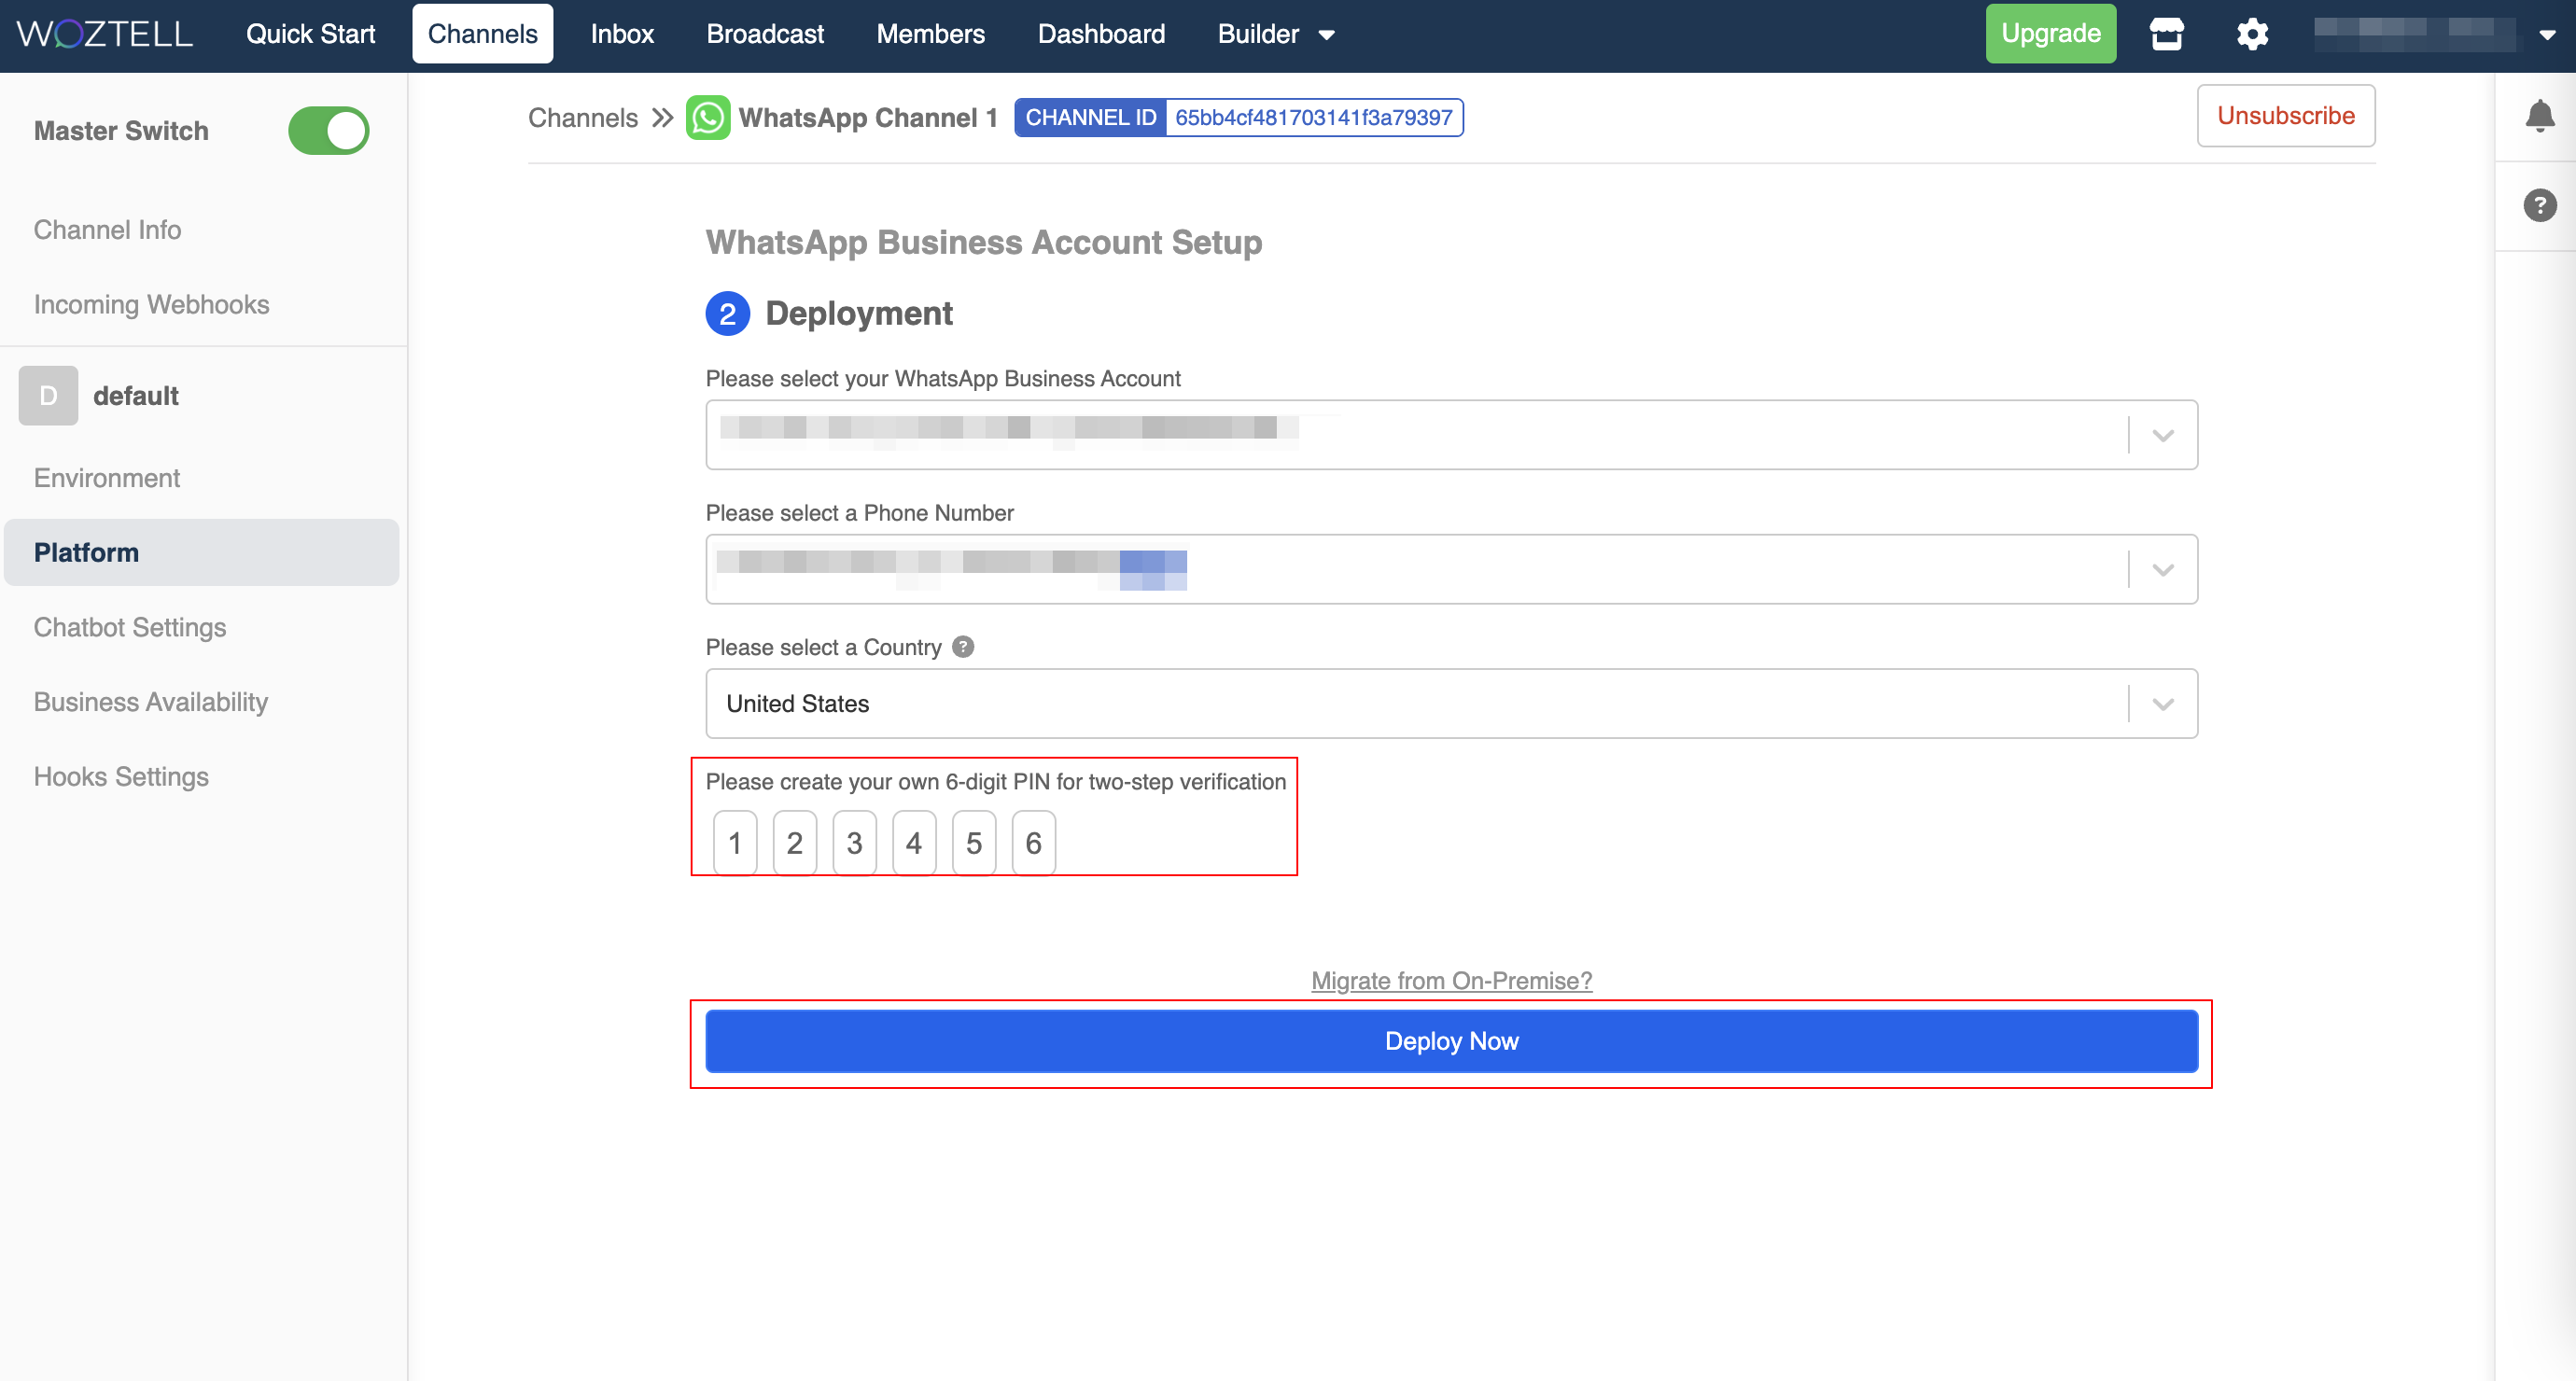
- Create a 6-digit registration code and click "Deploy Now" to deploy the number.
tip
If the following deployment page is unable to display in 30 seconds, you will be asked to retry the embedded sign-up process.
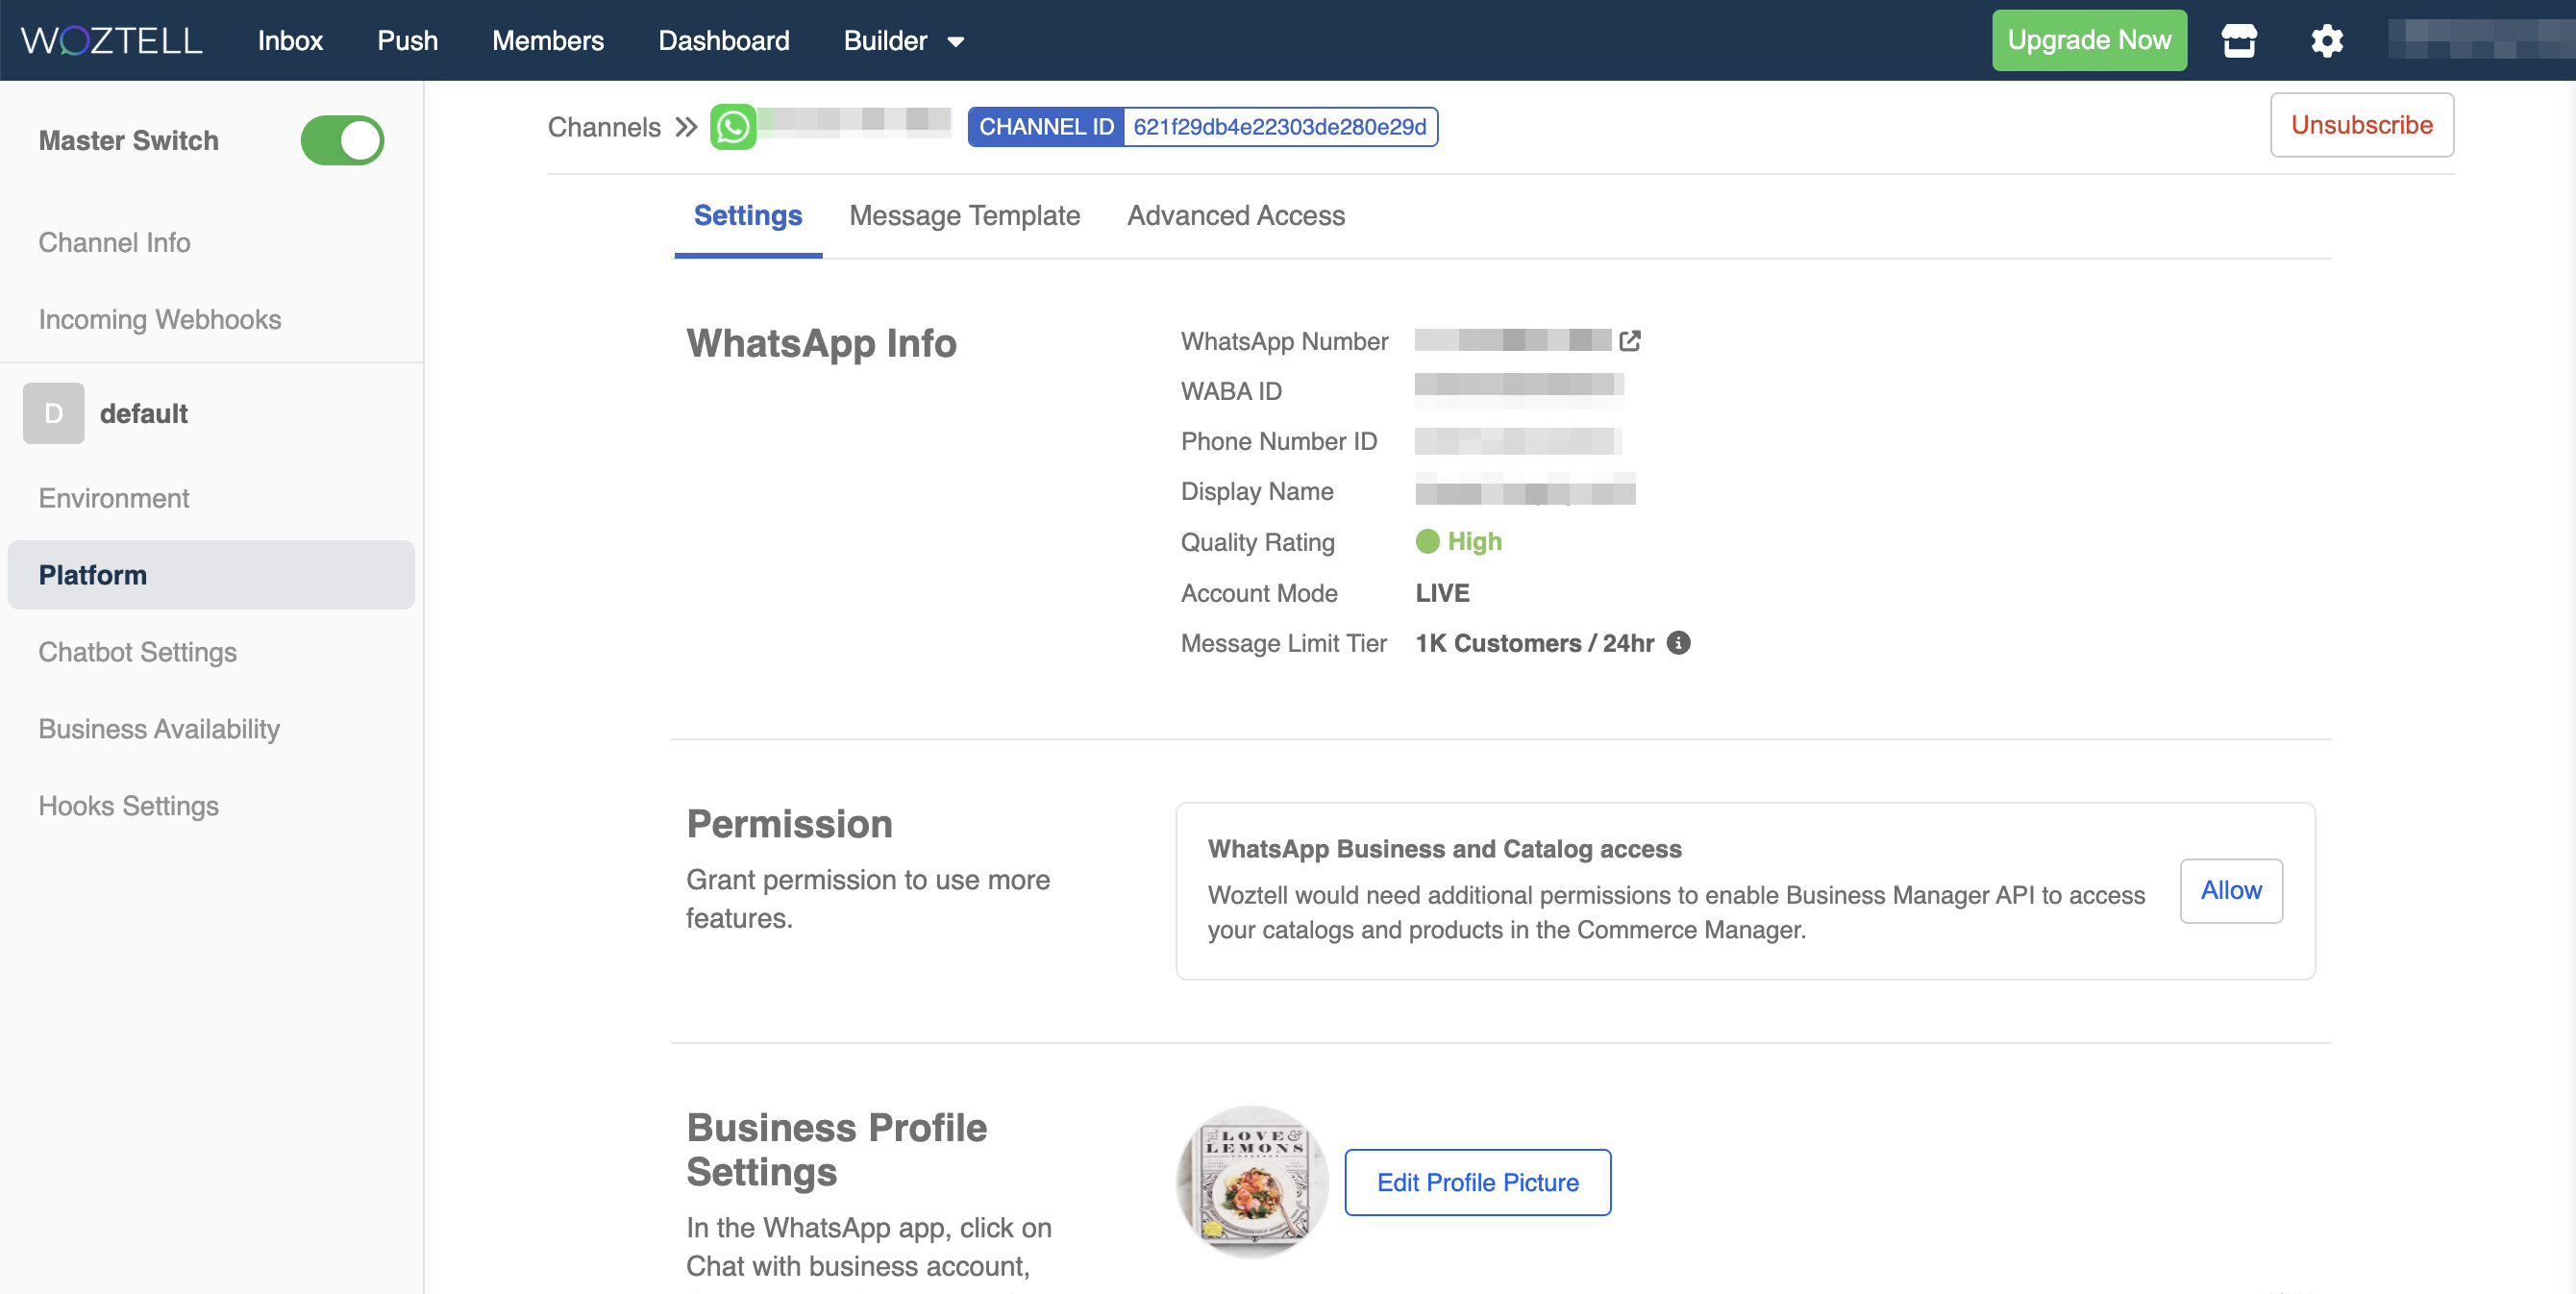
- When the deployment is successful, your "Platform" will be updated.
Status of Approval
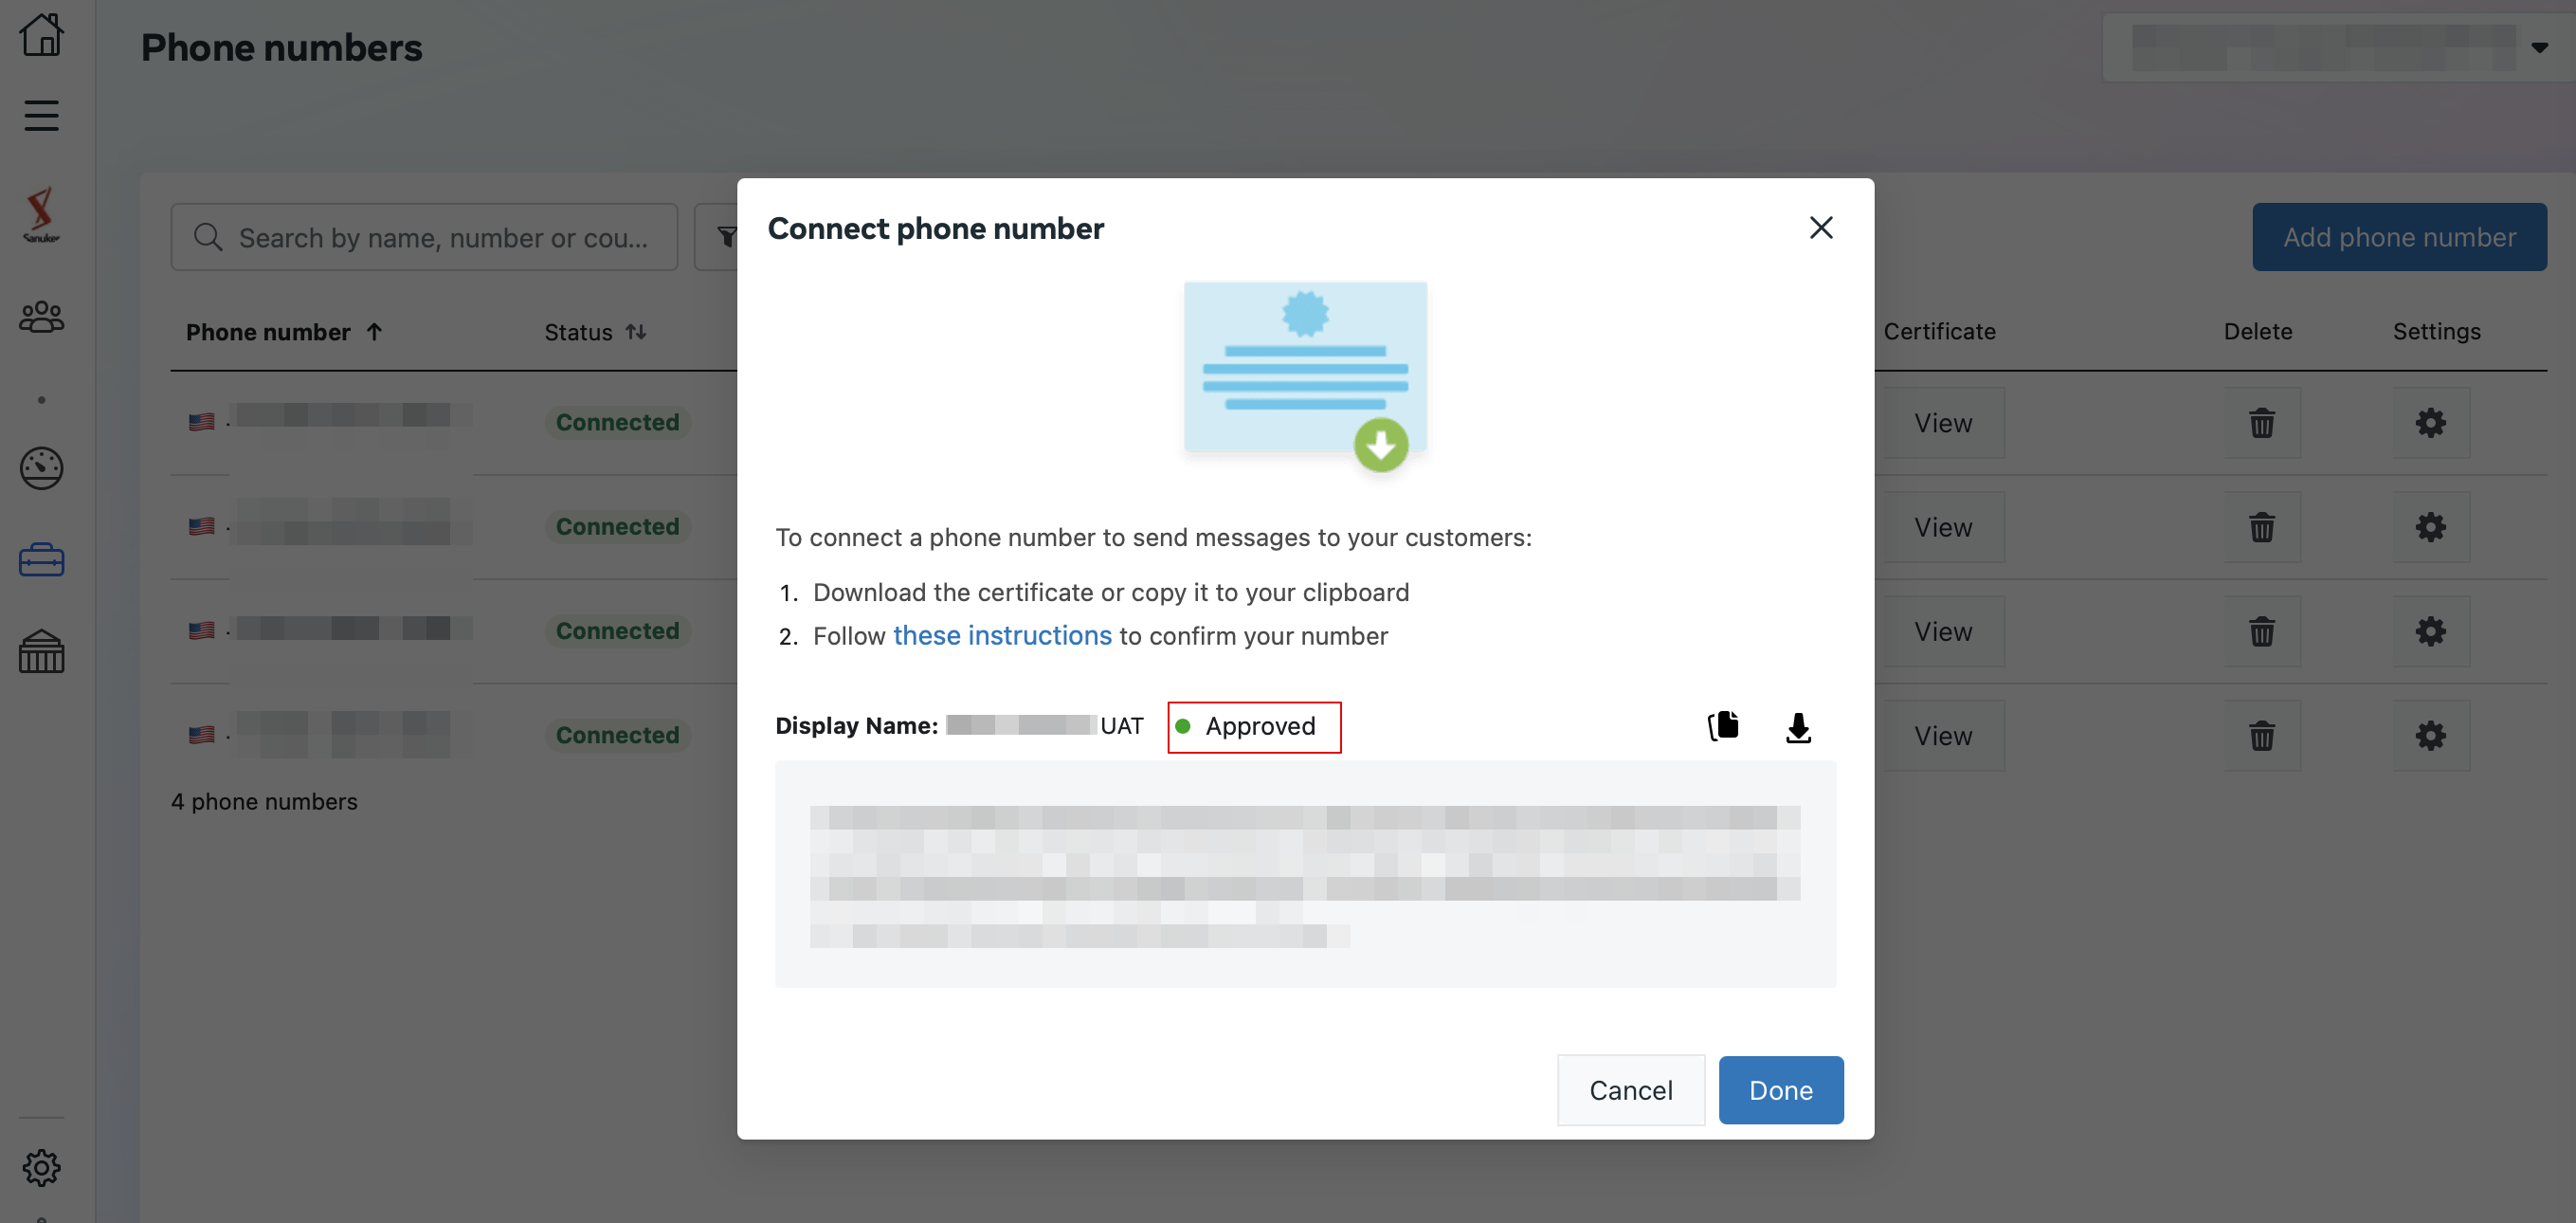
- Upon the completion of the embedded signup flow, you can login the WhatsApp Manager and check phone number's status of approval. About how to navigate the WhatsApp Manager, you can refer to Check WABA Status of Approval.
Upgrade Subscription
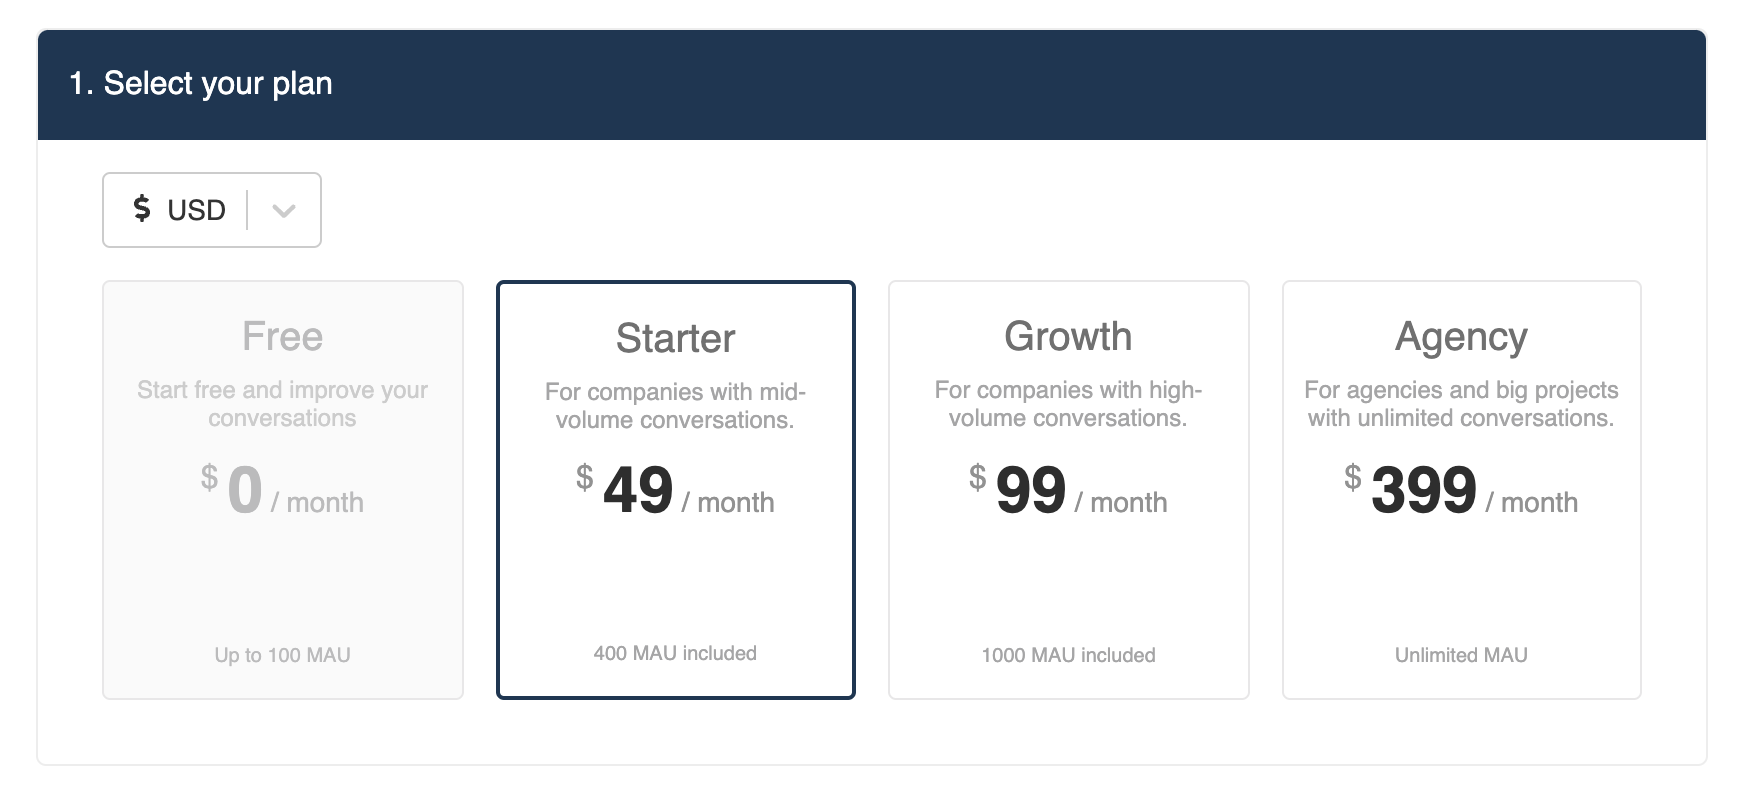
By default, all the new sign-up users are subscribing to a free plan on WOZTELL, which allows them to use the platform with up to 100 Monthly Active Users (MAU). However, you won't be able to send out any message when you reach the MAU limit.
To prevent this from happening, it is recommended to upgrade the subscription right after setting up your WABA.
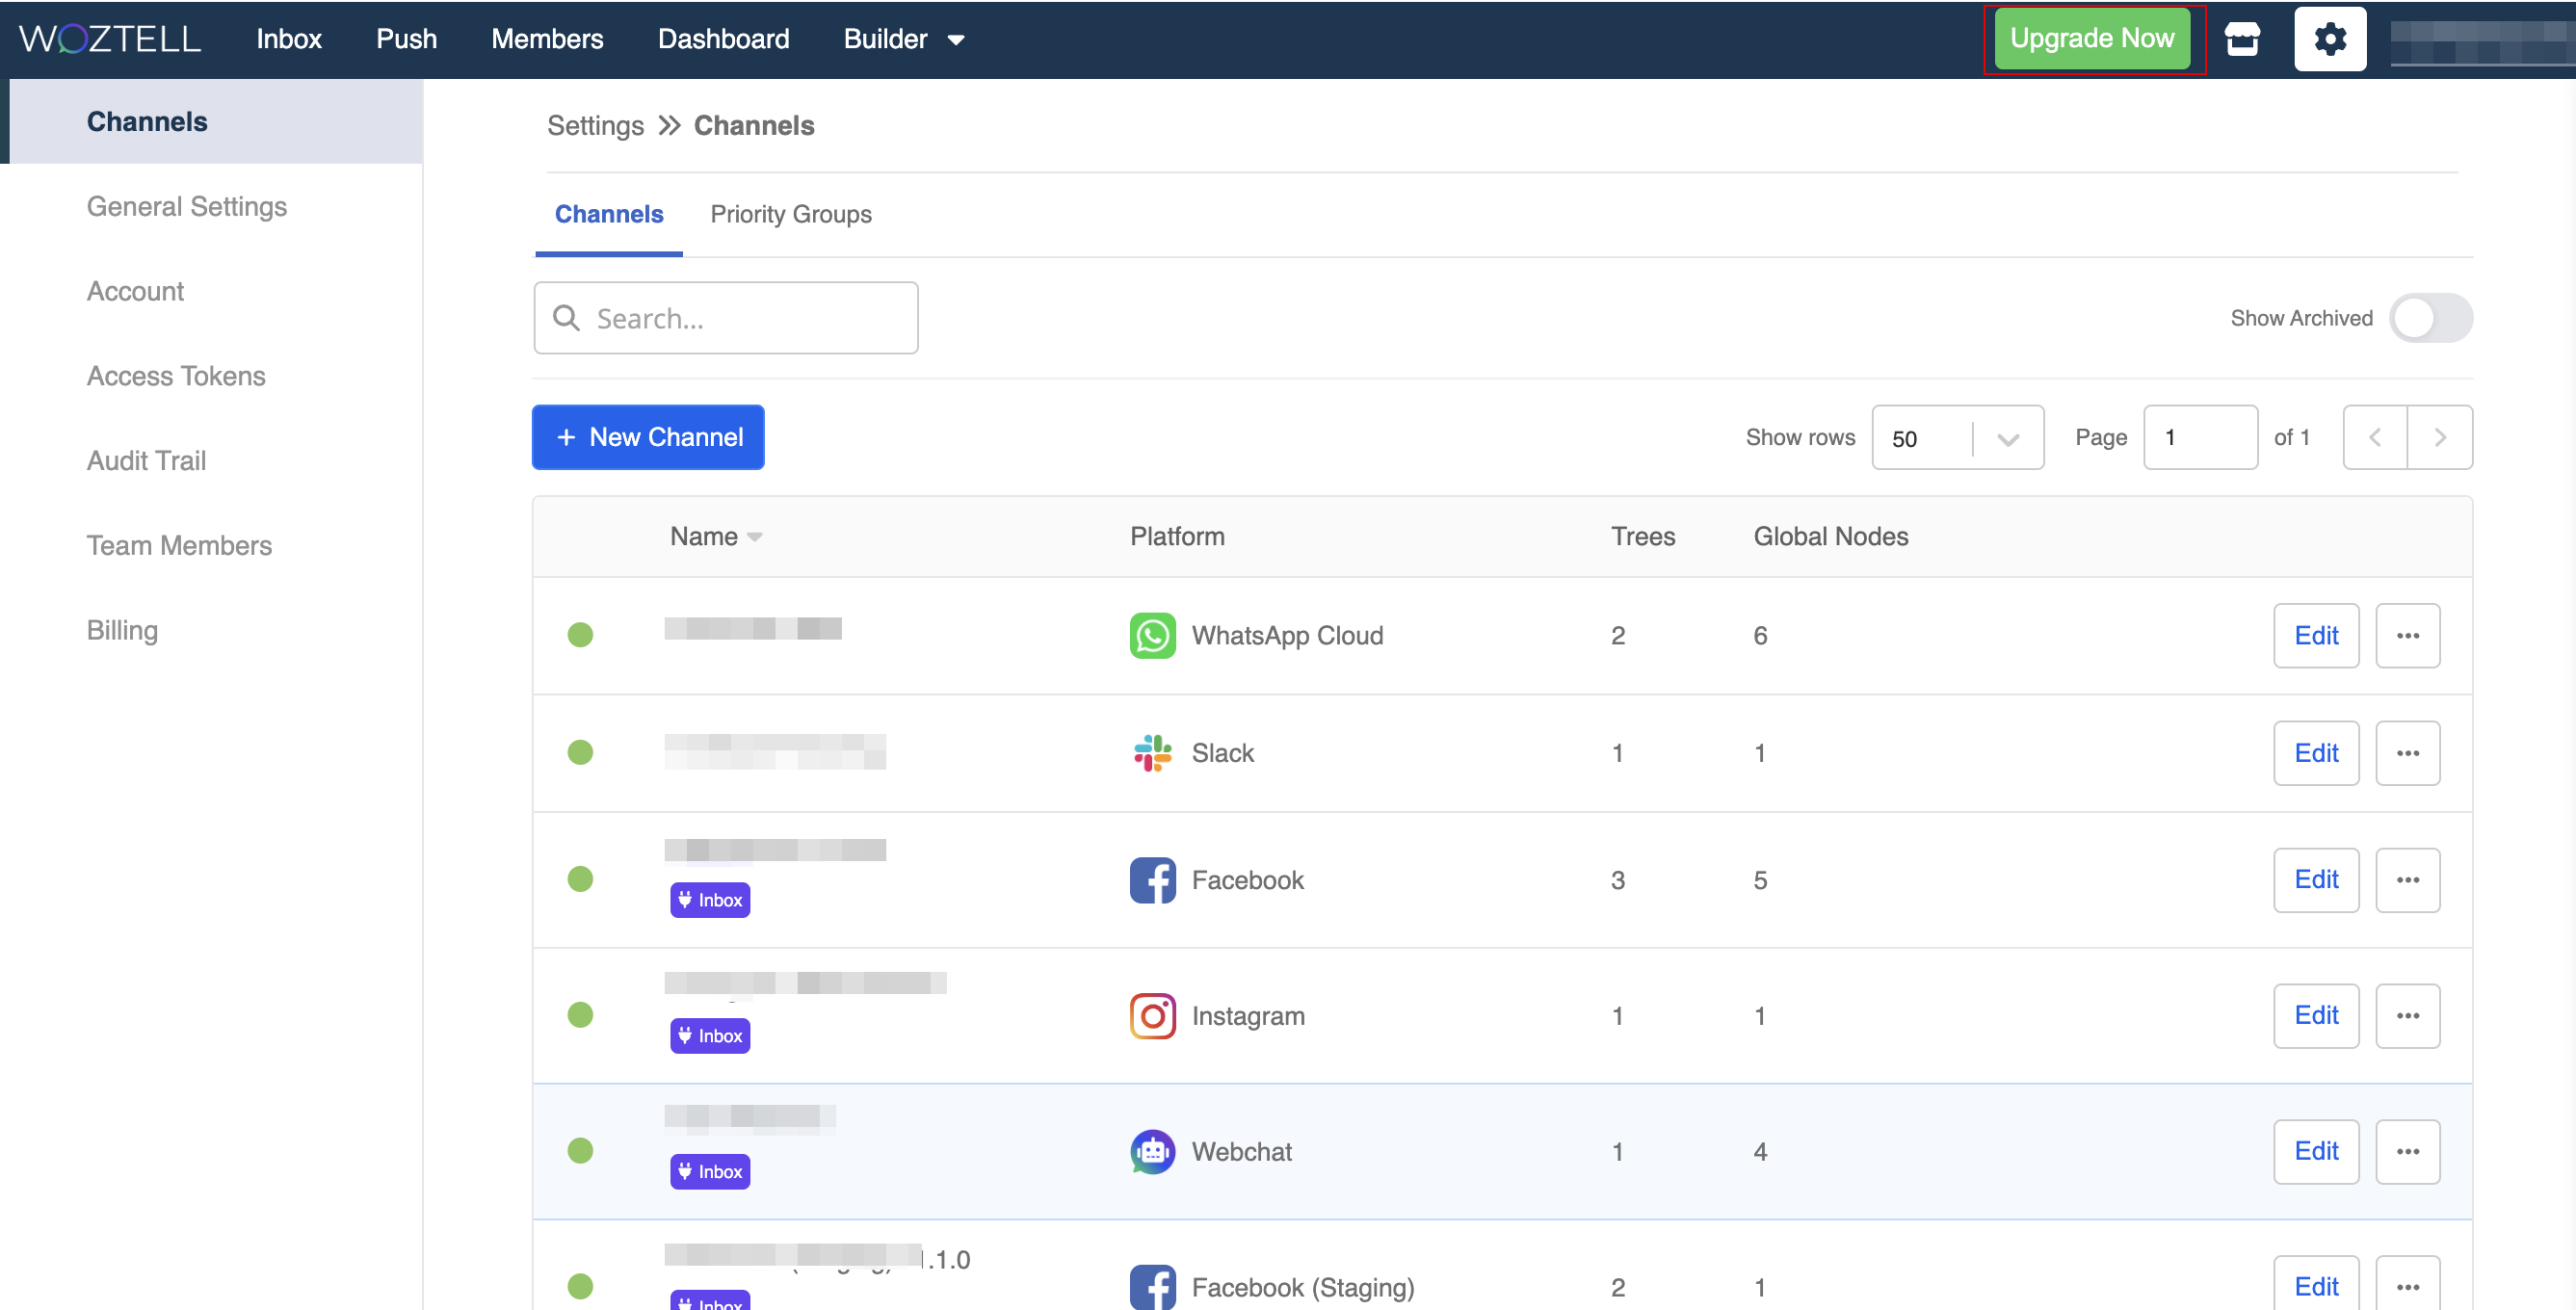
You can simply click "Upgrade Now" to head to the "Subscription page.
Instead, you can also reach there at "Settings" -> "Billing" -> "Subscription".
- Select the subscription plan that fits you the most.
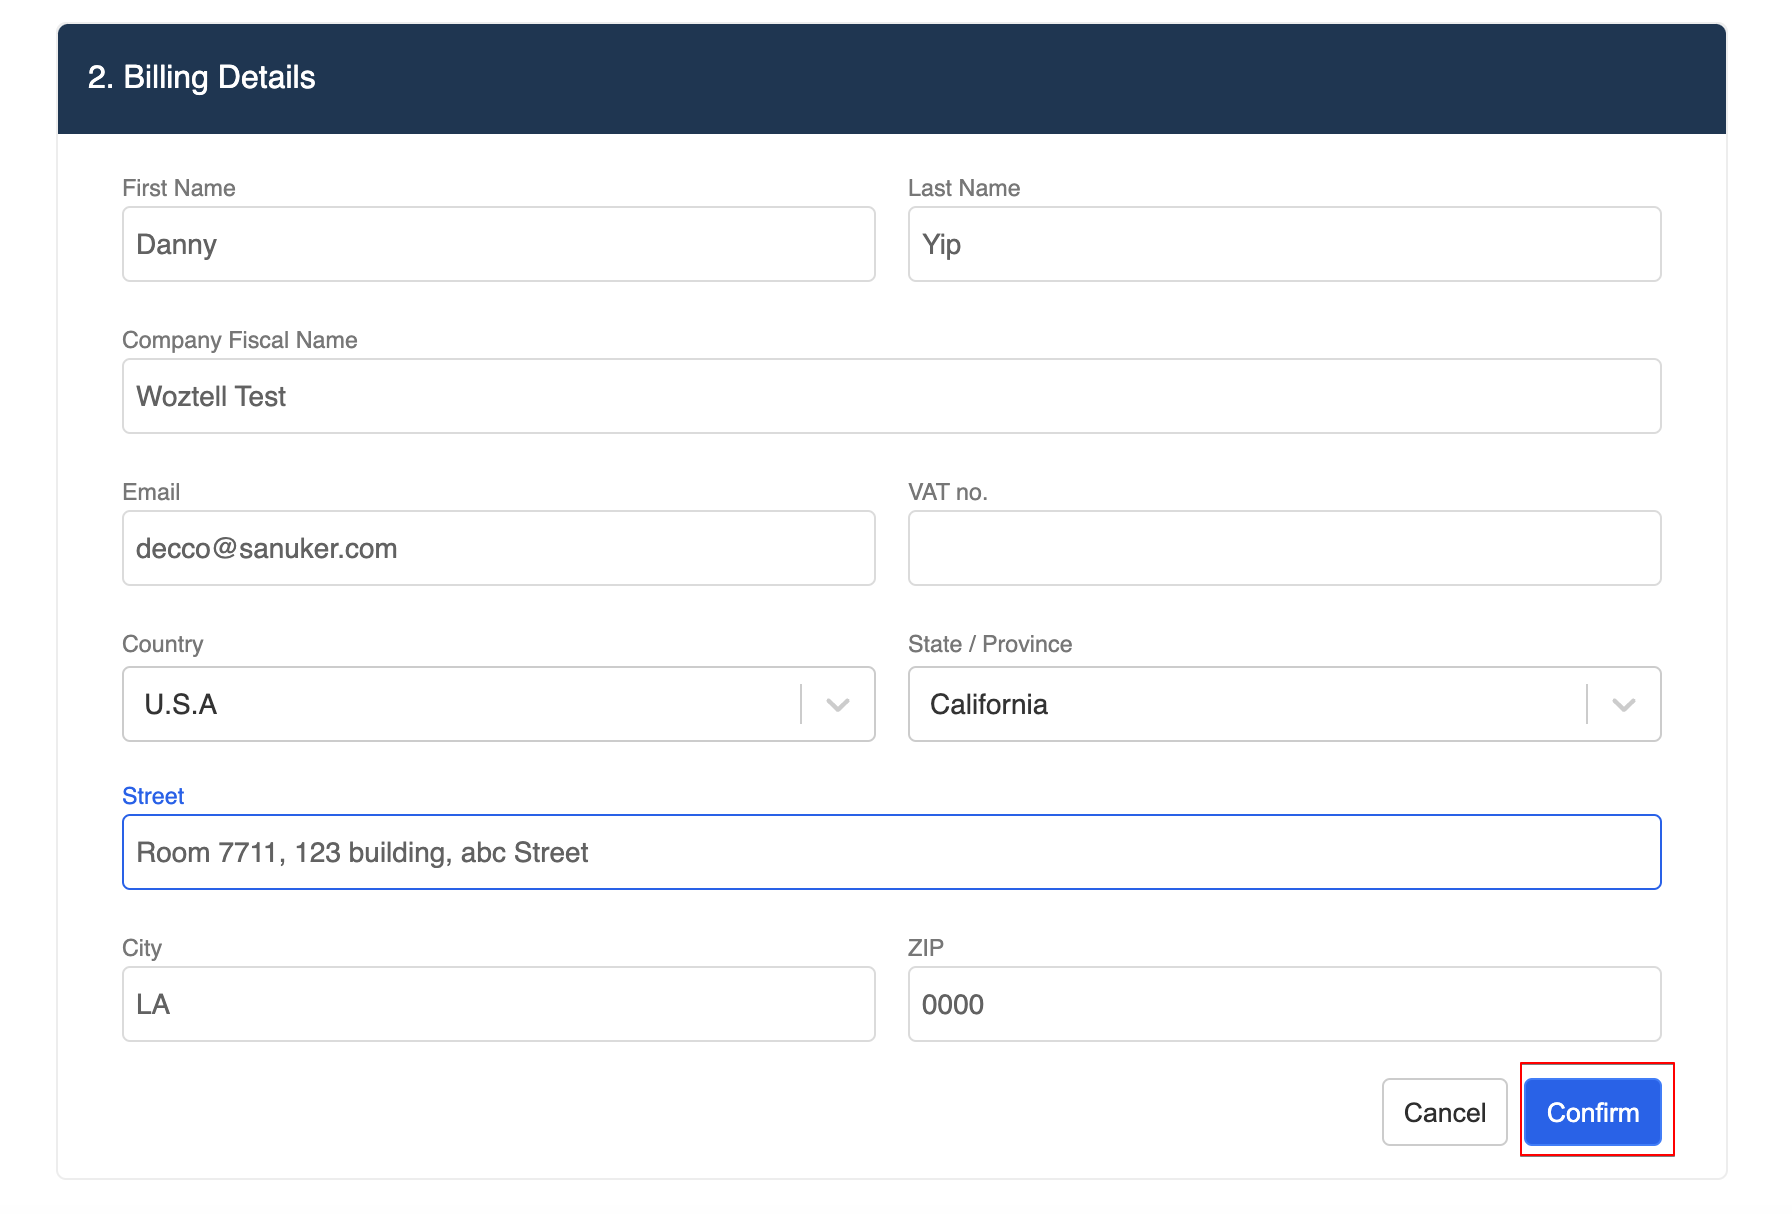
- Fill in and confirm the billing details.
- The details of the selected subscription plan will be displayed.
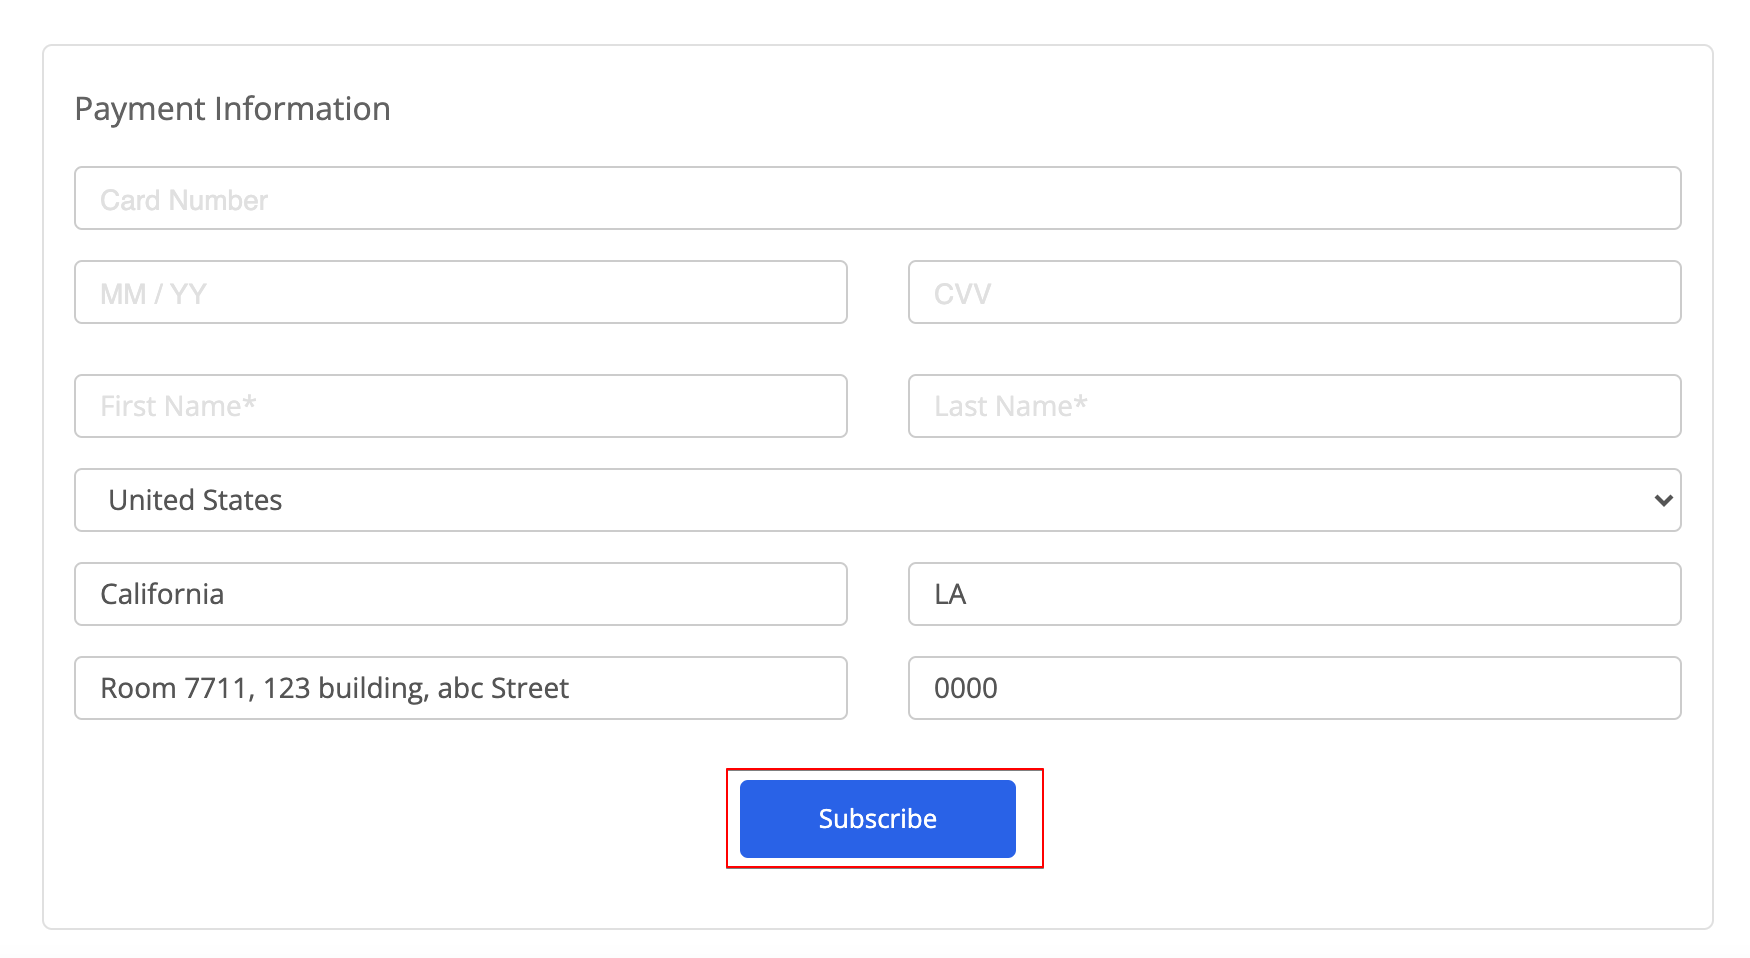
- Enter the payment information. Finally, click Subscribe to confirm.
