Create Product Message
WhatsApp Product Message allows businesses to showcase their products and services in WhatsApp.
Product Messages include two types:
- Multi-Product Message: Message containing a selection of up to 30 products from the inventory.
- Single Product Message: Message containing one product from the inventory. The product is displayed as a Product Detail Page.
By uploading the inventory to the business's Facebook Commerce Manager and connecting it to WABA, customers can start a conversation with the business, then browse the items and add them to a shopping cart without even leaving the chat.
tip
Please note that WhatsApp Product Message is only available in integration version v1.1.0 or above.
What is your result?
Connect Catalog to WABA
Upload Inventory to Commerce Manager
Before setting up the chatbot, the first step is to prepare a catalog in your Facebook Commerce Manager.
- In your Facebook Business Manager account, head to Commerce Manager under All Tools.
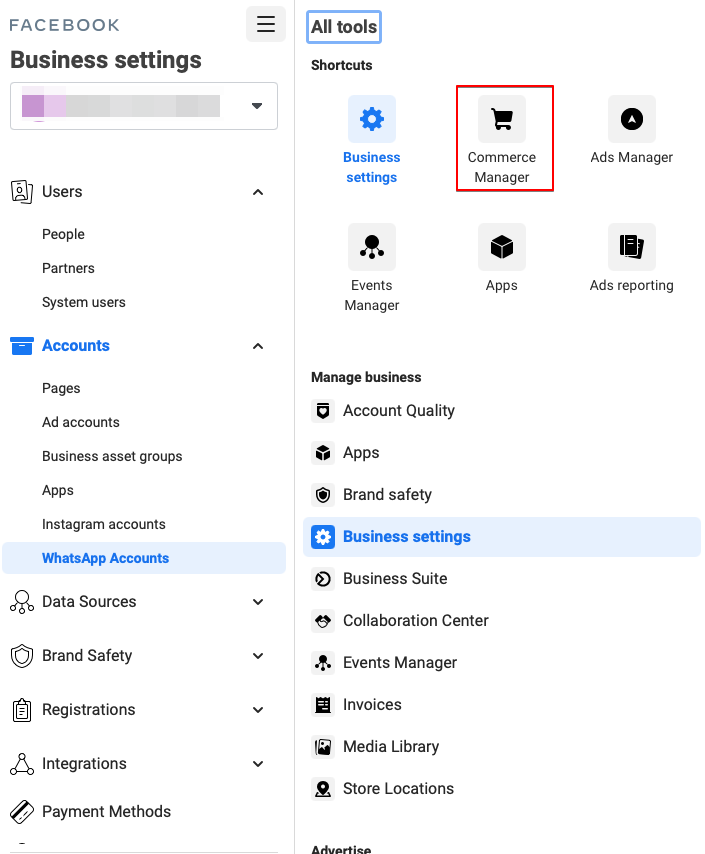
- Select Create a Catalog and then Get Started.
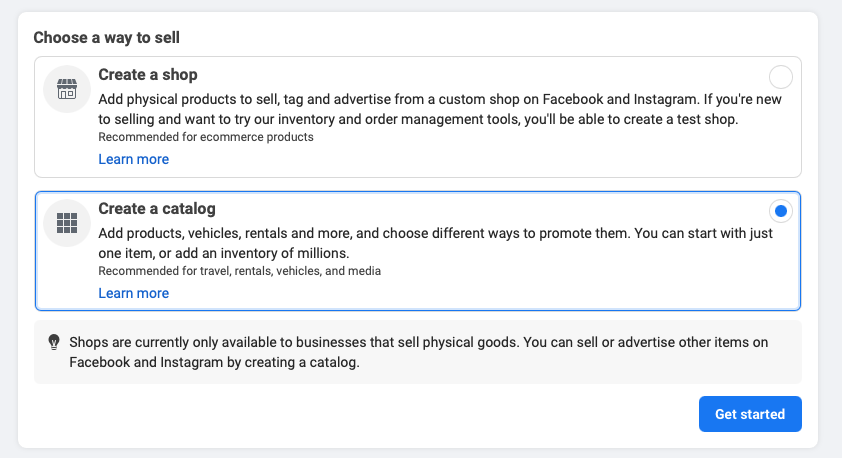
- Select a catalog type for your business.

- You can choose uploading the product info manually. After that, choose the catalog owner and name the catalog.
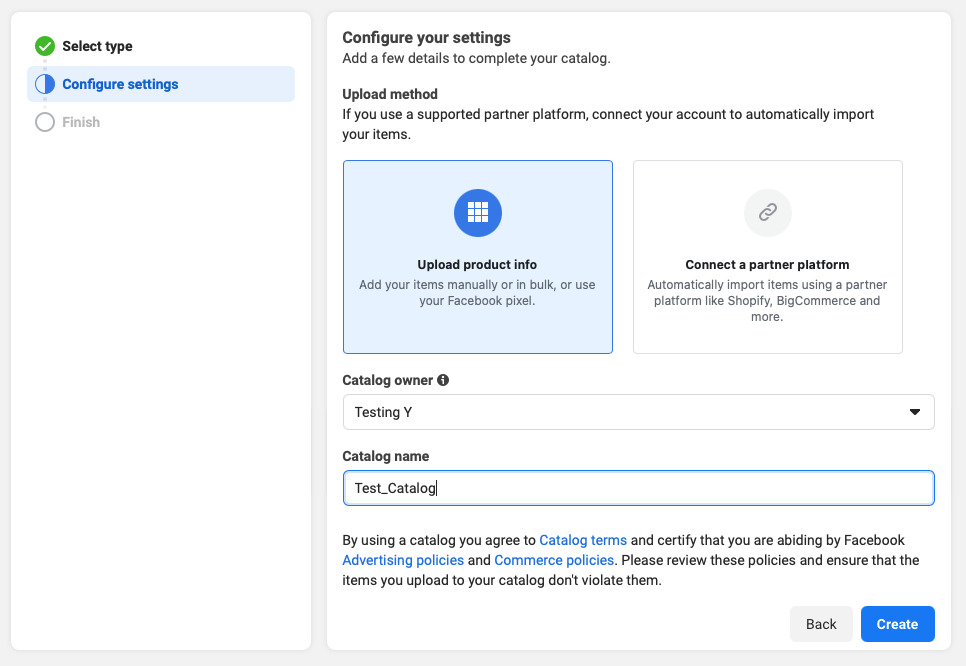
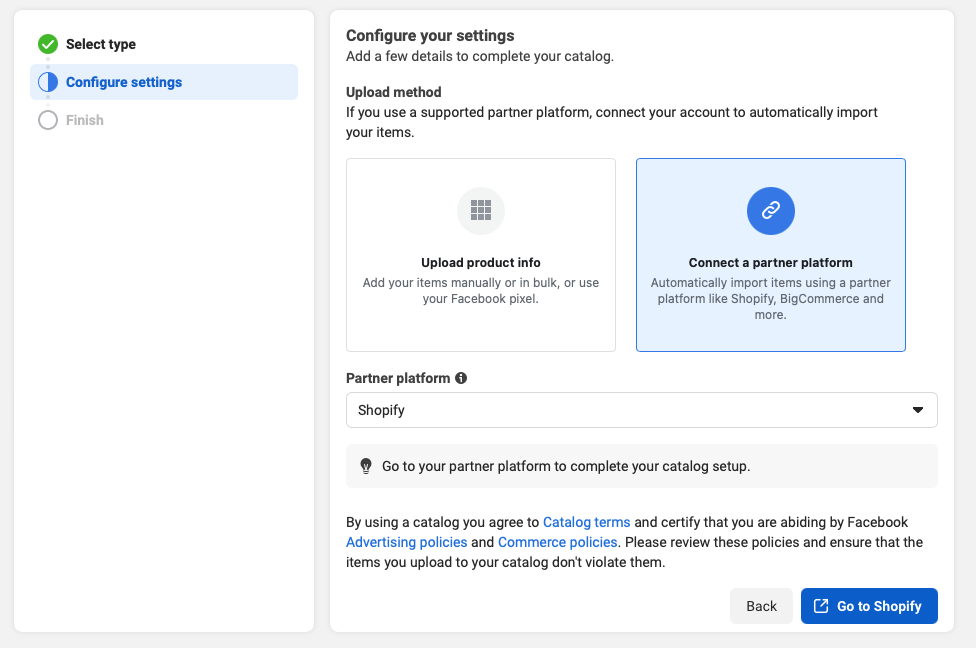
Besides, you can also connect to a partner platform in order to sync the products to your catalog.
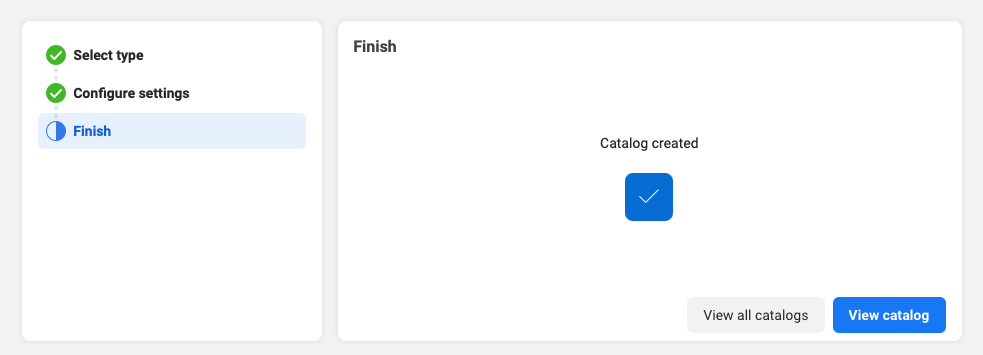
- You can view the catalog when it is created.
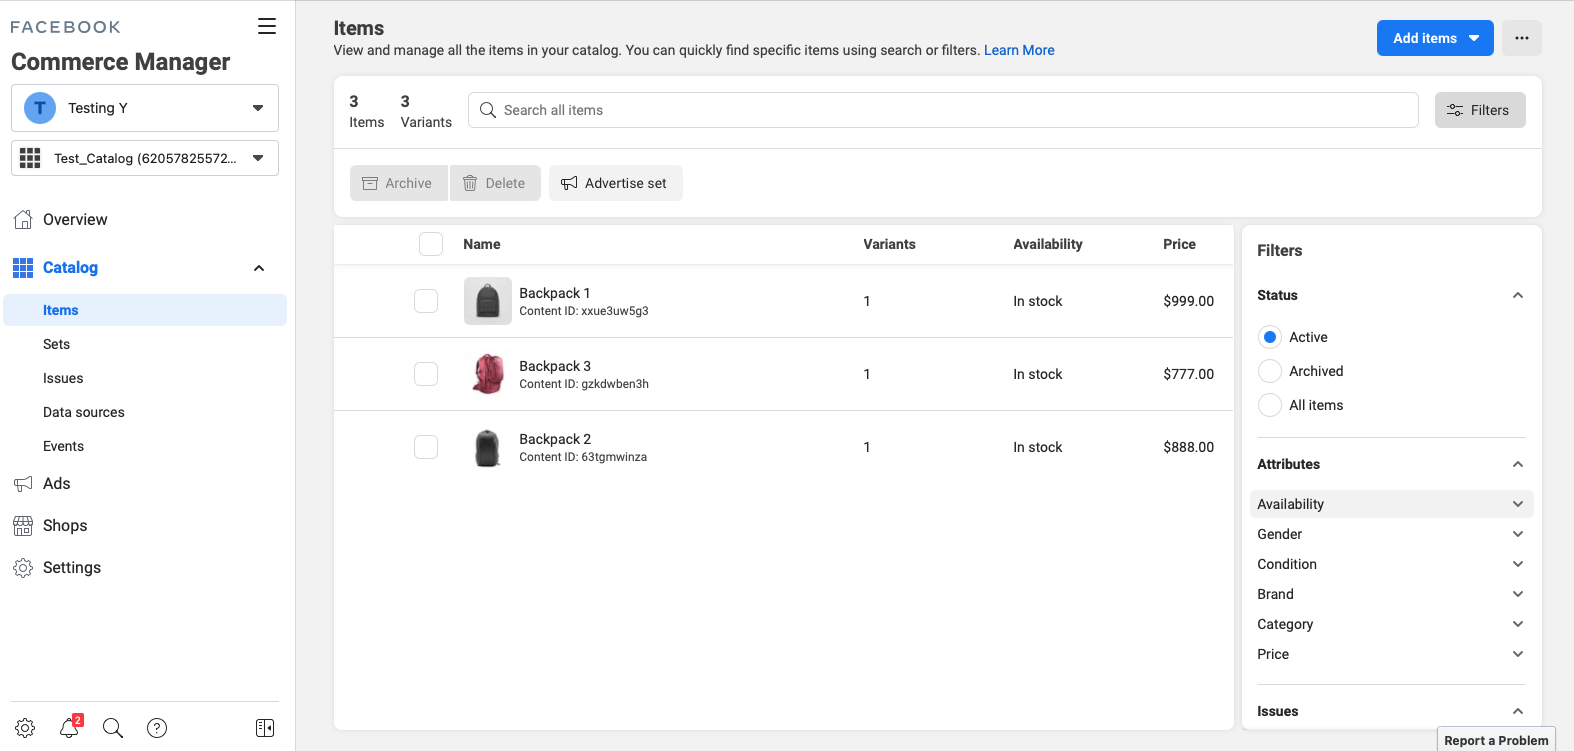
- In the catalog, head to Items, and select Add Items to start uploading the products. You can choose from different method.
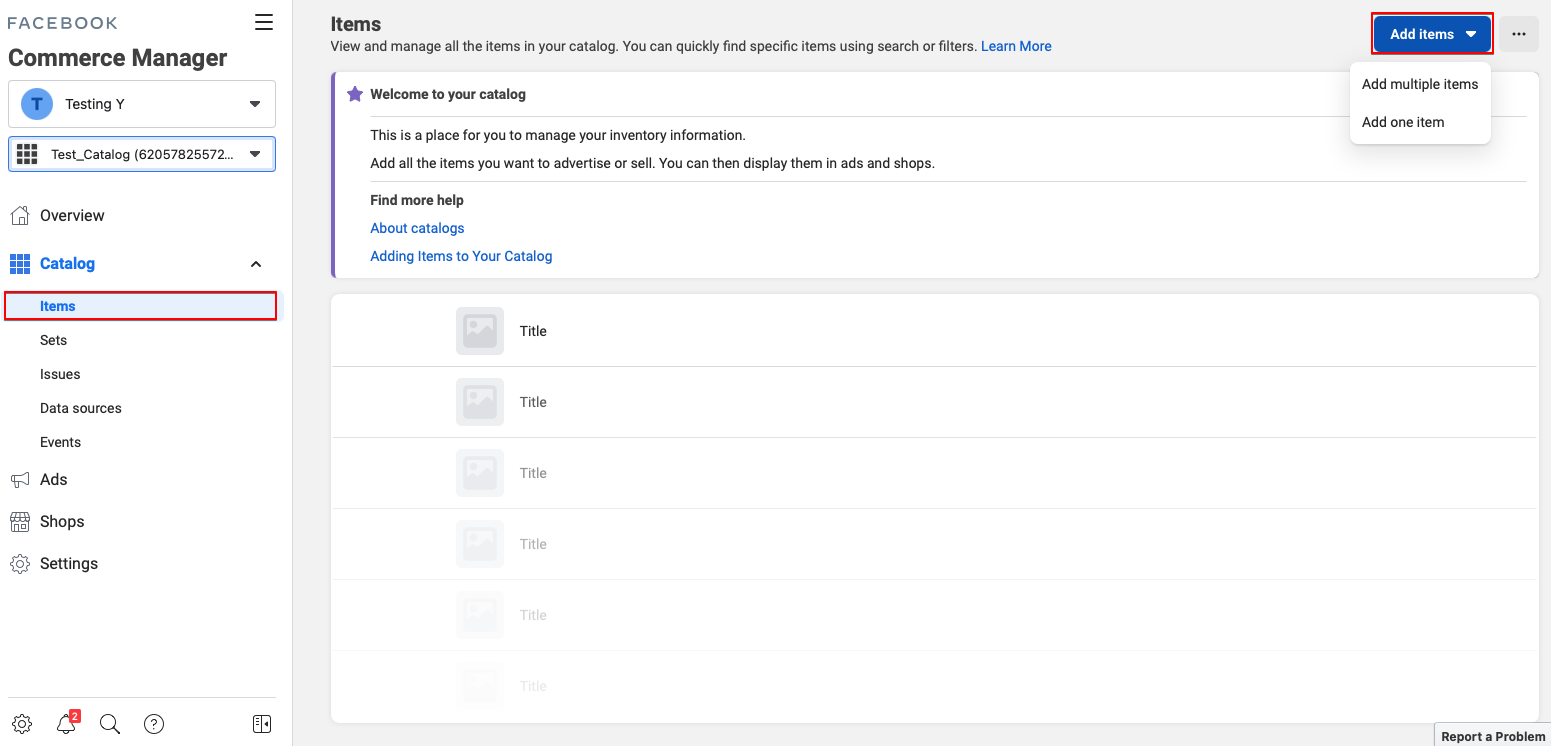
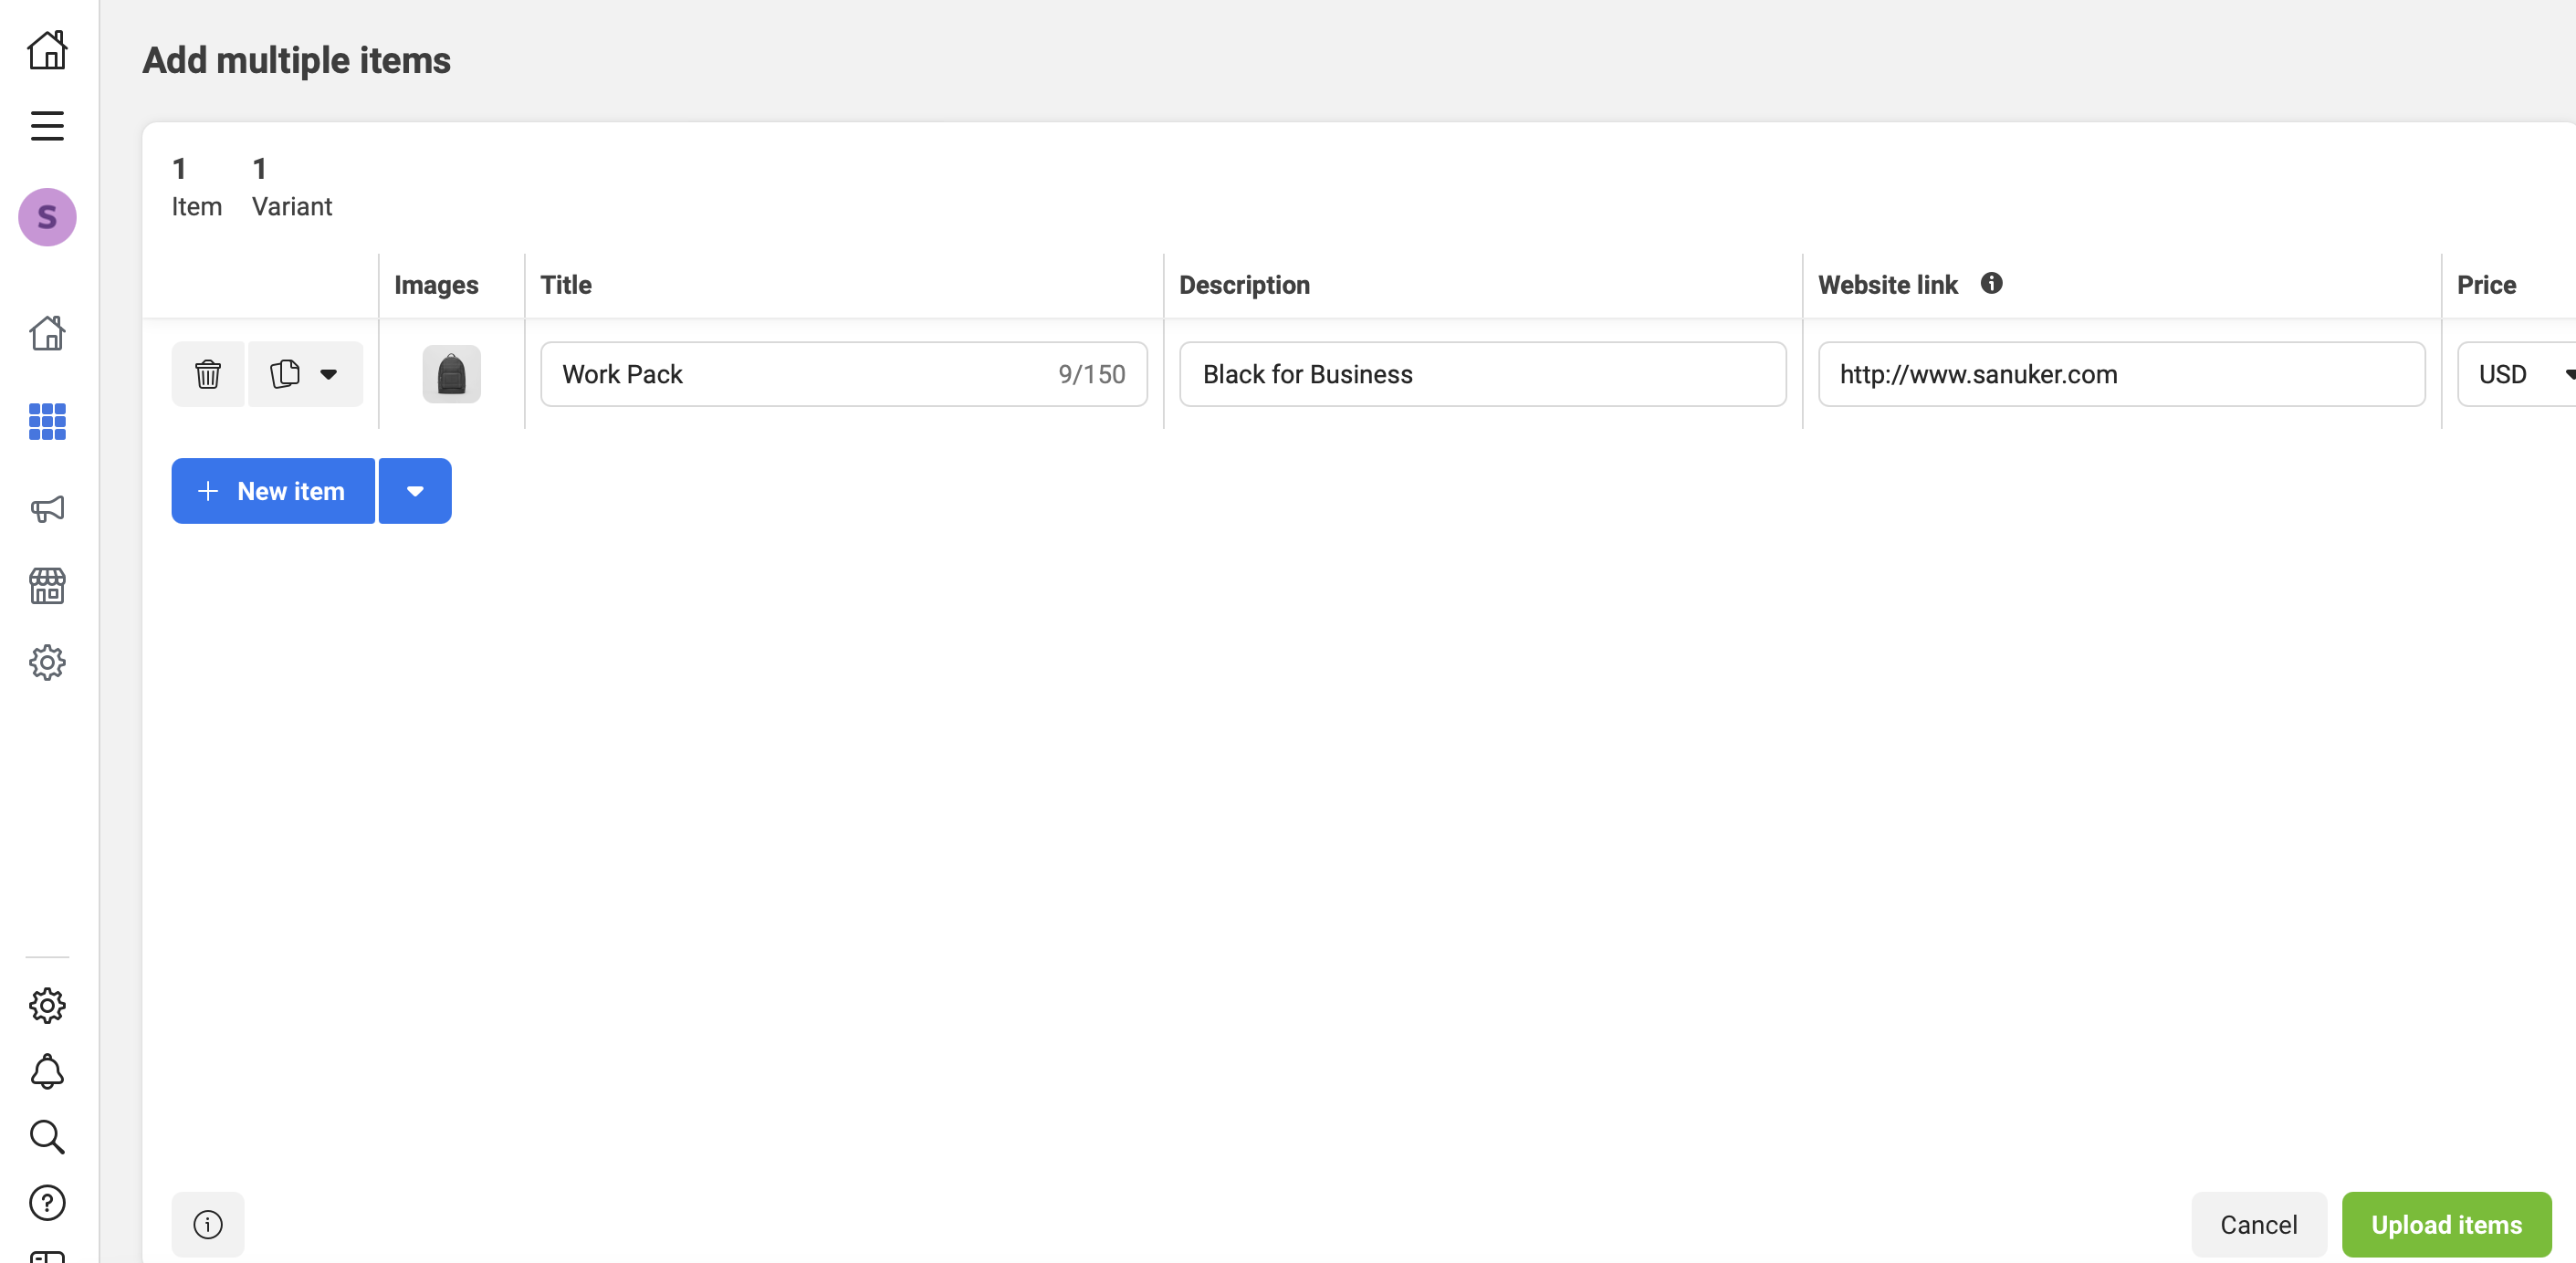
- You can manually upload the product to the catalog.
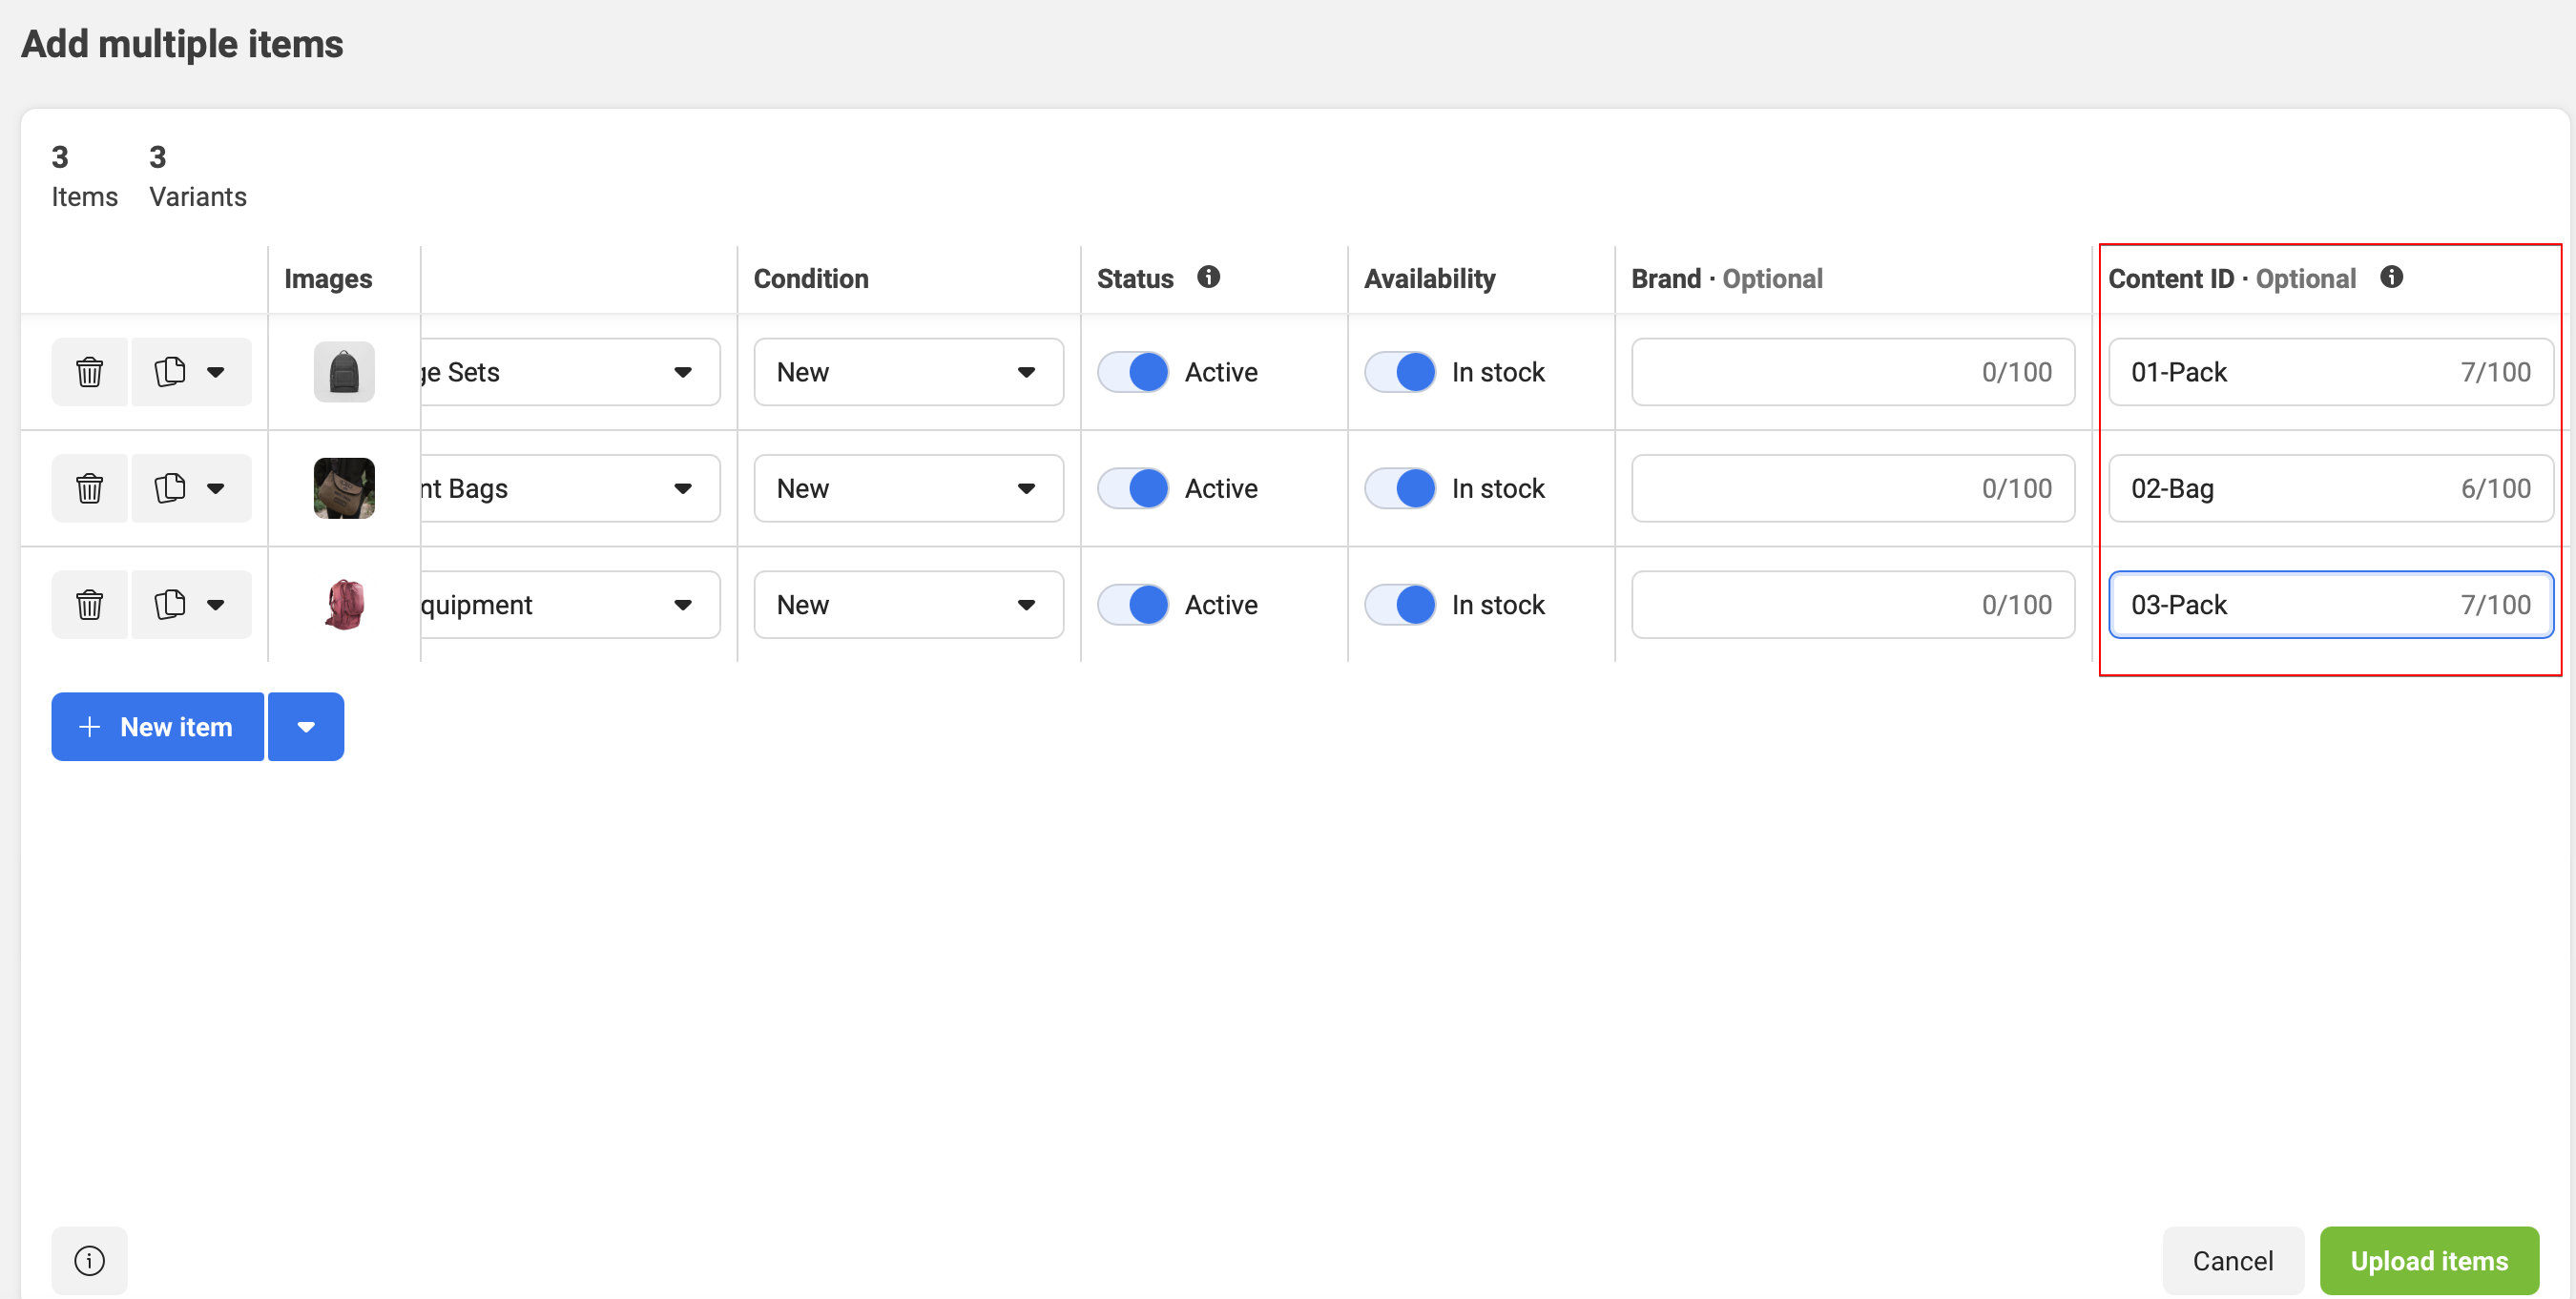
- For each product, remember to enter a Content ID for future use in the product message. This ID can be customized.
- Upon the completion of uploading products, you can view them in Items.
Connect the Catalog
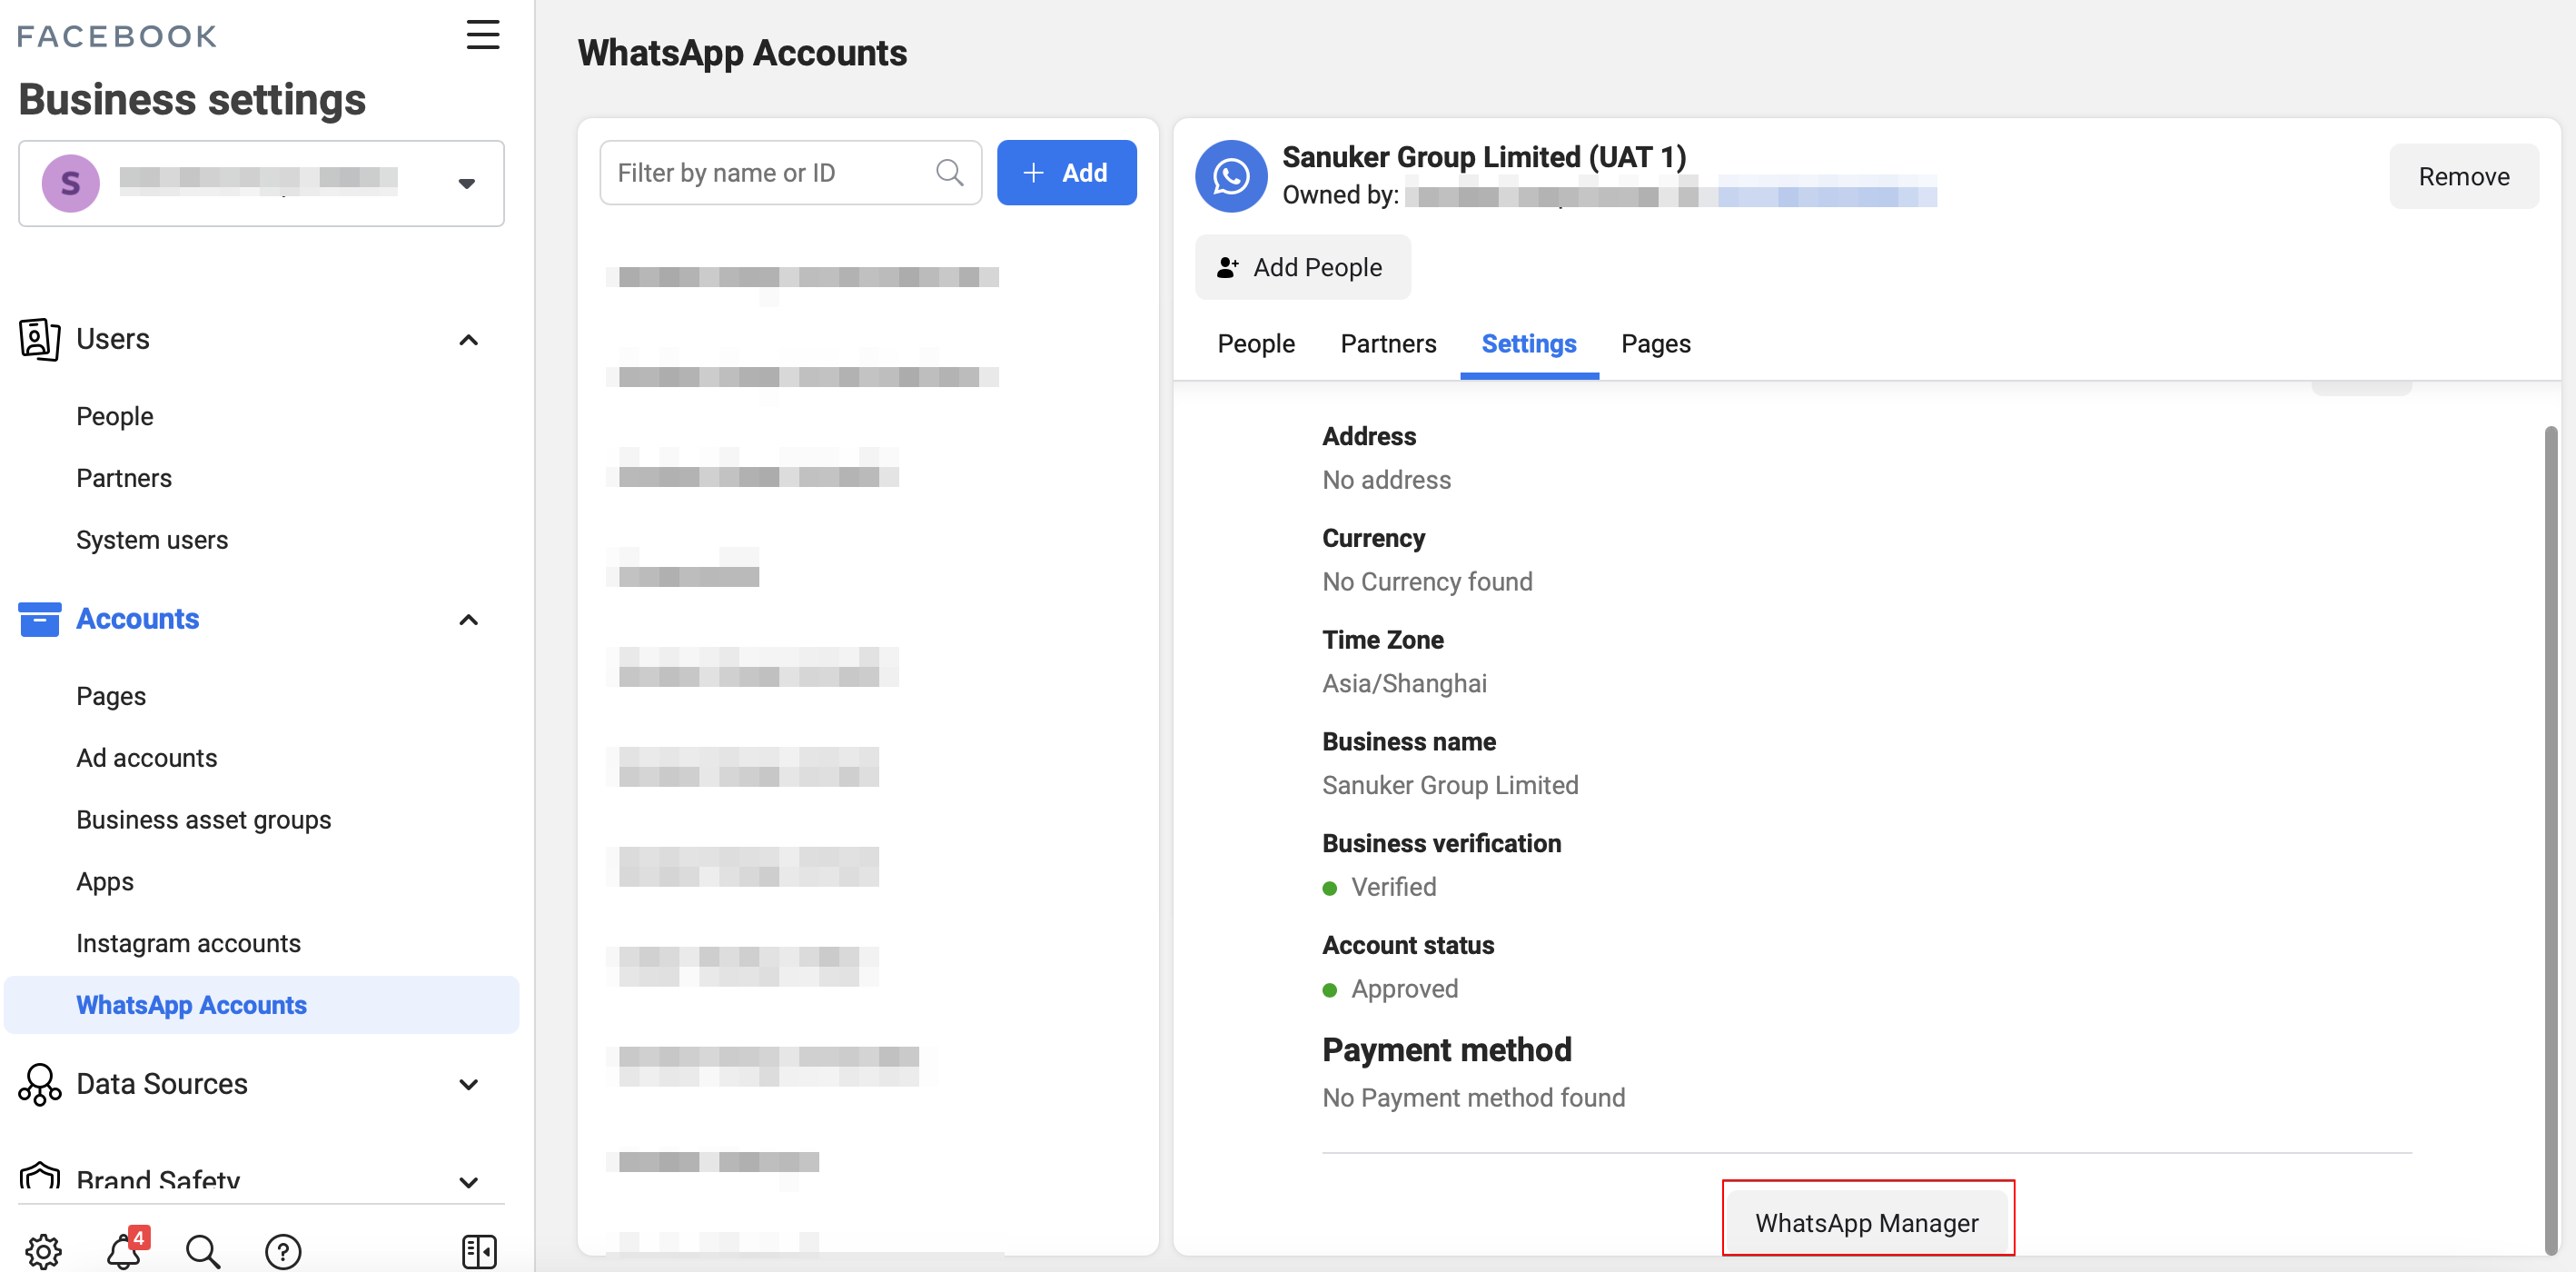
- Head back to WhatsApp Account in your Business Manager account, choose the WABA account and select WhatsApp Manager.
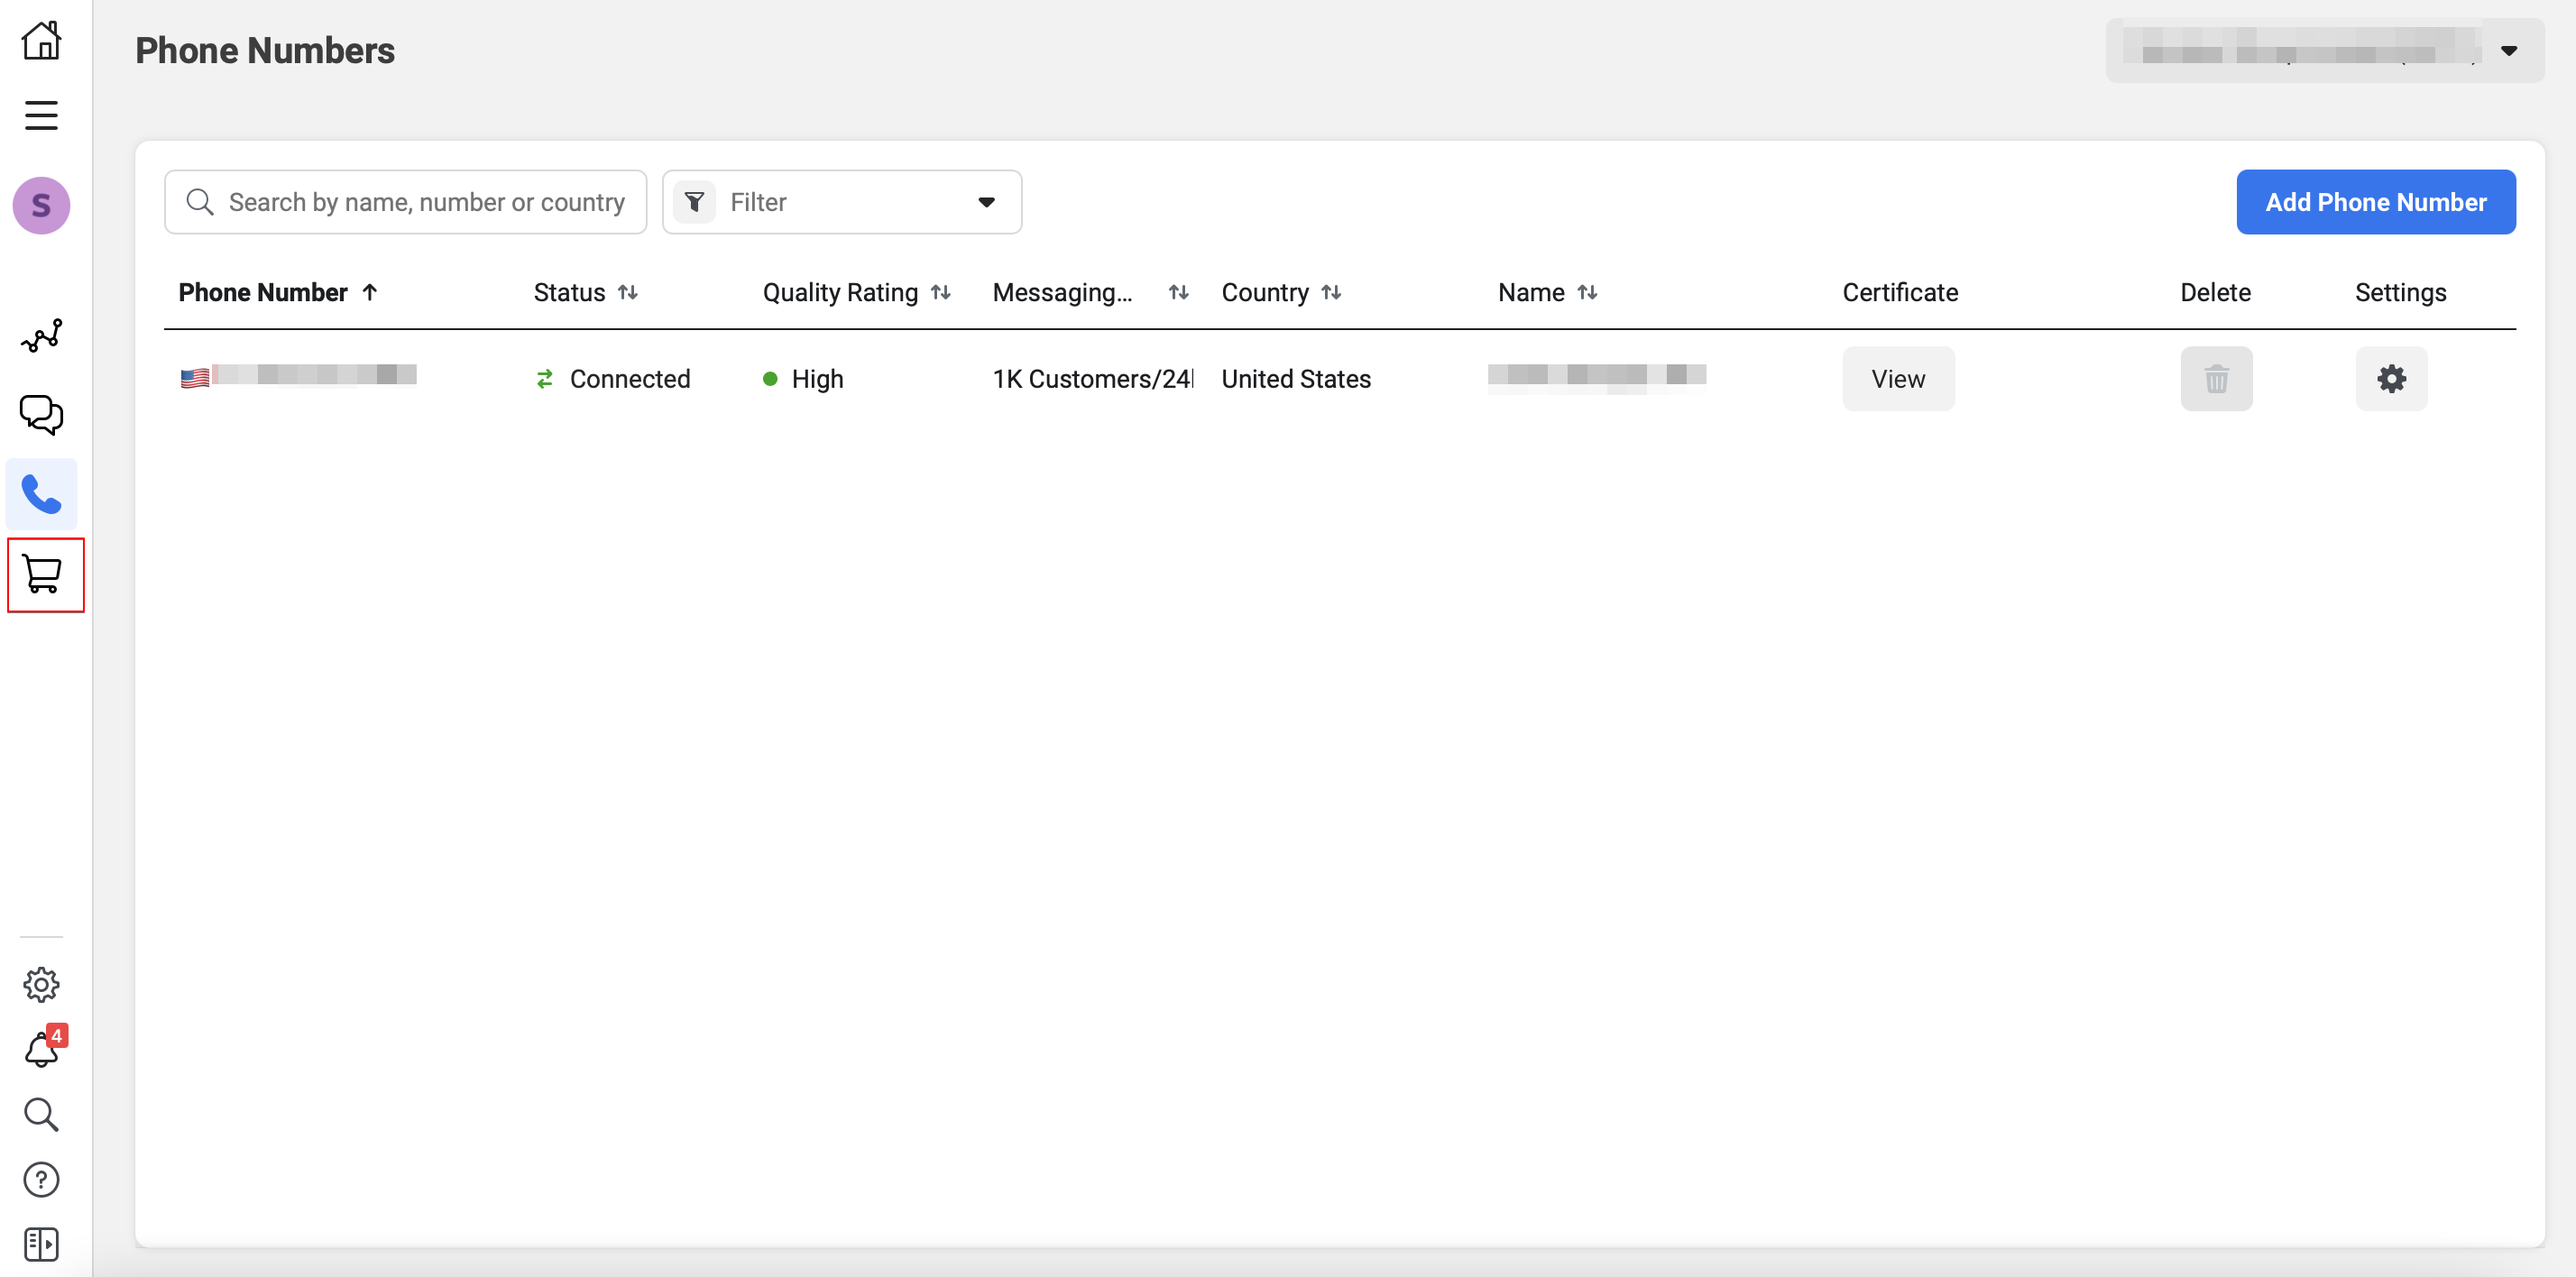
- Head to the Catelog page by clicking the shopping cart icon on the left.
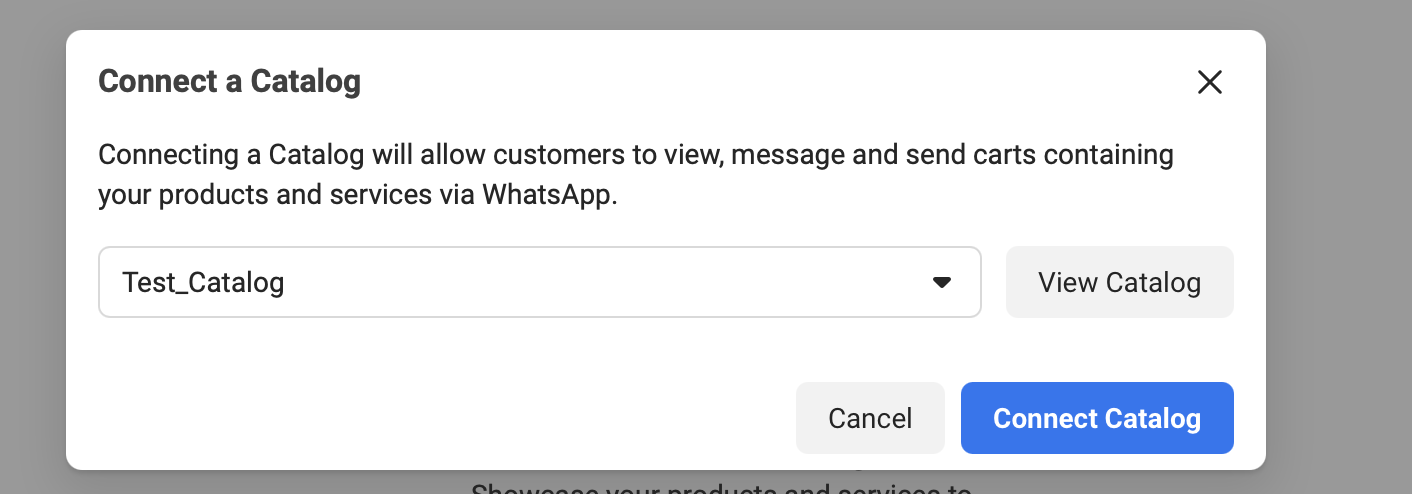
- Select Choose a Catalog.
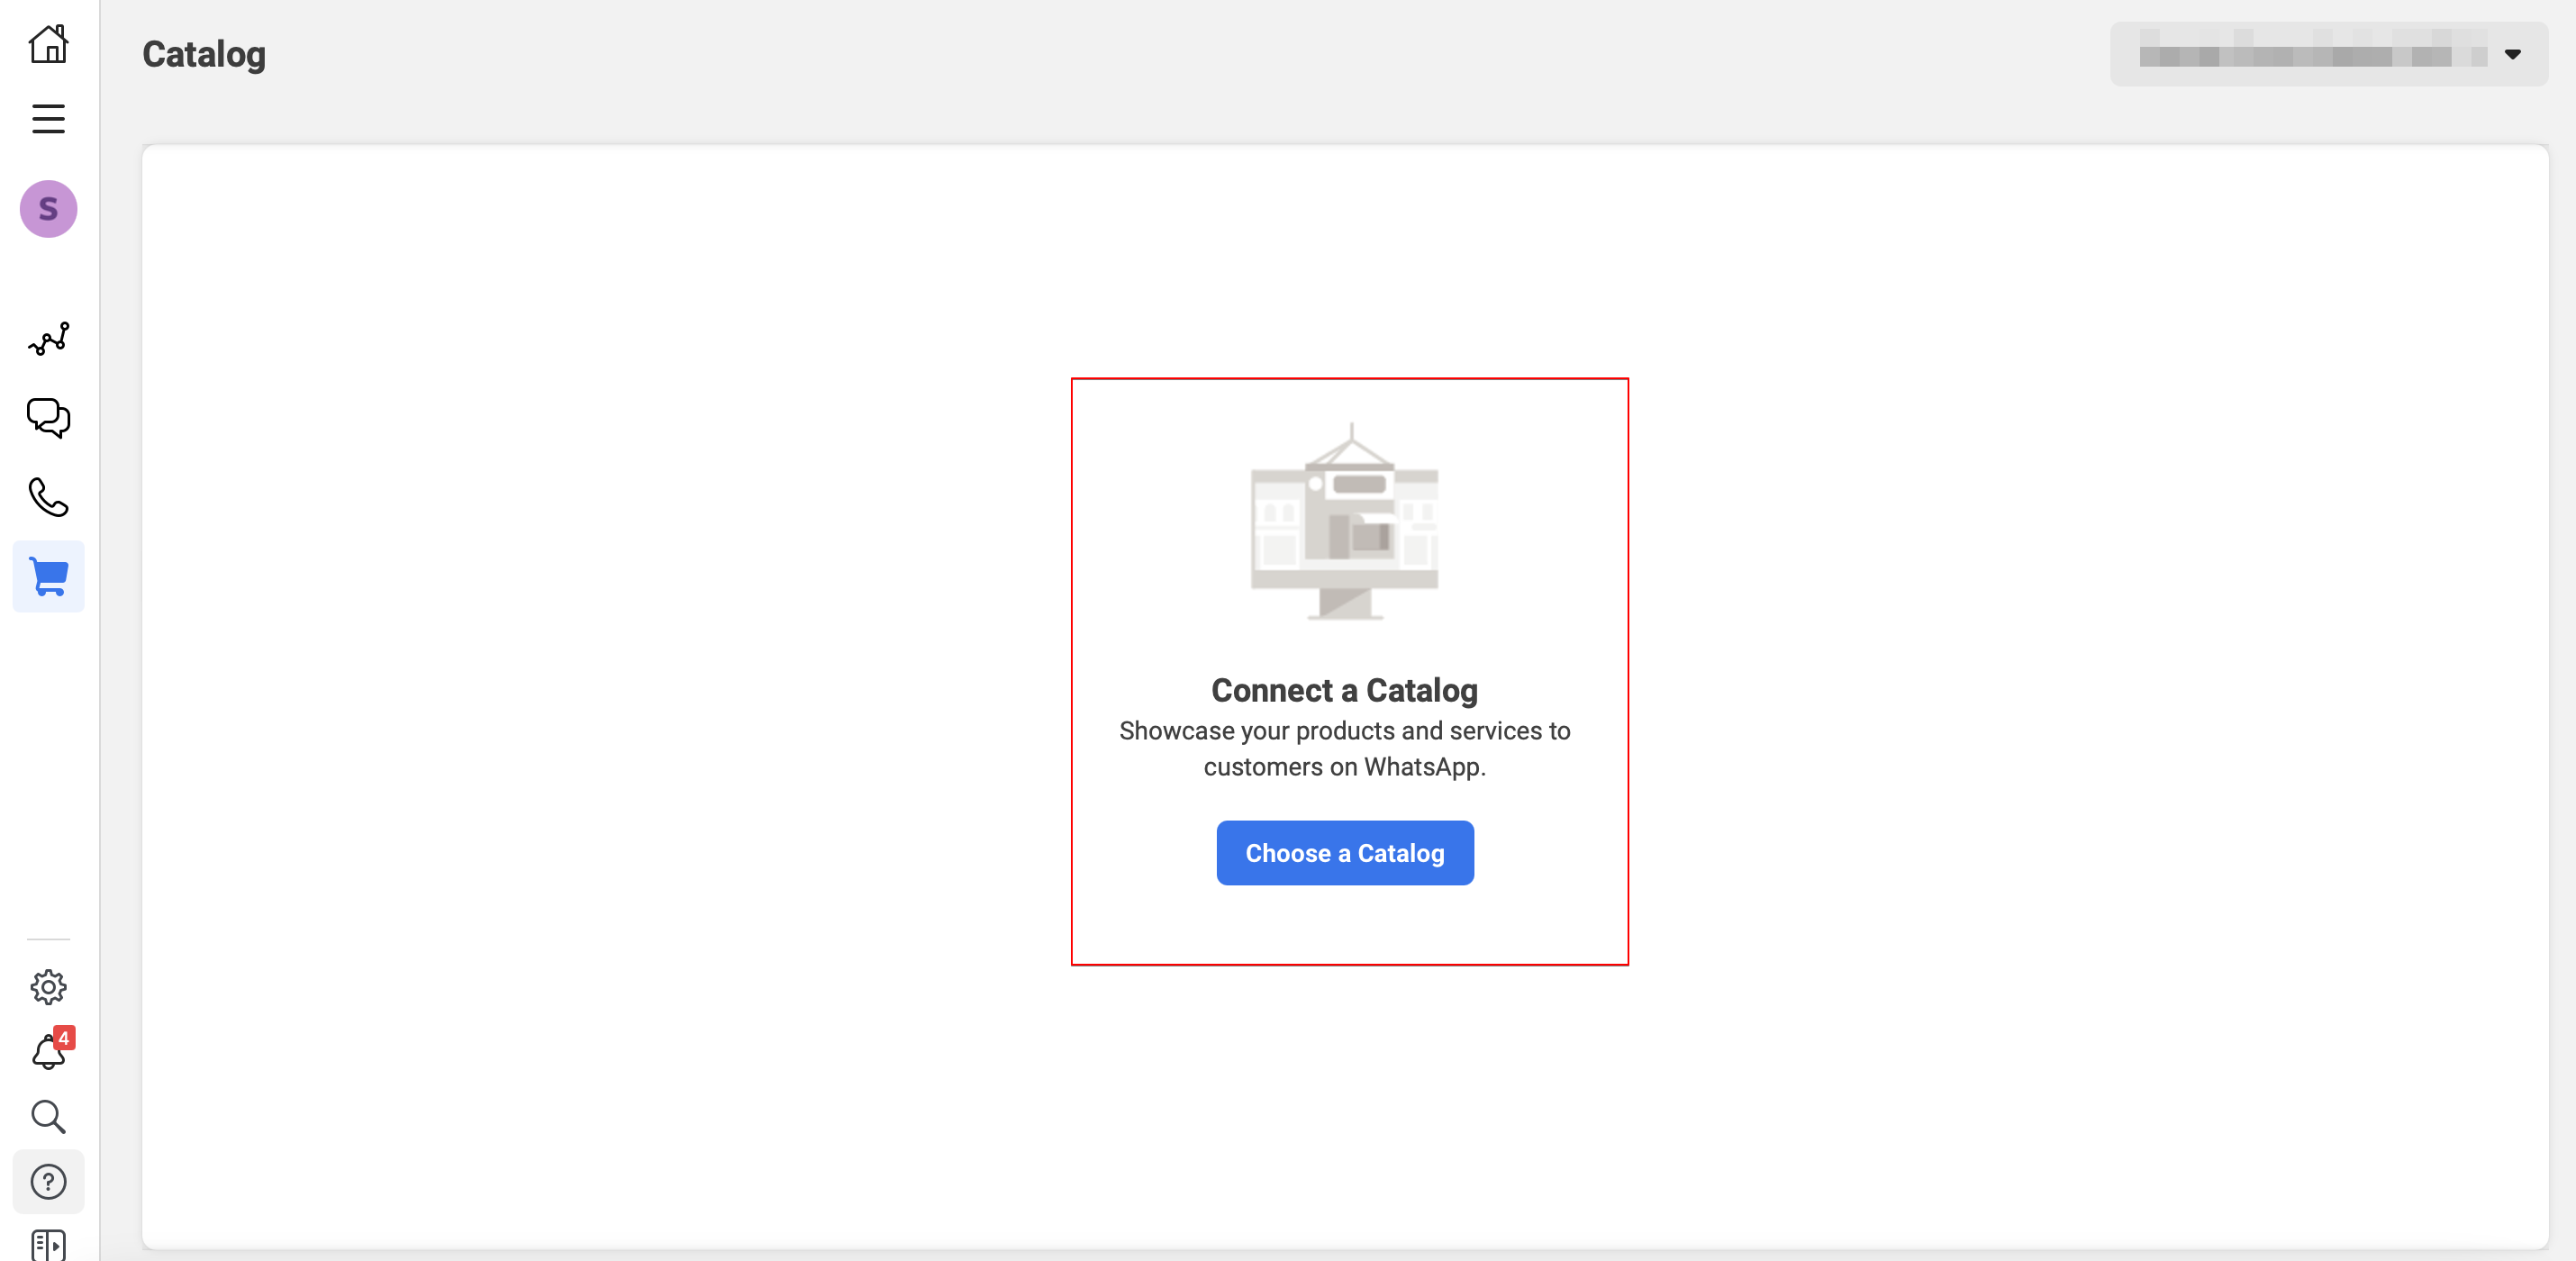
- Select the catalog you have created from the dropdown list. You can only choose from the catalog created in the same Business Manager account.
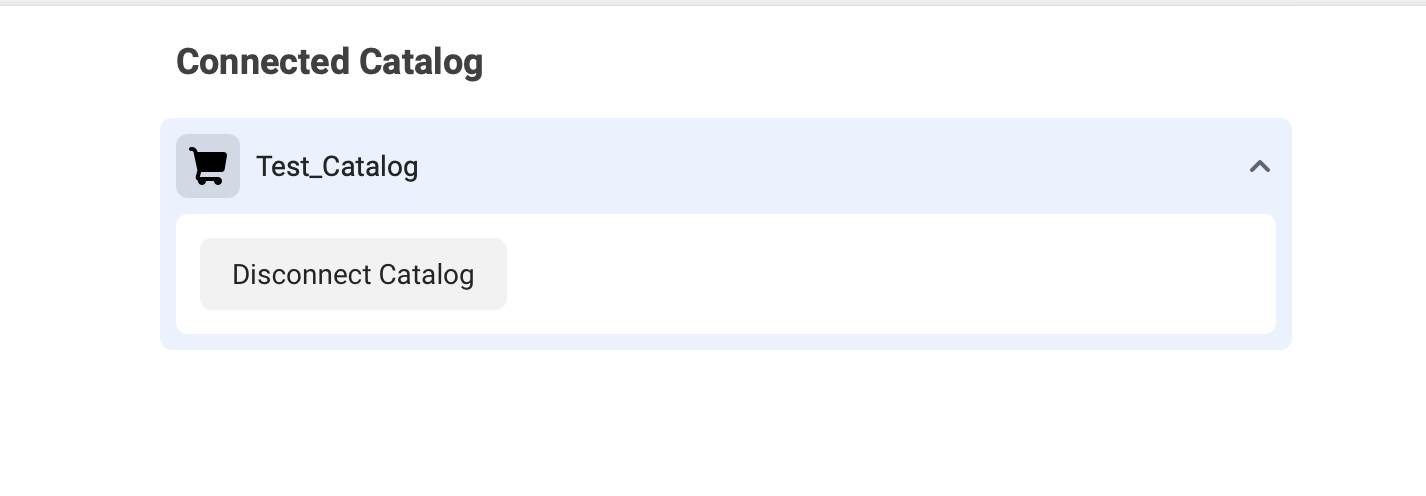
- The catalog is now connected to your WABA account.
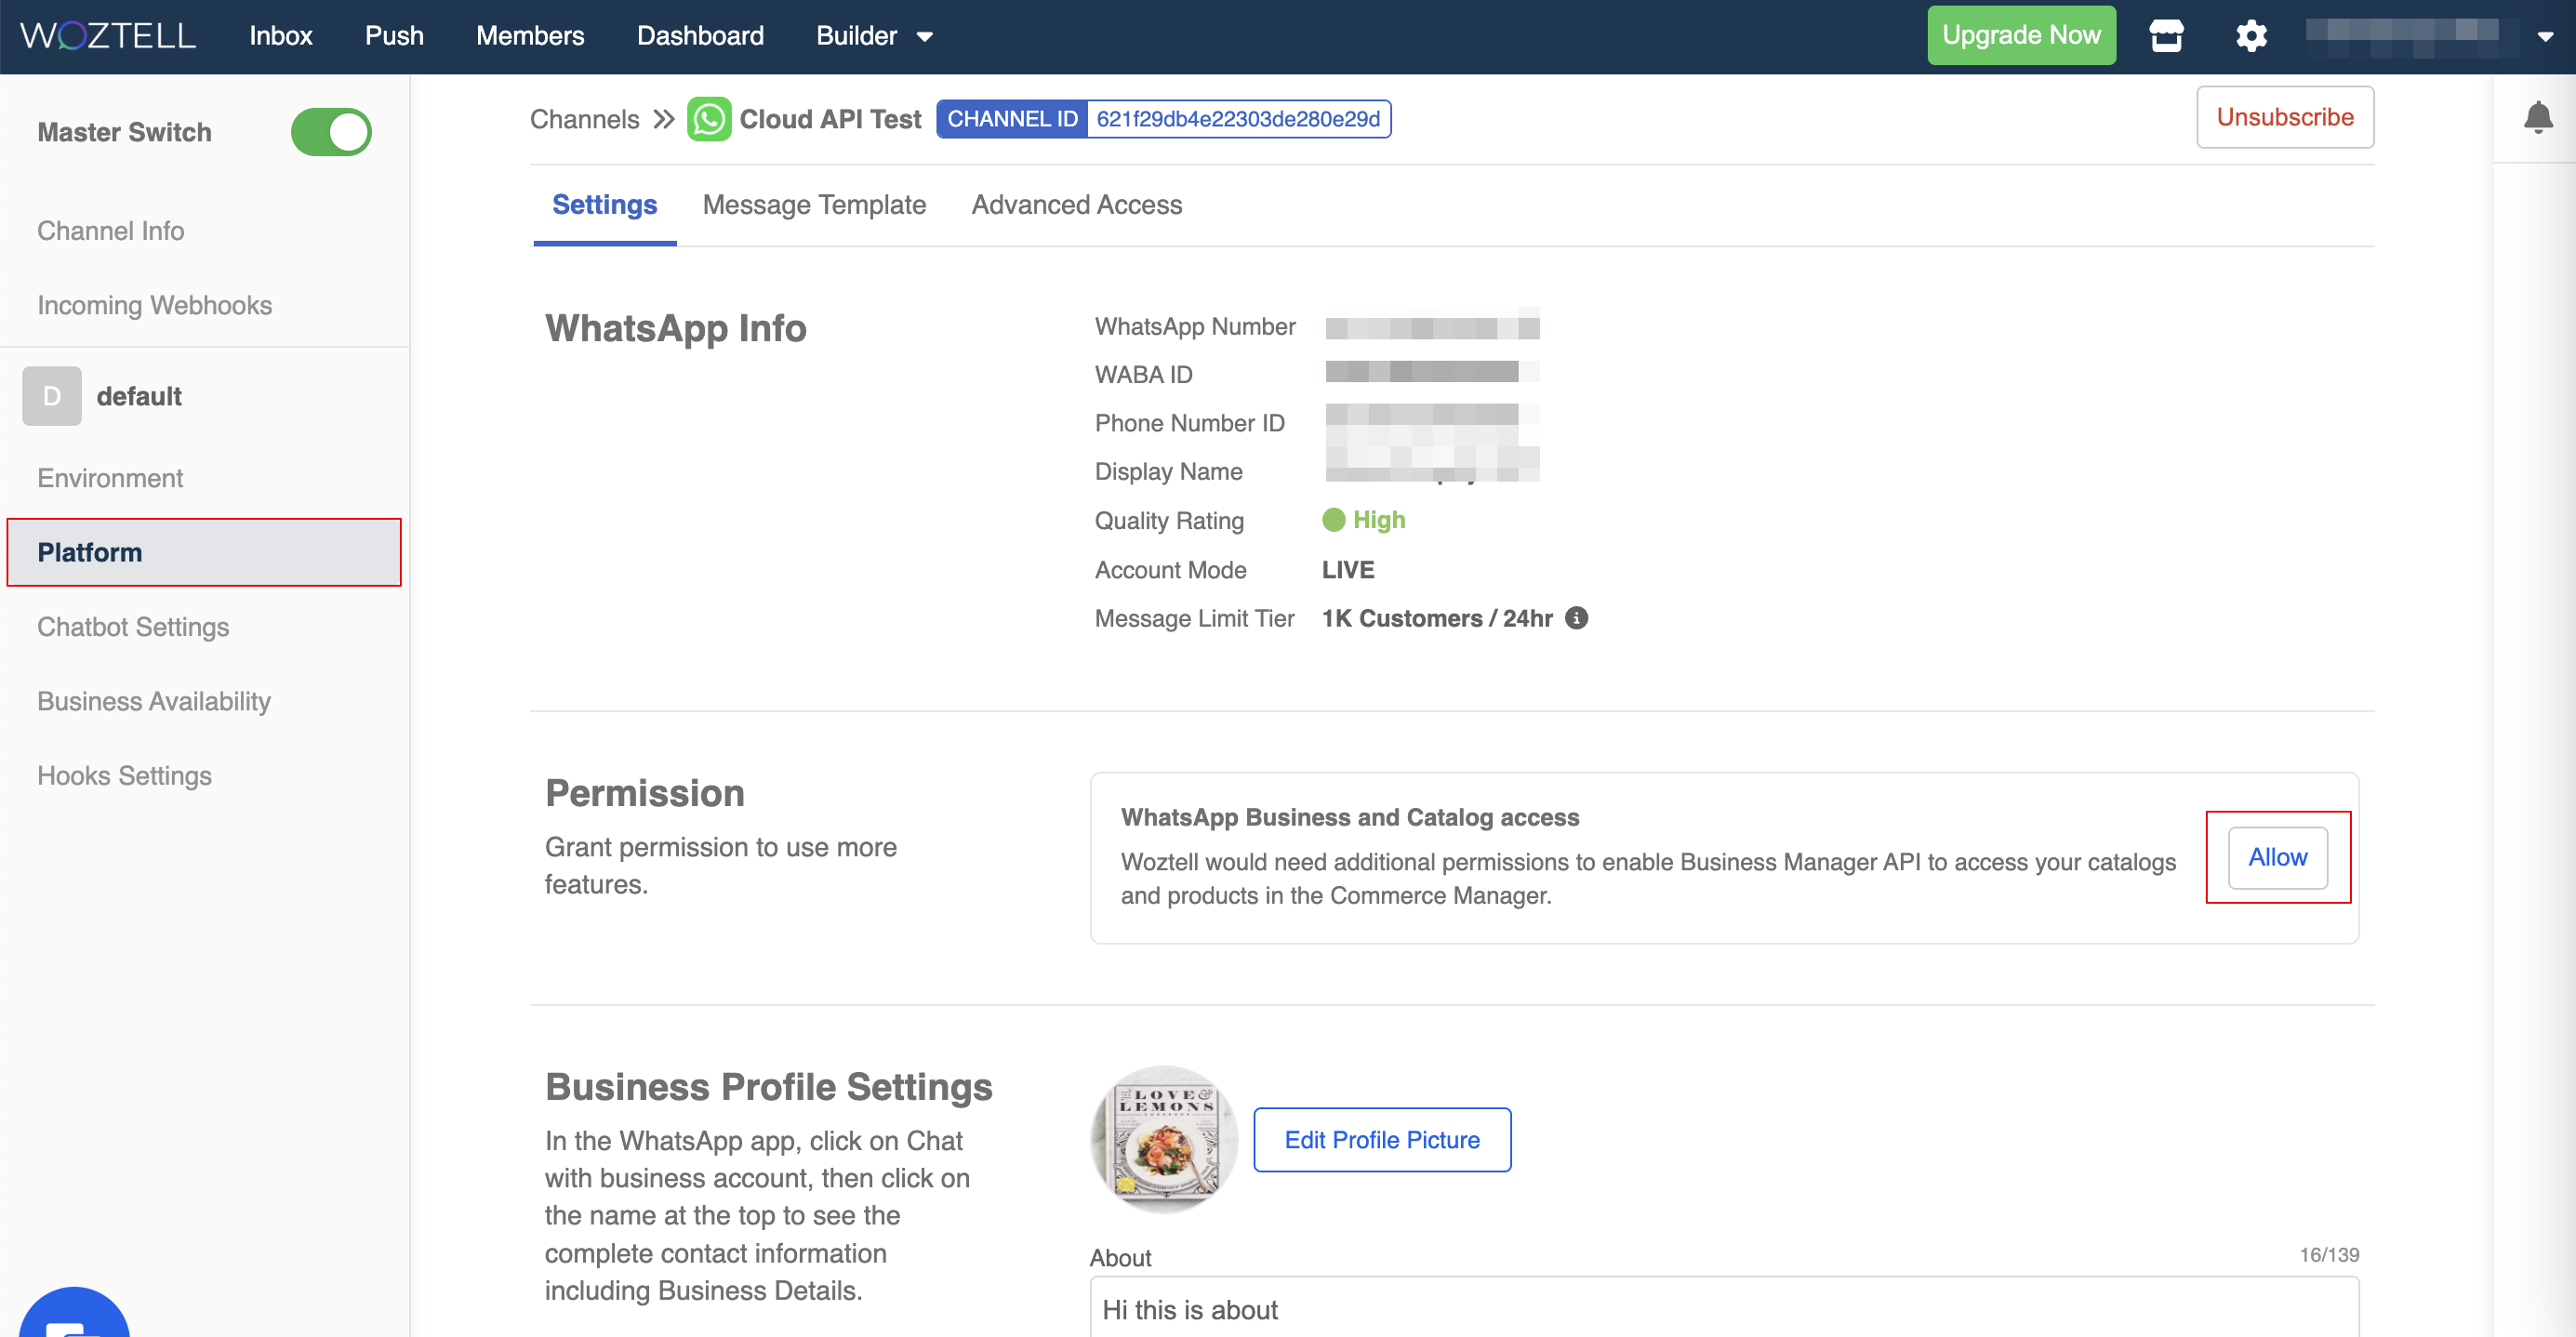
Catalog and Commerce Manager Permissions
- Back in WOZTELL, head to the WhatsApp channel and find the Permission section. Click on "Allow" to grant the platform the permissions to access to your catalog and commerce manager.
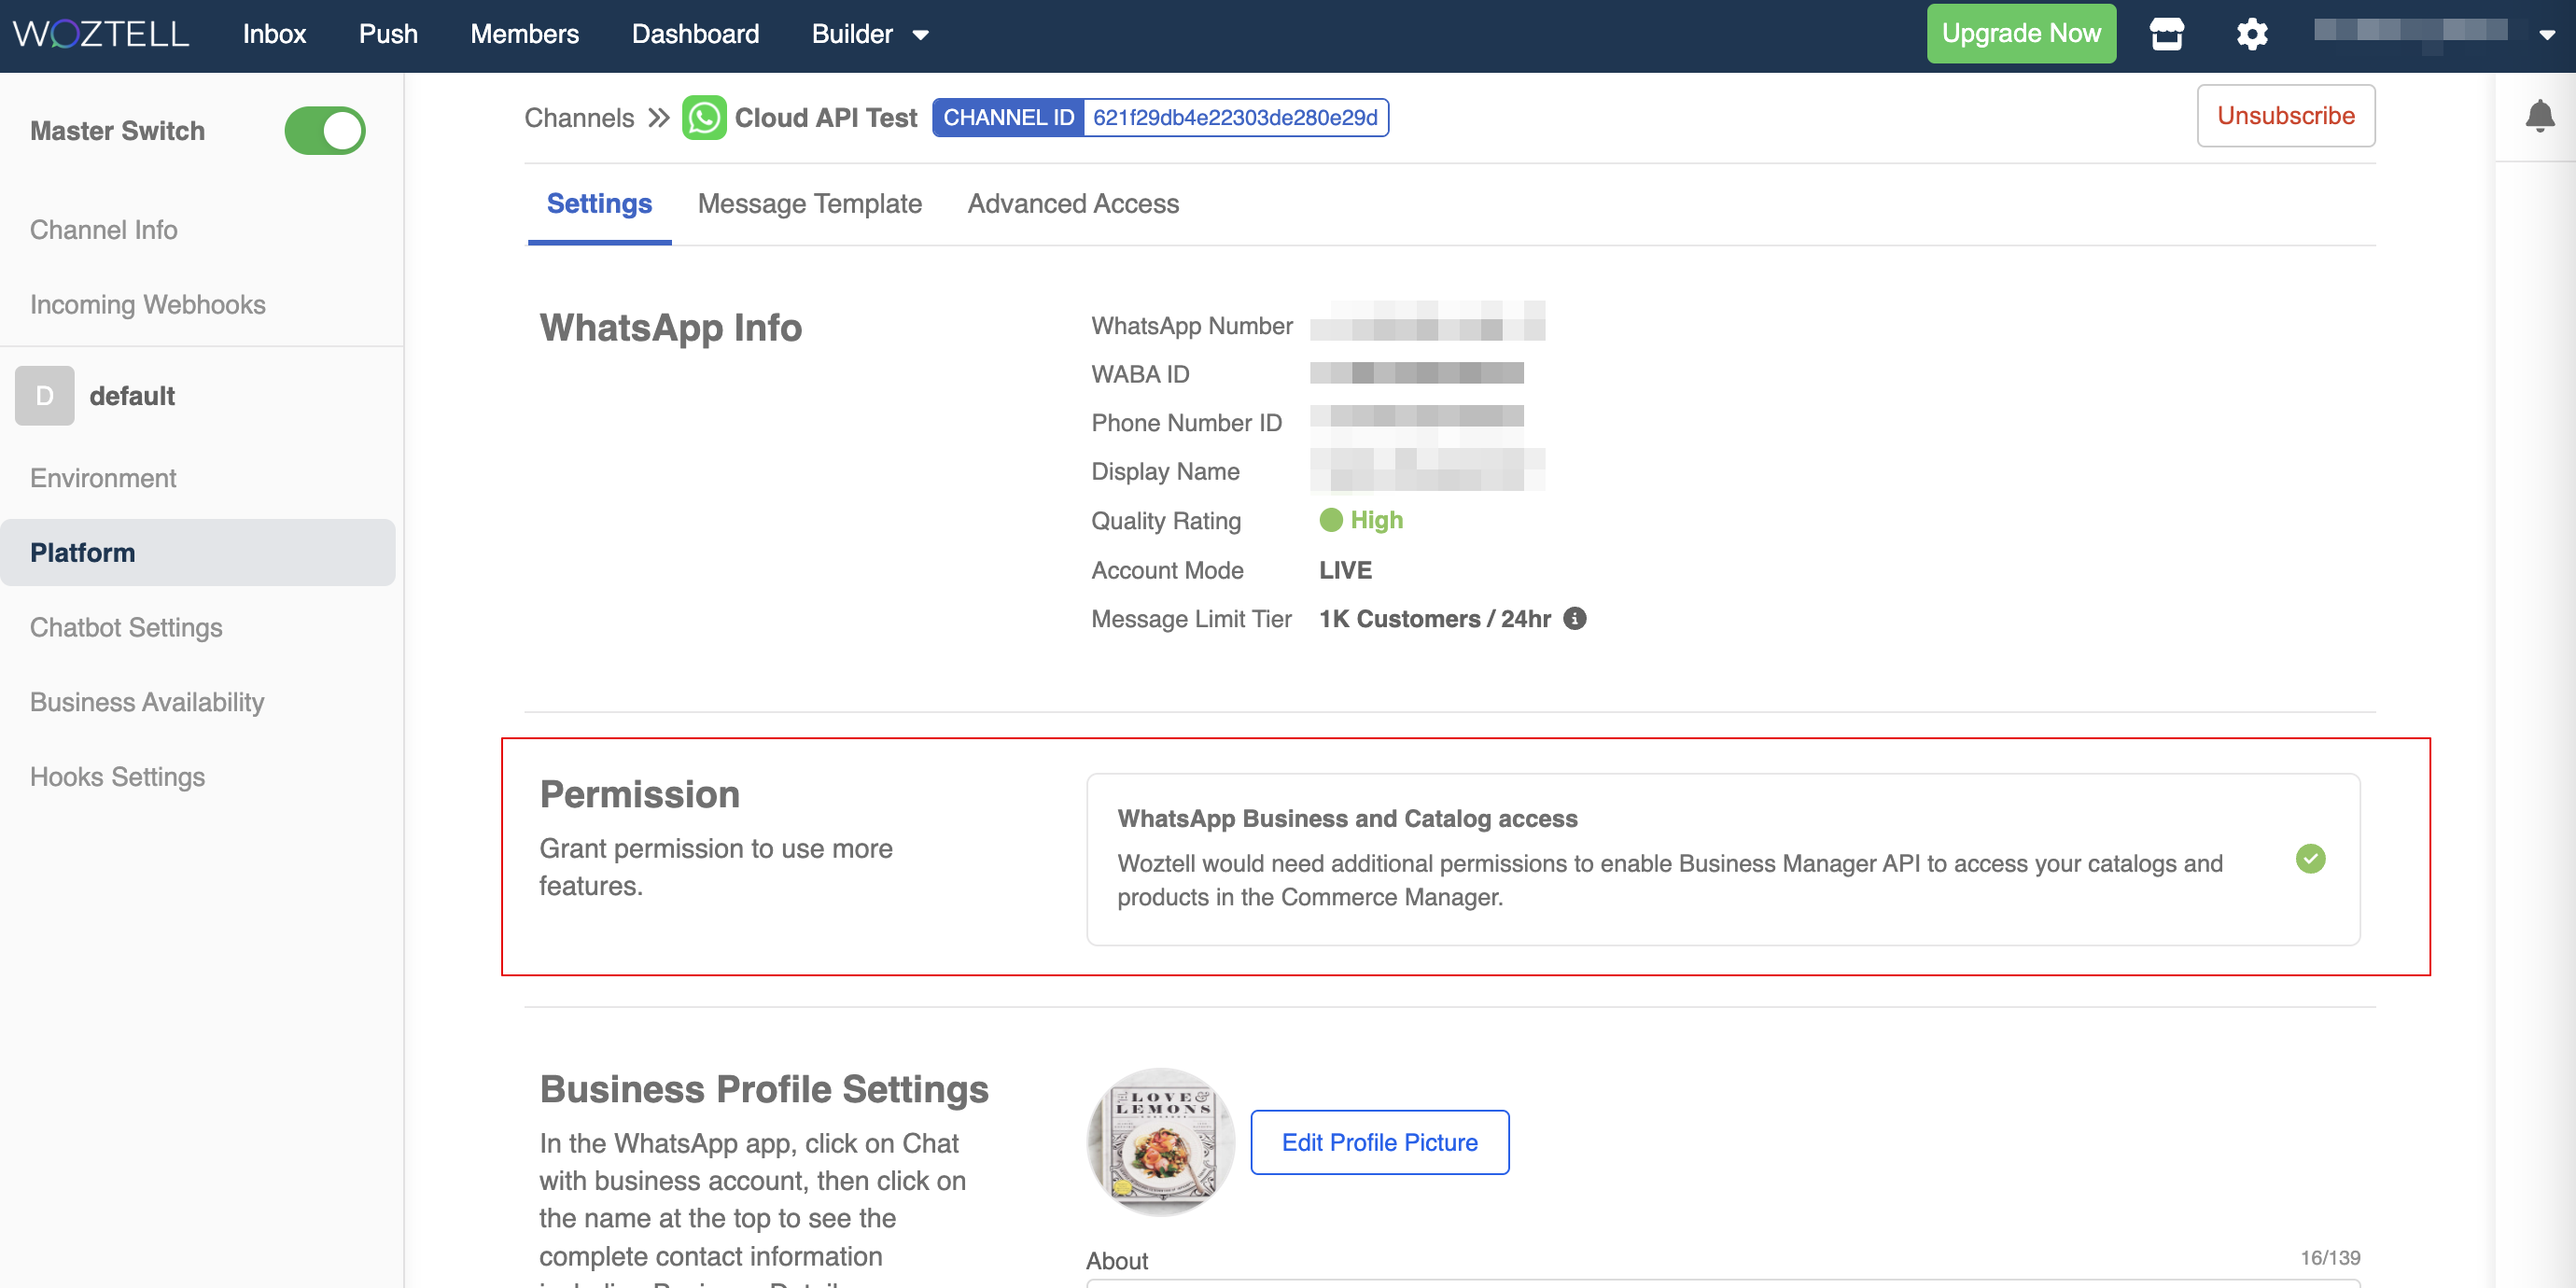
- After completing the procedures in the Facebook pop-up window, a green tick will be displayed.
NOTE
Without these permissions, you will not be able to select the Catalog and Products in the product resource template.
Sample Chatbot Structure
Multi-Product Message
In this section, you will learn how to build an sample chatbot for the Product Message in WhatsApp.
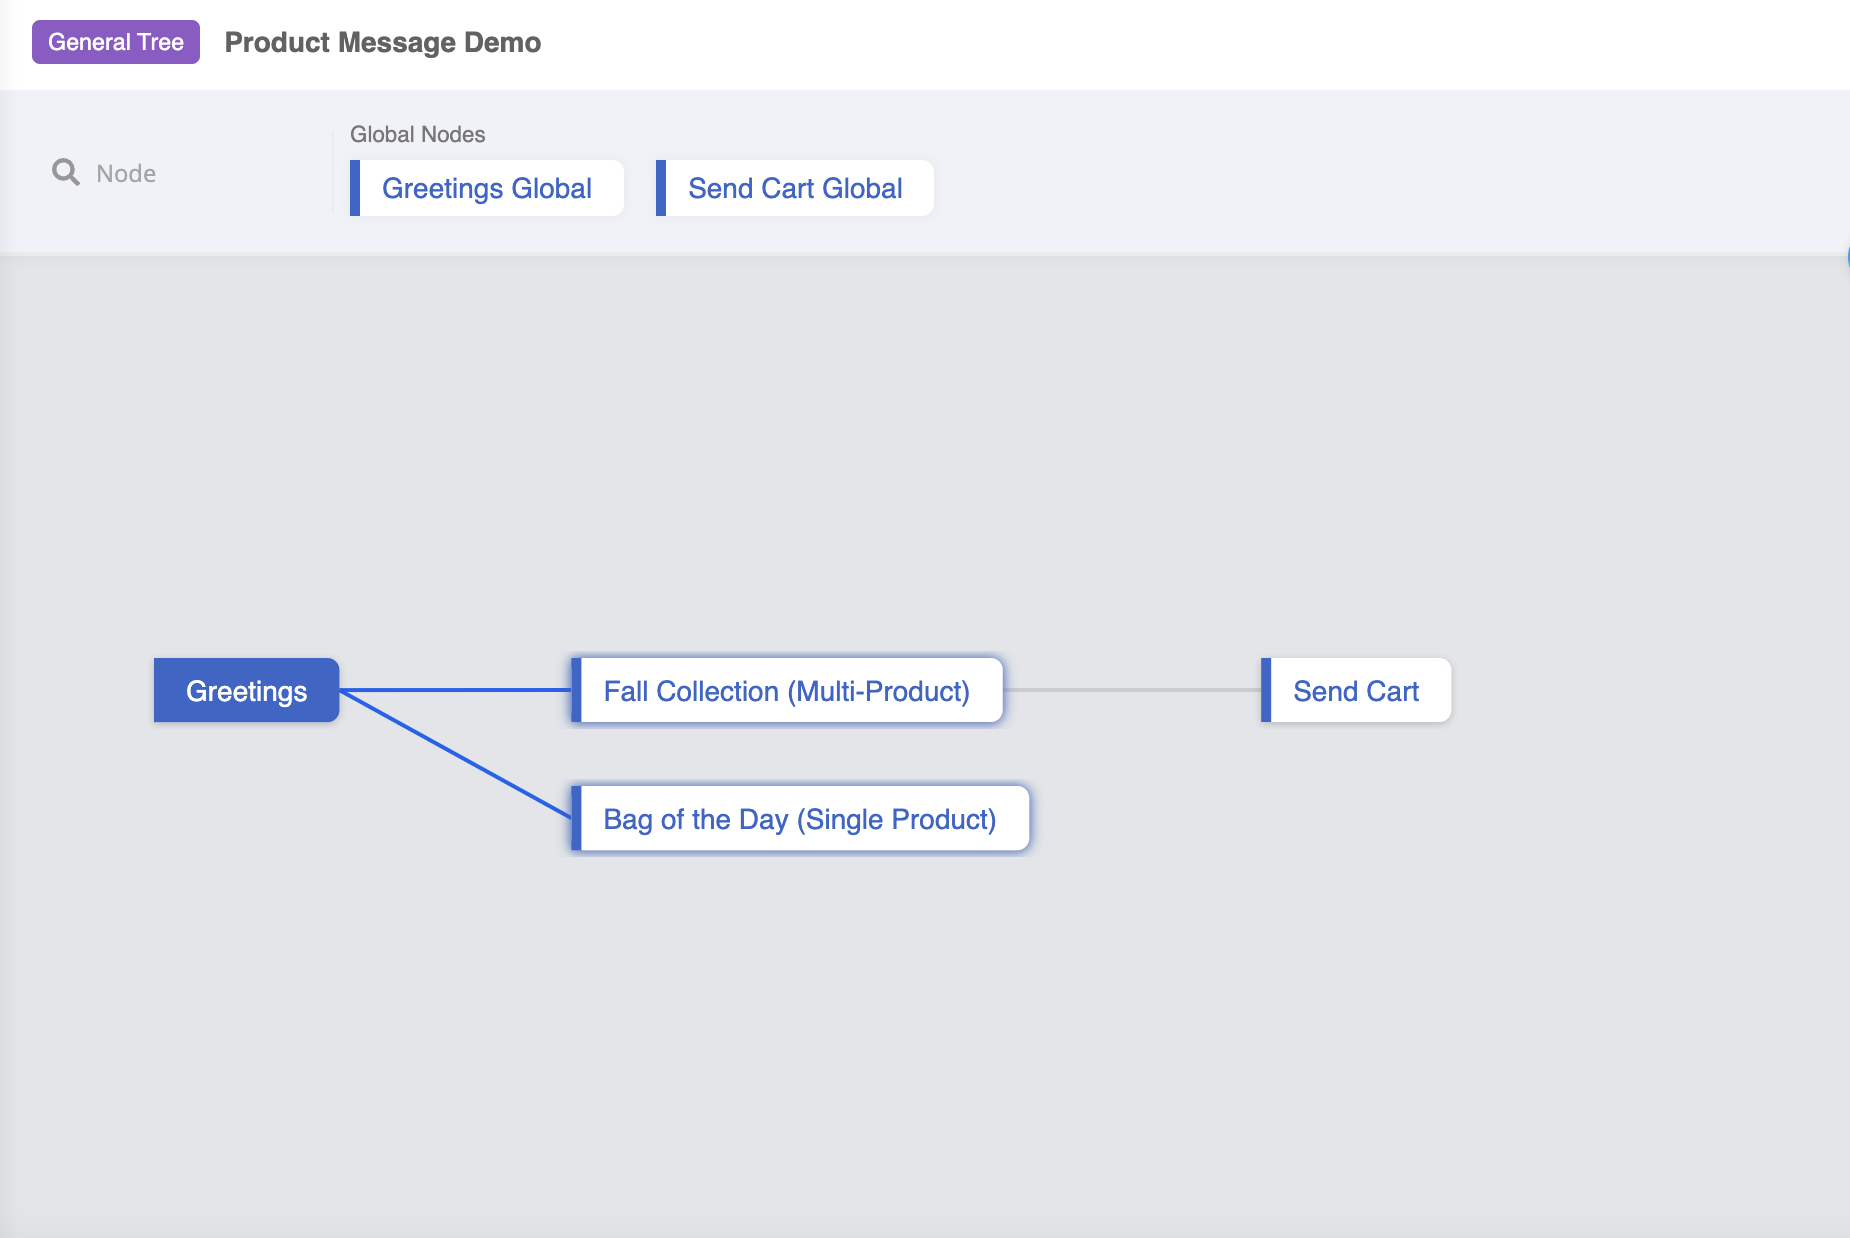
First, create a new chatbot for the conversation flow for product message.
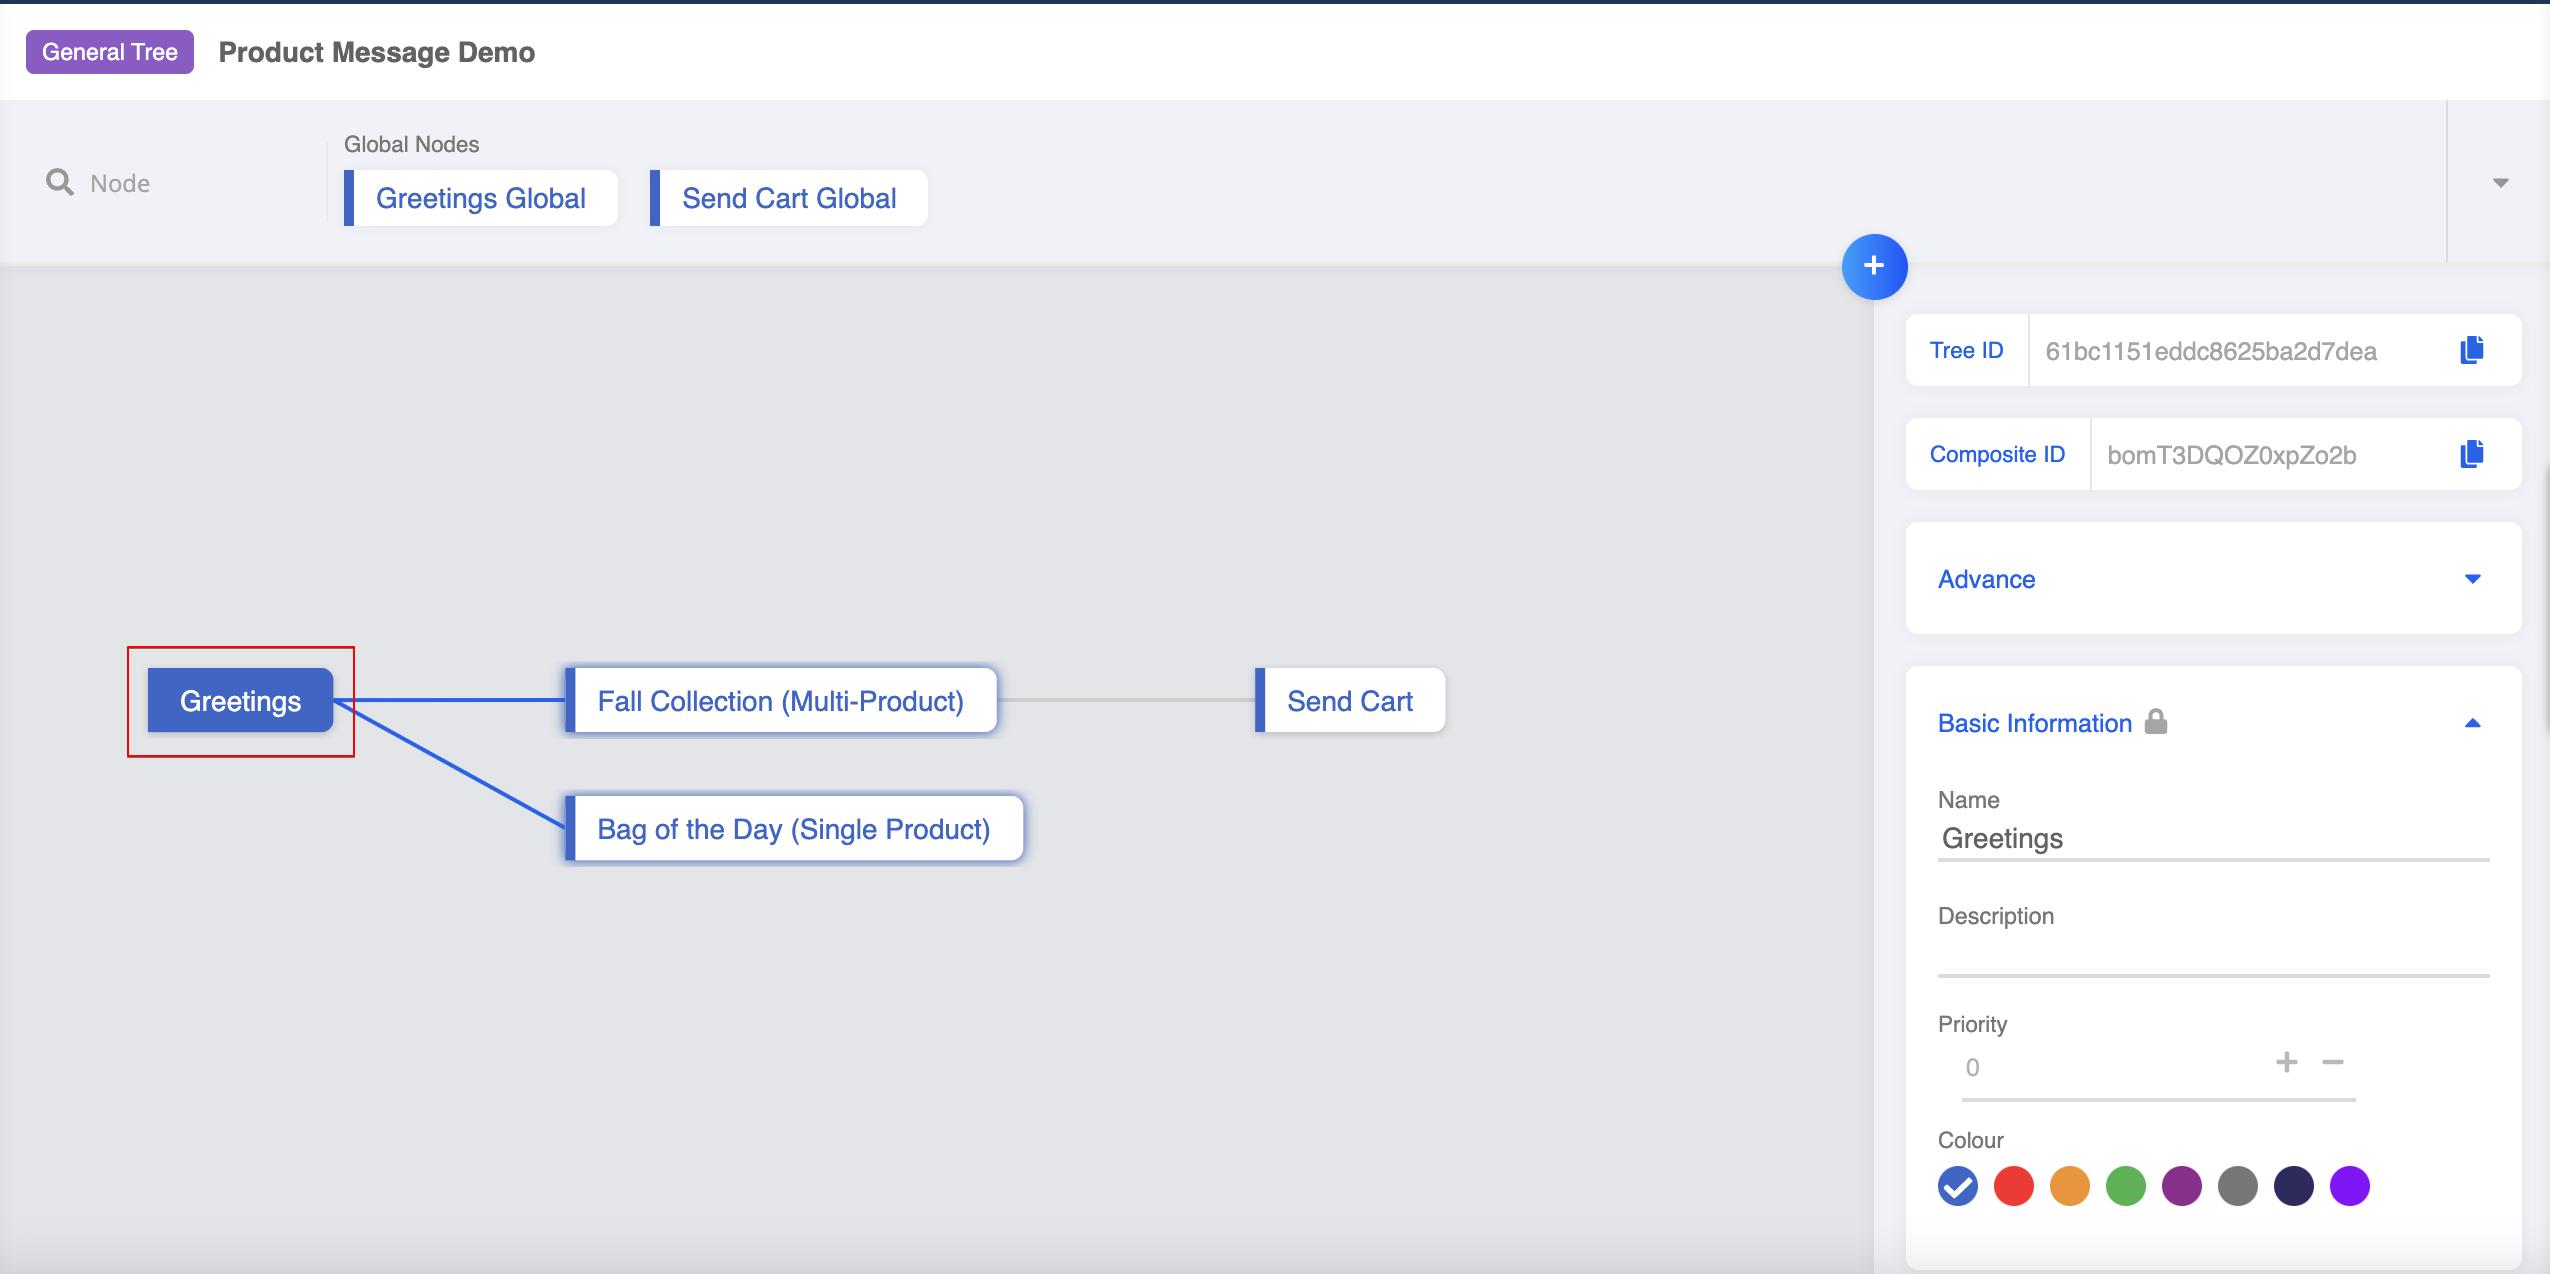
Create a general node for the greeting message.
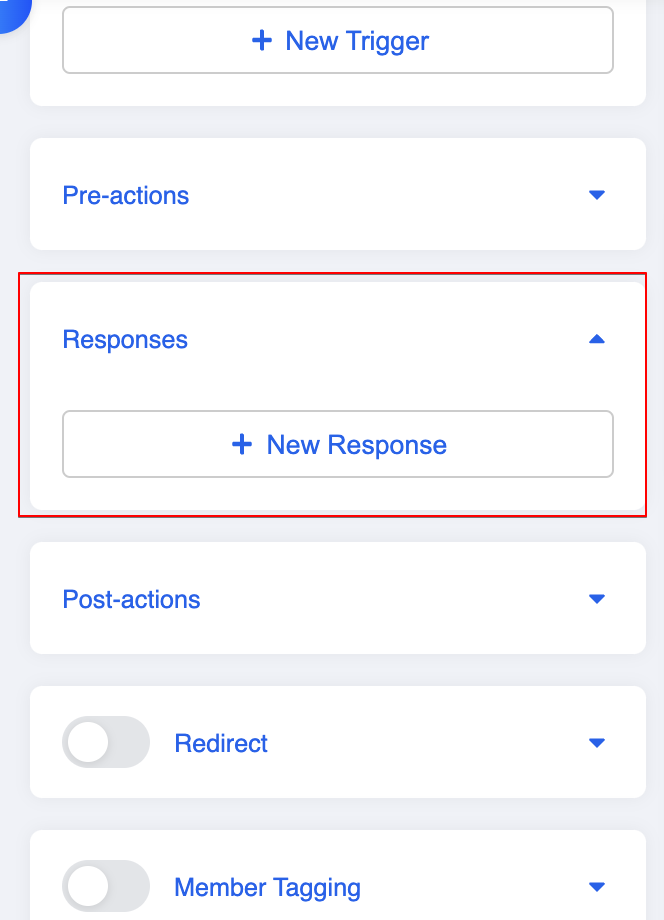
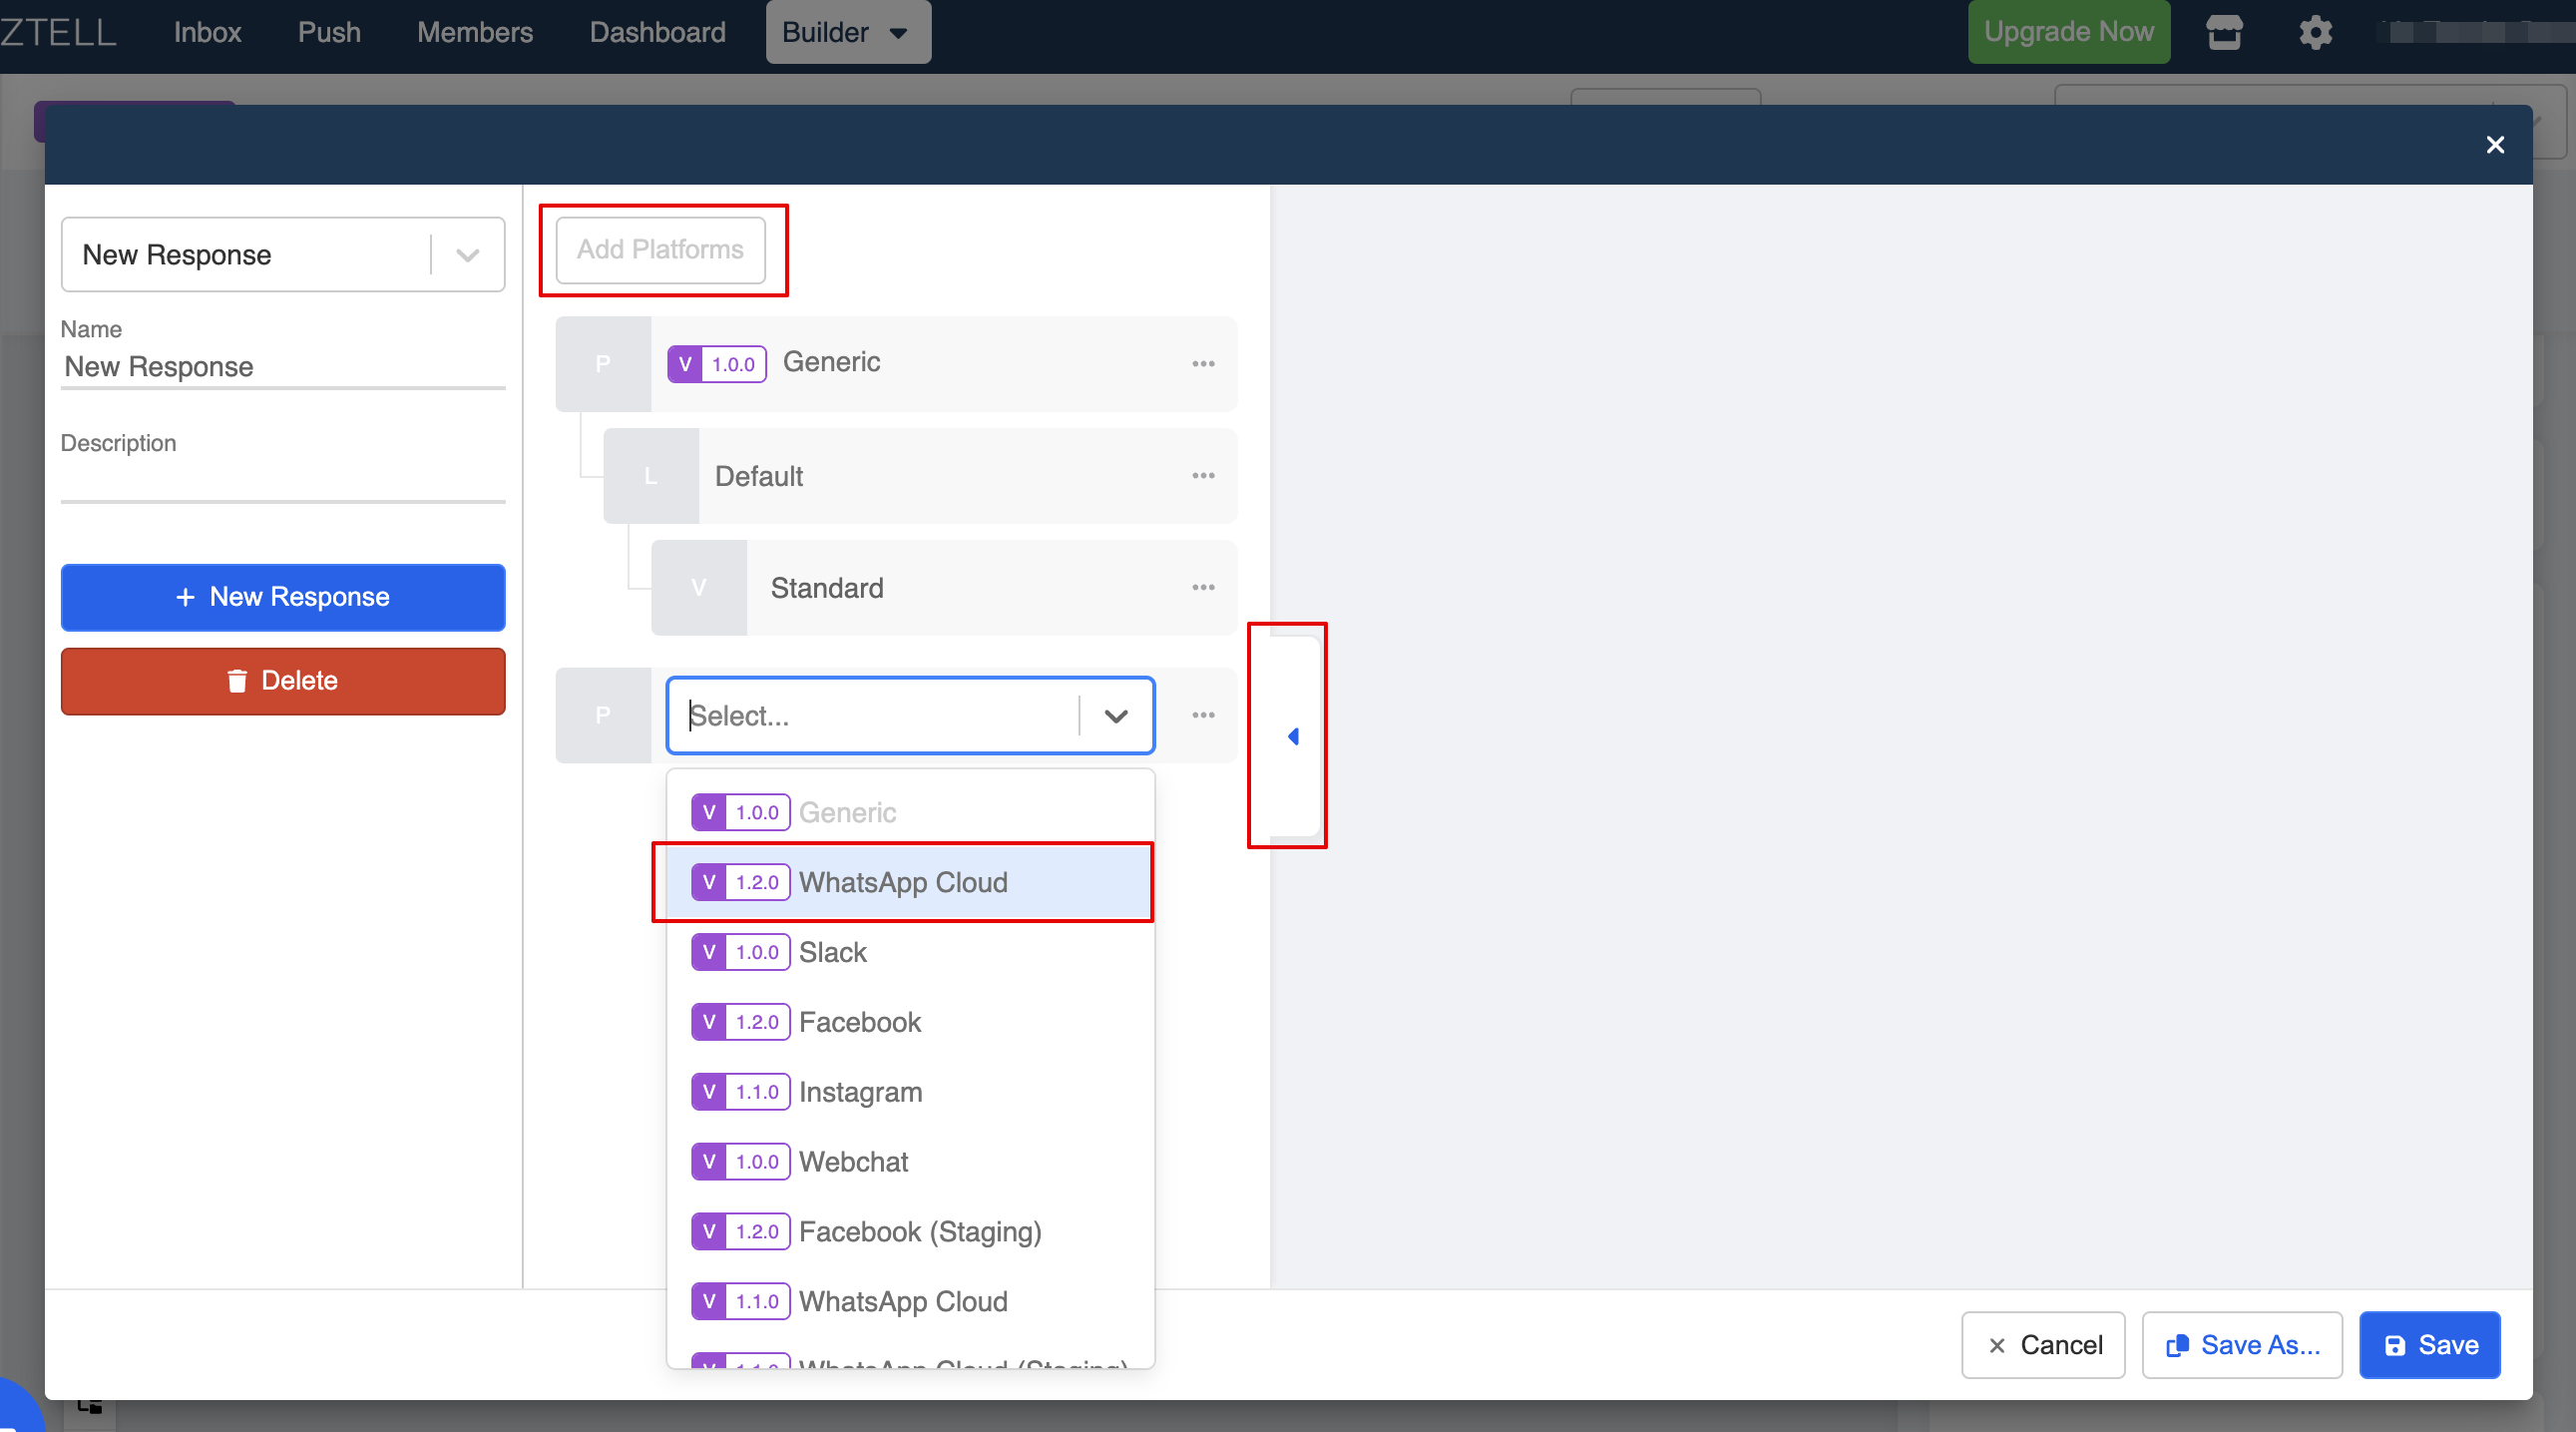
- Create a response.
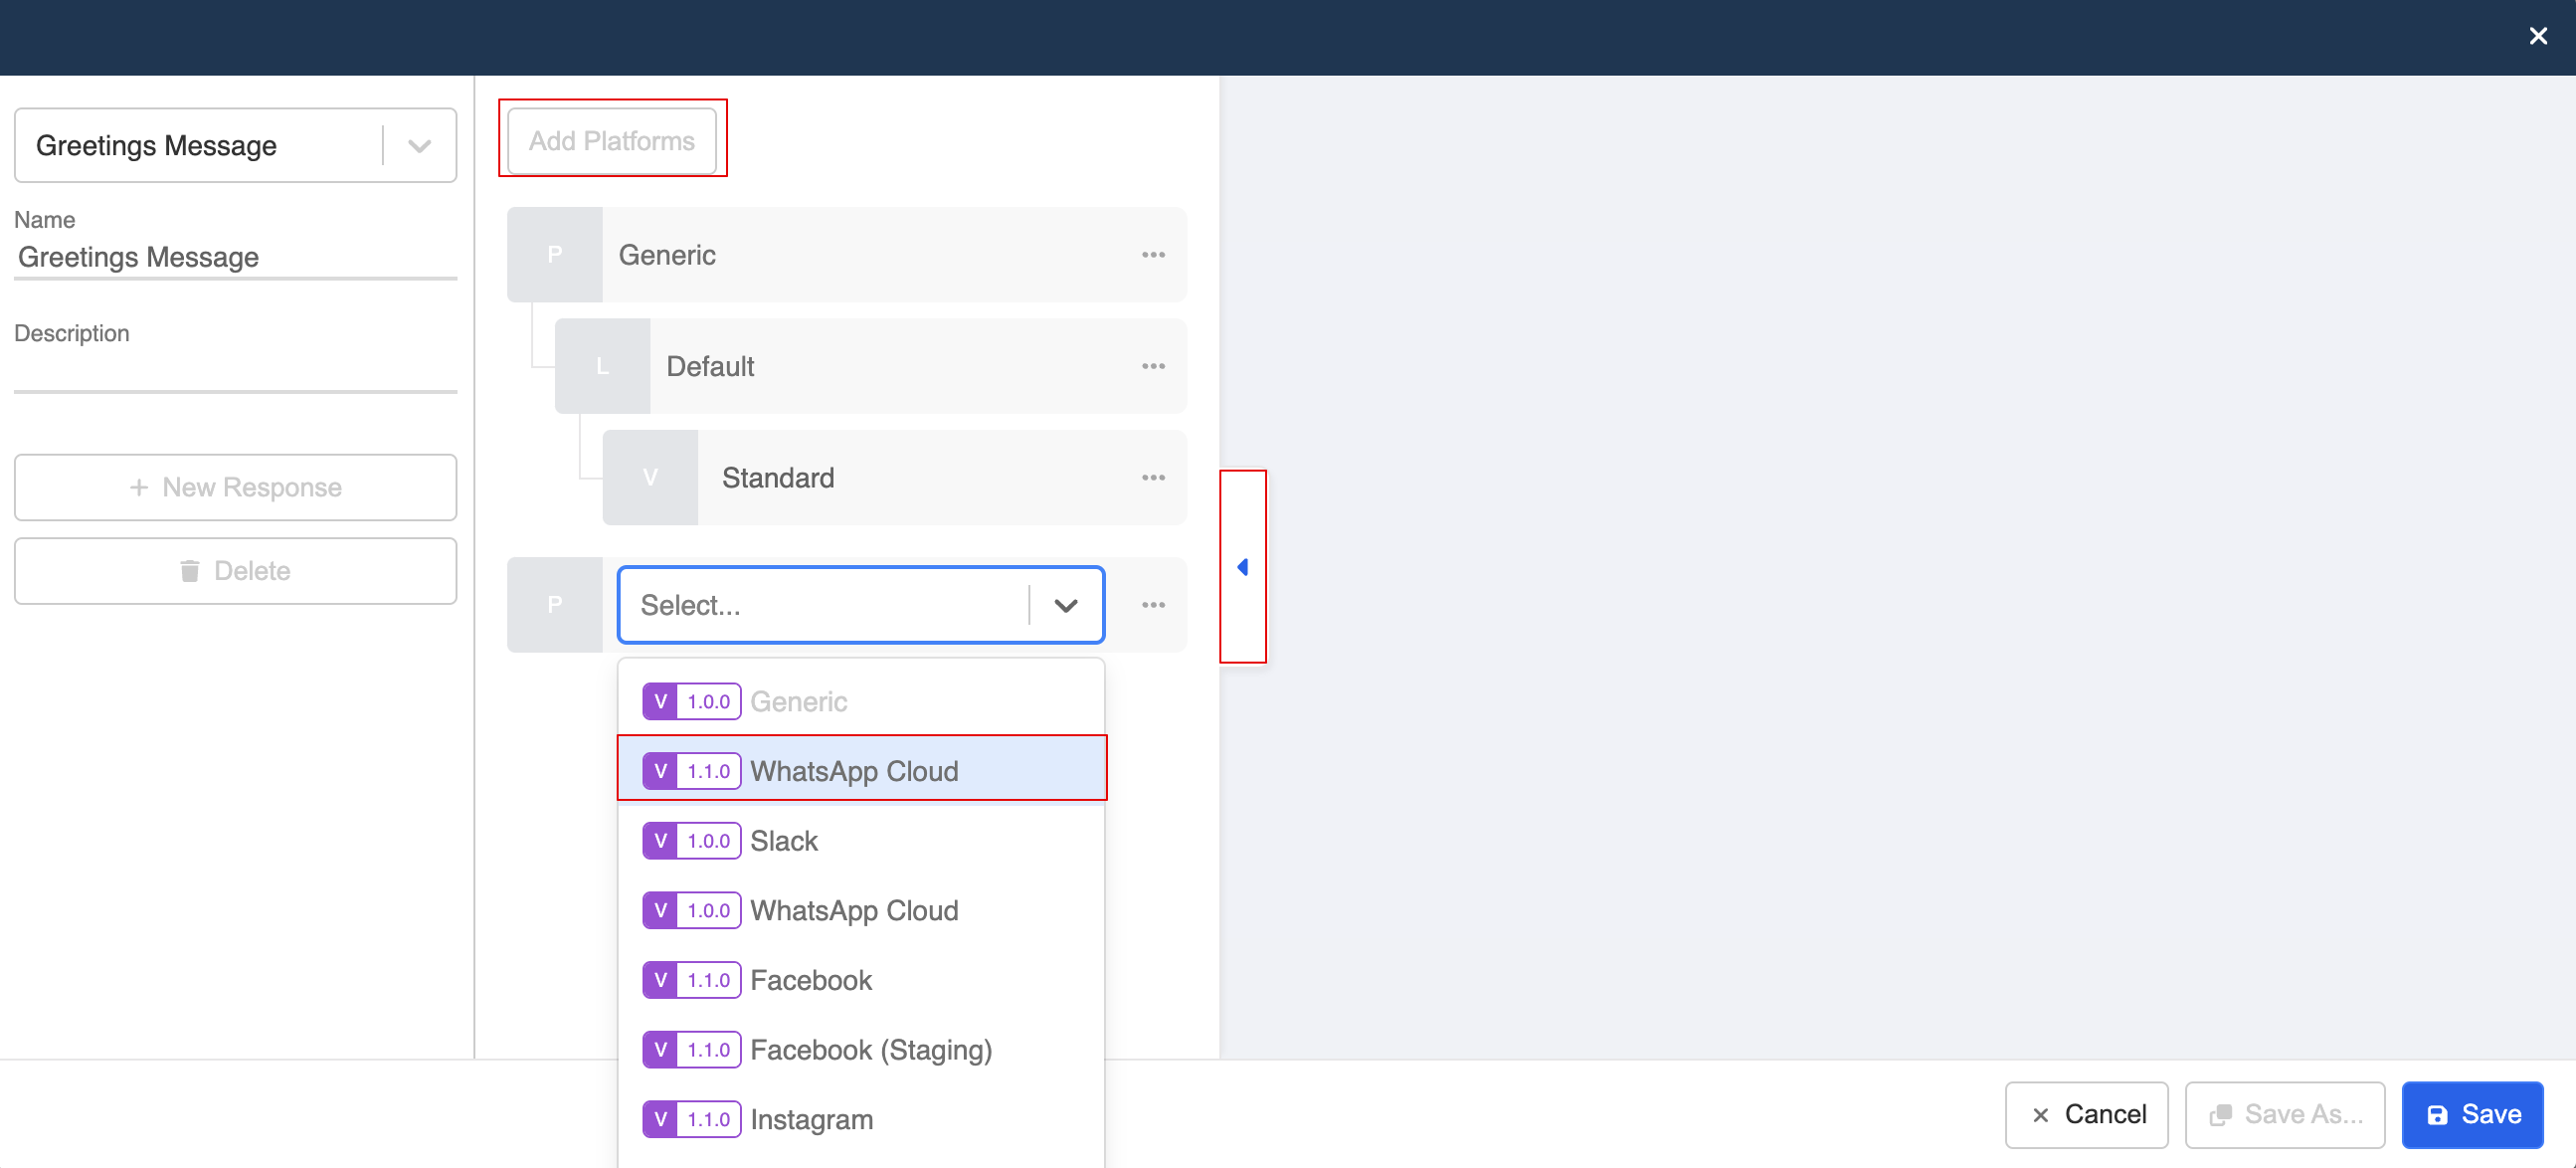
- Open the side tab and click "Add Platforms". Then, select "WhatsApp Cloud".
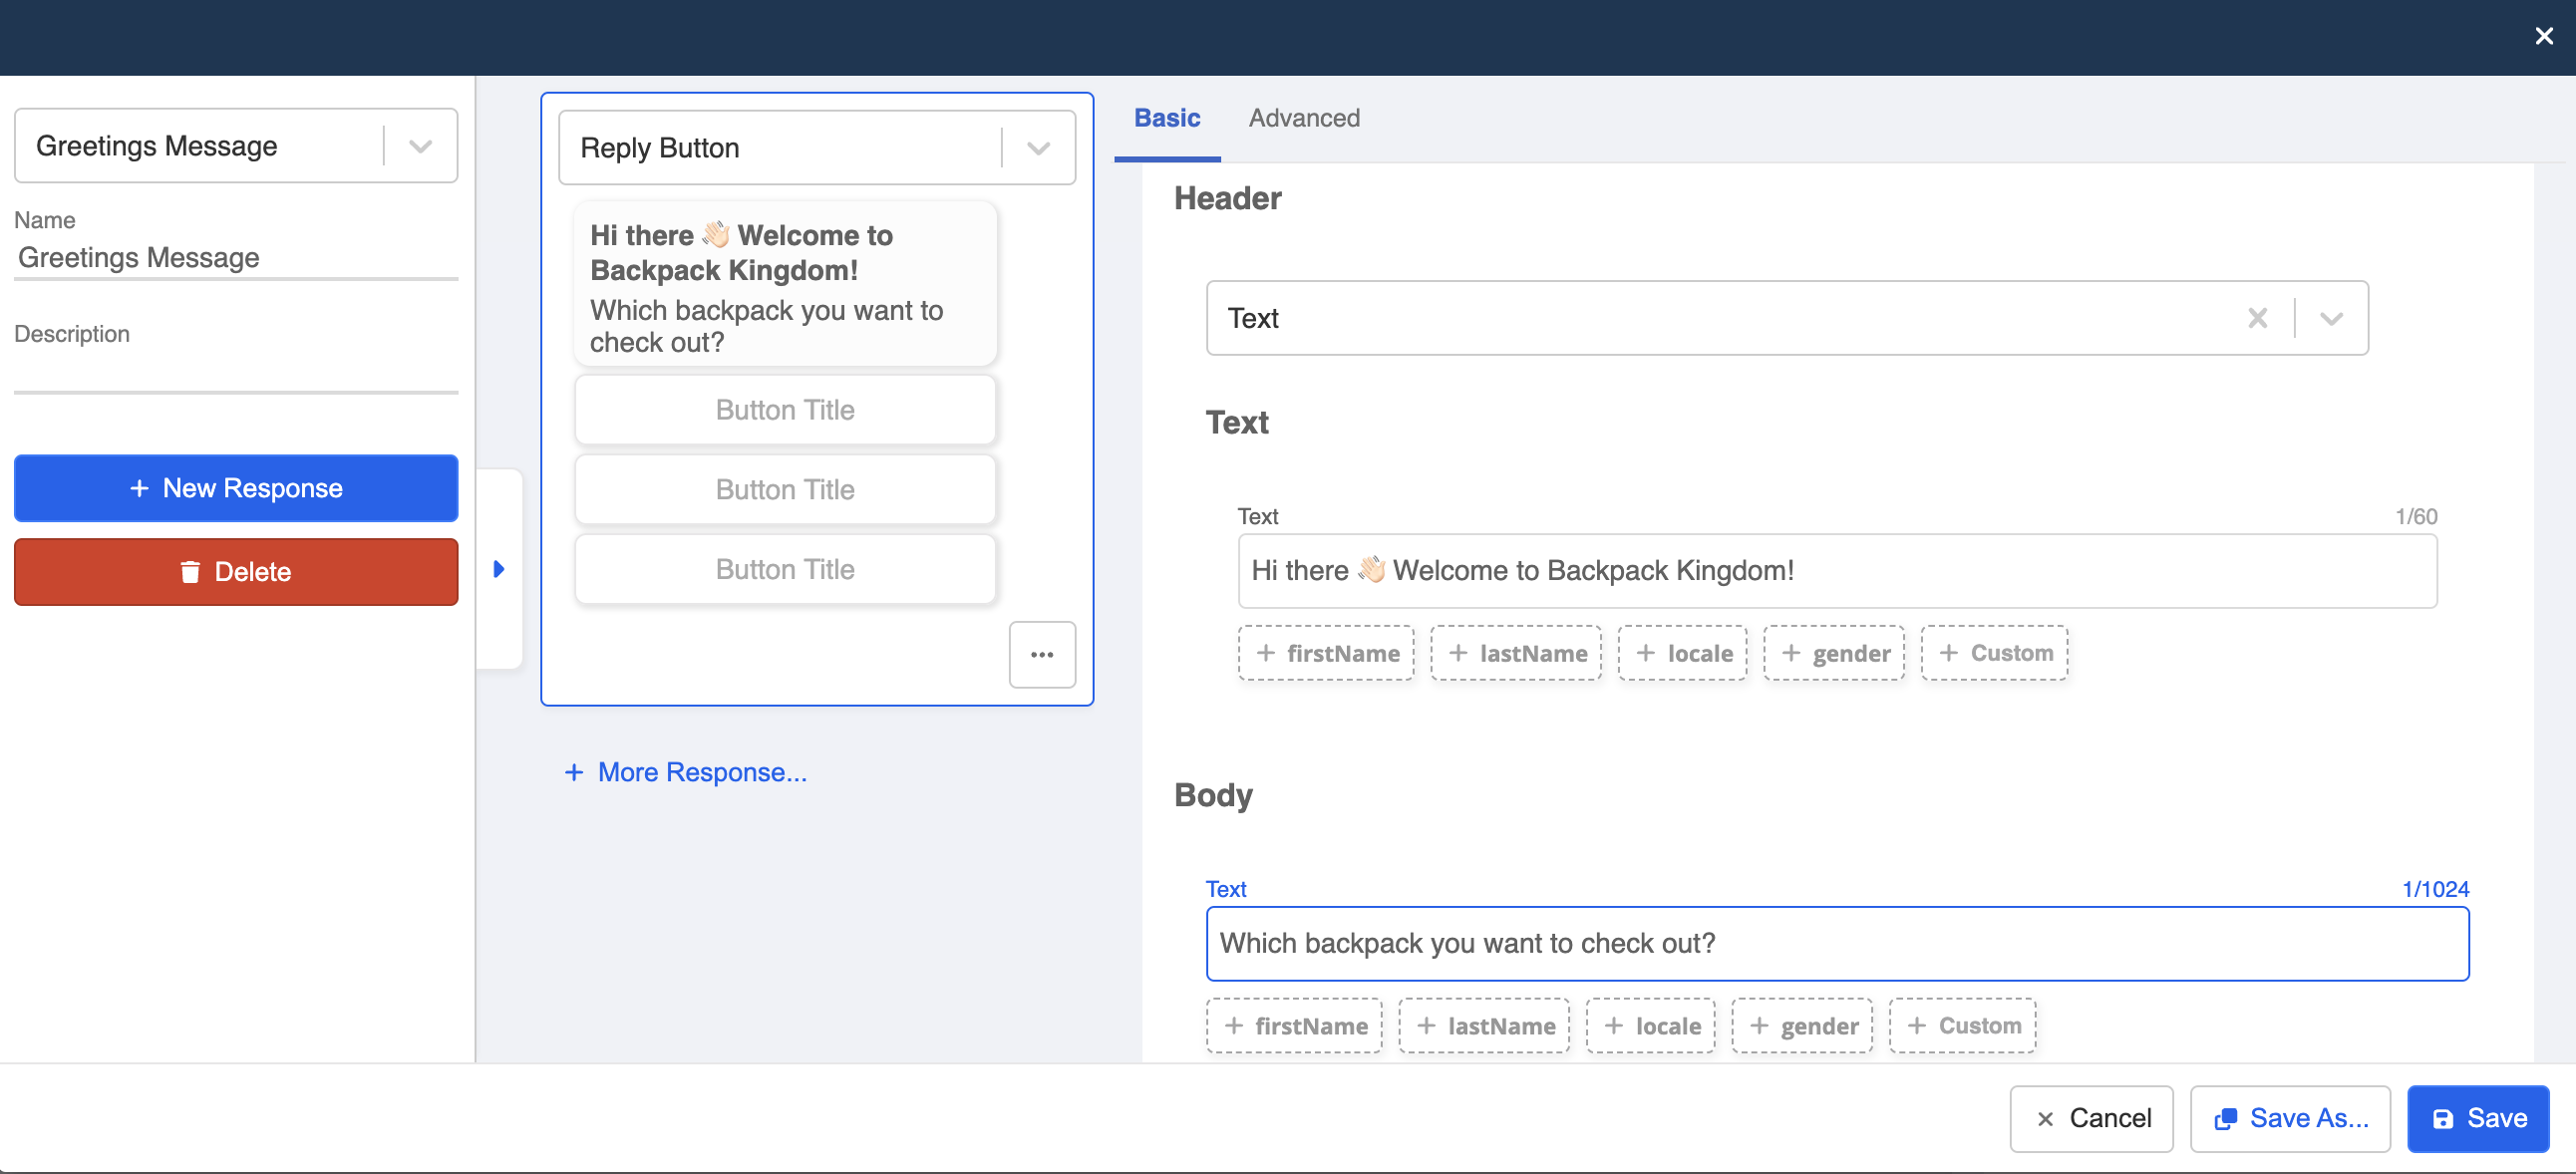
- Choose "Reply Button" from the WhatsApp Cloud message type.

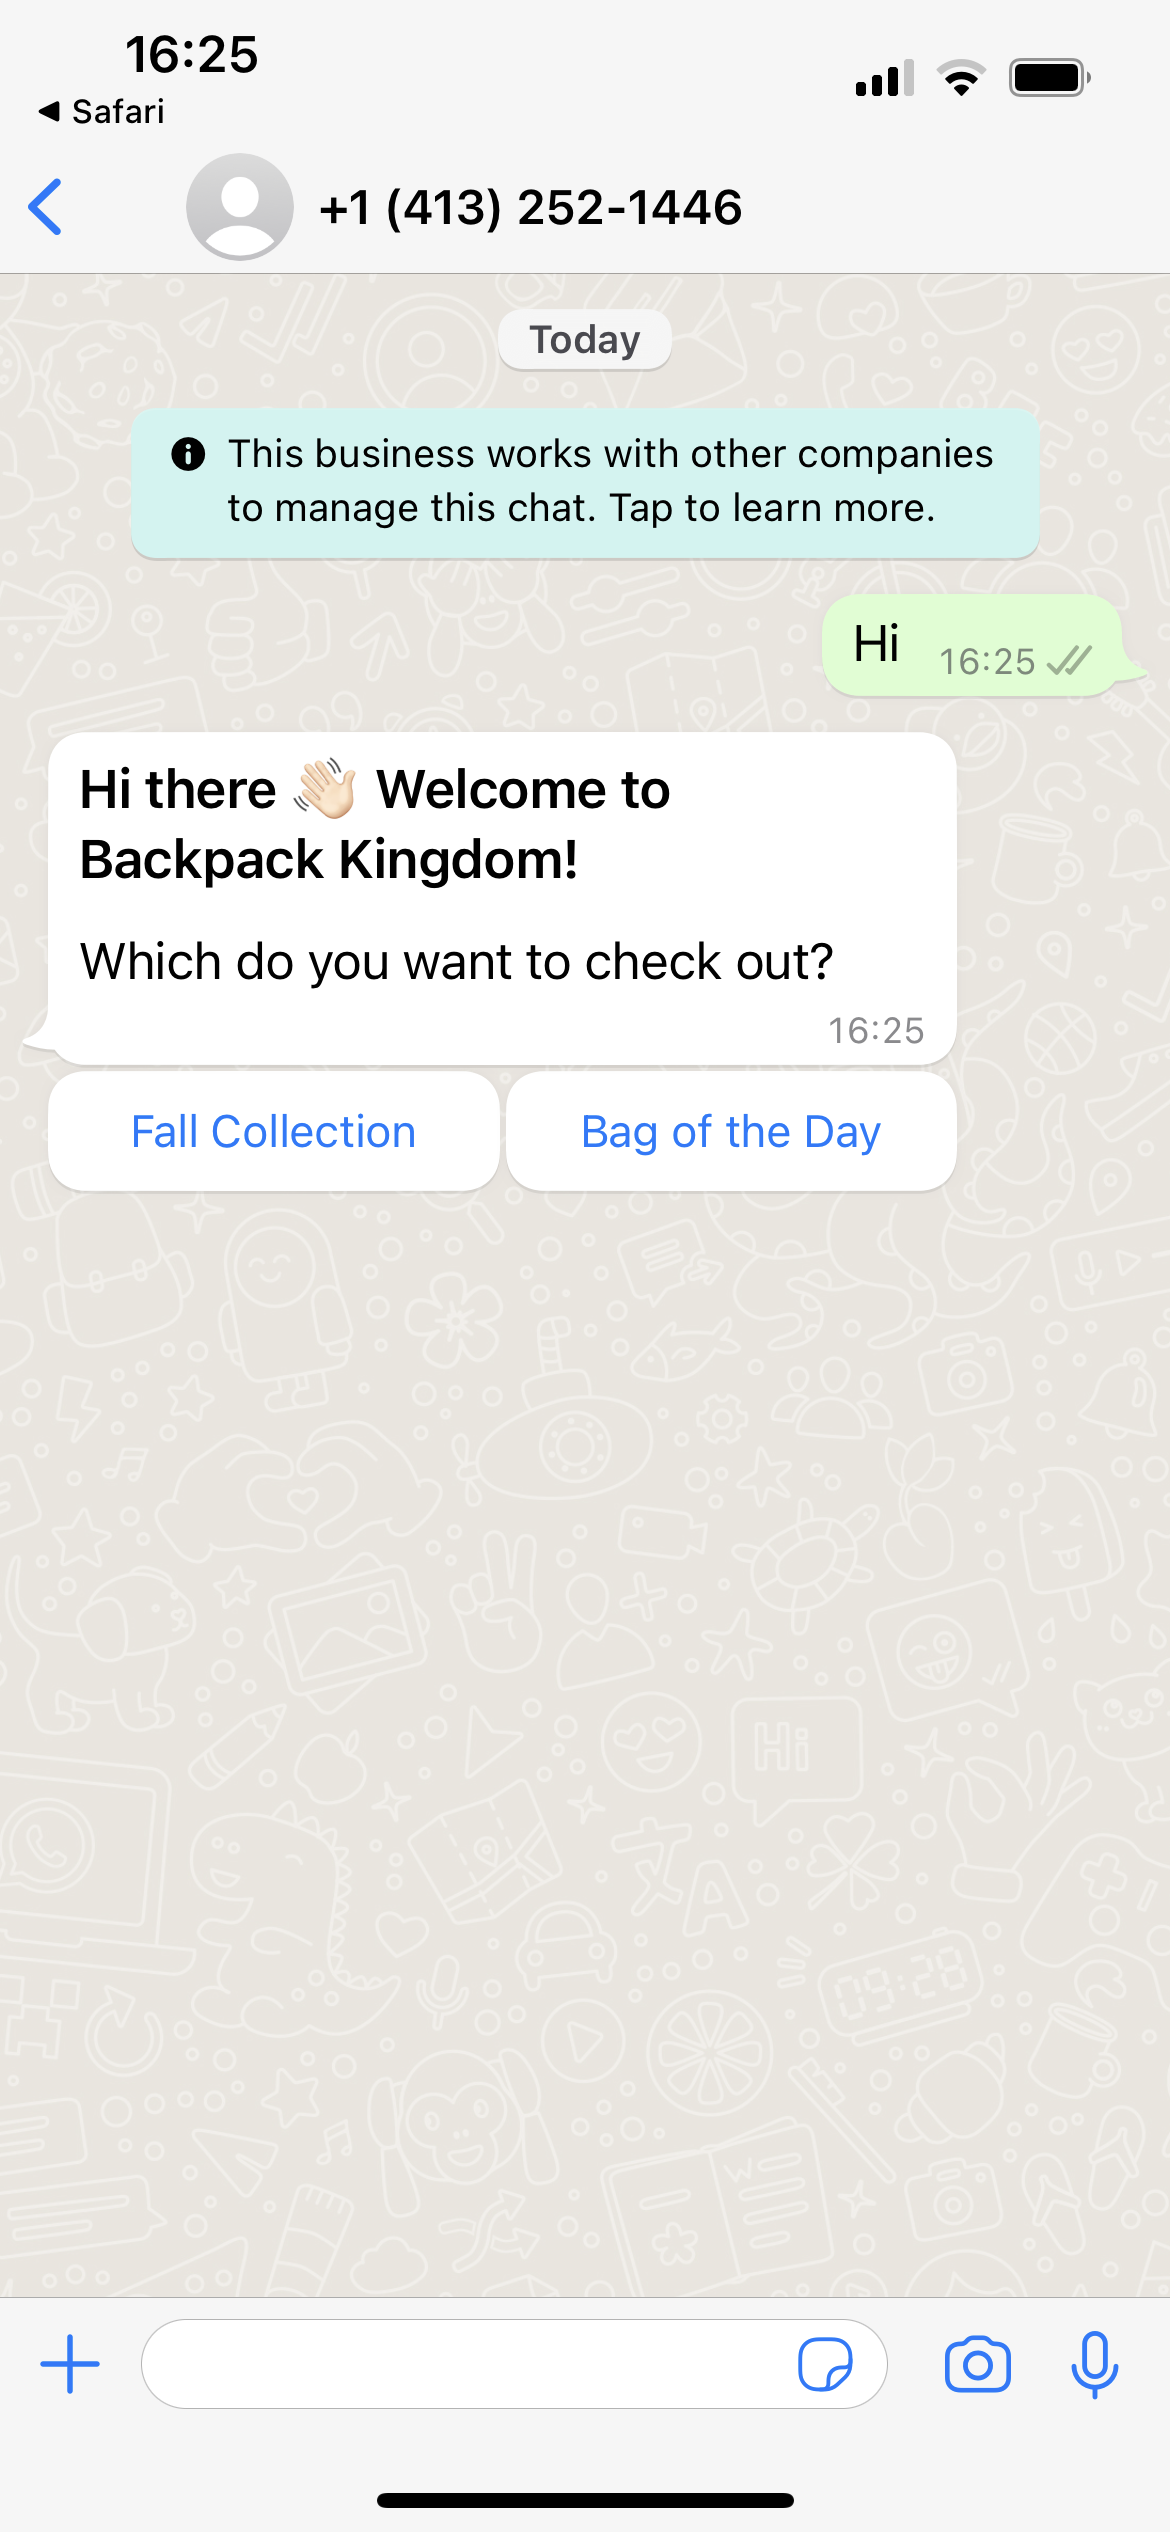
- Add text for the greeting question.
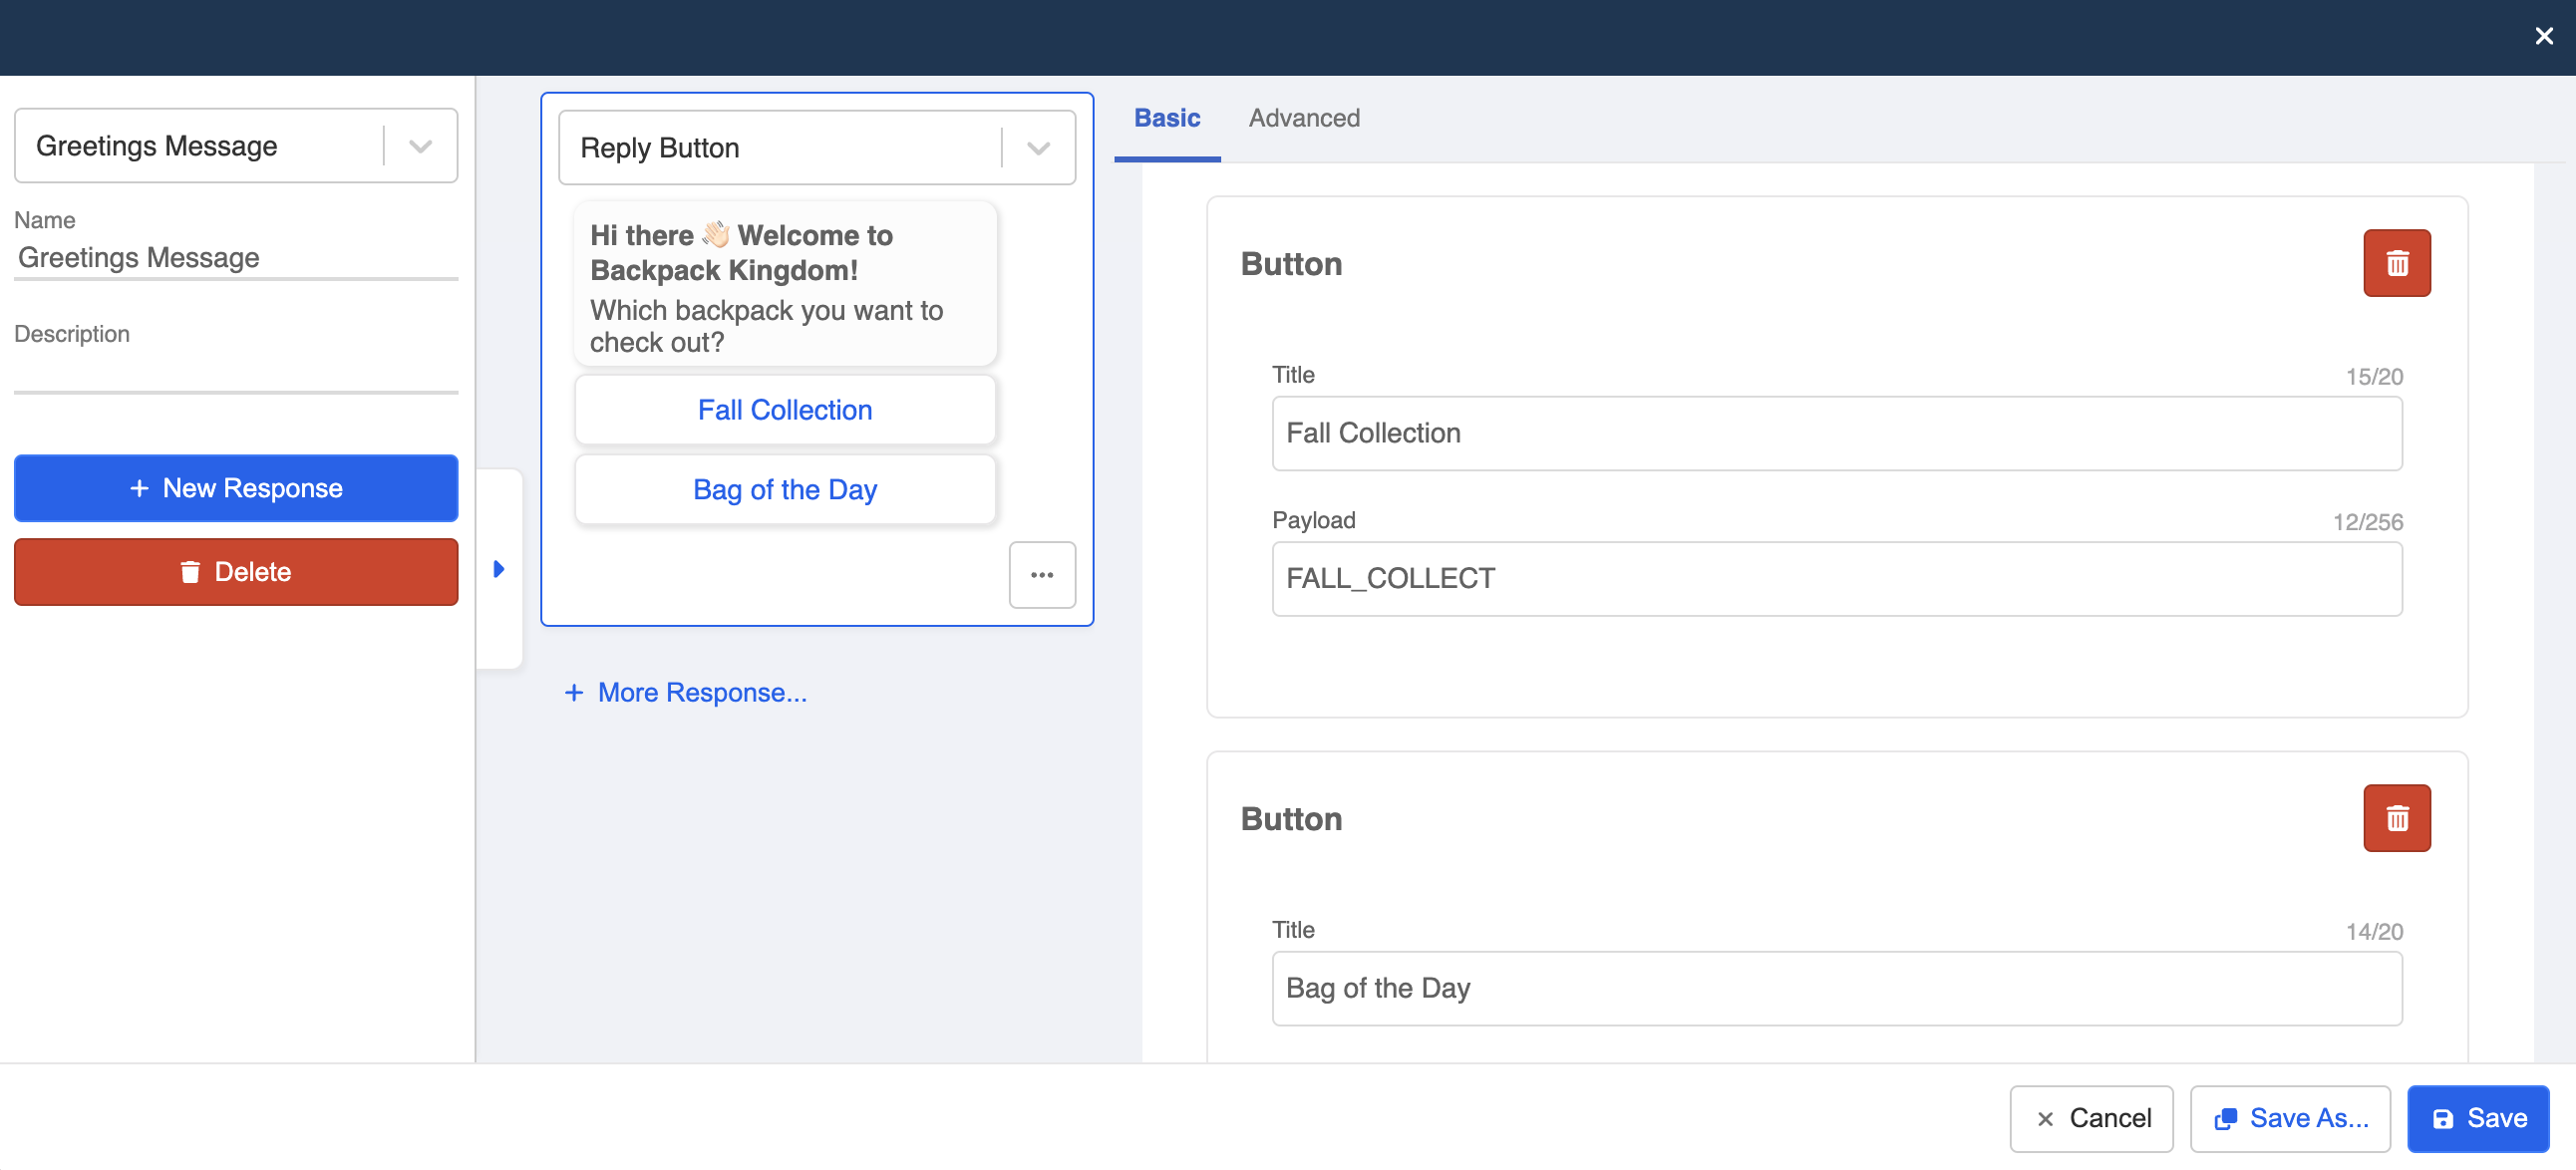
- Create two buttons. Fill in the title of the button and assign a payload for each of them.
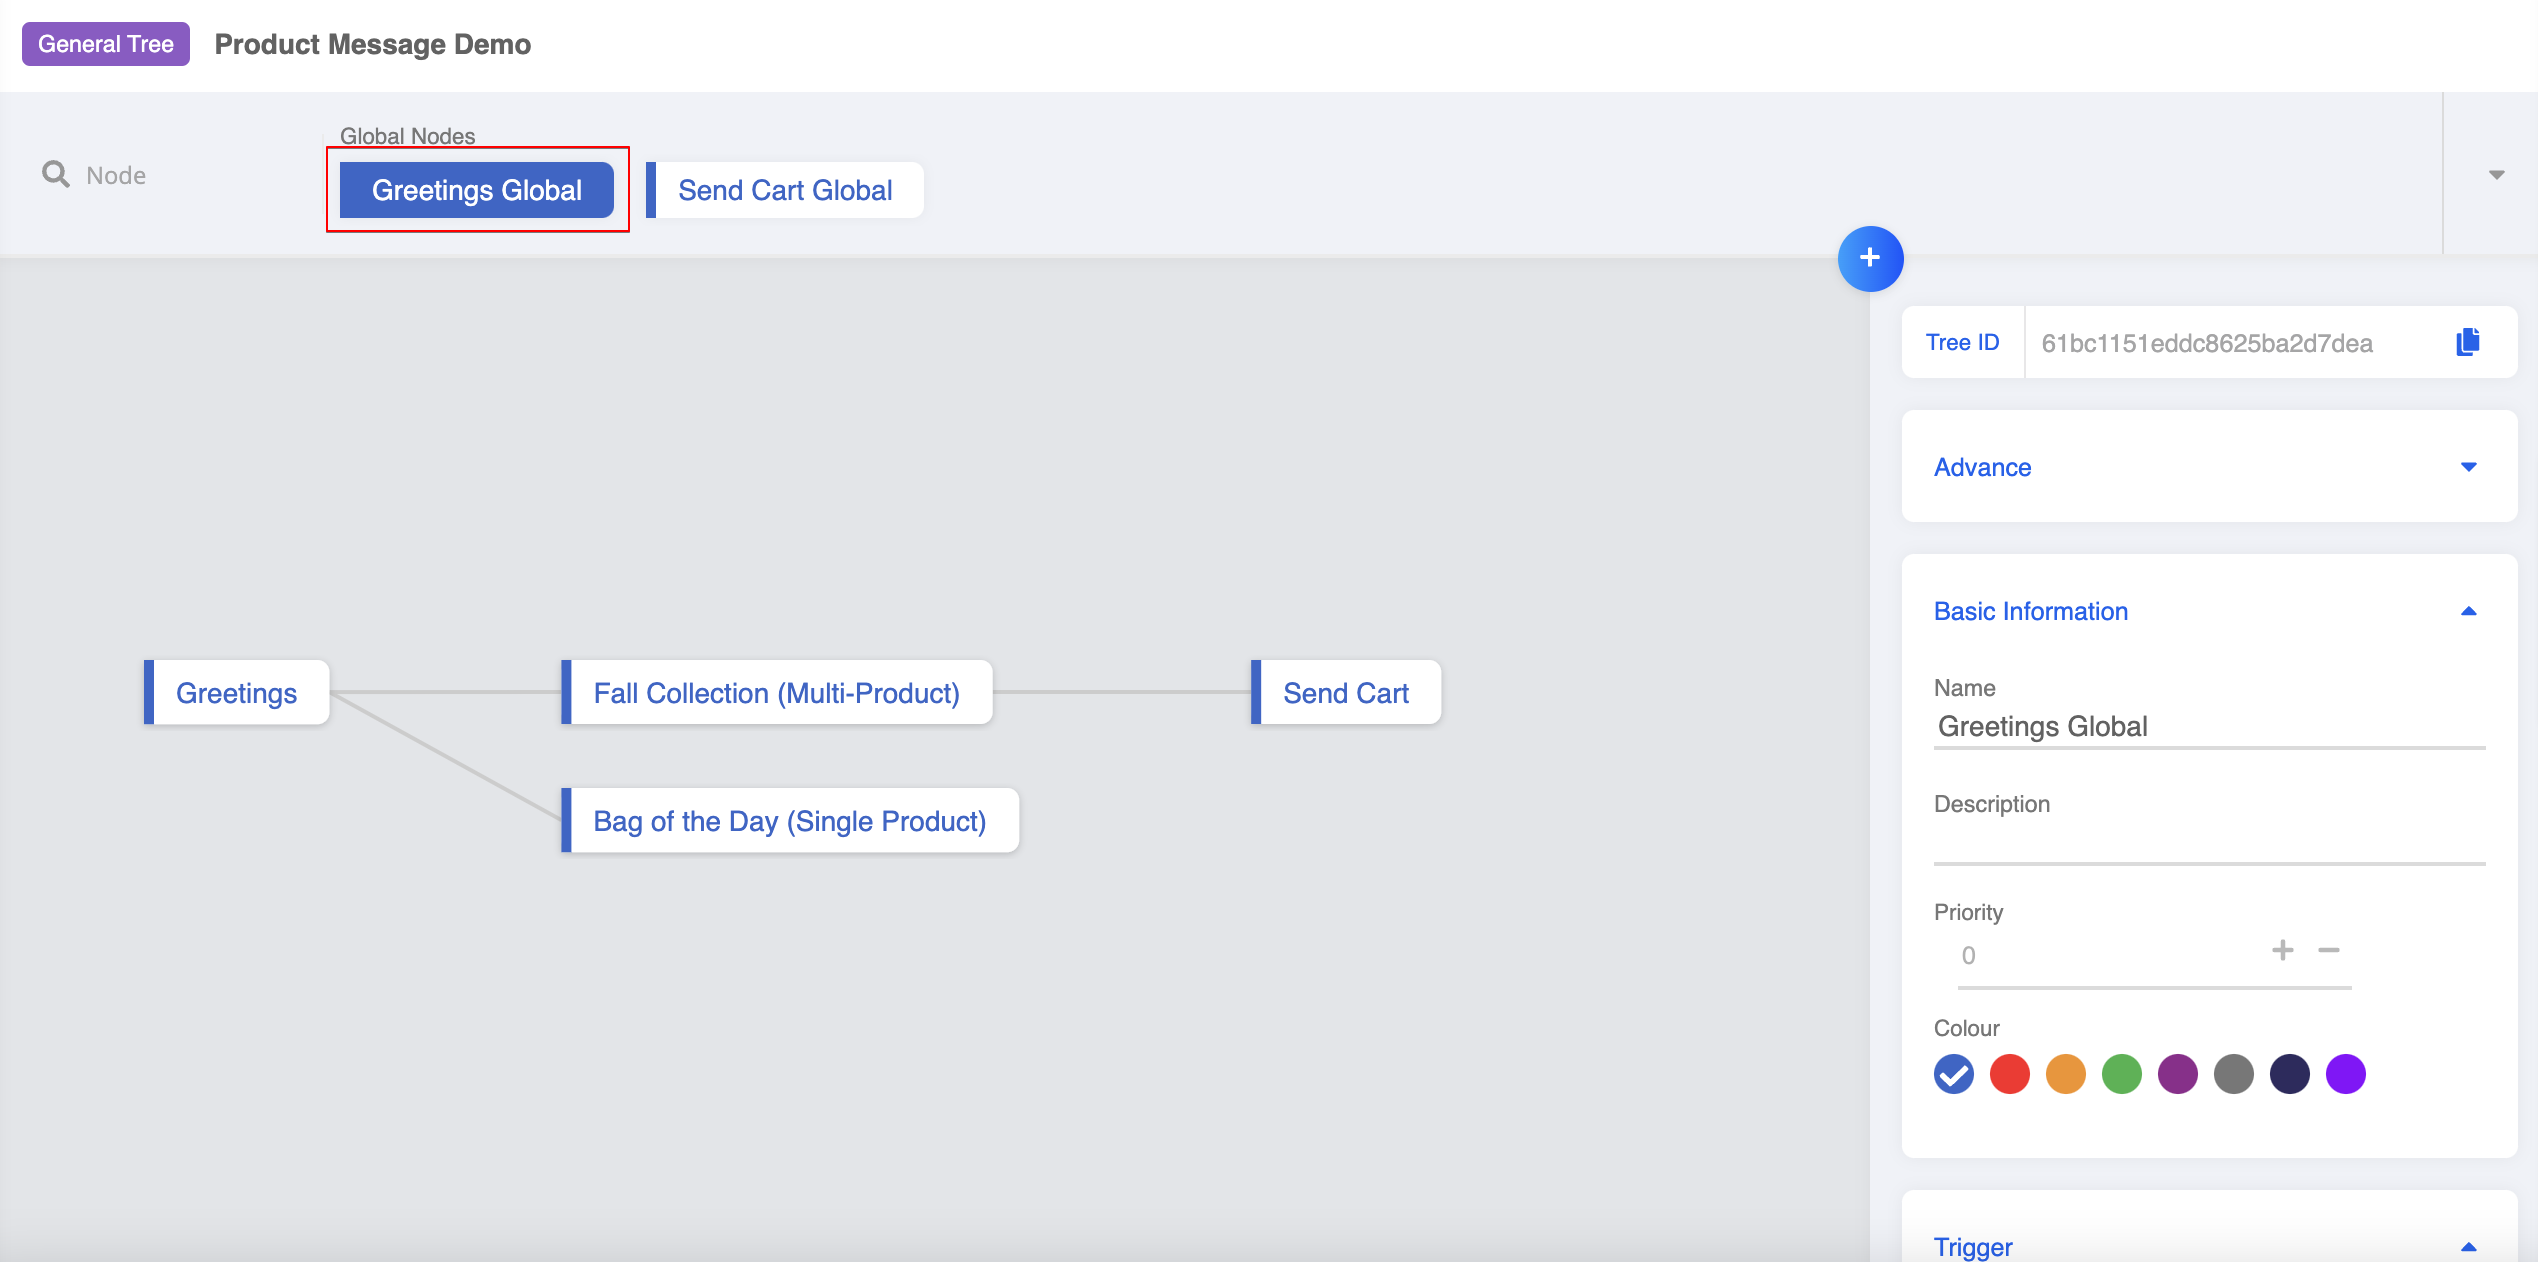
- Create a new global node, it will act as an entry point to the flow.
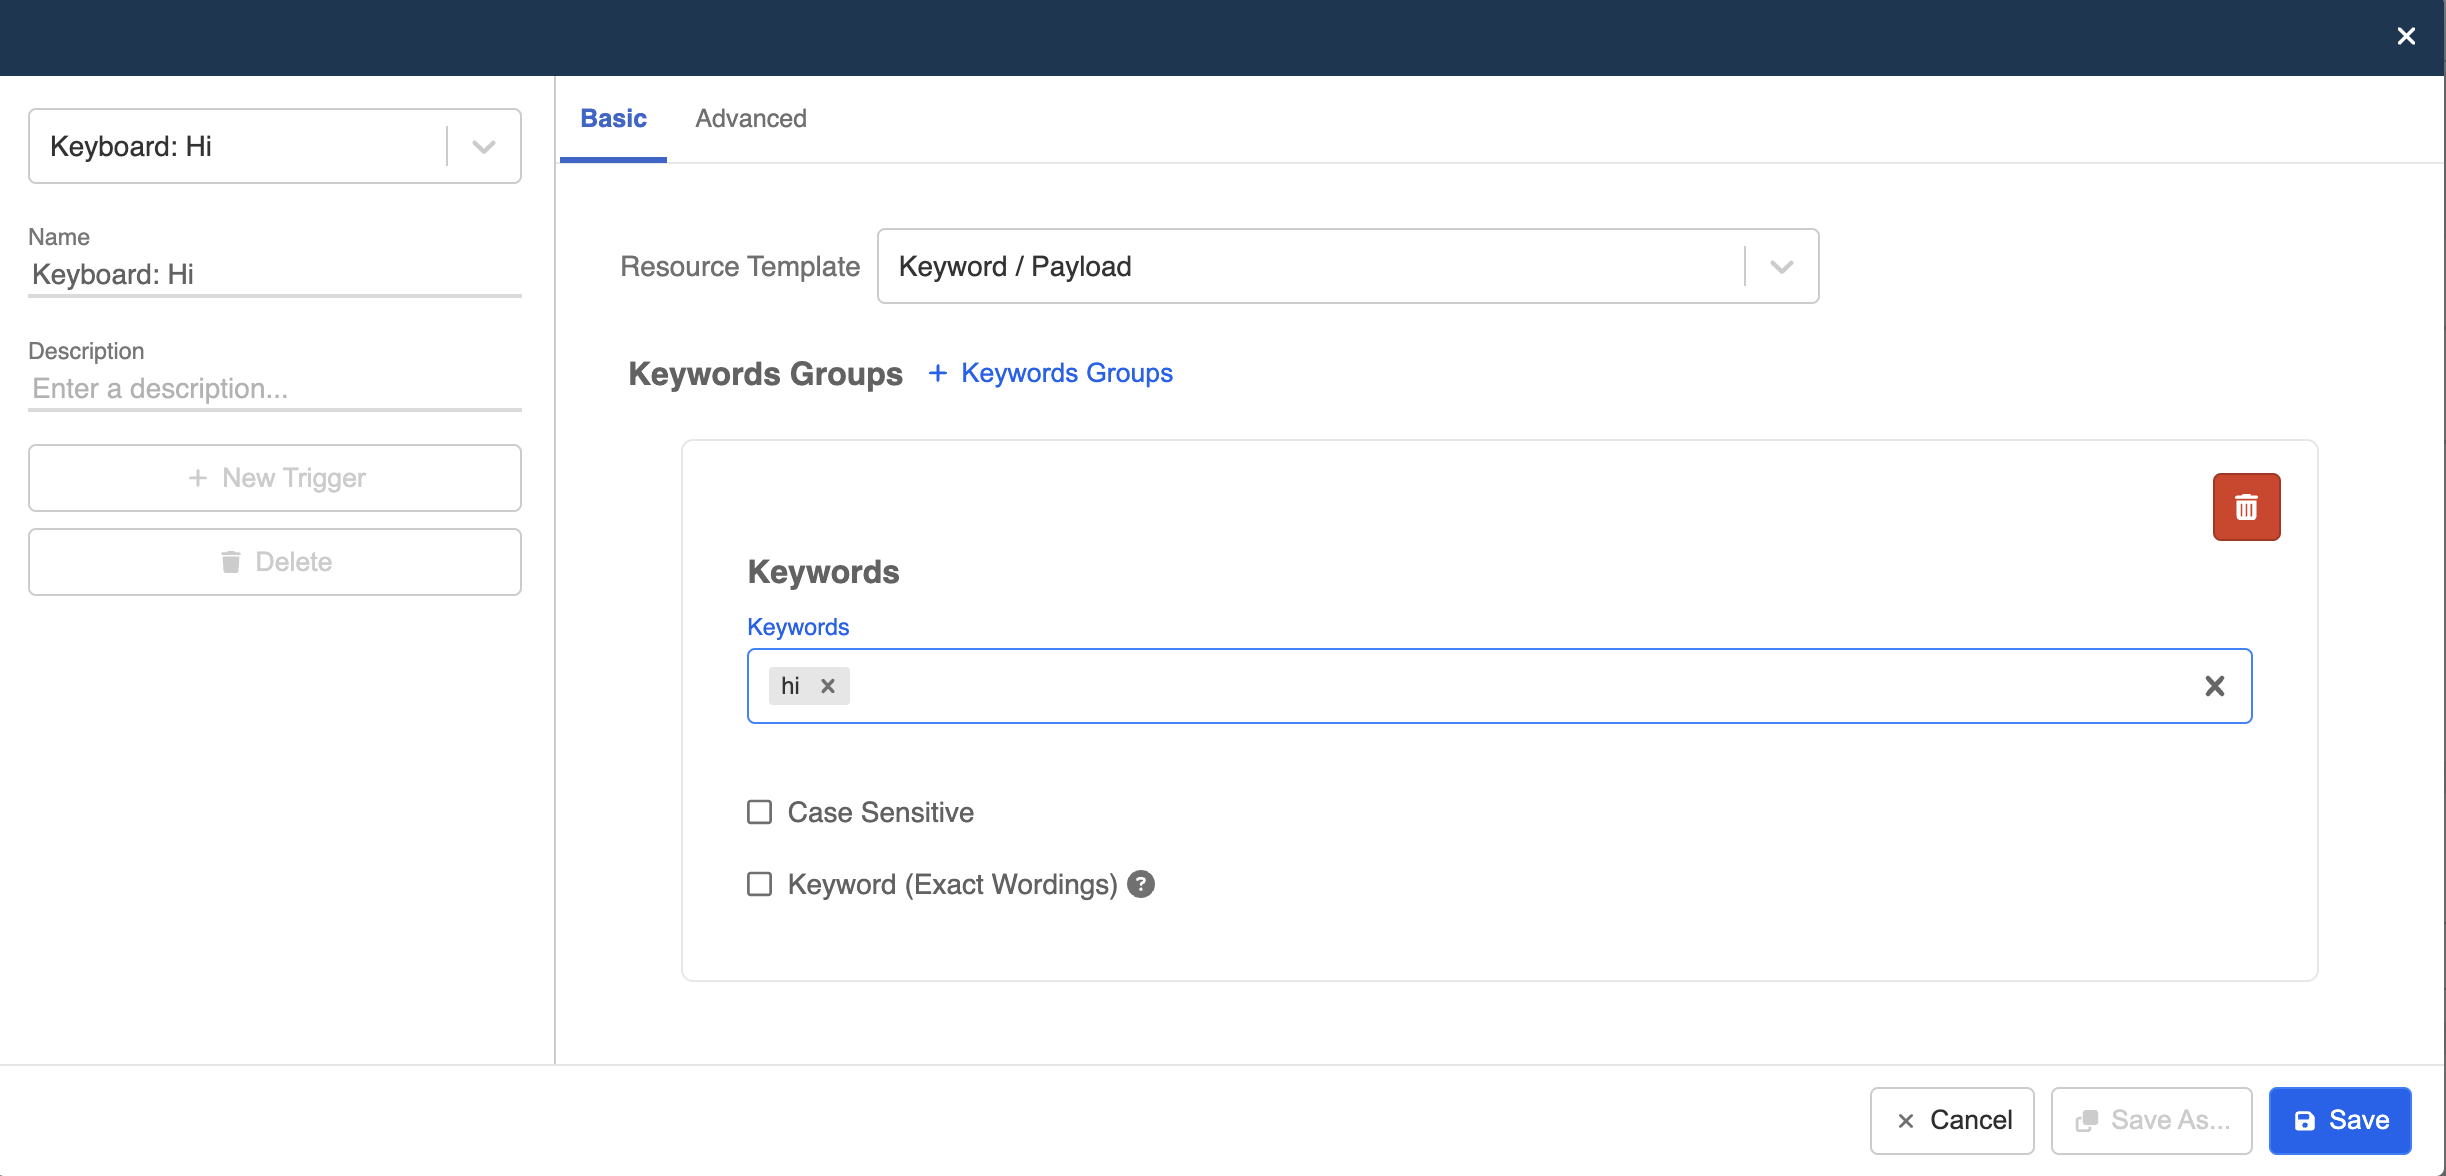
- Create a trigger for the entry point. In this example, let's use "hi" as a keyword to trigger the chatbot.
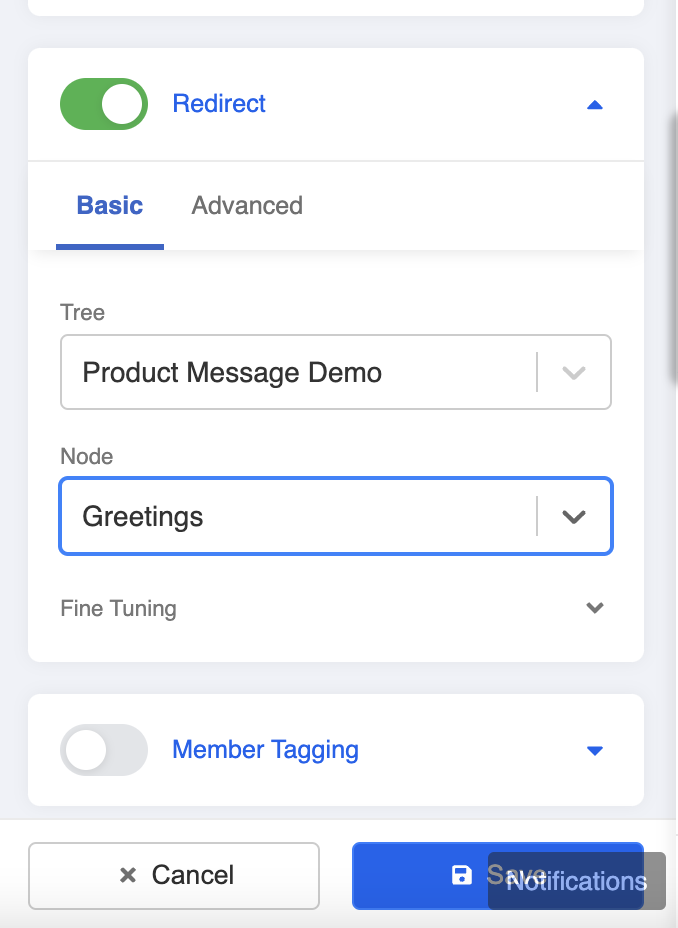
- Toggle on redirect, and redirect to the "Greetings" node that you have created.
Create a General Node - Multi-Product
- Create a another general node. This is for displaying the Multi-Product Message.

- Create a new trigger.

- In order to map to the button in the greeting message, we need to use Payload as the trigger. Please make the sure the self-defined payload matches with what you have assigned to the button. Click "Save" to continue.

- Then, head to Response, create a new response.
NOTE
- The Multi-Product Message can only contain a selection of up to 30 products from the inventory.
- For the connected catalog, new items added in the "Facebook Commerce Manager" will be available to your product message after 14 - 24 hours.
- Open the side tab and click "Add Platforms". Then, select "WhatsApp Cloud".
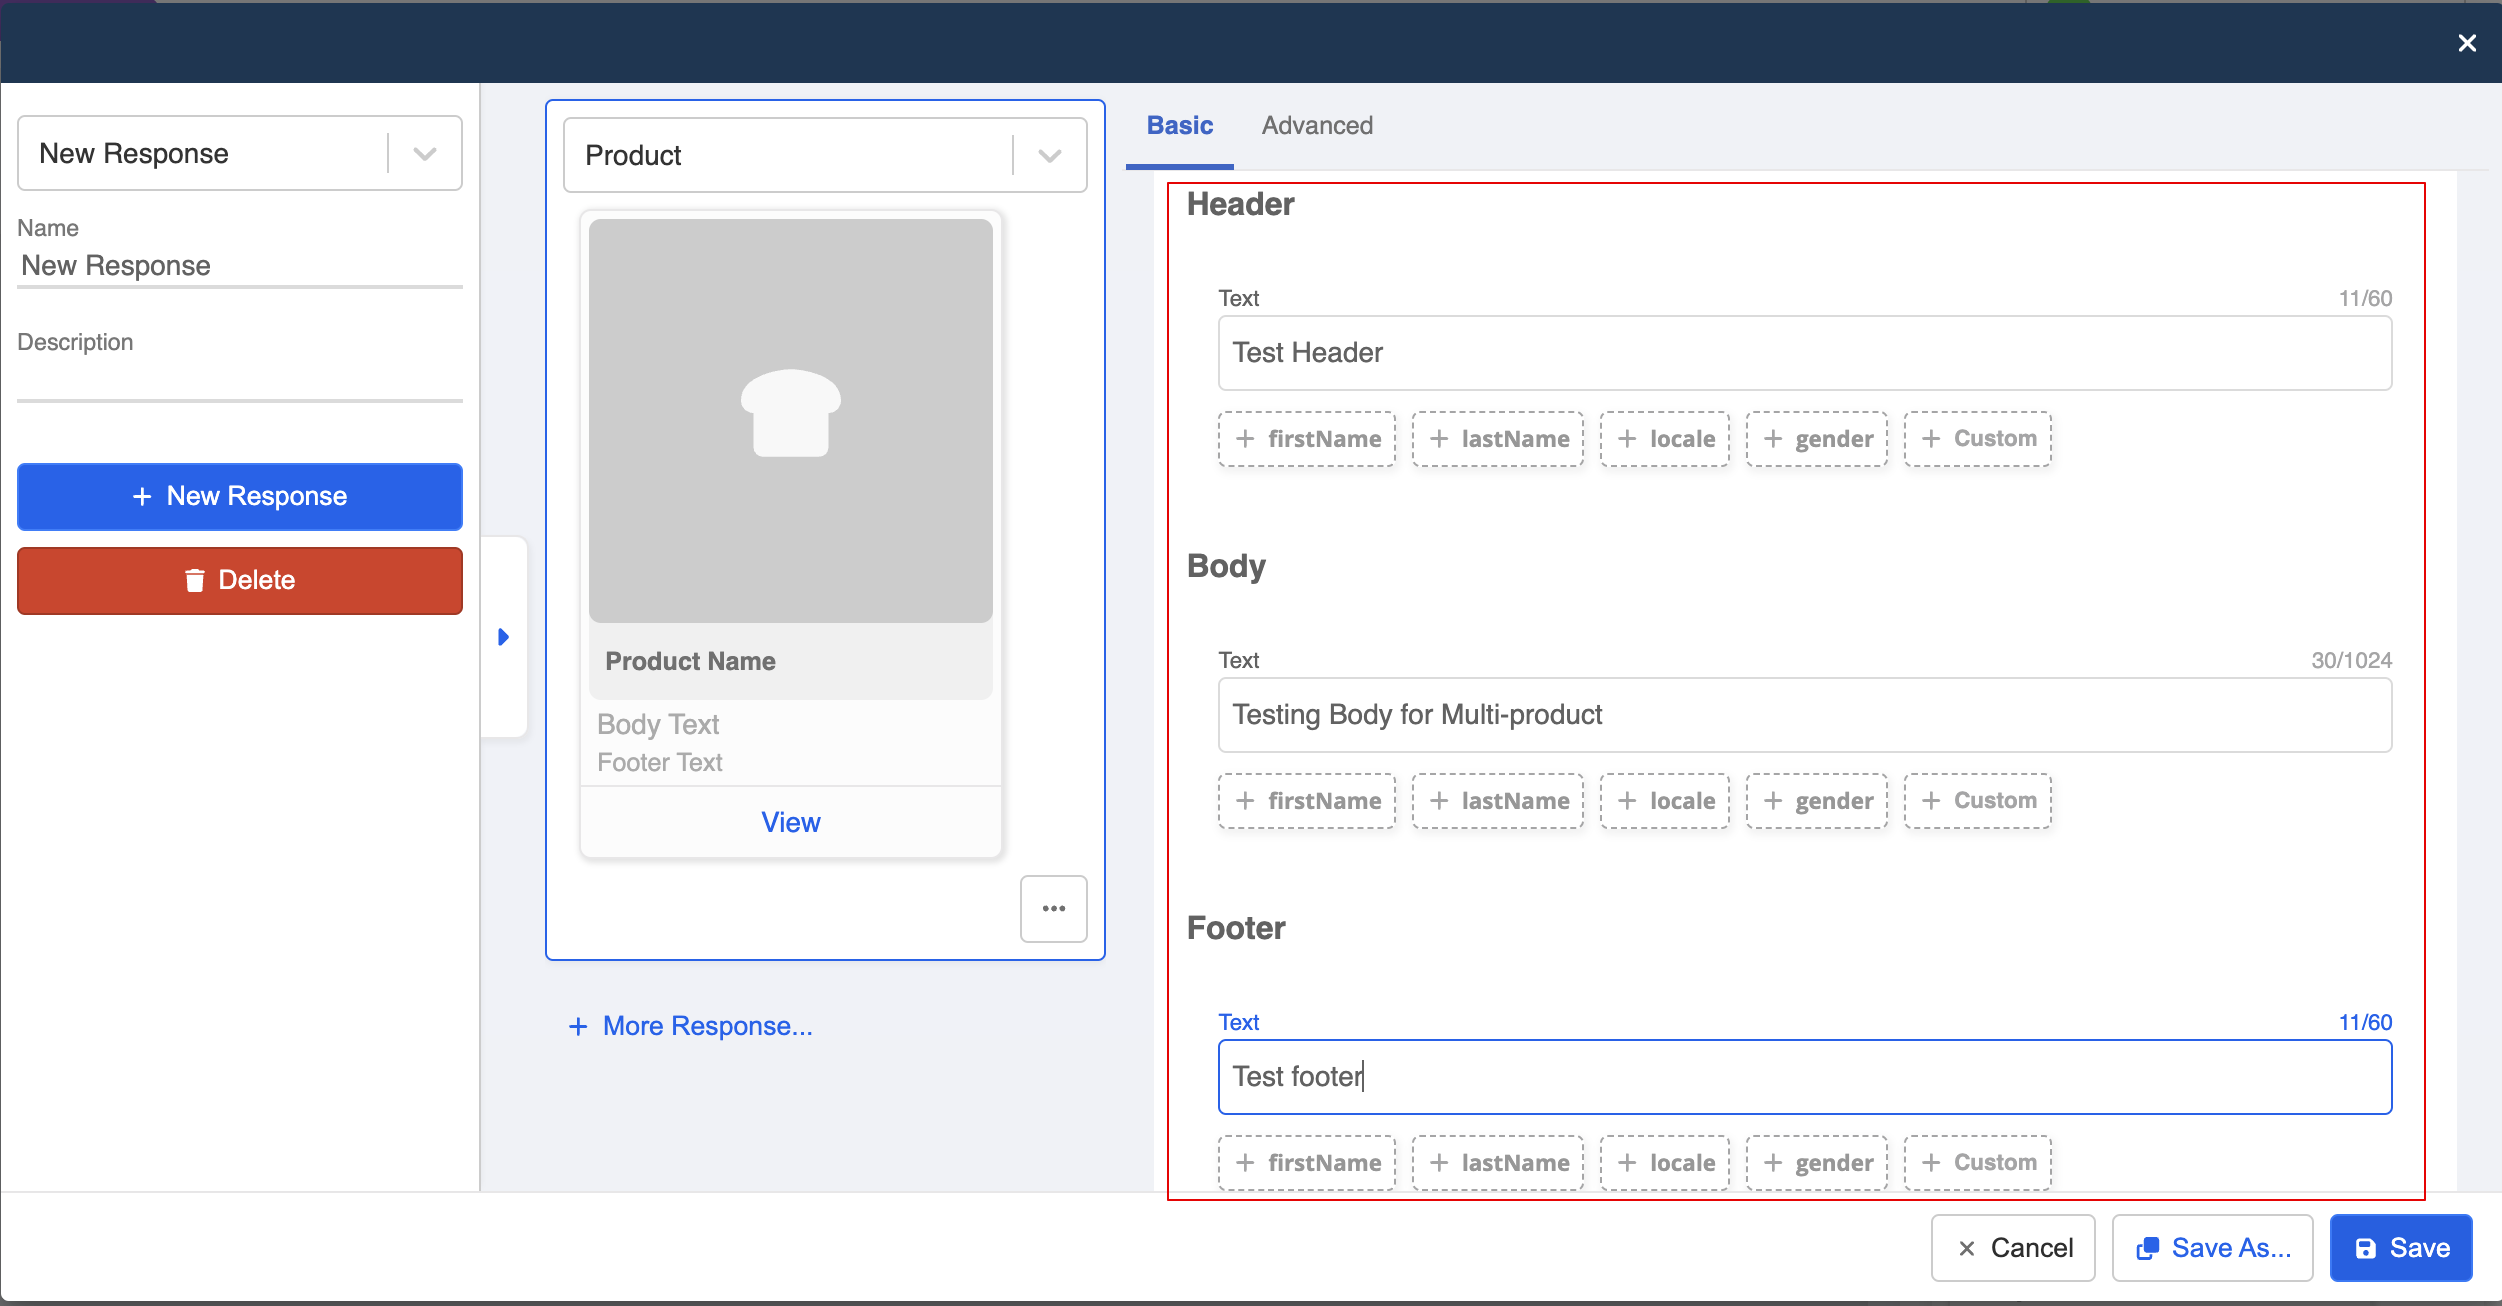
- Select "Product" from the message type. You can add the body text and the optional header and footer.
- Select the relevant channel.
NOTE
The channel picker won't return anything if you have not connected a WABA to any of the channel.
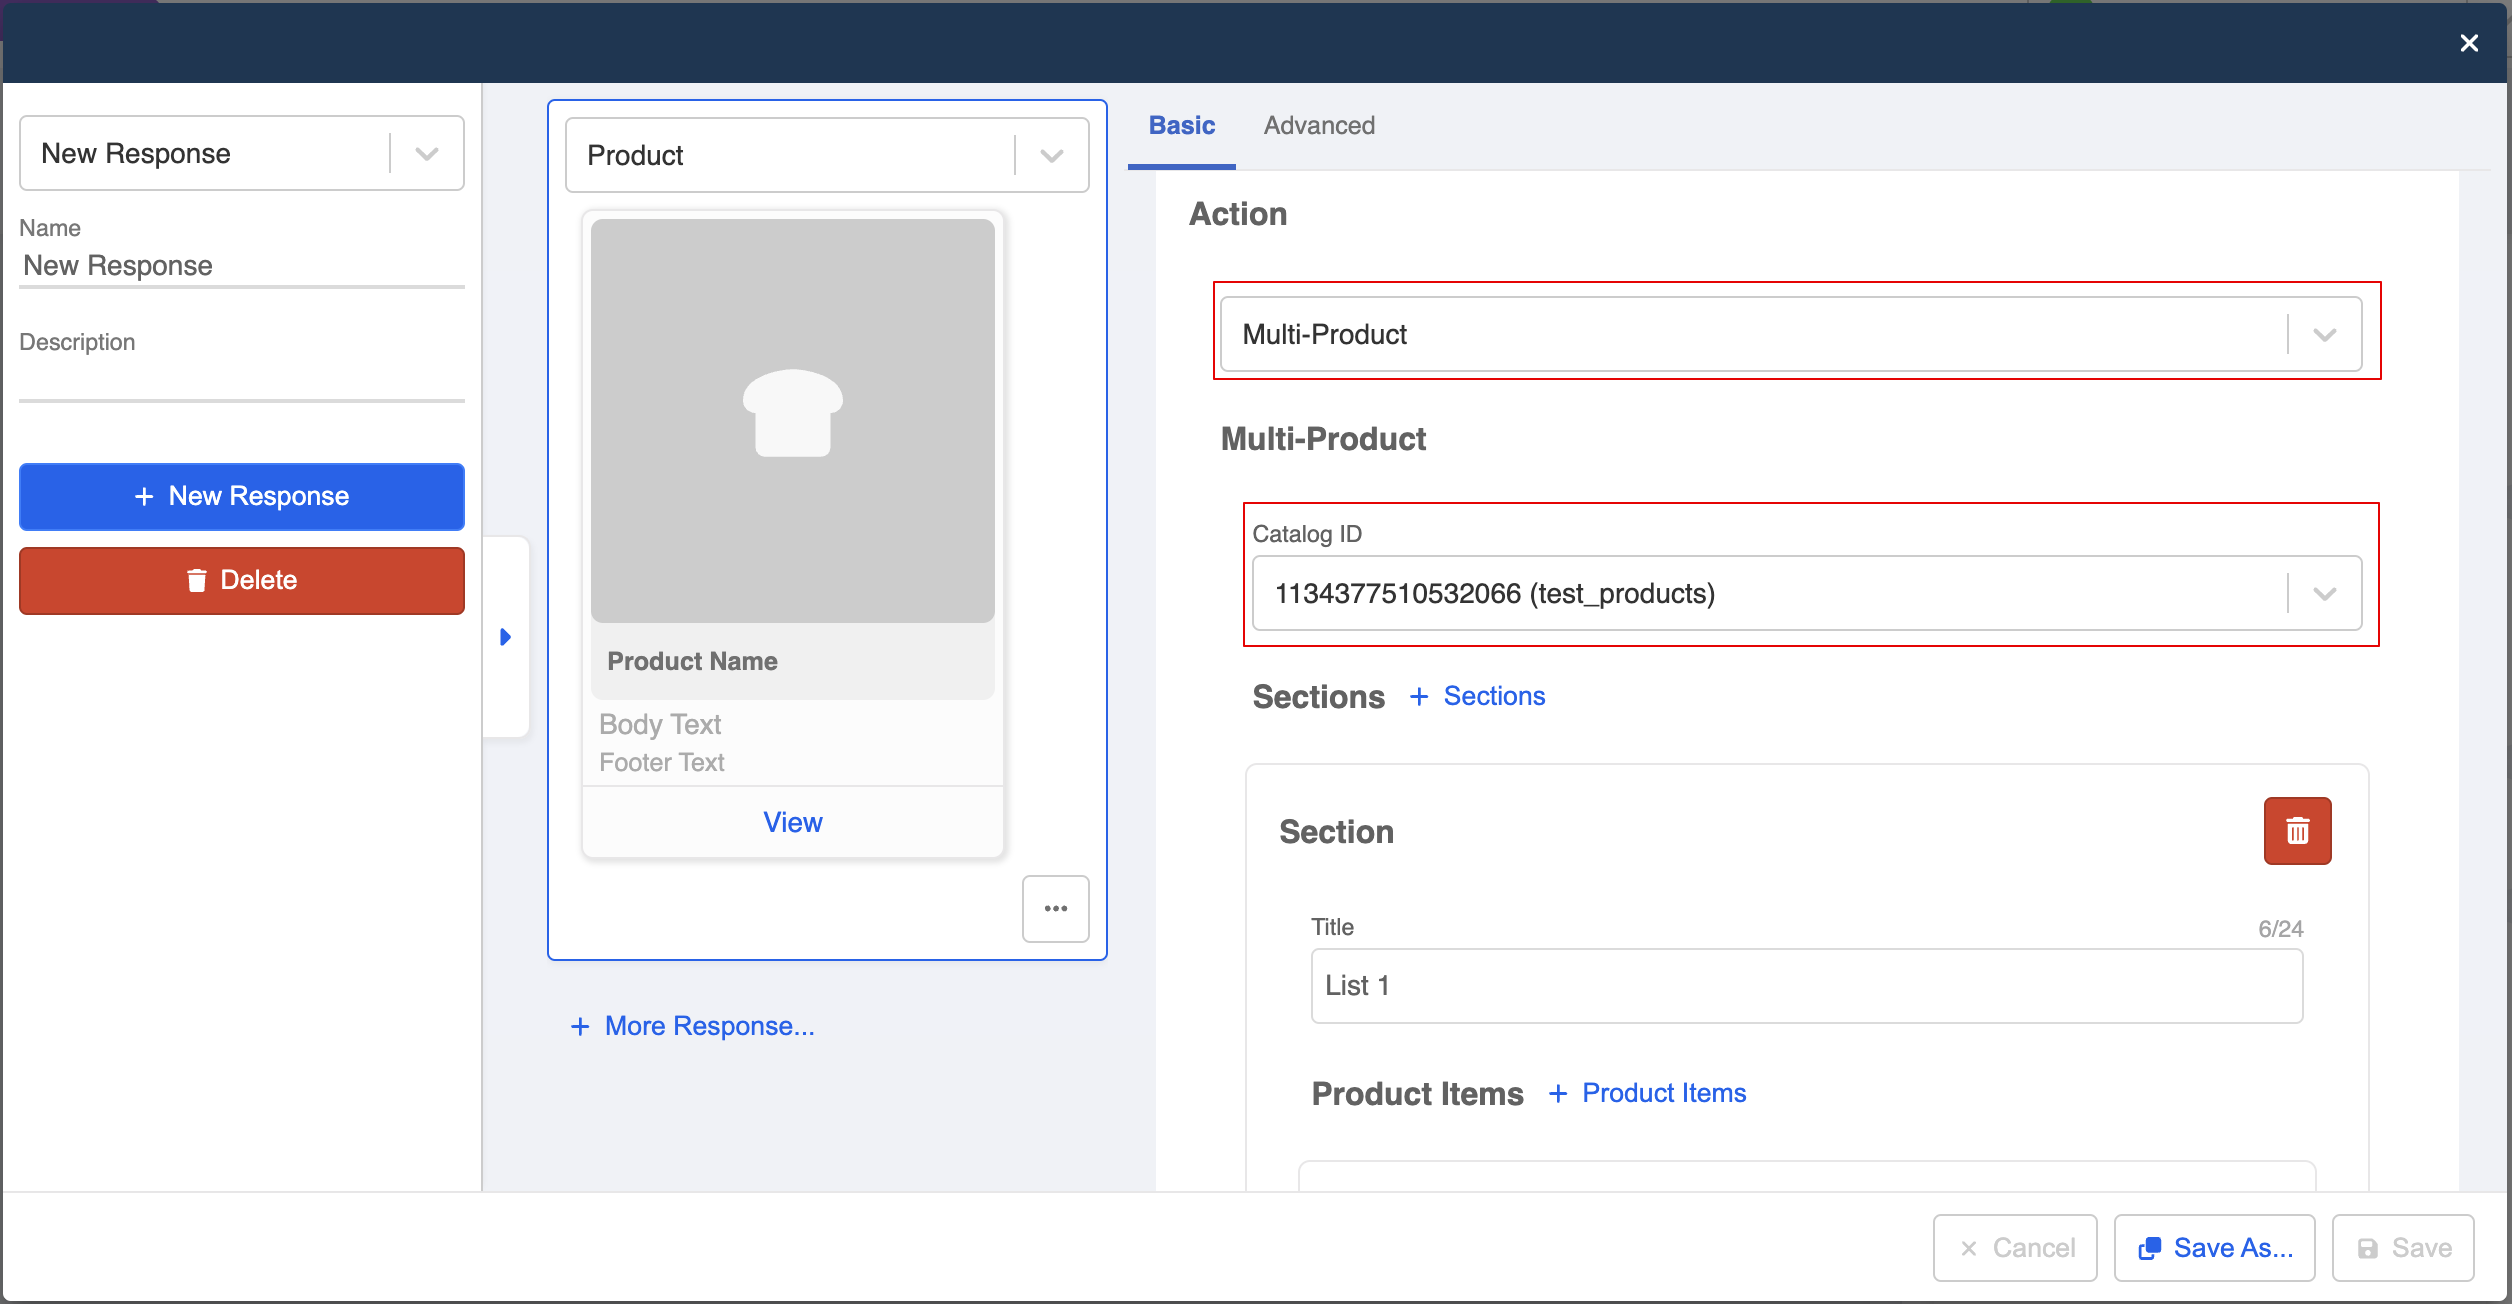
Fill in the Catalog ID and add the products to the template.

- Select "Multi-product", and the Catalog ID.
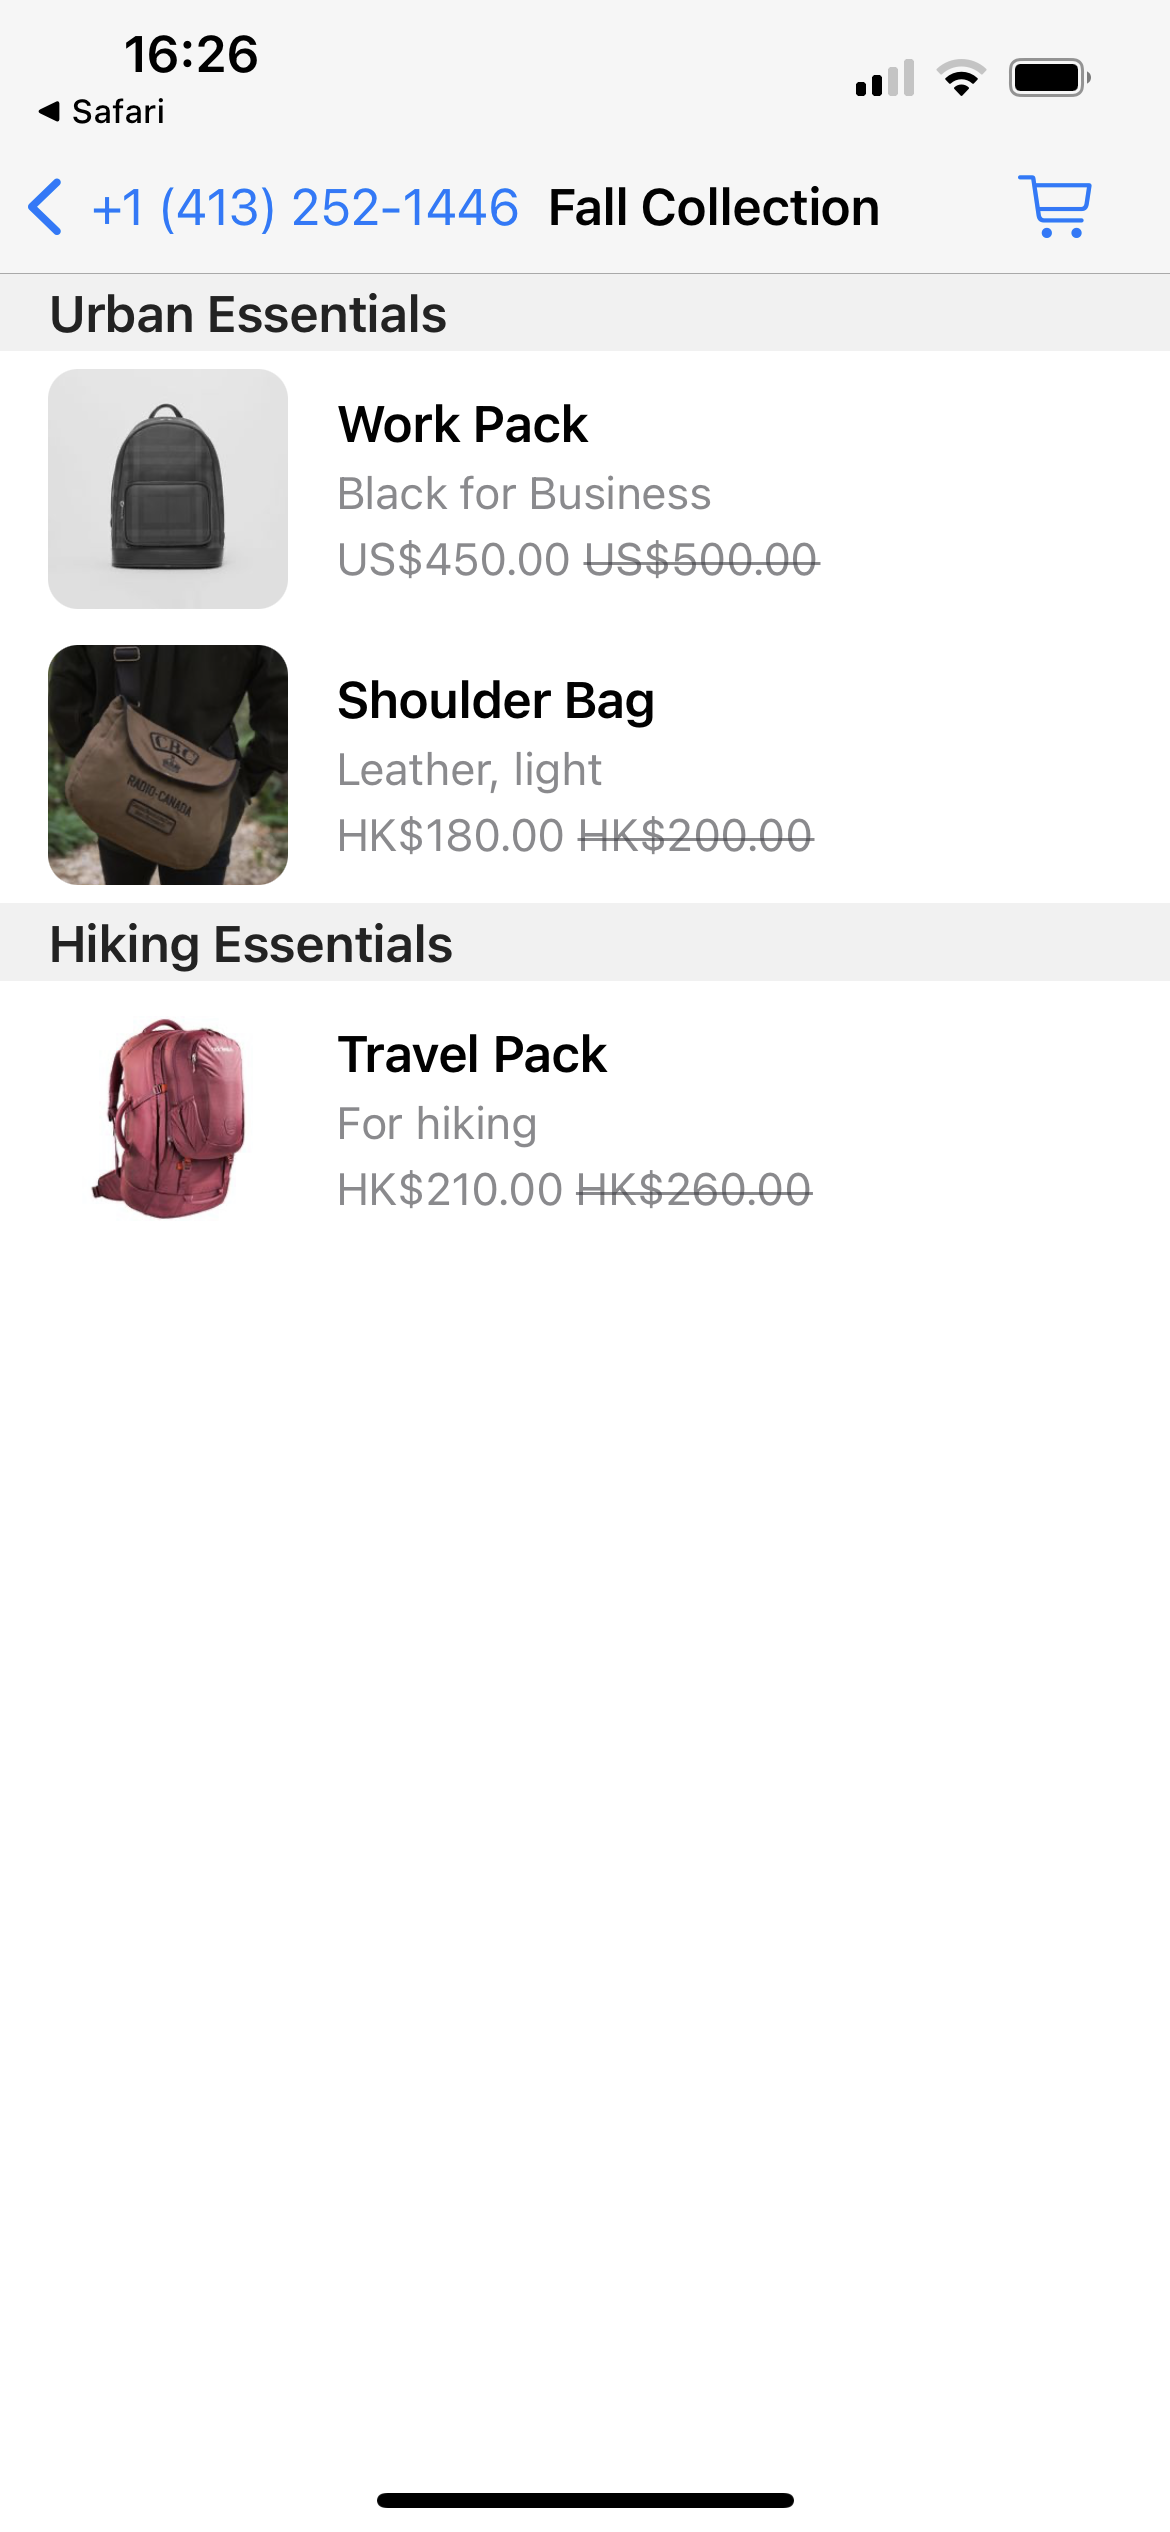
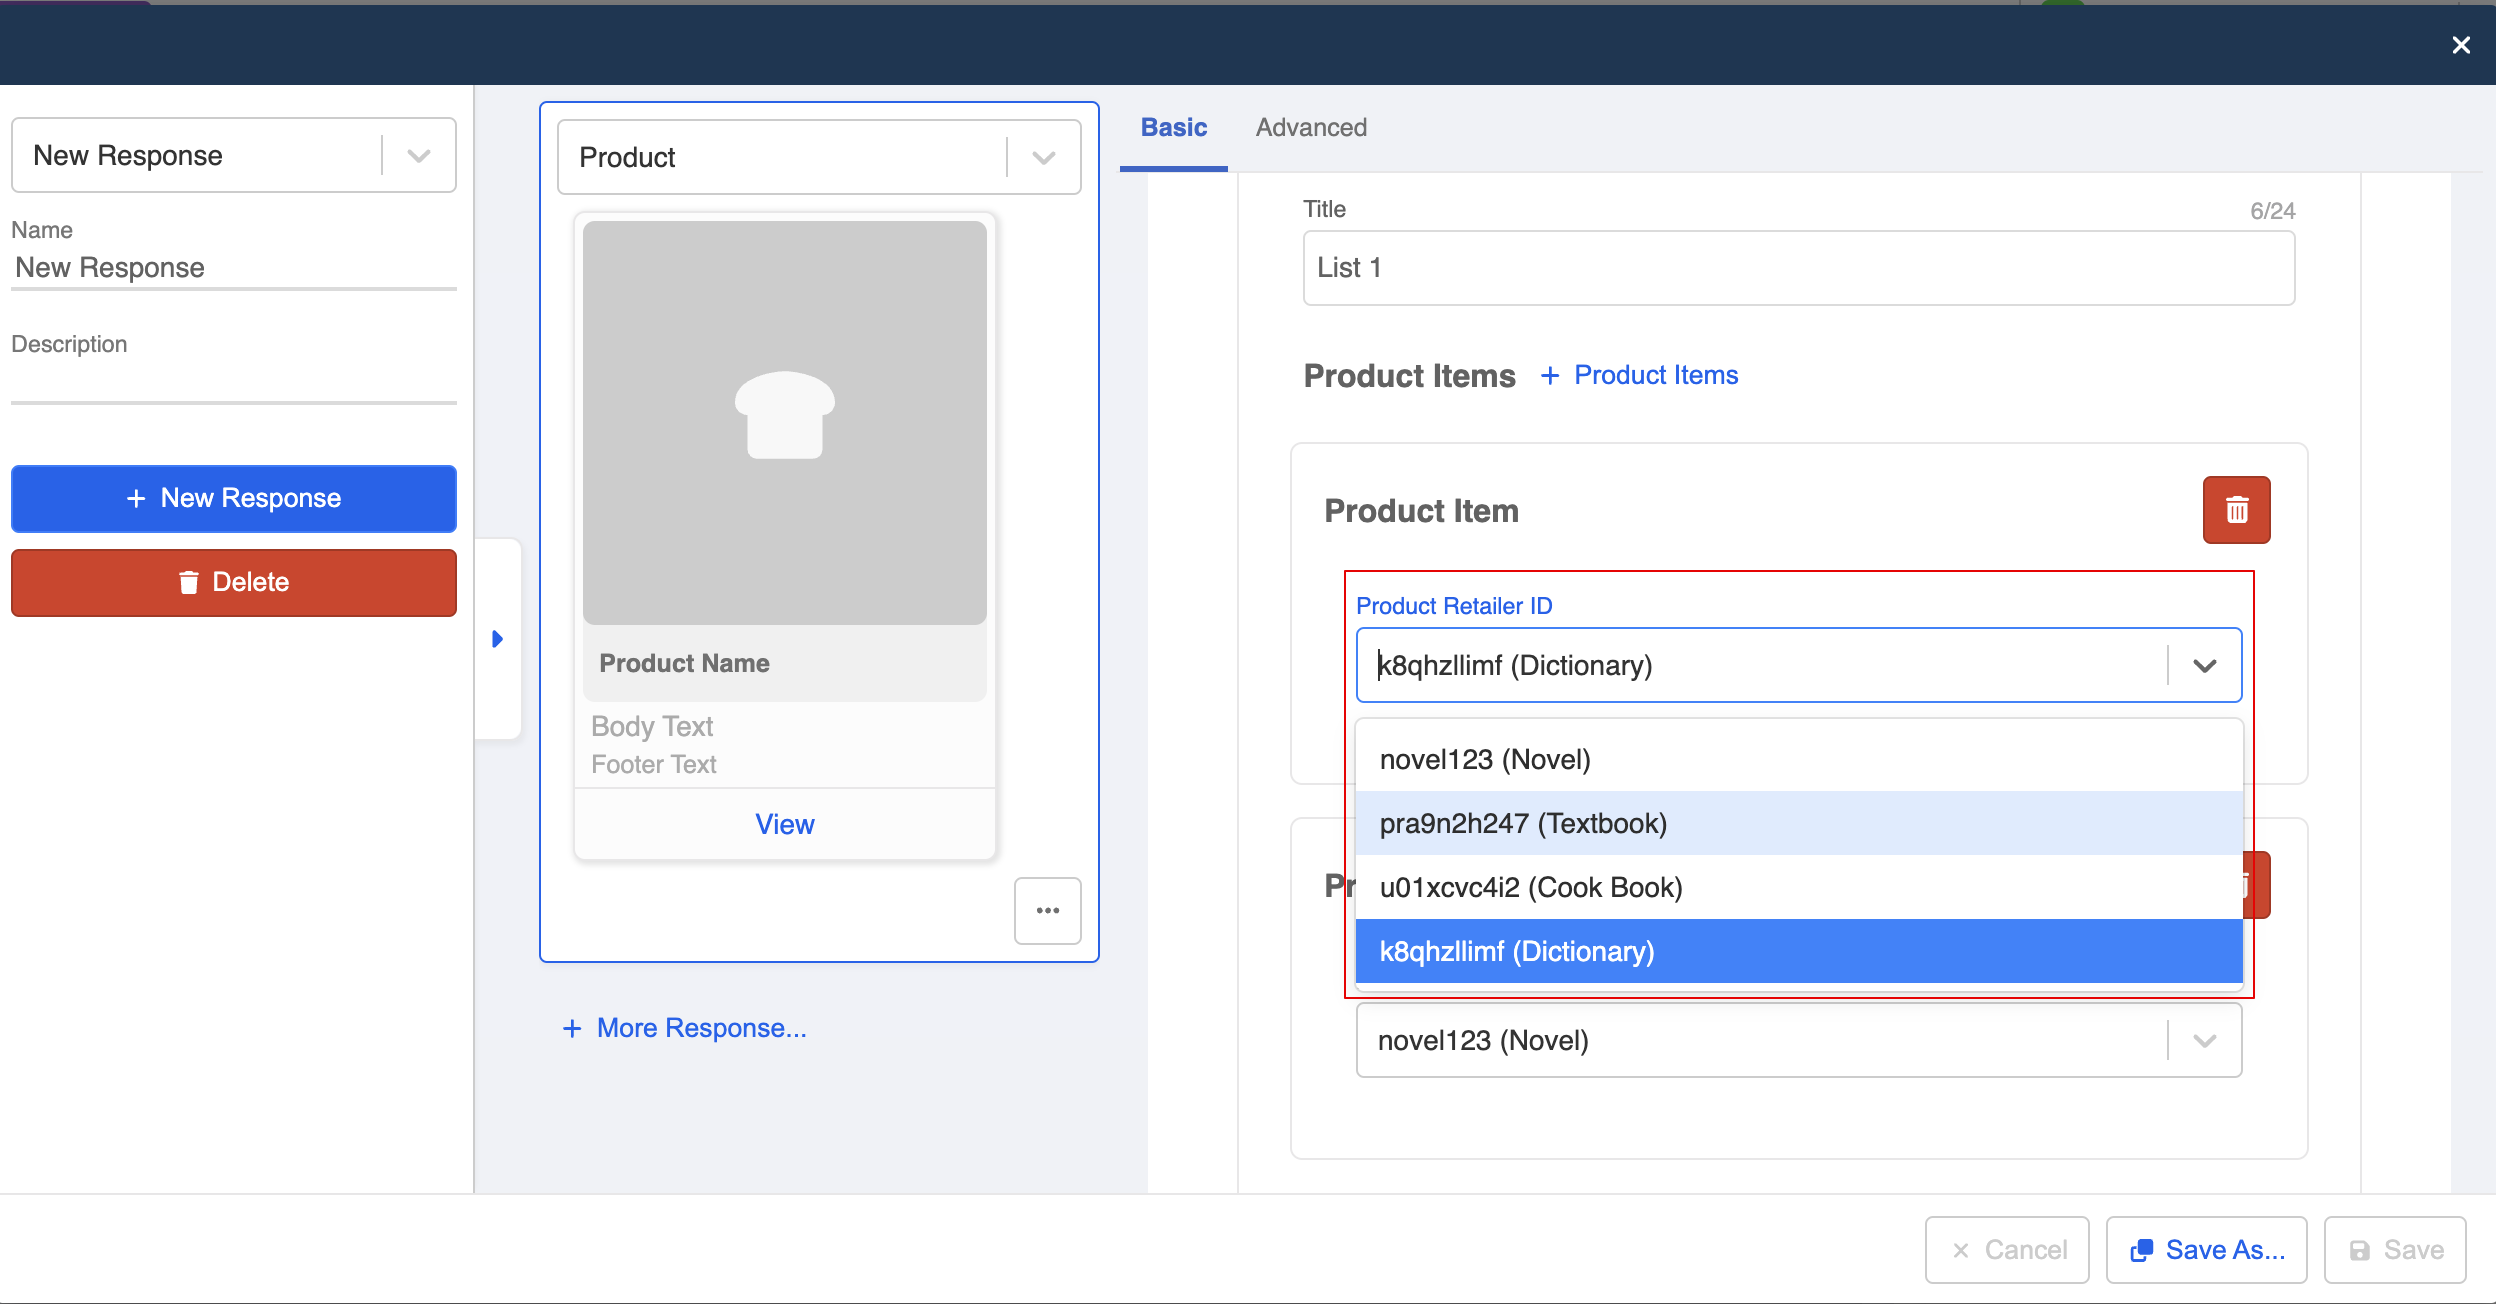
- Now, you can select the products added to the selected catalog.
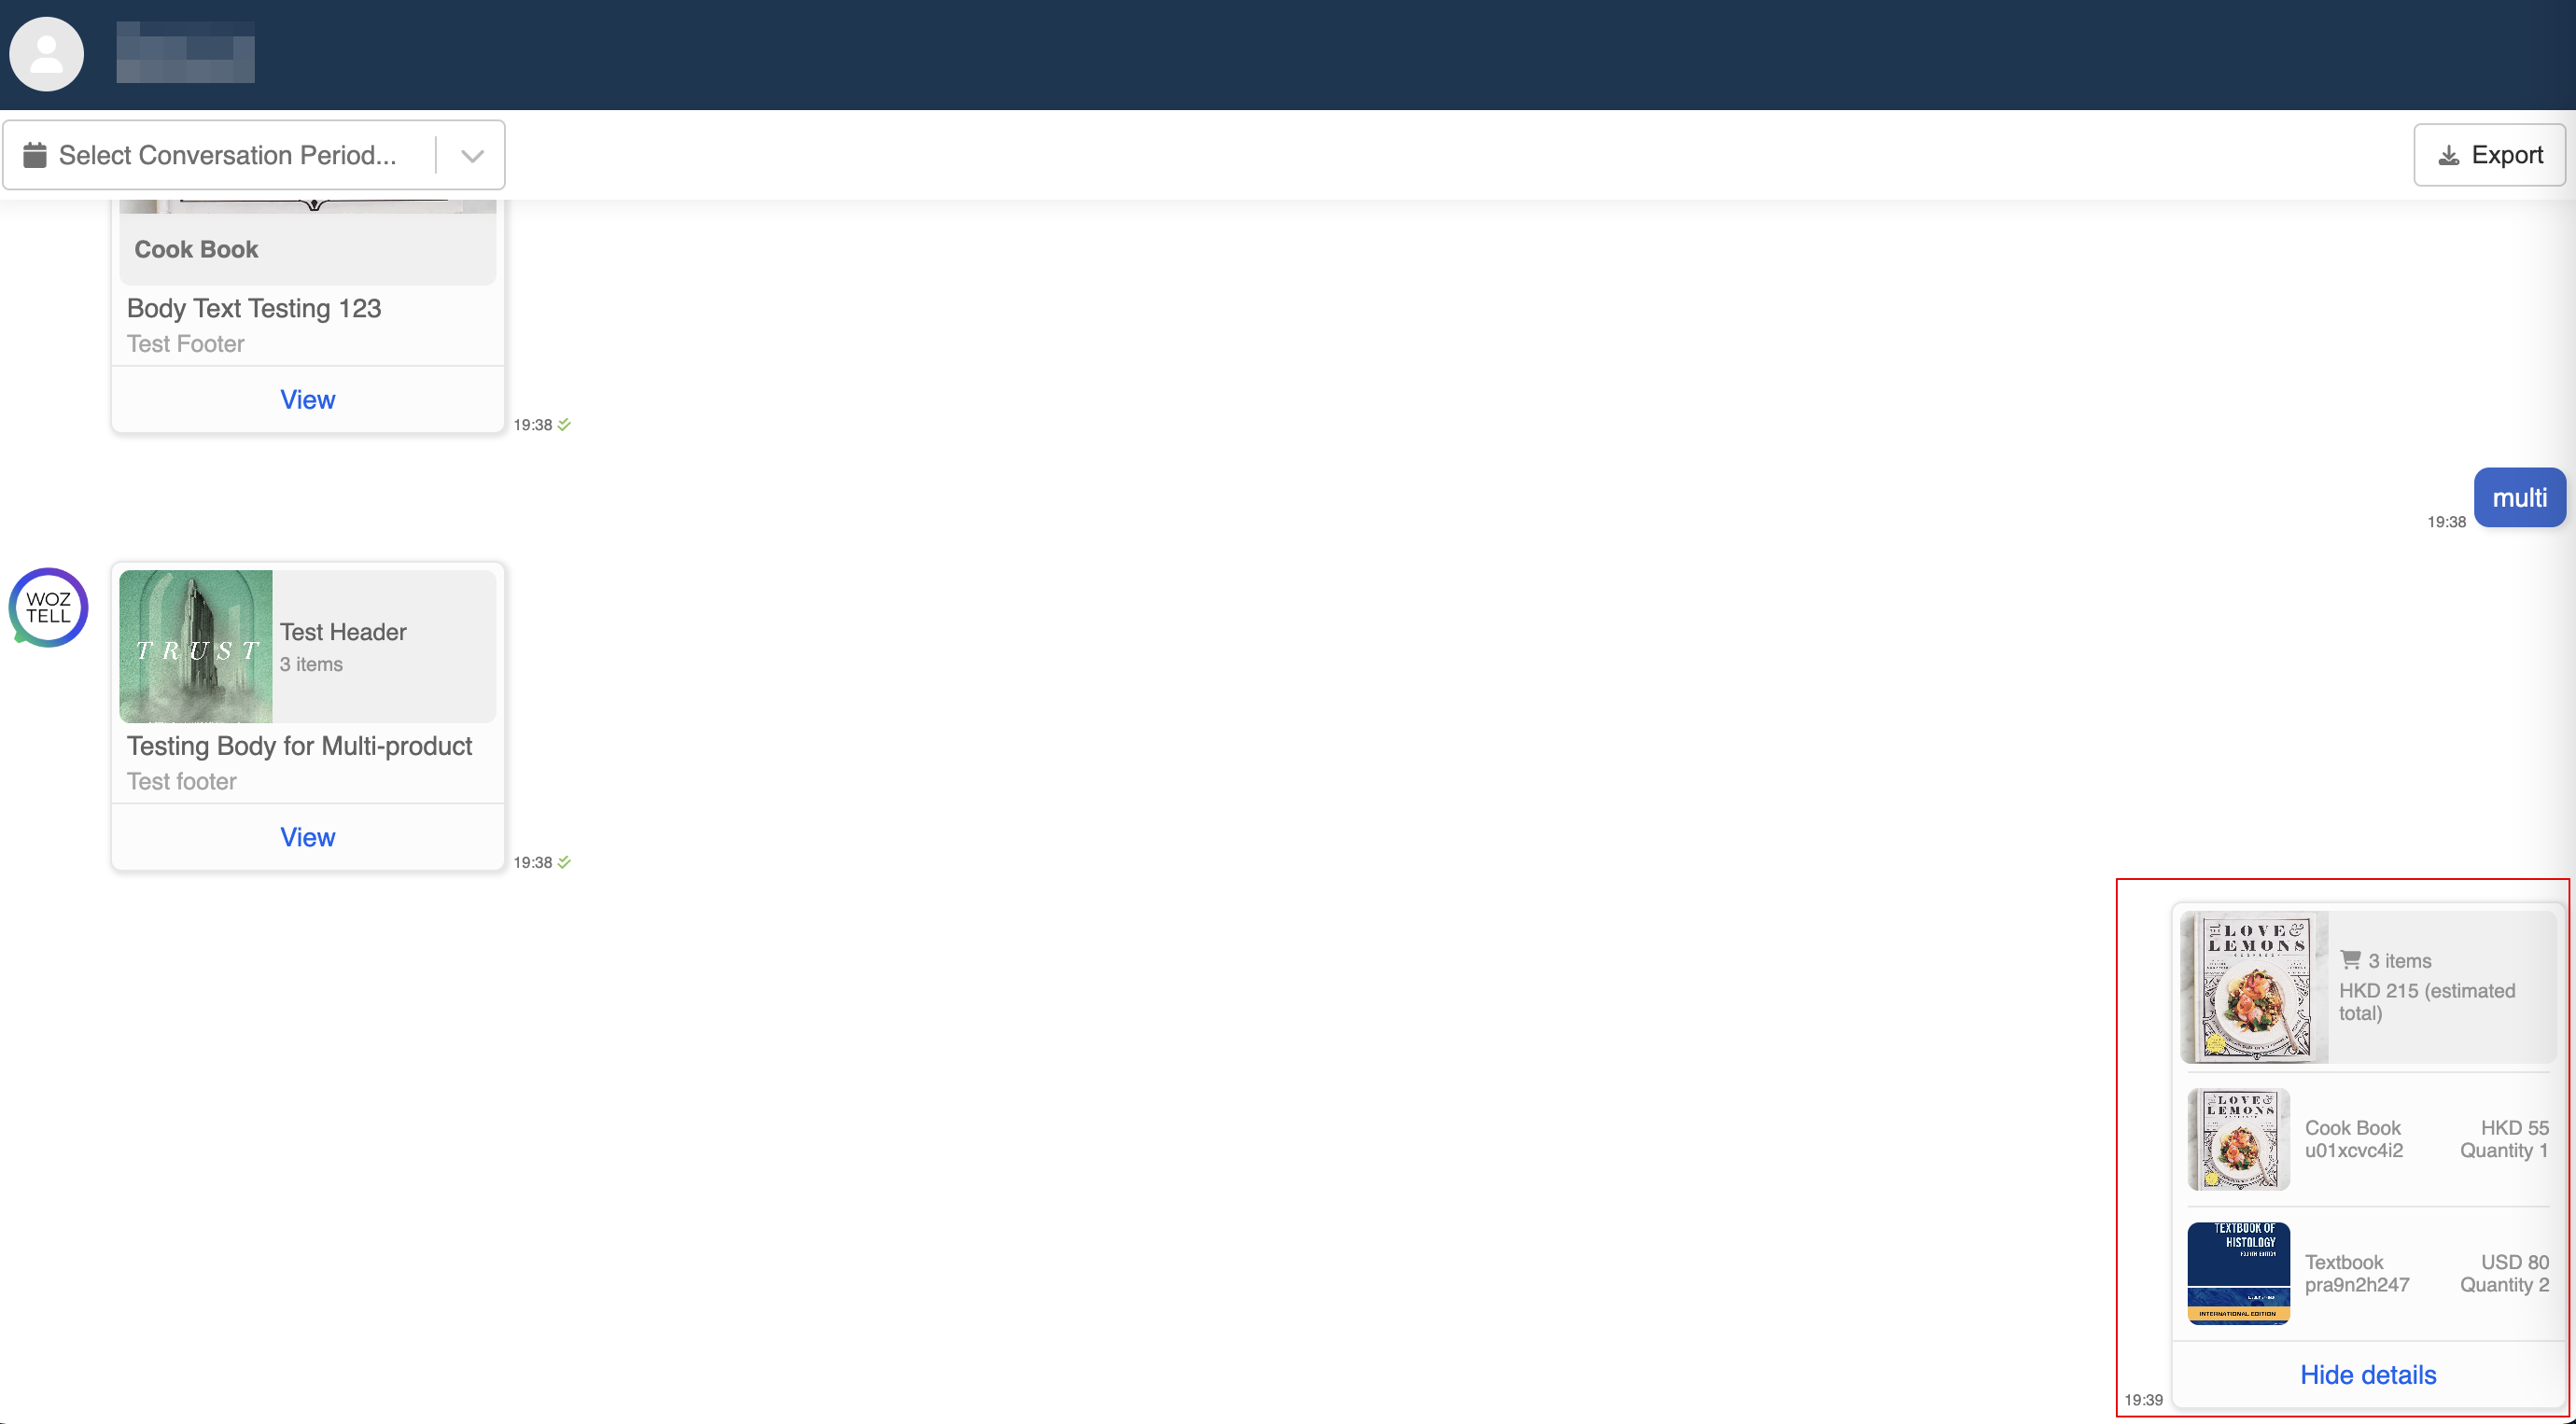
- After sending out the product message, you can also preview the multi-product message in the conversation history.

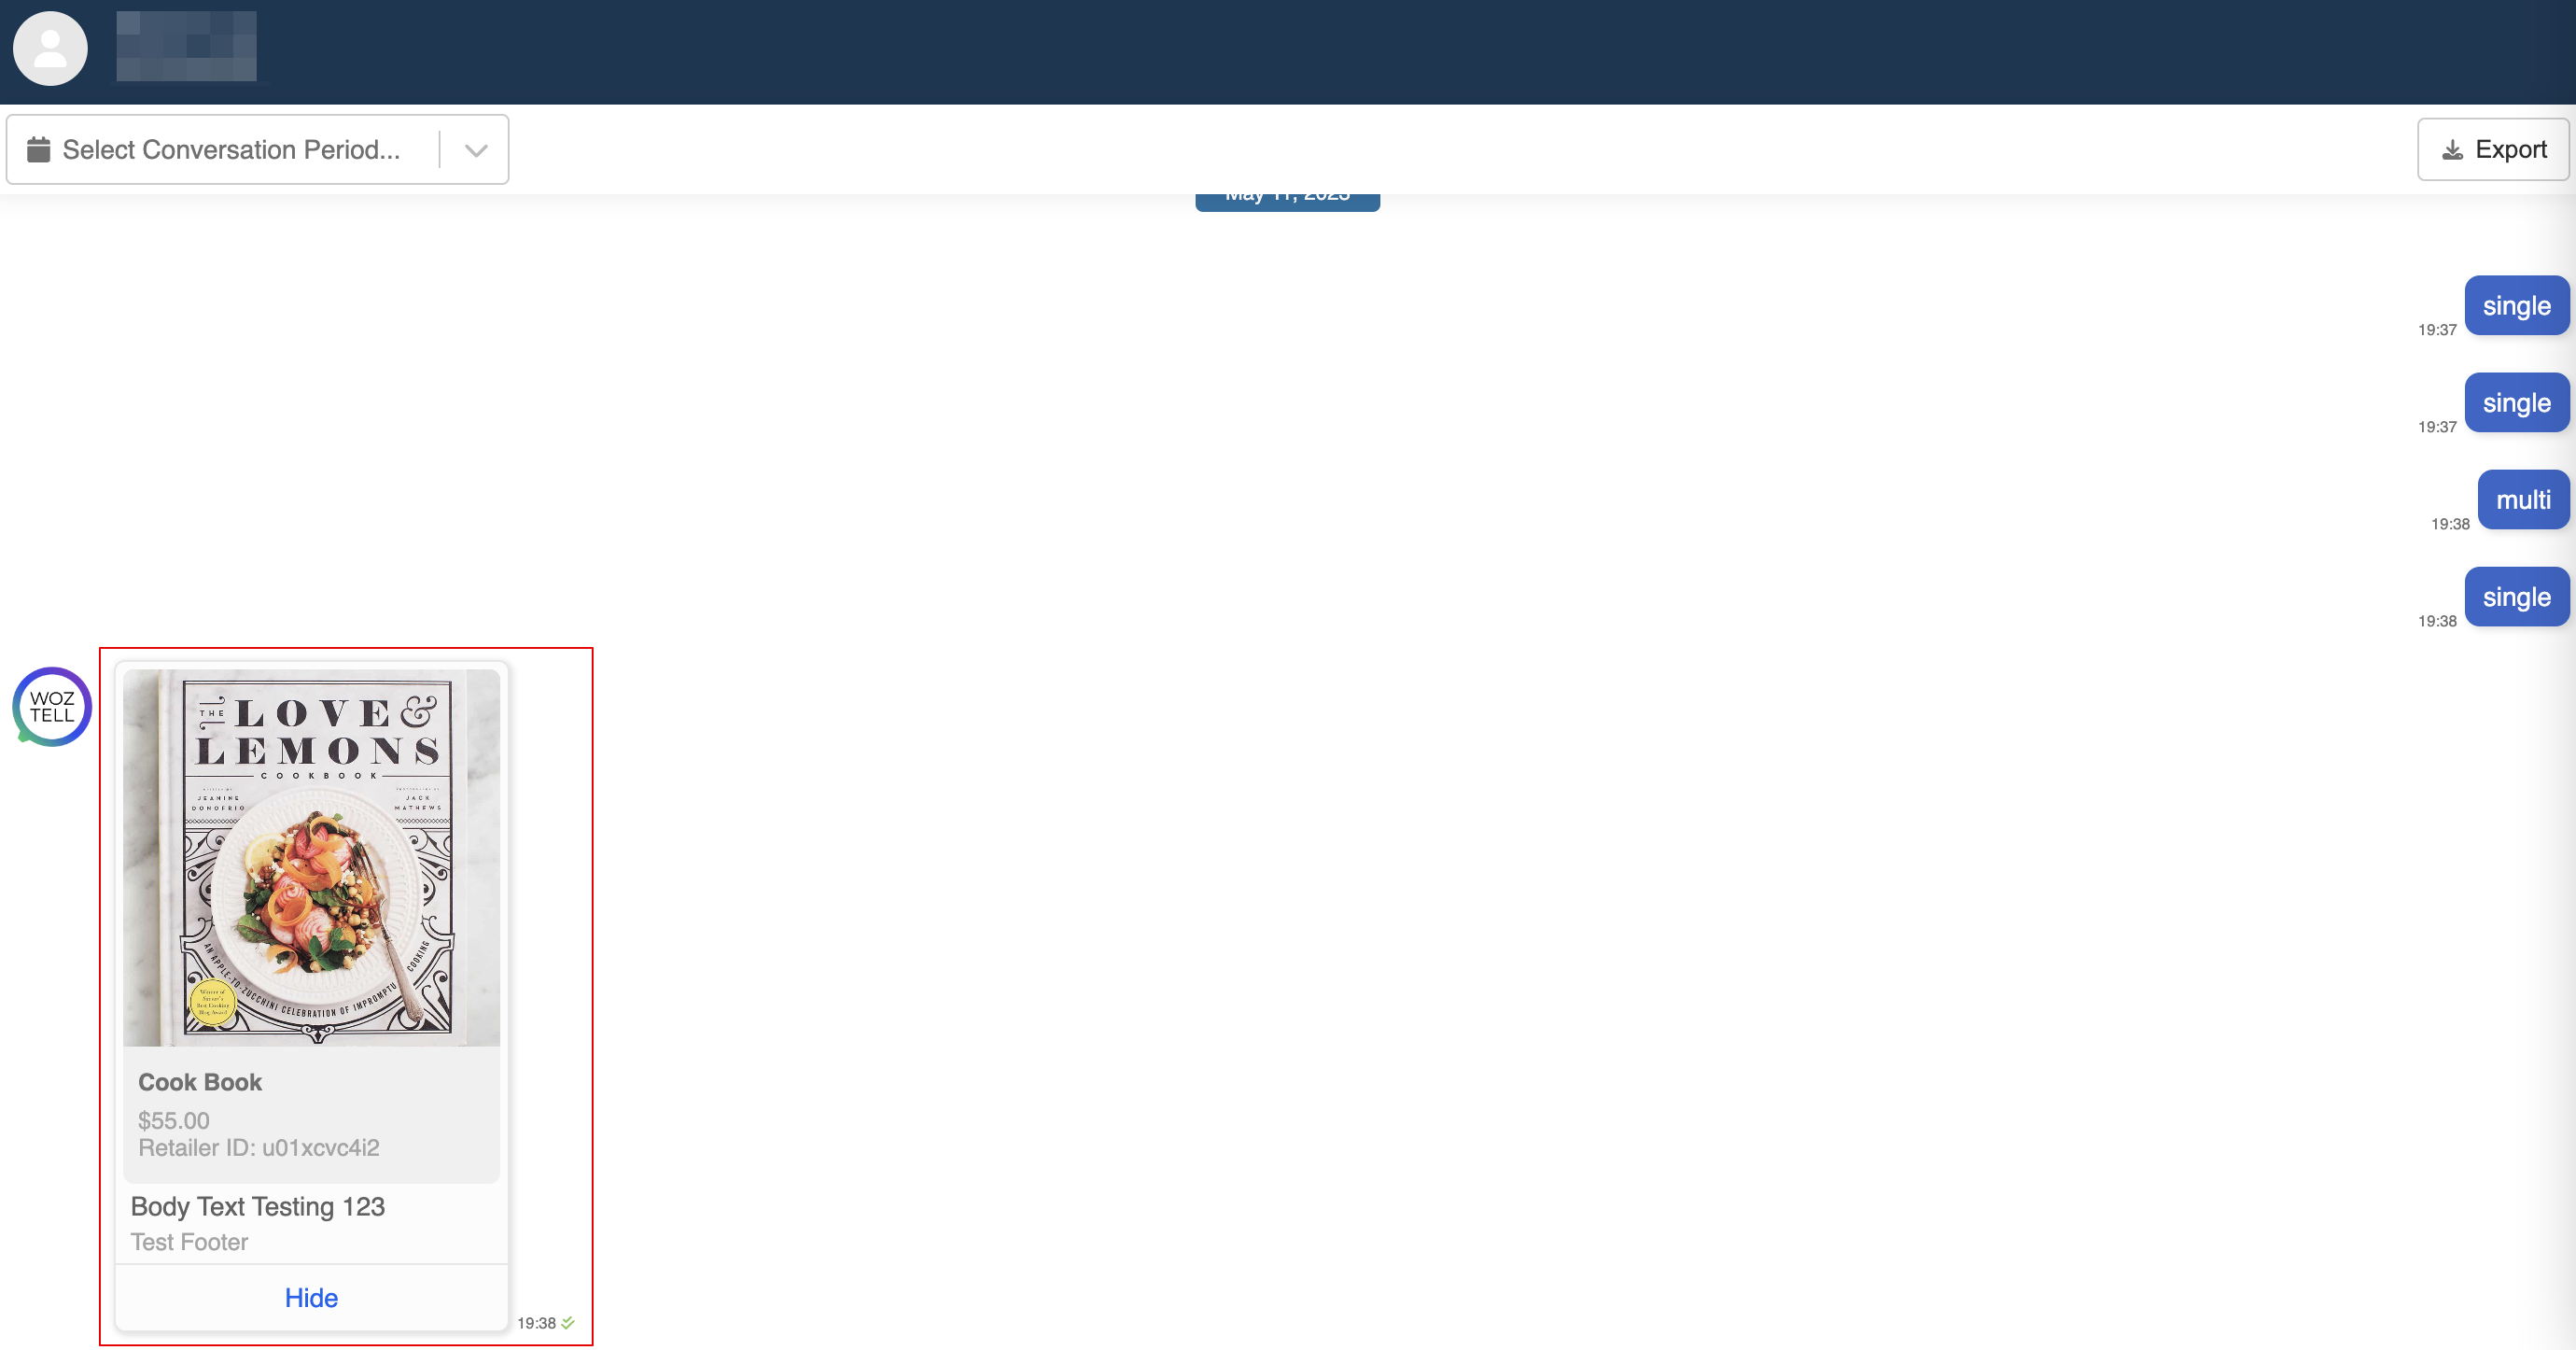
Single Product Message
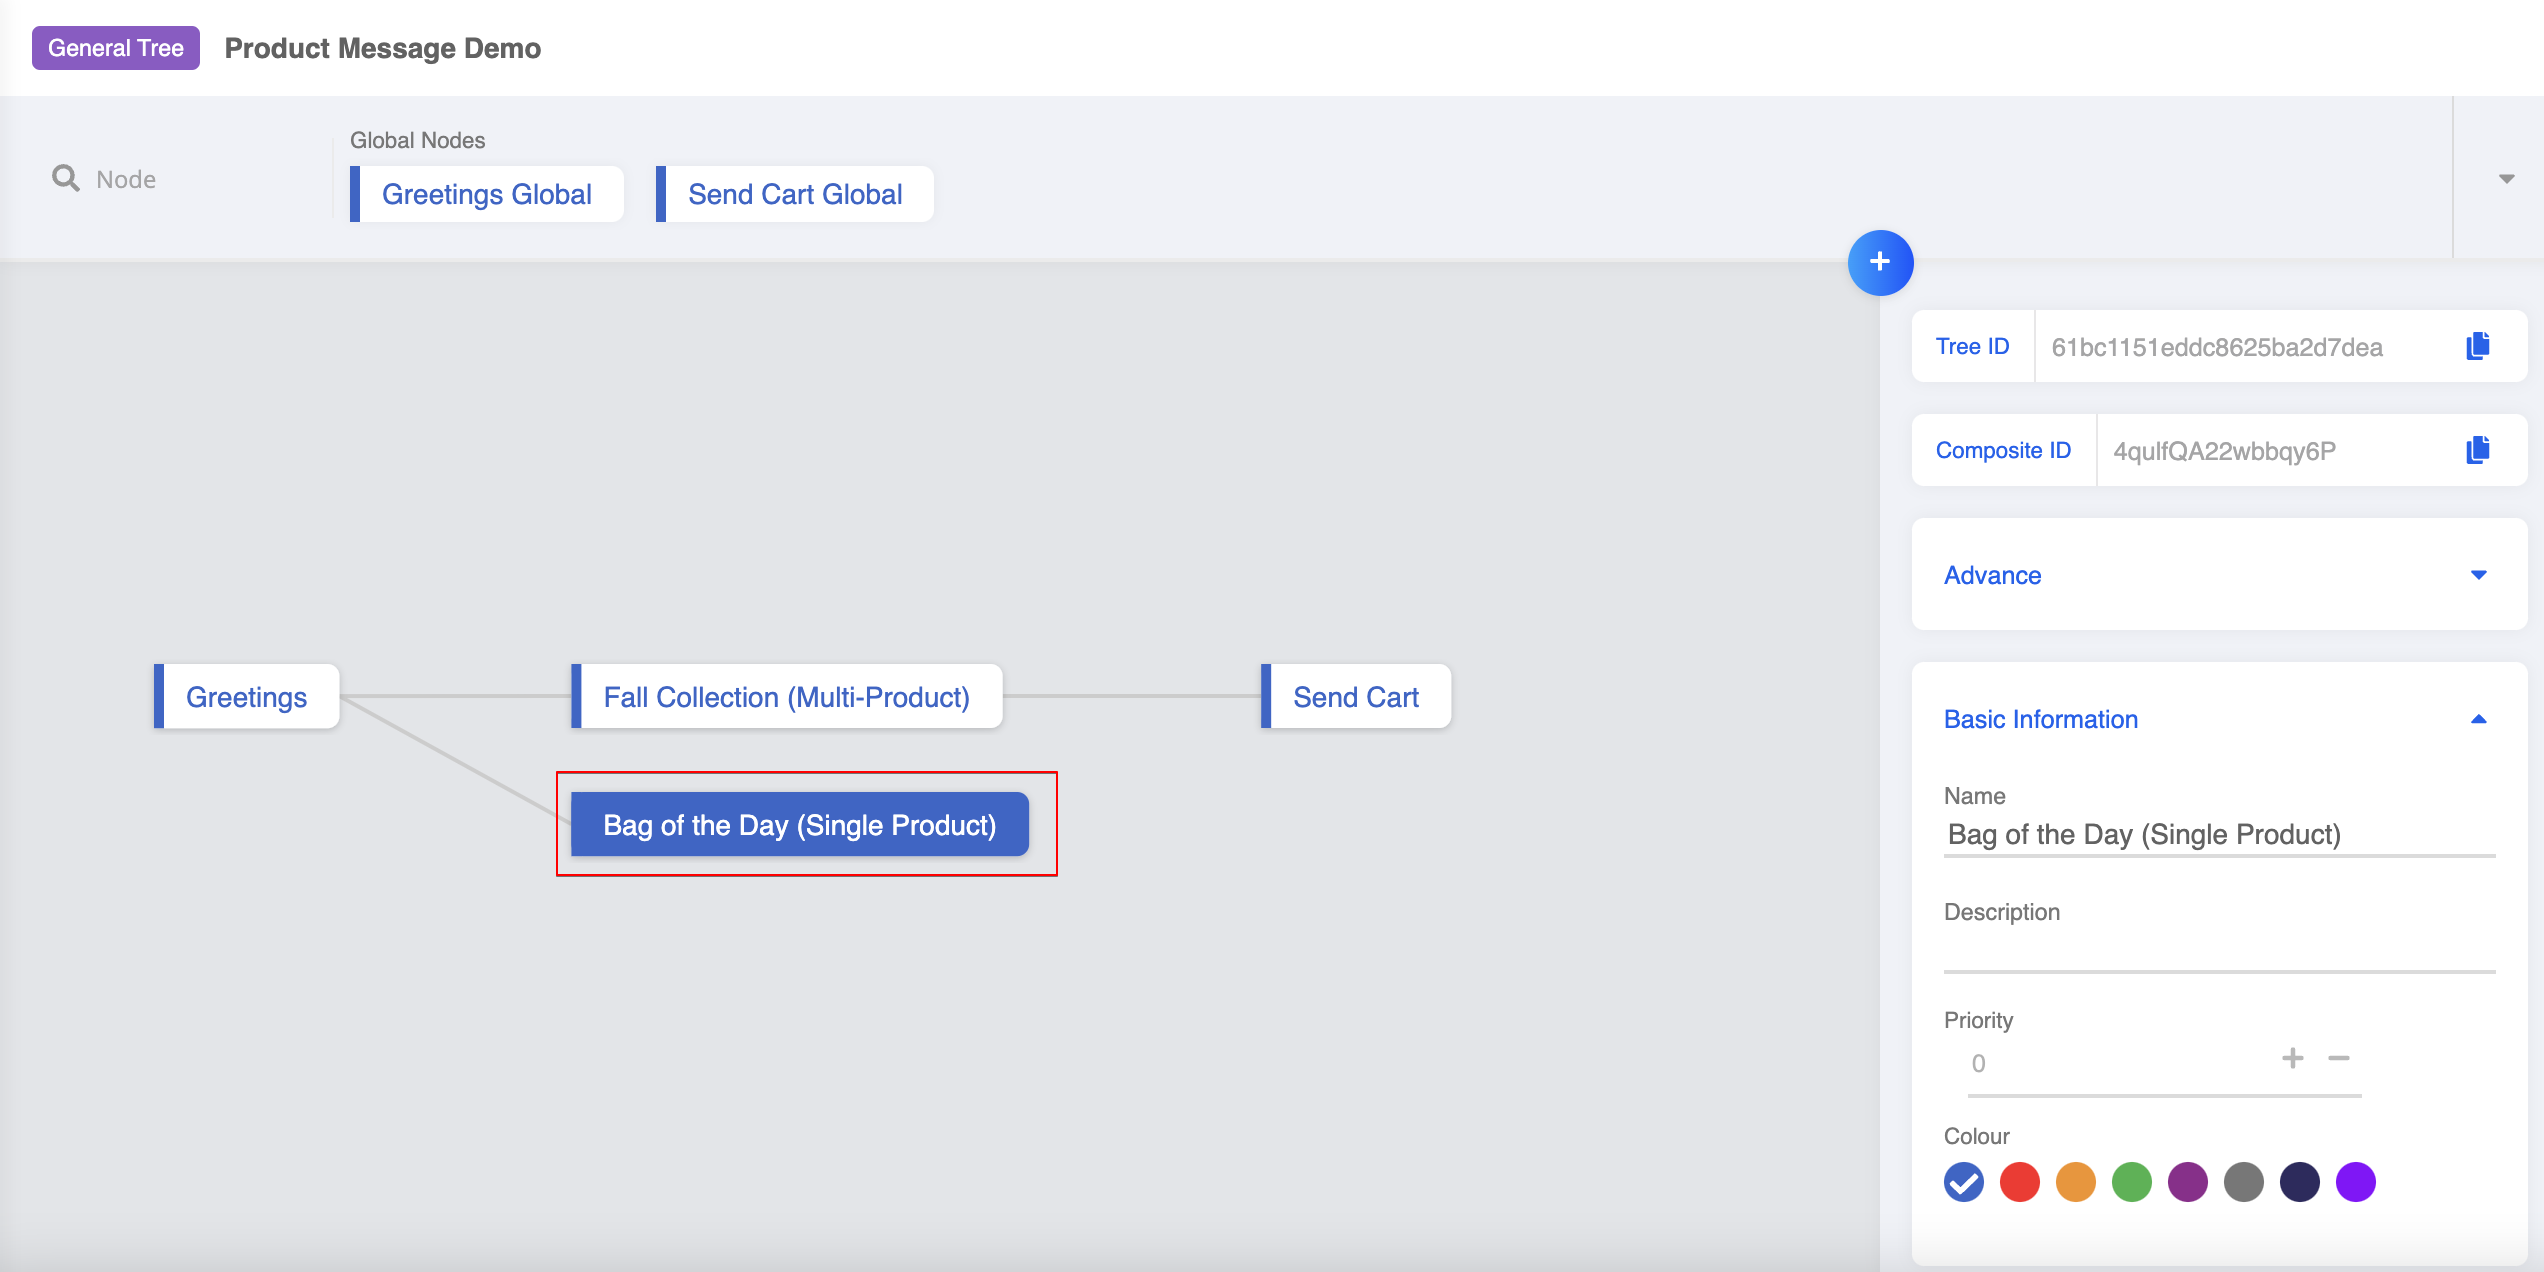
Create a General Node - Single Product
- Create another general node for handling the Single Product Message.
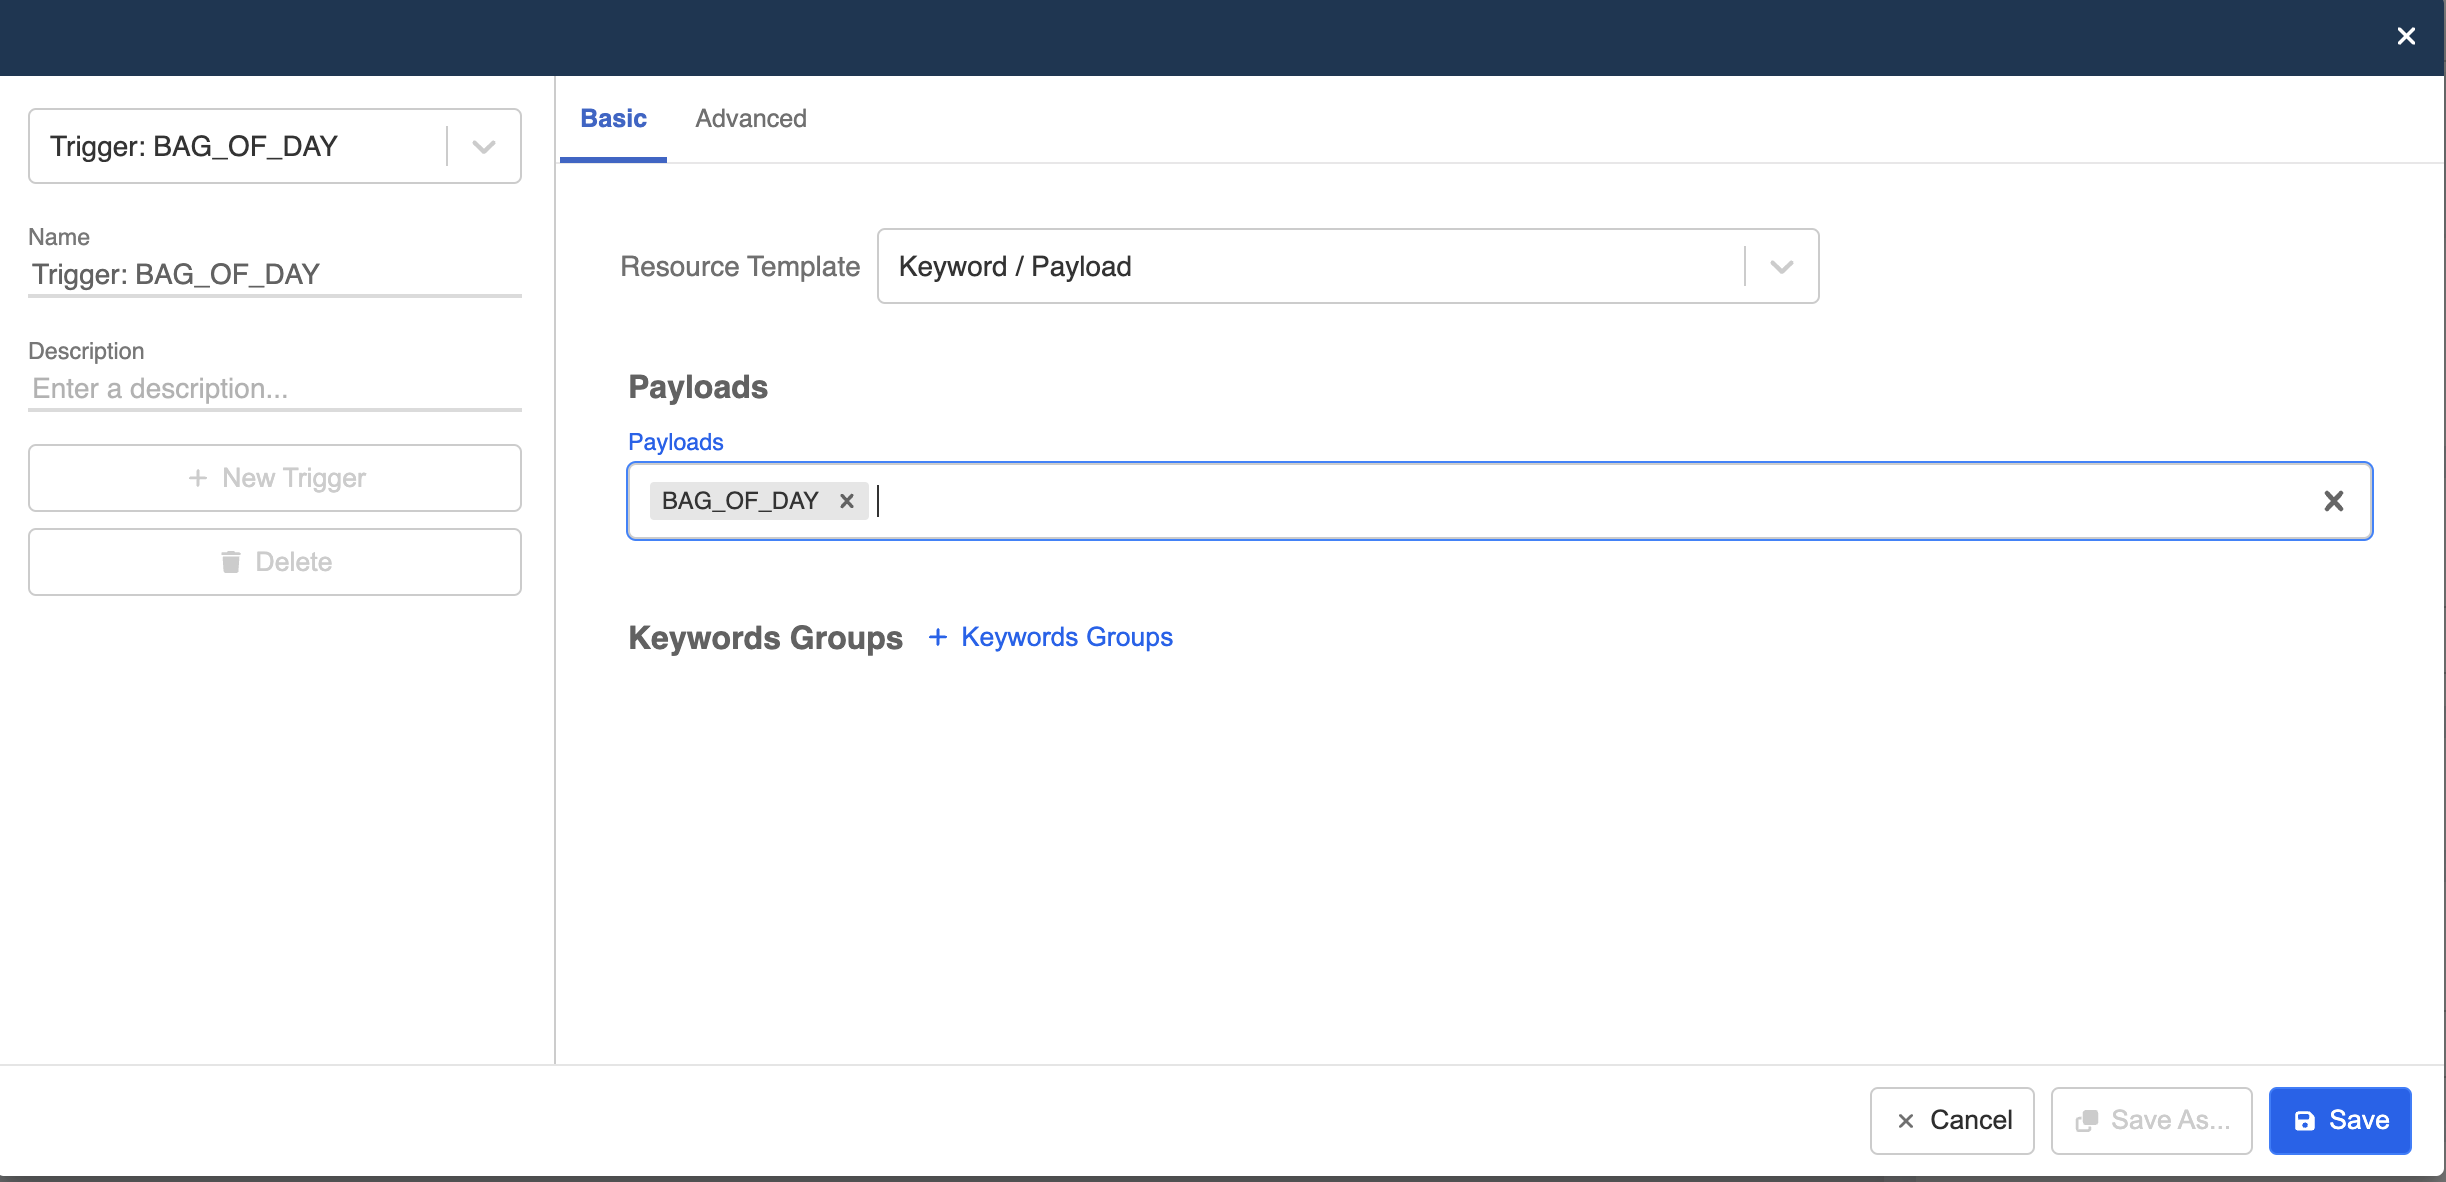
- Create a new trigger.
- In order to map to the button in the greeting message, we need to use Payload as the trigger. Please make the sure the self-defined payload matches with what you have assigned to the button. Click "Save" to continue.
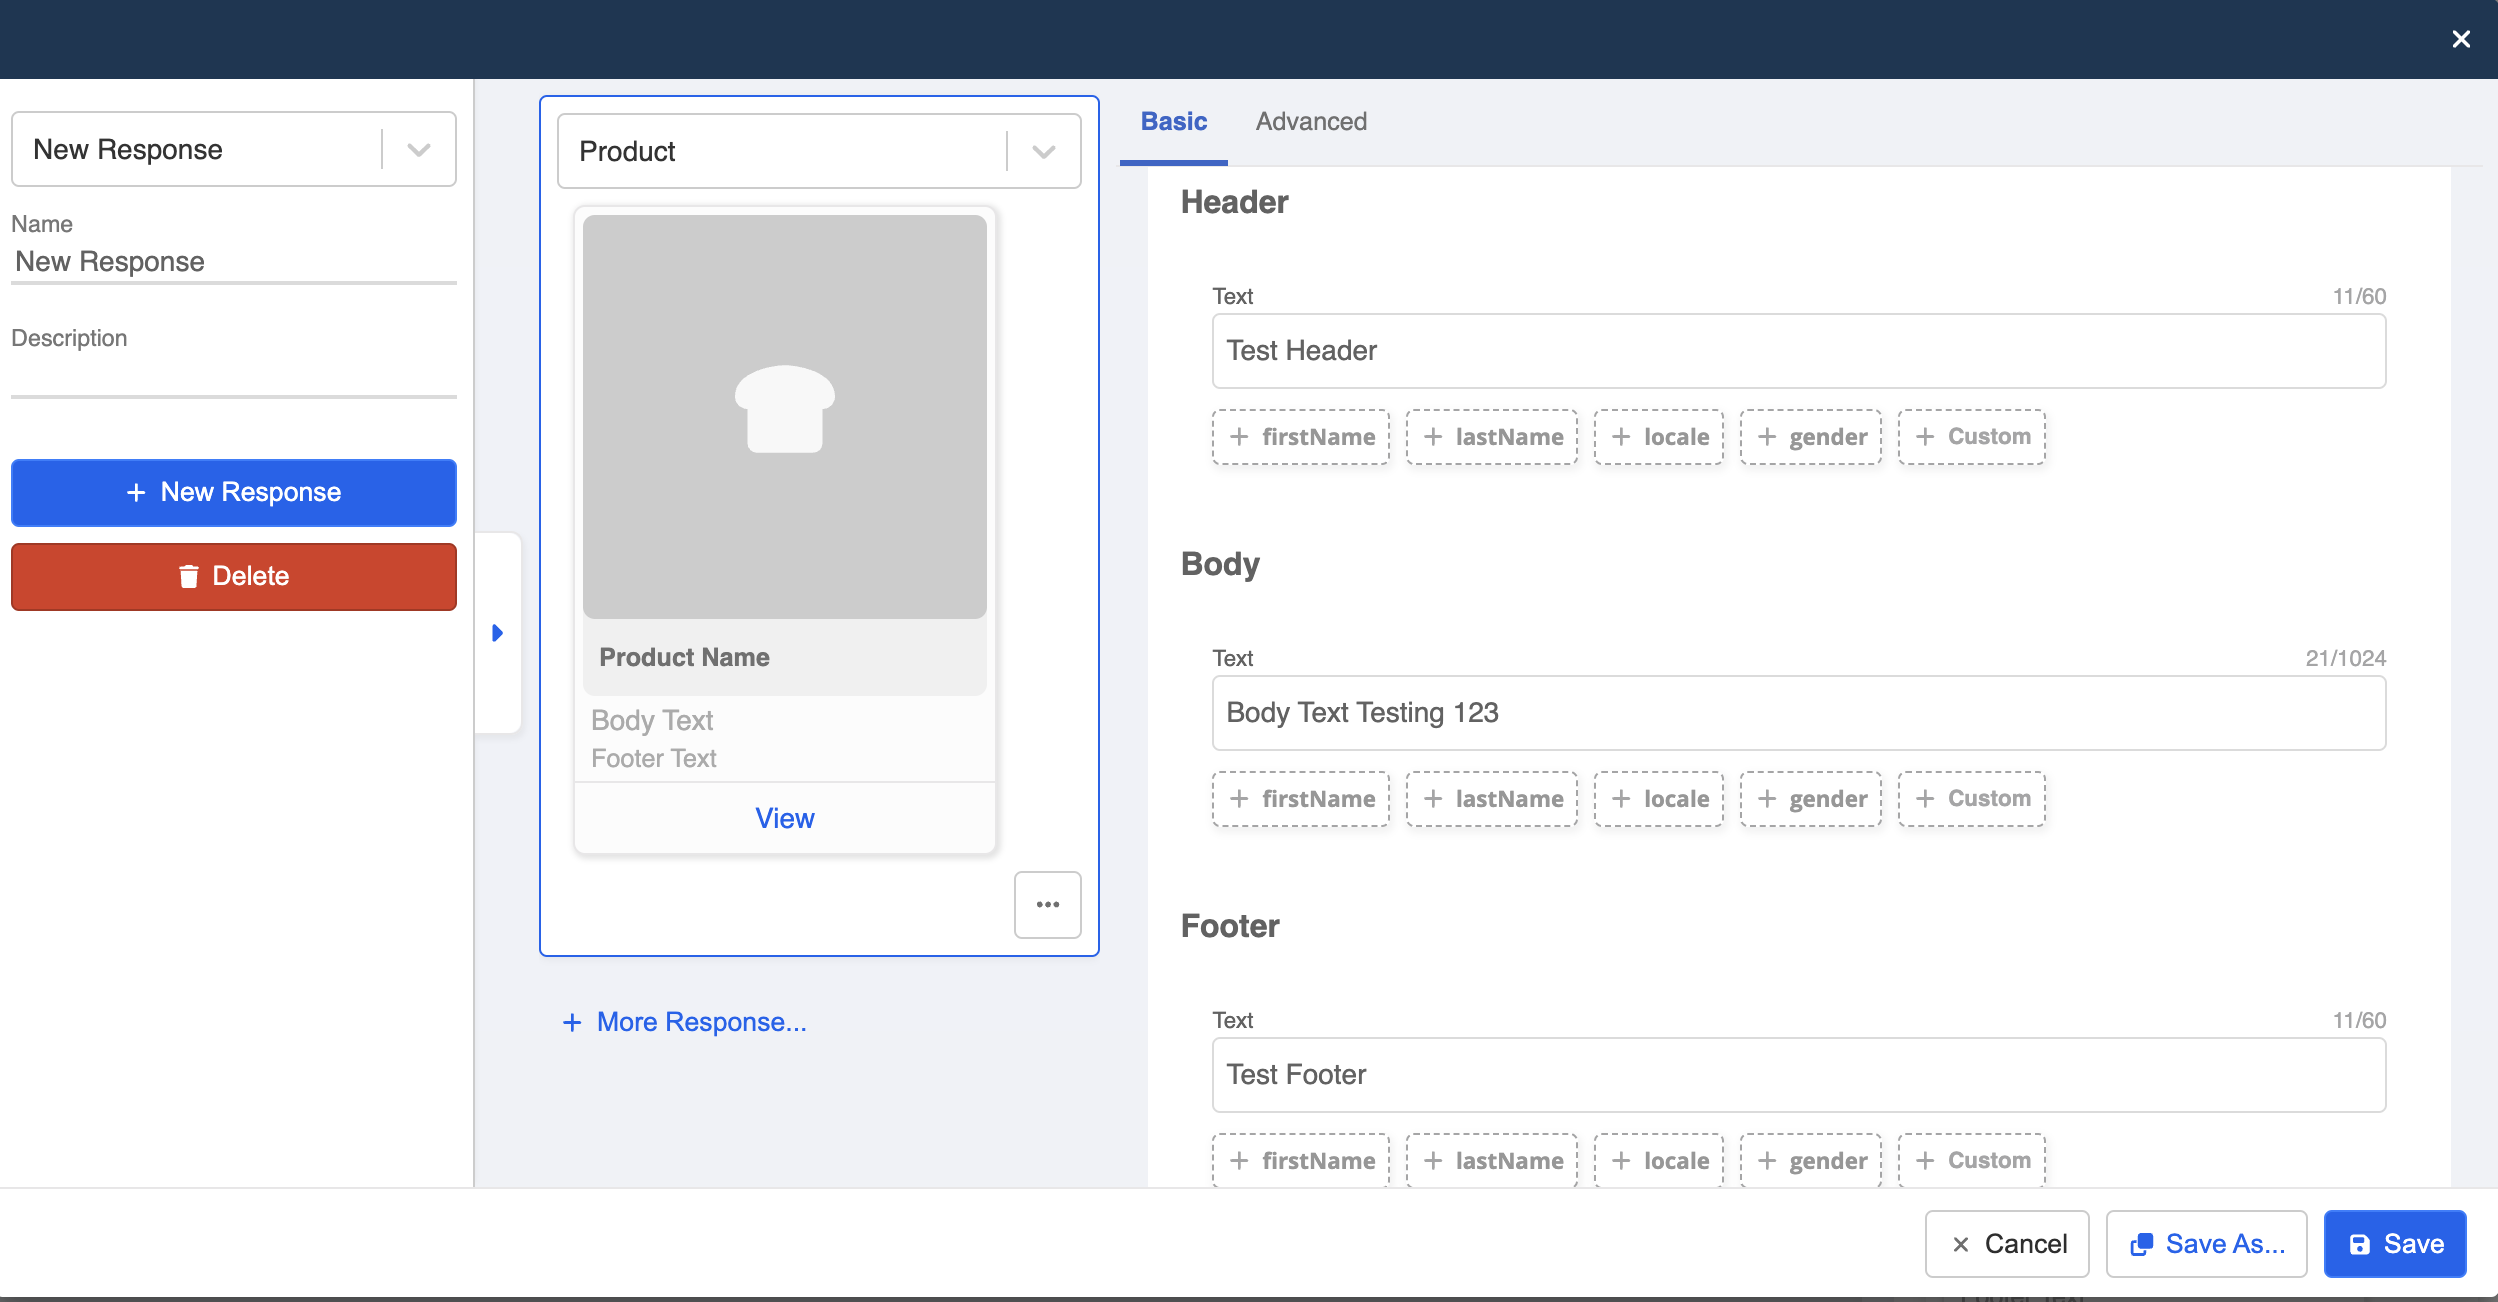
- Then, head to Response, create a new response. Open the side tab and click "Add Platforms". Then, select "WhatsApp Cloud".
- Select "Product" from the message type and start adding the text.
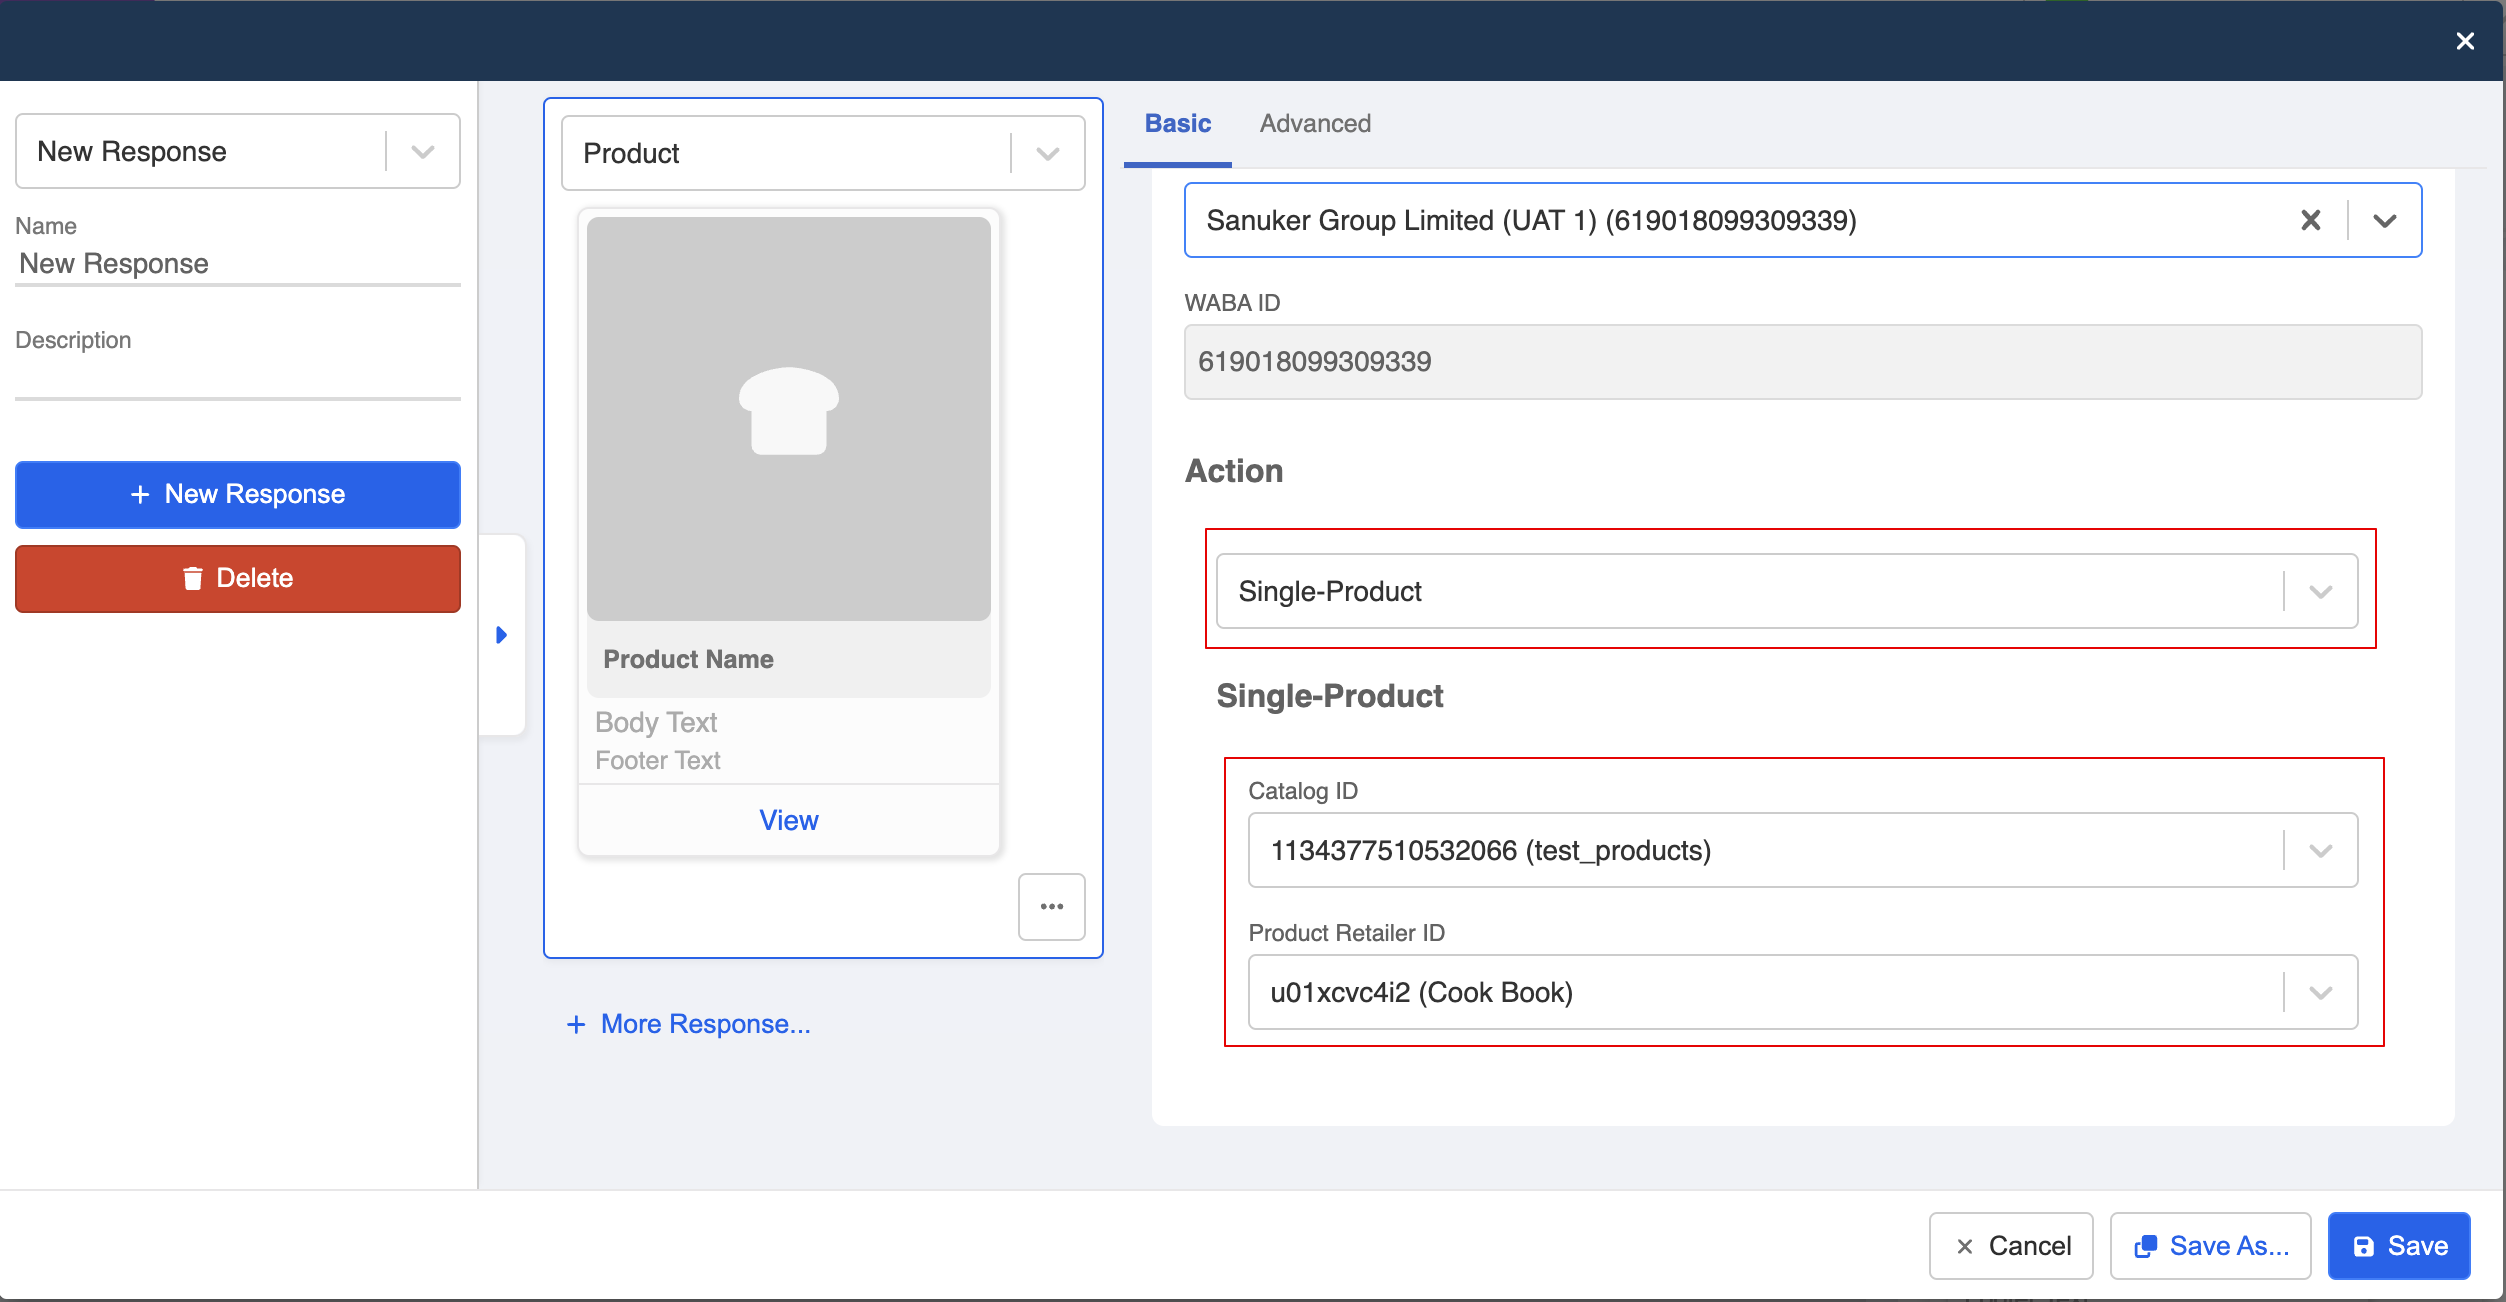
- Select the relevant channel.
NOTE
The channel picker won't return anything if you have not connected a WABA to any of the channel.

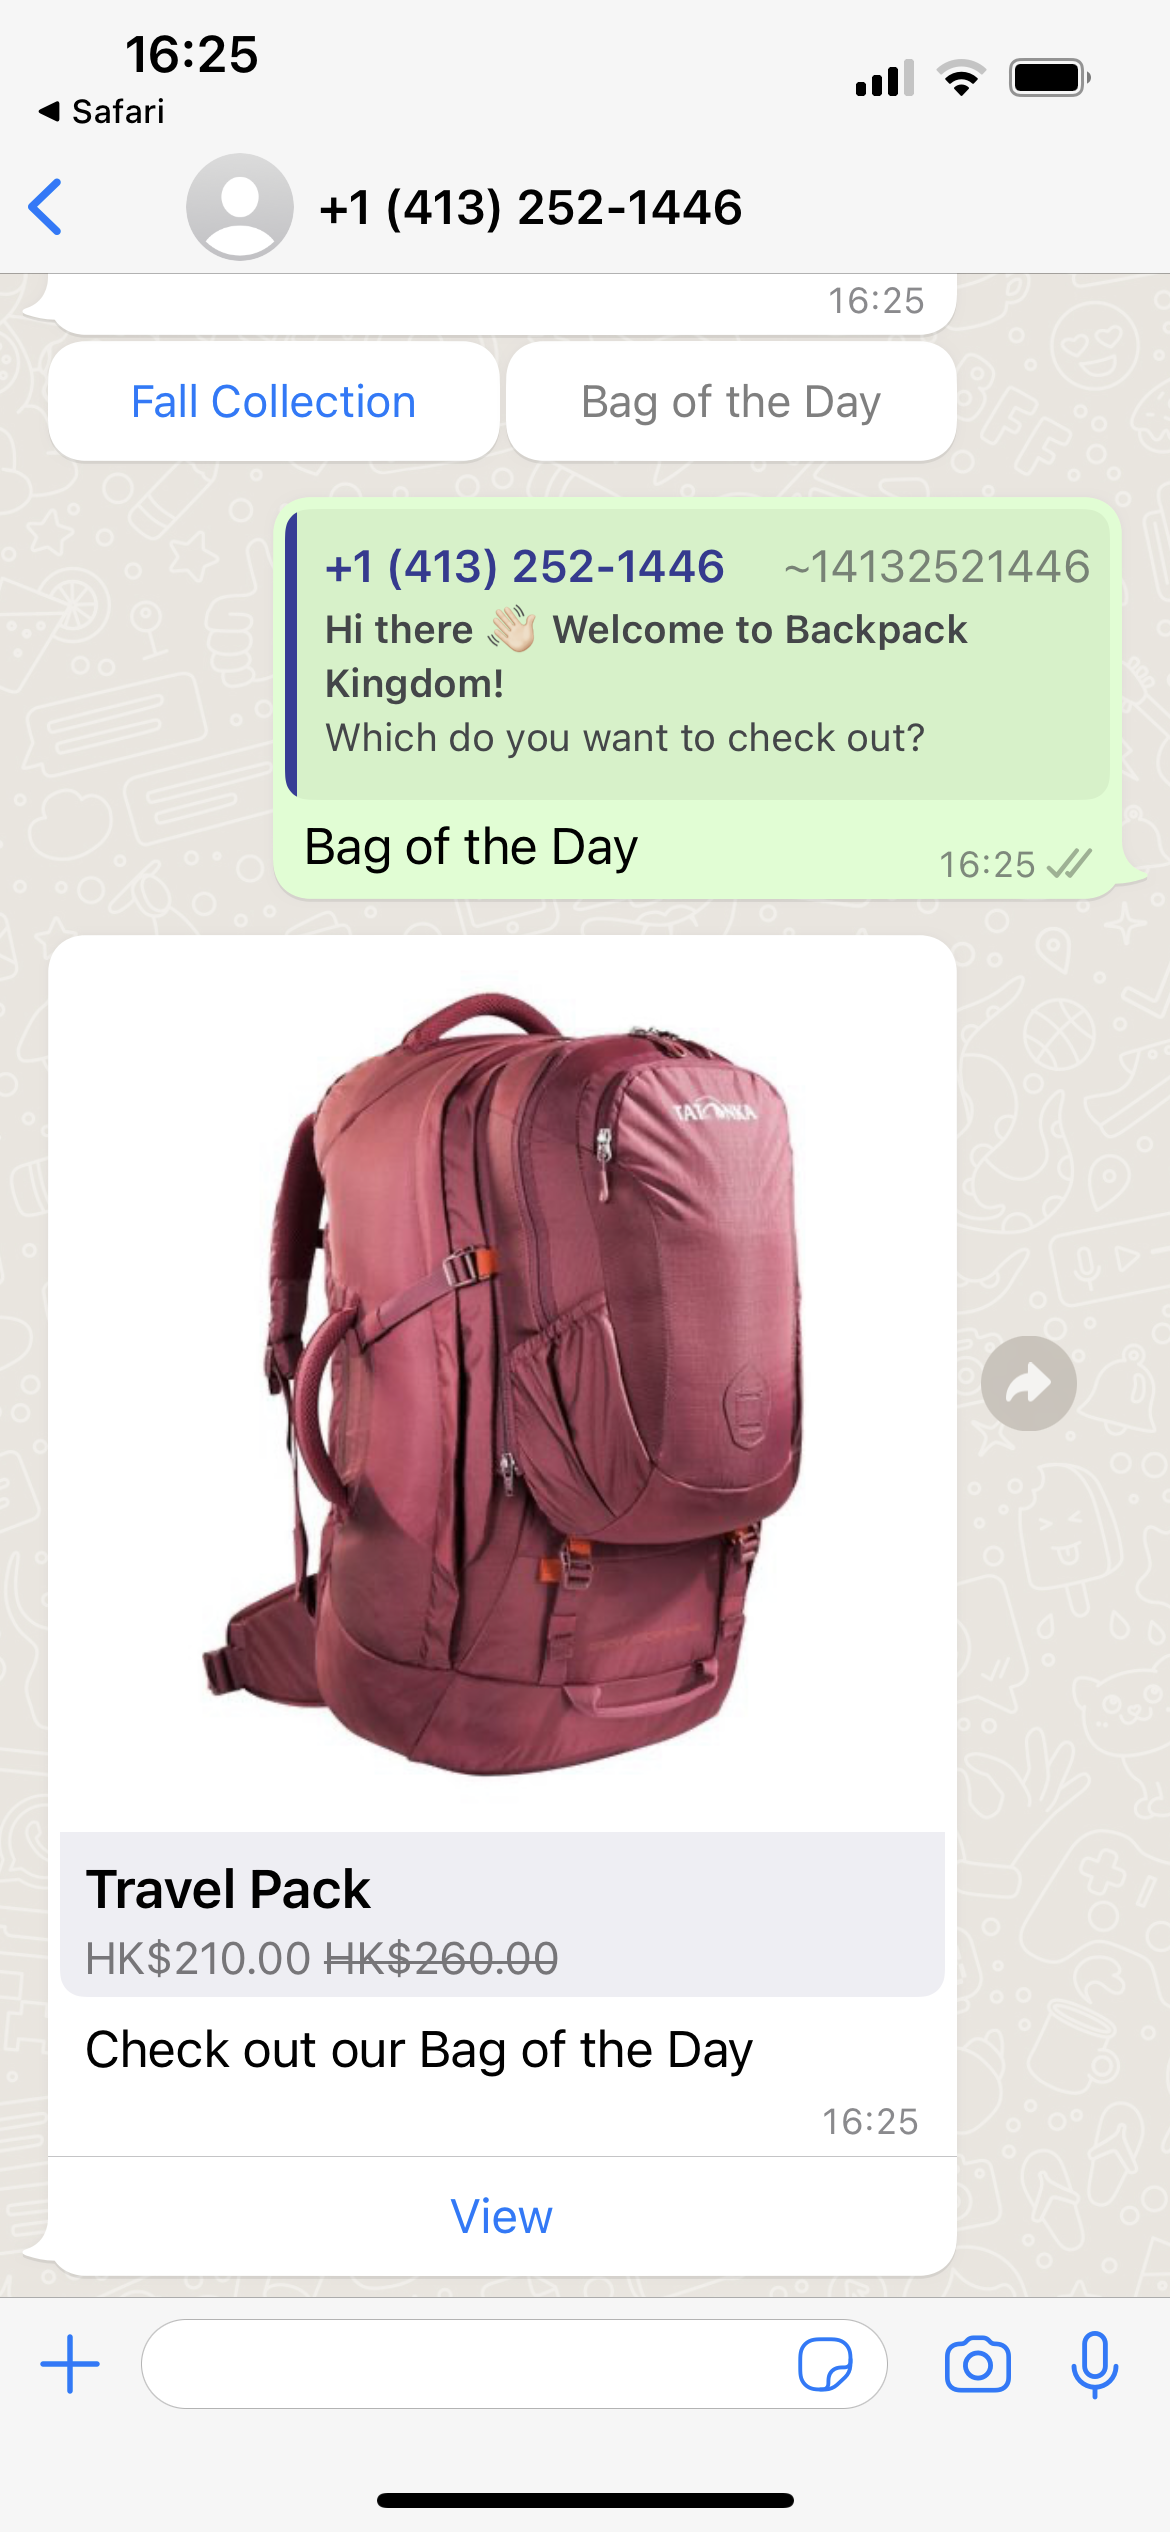
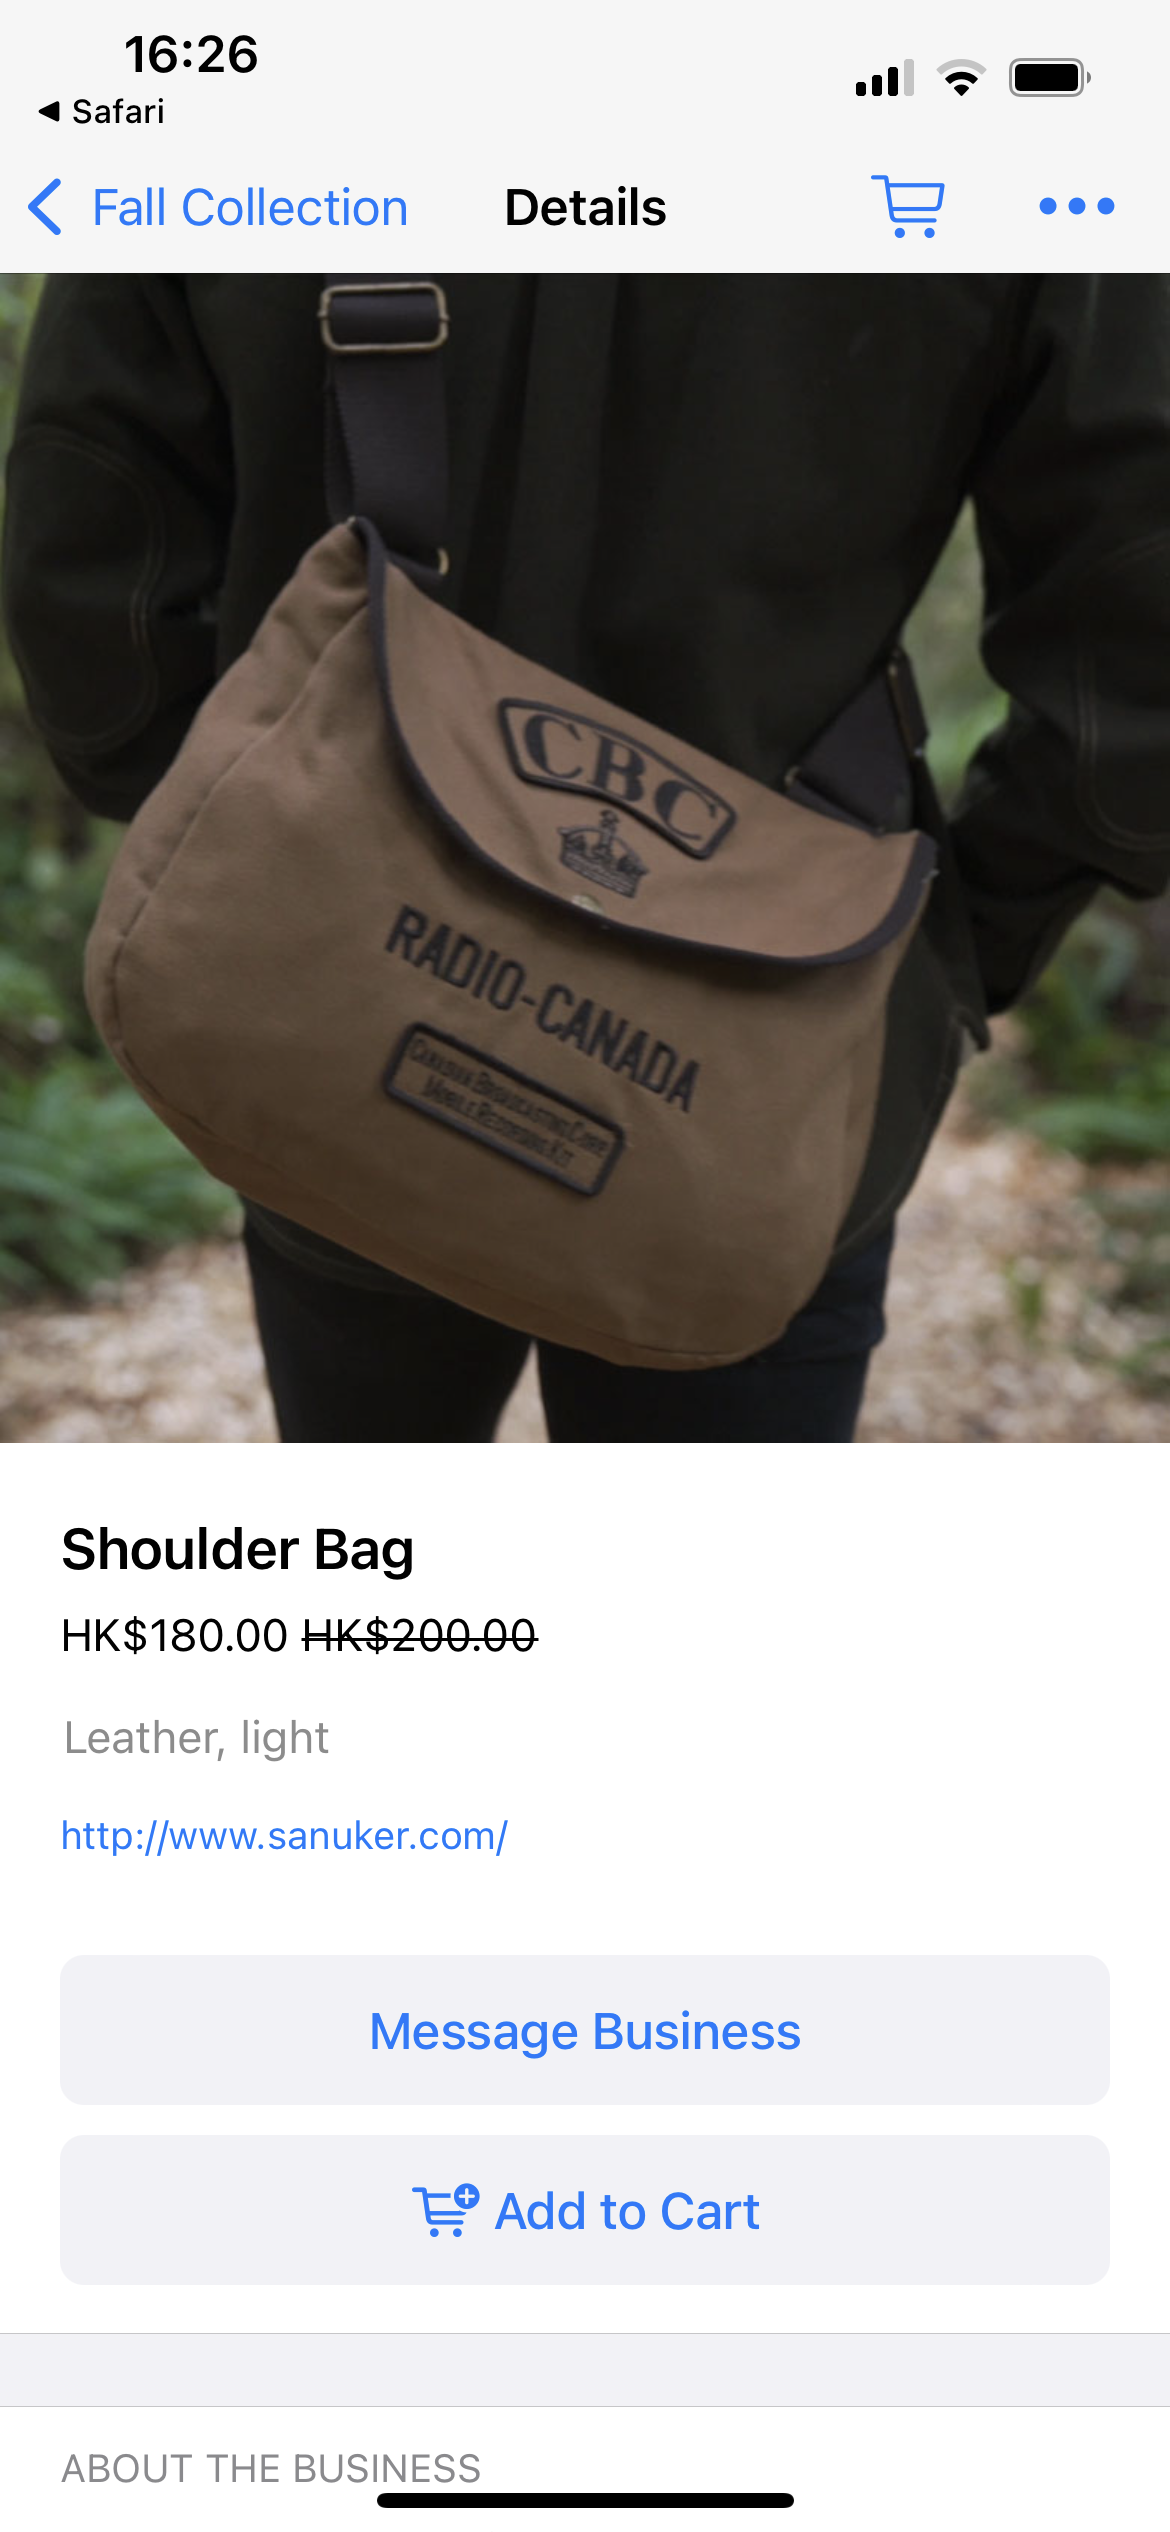
- Select "Single-product", and the Catalog ID. Then, you can start adding the products from the selected catalog.
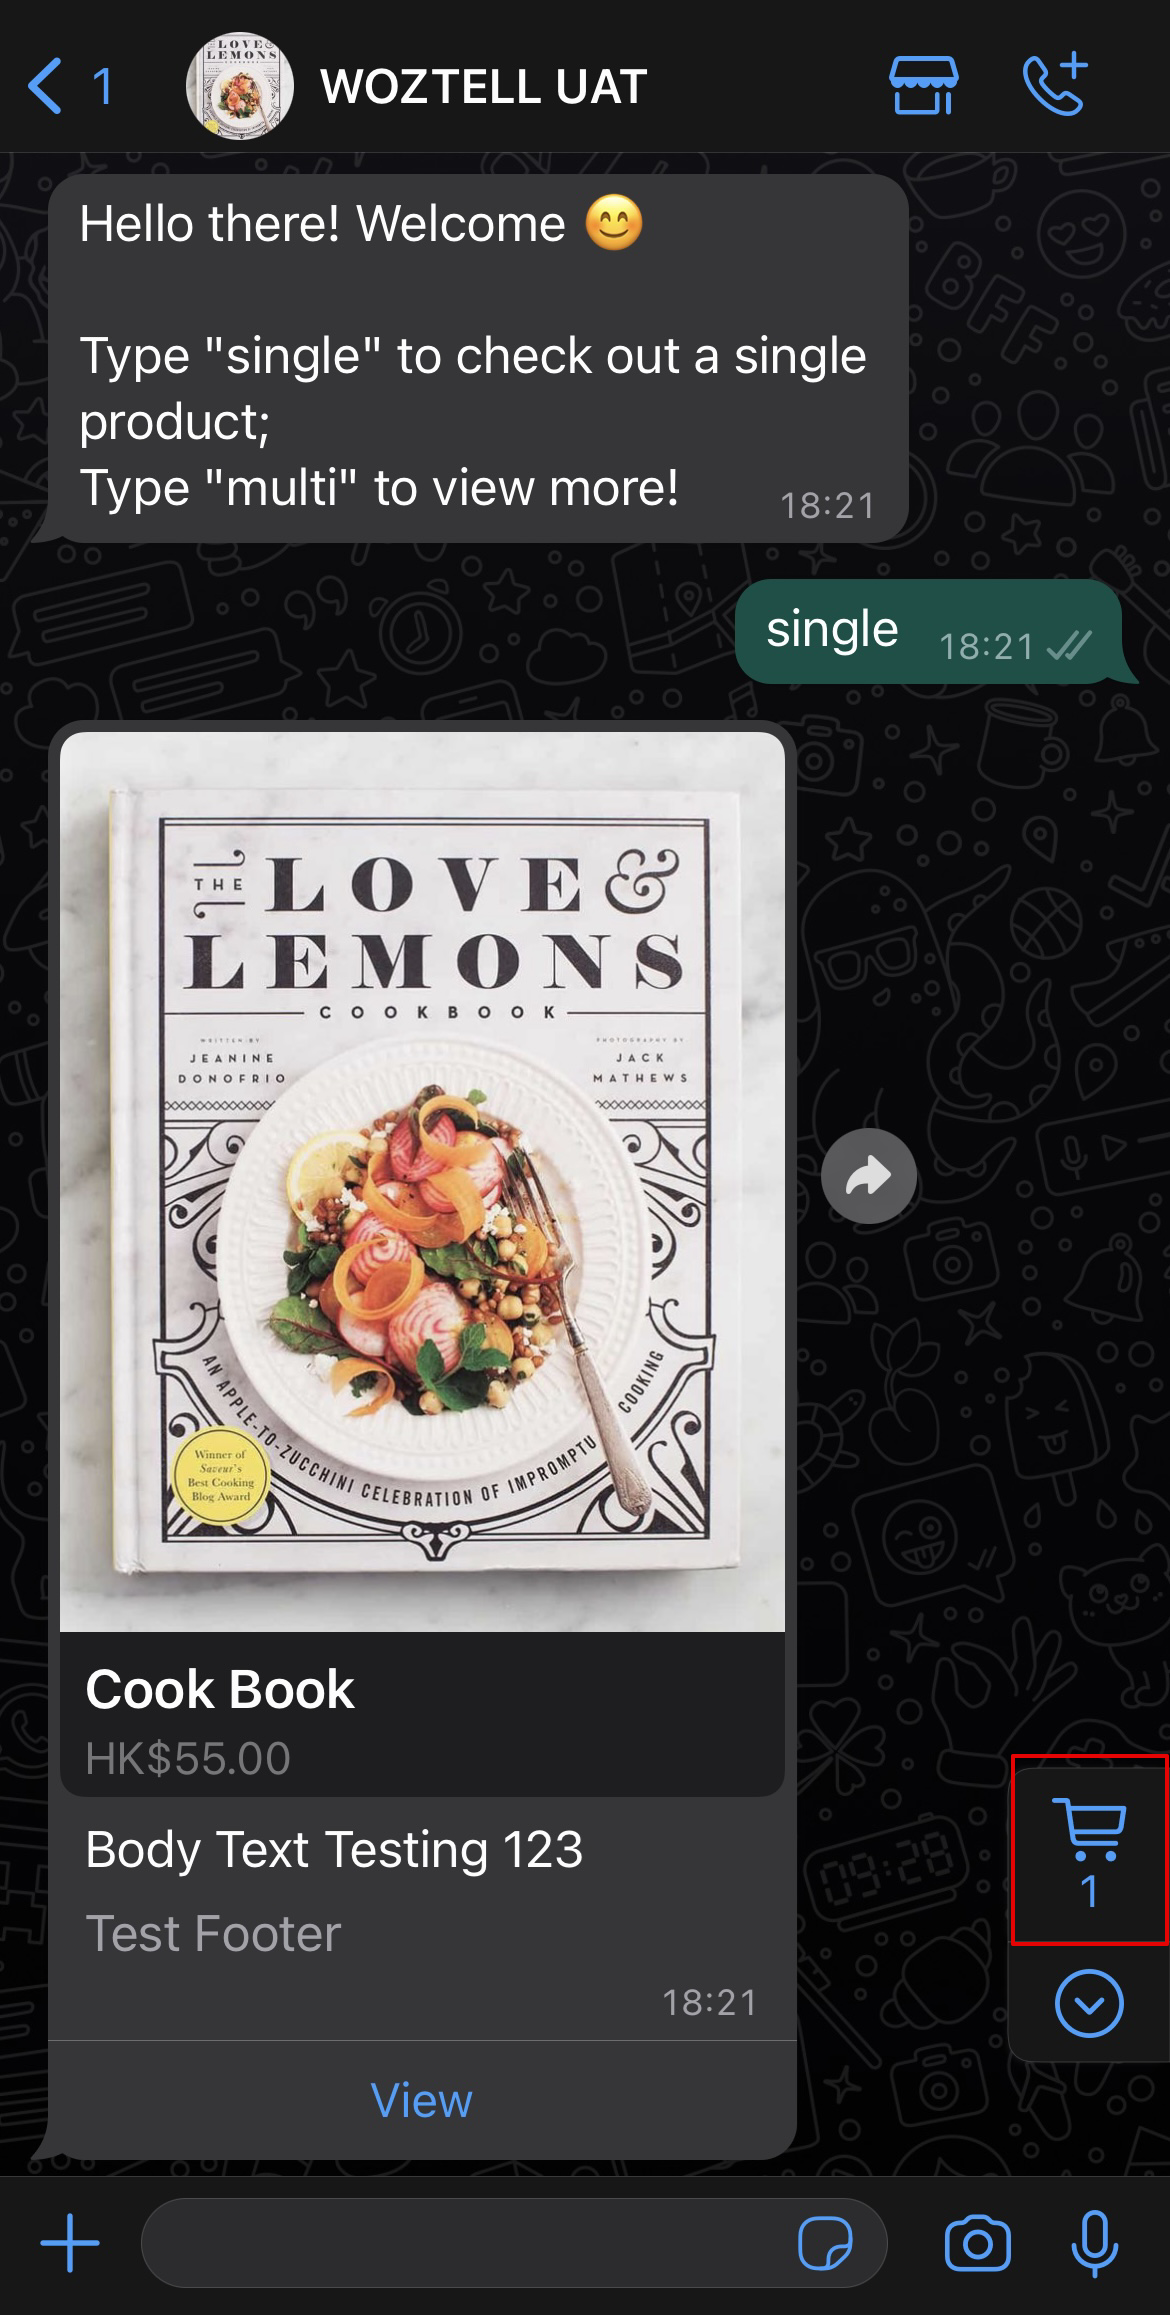
- After sending out the product message, you can also preview the outcome in the conversation history.
Order Message Event
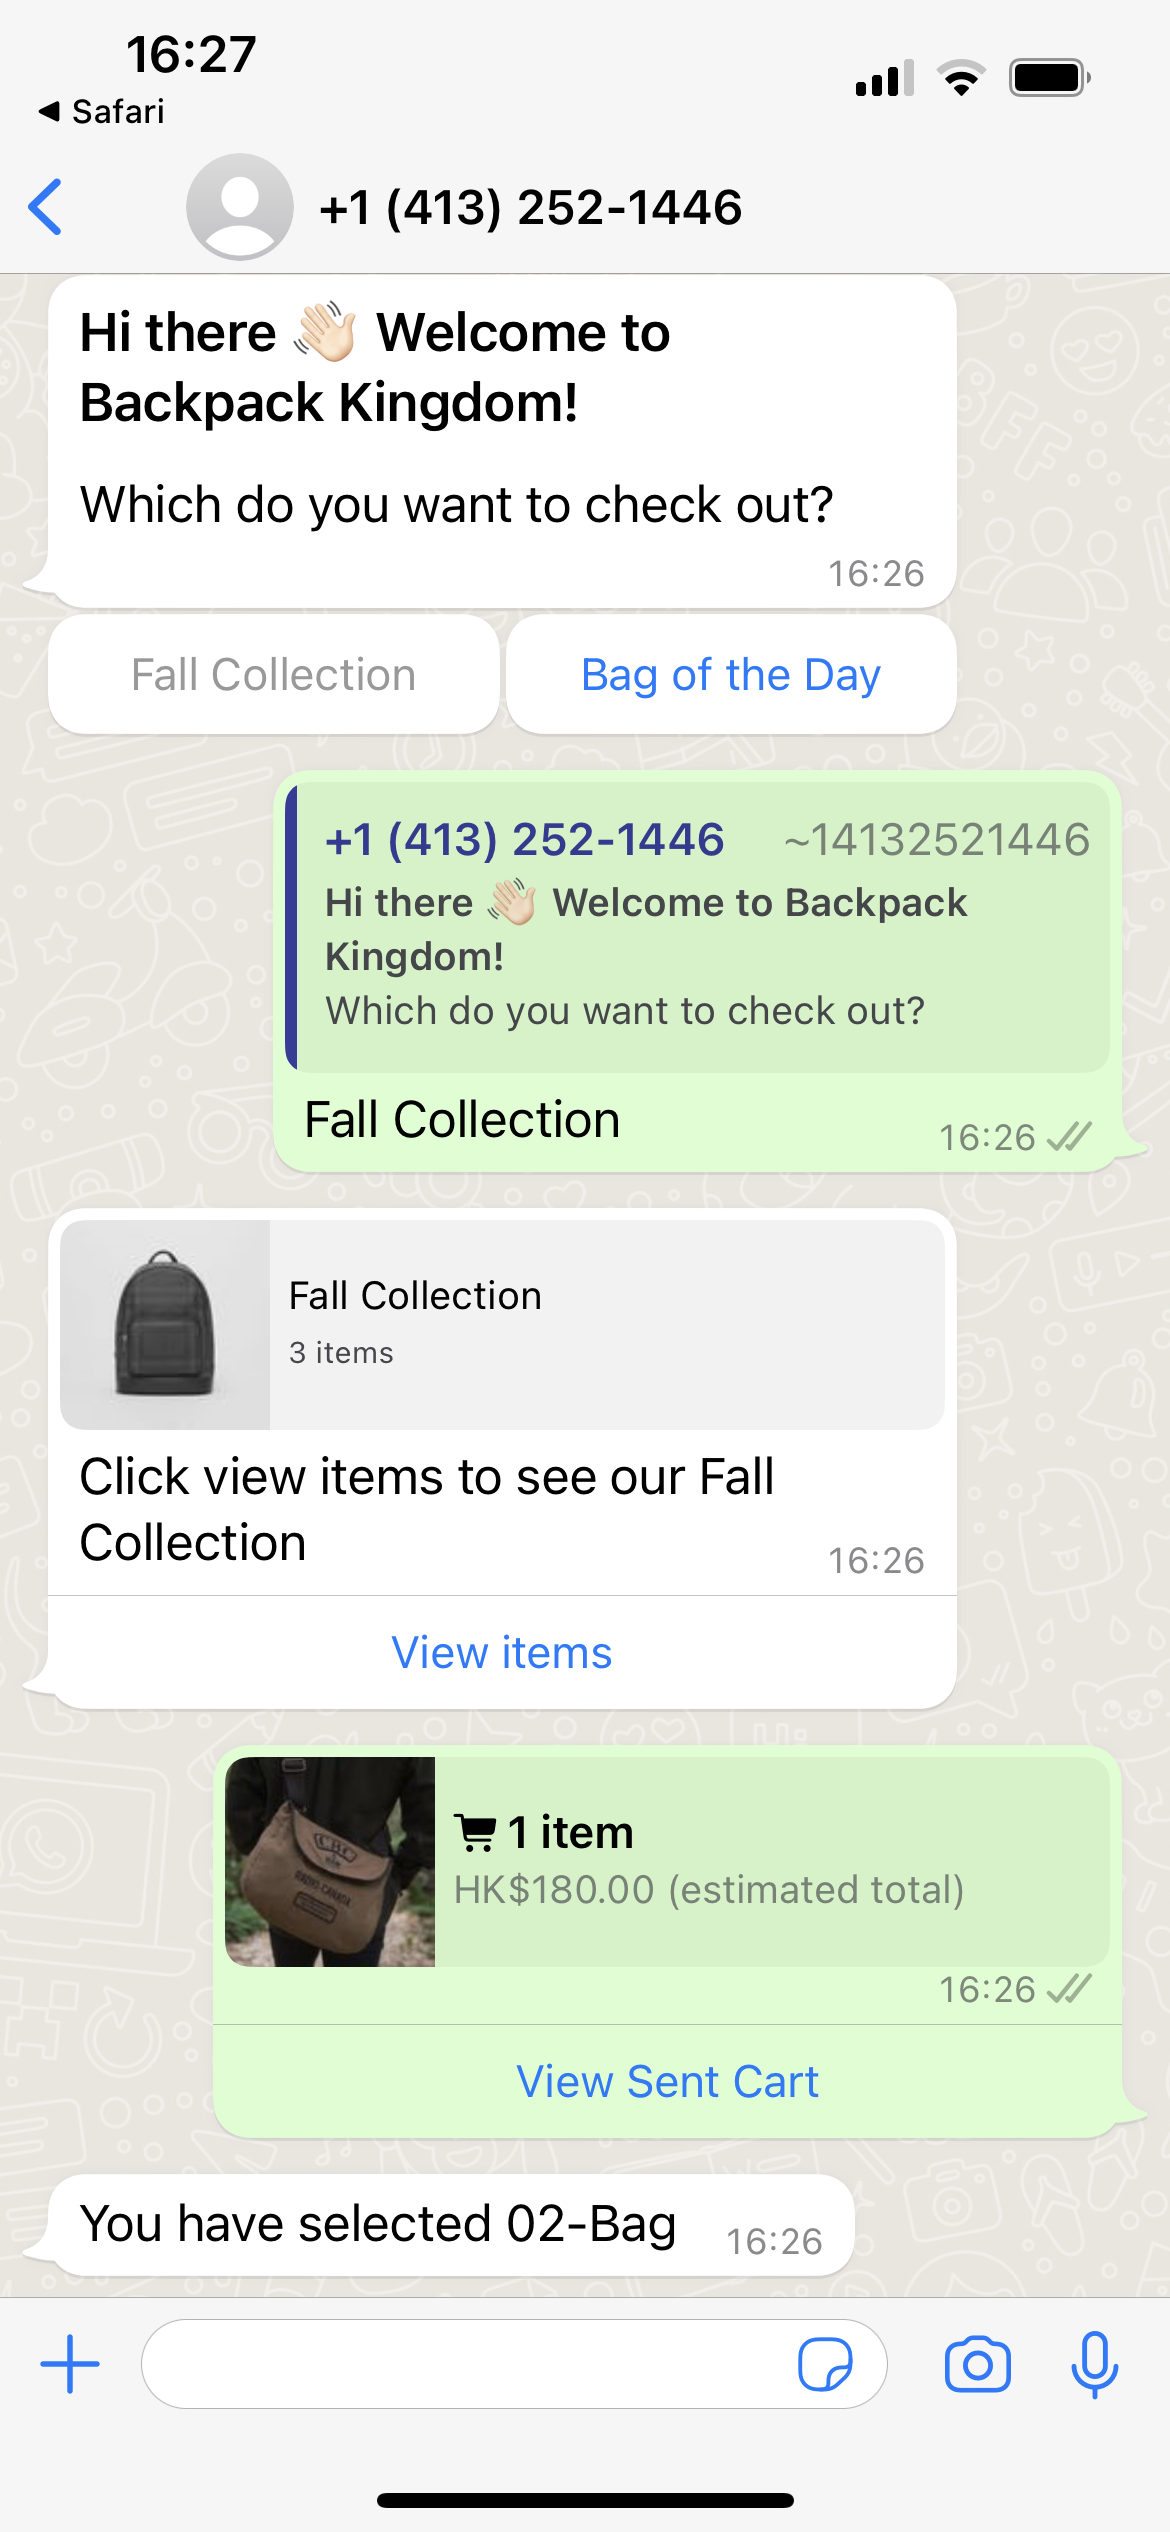
When a customer adds a product to cart, and places an order via the product template, the businesses will receive an message event for the order in the following format:
"type": "ORDER",
"data": {
  "catalog_id": "4928452840550143",
  "product_items": [
    {
      "product_retailer_id": "03-Pack",
      "quantity": 1,
      "item_price": 210,
      "currency": "HKD"
    }
   ]
  }
If needed, you can set up an Order Trigger that reacts to this event. As a result, you can perform actions/send messages whenever the end user submitted a shopping cart.

In the conversation history, you can also preview the submitted order/shopping cart.
Commerce Settings
Apart from building the product message flow, you can also use Commerce Settings in the channel to enhance the shopping experience with WhatsApp.
- Head the WhatsApp Cloud channel, then enter the "Platform" page. Scroll down to locate the Commerce Settings.
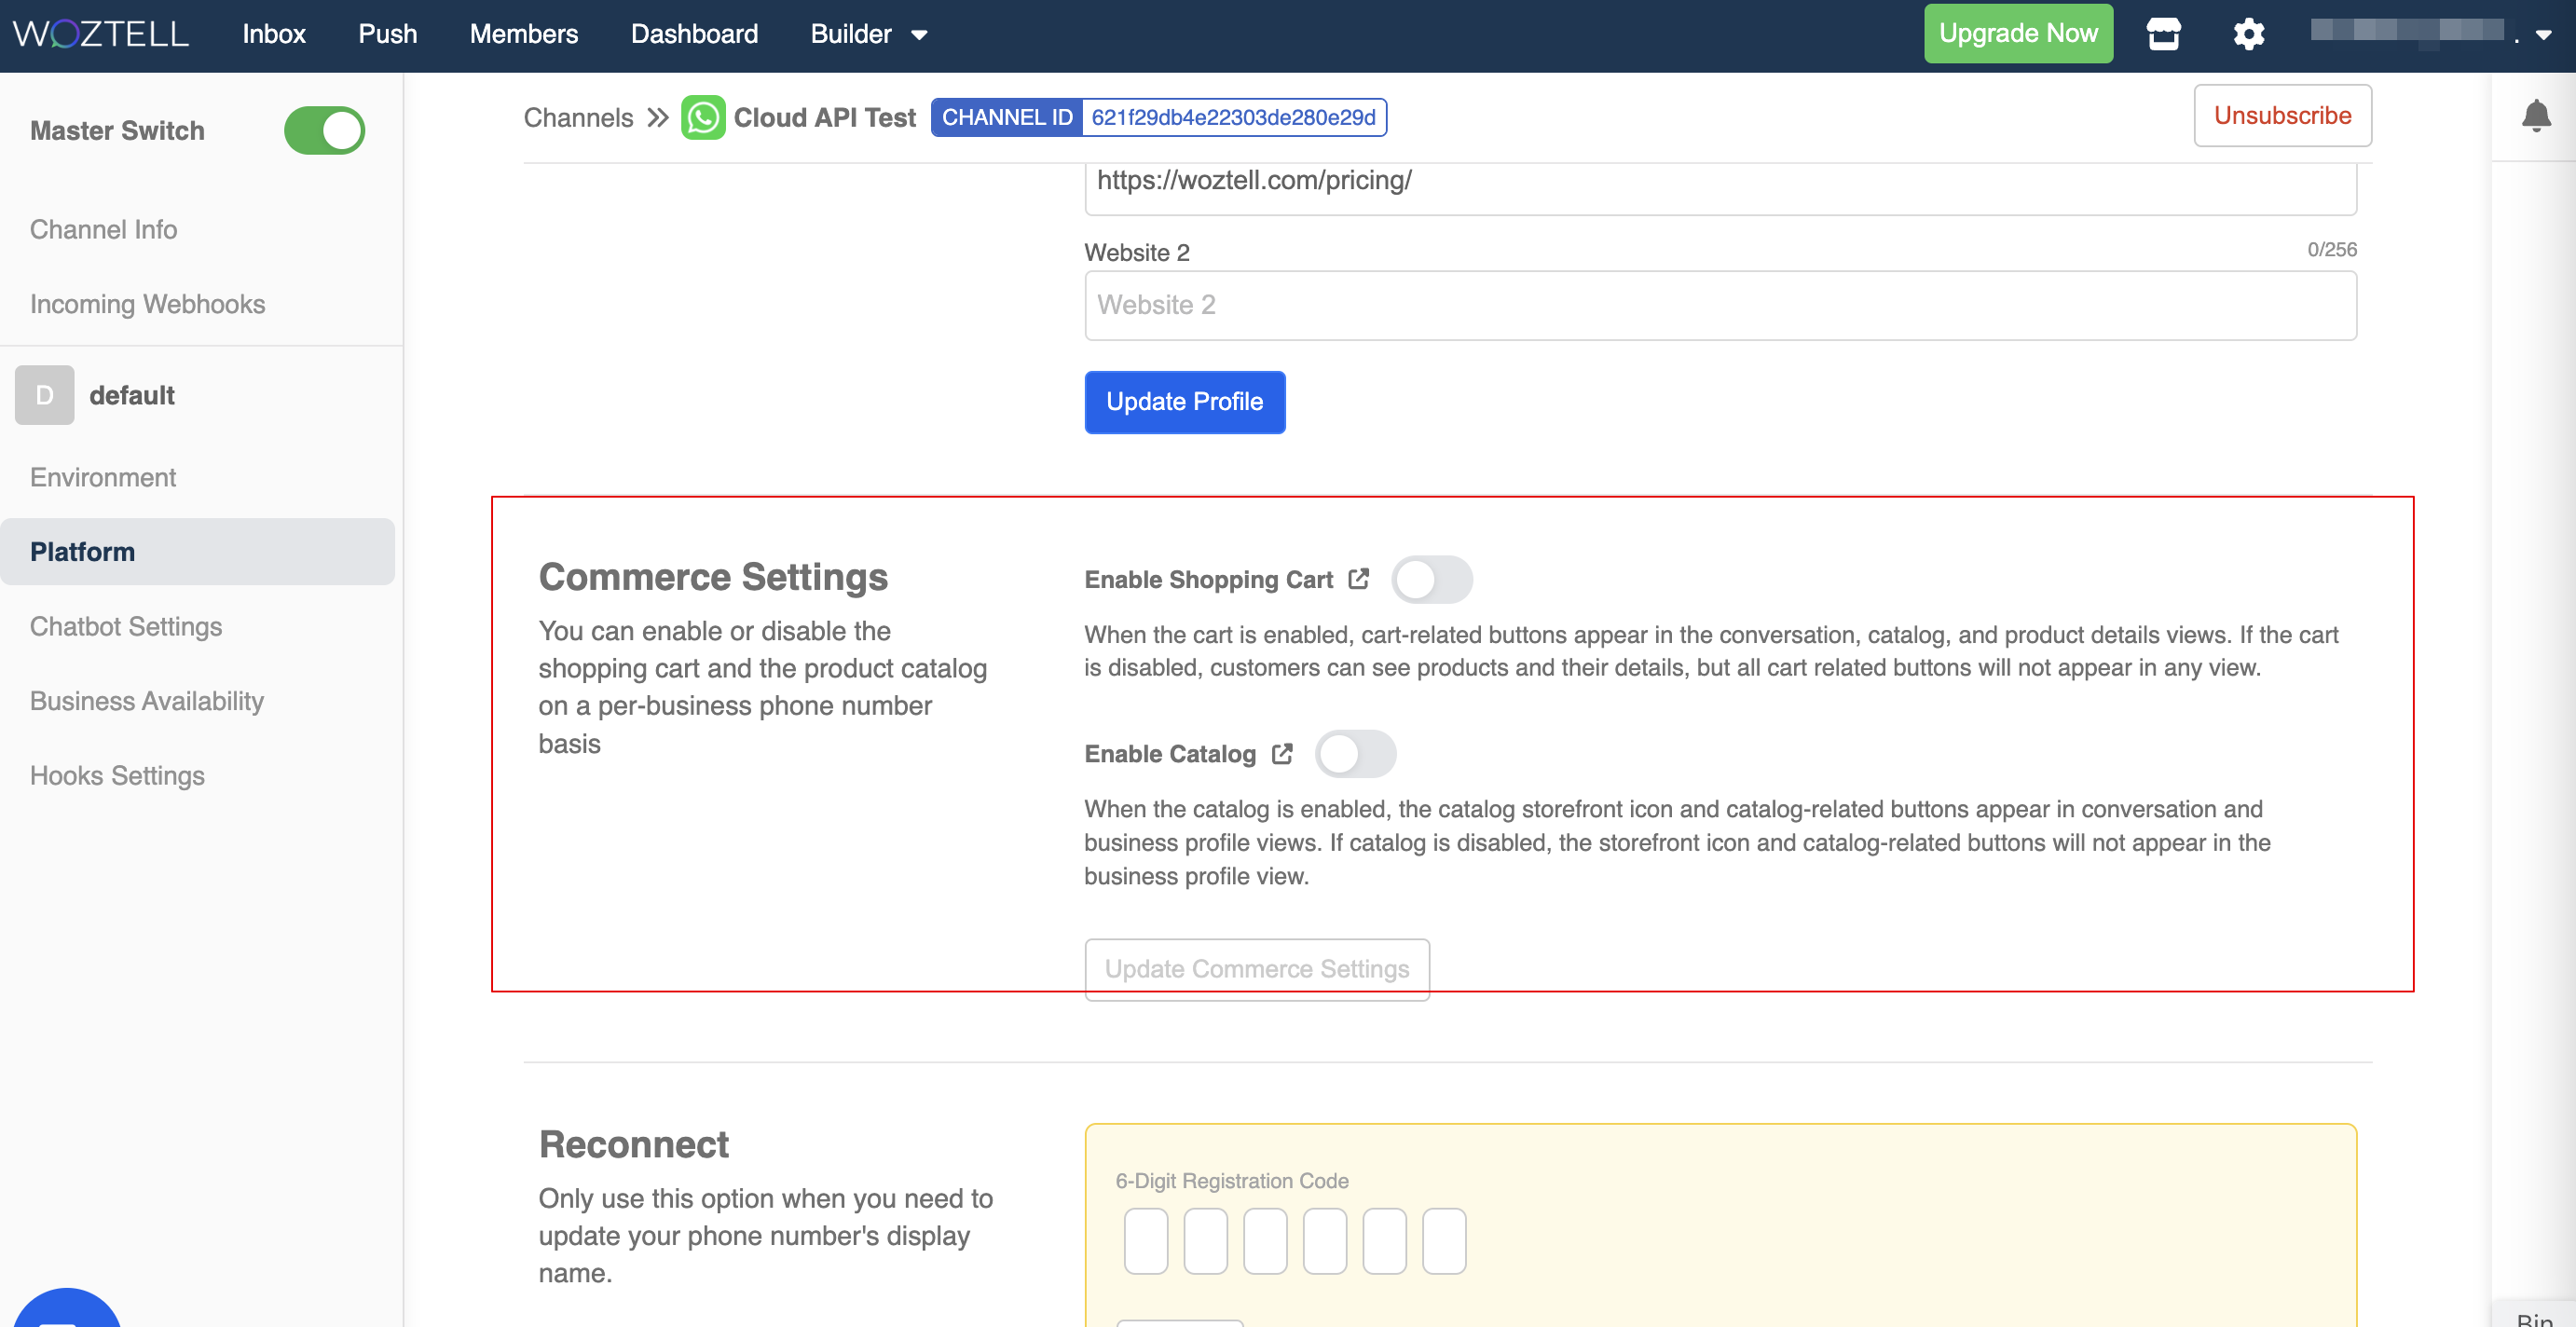
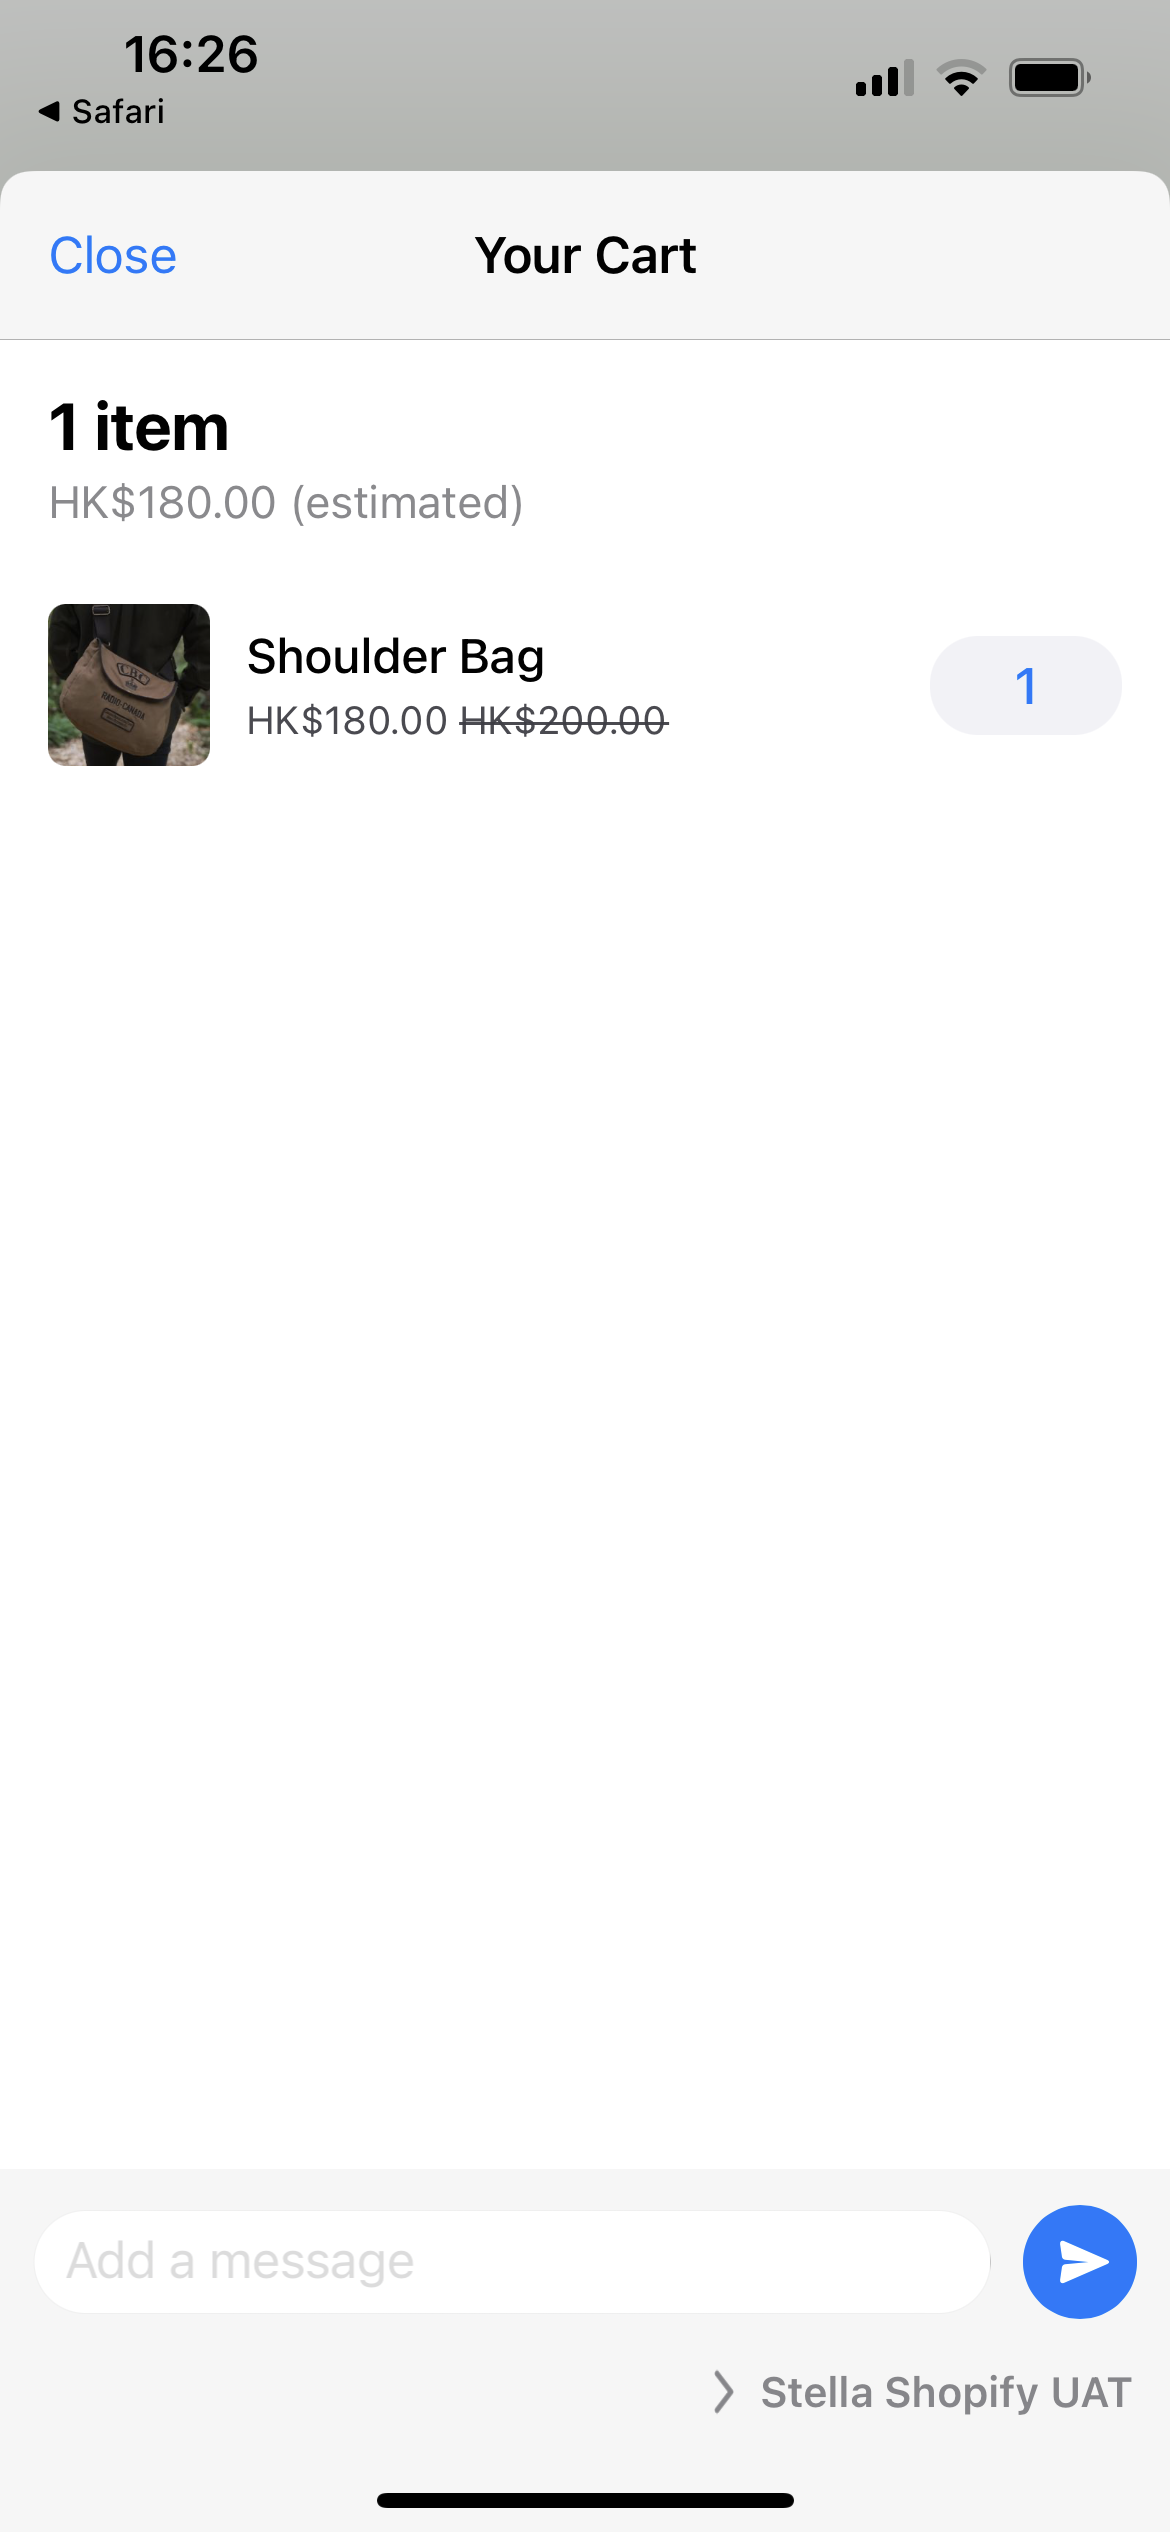
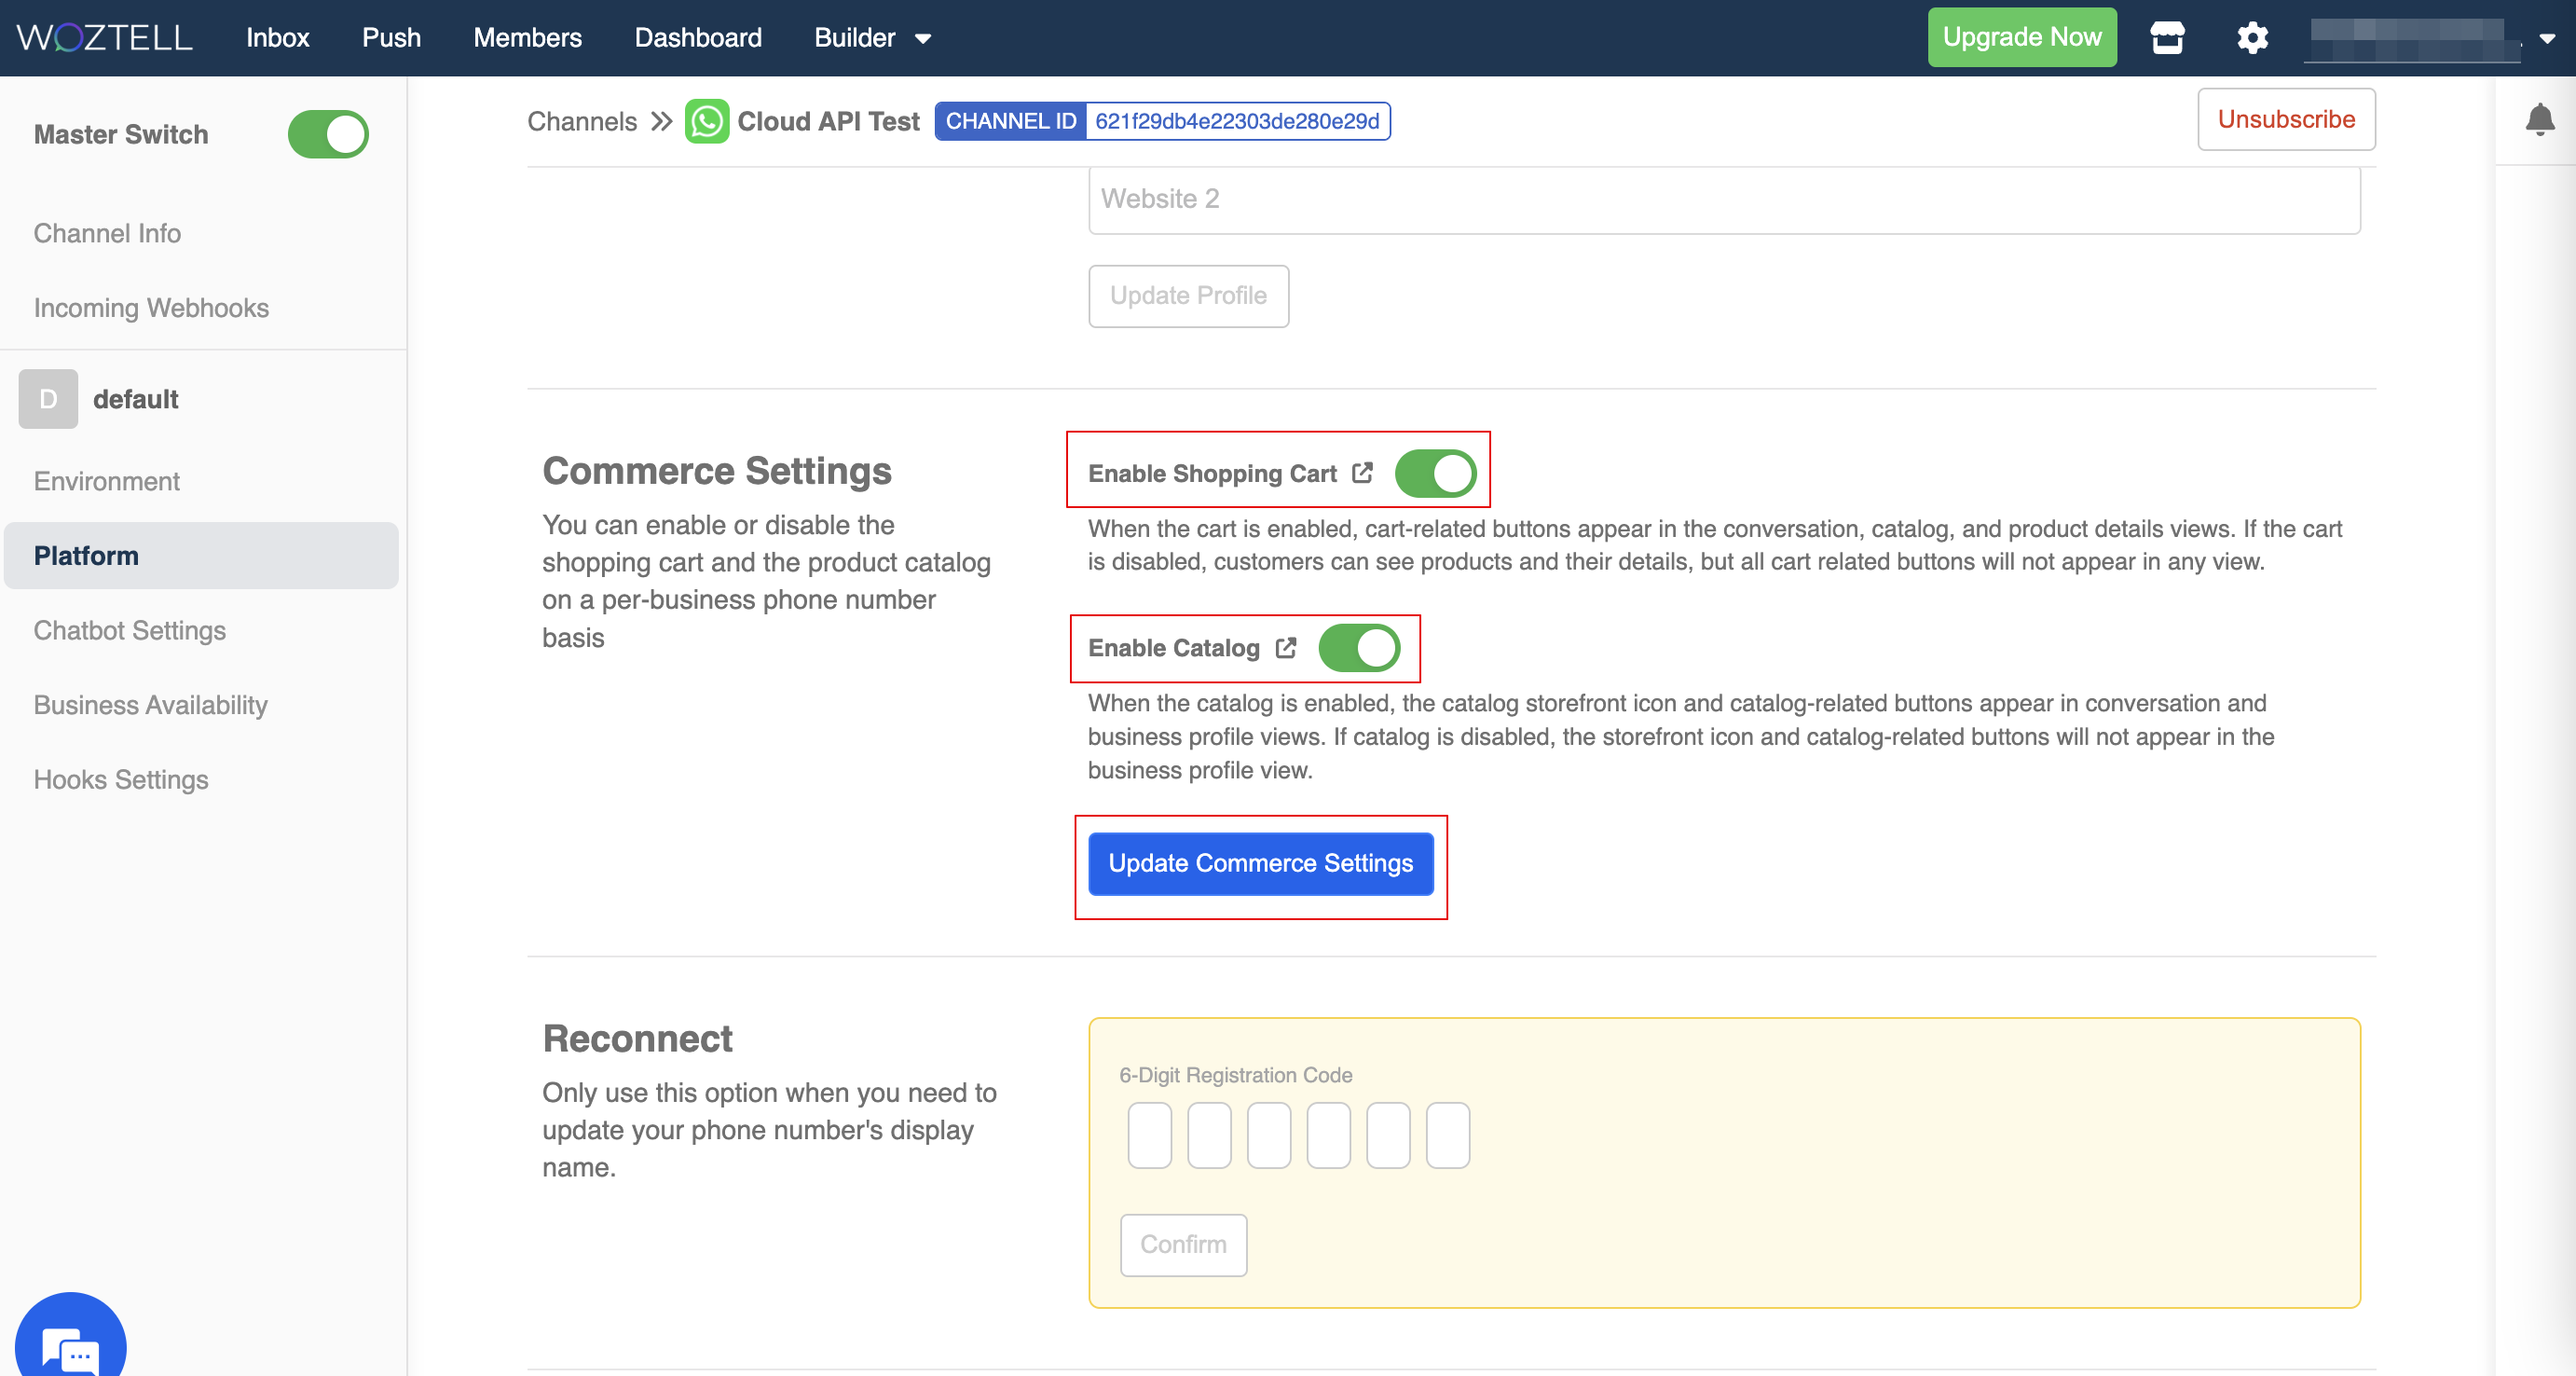
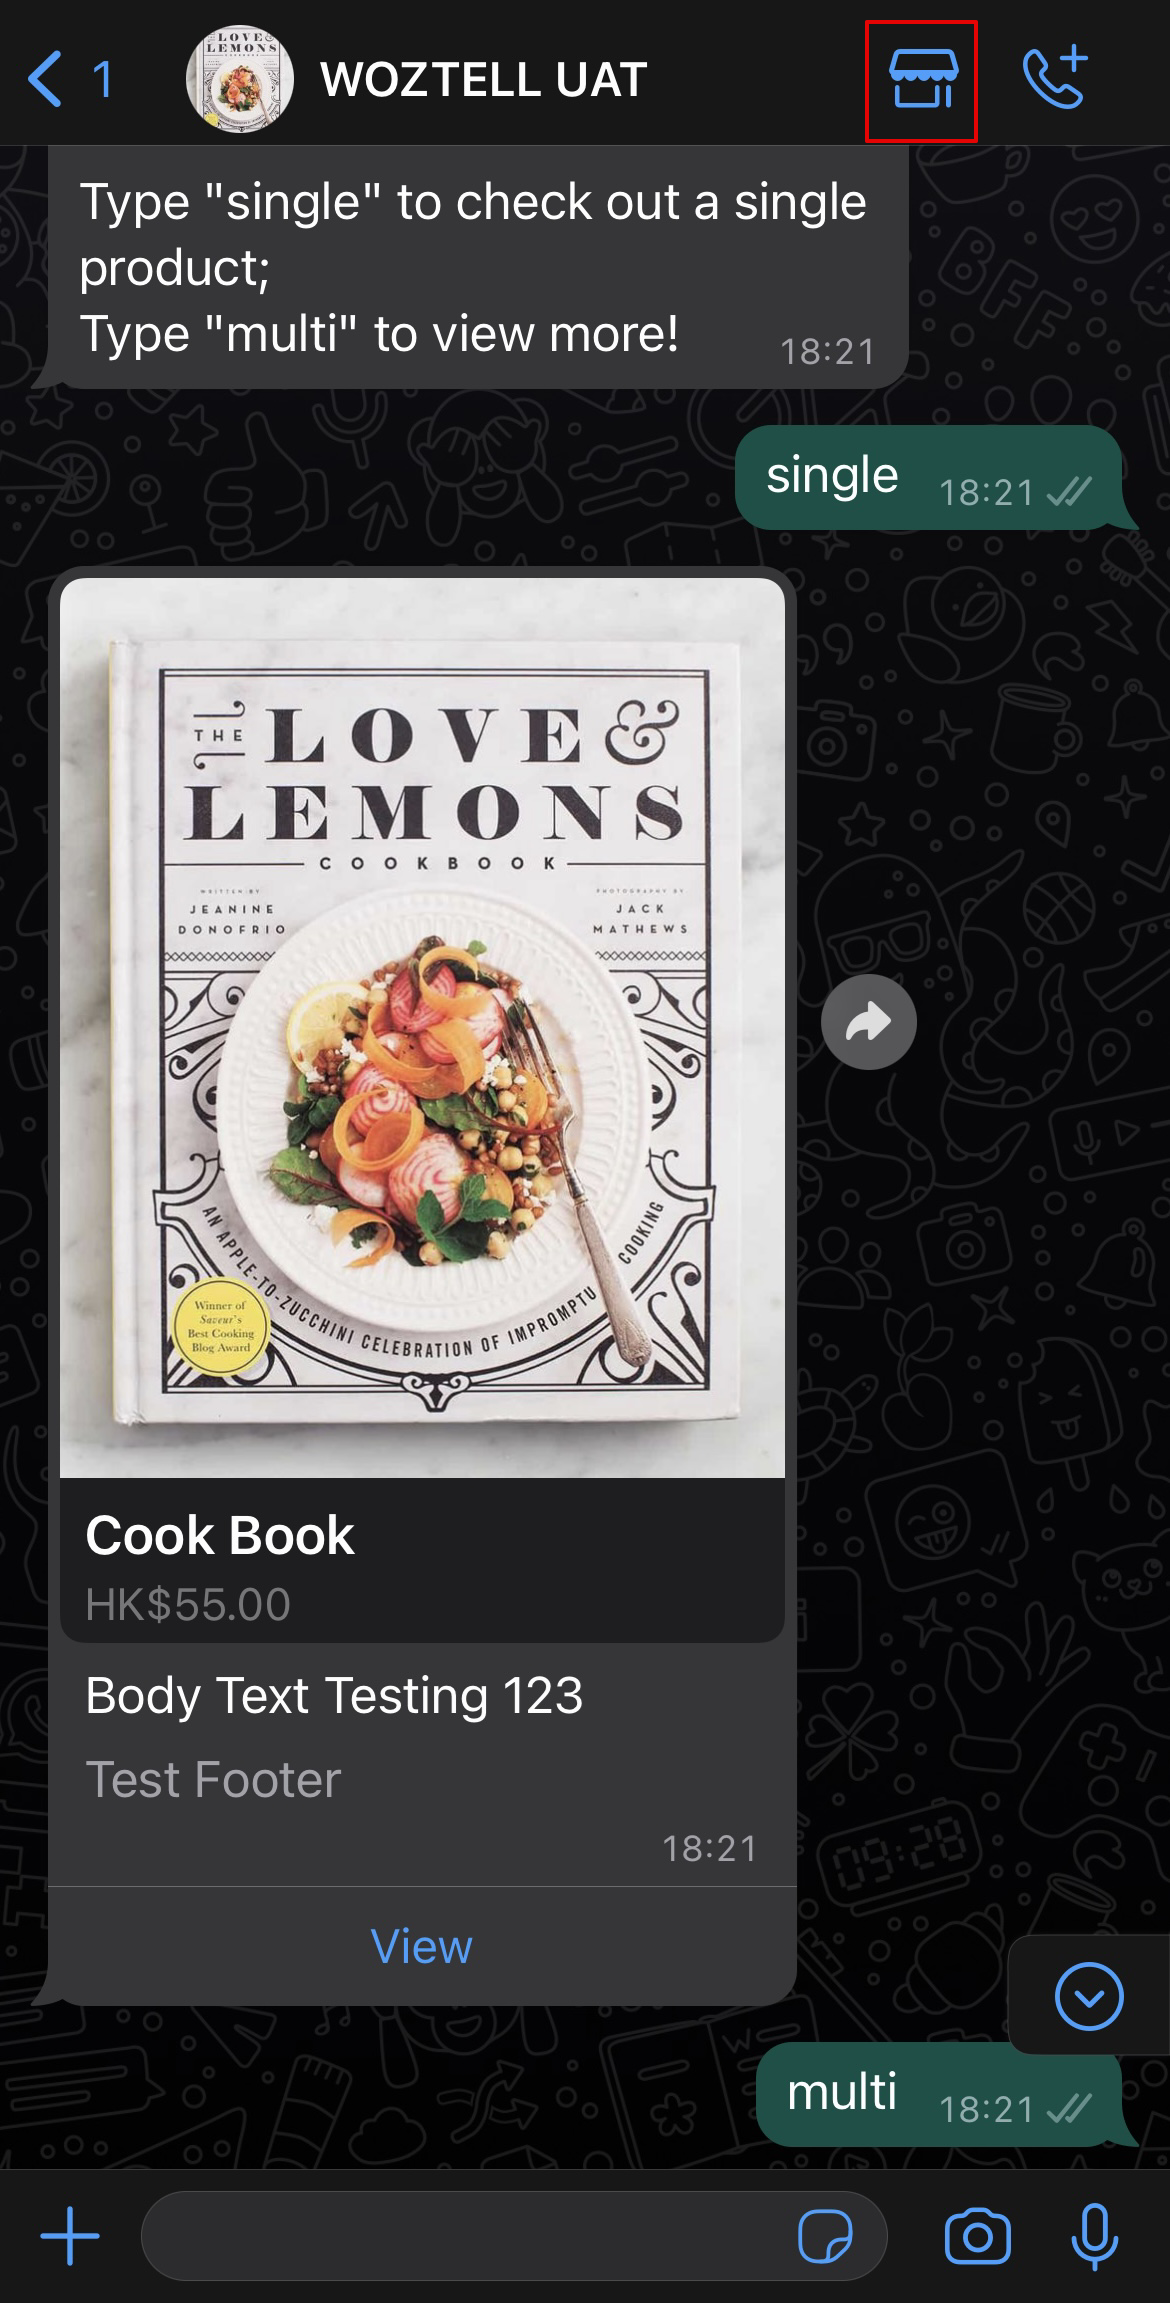
- Switch on the "Enable Shopping Cart" and "Enable Catalog" in order to apply commerce-related options to your WhatsApp number.
Expected result of Enable Shopping Cart:
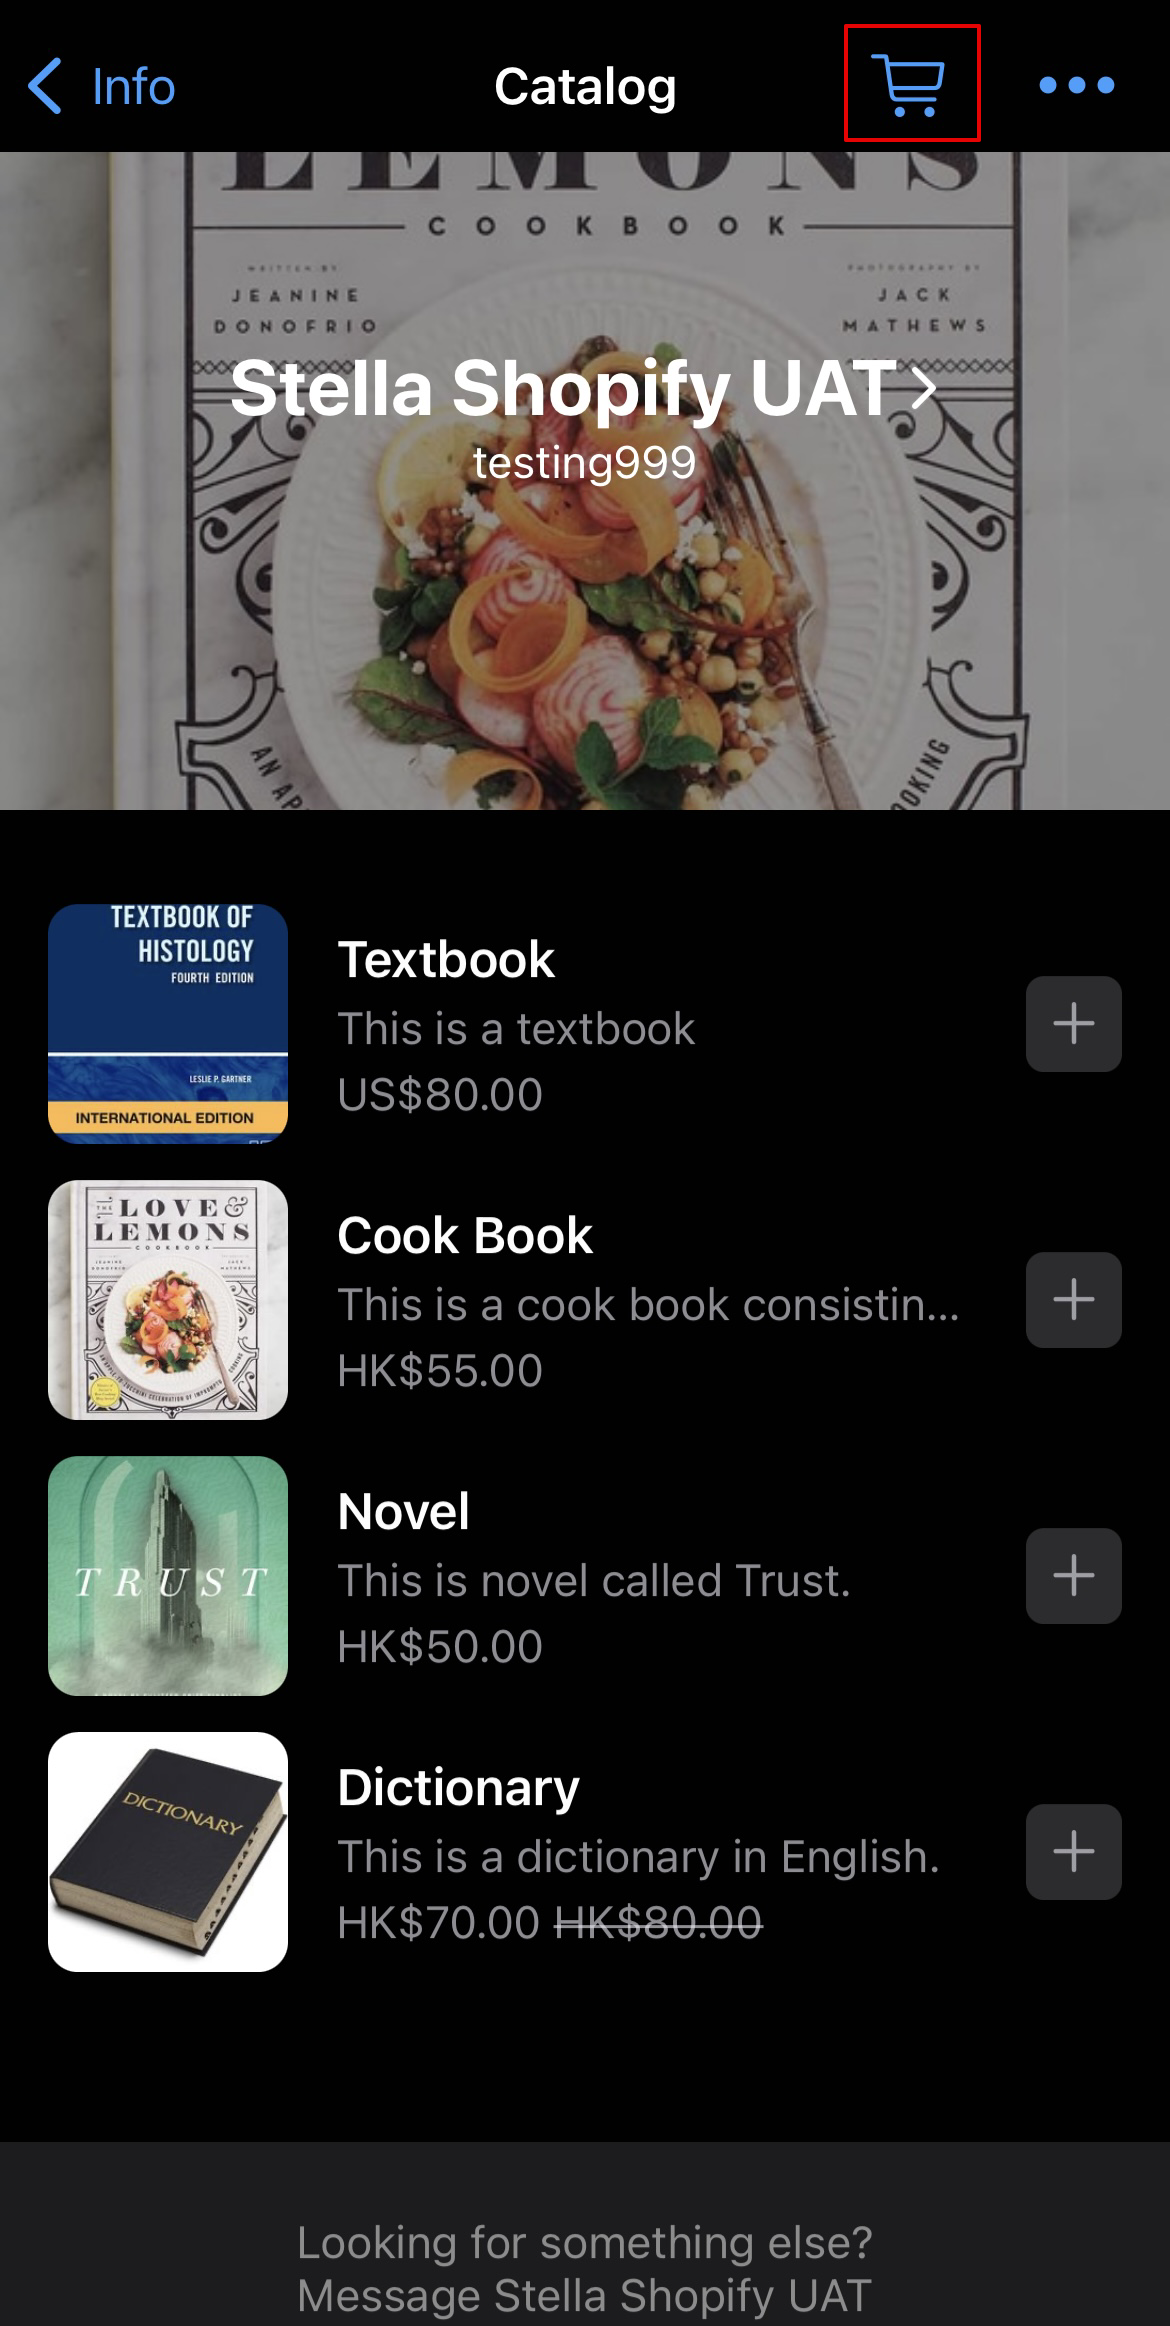
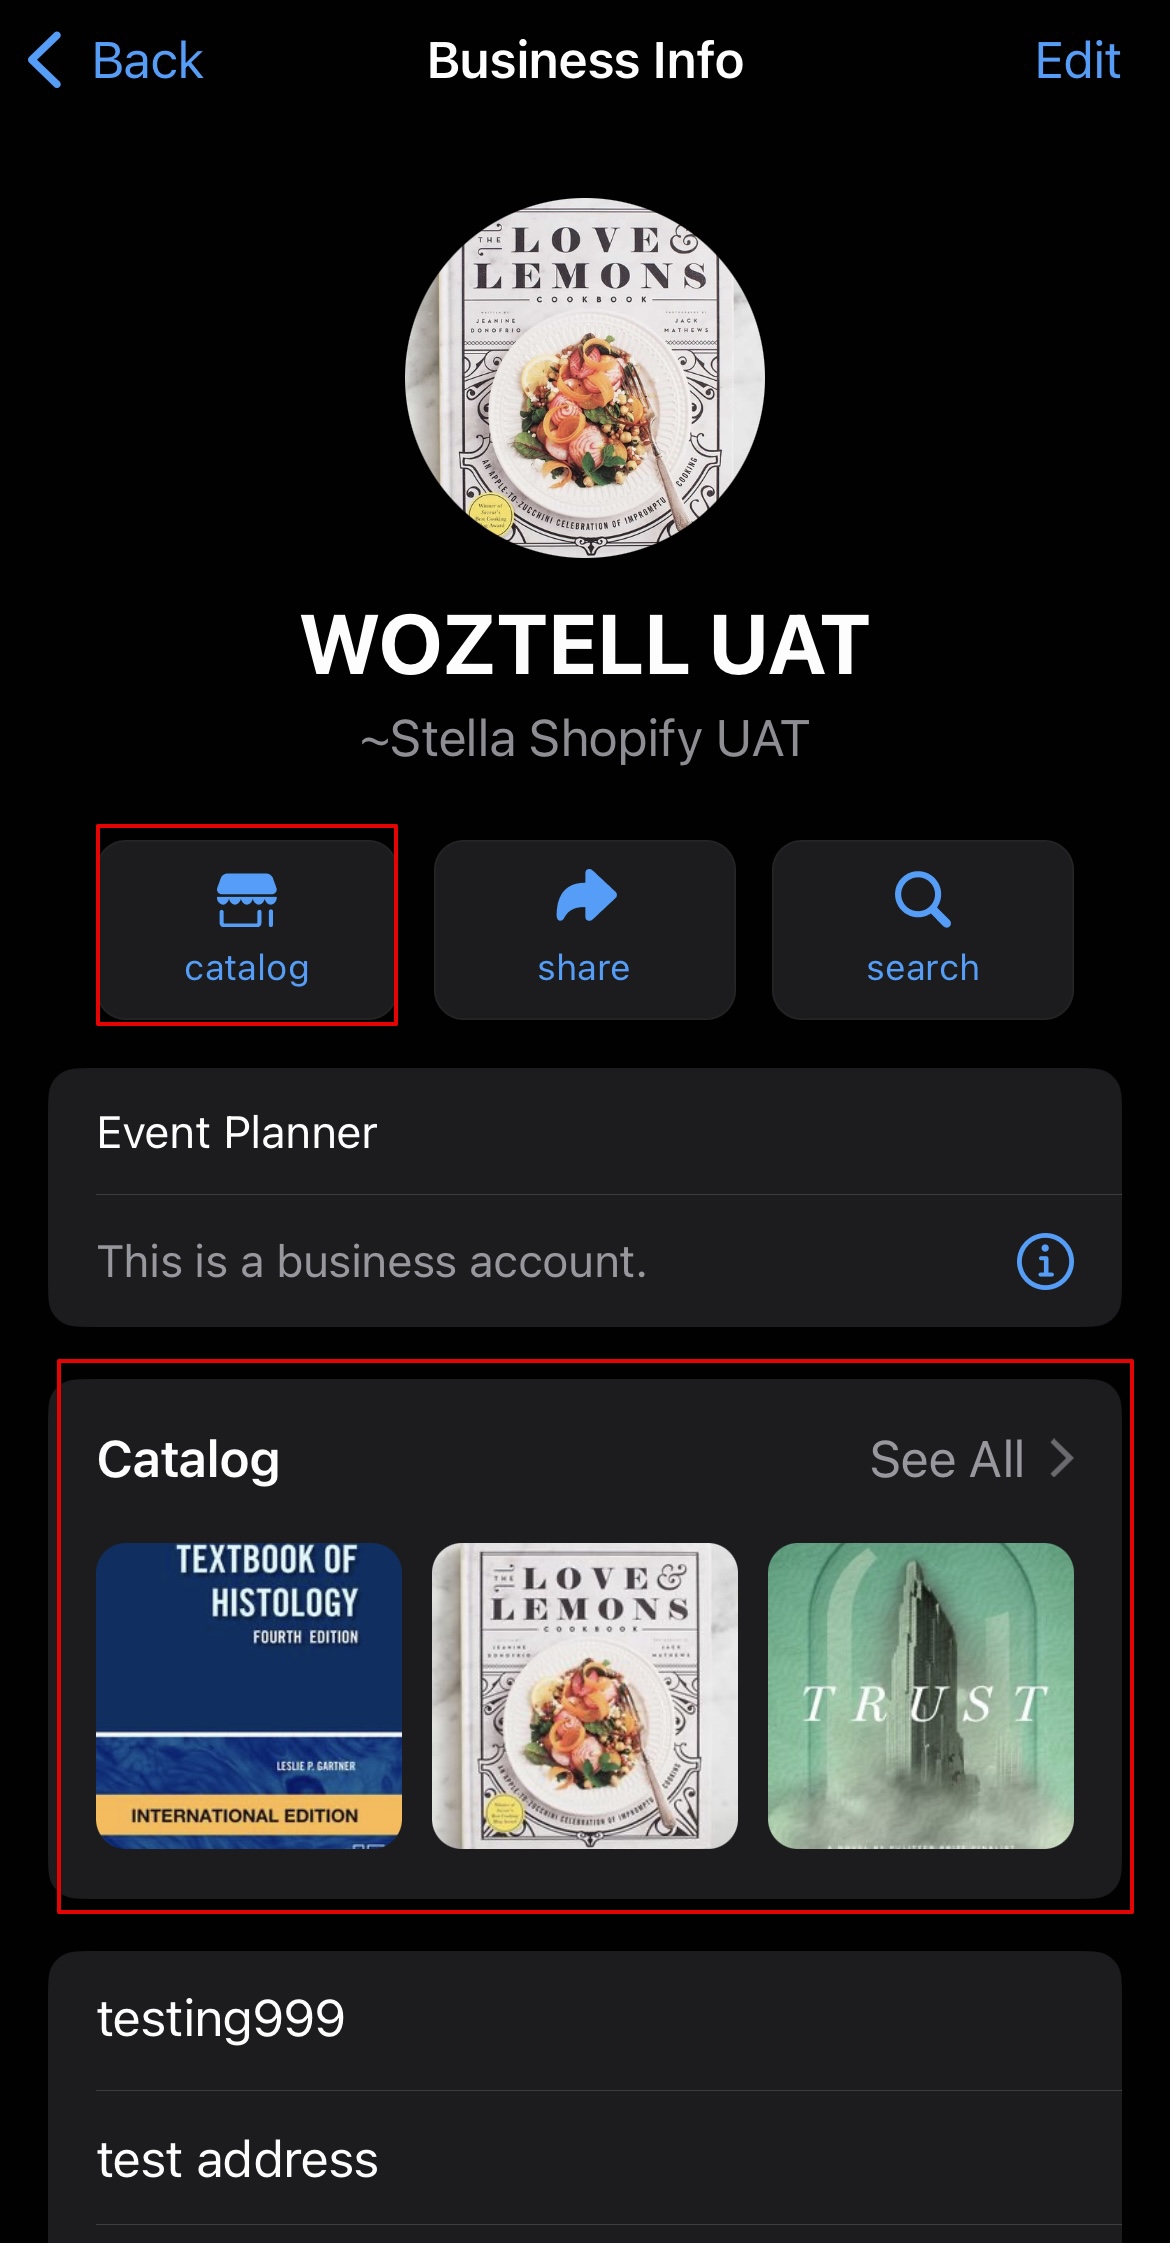
Expected result of Enable Catalog:
Multi-Product Template
The multi-product list can also be shared to customers as a message template, which allows you to send it as a business-initiated message and reach out to brand new users.
Create Multi-Product Template
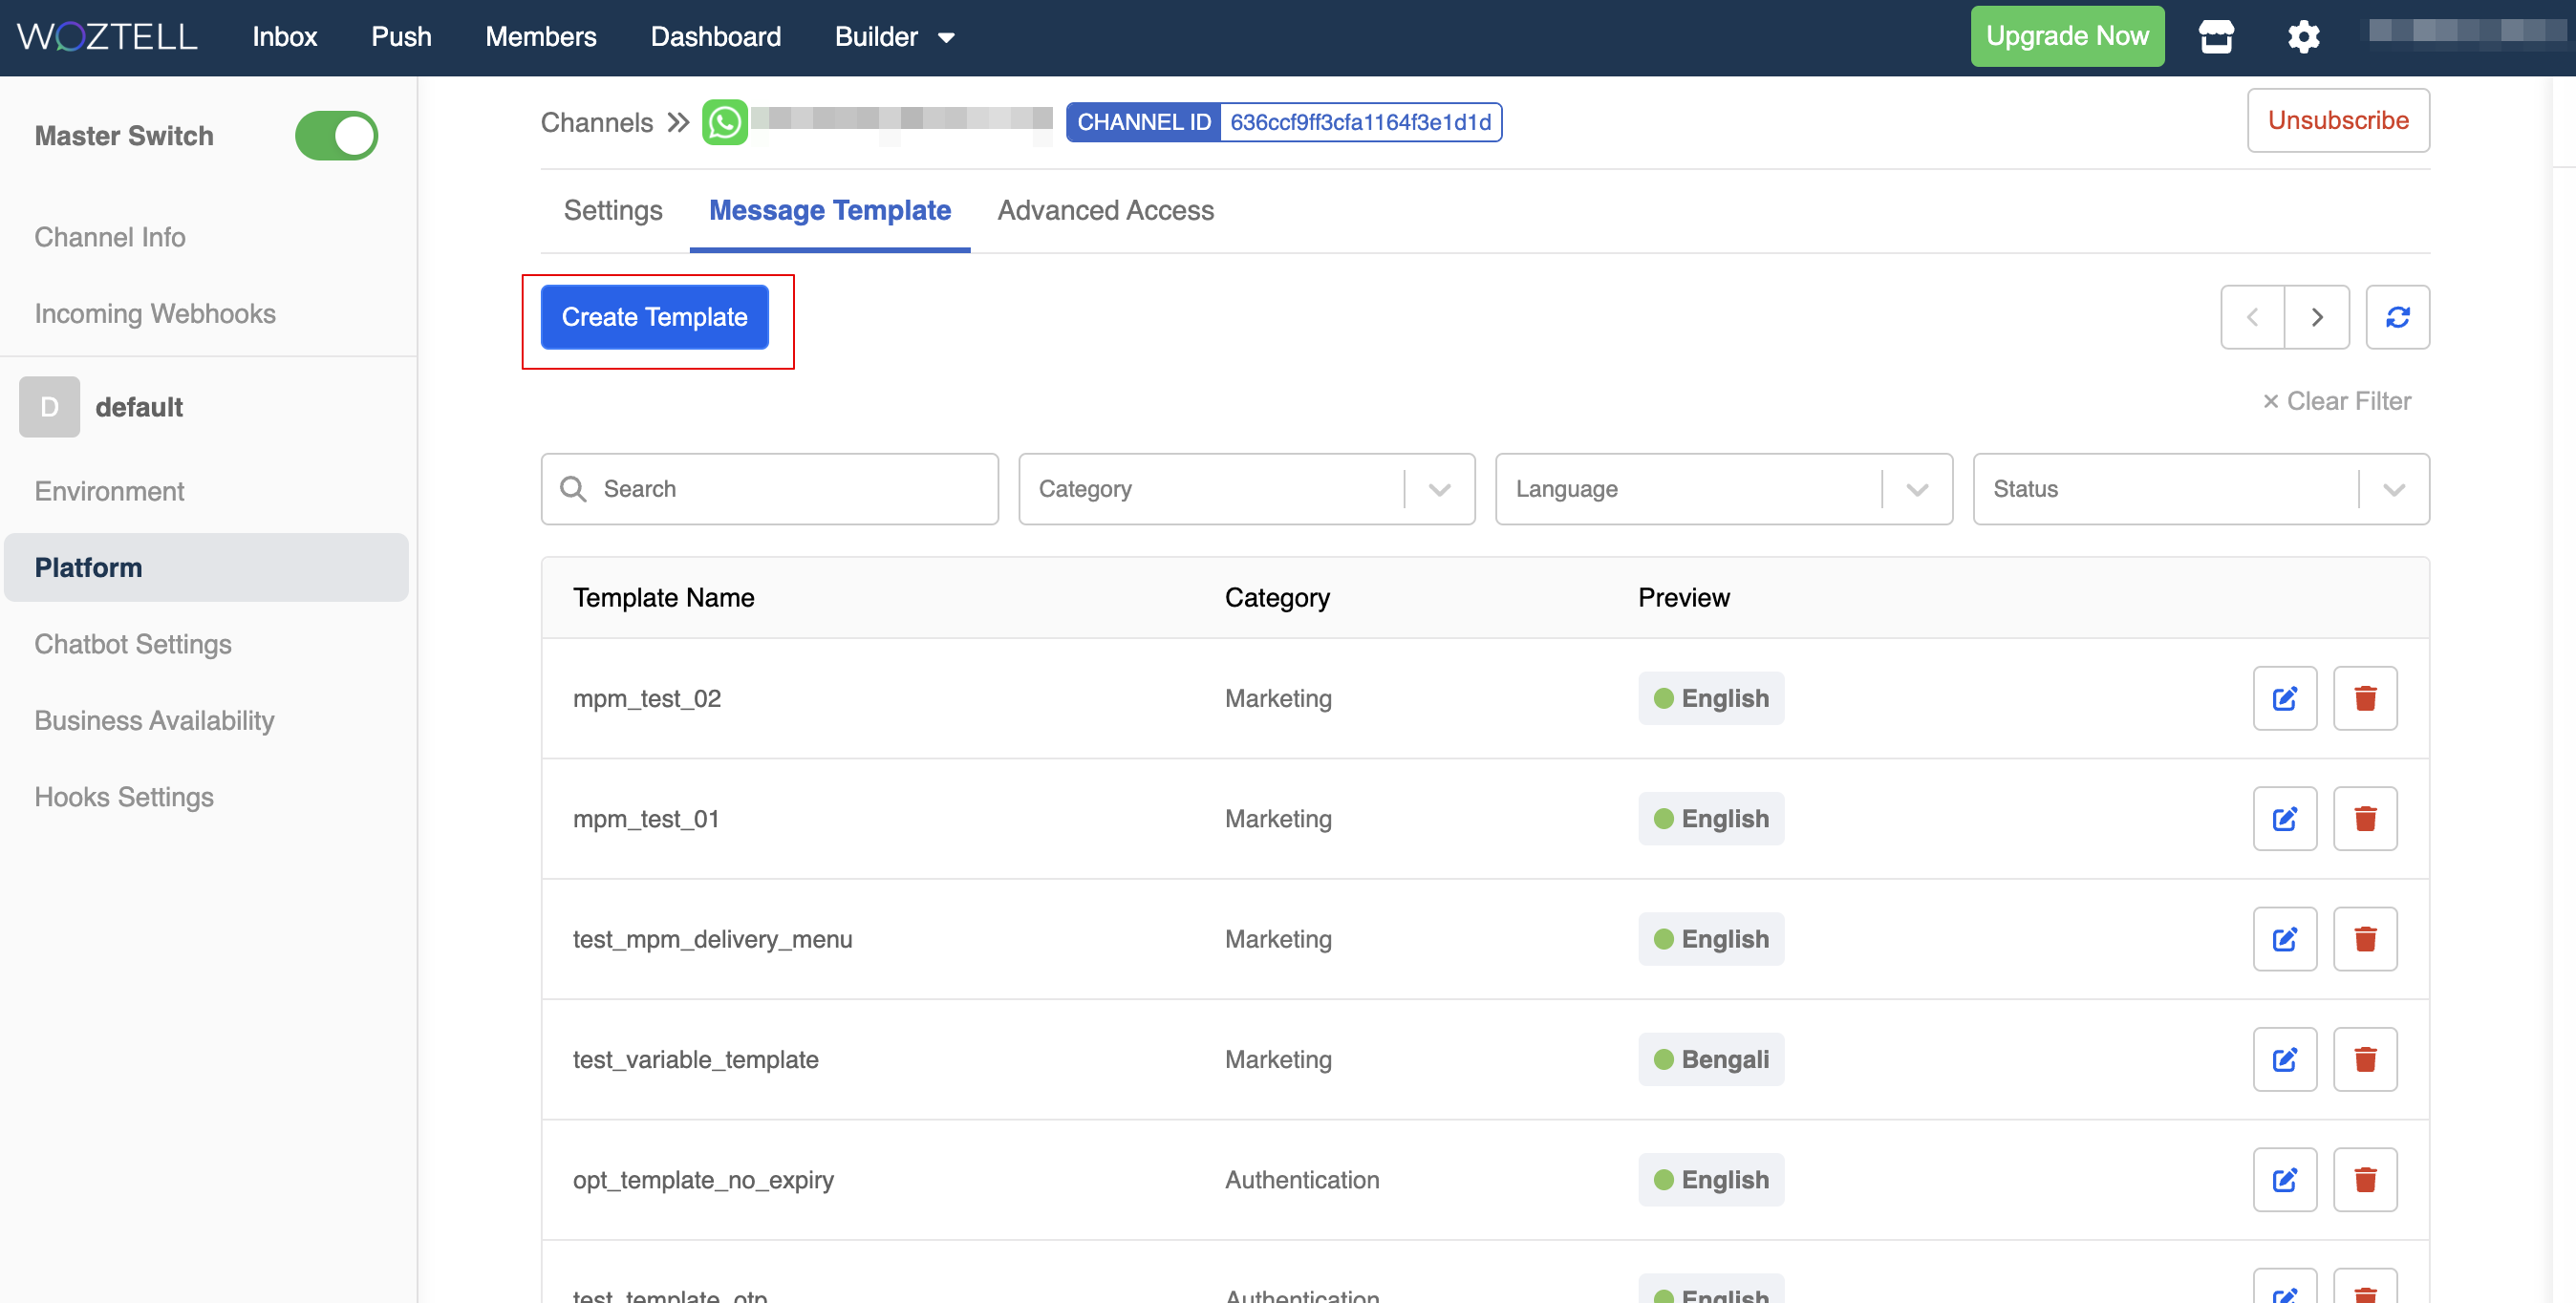
- To create the multi-product template, please head to "Settings" -> "Channels", and enter the WhatsApp Cloud channel.

- Select "Create Template".
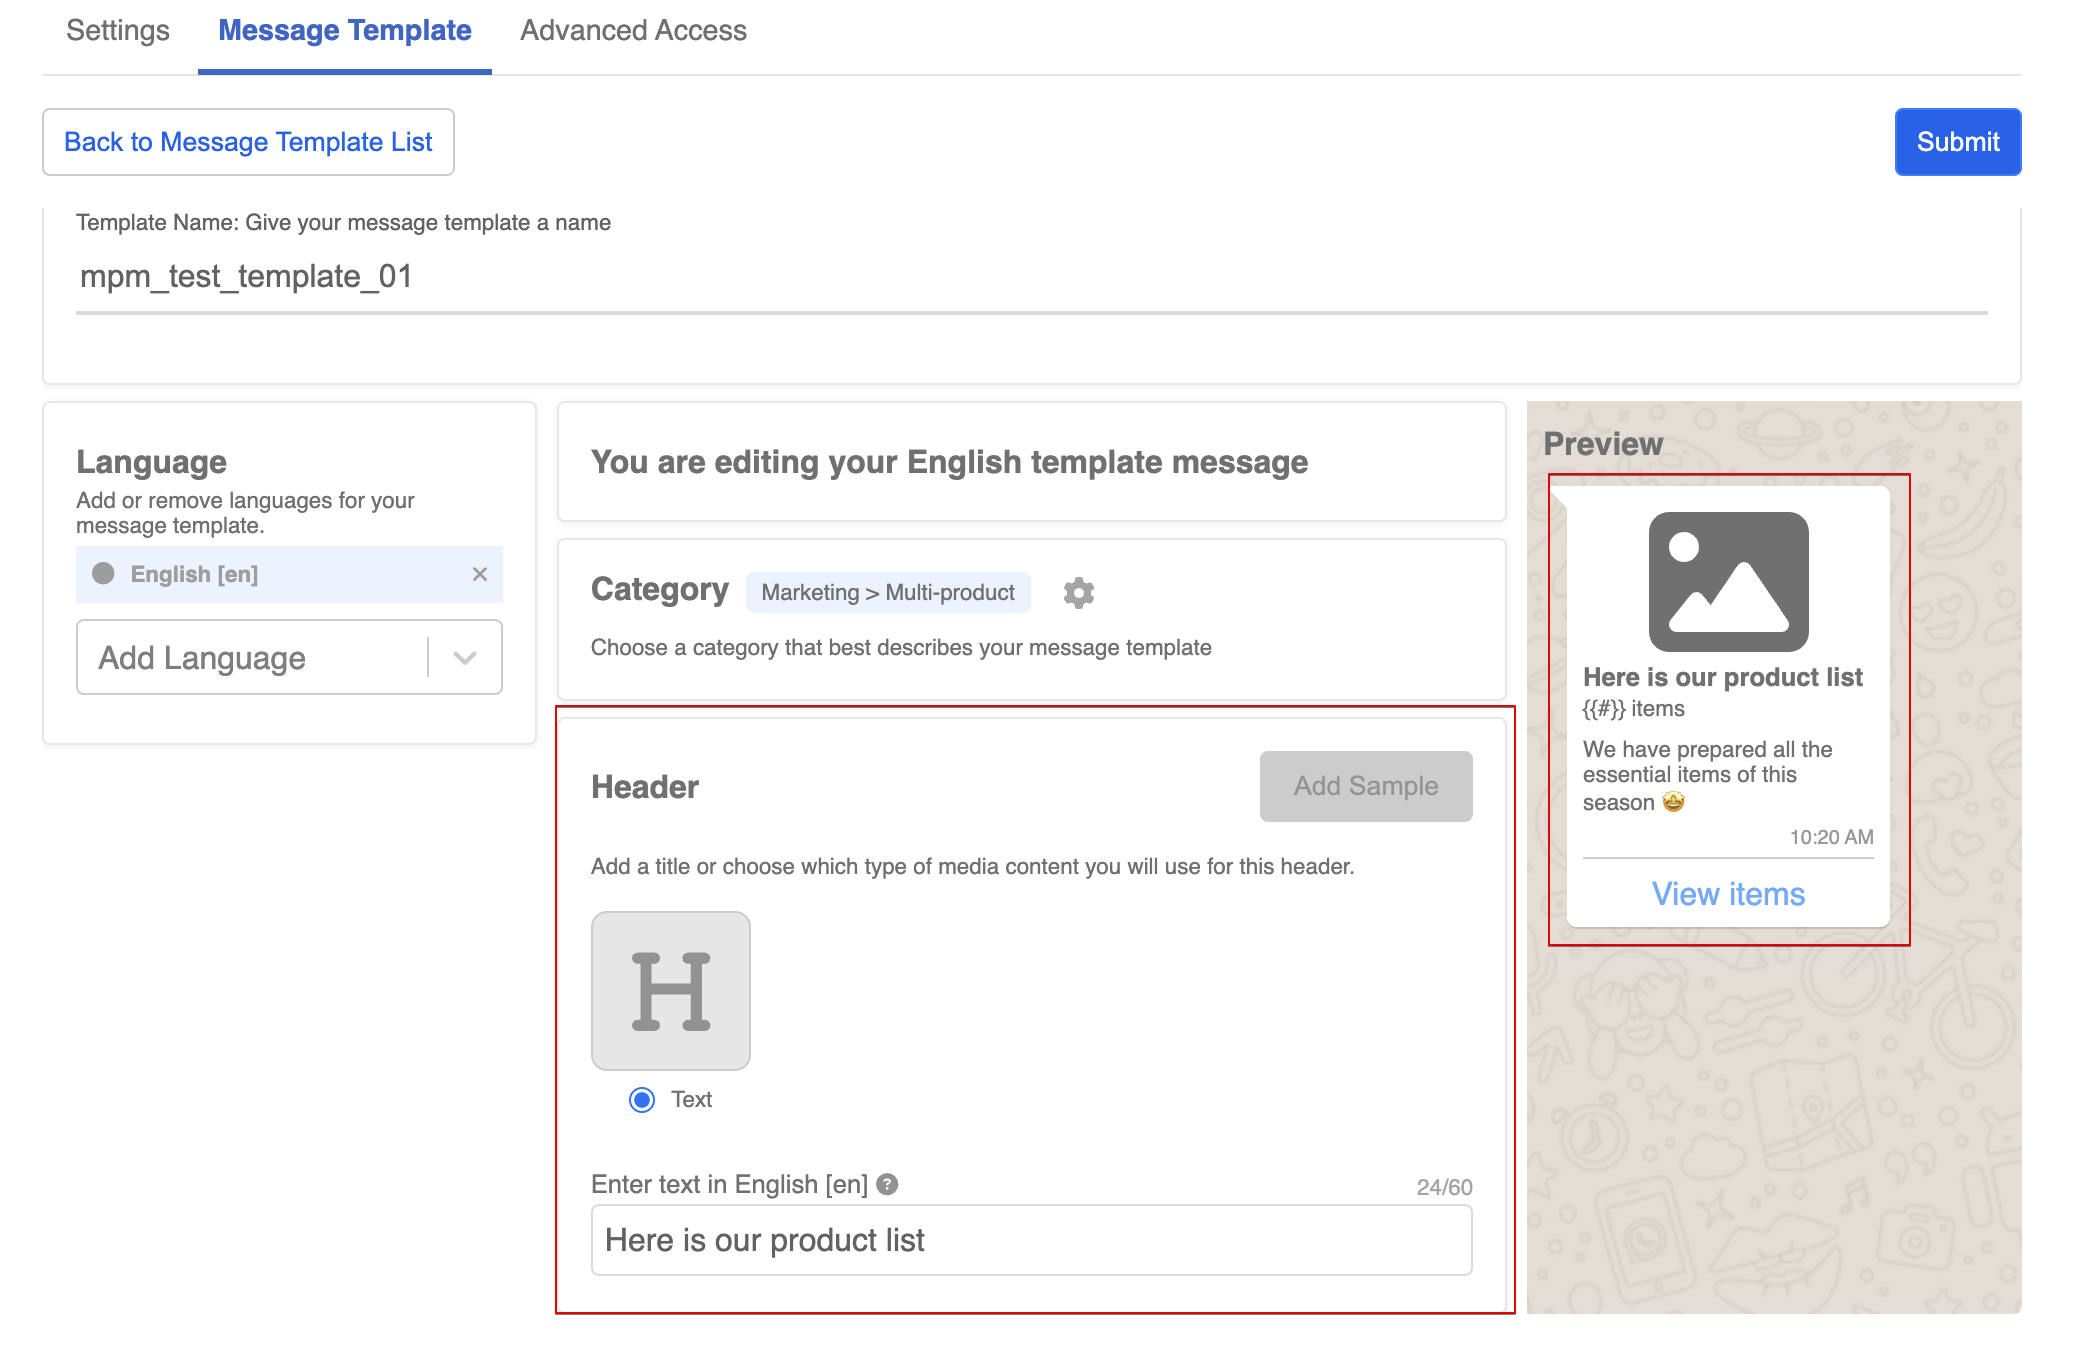
- Add the "Template Name", "Category" and "Language, the "Category" has to be "Marketing". After that, check the "Multi-Product Template".

- Fill in the content of the template, and "Submit" the template.
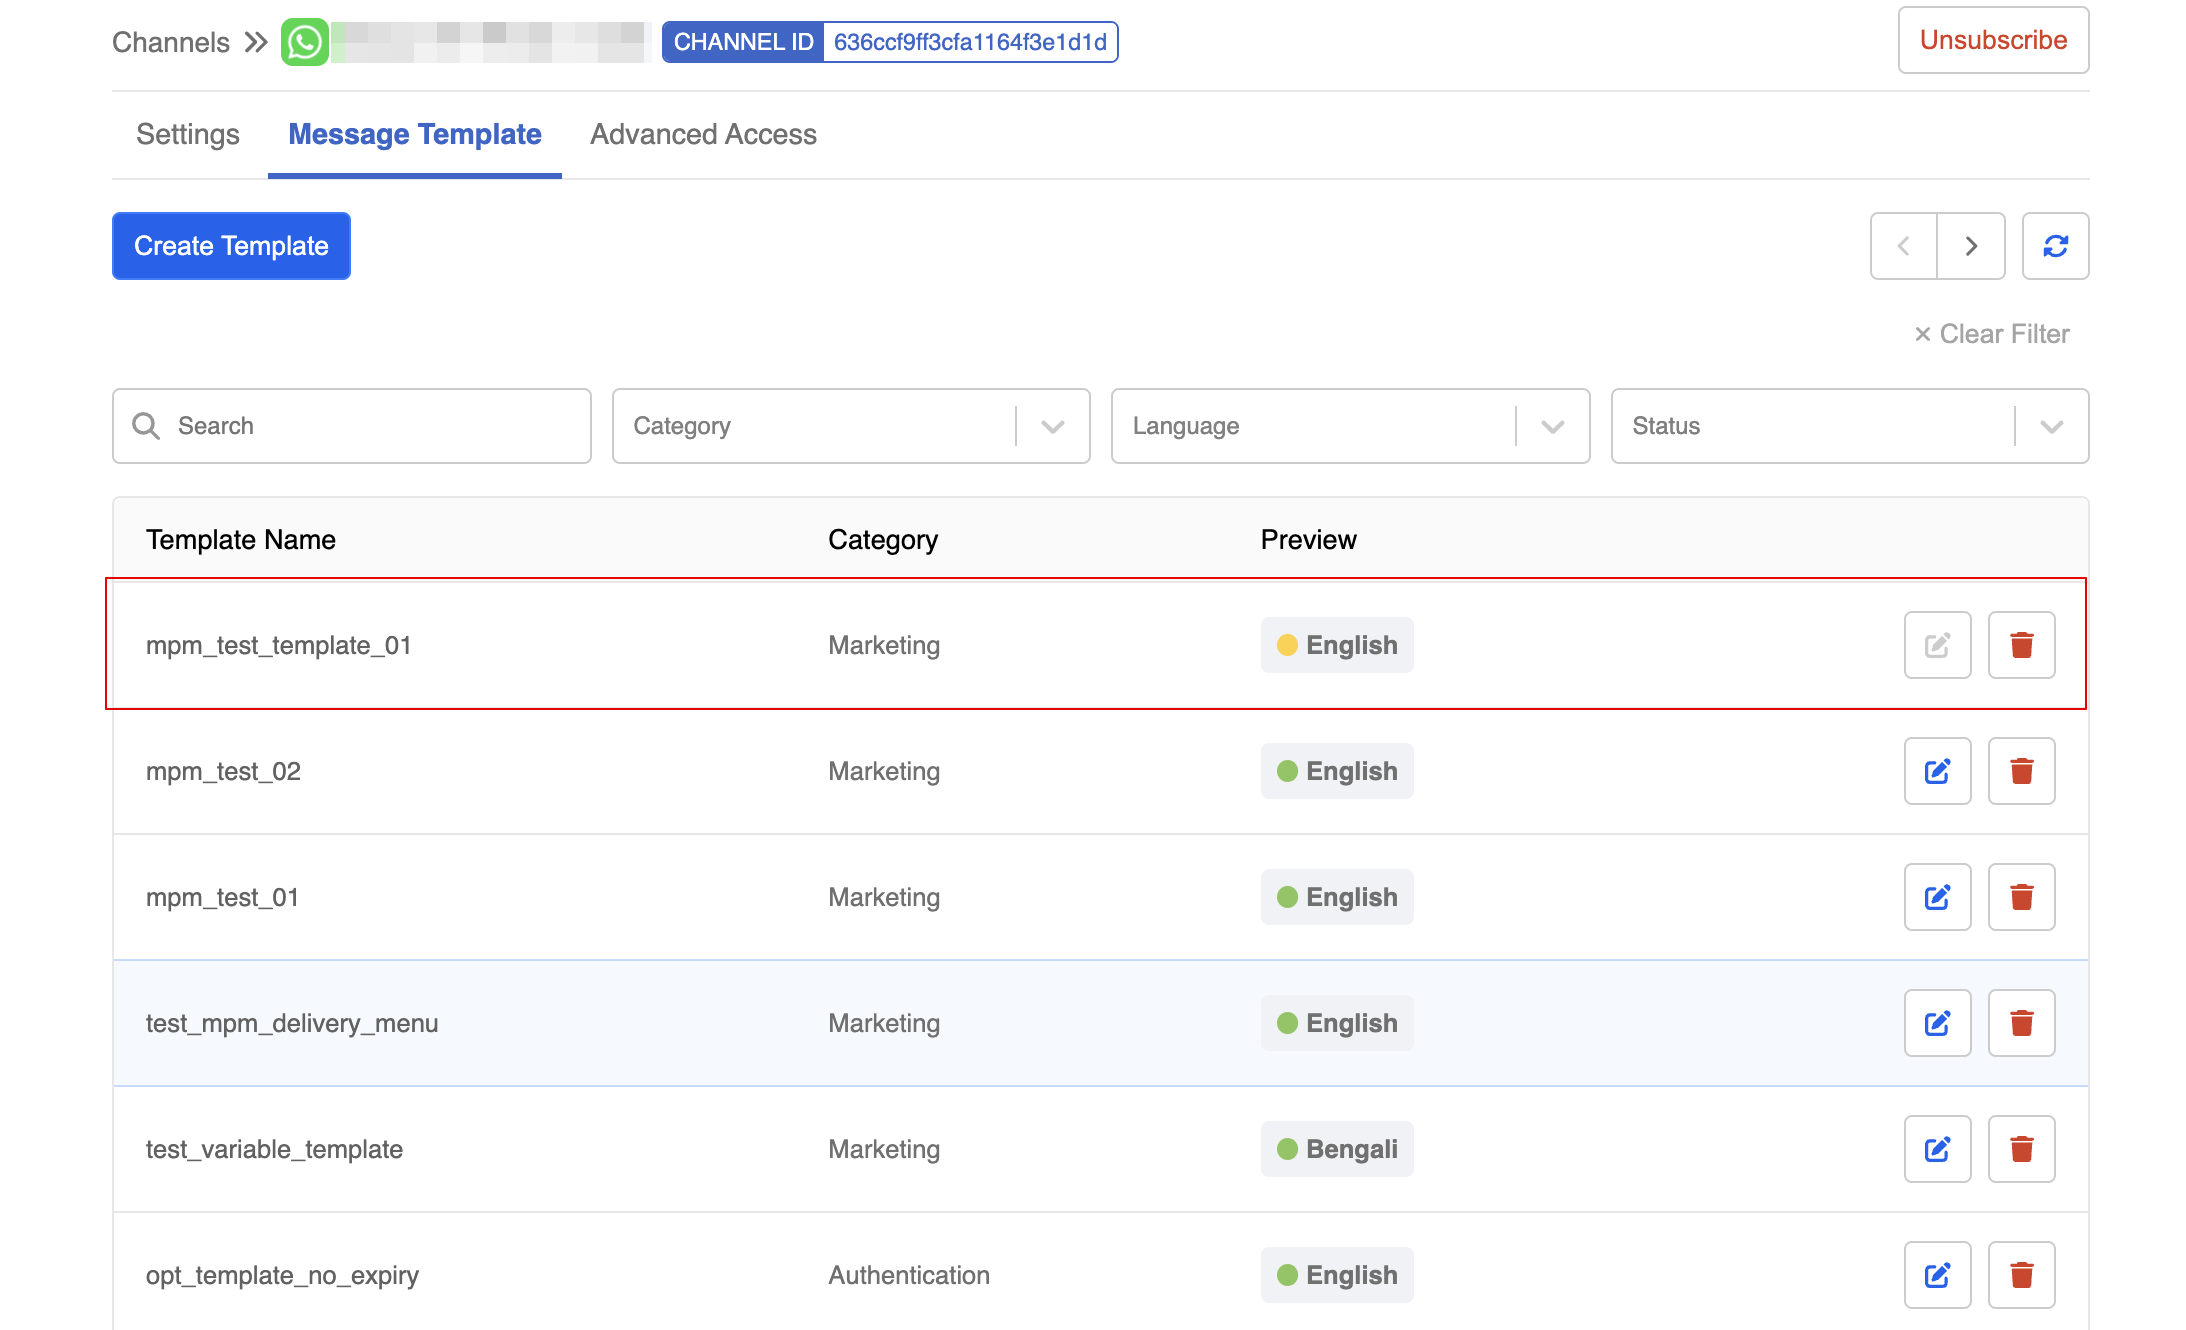
- The submitted template will be reviewed and approved by WhatsApp.
Send Multi-Product Template
- To send the template, create a new WhatsApp specific response.
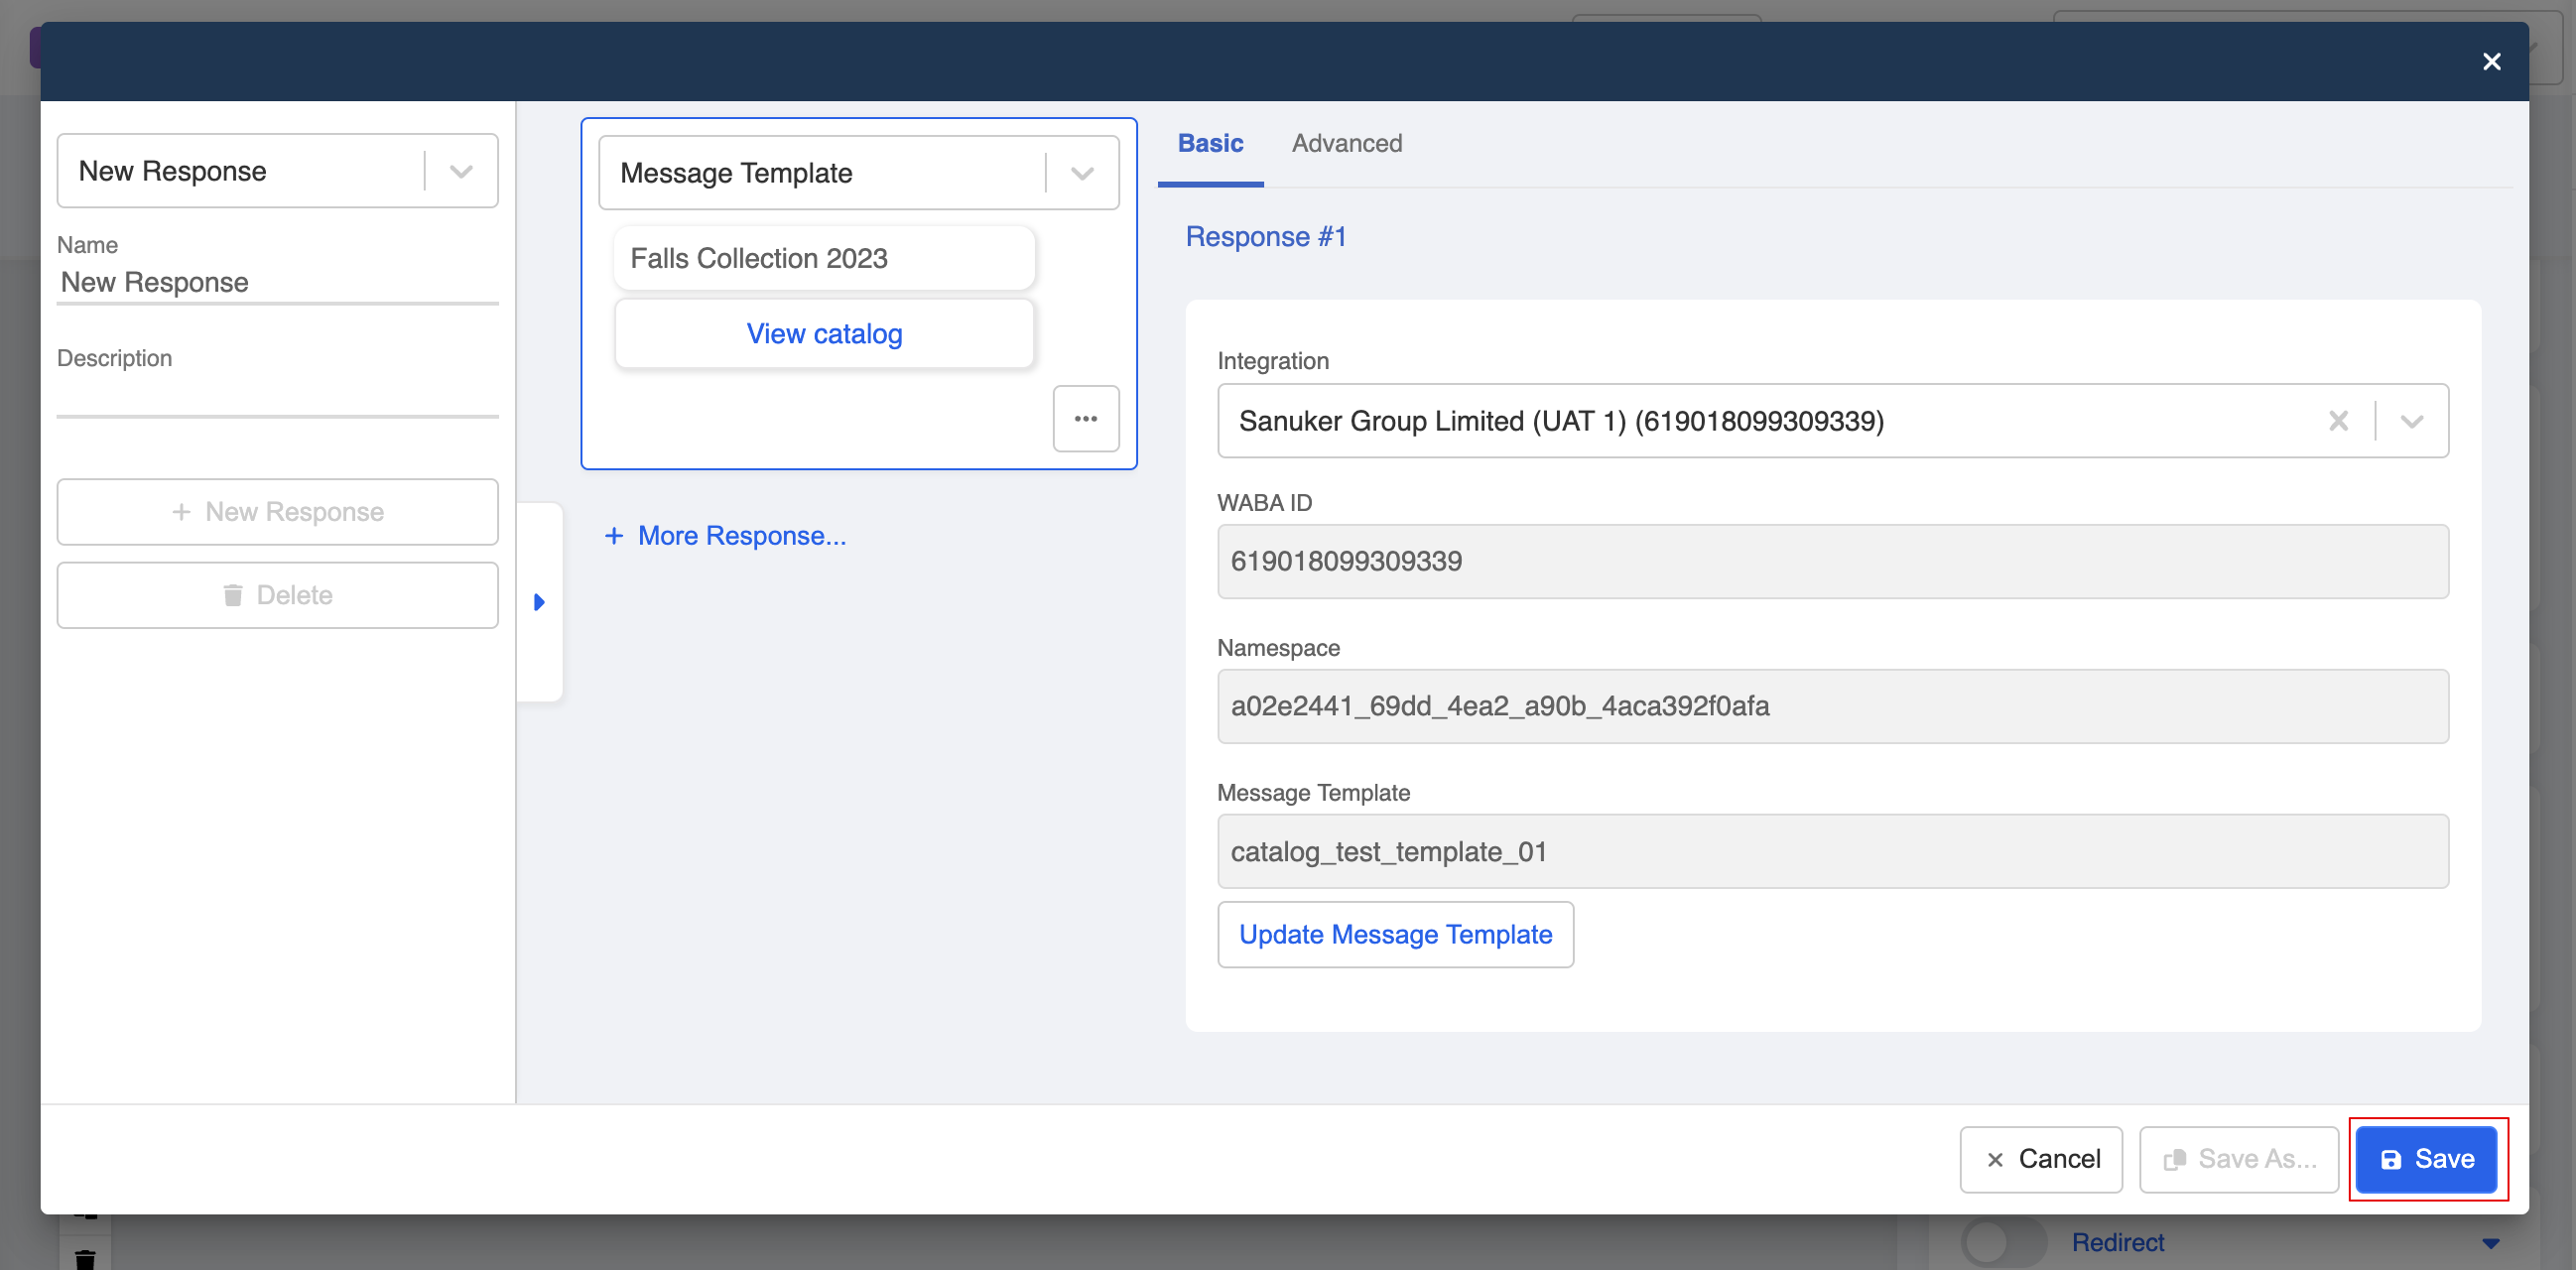
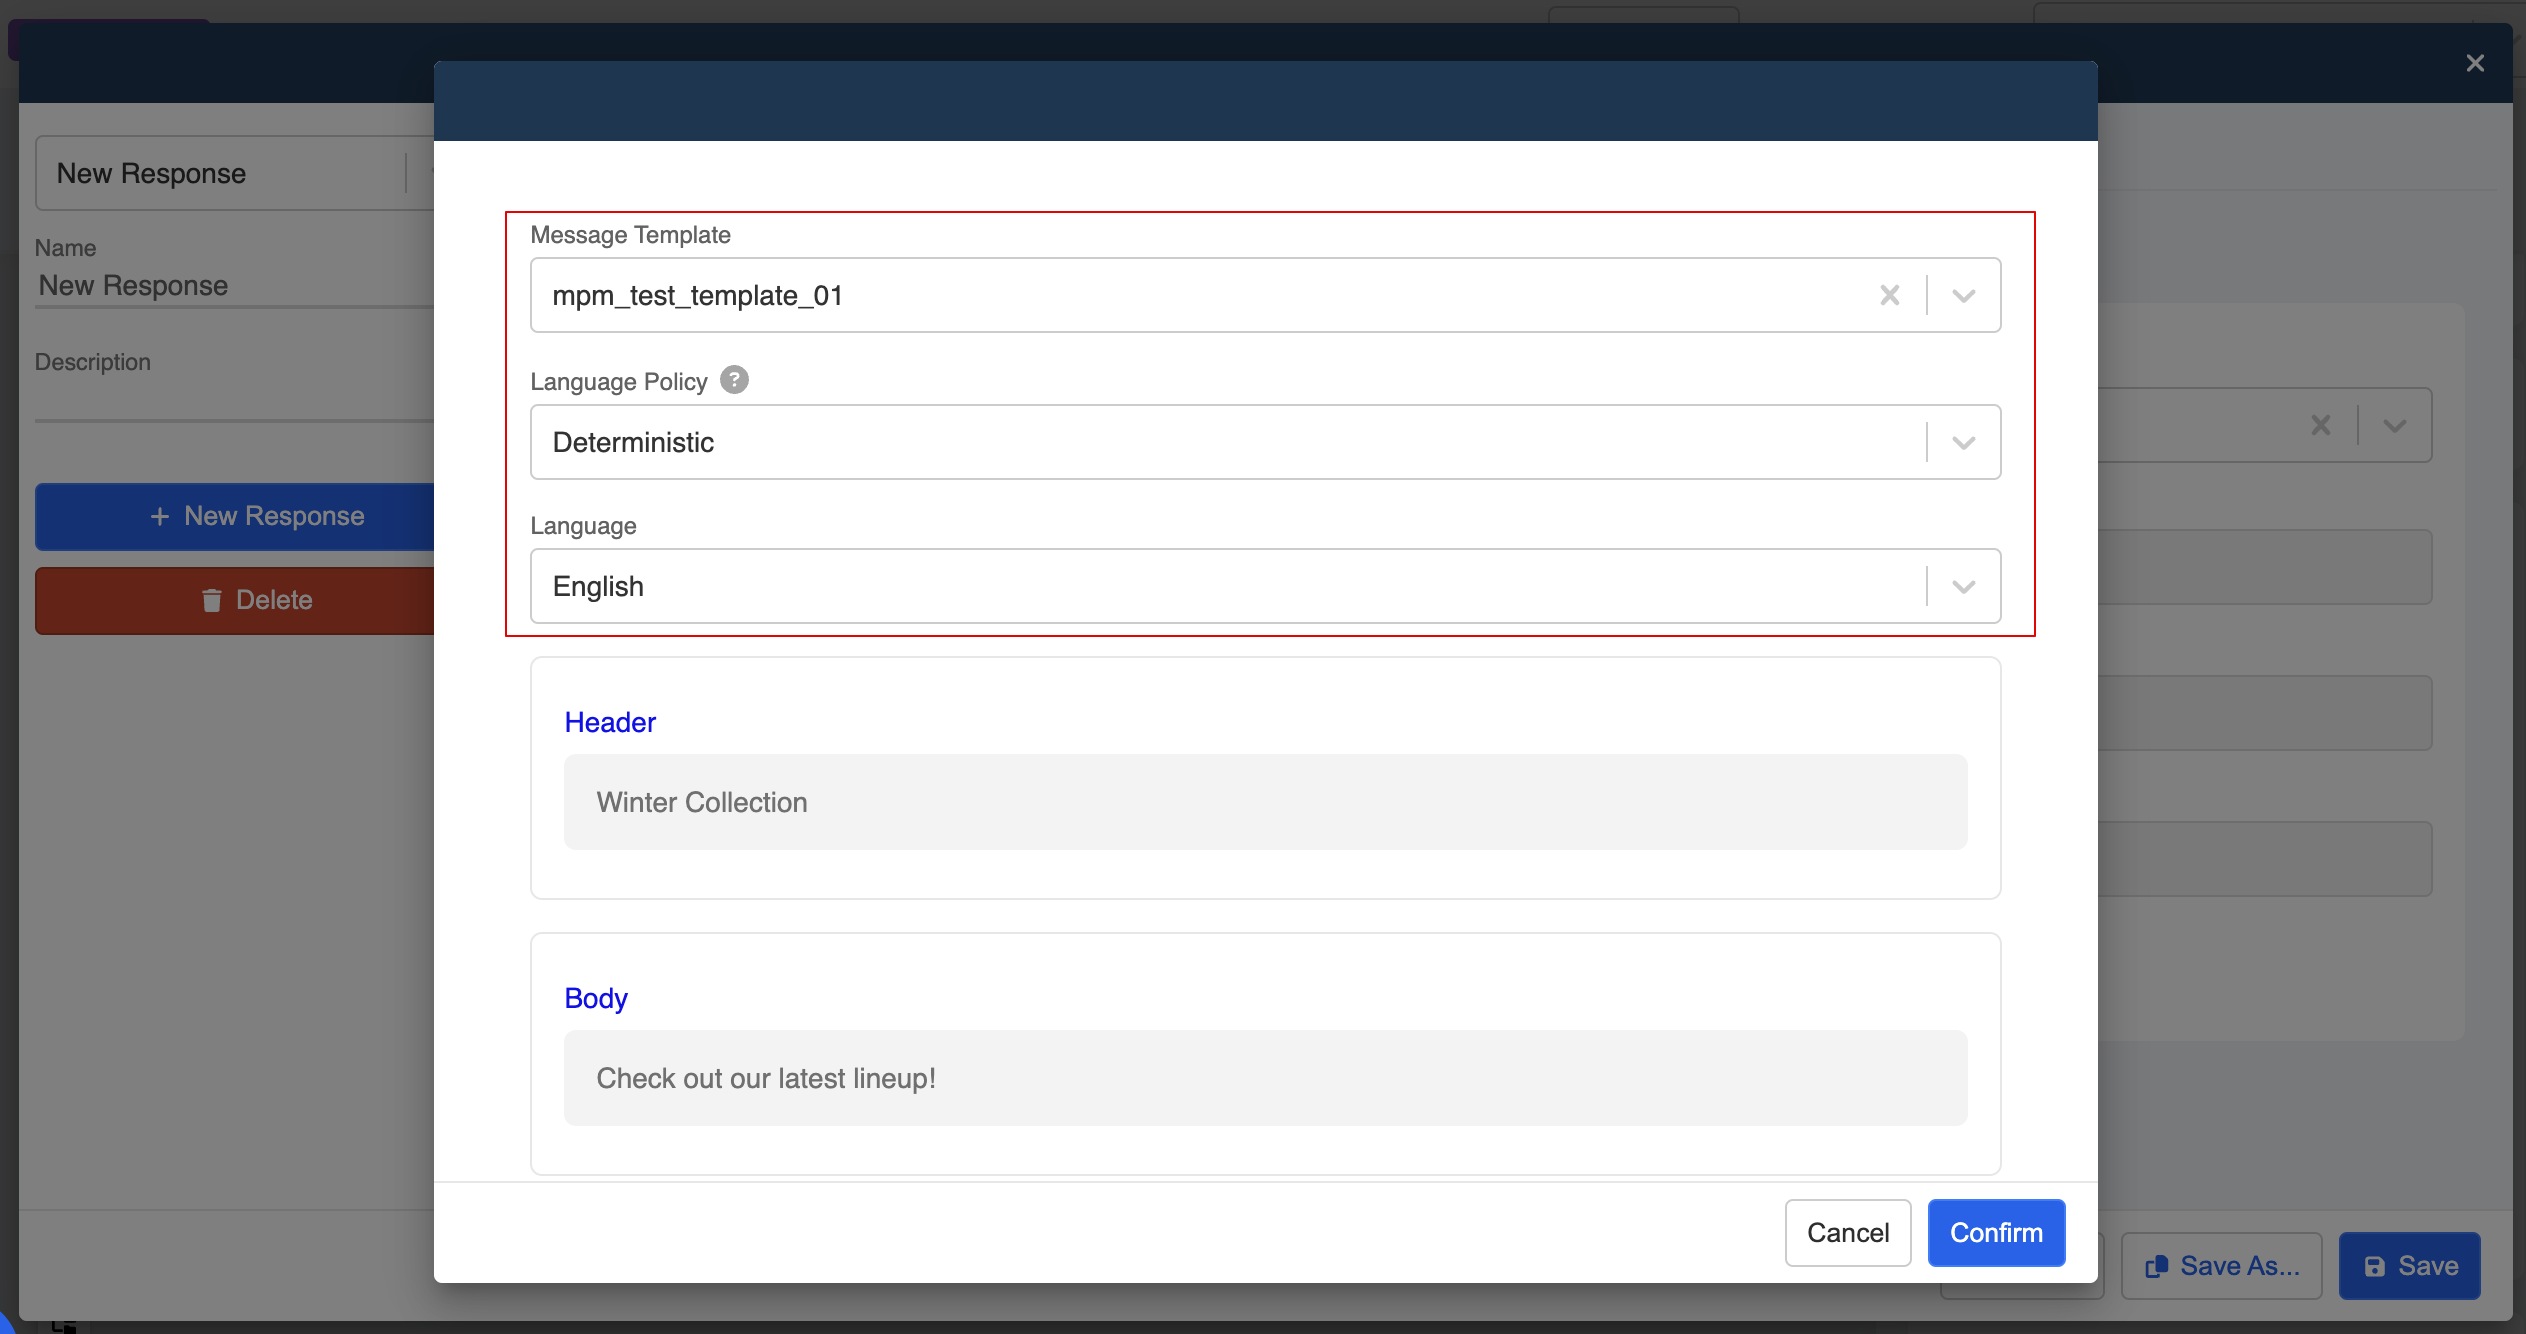
- Select "Message Template", and the "Integration". Then, proceed by clicking "Update Message Template".

- Select the corresponding "Message Template", "Language Policy" and "Language".
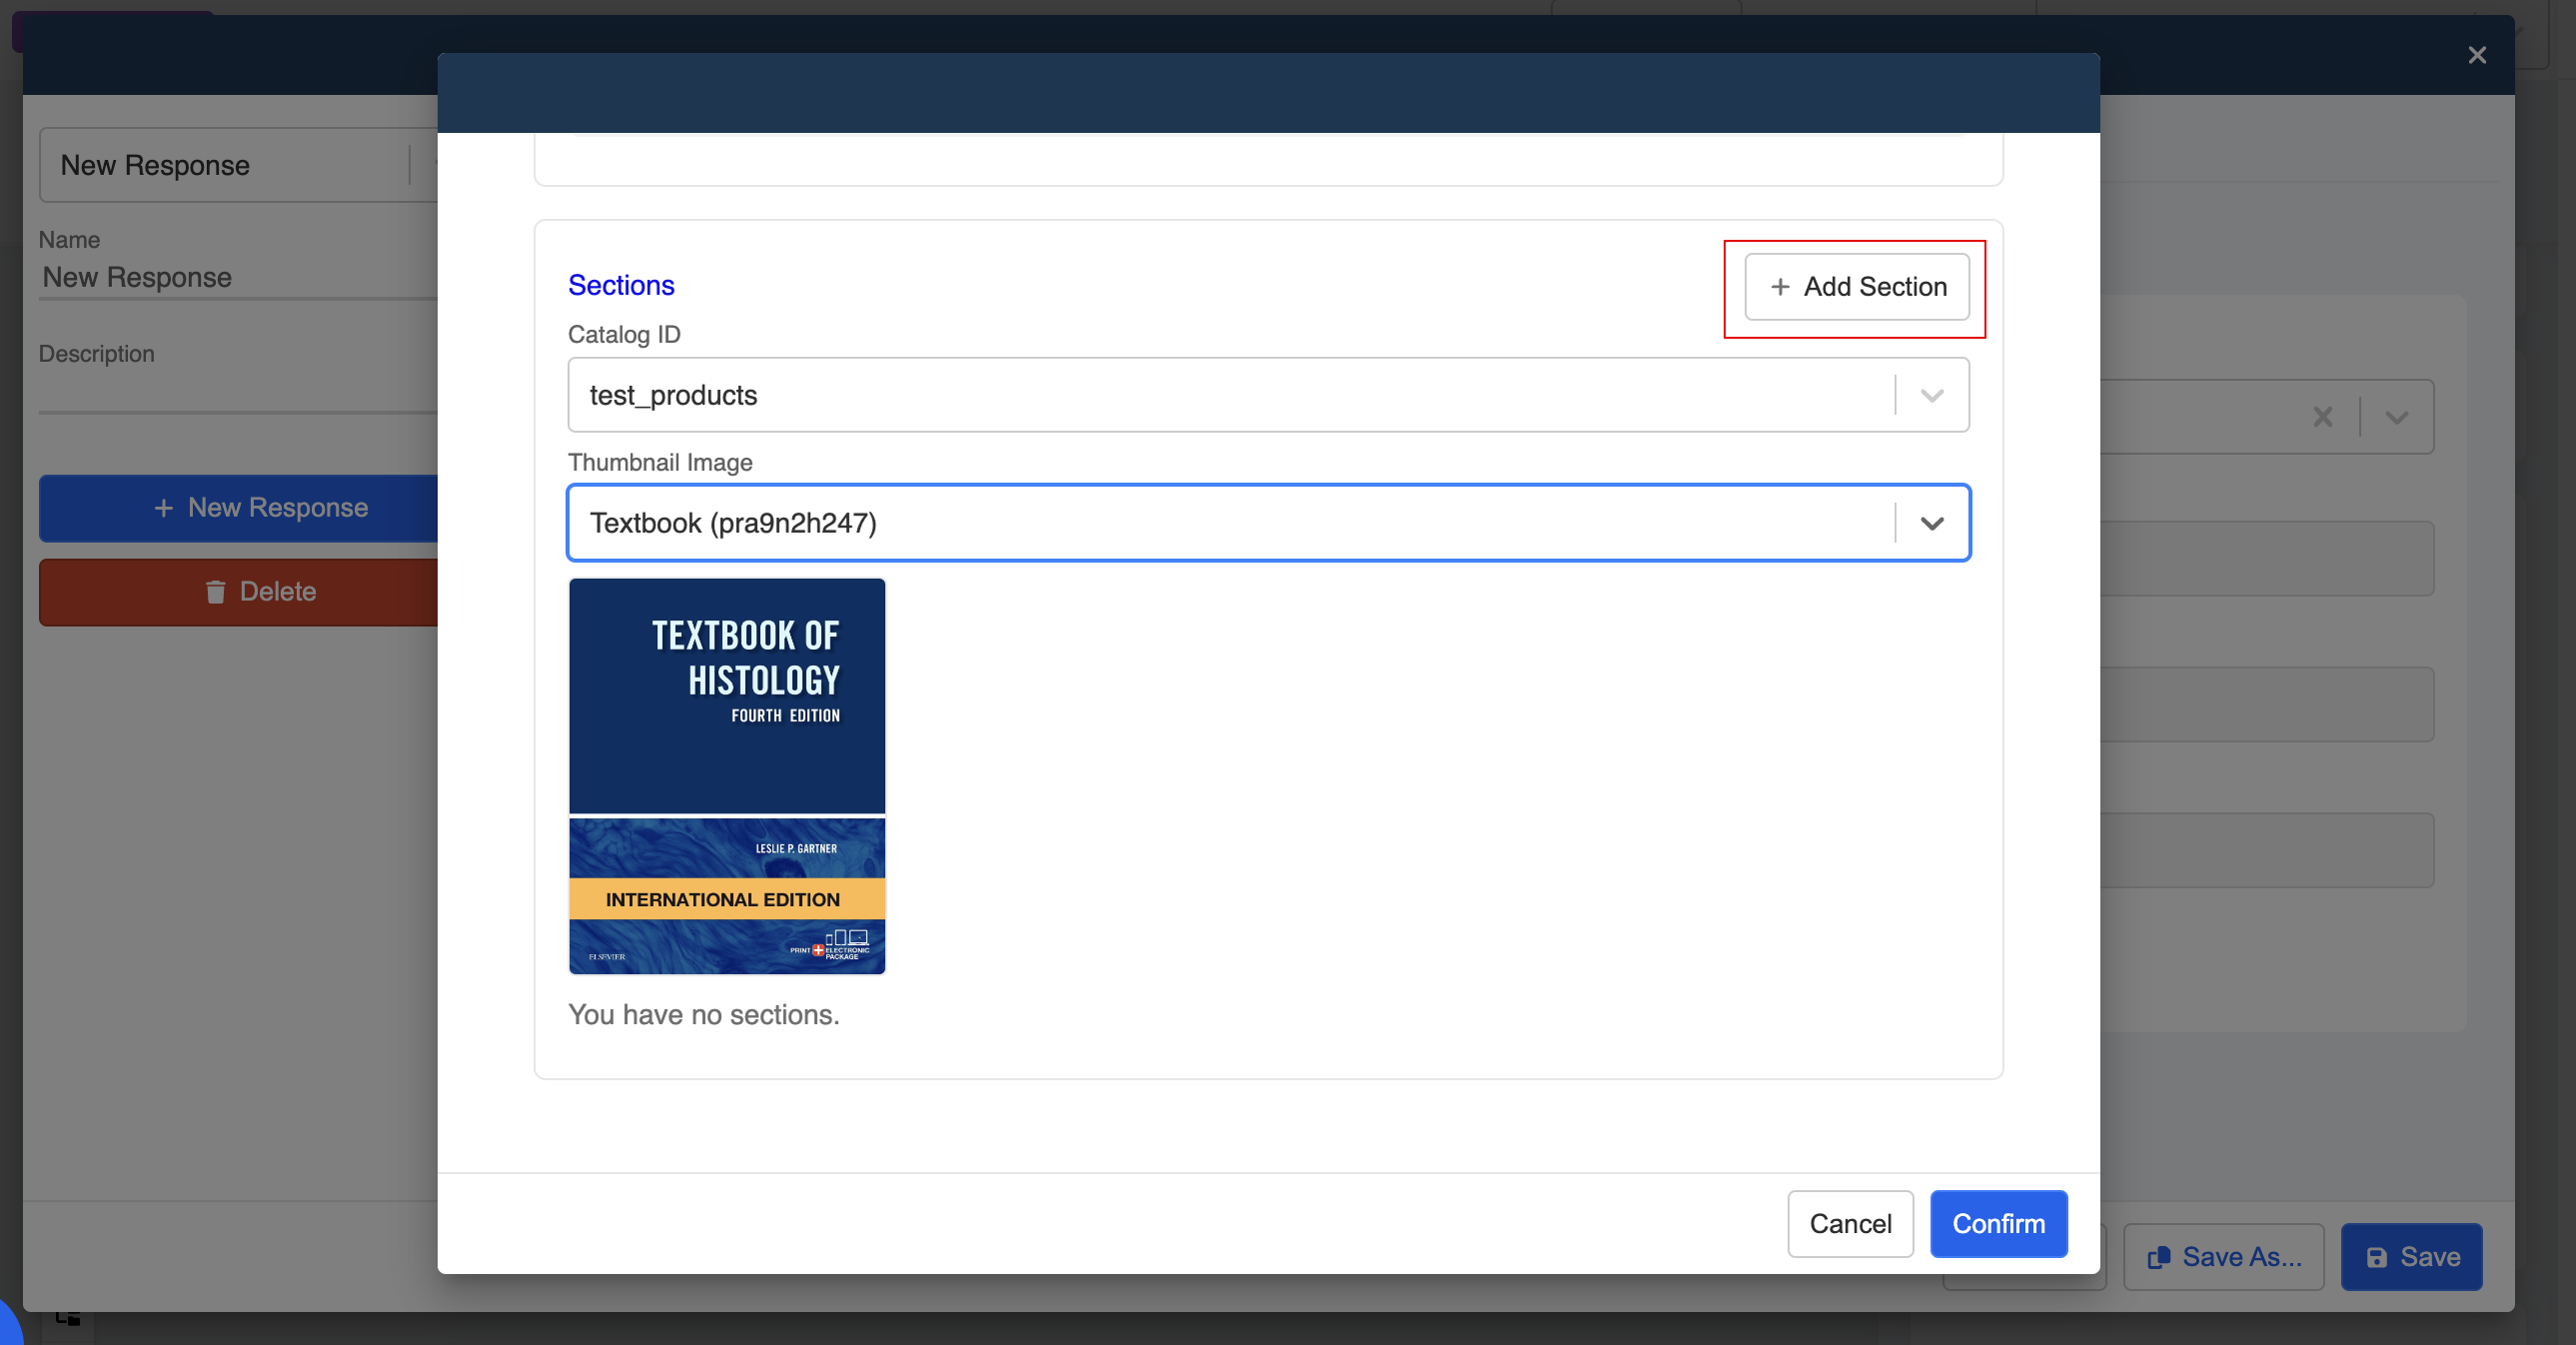
- Under "Sections", select the "Catalog ID" and a thumbnail for the product list.

- Click "+ Add Section" for adding the products.
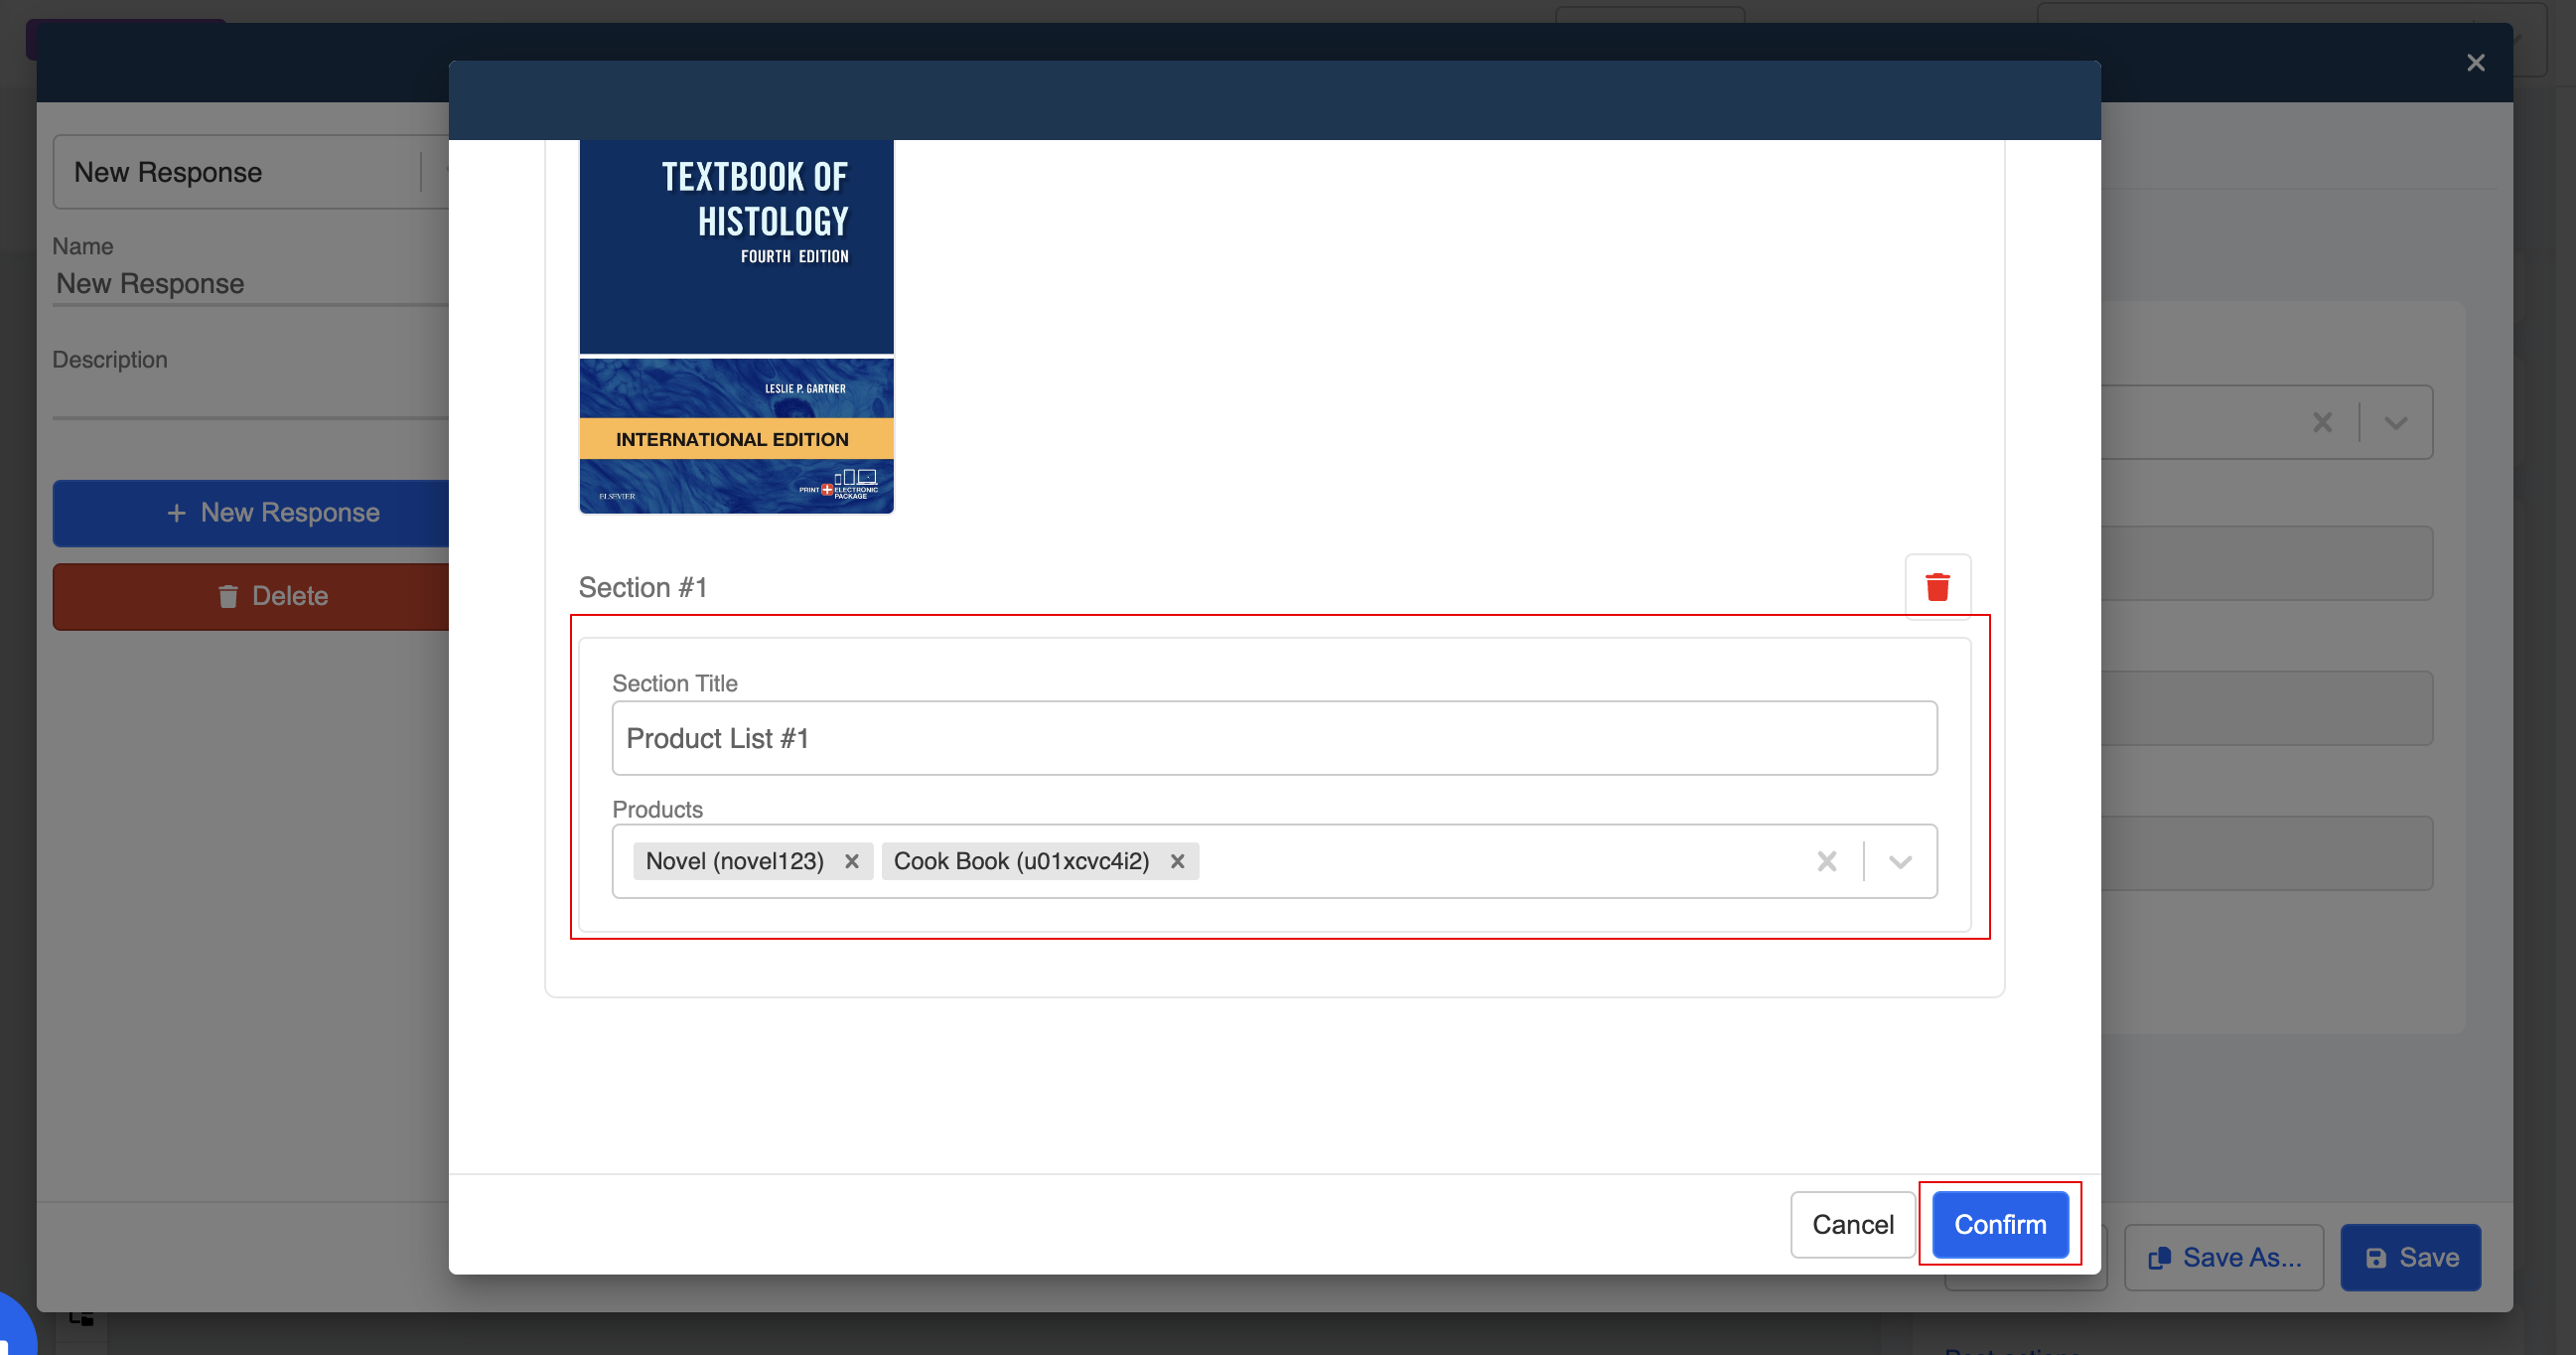
- Fill in the "Section Title", and select the products from the catalog. Click "Confirm" when it is done.
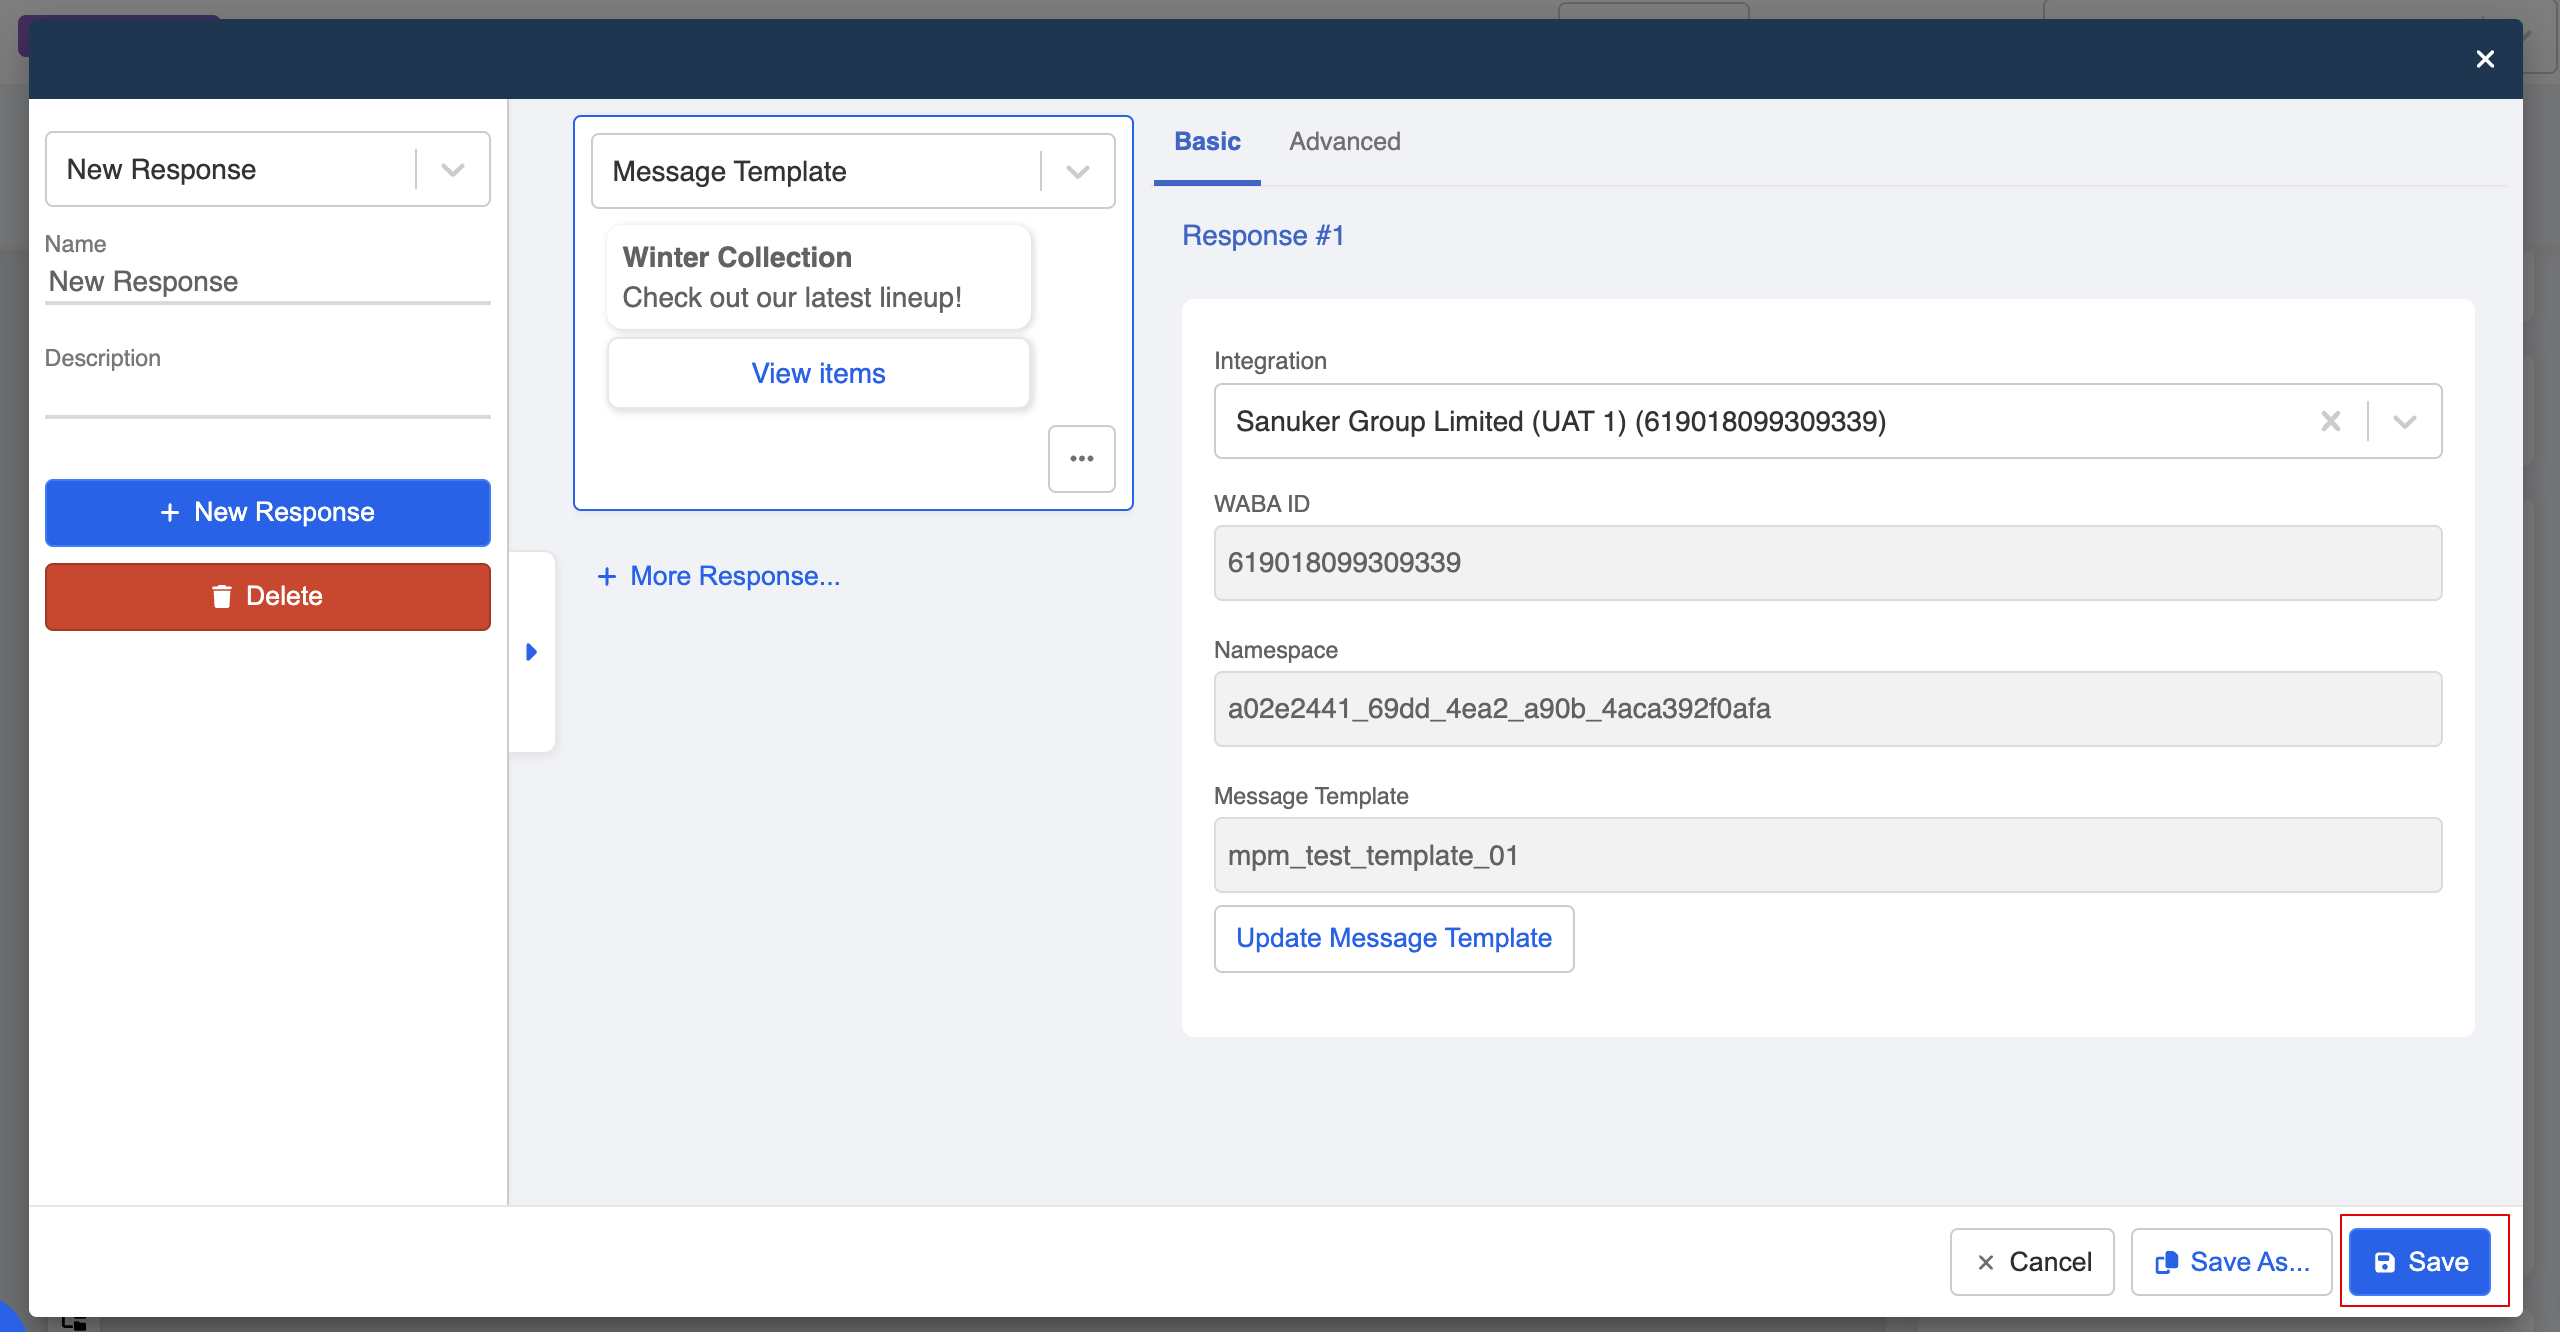
- Finally, "Save" the response and it is ready to be sent.
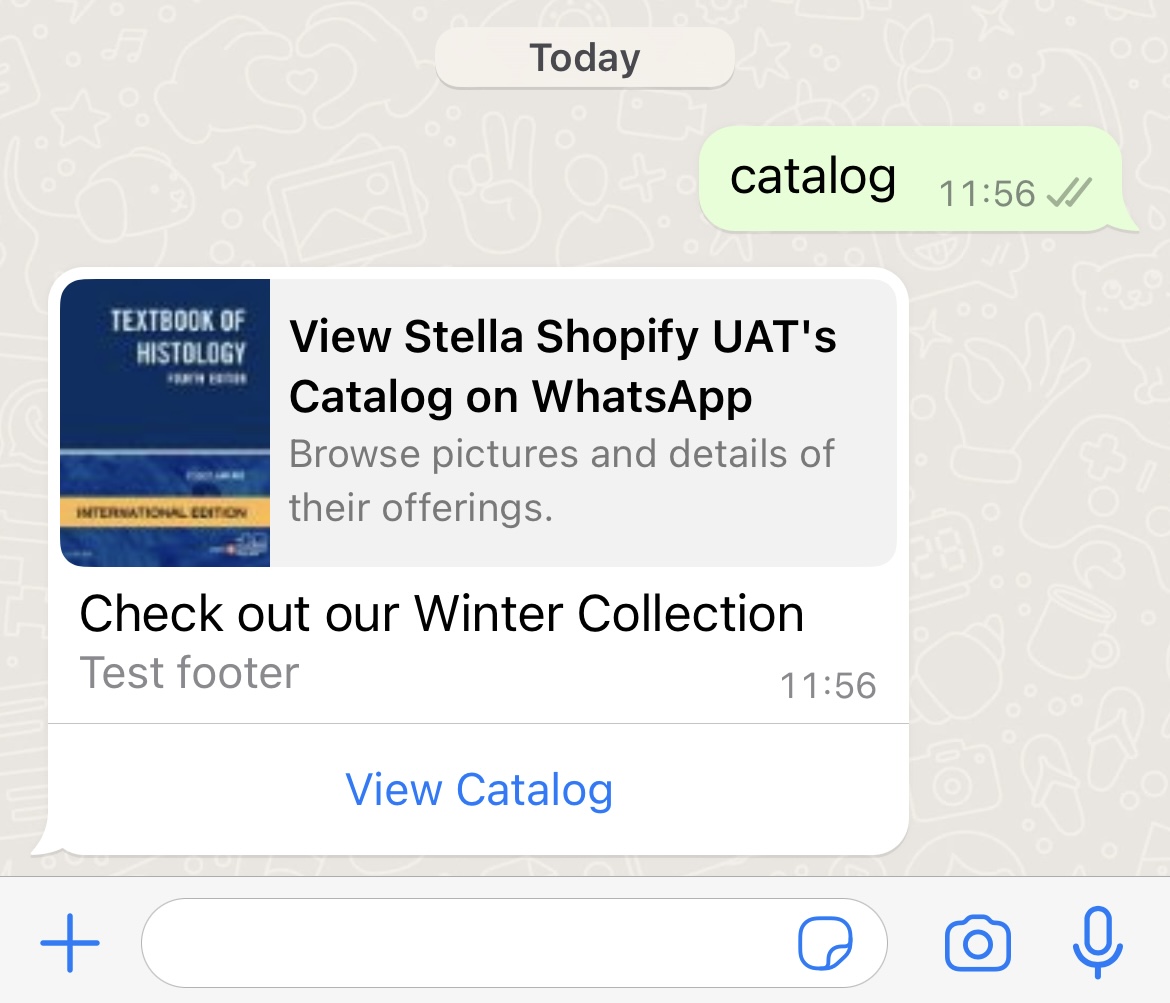
Catalog Message
The Catalog Message is a free-form message that allows you to showcase your product catalog. Once the user clicks the button in the catalog message, it will expand and show the whole catalog.
Create Catalog Message
- First, enter the bot builder. Select "WhatsApp Cloud" as the "Platform Preference", and create a new response.
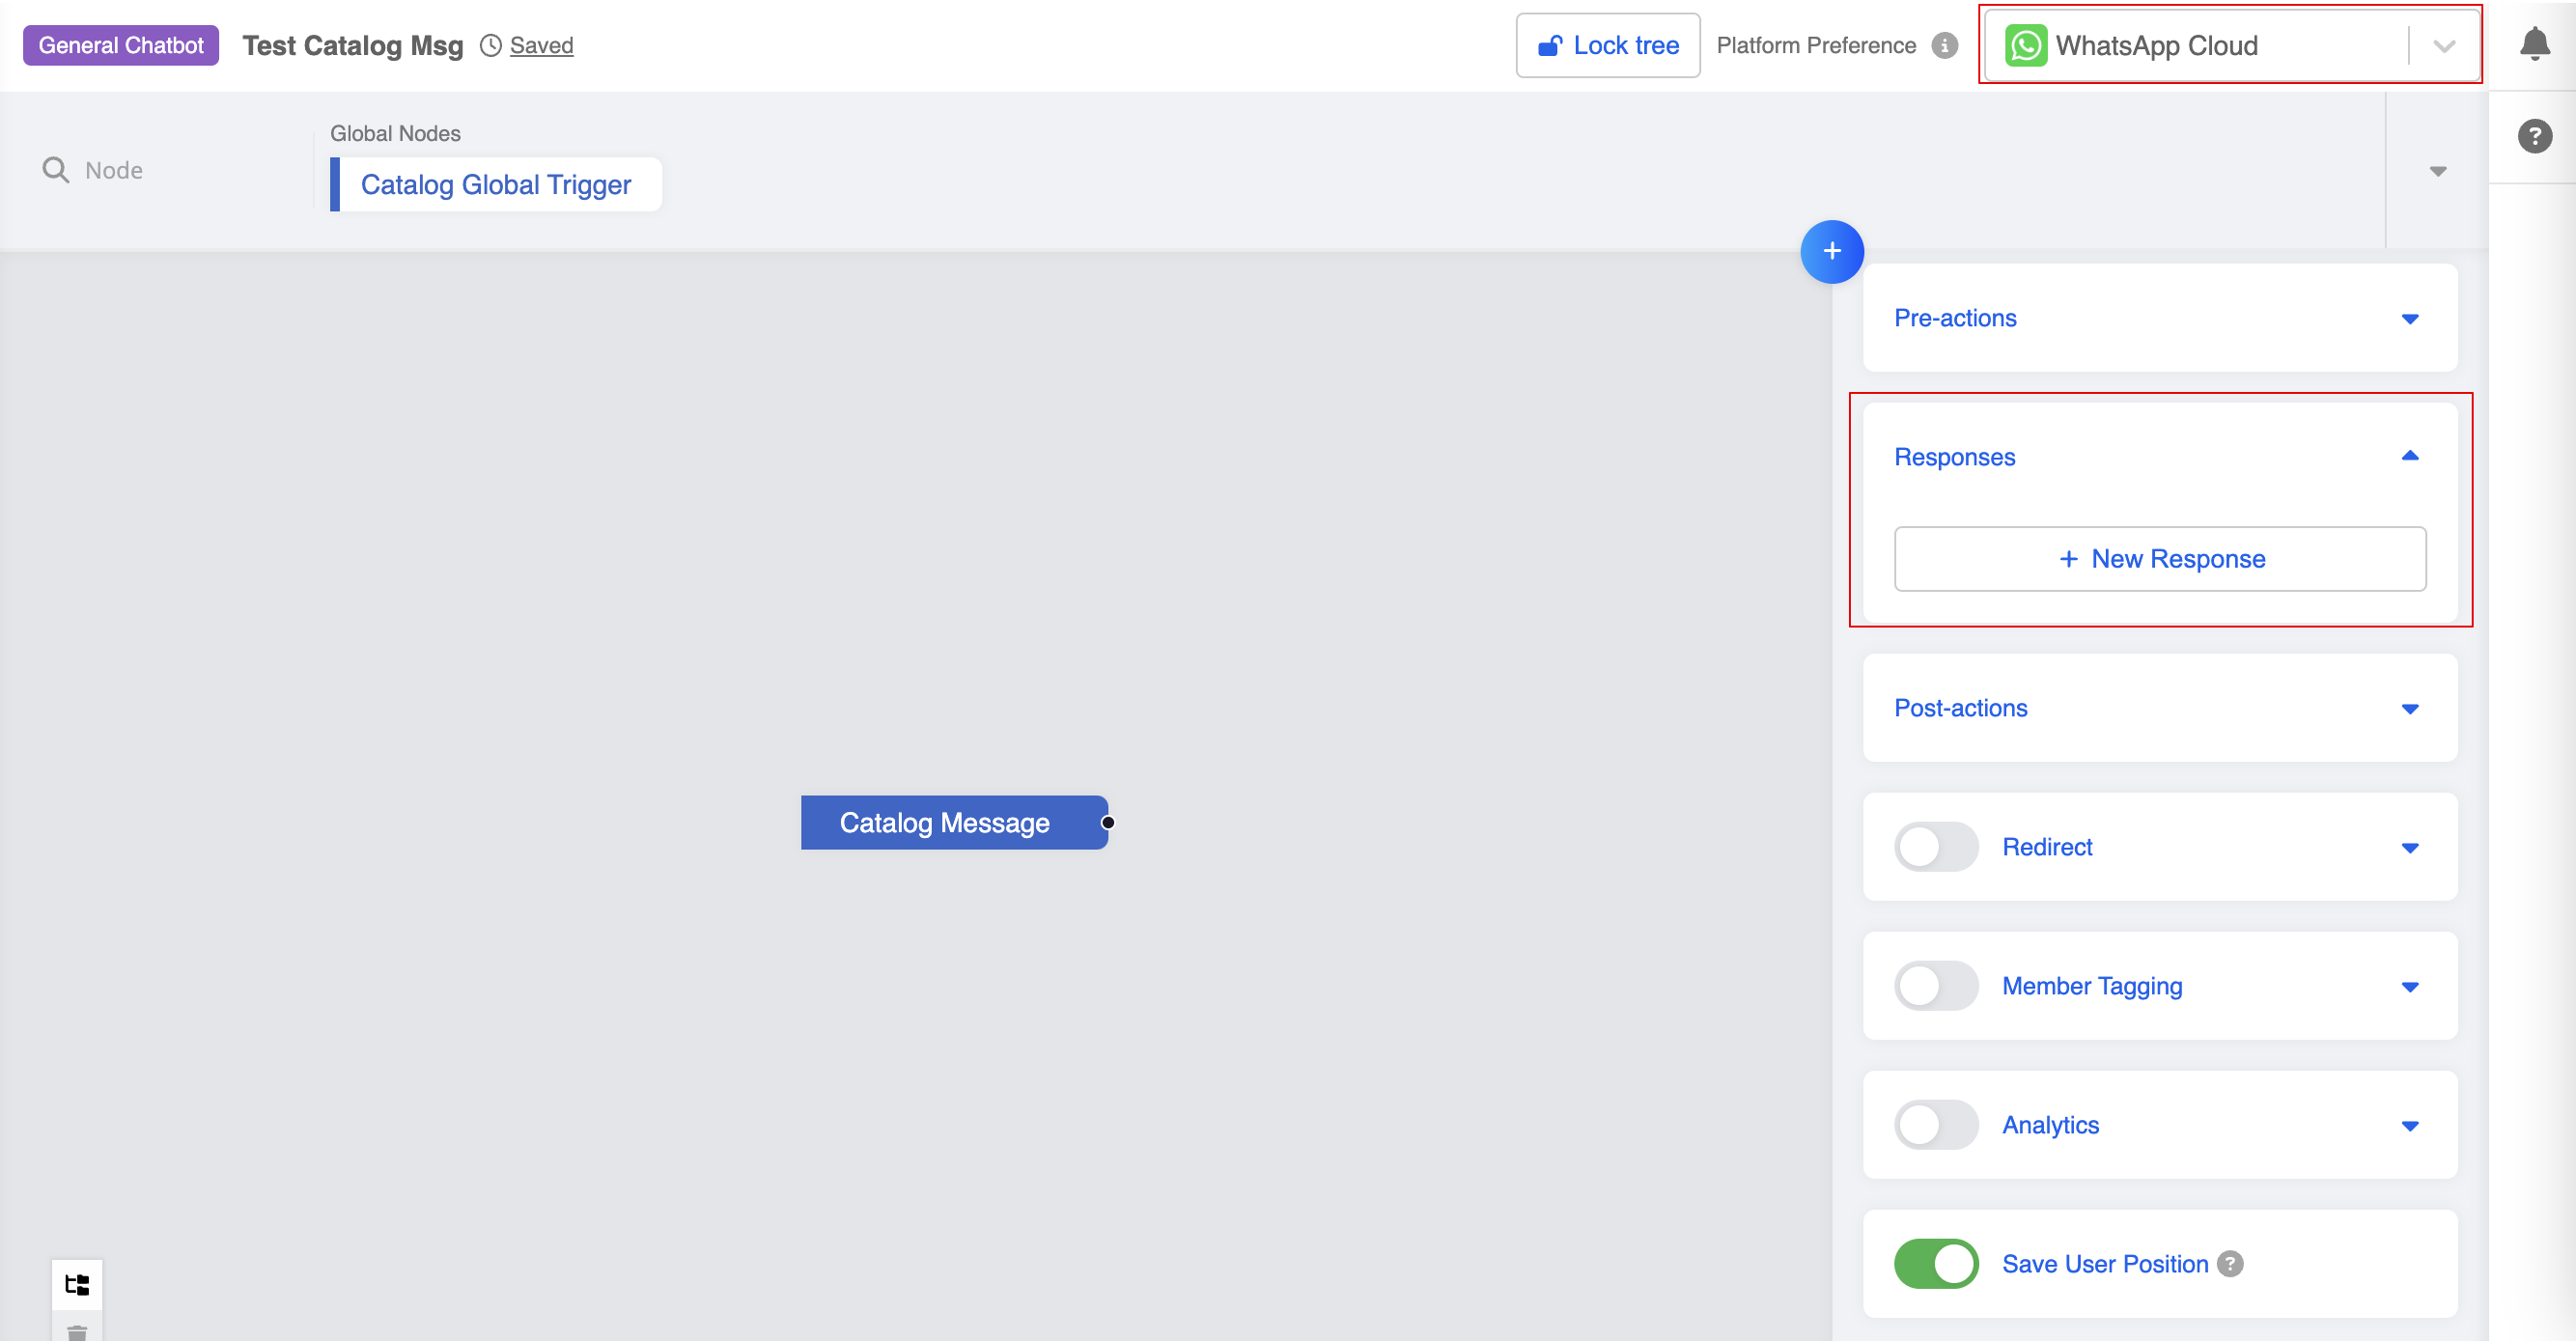
- Select "Catalog" from the message type.
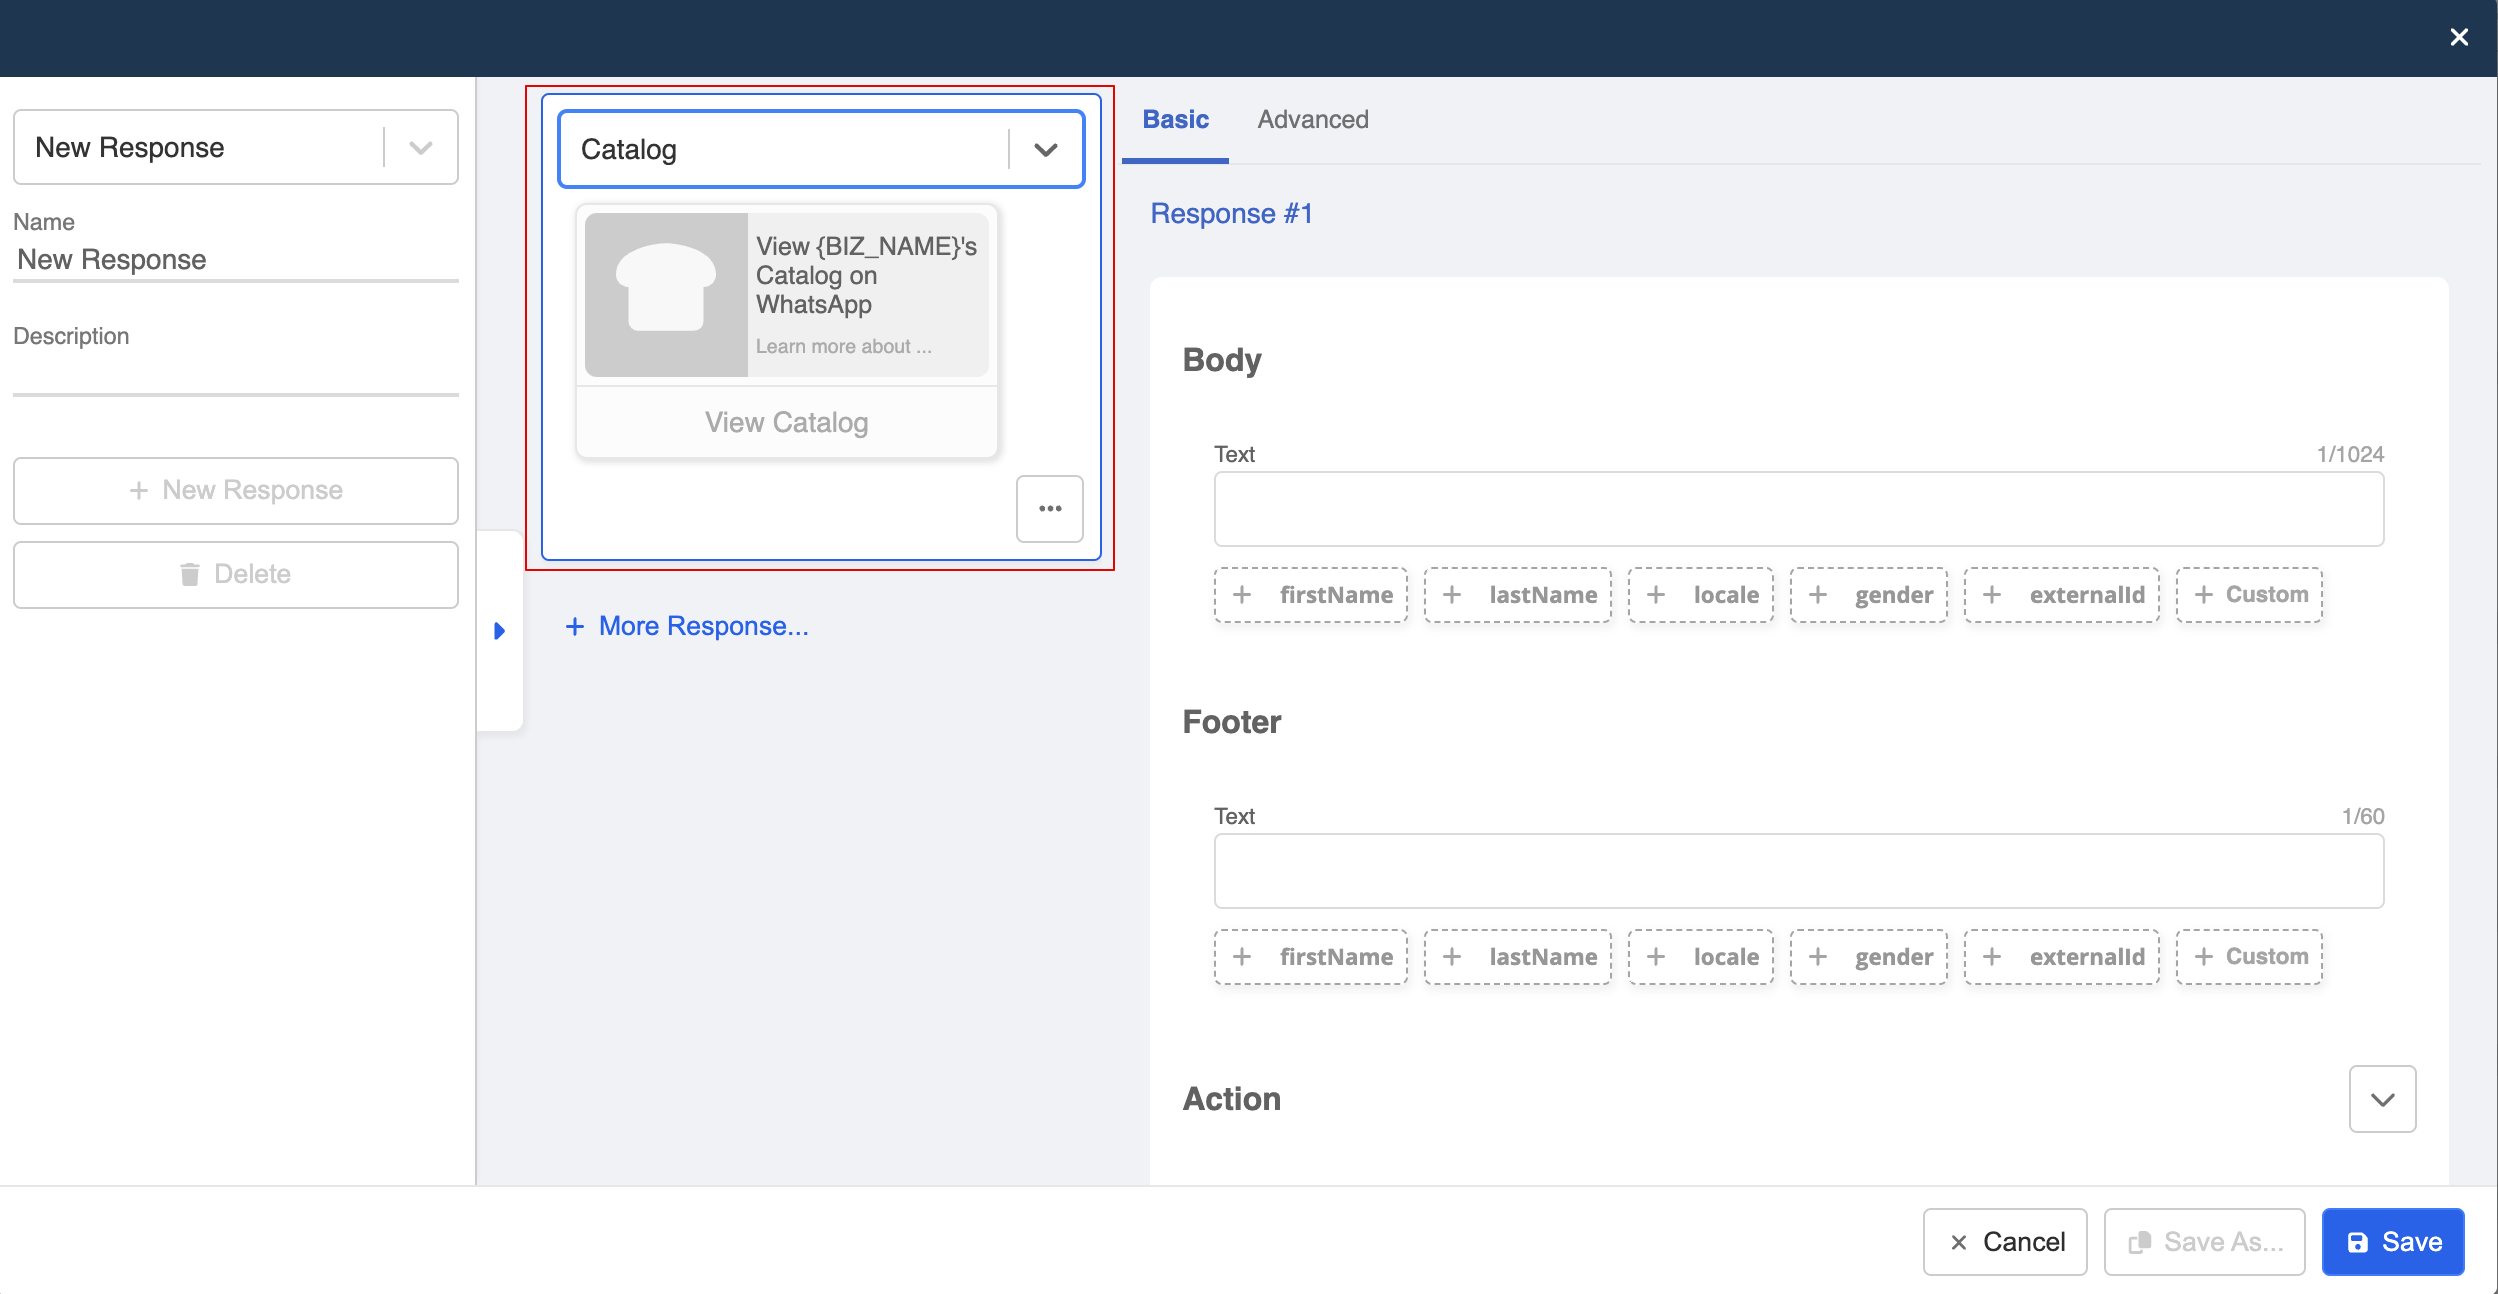
- Input the body text and optional footer.
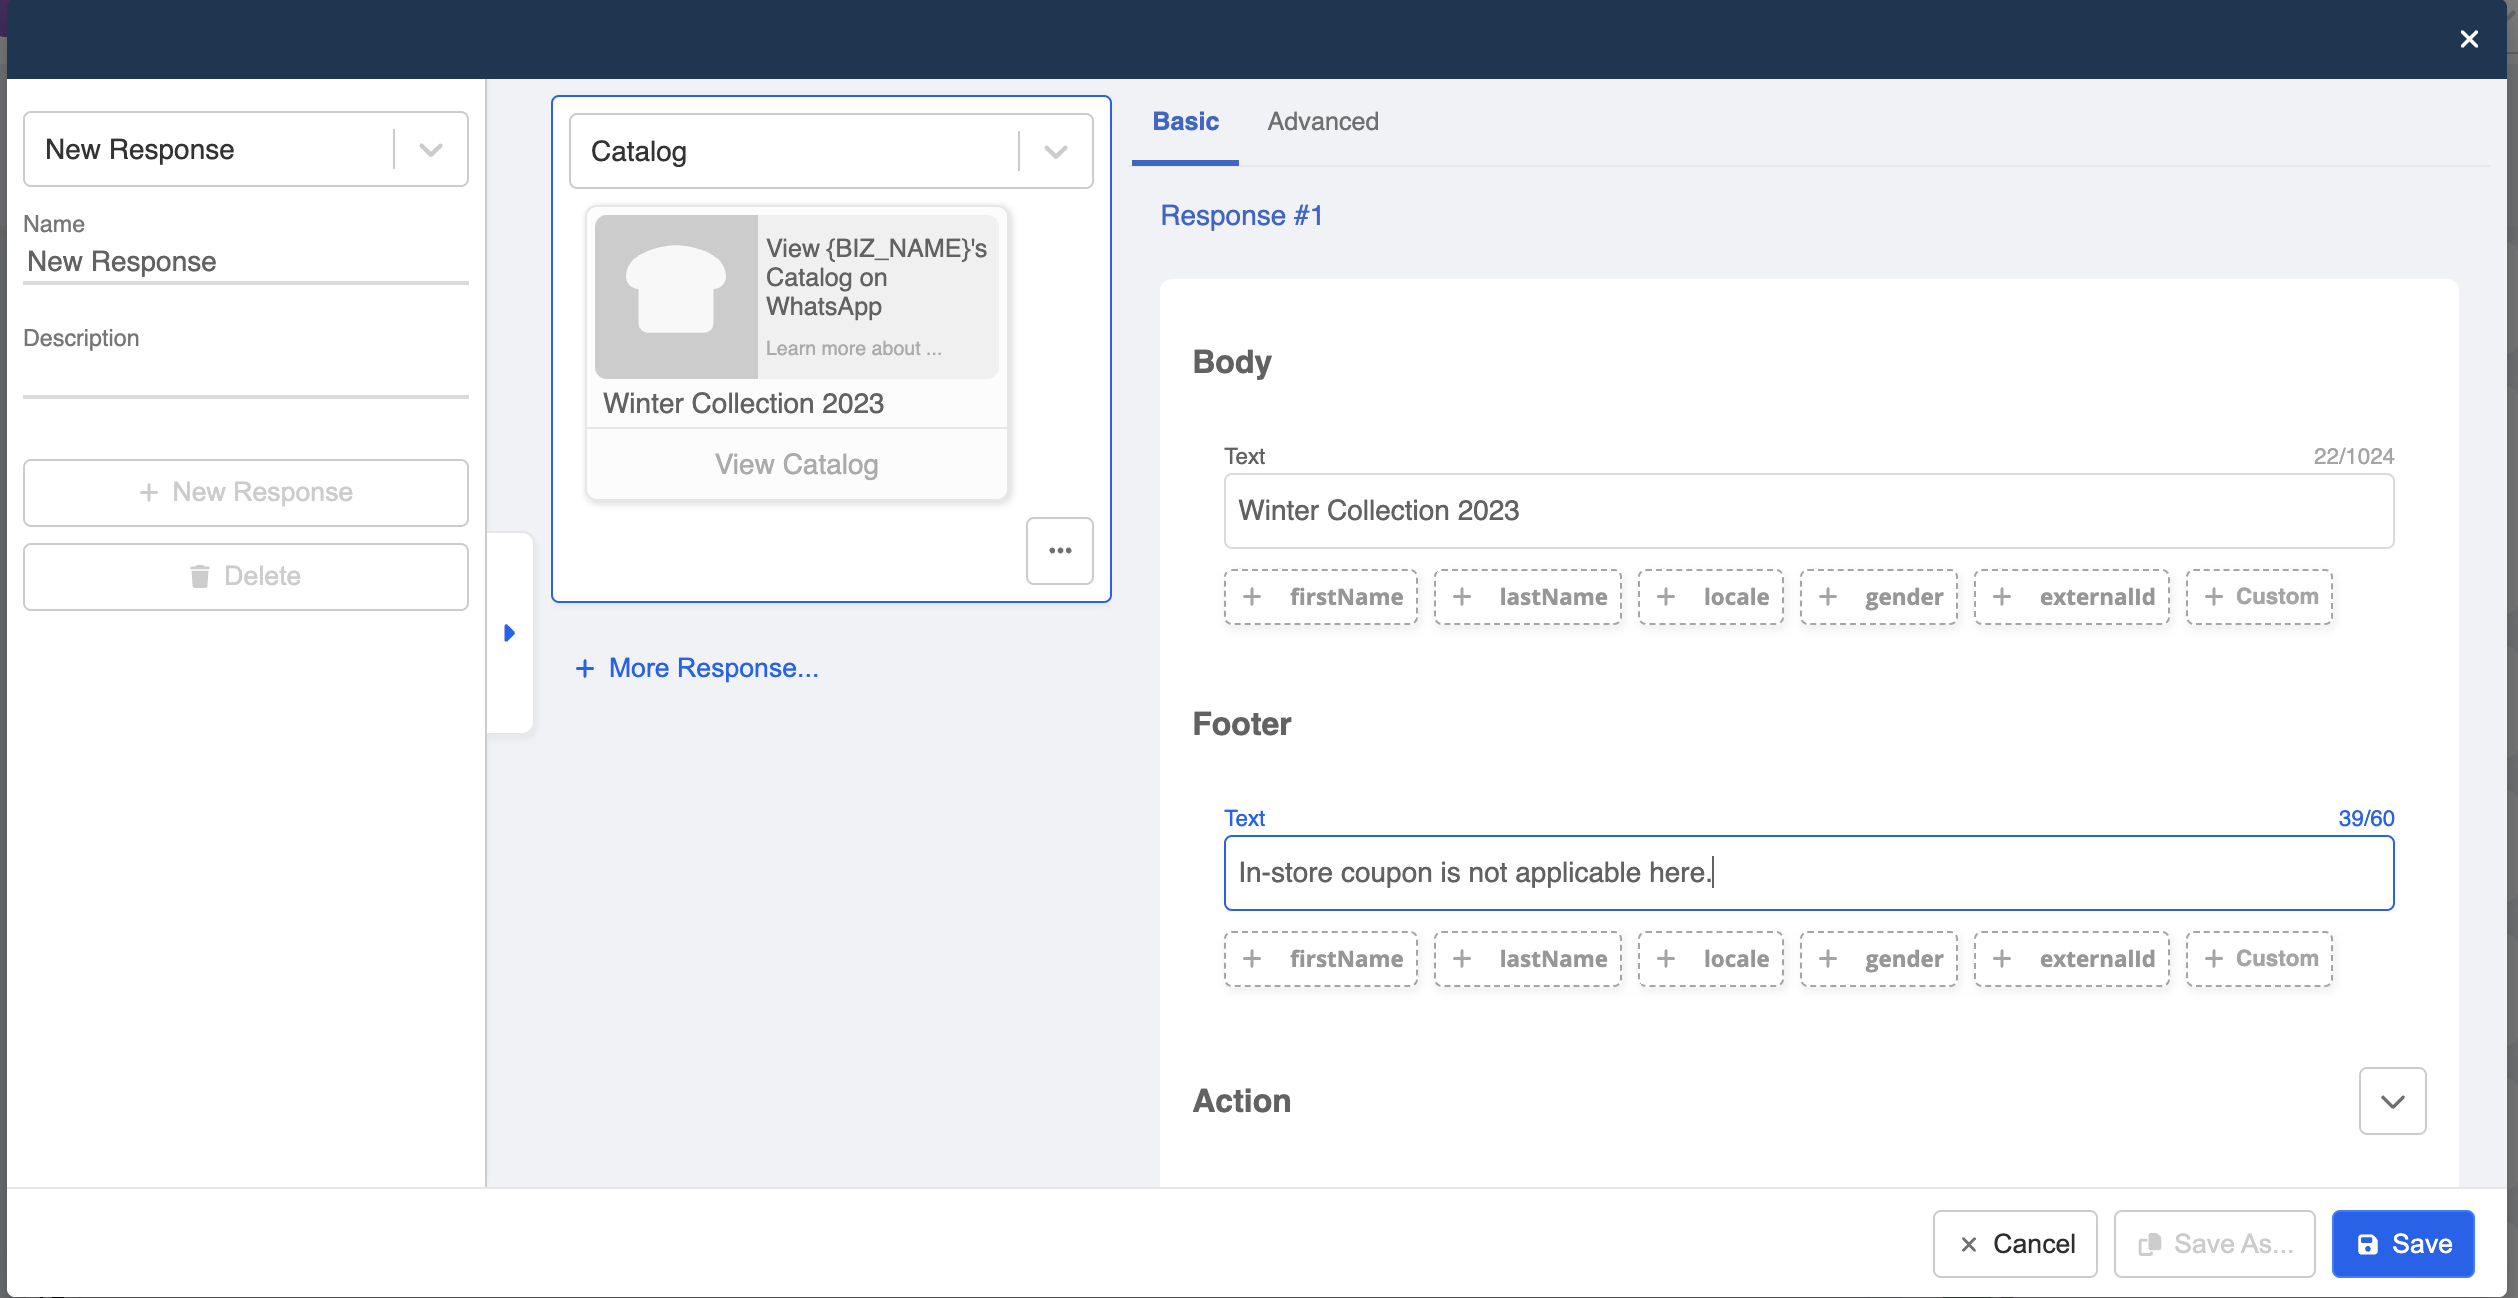
- Optionally, if you want to change the catalog thumbnail, you can click to expand the "Action". After selecting "Channel" and "Catalog ID", you can choose a specific product to be the thumbnail.
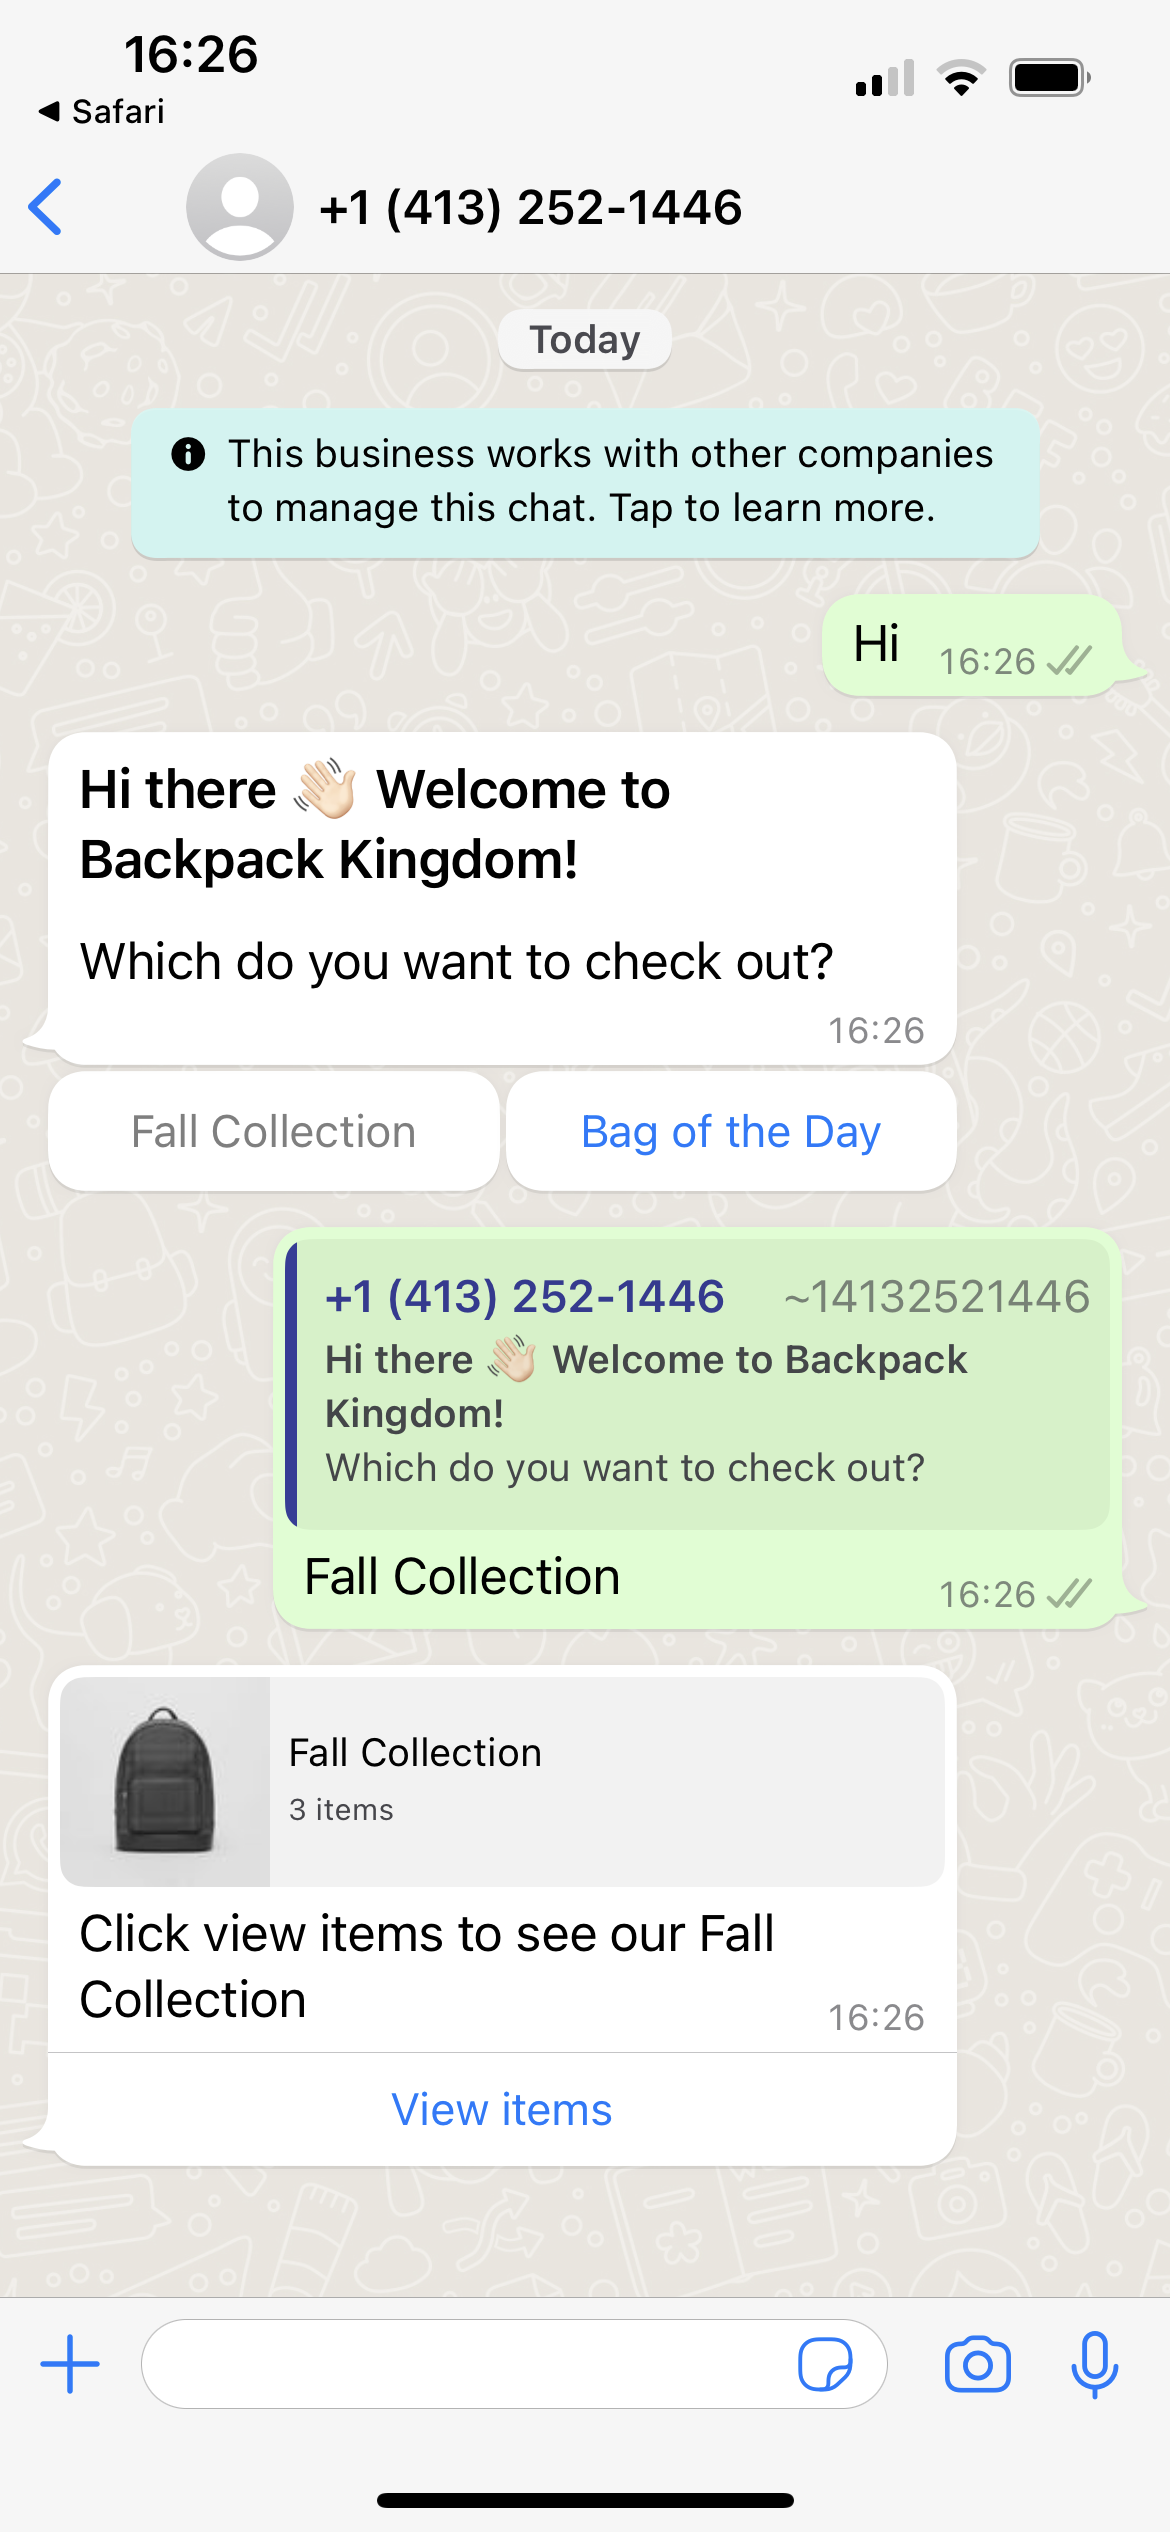
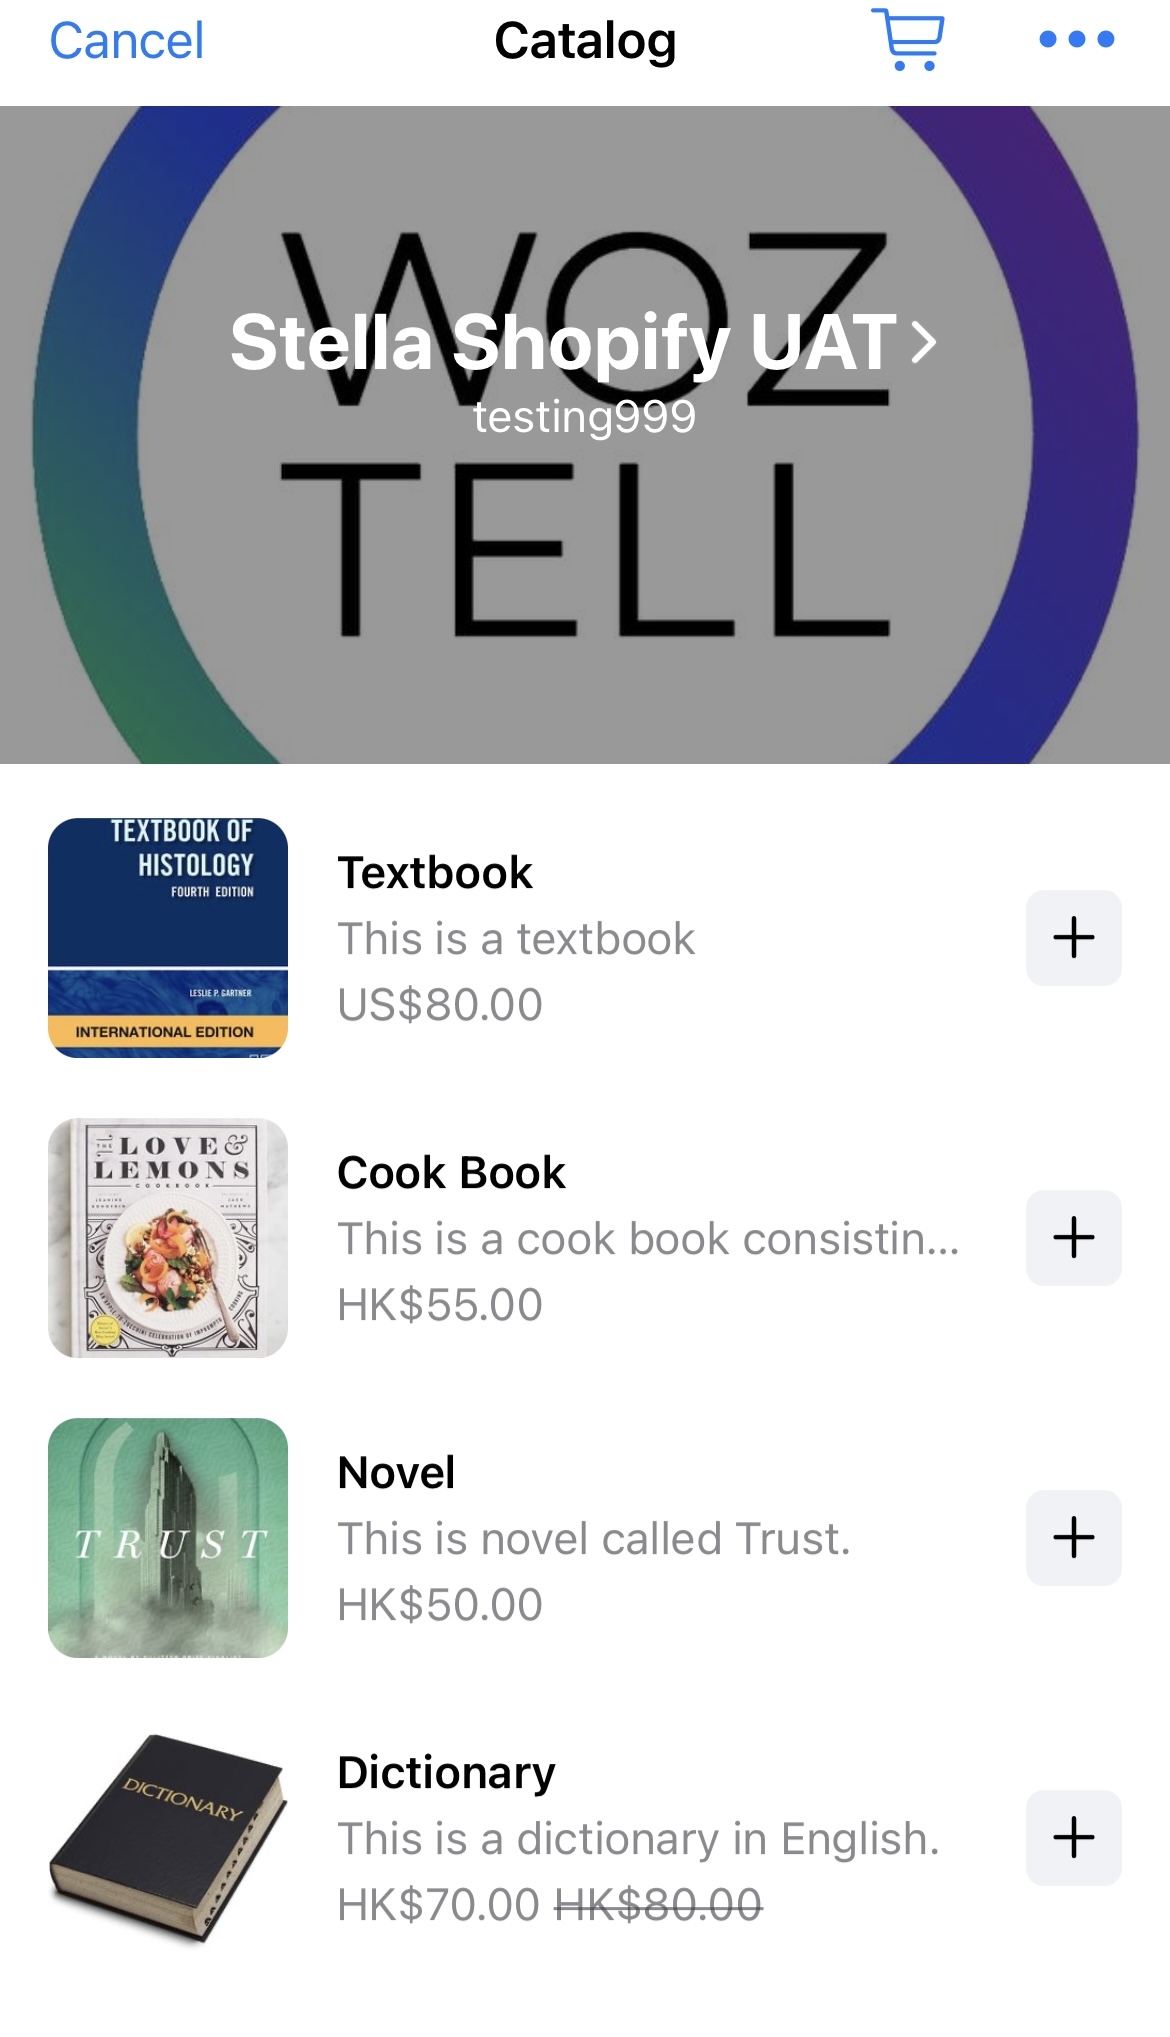
- Once the catalog message has been sent, user can click to view the catalog.
Catalog Template
The Catalog Template allows you to reach out to brand new users and share your product catalog with a business-initiated message.
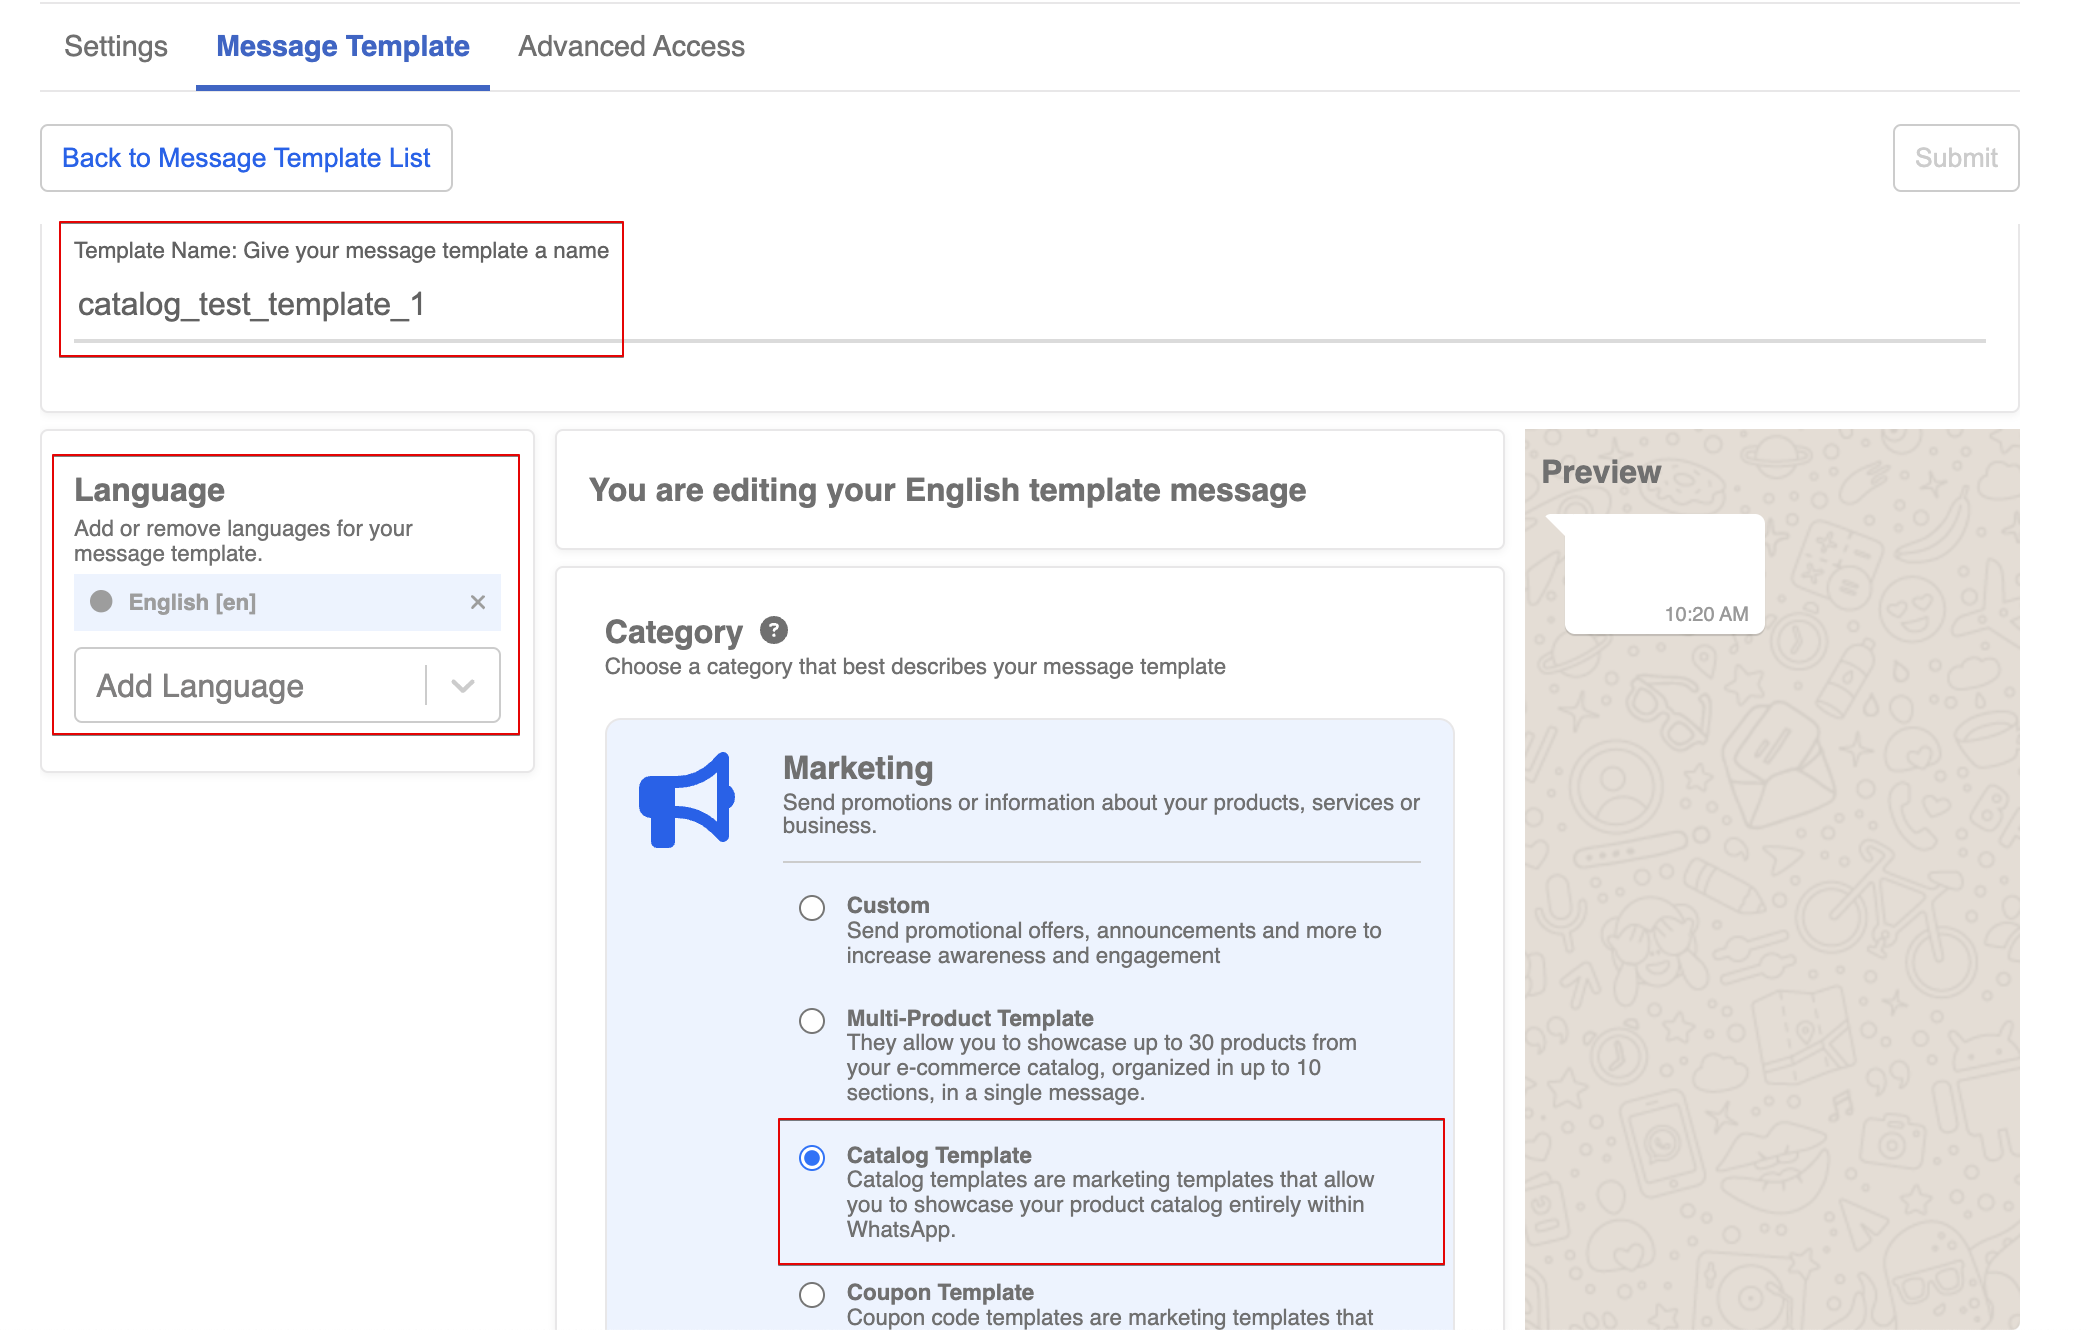
Create Catalog Template
- To create the catalog template, please head to "Settings" -> "Channels", and enter the WhatsApp Cloud channel.
- Select "Create Template".
- Add the "Template Name", "Category" and "Language, the "Category" has to be "Marketing". After that, check the "Multi-Product Template".
- Fill in the content of the template, and "Submit" the template.
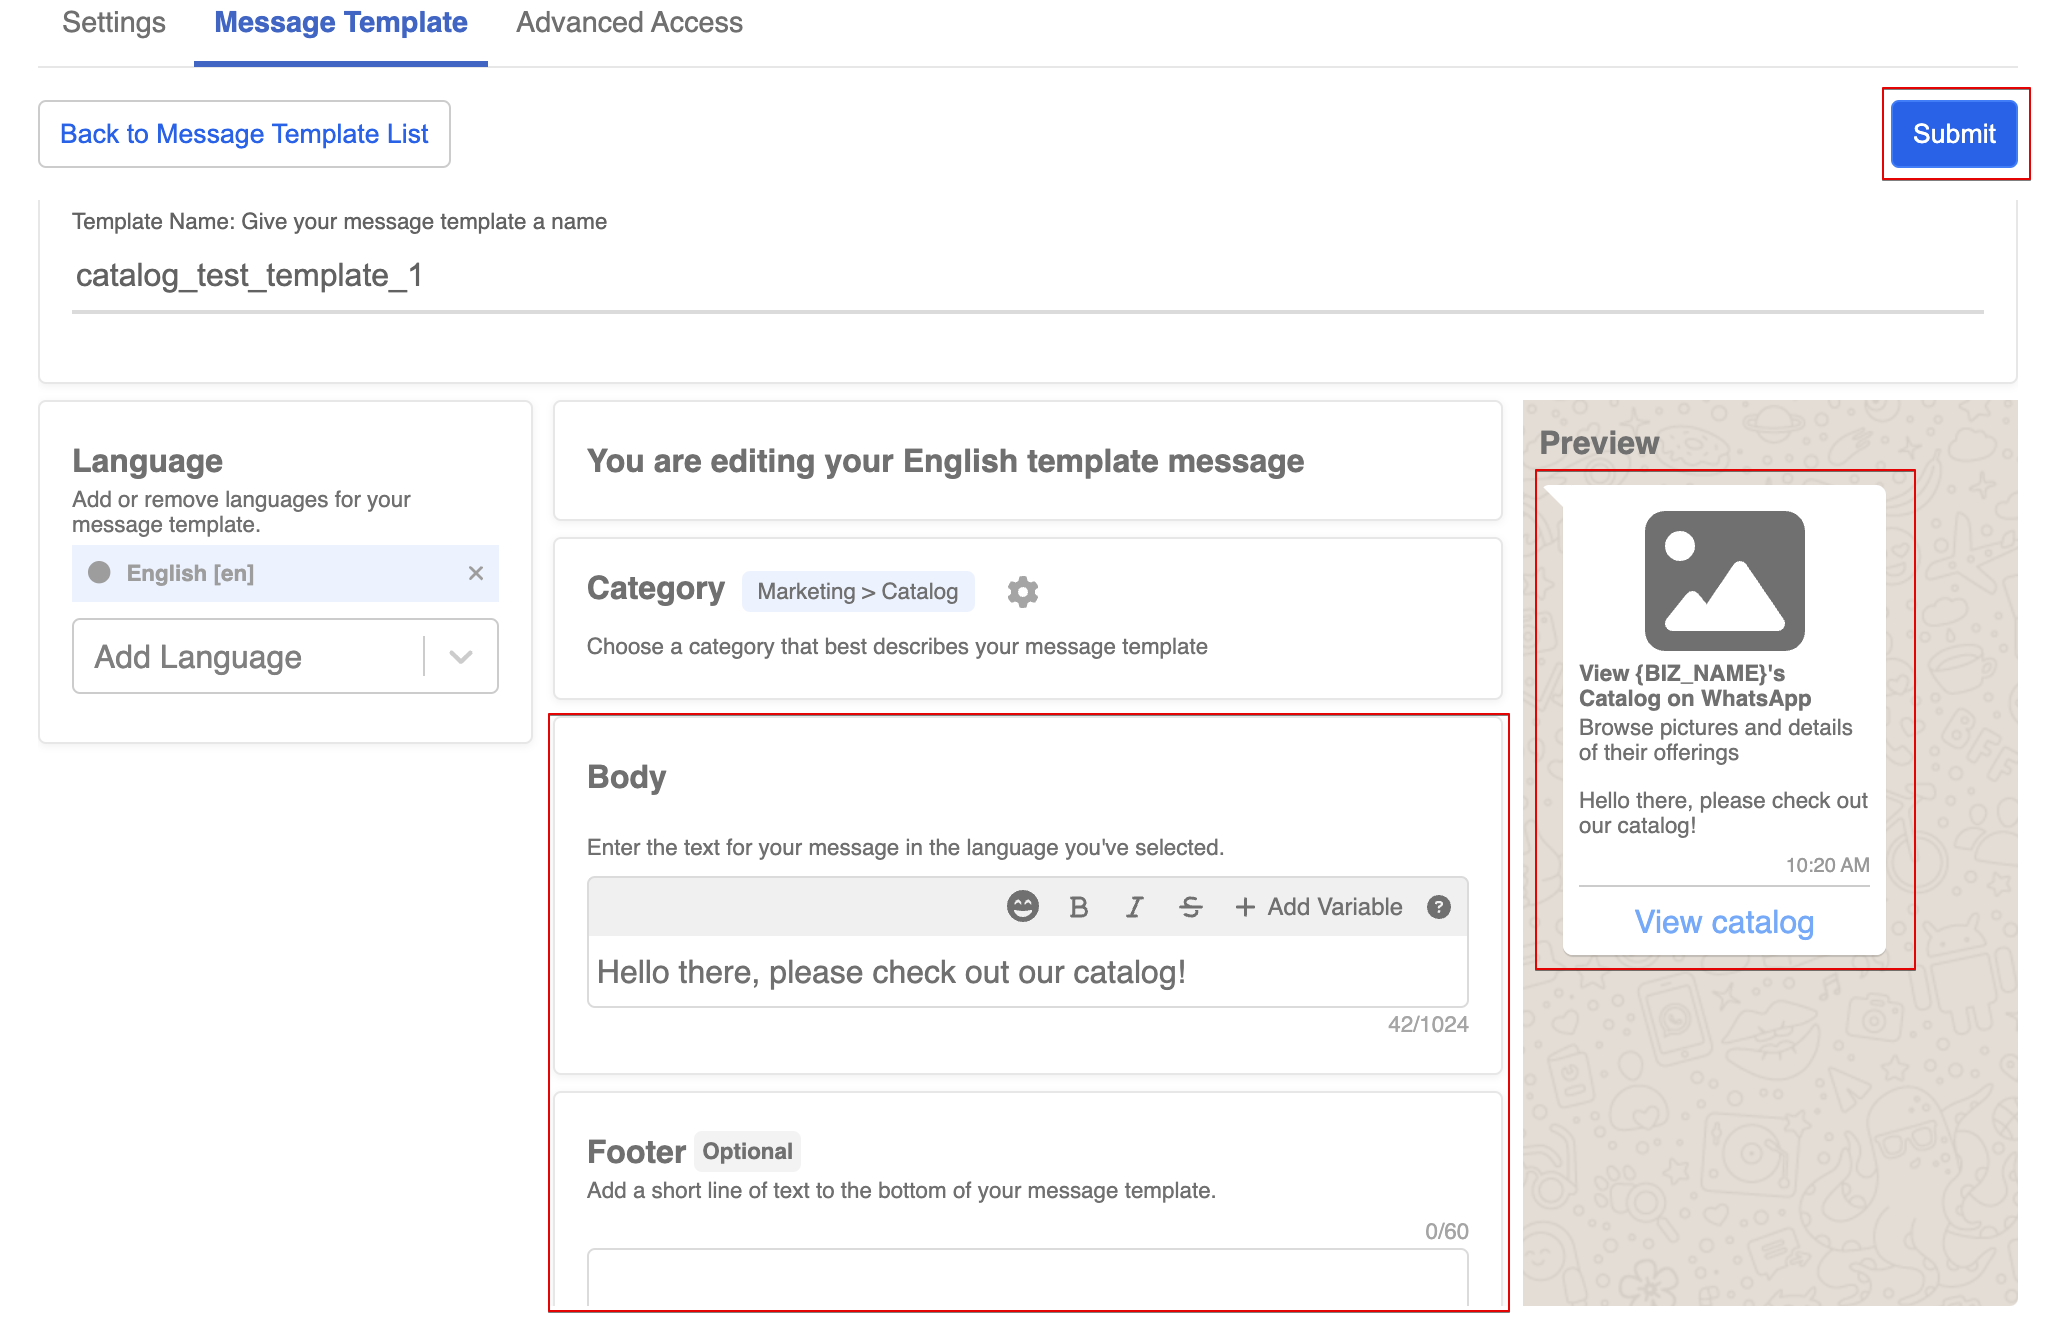
- The submitted template will be reviewed and approved by WhatsApp.

Send Catalog Template
- To send the template, create a new WhatsApp specific response.
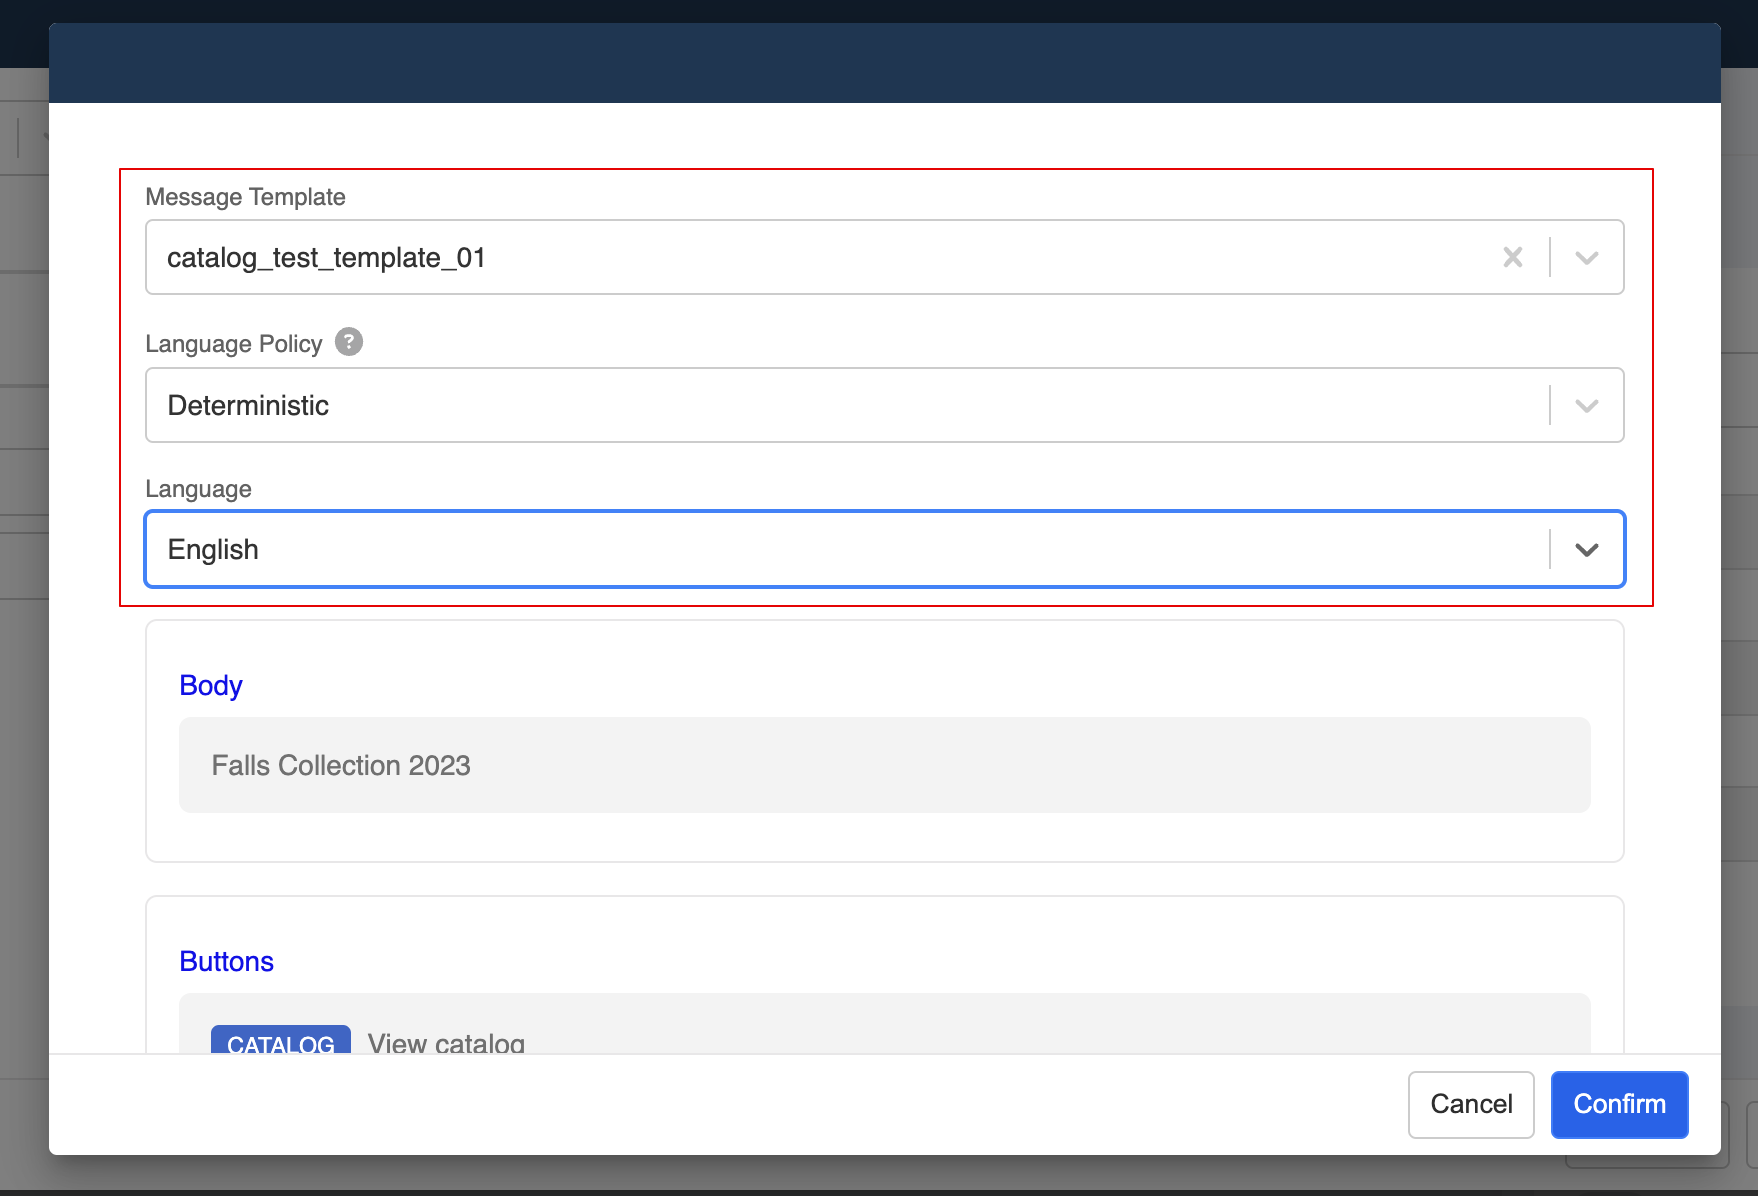
- Select "Message Template", and the "Integration". Then, proceed by clicking "Update Message Template".
- Select the corresponding "Message Template", "Language Policy" and "Language".
- Under "WhatsApp Catalog", select the "Catalog ID" and a thumbnail for the product list.
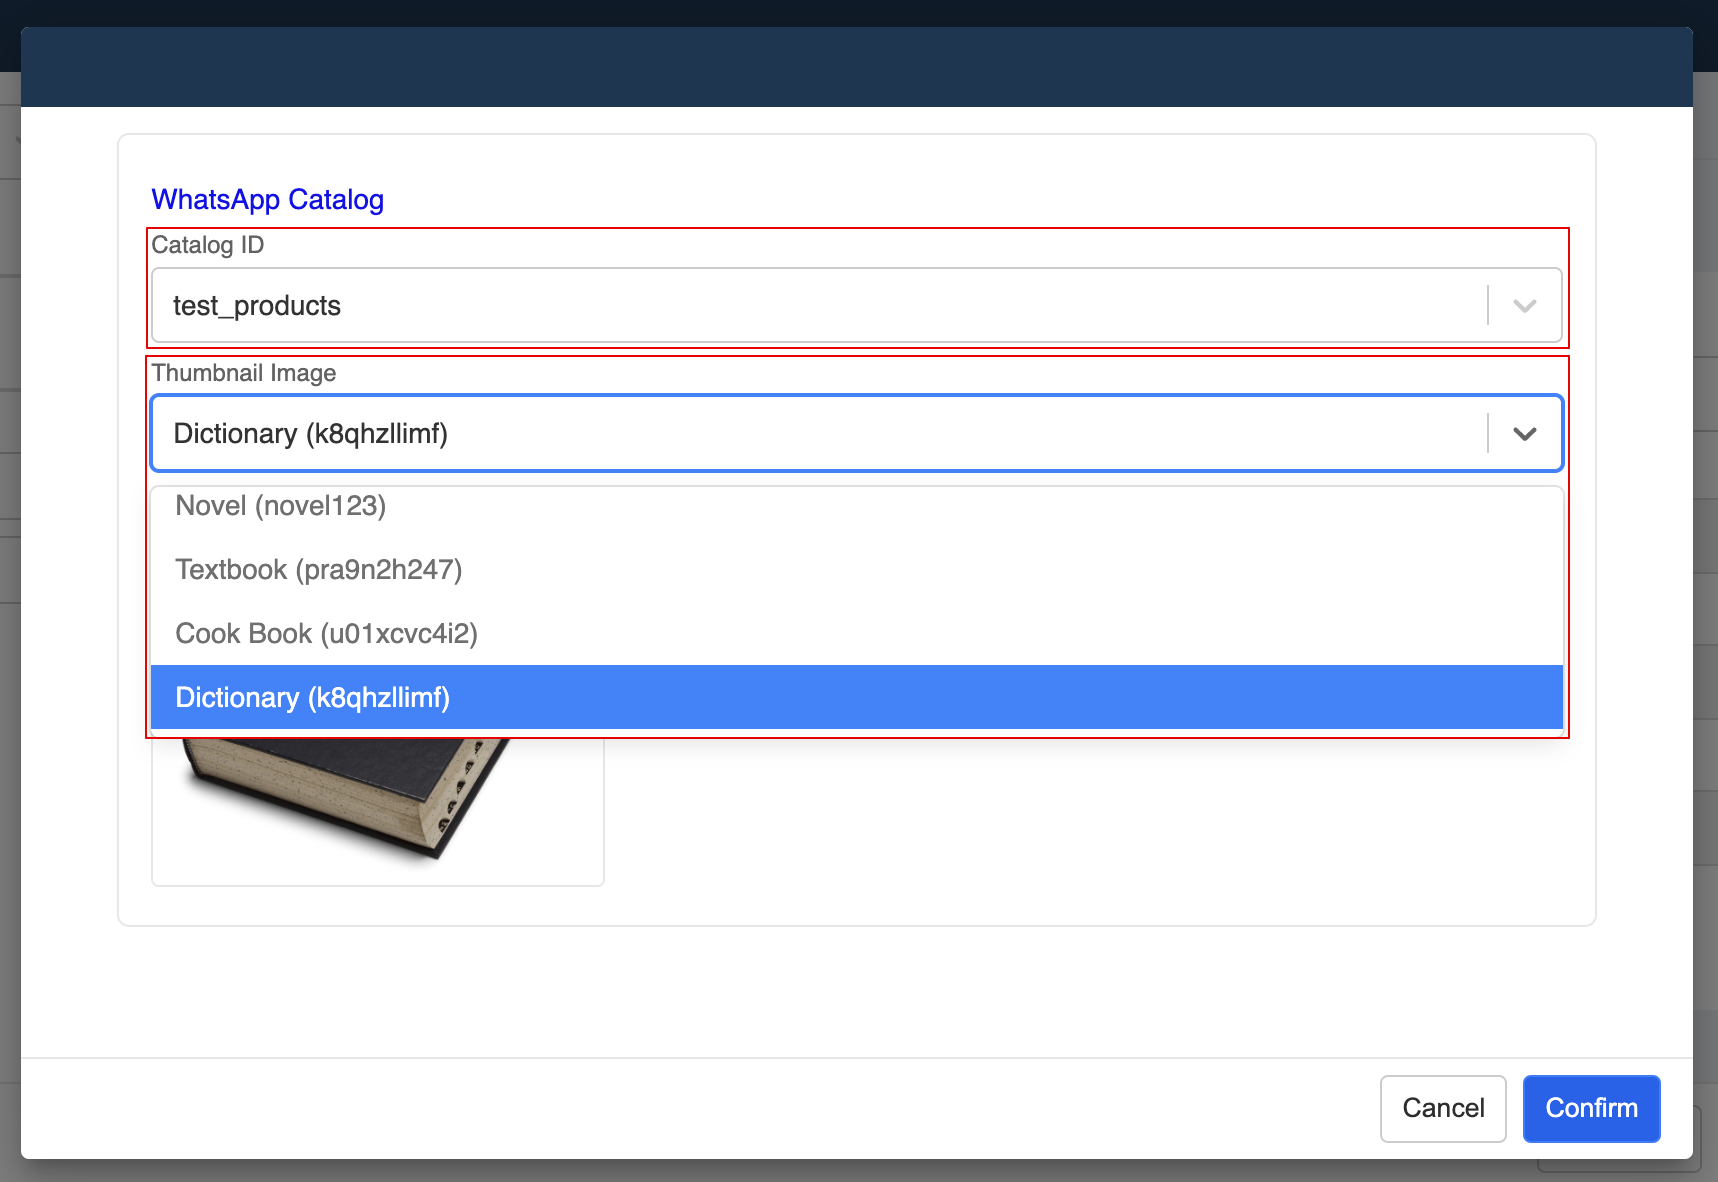
- Click "Confirm" when it is done.

- Finally, "Save" the response and it is ready to be sent.