Web Chat Deployment
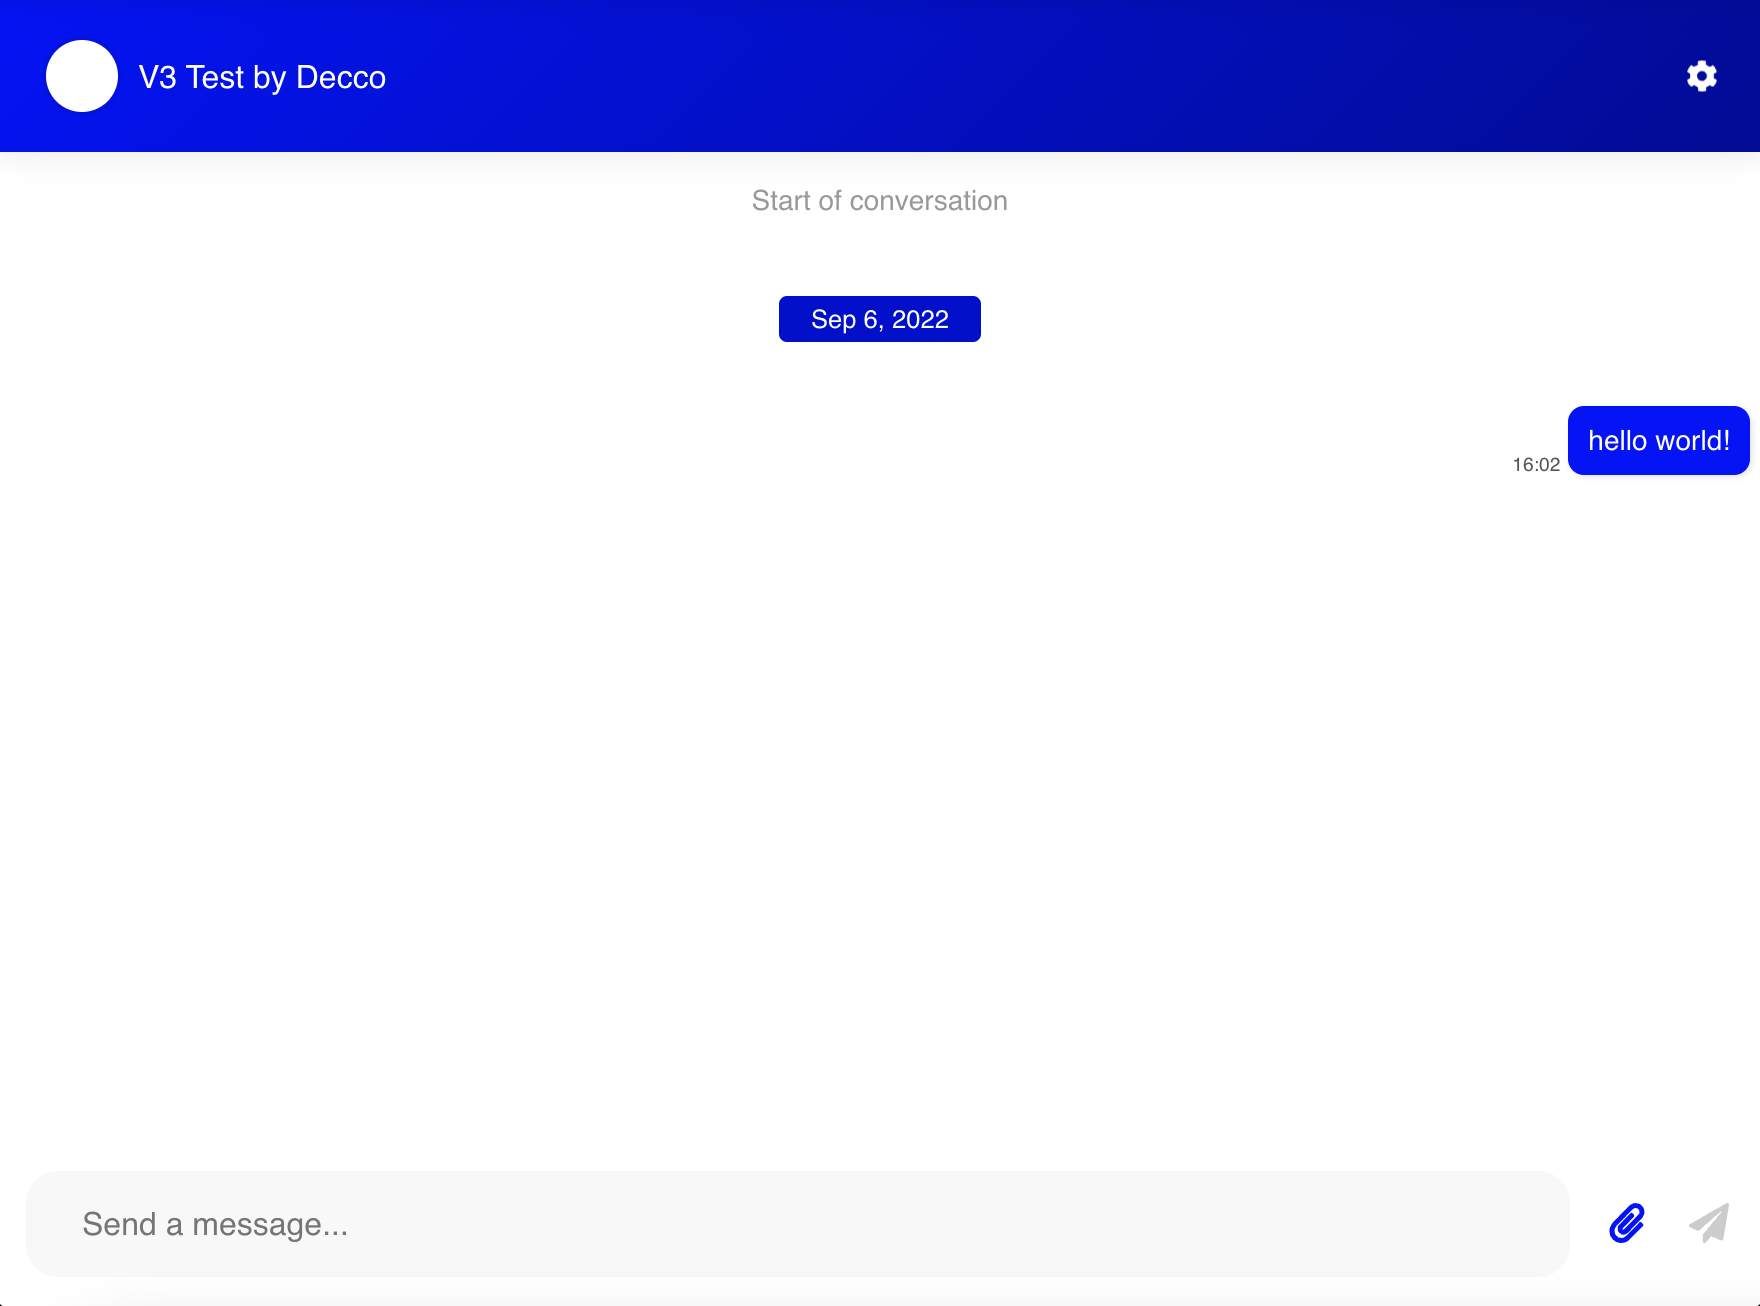
In this section, you can take the first step by creating a Web Chat Integration in WOZTELL. You can either apply it as a Web Chat Plug-in to your webpage, or have the first taste of the chatbot experience in a full page Web Chat
Create Web Chat Channel
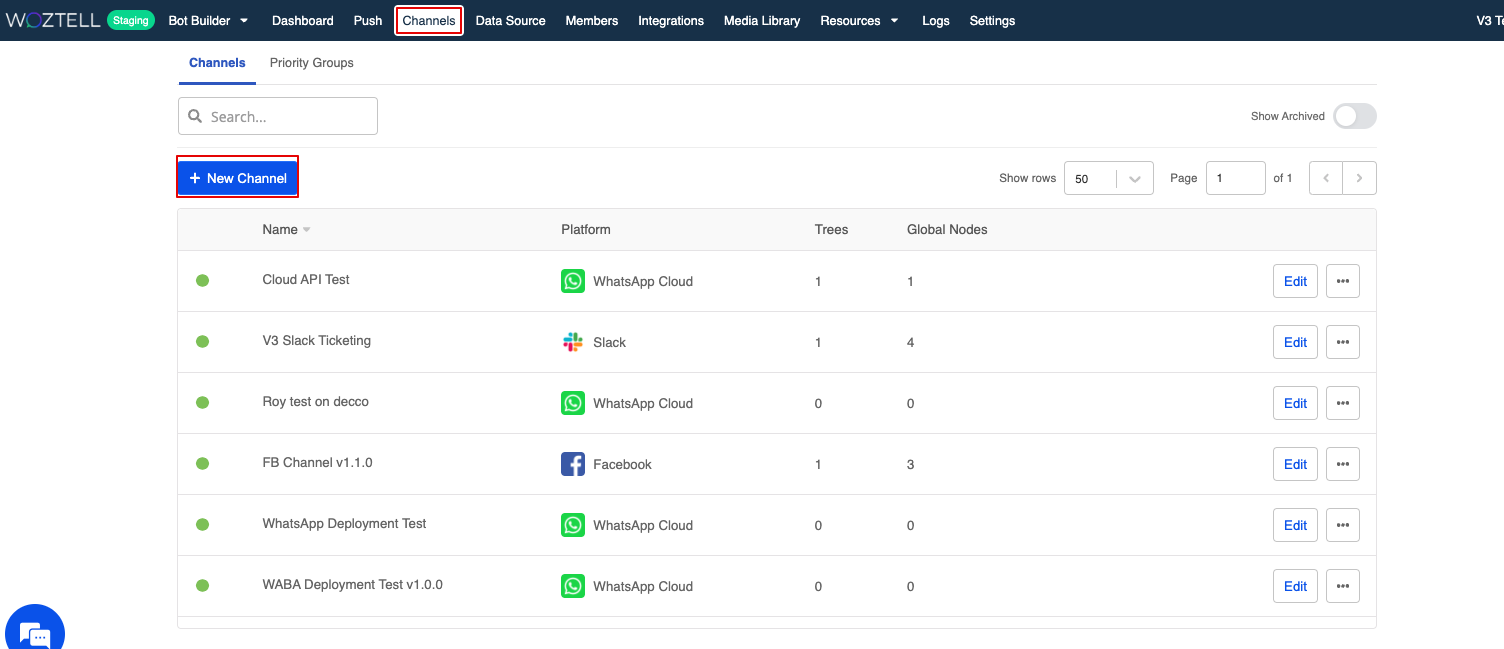
- In WOZTELL, head to "Channels" page and select "+ Channel".
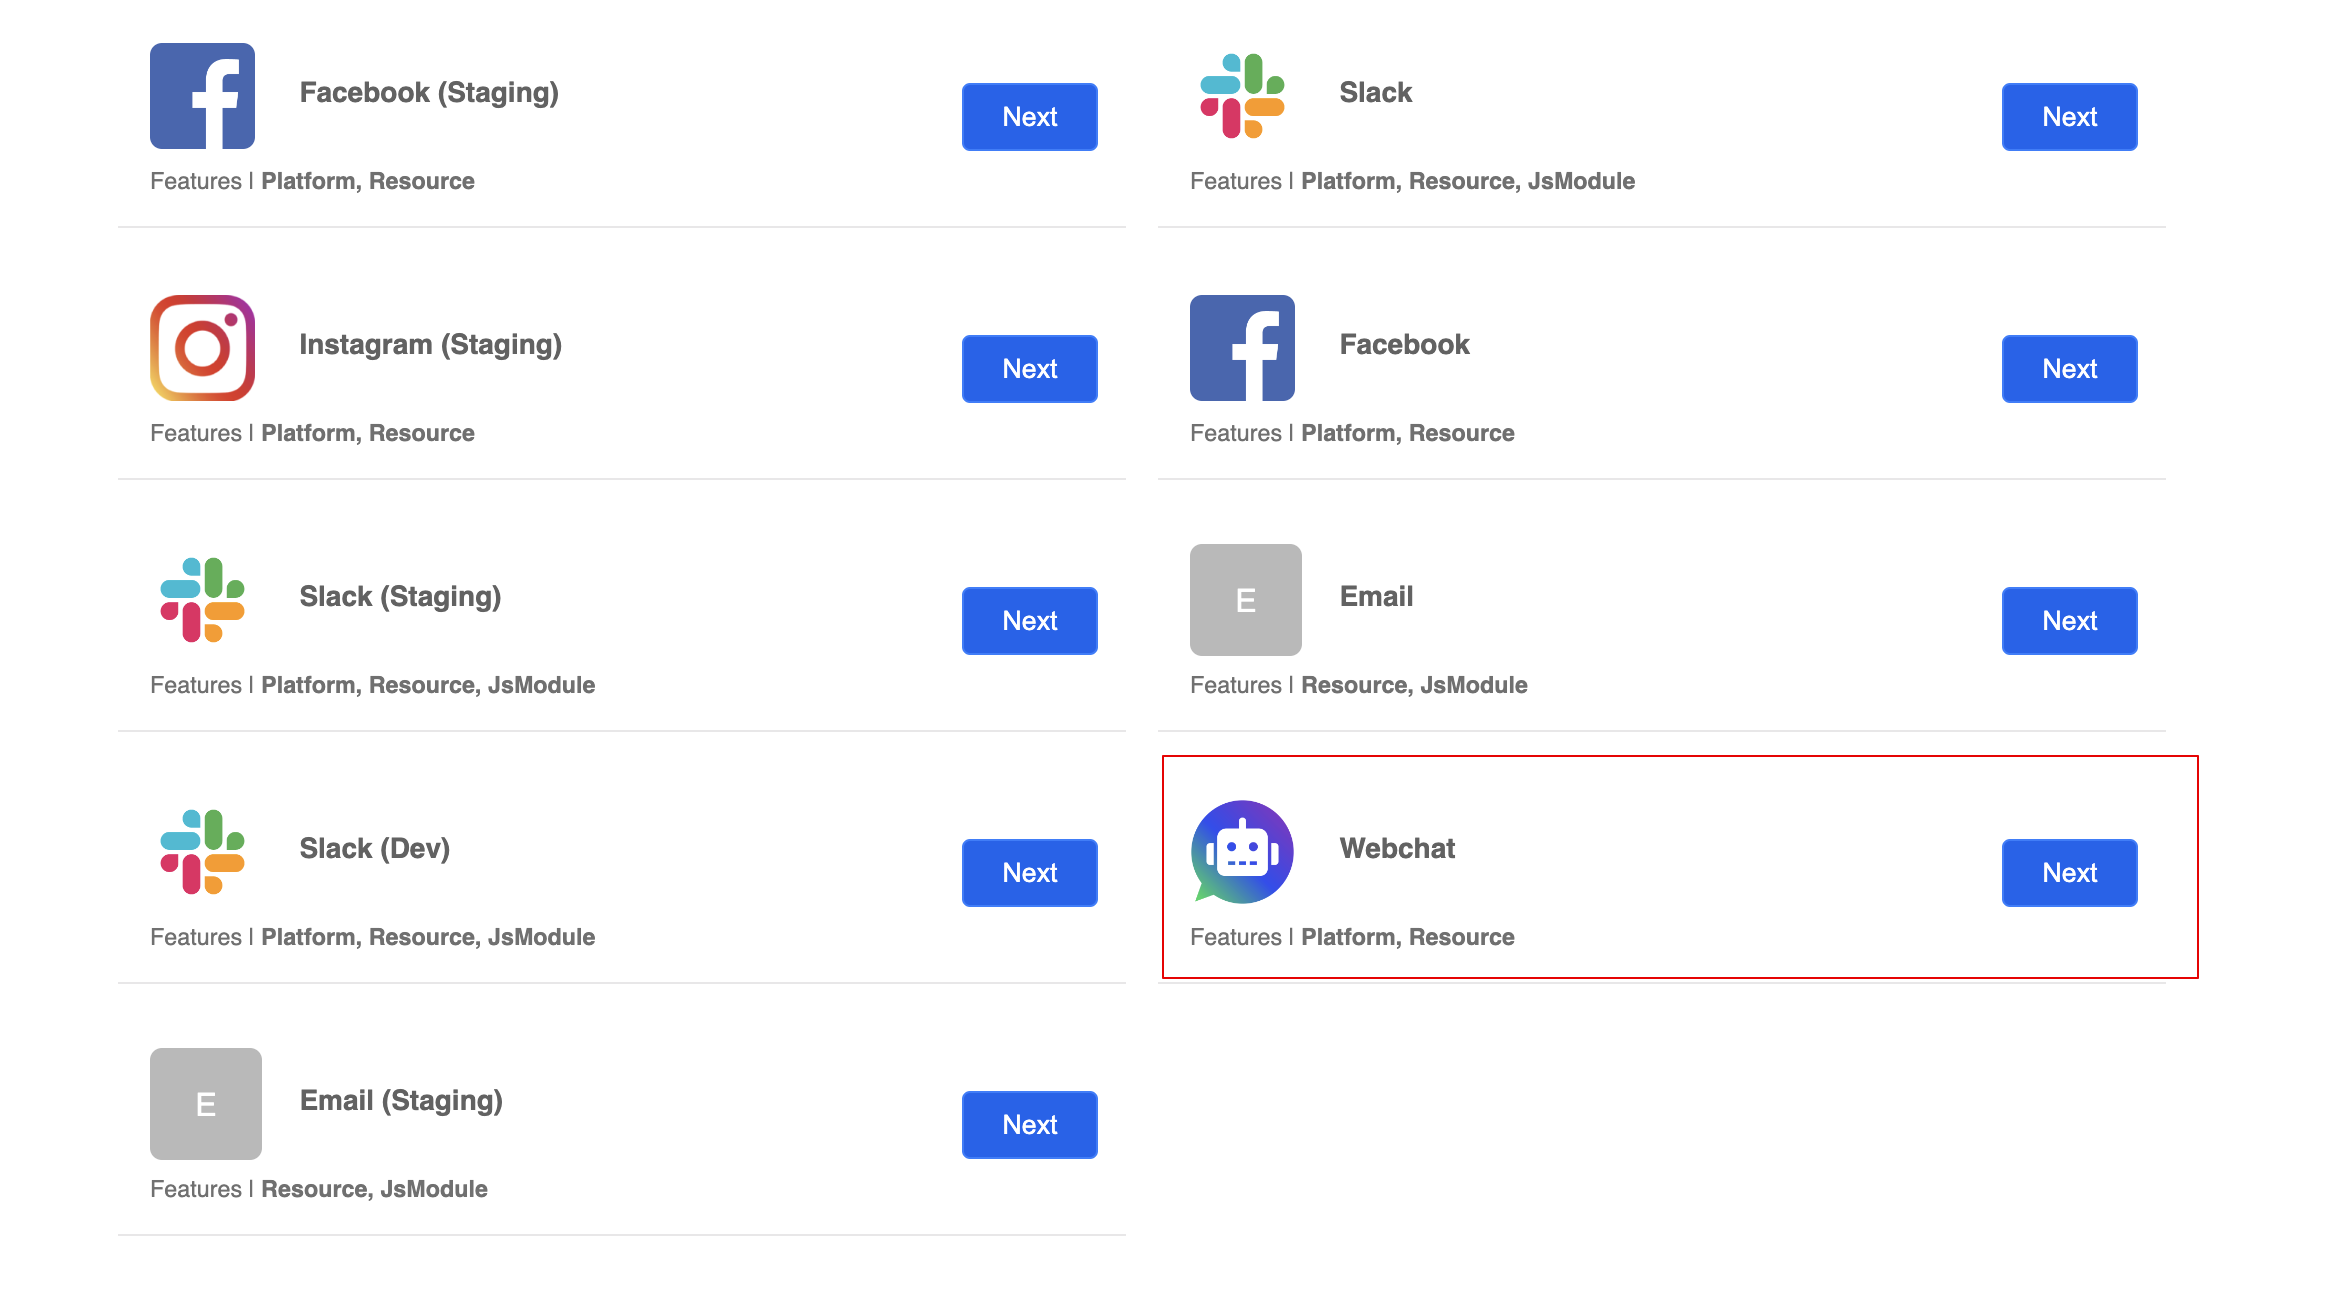
- Select the Web Chat Integration by clicking "Next".
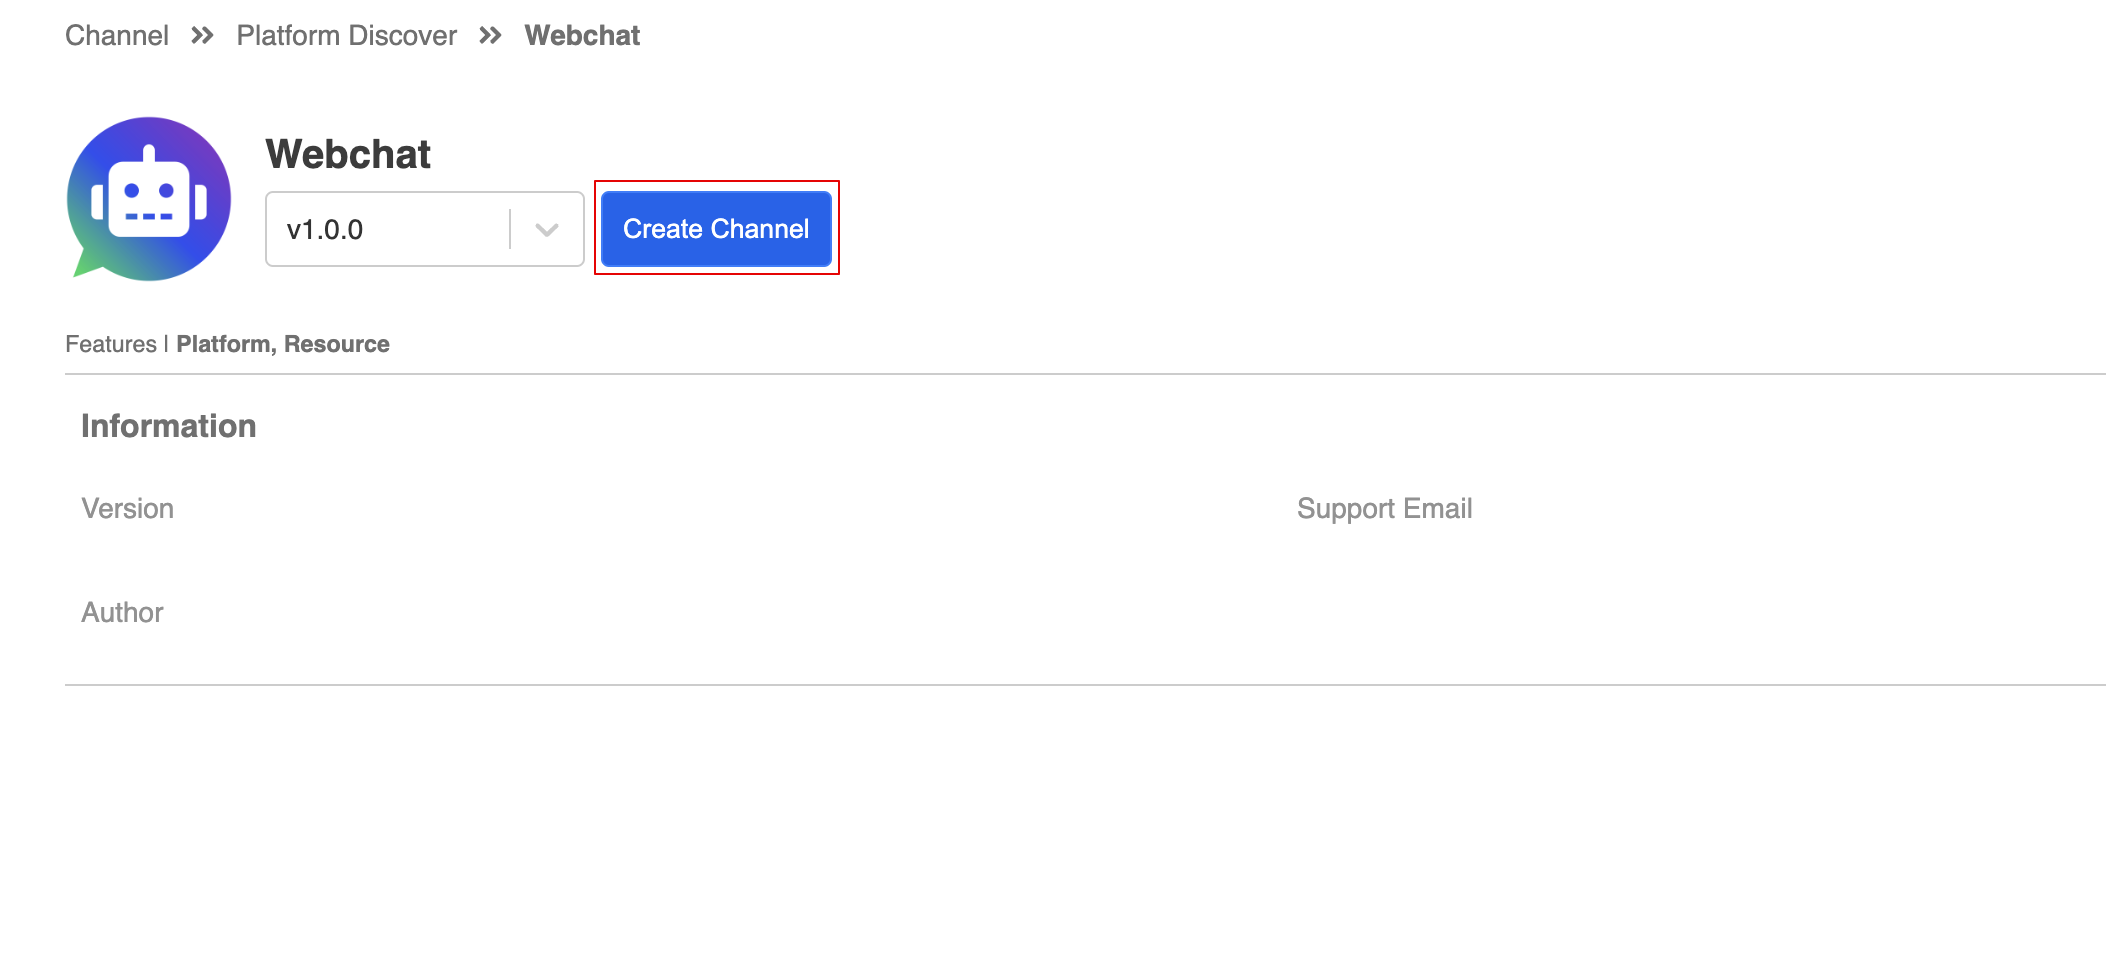
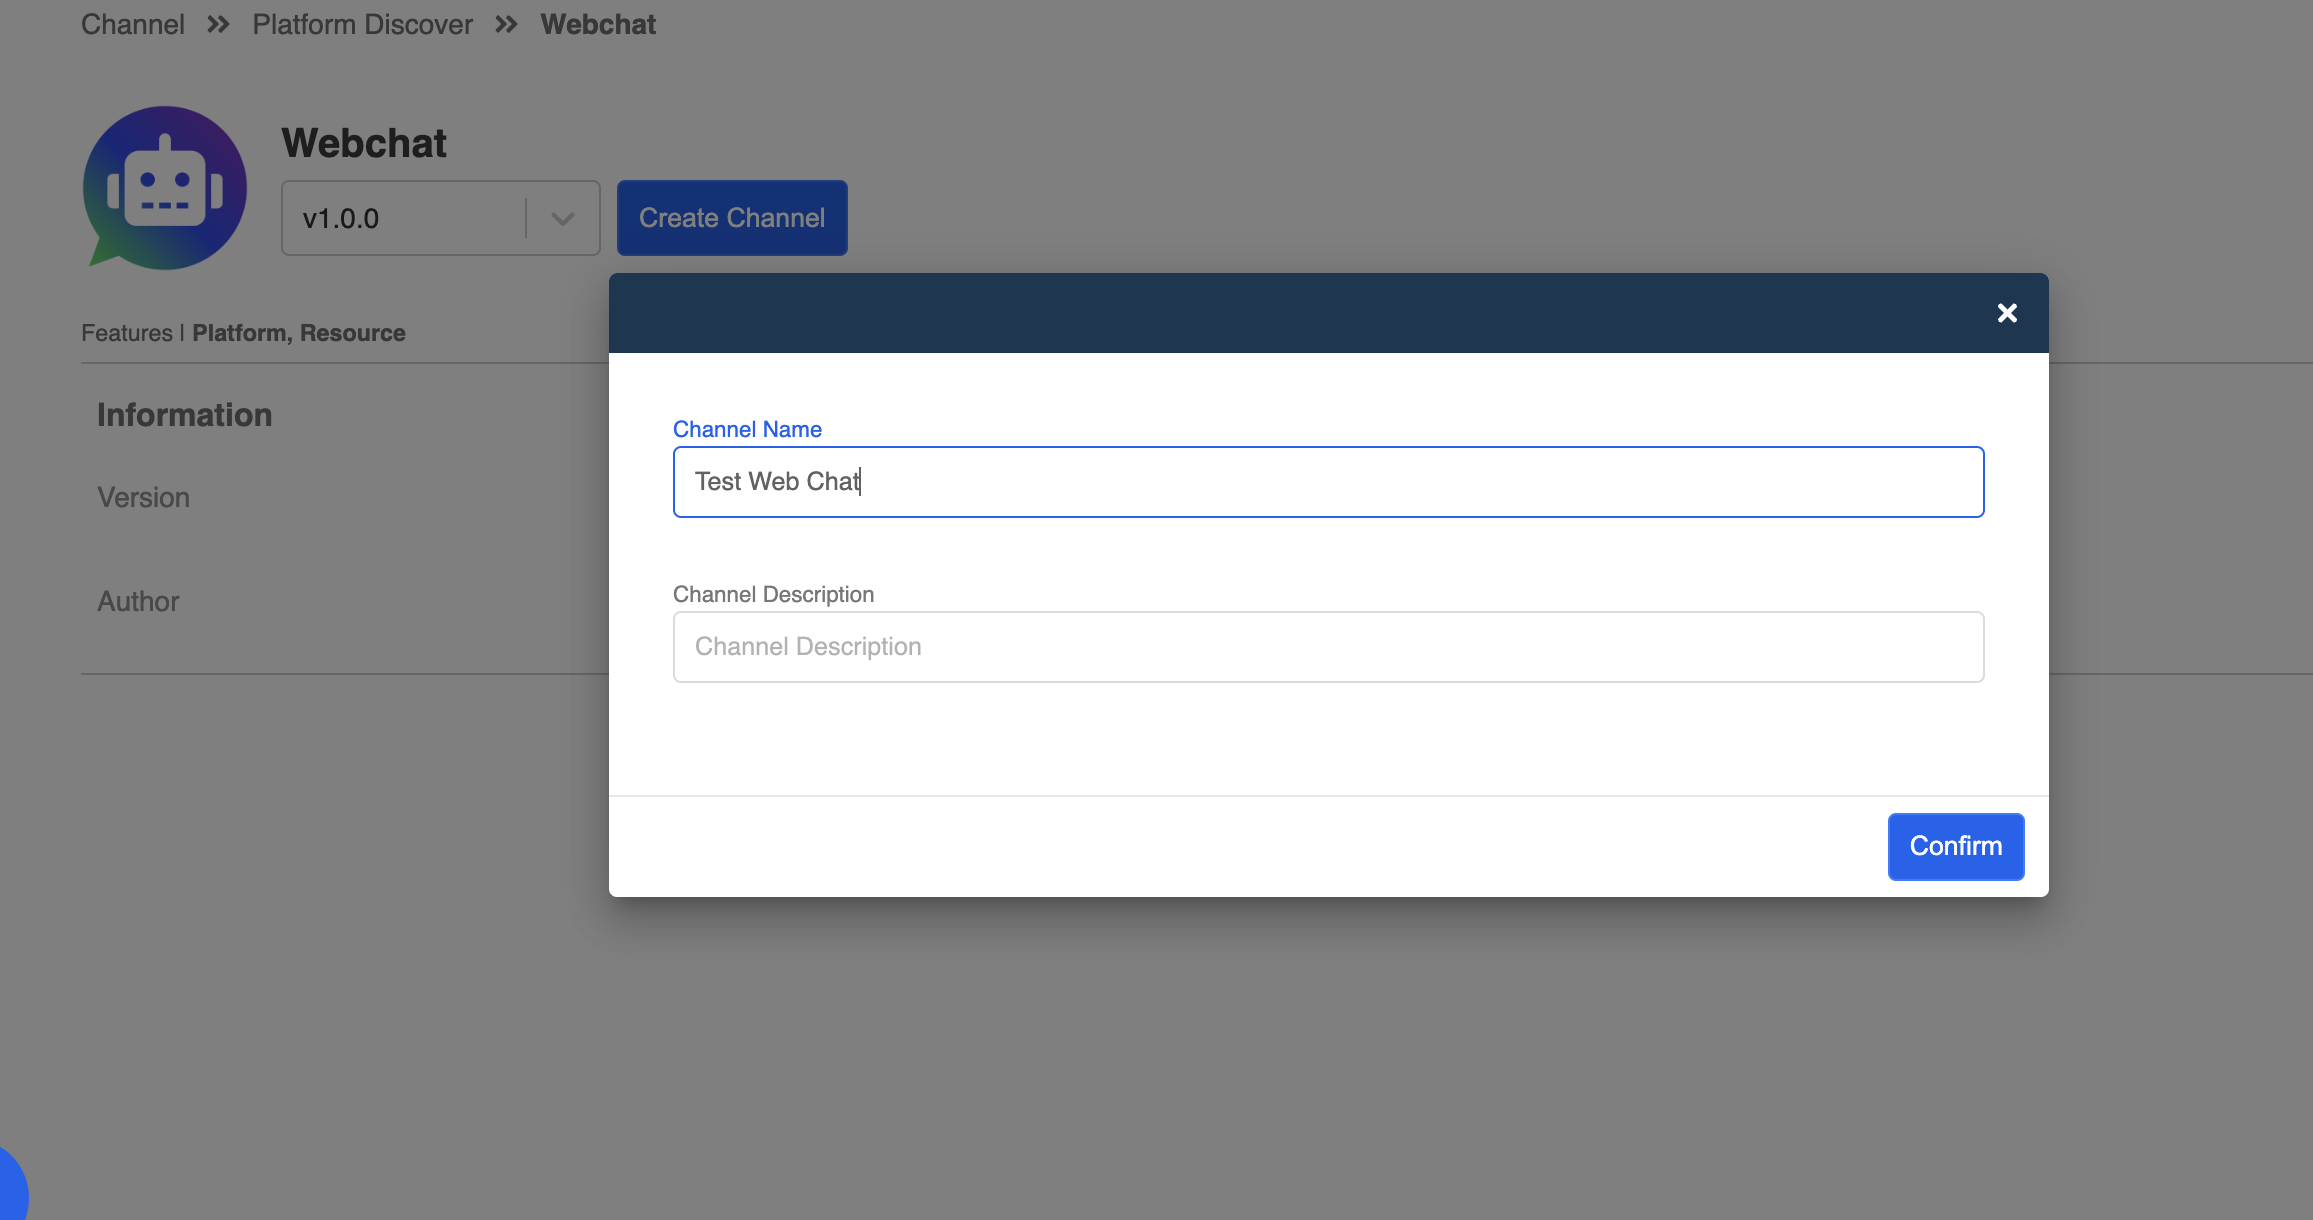
- Select "Create Channel".
- Create a "Channel Name" and "Channel Description" (optional).
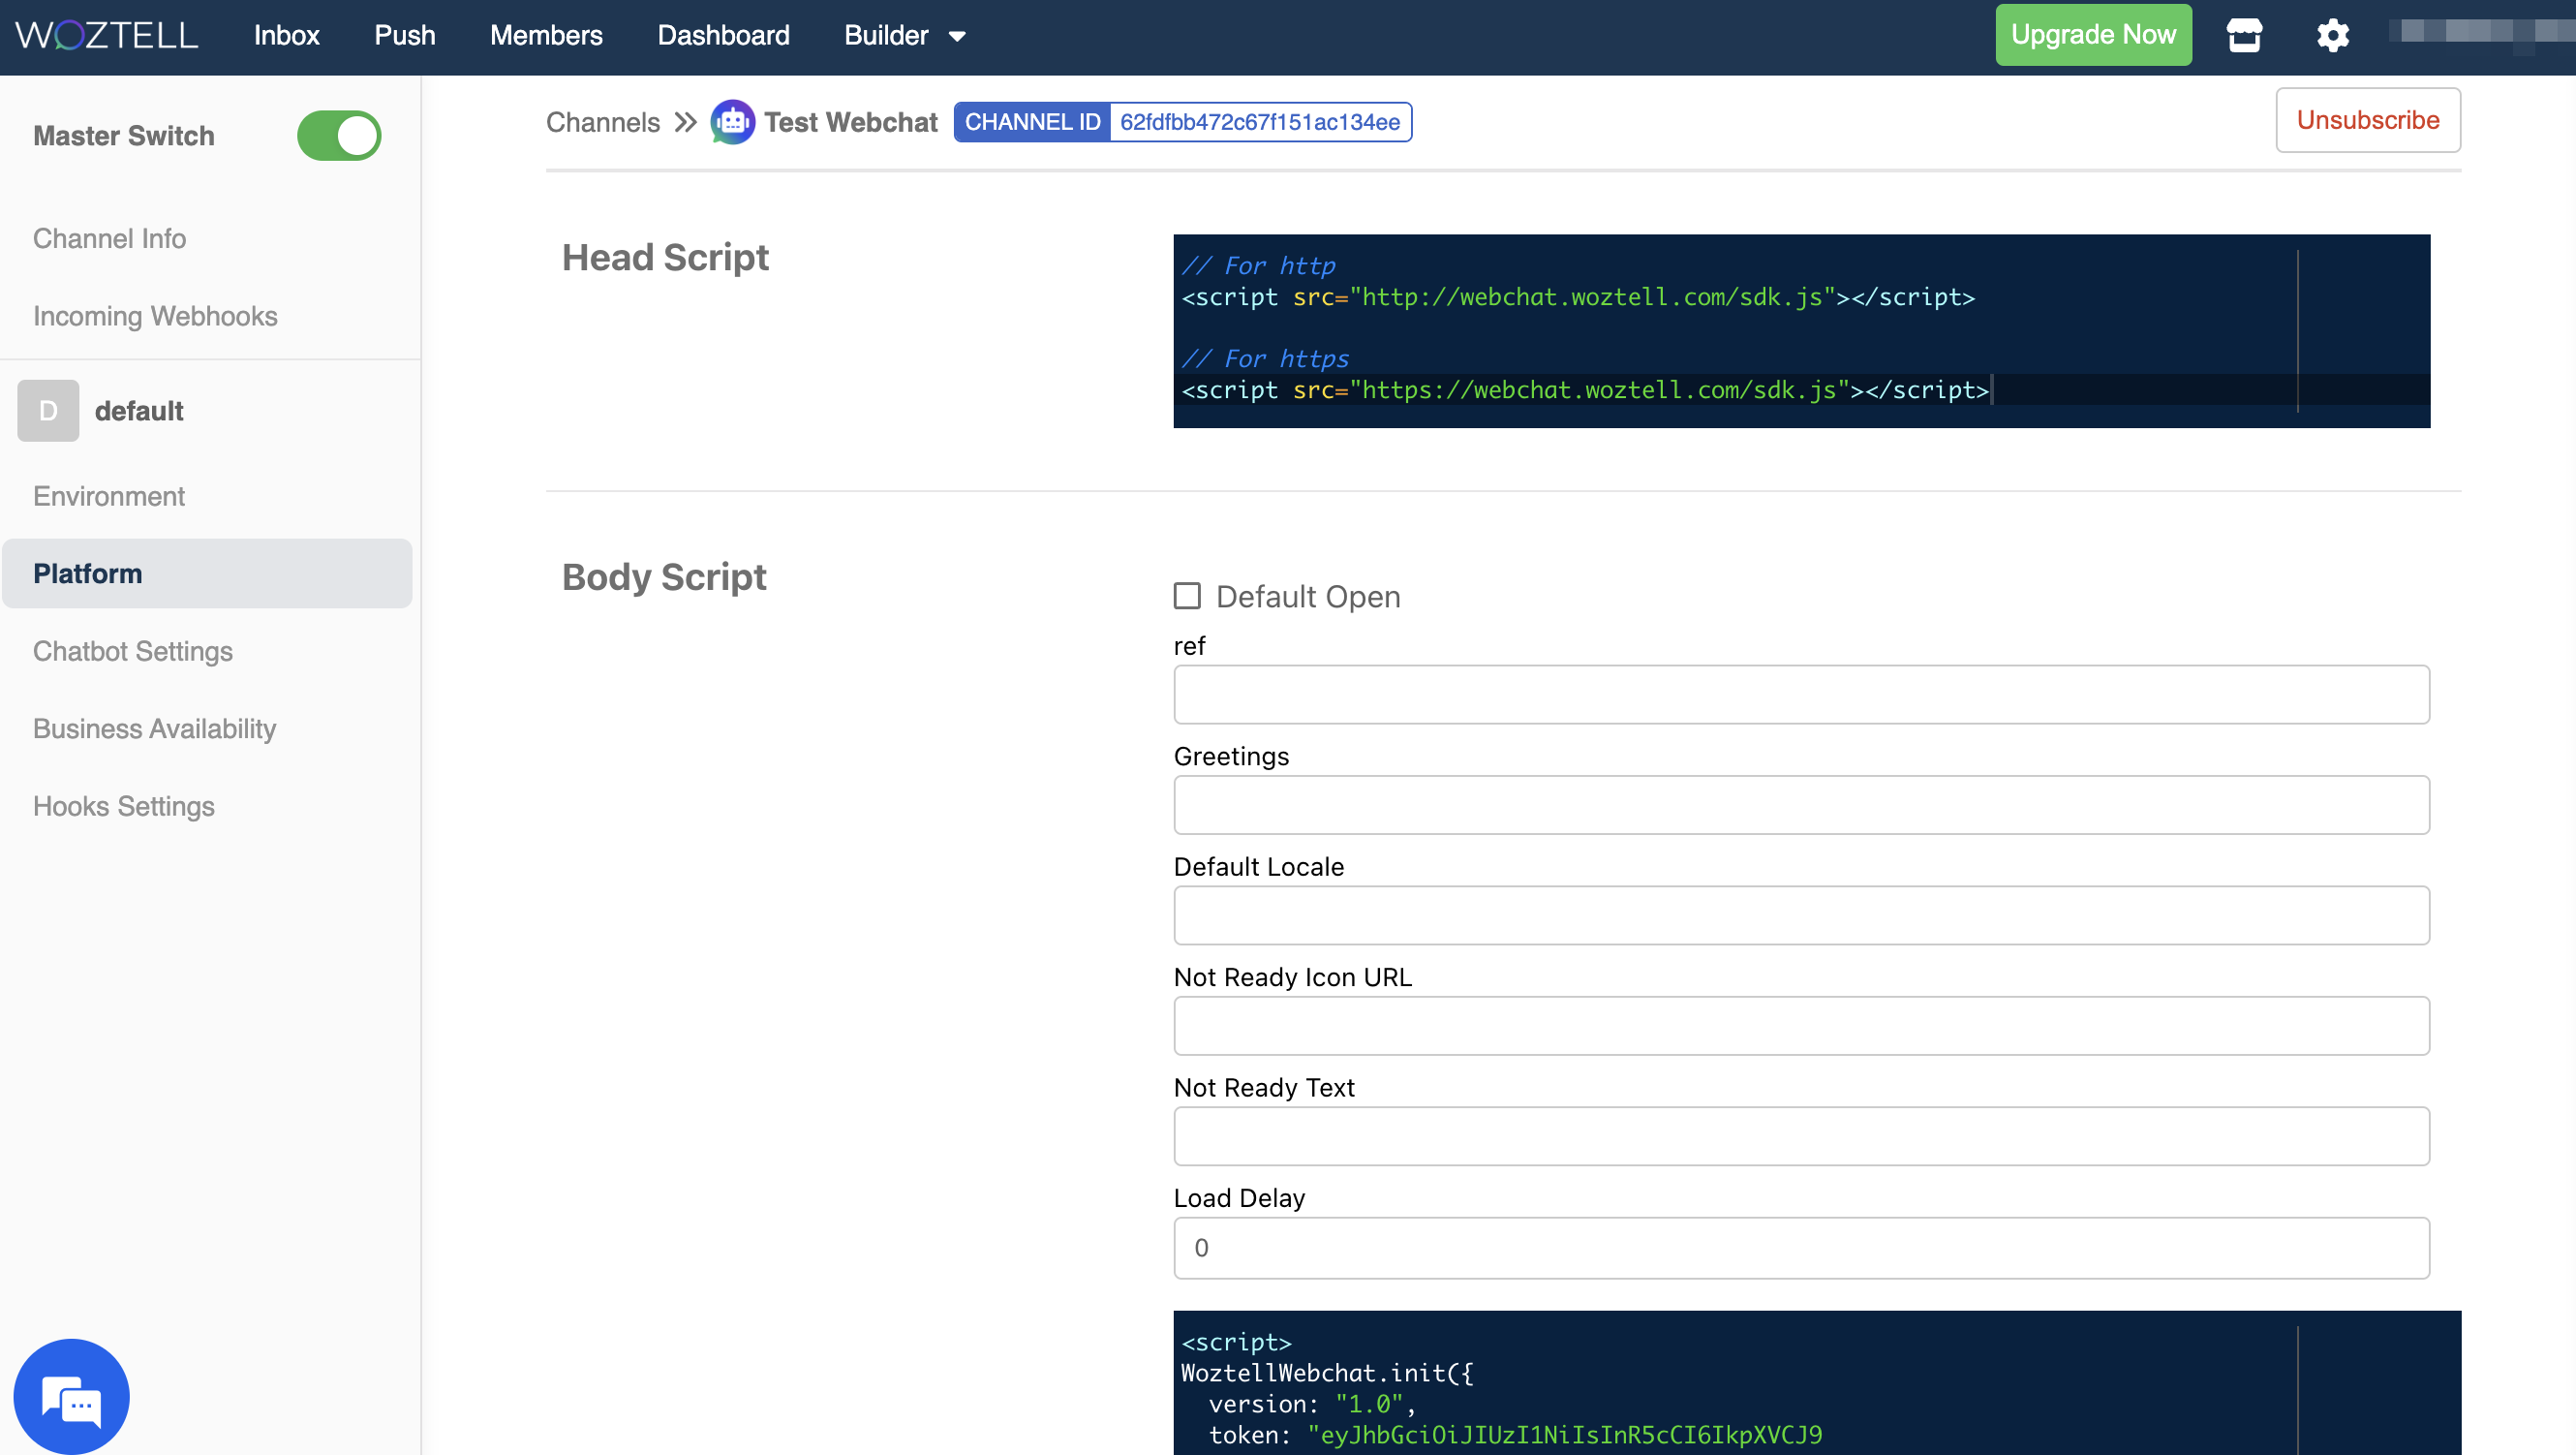
- You will be redirected to the "Platform" page once the integration is successfully installed.
Apply Web Chat Plug-in
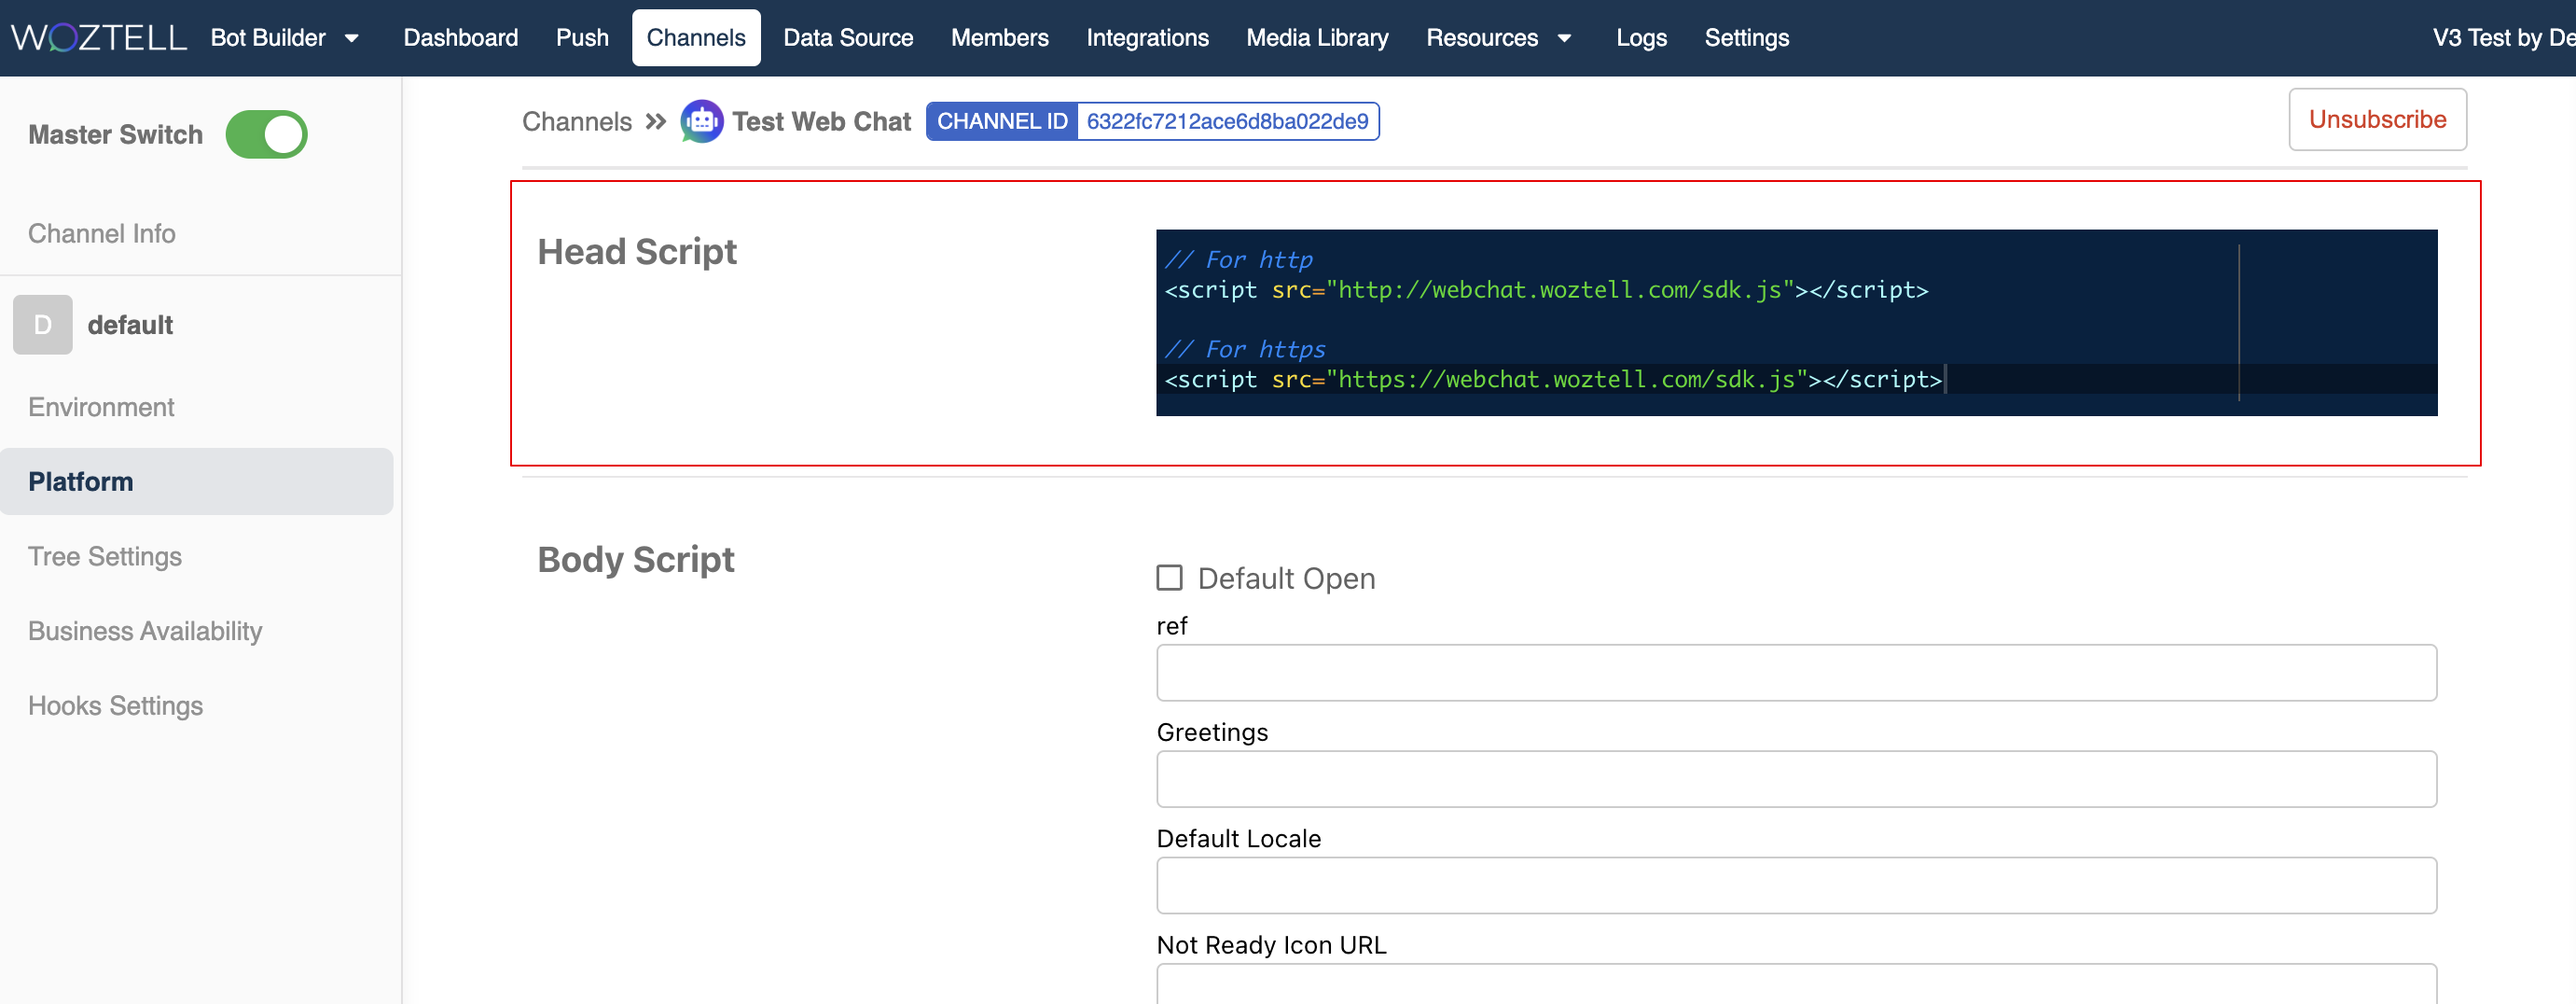
Head to "Platform" of your Web Chat channel.
You can find the Head Script and the Body Script. You can add them to your webpage in order to apply the web chat plug-in.
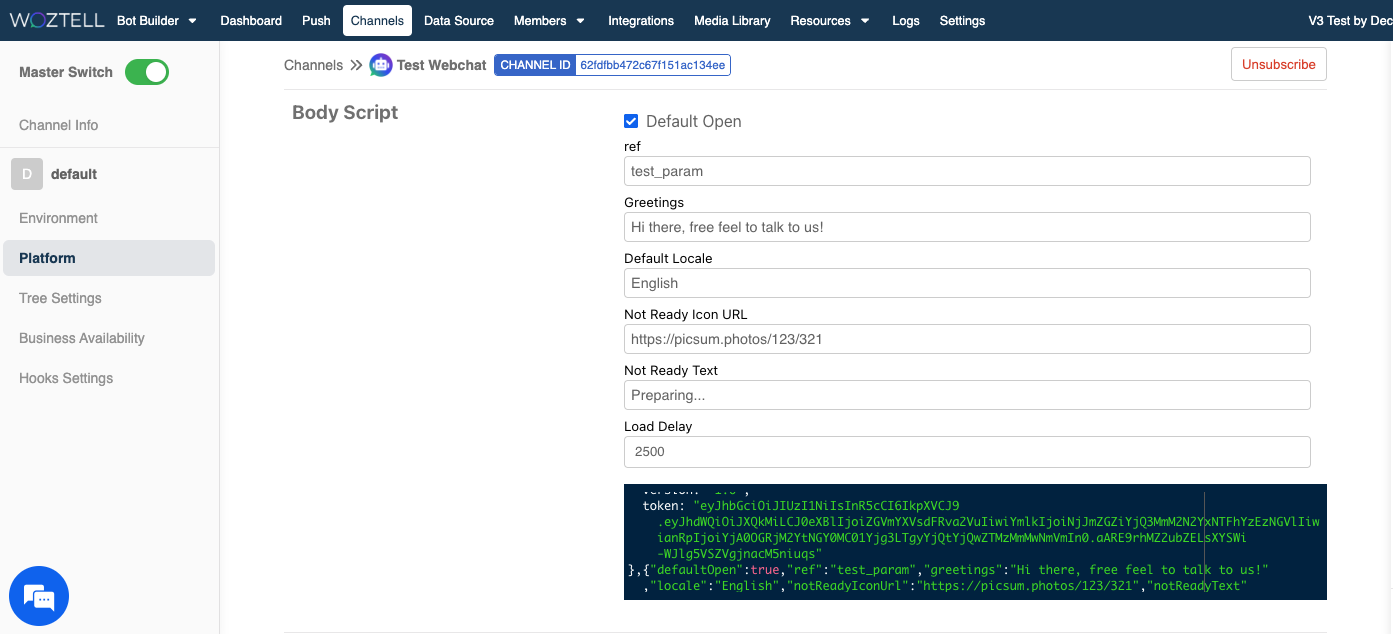
- You can customize the body script based on your use case. Based on what you input in the fields, the body script will be updated in real time.
| Name | Type | Description |
|---|---|---|
| Default Open | boolean | Control if the messenger frame should be opened when web chat successfully initialize. Default is false |
| ref | string | For passing custom data when user start a conversation with the chatbot for the first time |
| Greetings | string | Custom text displayed next to the icon before the icon is clicked |
| Default Locale | string | Set the initial locale of the user, this should be one of the locale group name you created in the Web Chat integration |
| Not Ready Icon URL | string | Image URL to customize the icon shown when there is network connection issue with our Web Chat server |
| Not Ready Text | string | Custom text when there is network connction issue with our web chat server |
| Load Delay | Integer | Default: 3000ms; the time to wait until the not ready icon shows up, during the waiting time the system will check if the Web Chat is ready every 300ms |
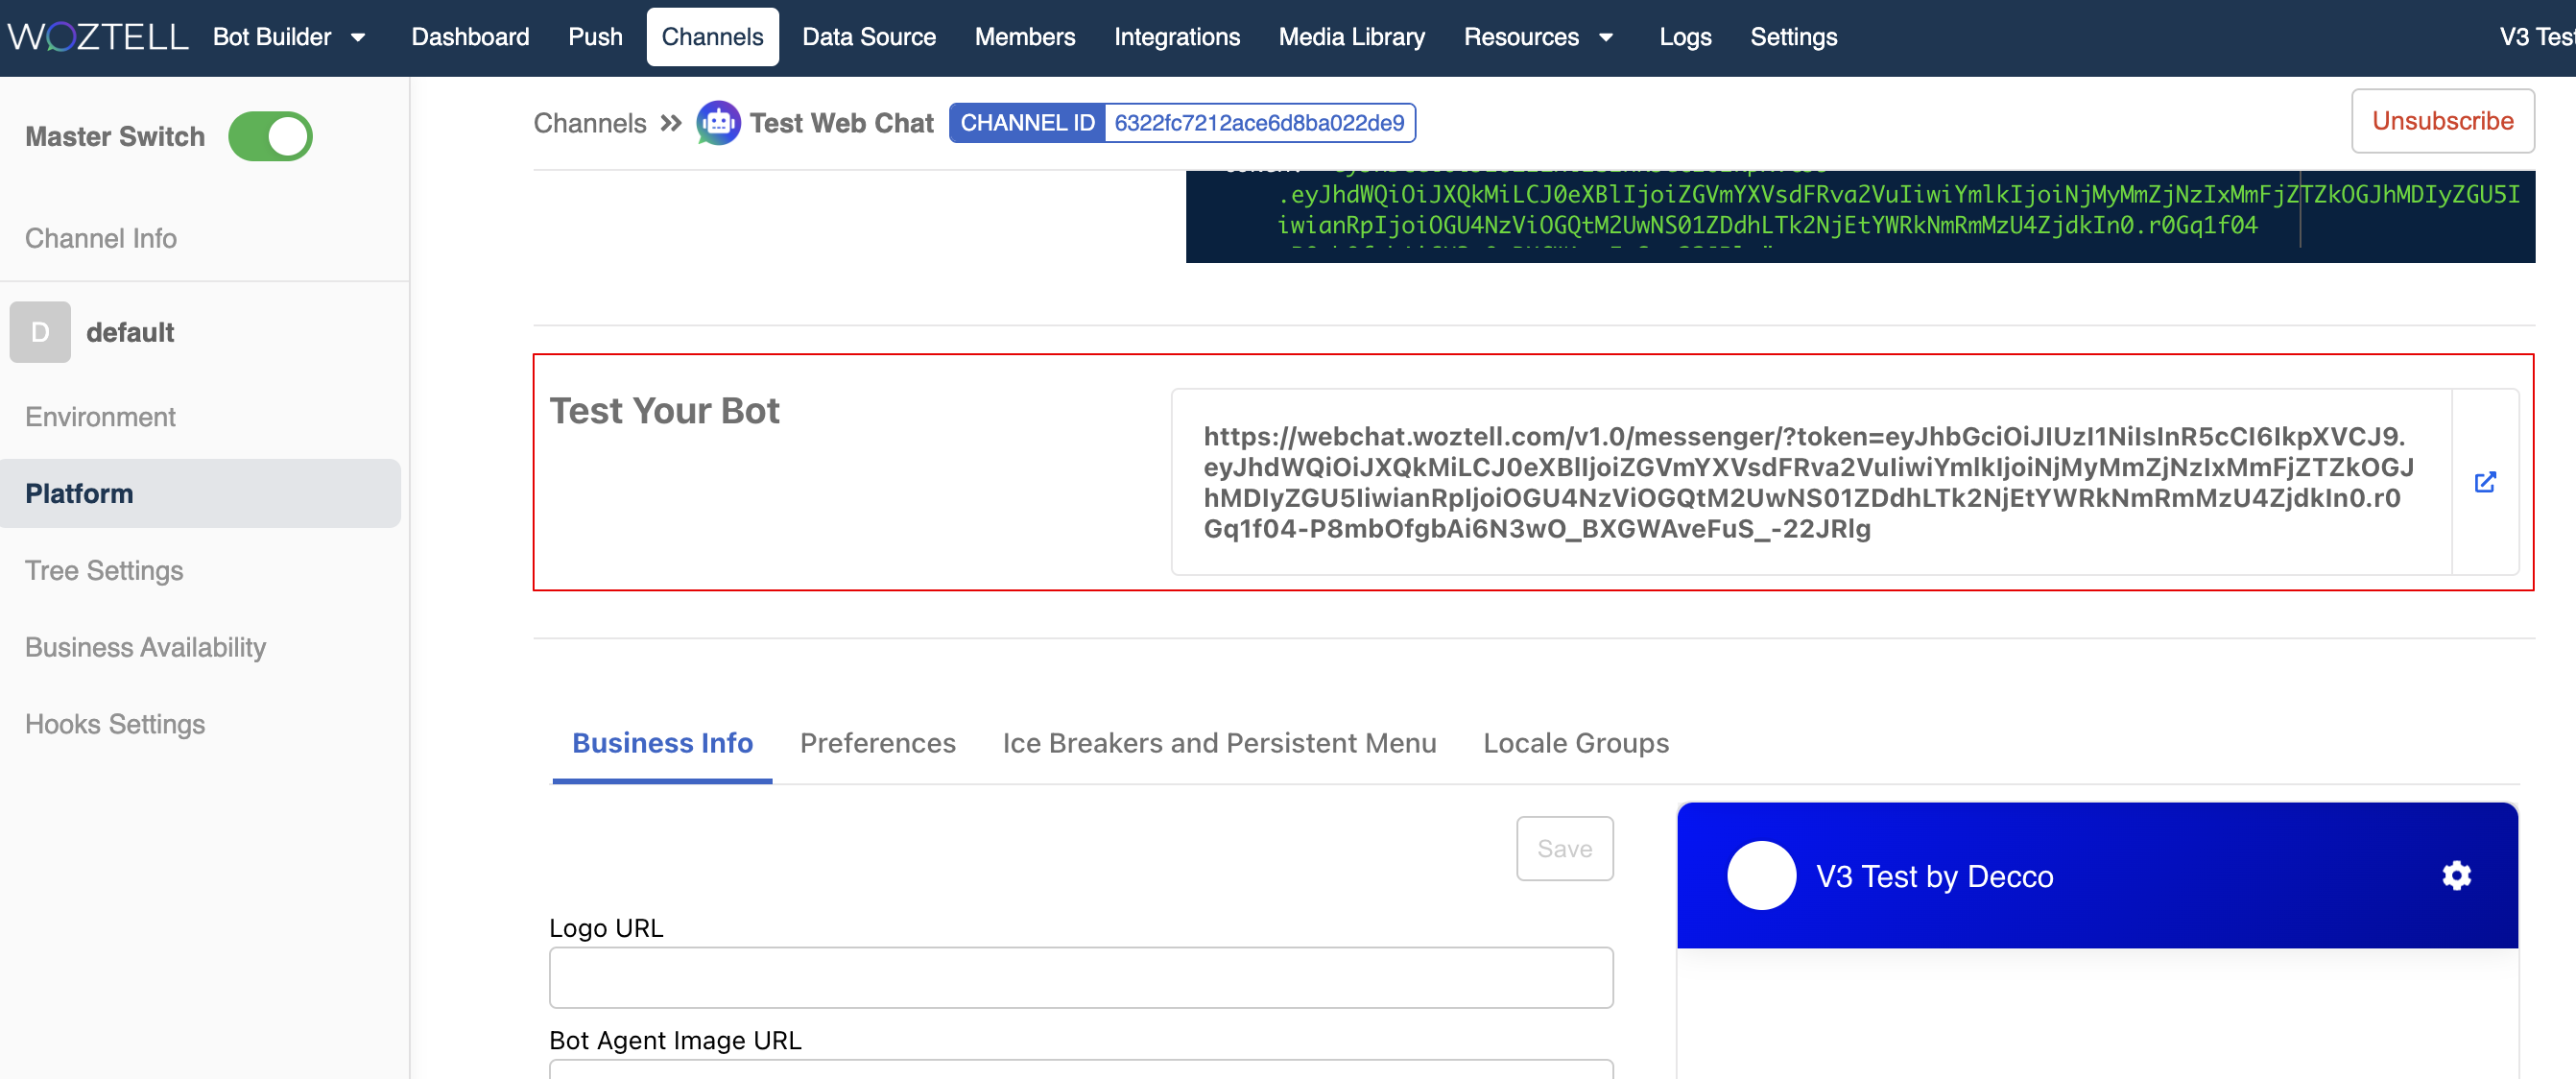
- Besides, you can copy the link from "Test Your Bot", and try out your Web Chat in full page.
