Facebook Deployment
Connect to a Facebook Page
Go to Facebook and create a new Facebook page for testing purpose.
Now go back to WOZTELL and click "Channels" on the top menu bar.
Click "+ New Channel".
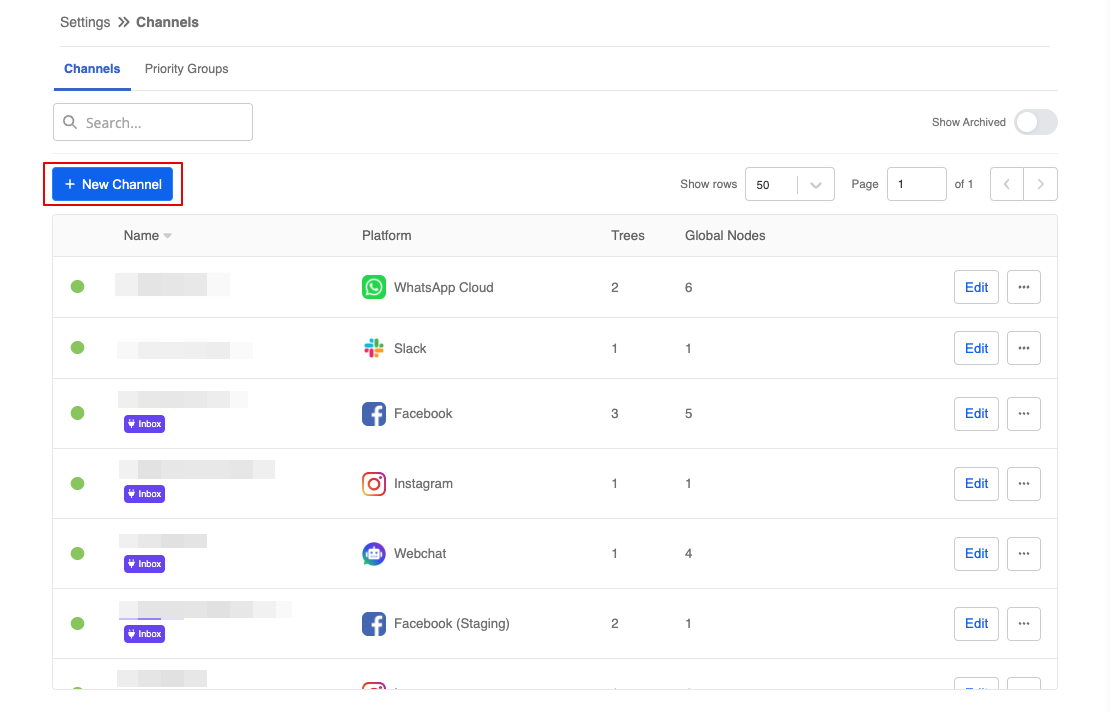
Click + New Channel
- Under "Discover Platform", find Facebook and select "Next" to proceed.

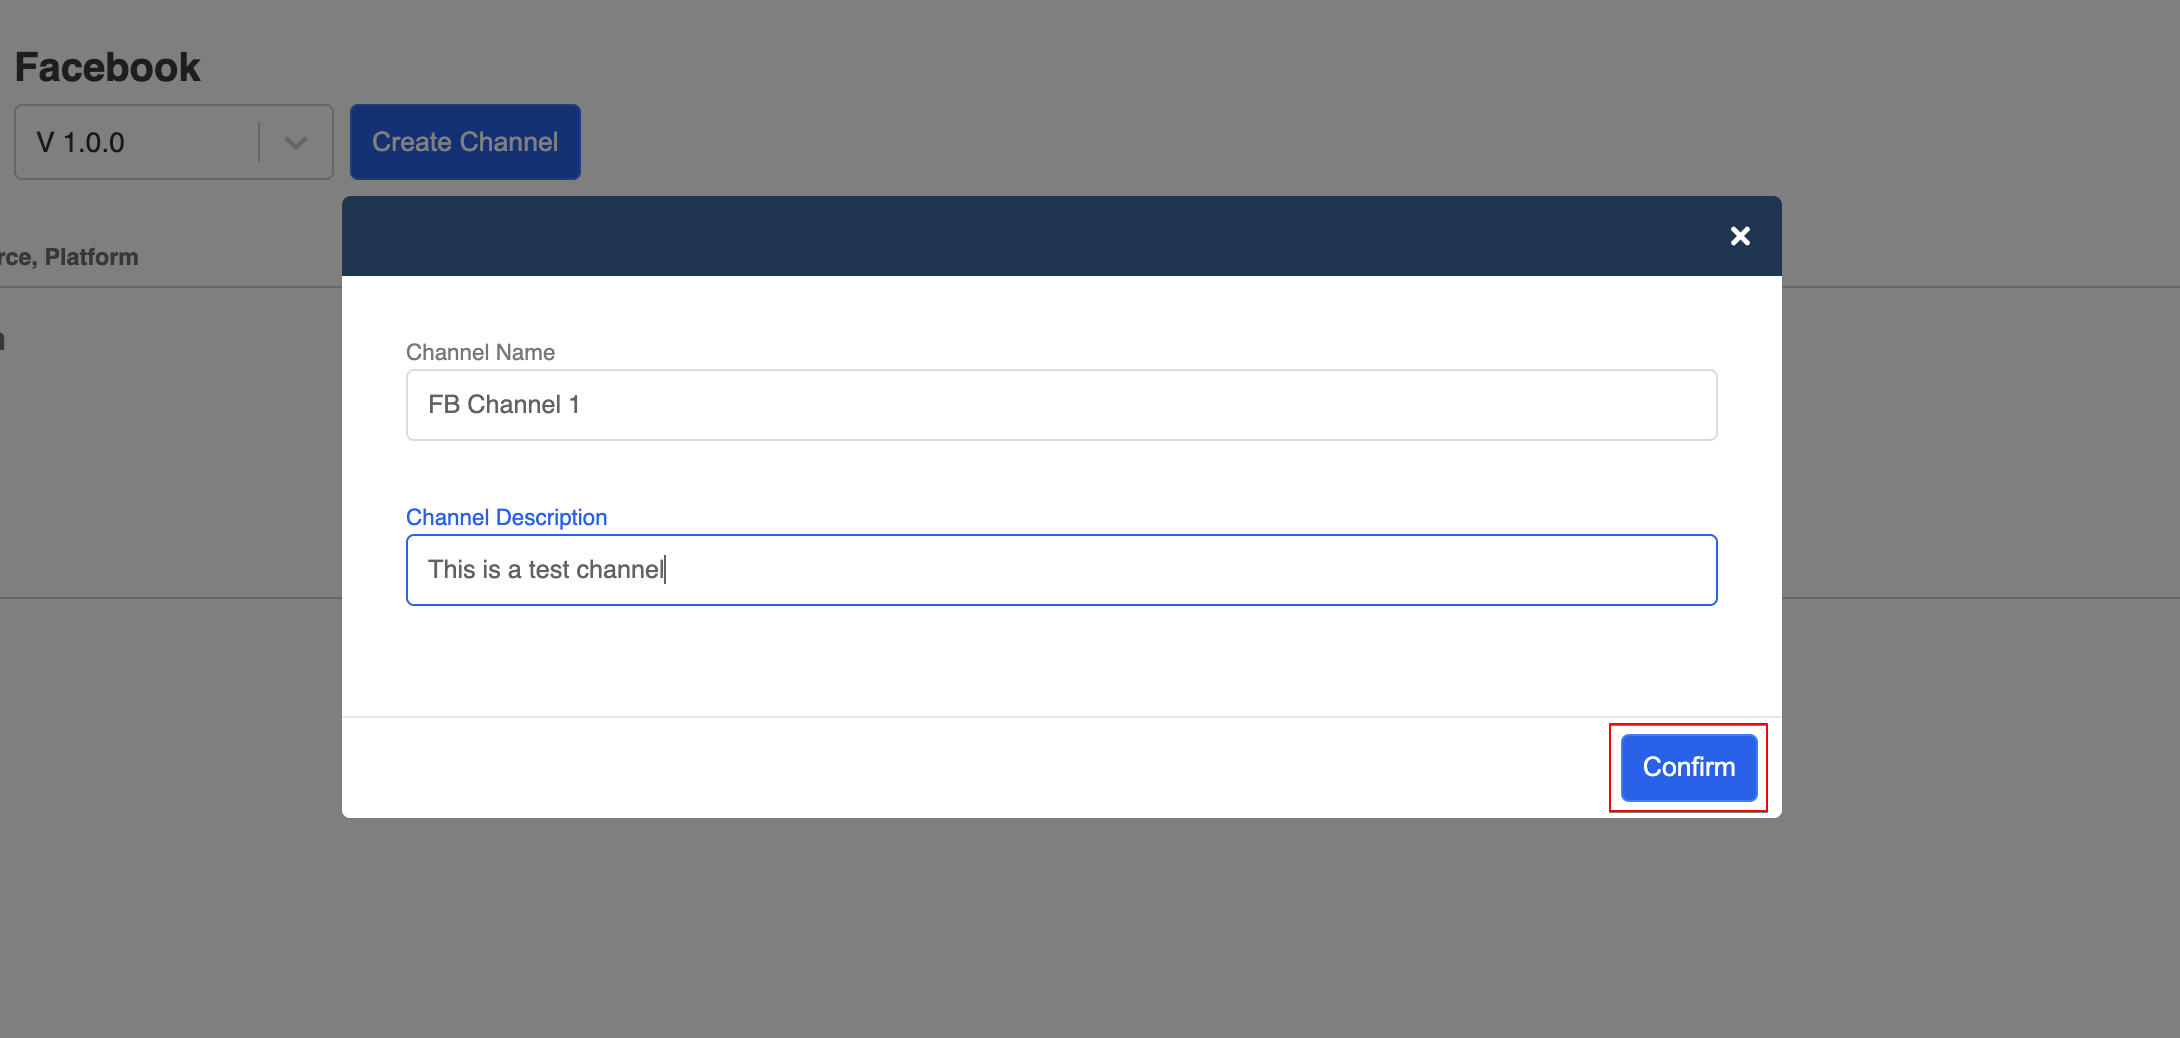
Give your channel a name and a description
- Select "Create".
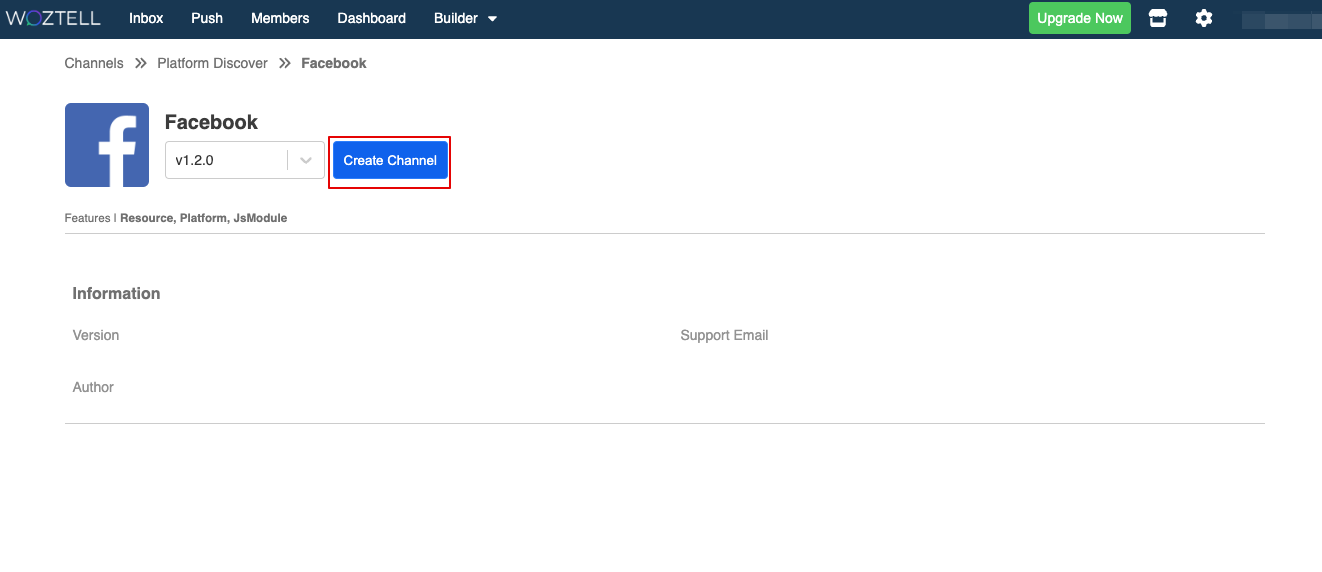
Select Facebook as platform
- Create a Channel Name and Optional Channel Description, then select "Confirm.
Log into your Facebook
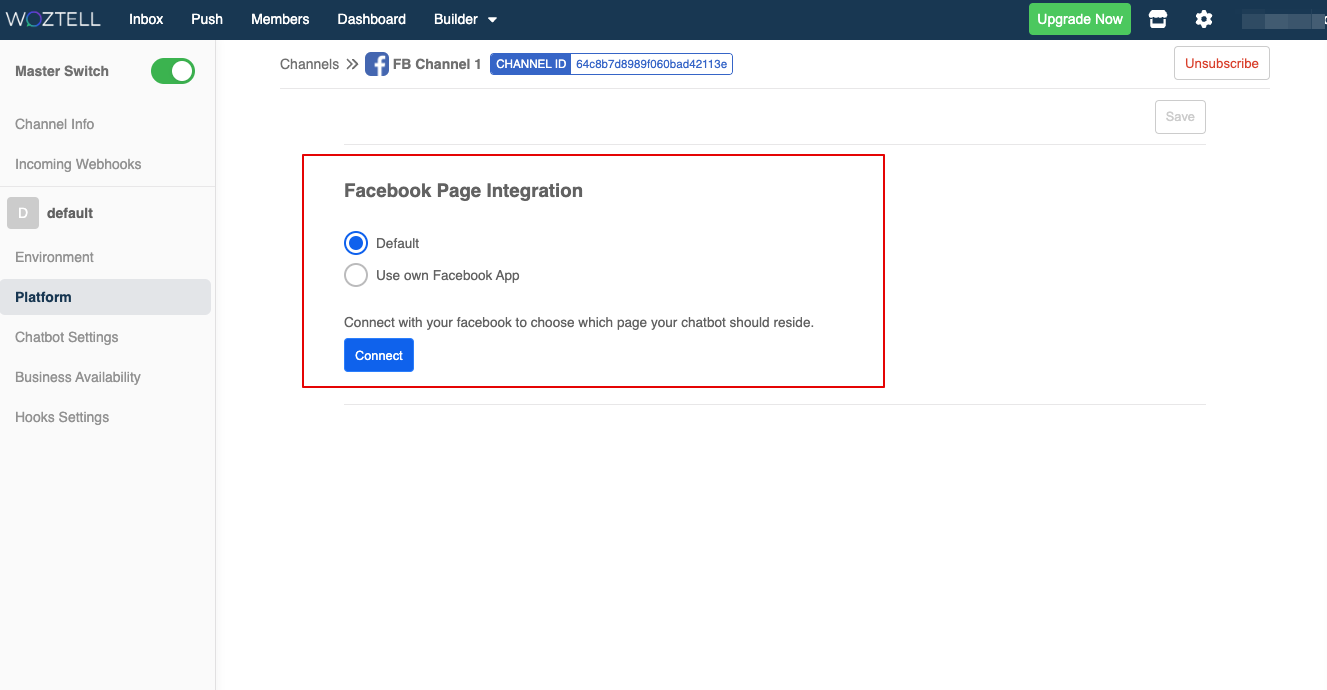
- The channel has been created. In Platform, select "Connect.
Log into your Facebook
- A Facebook pop-up window will appear, please log in your Facebook account and proceed.
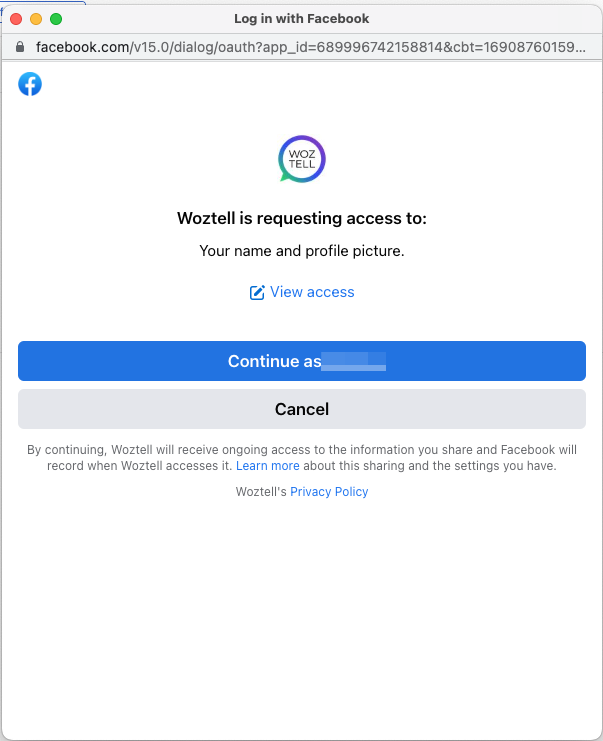
Continue as your Facebook account
- Grant access to connect to your Facebook pages to WOZTELL. Click "Done".
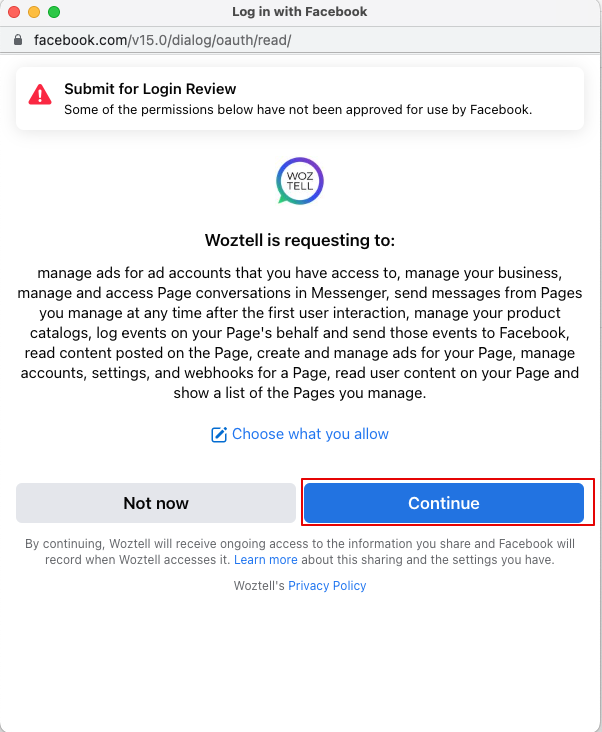
Grant access to WOZTELL
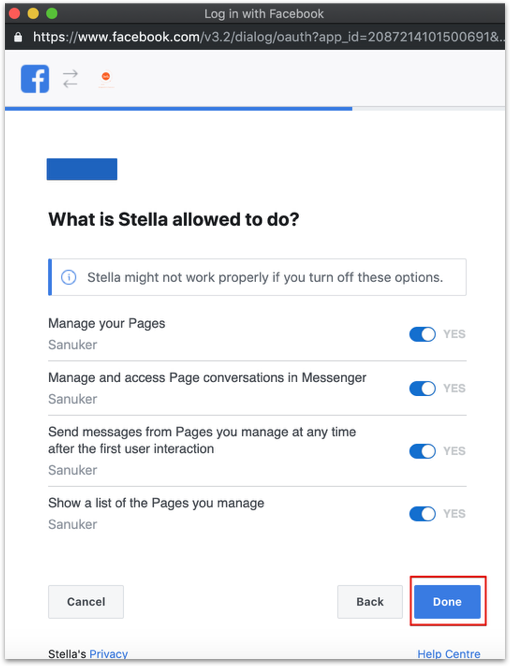
Complete authorization
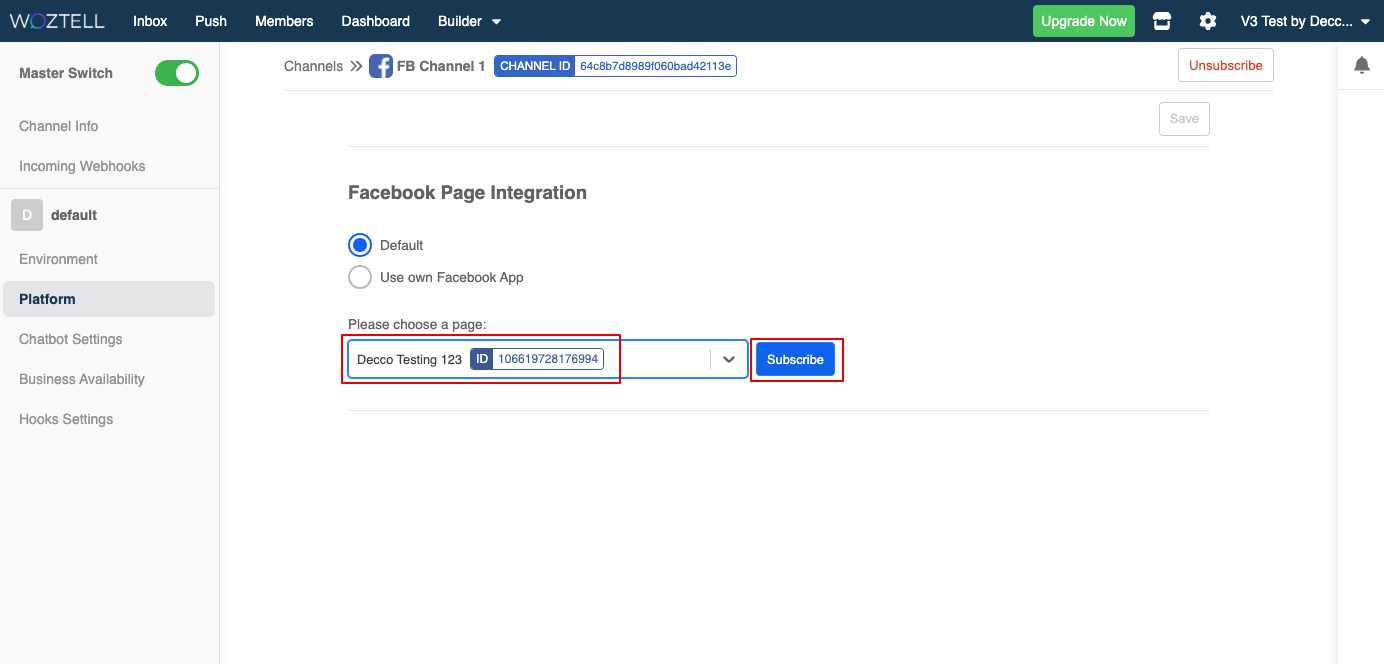
- Select your testing Facebook page in the drop down menu and click "Subscribe".
Log into your Facebook
- Finally, click "Save" to save the channel settings. You have successfully connected a Facebook page to WOZTELL!
Log into your Facebook
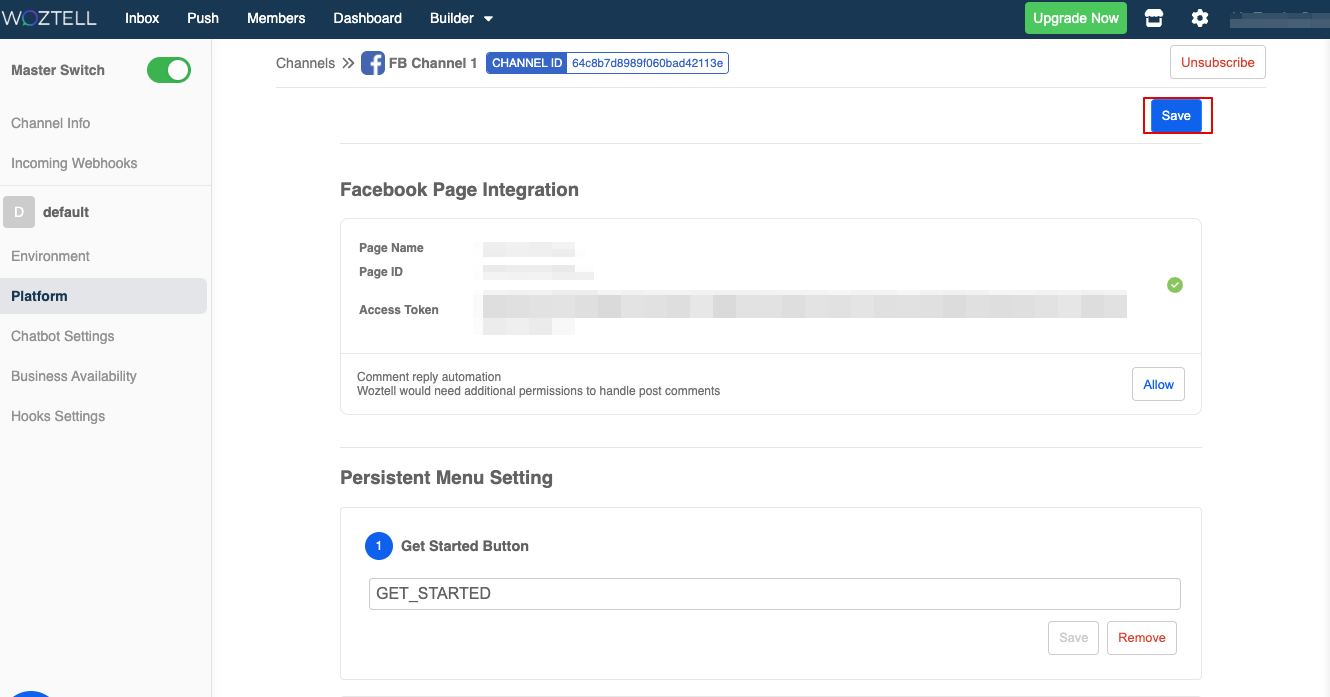
Set Get Started Button
After you have successfully subscribed to your testing Facebook page, in "Platform", scroll down to the "Persistent Menu Setting" and set the Get Started button of your chatbot.
The default payload is "GET_STARTED". We will keep it the same now, you can change it later.
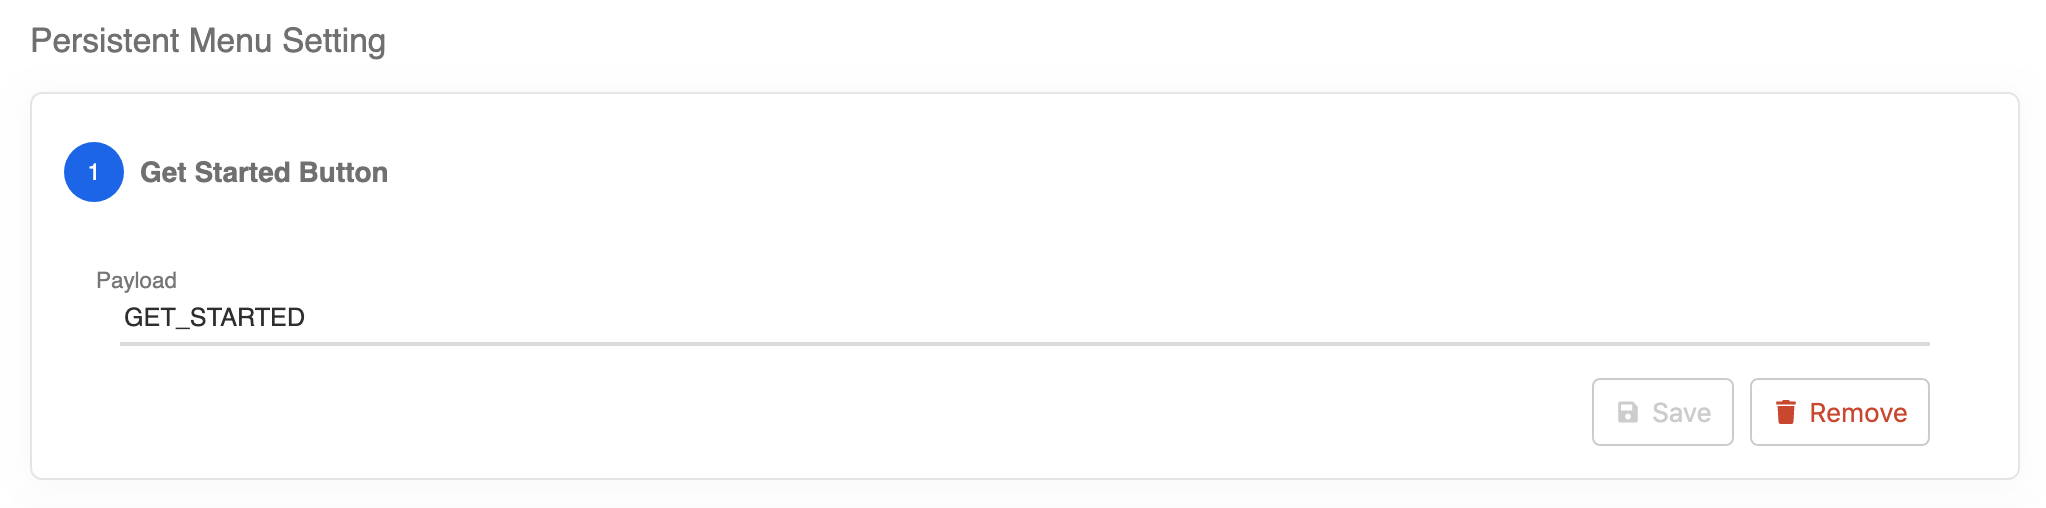
Set your Get Started buttone
Set Persistent Menu
- Click "+ Button" to create a persistent menu button.
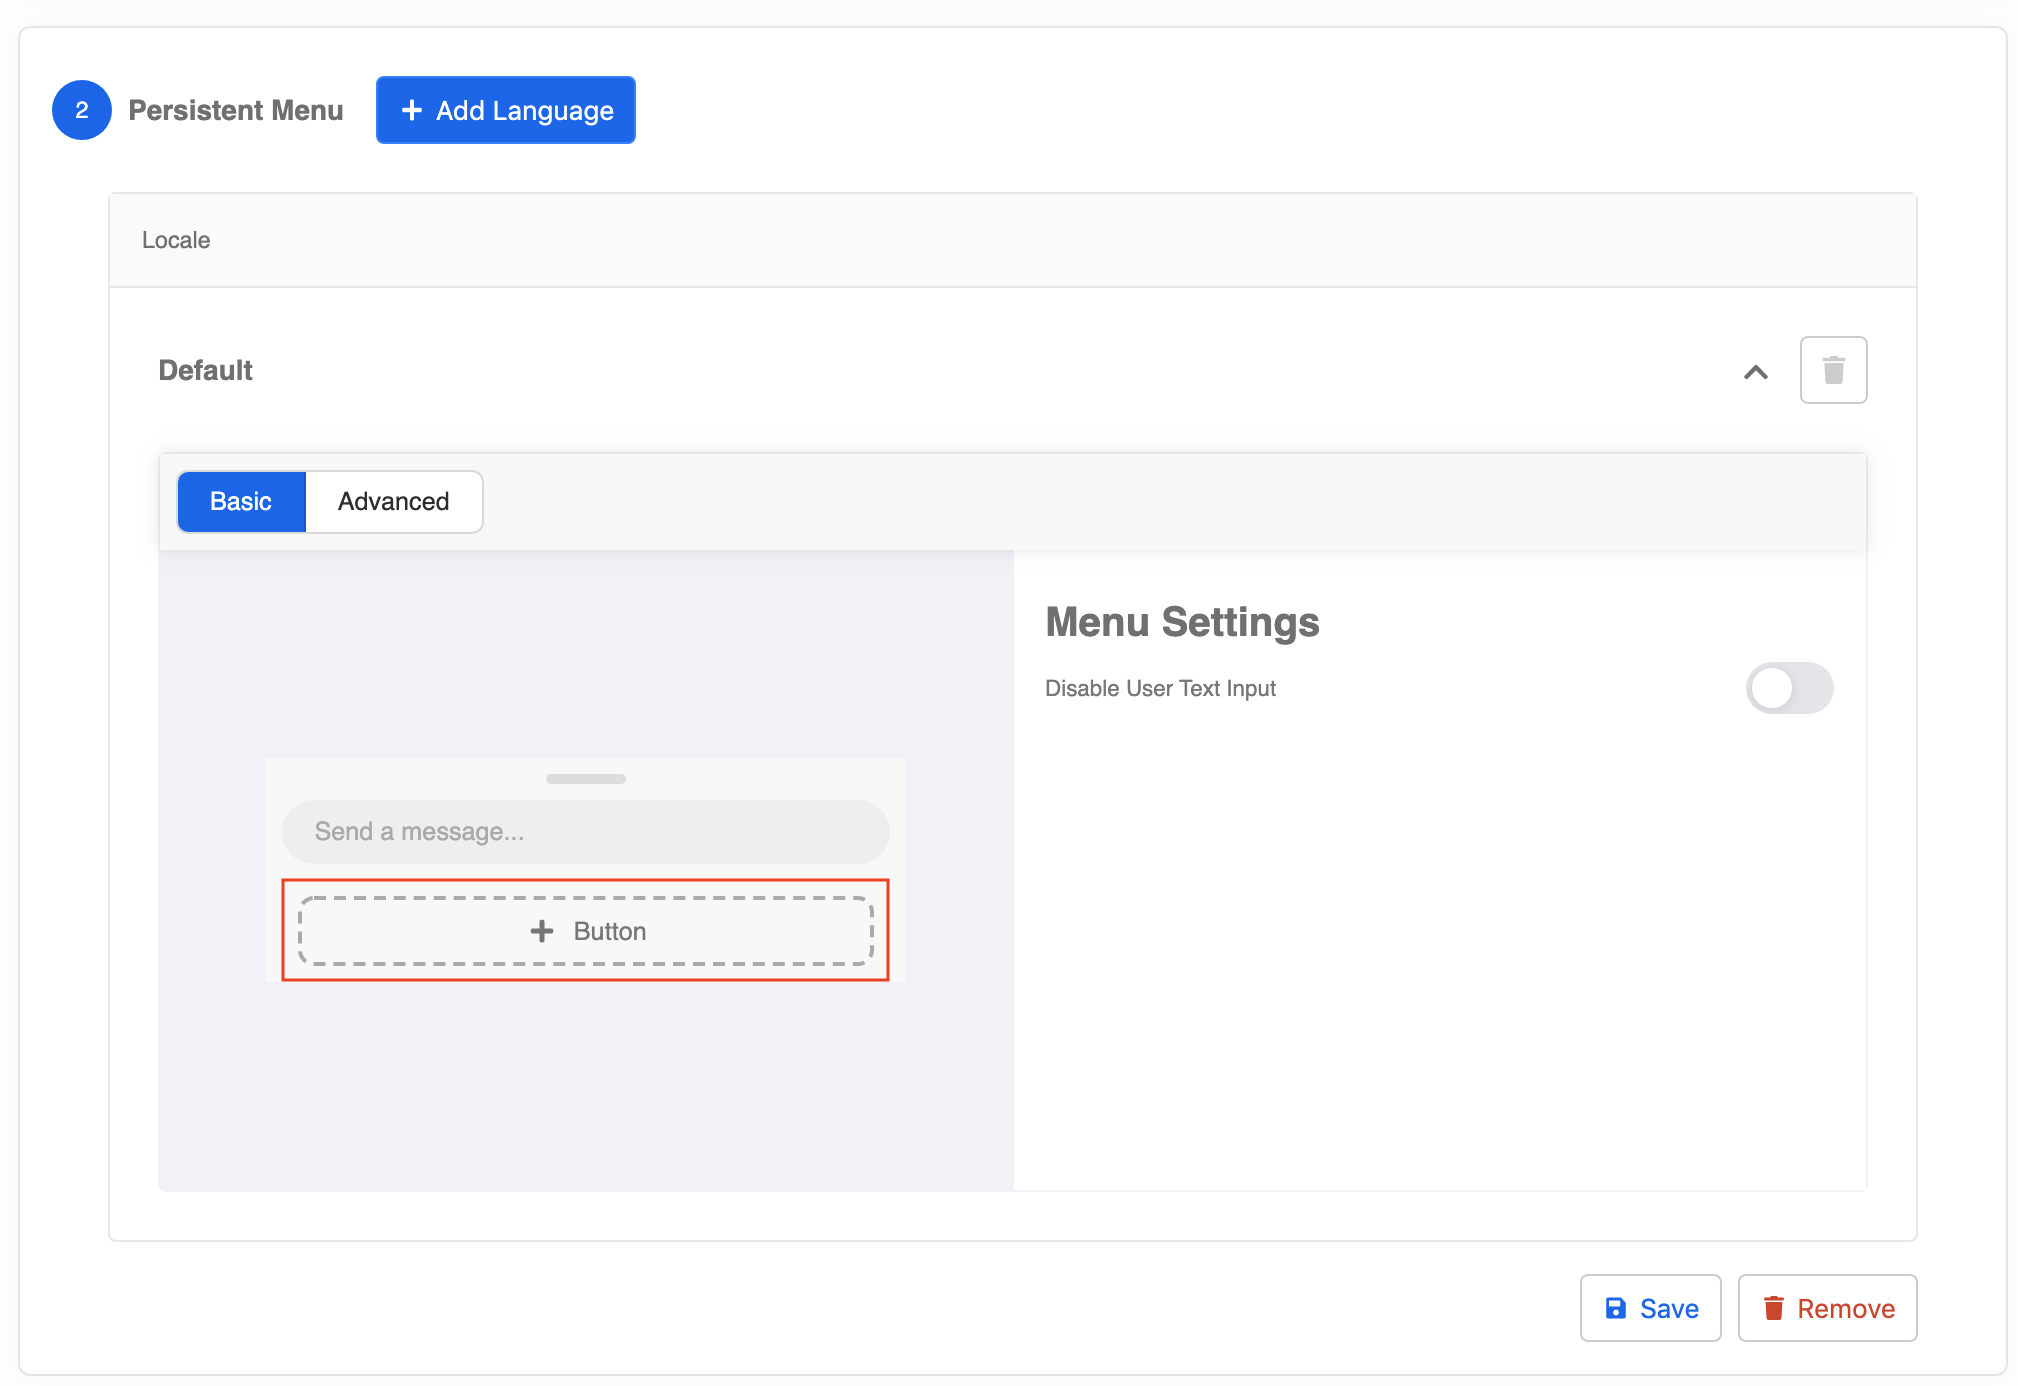
Add persistent menu buttone
- The button details will be displayed on the right hand side. Fill in the title, select the URL button type, and put down the URL of your official website. Click "Save".
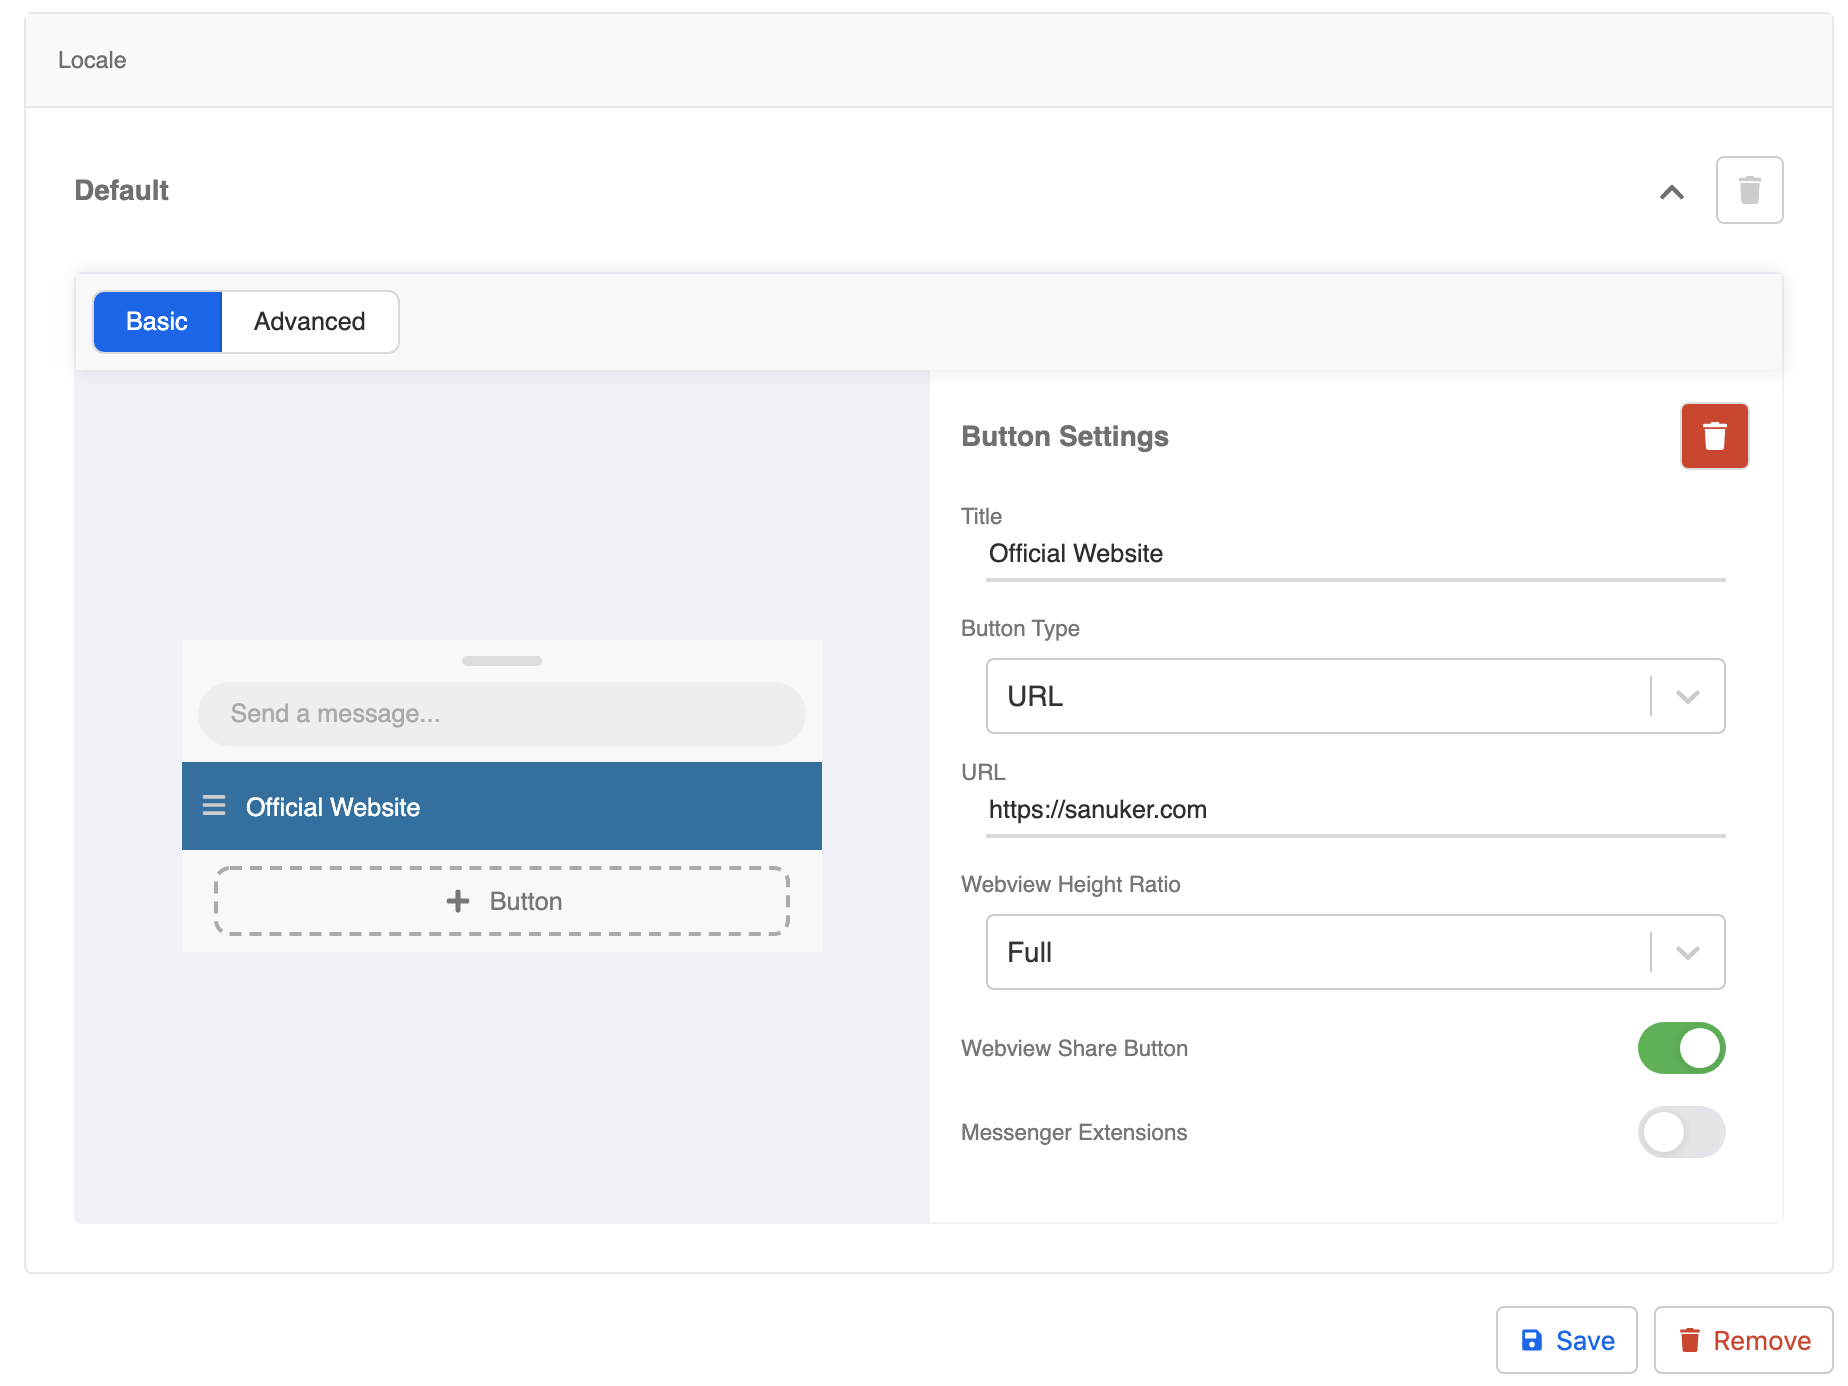
Set URL button
- Now, go back to the top right and click the final "Save".
Add Trees to Channel
Head to your channel.
Click "Edit" to enter the channel.

The testing channel
On the left tab, head to "Trees Settings".
Under Default, click "+ New Tree" to add your created trees in this channel.
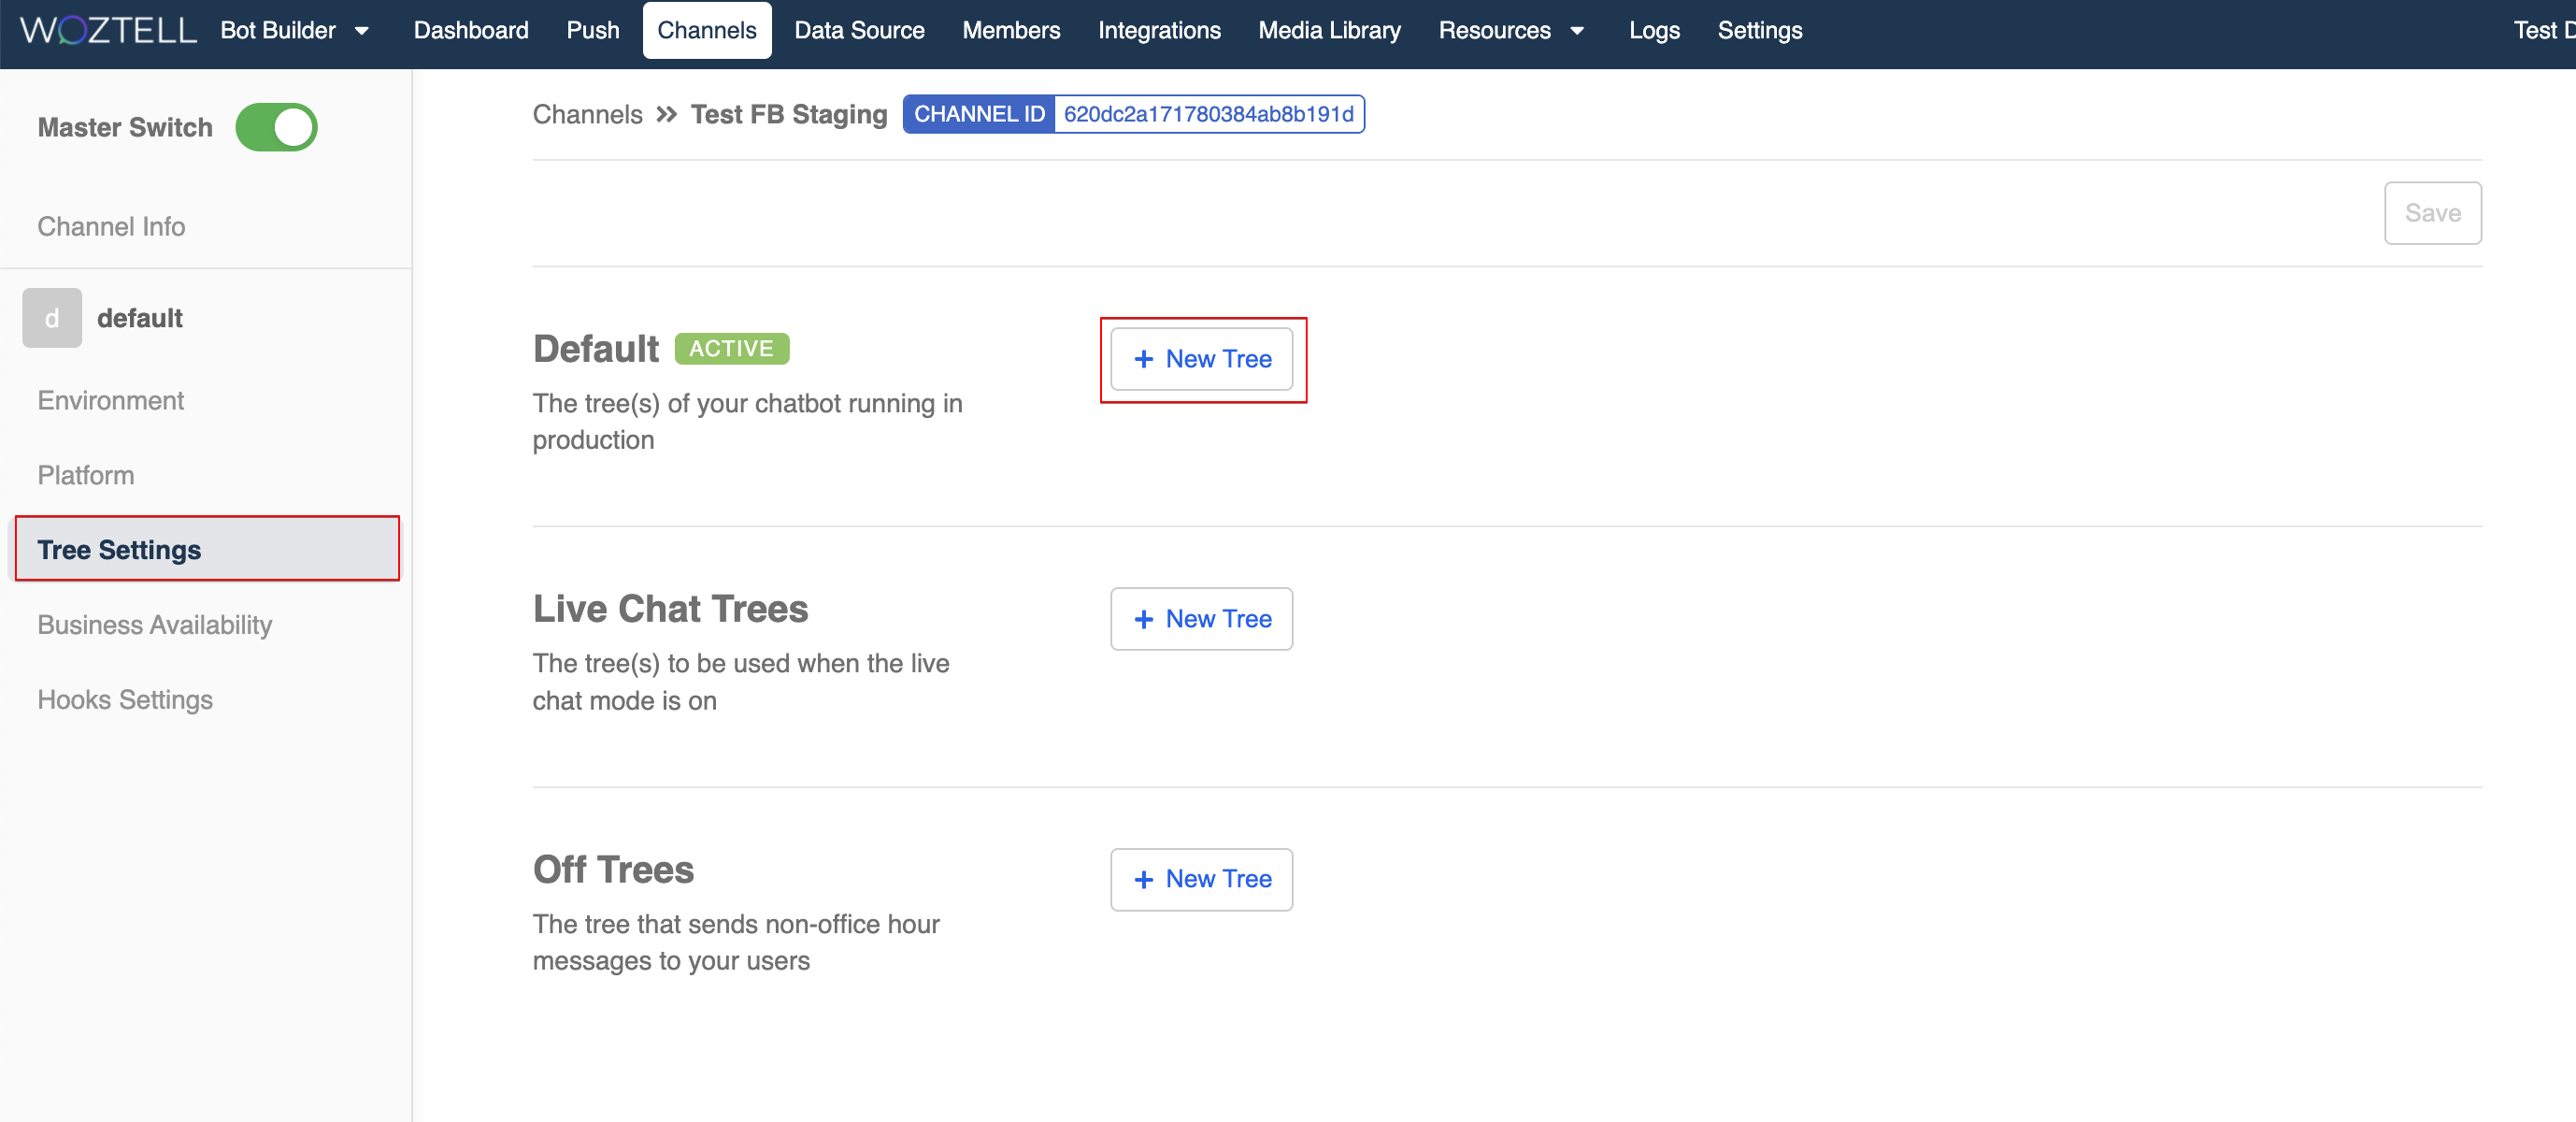
Change core version & click + New Tree
- A new dropdown of tree selector will appear. Select a tree from the dropdown.
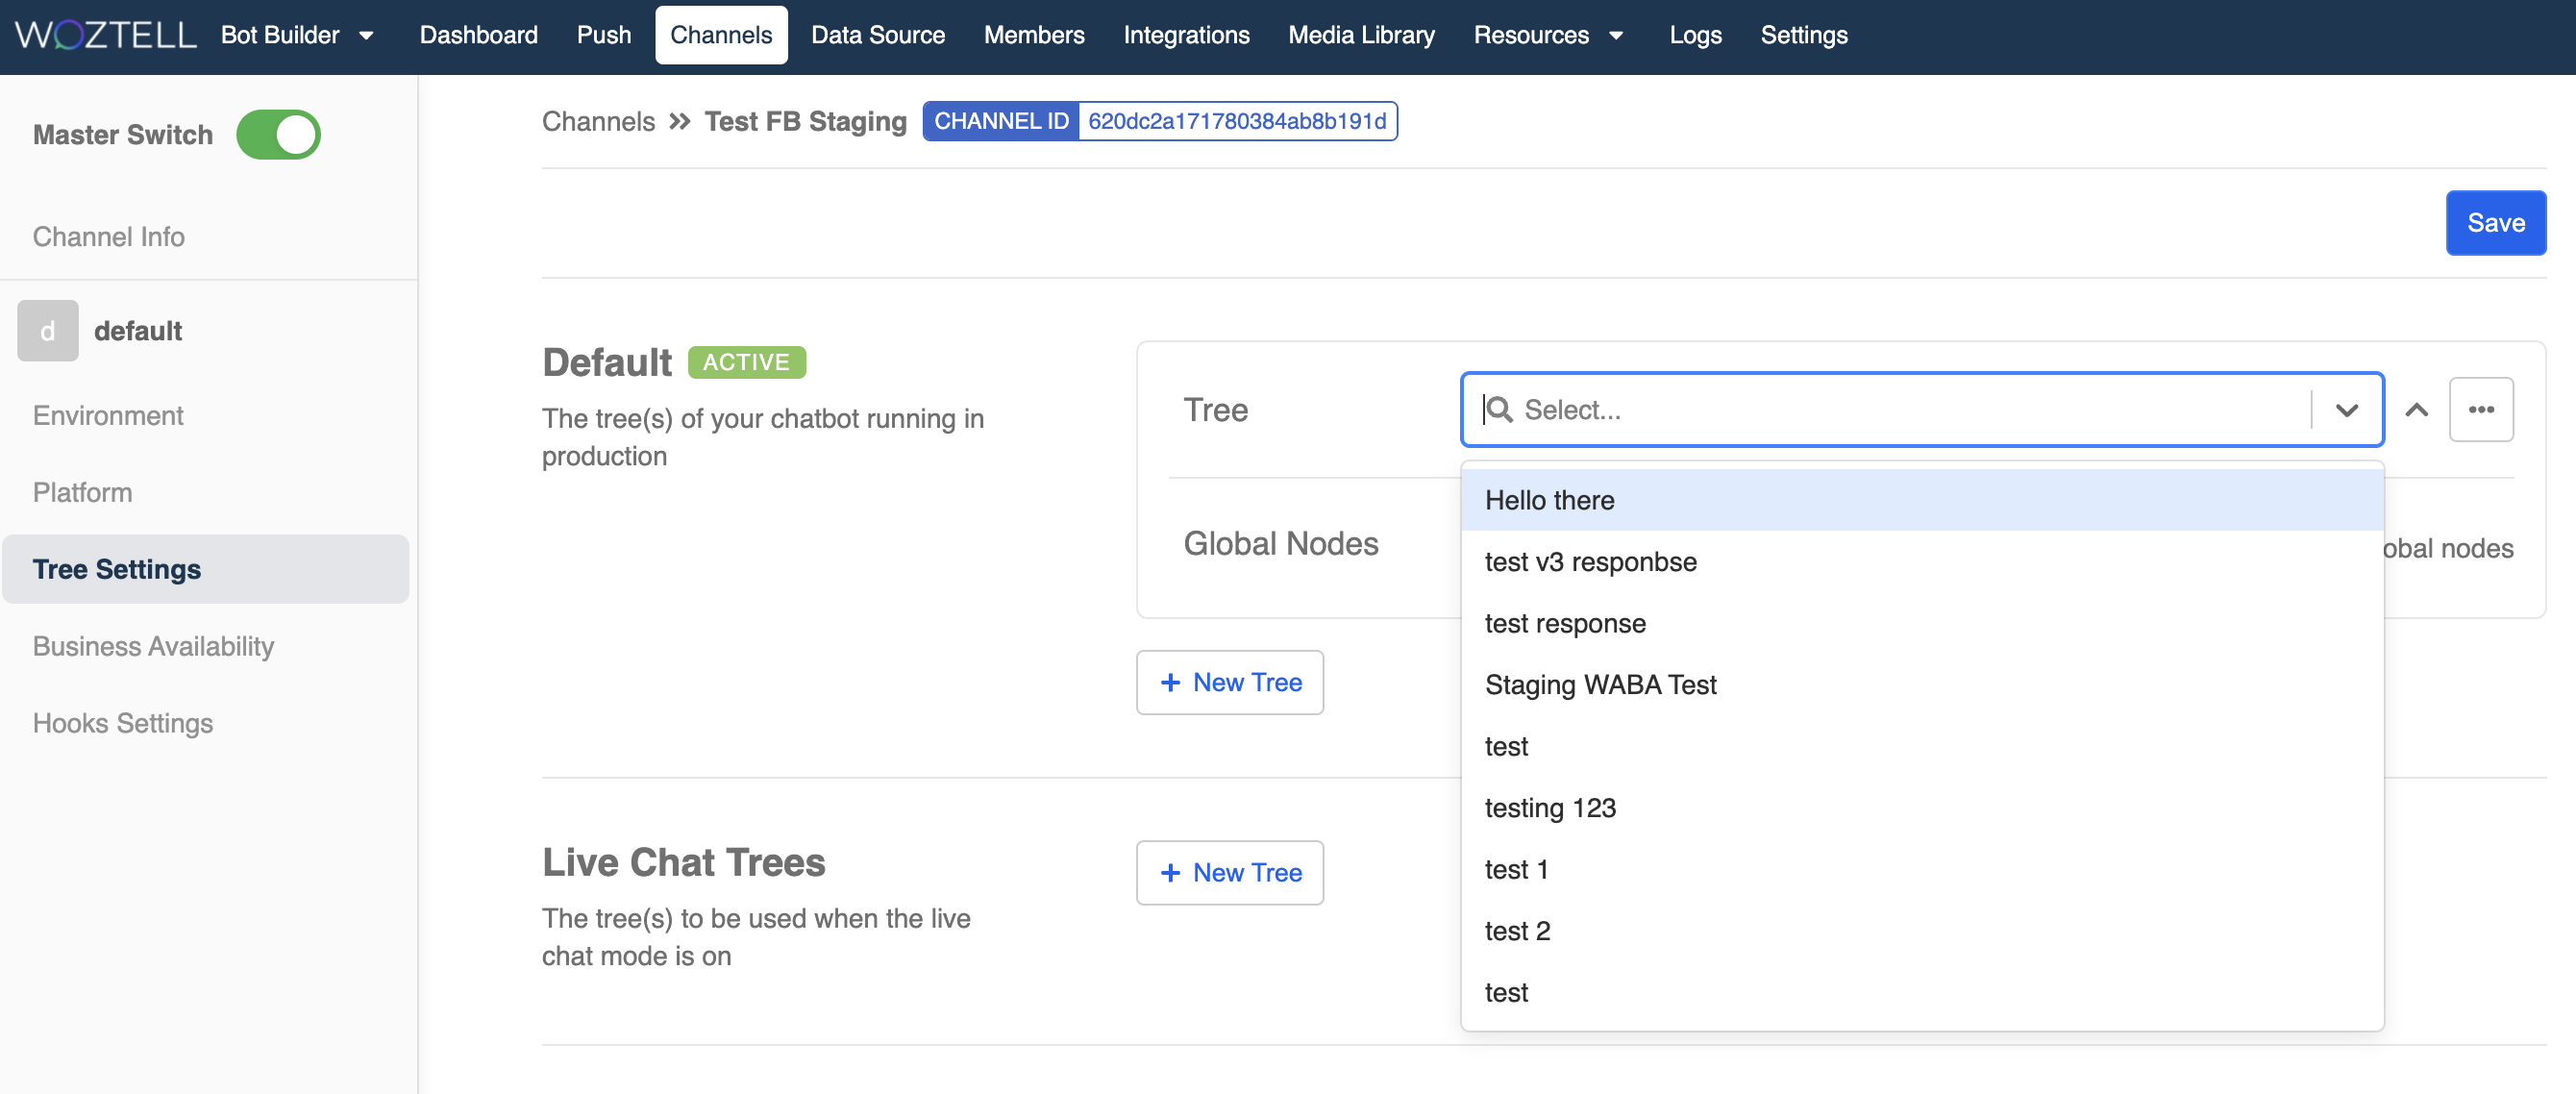
Select your tree
- After you have selected the tree, a list of global nodes under this tree will appear. You should tick all global nodes that you want to allow user to activate (especially across trees). So you can just click "Select All".

Select all global nodes
- Finally, remember to "Save" your tree settings.
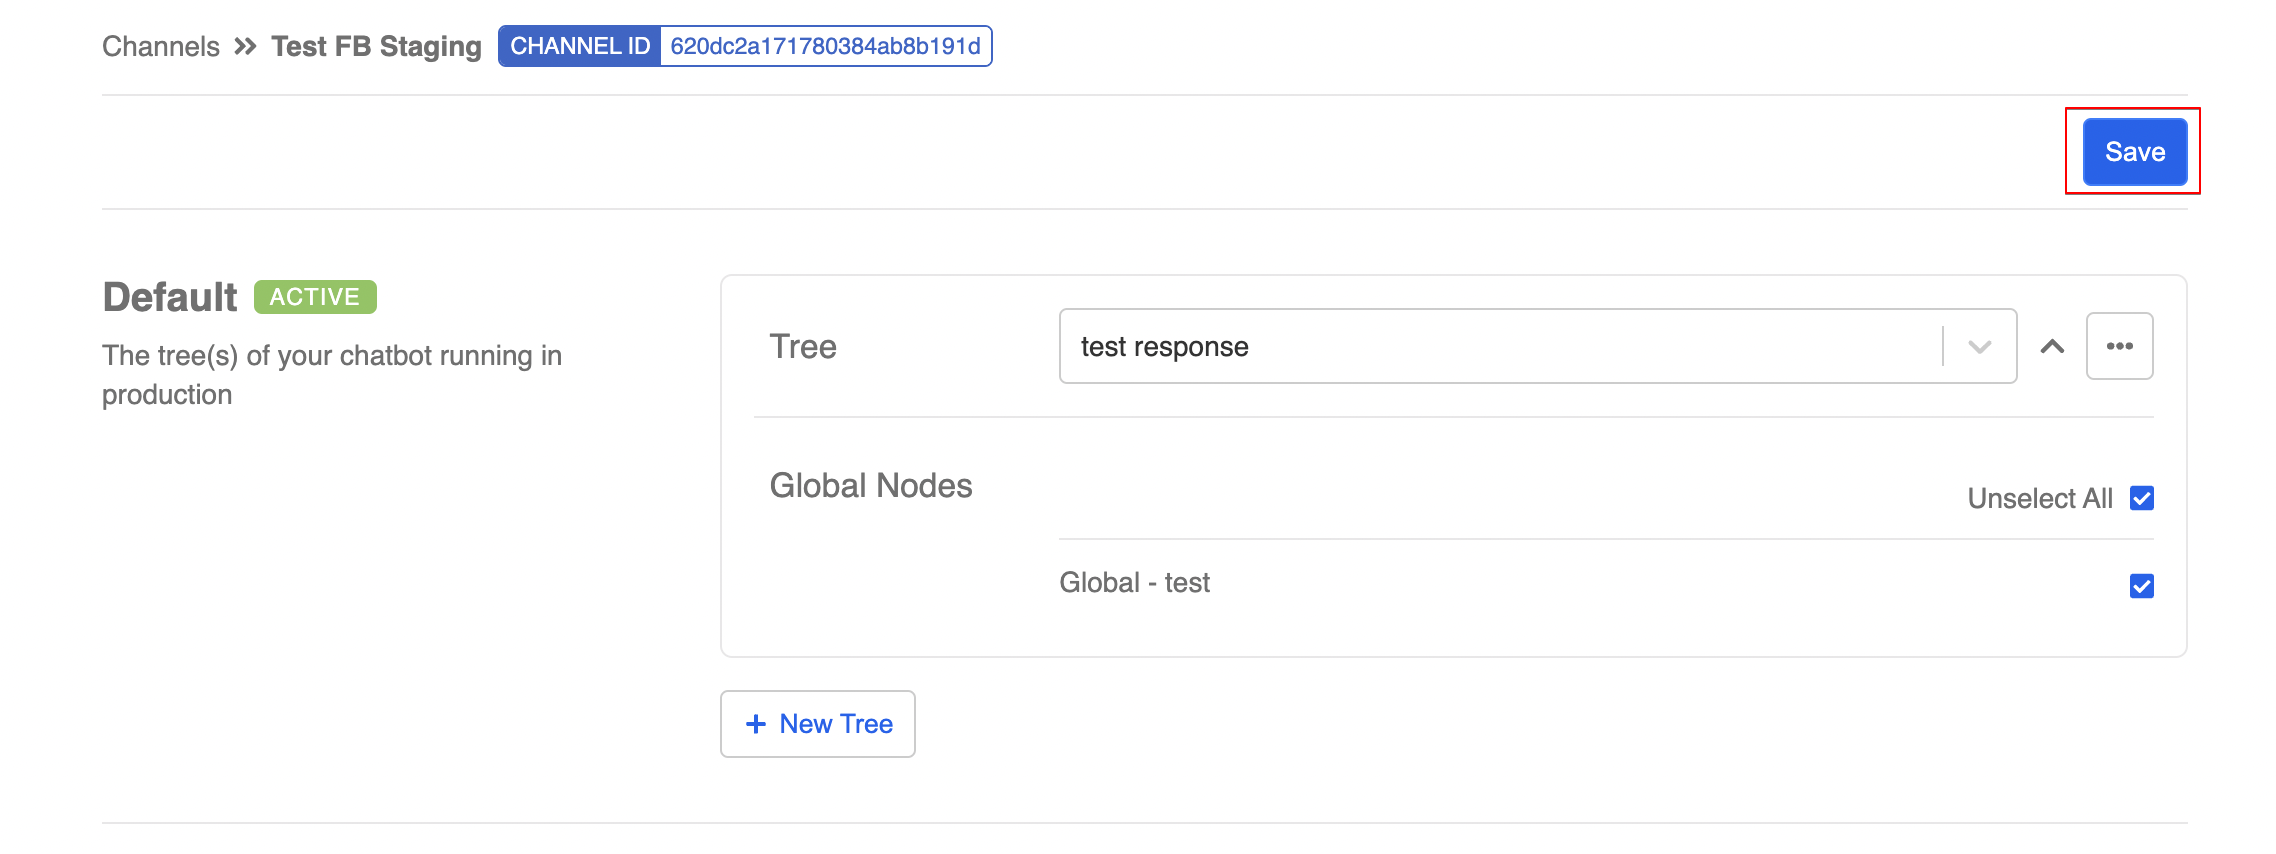
Save Tree Settings