Manage the Web Chat Settings
The Web Chat Integration allows you to customize the chat room in various ways. You can control these settings at the bottom sections of the platform page.
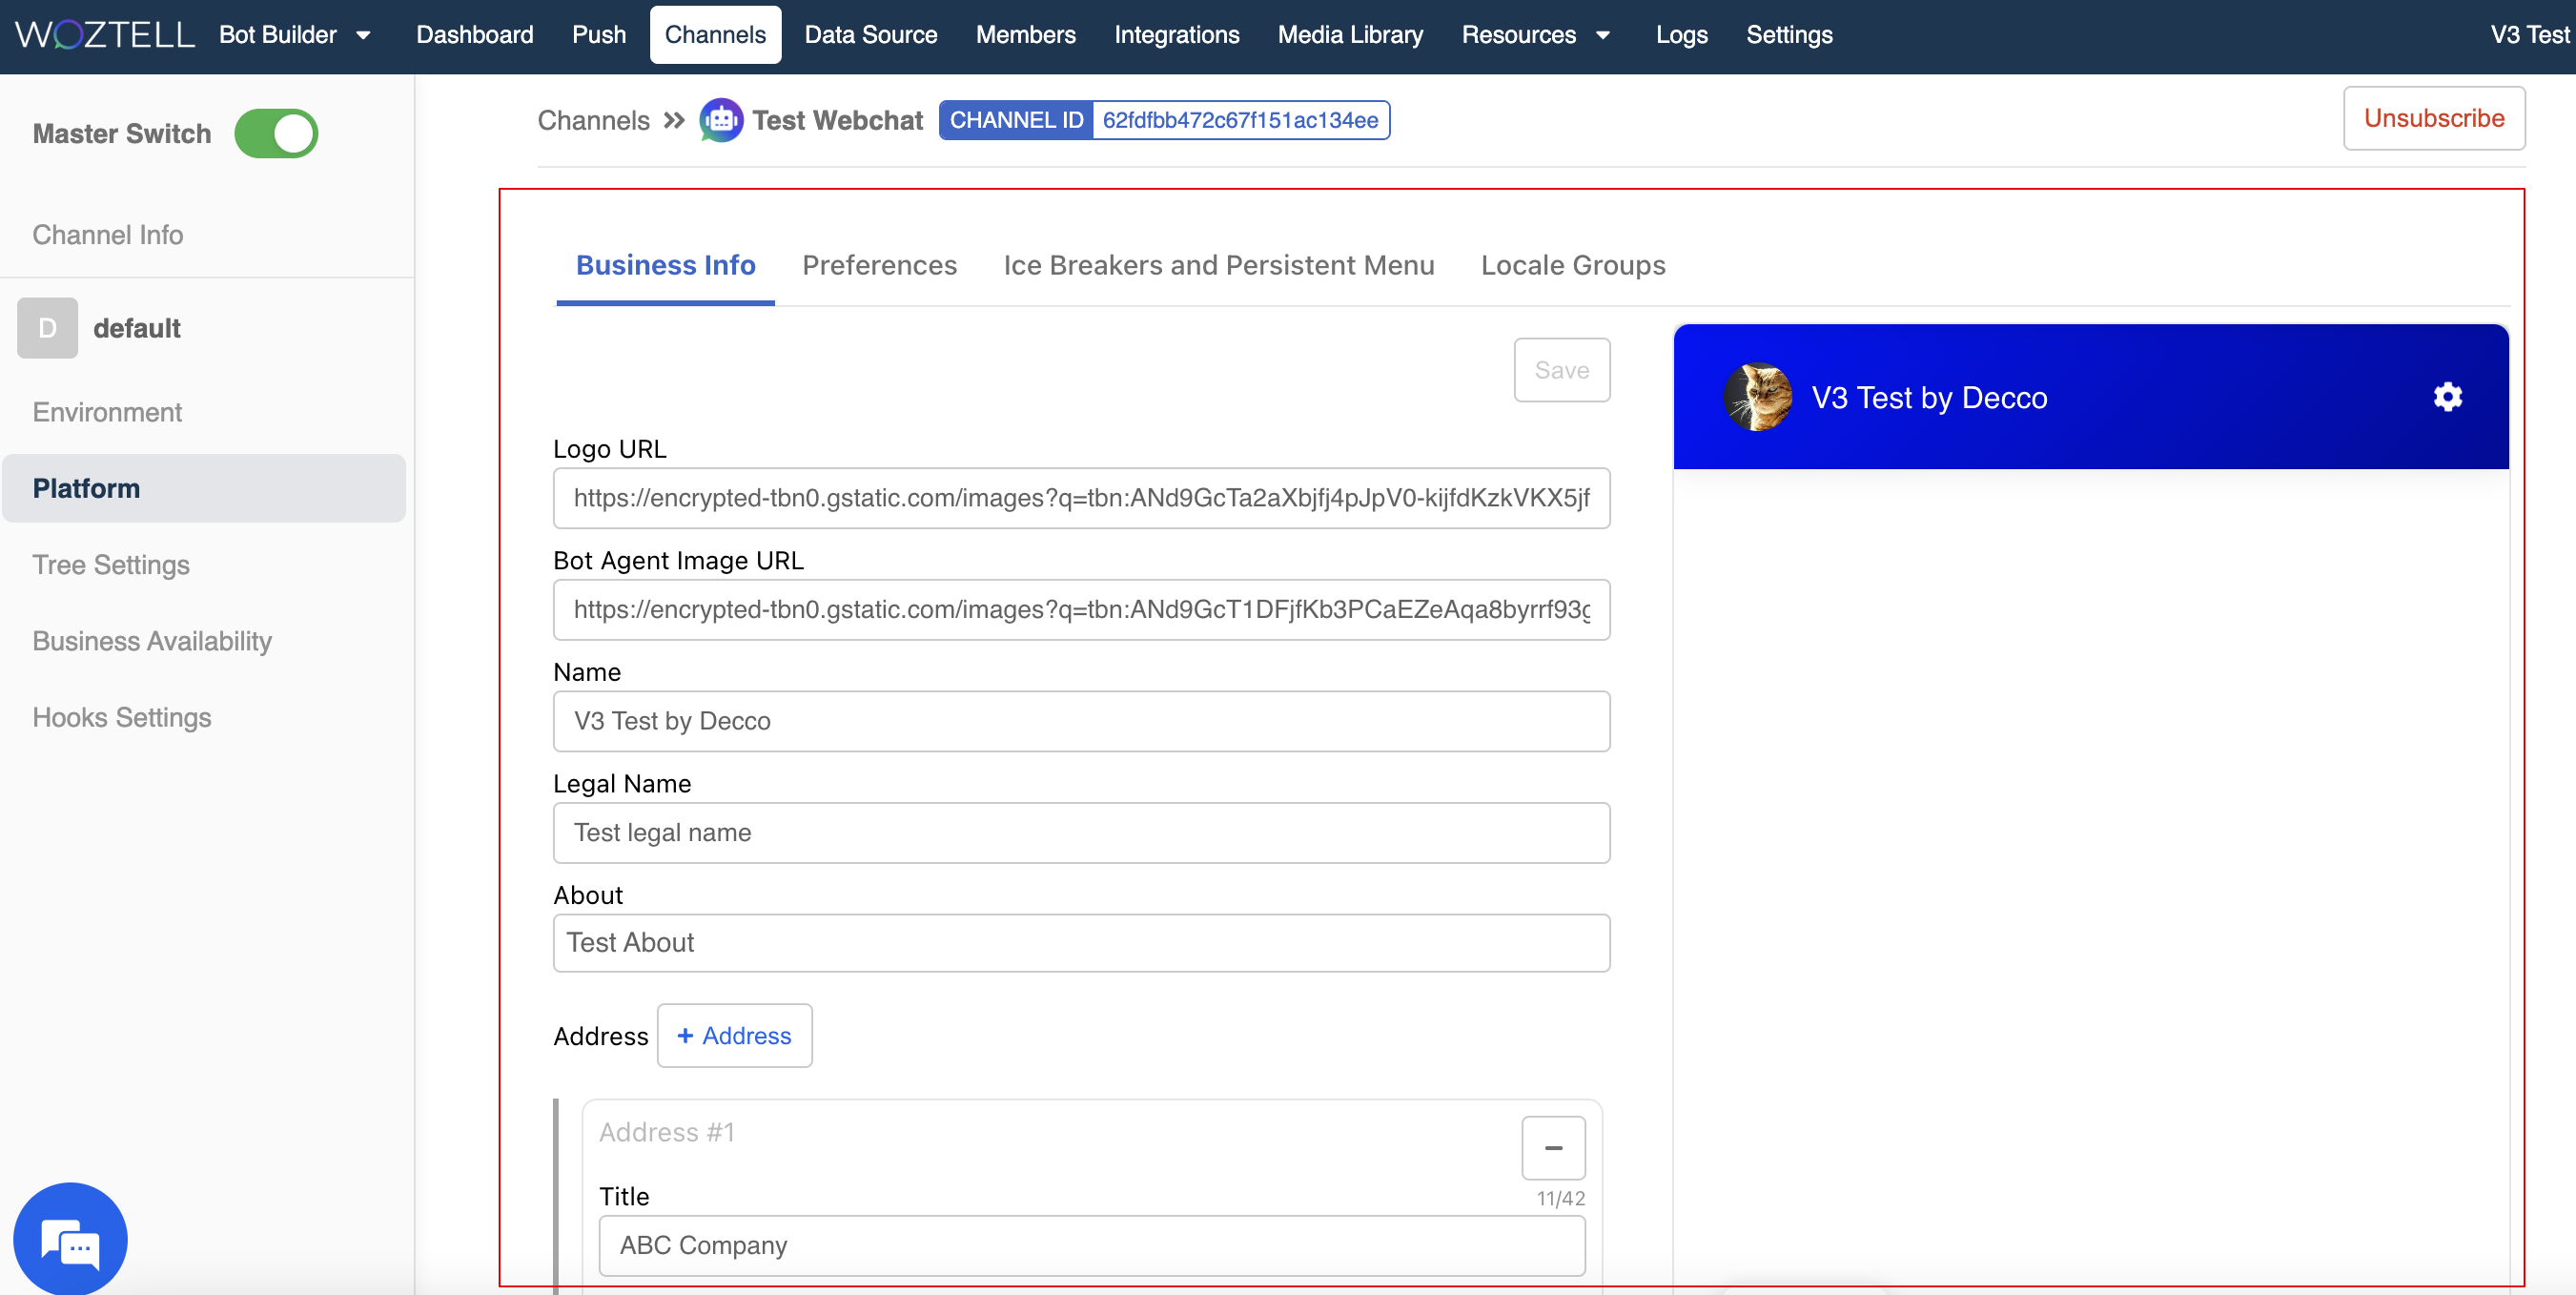
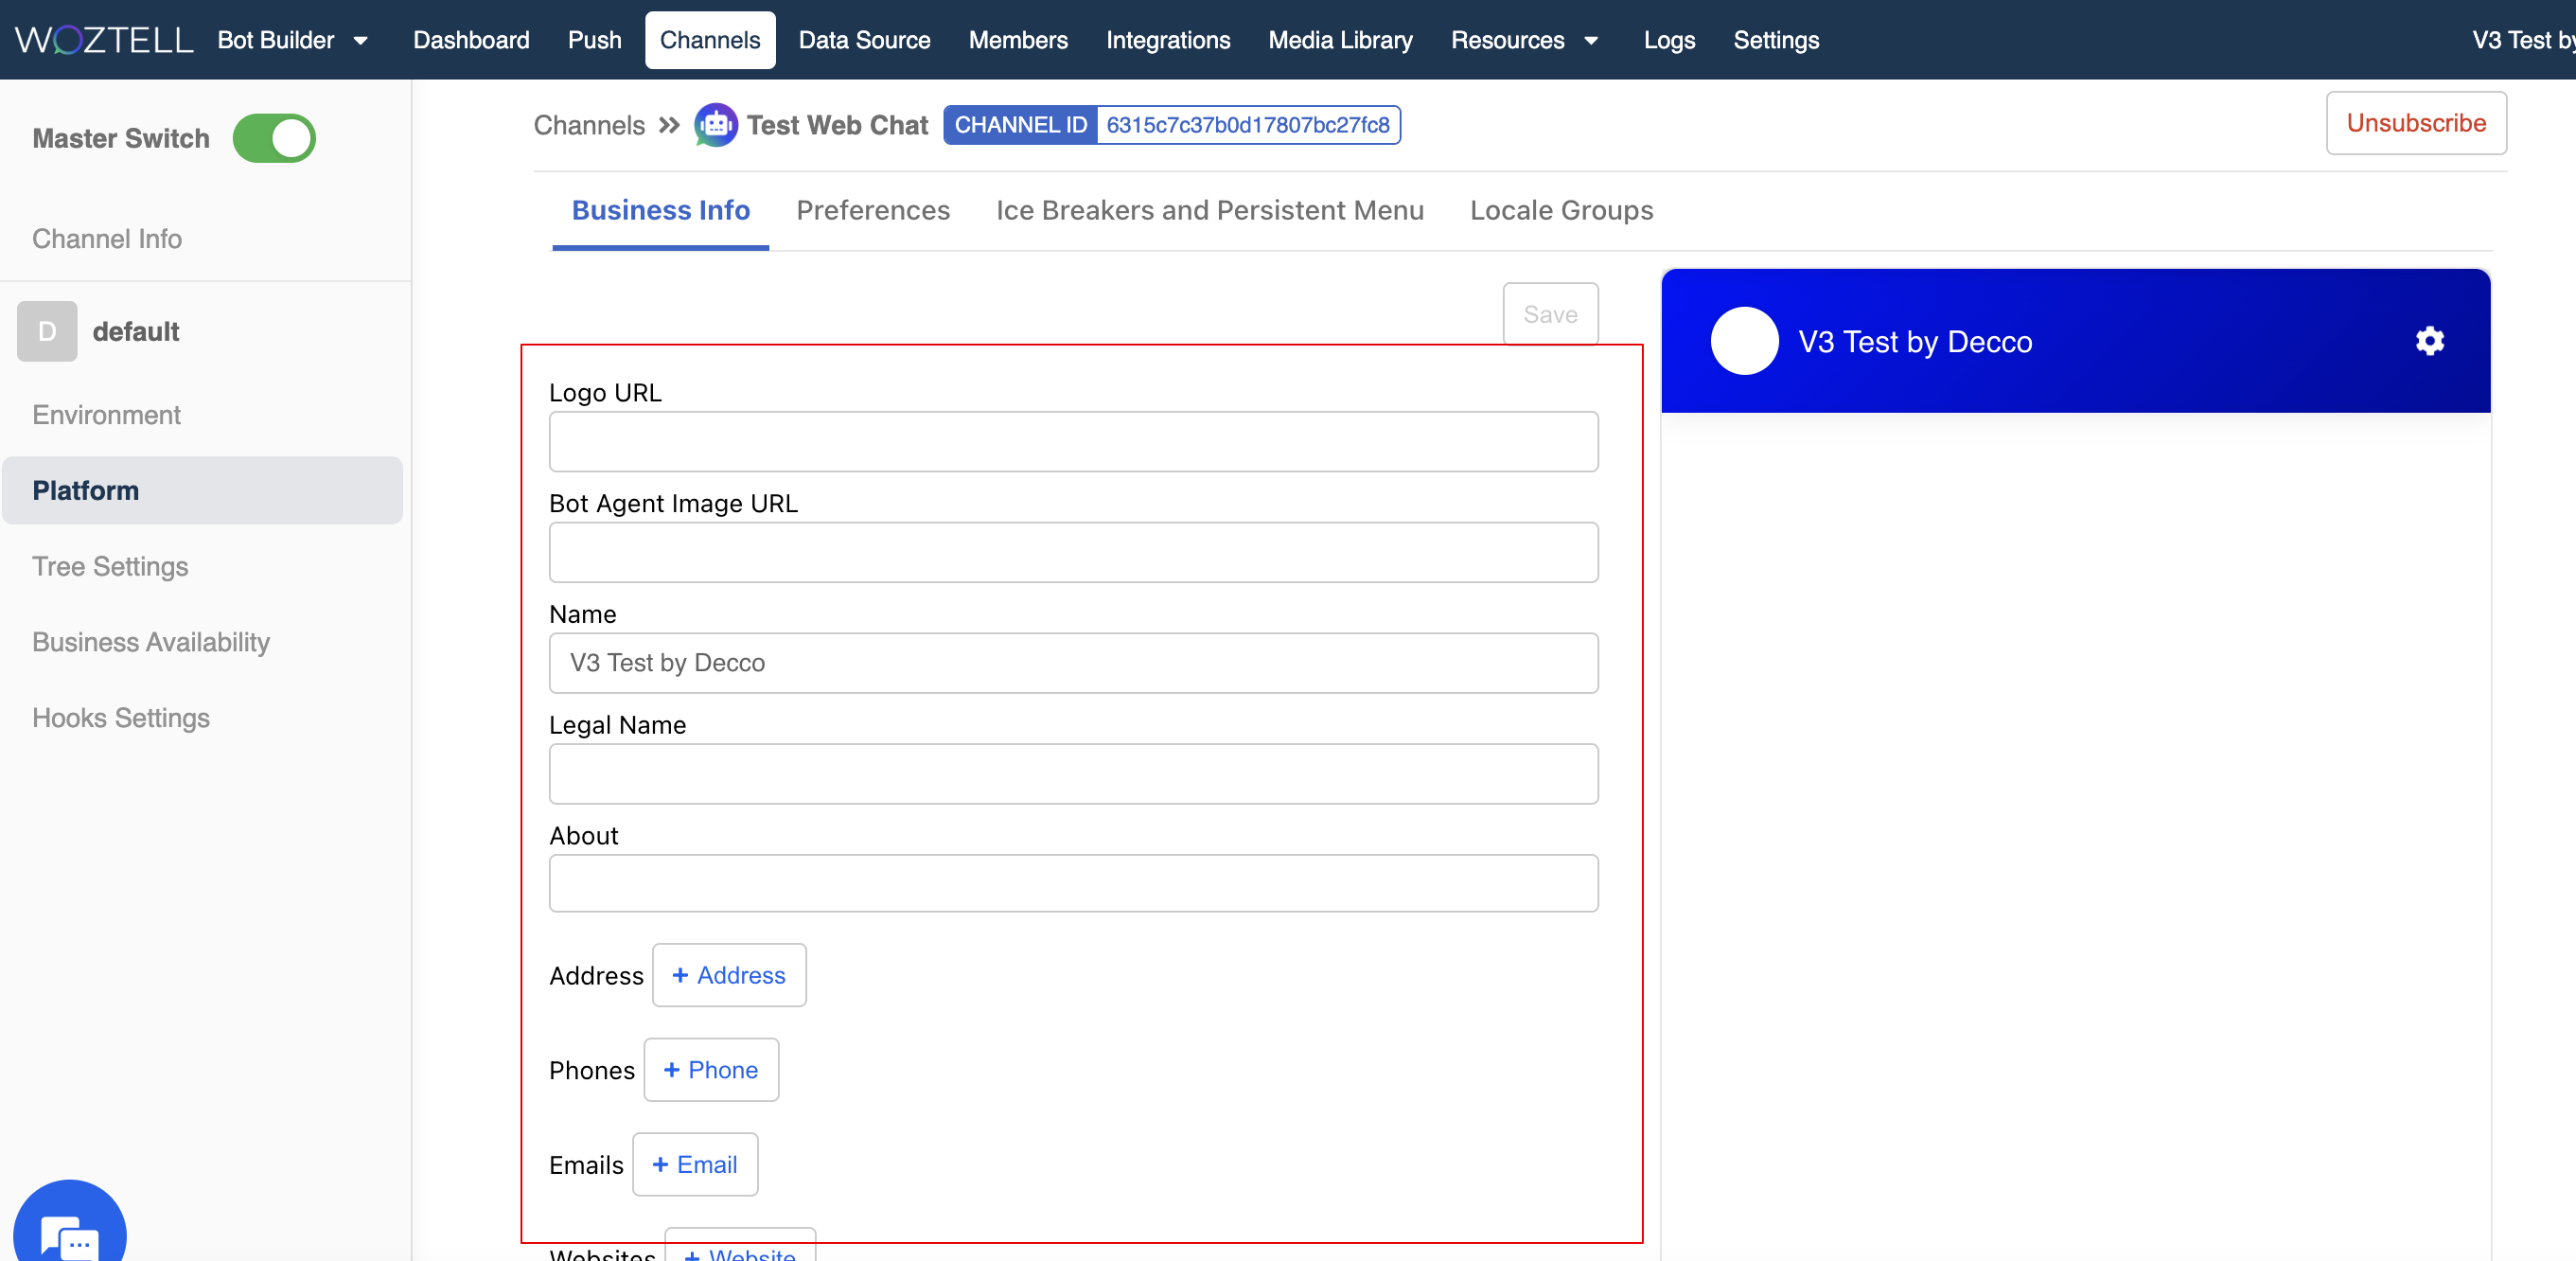
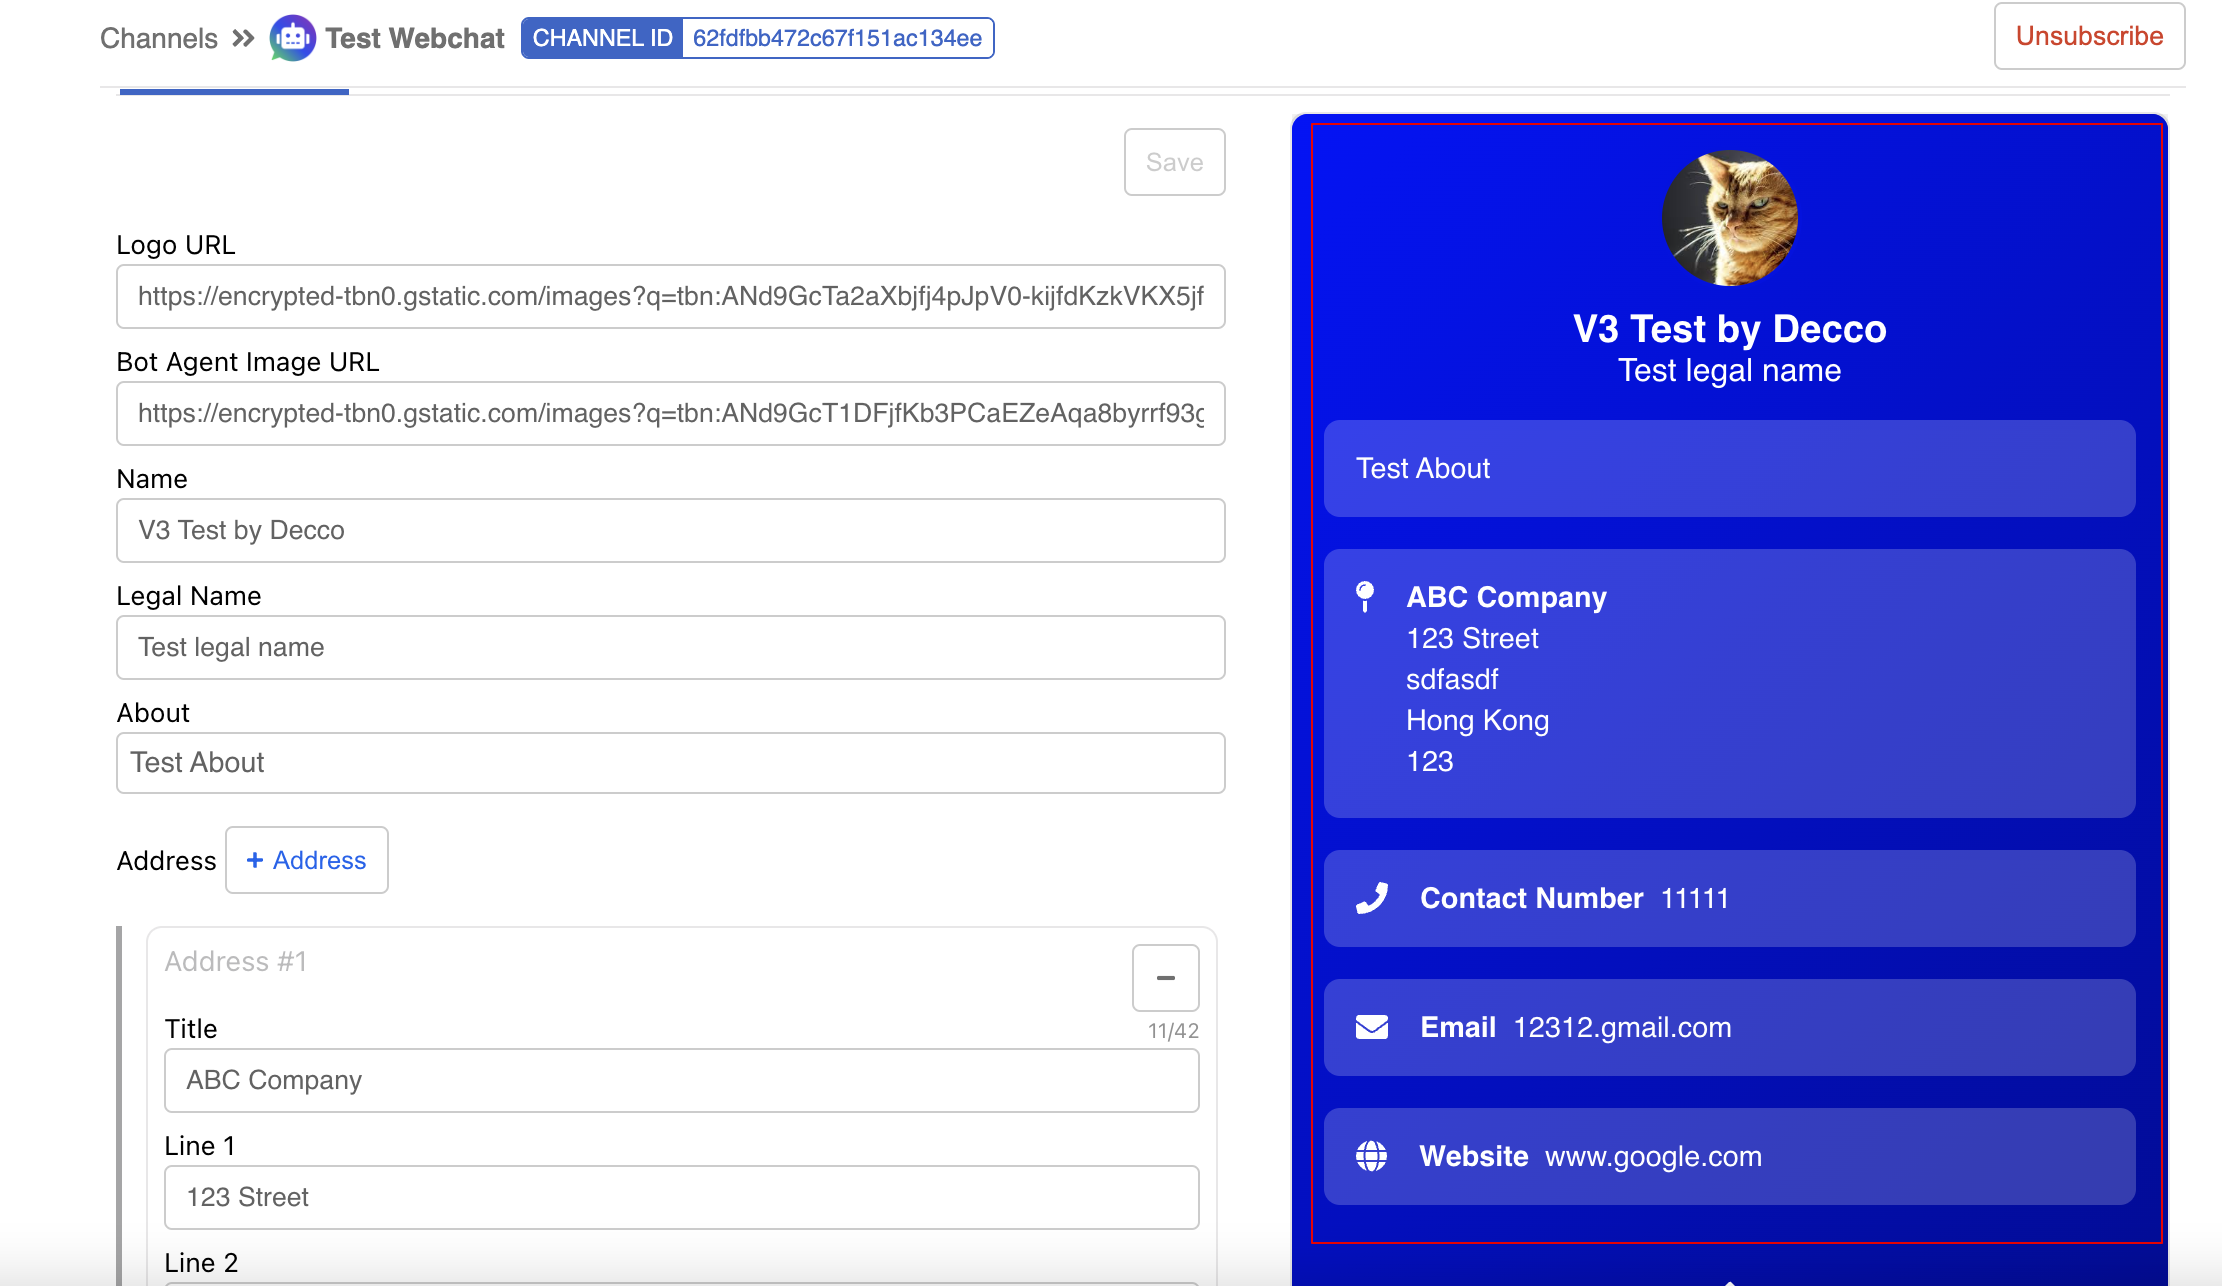
Business Info
In "Platform" of your Web Chat channel. Scroll down to the bottom sections.
The Business Info is a page that allows you to write and present the basic information of your business.
| Business Info Field | Description |
|---|---|
| Logo | Image URL for the top logo of chatroom. |
| Bot Agent Image | Image URL for the icon of bot agent. |
| Name | Name of the chatbot. |
| Legal Name | Legal name of the business. |
| About | Description about the business. |
| Address | Address of the business |
| Contact Number | Contact number of the business. |
| Email of the business. |
- In the Preview, you can click on the chatbot icon to view the Business Info page.
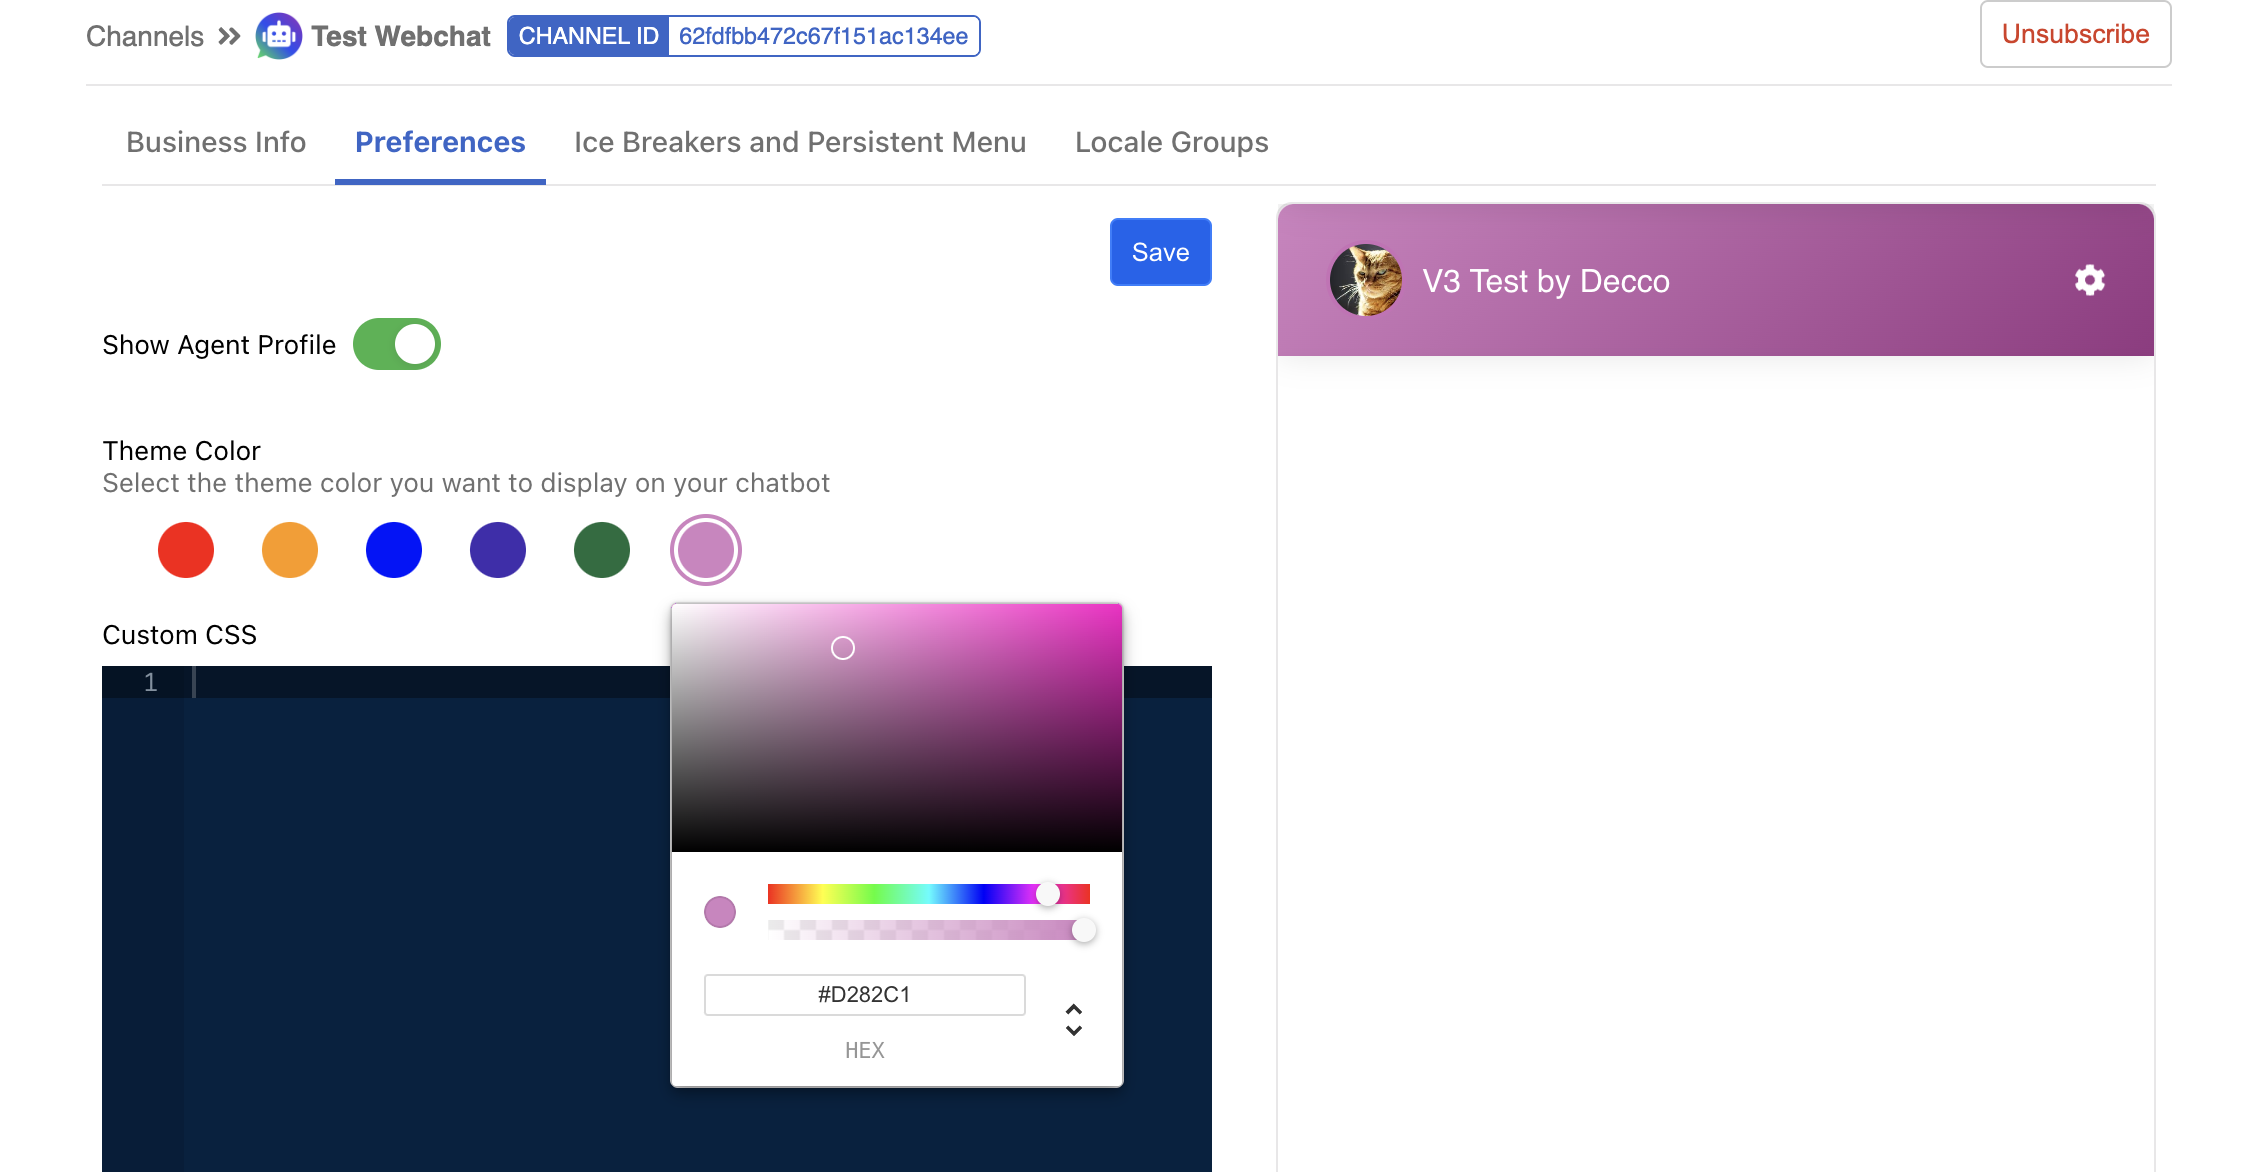
Preference
- In Preference, you can enable/disable the bot agent icon and change the theme color of the chatroom.
NOTE
By disabling Show Agent Profile, the image URL entered for "Bot Agent Image" will be ignored. Please note that if the "Bot Agent Image" is absent, the main logo will always be the fallback icon of bot agent icon.
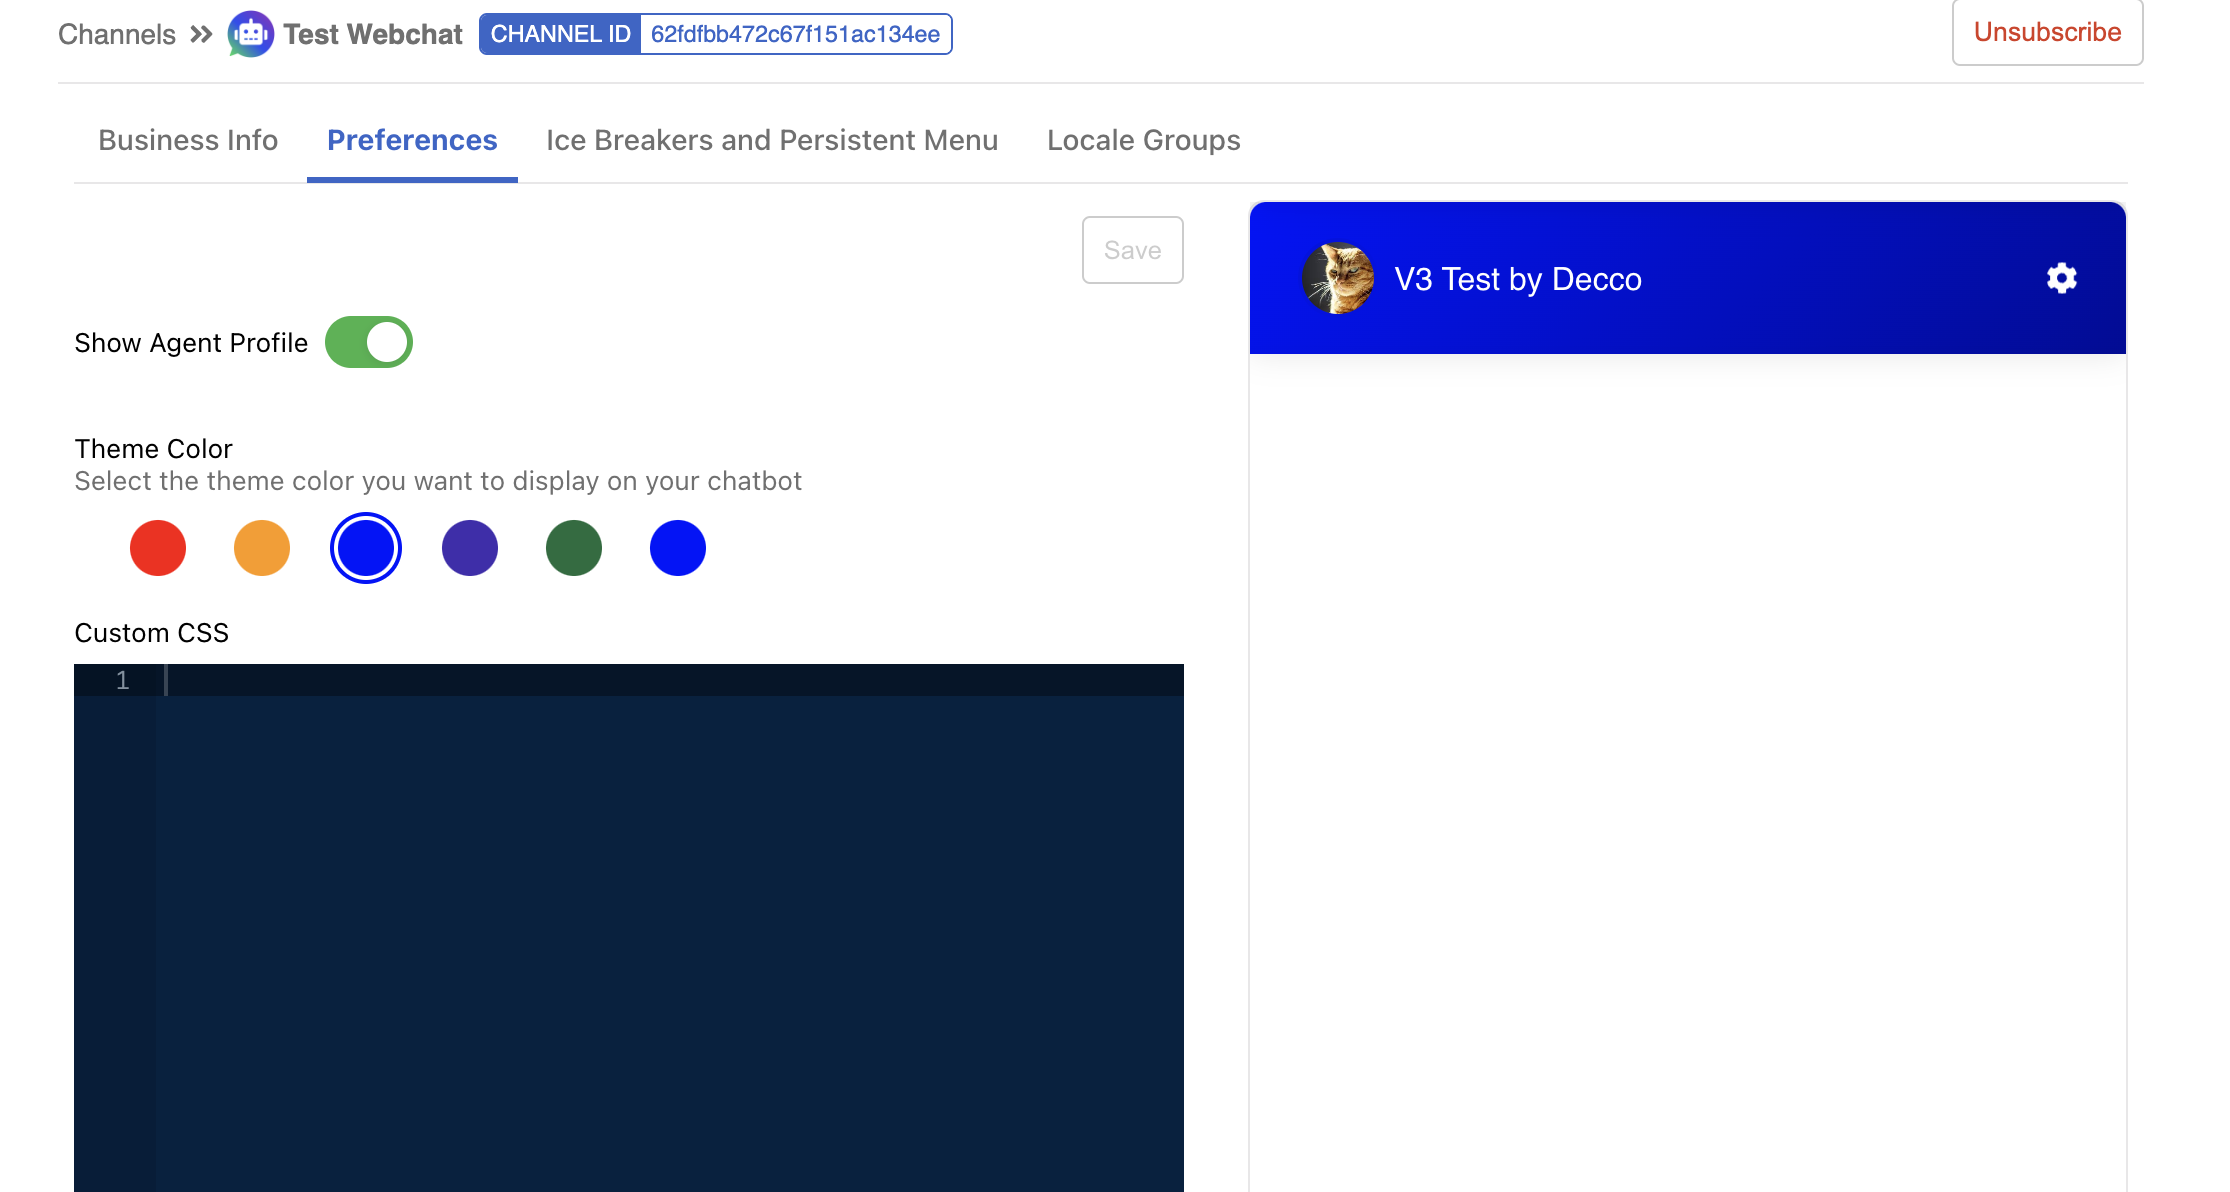
- Apart from the preset Theme Color, you are allowed to customize any other color.
Ice Breakers
In "Platform" of your Web Chat channel. Scroll down to the bottom sections.
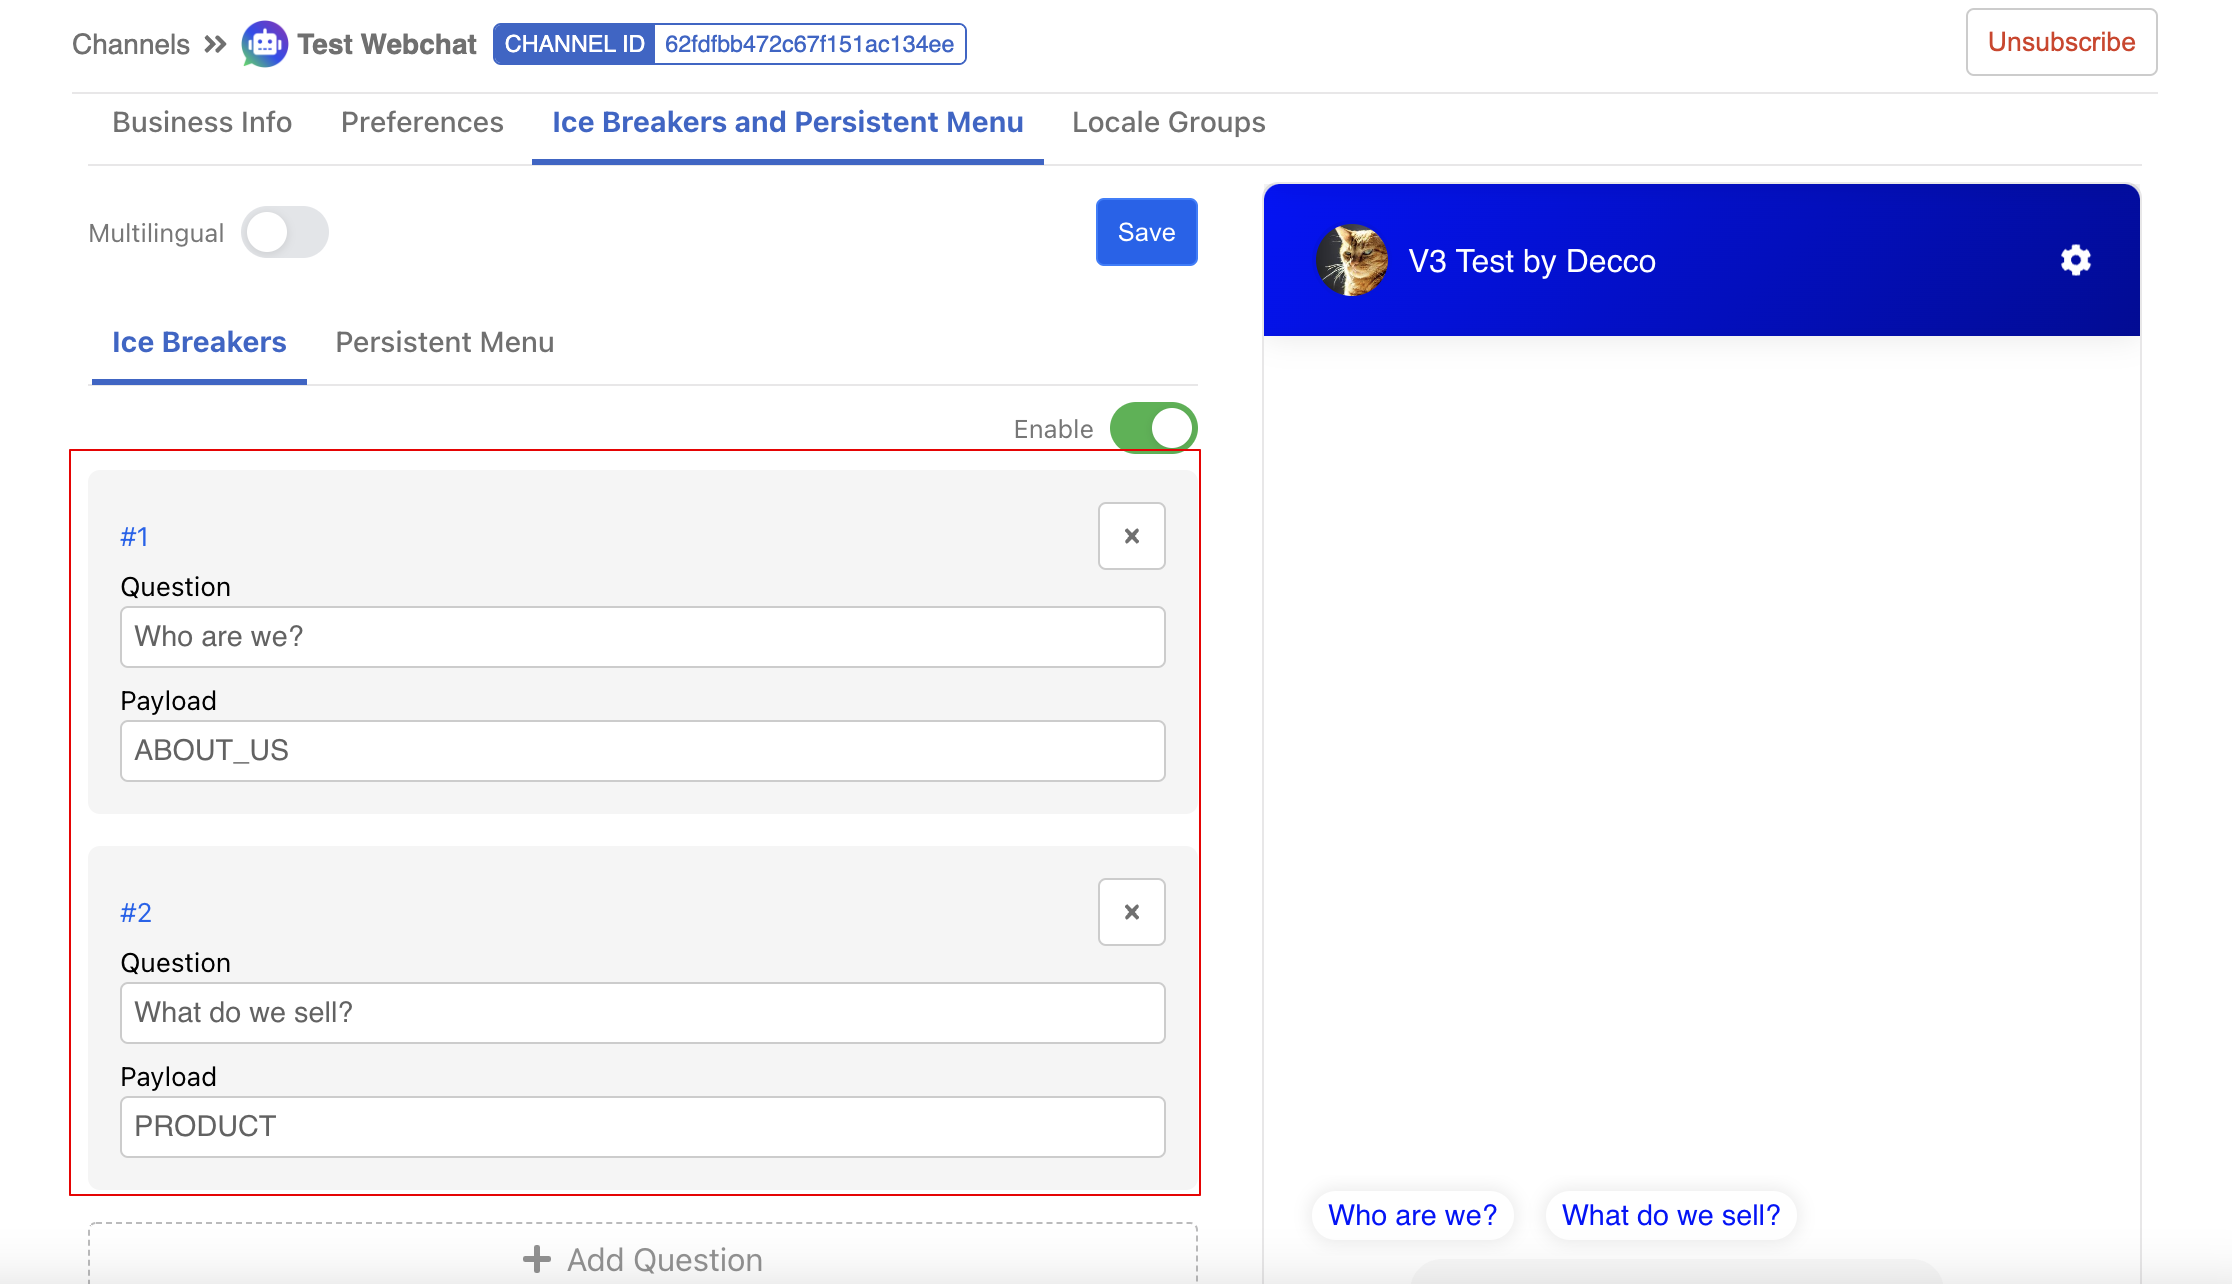
Ice Breakers provides options to first time visitor in order to kick start a conversation. The ice breakers text will be presented as bubbles and they are only visible first time visitor to the chatroom.

- Under the Ice Breakers tab, select "+ Add Question".
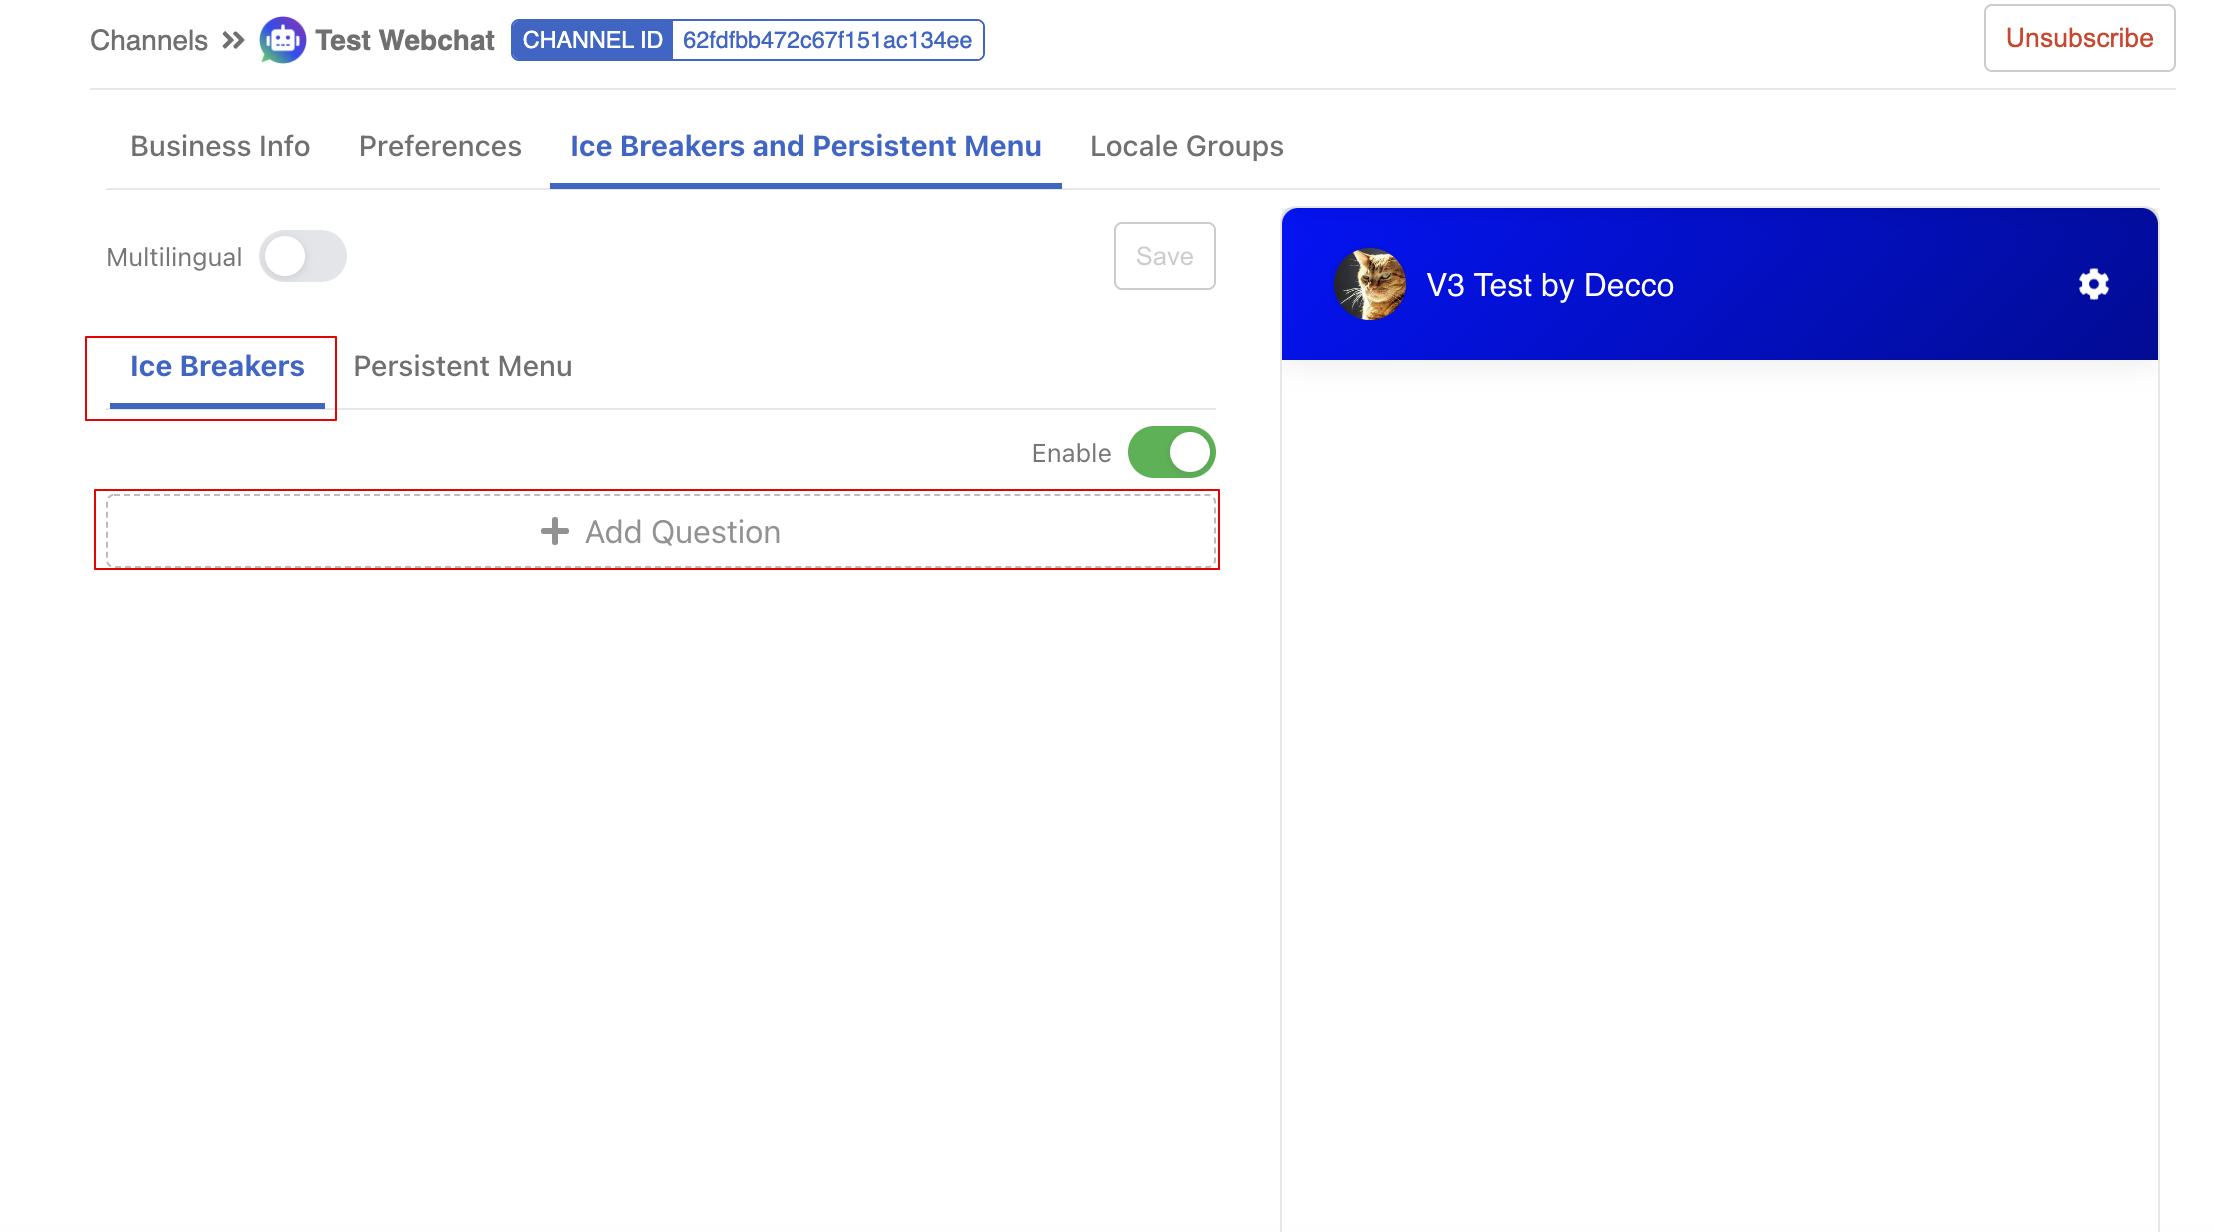
- Input the text and a payload for triggering the corresponding flow in the chatbot.
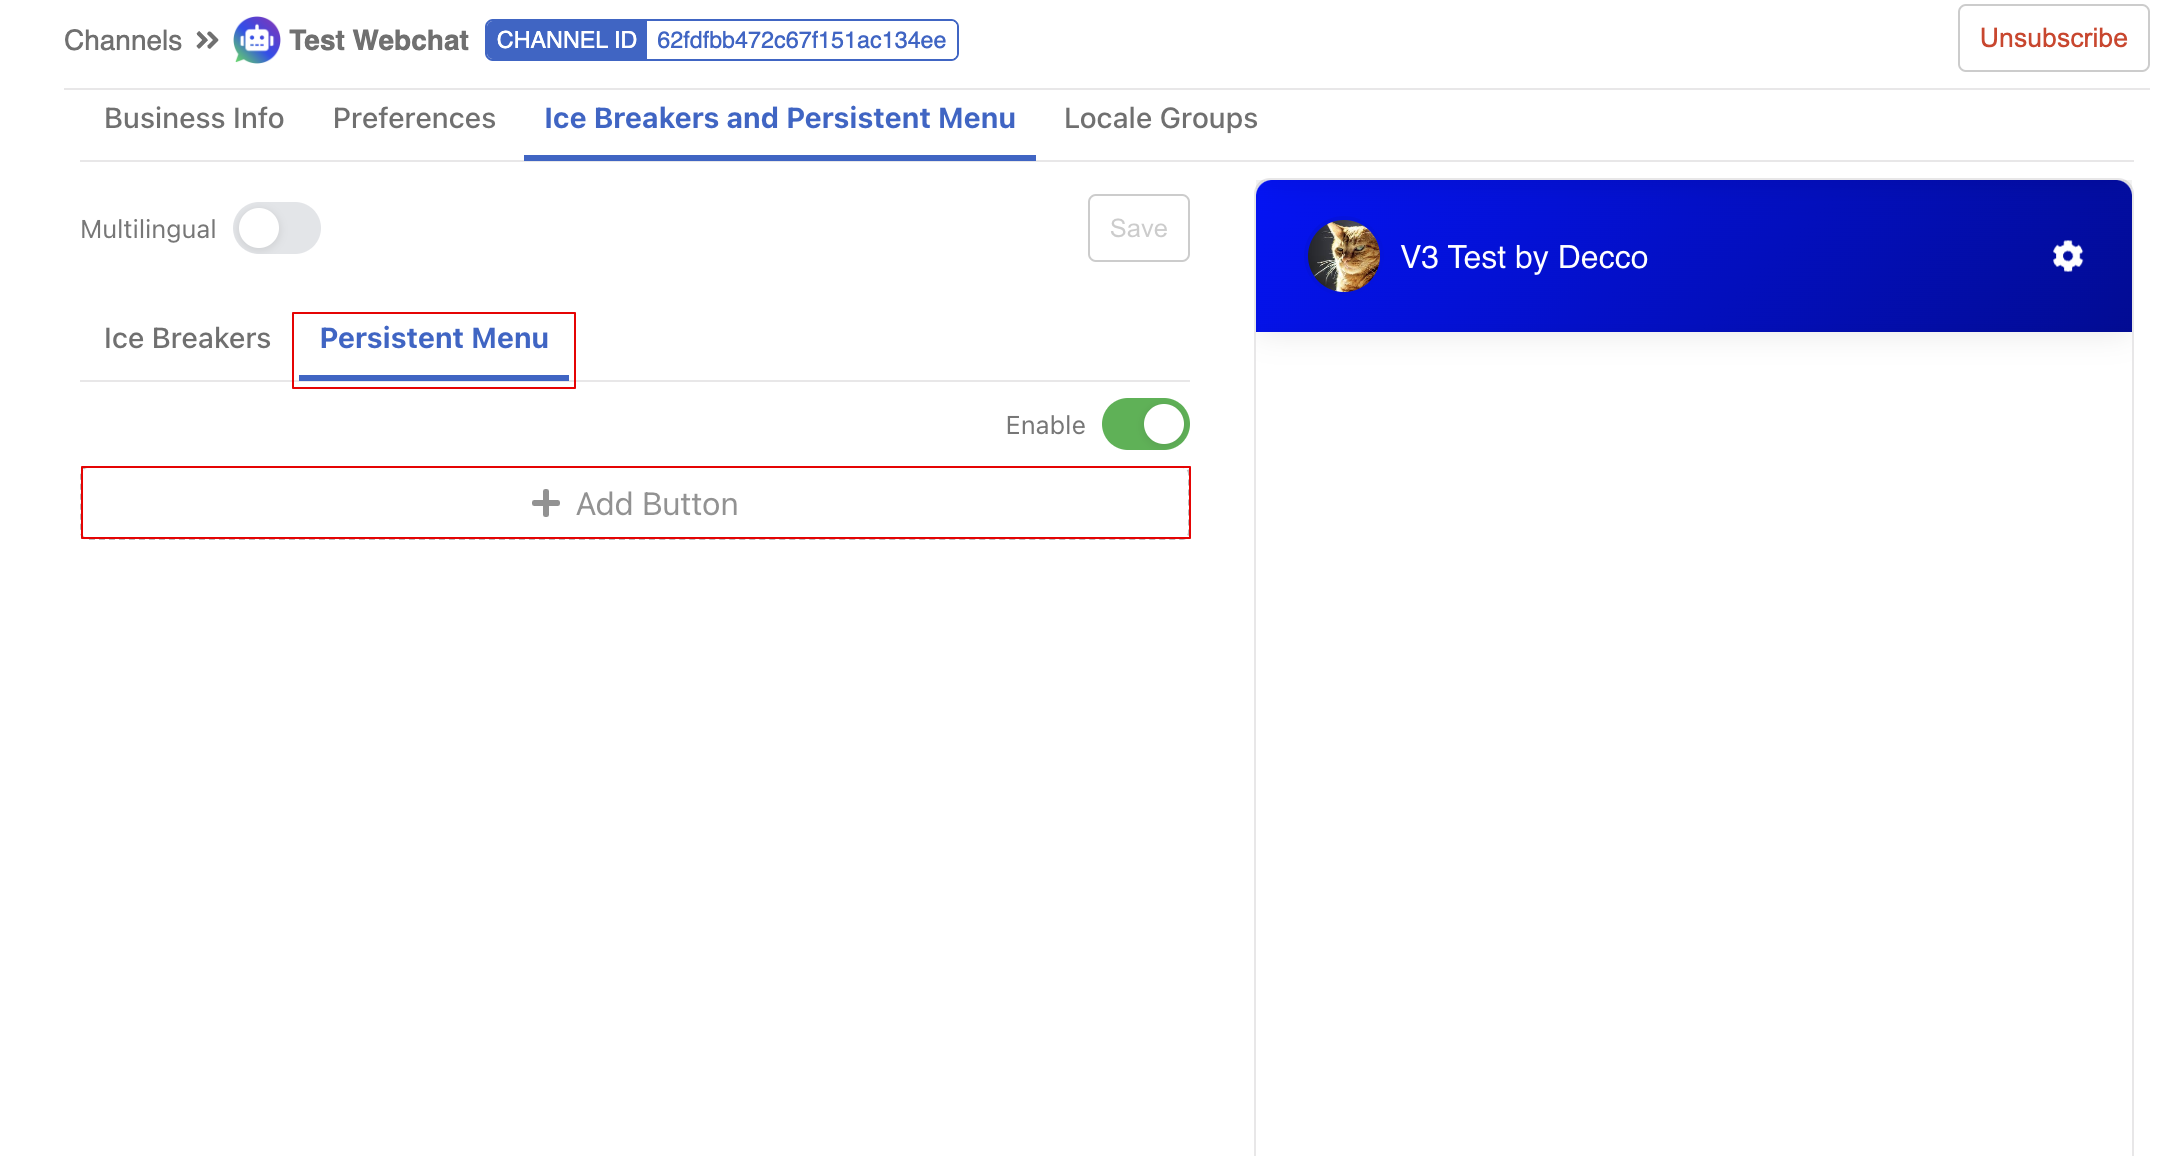
Persistent Menu
In "Platform" of your Web Chat channel. Scroll down to the bottom sections.
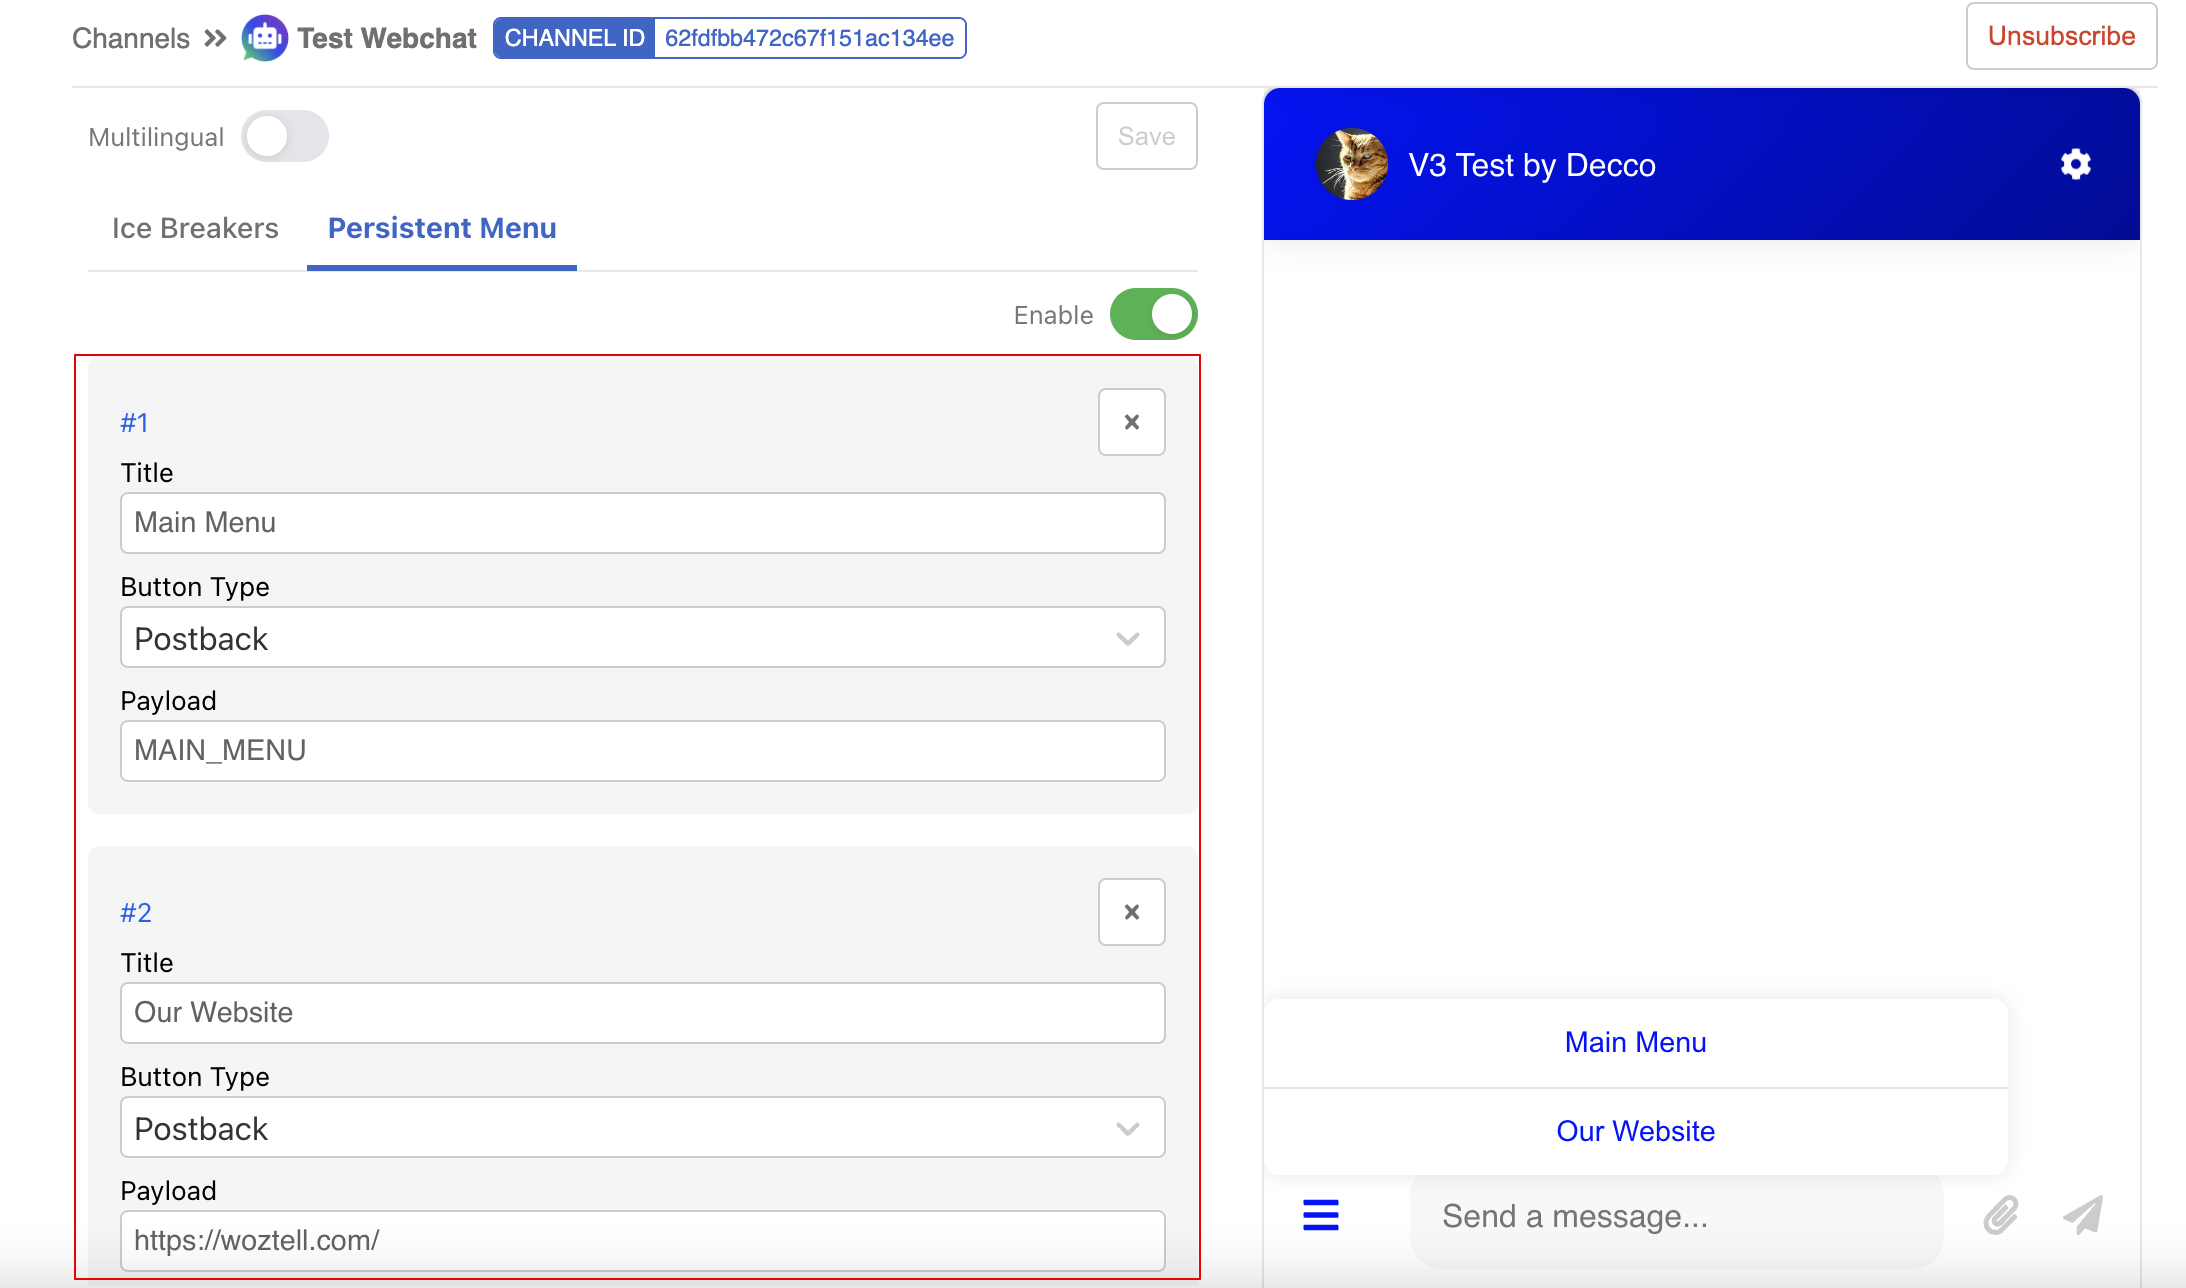
The Persistent Menu provide a set of options that can be triggered at anytime. The menu can be displayed by clicking the button at bottom left of the chatroom.
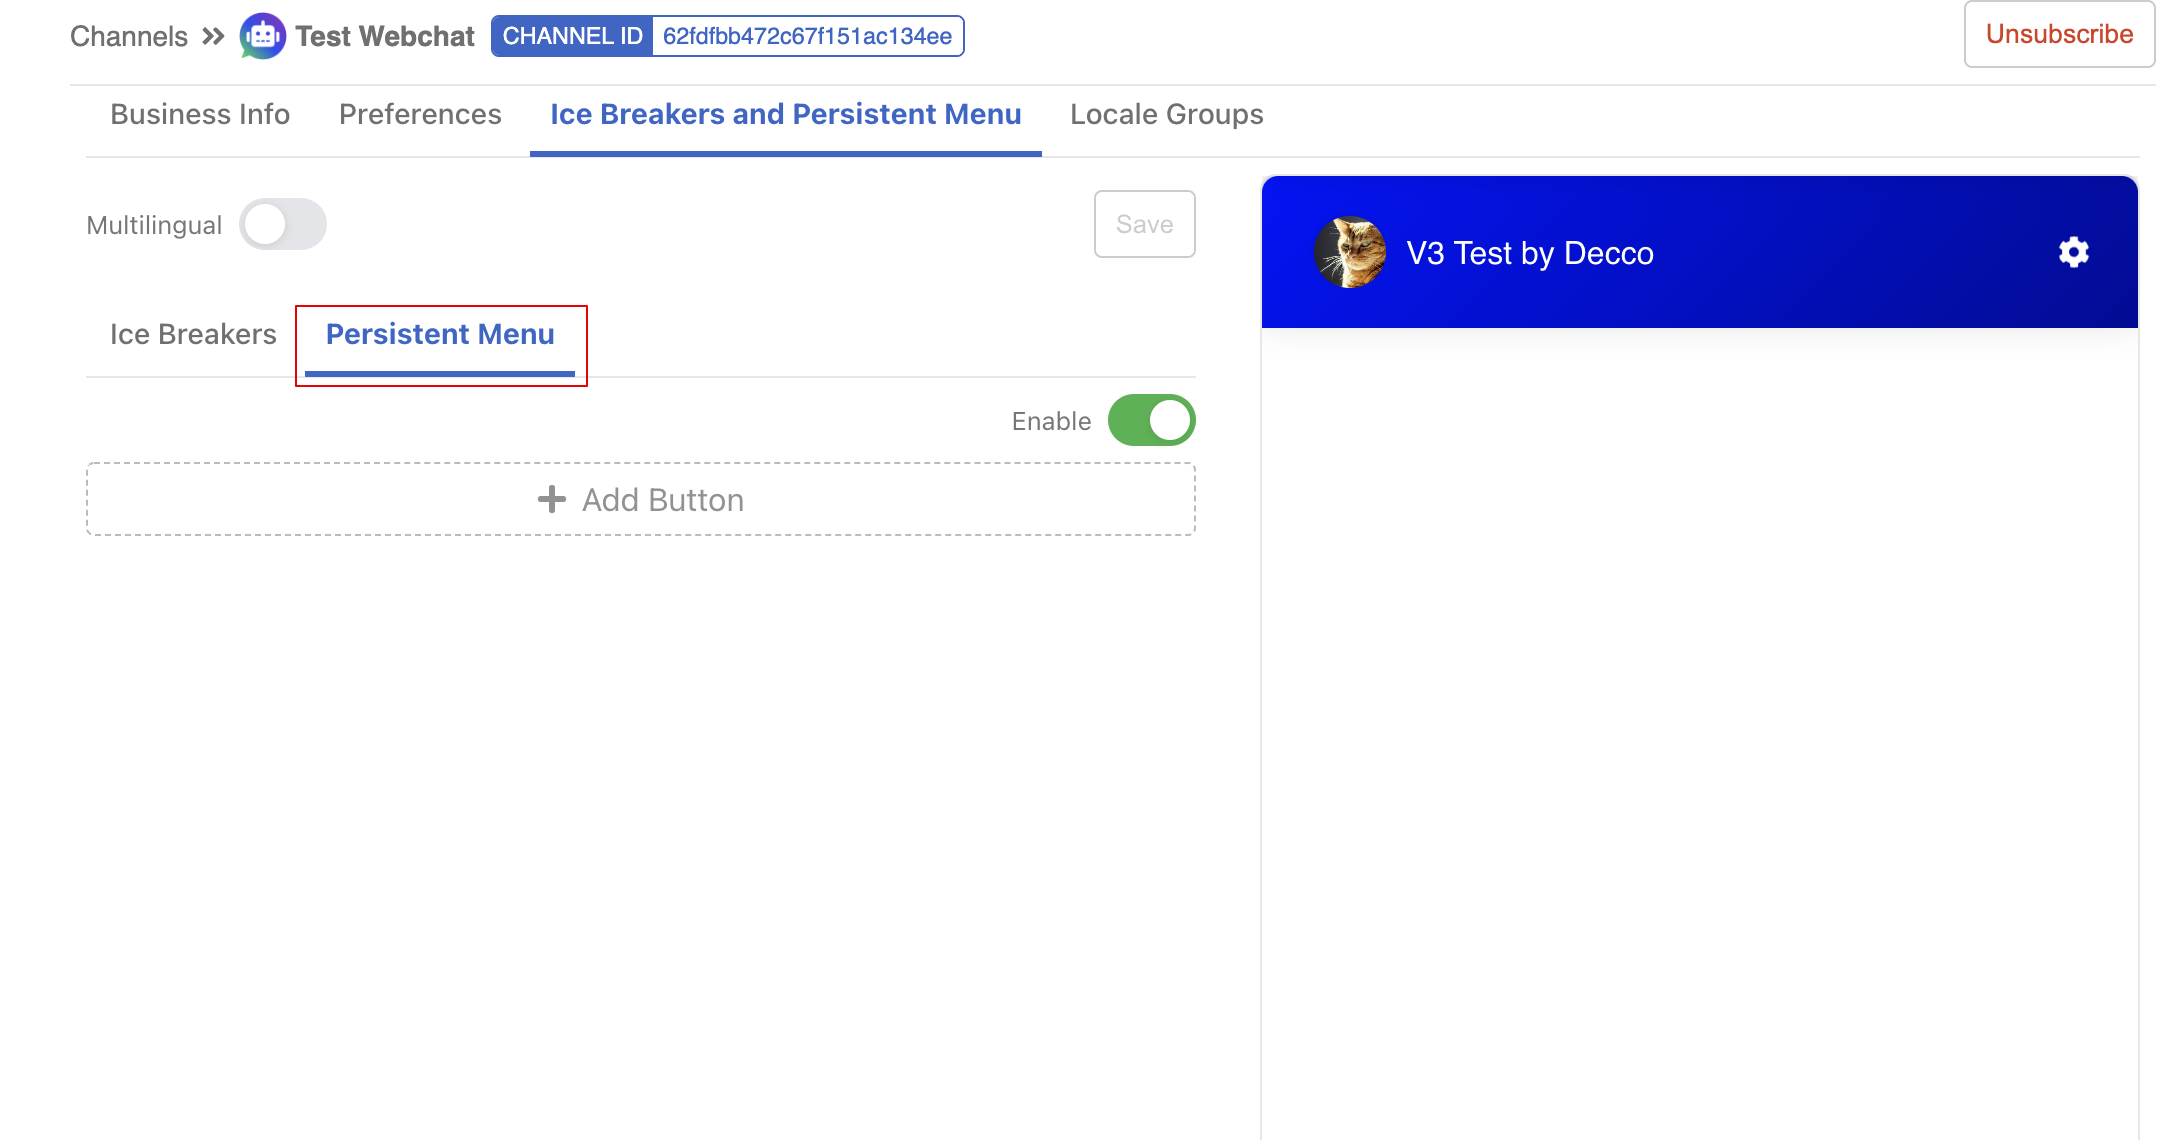
- Under the Persistent Menu tab, select "+ Add Button".
- Create buttons on the persistent menu by filling the required information.
| Button Type | Description |
|---|---|
| Postback | A payload, for trigger another node in the chatbot. |
| URL | An URL that redirects user to the assigned website. |
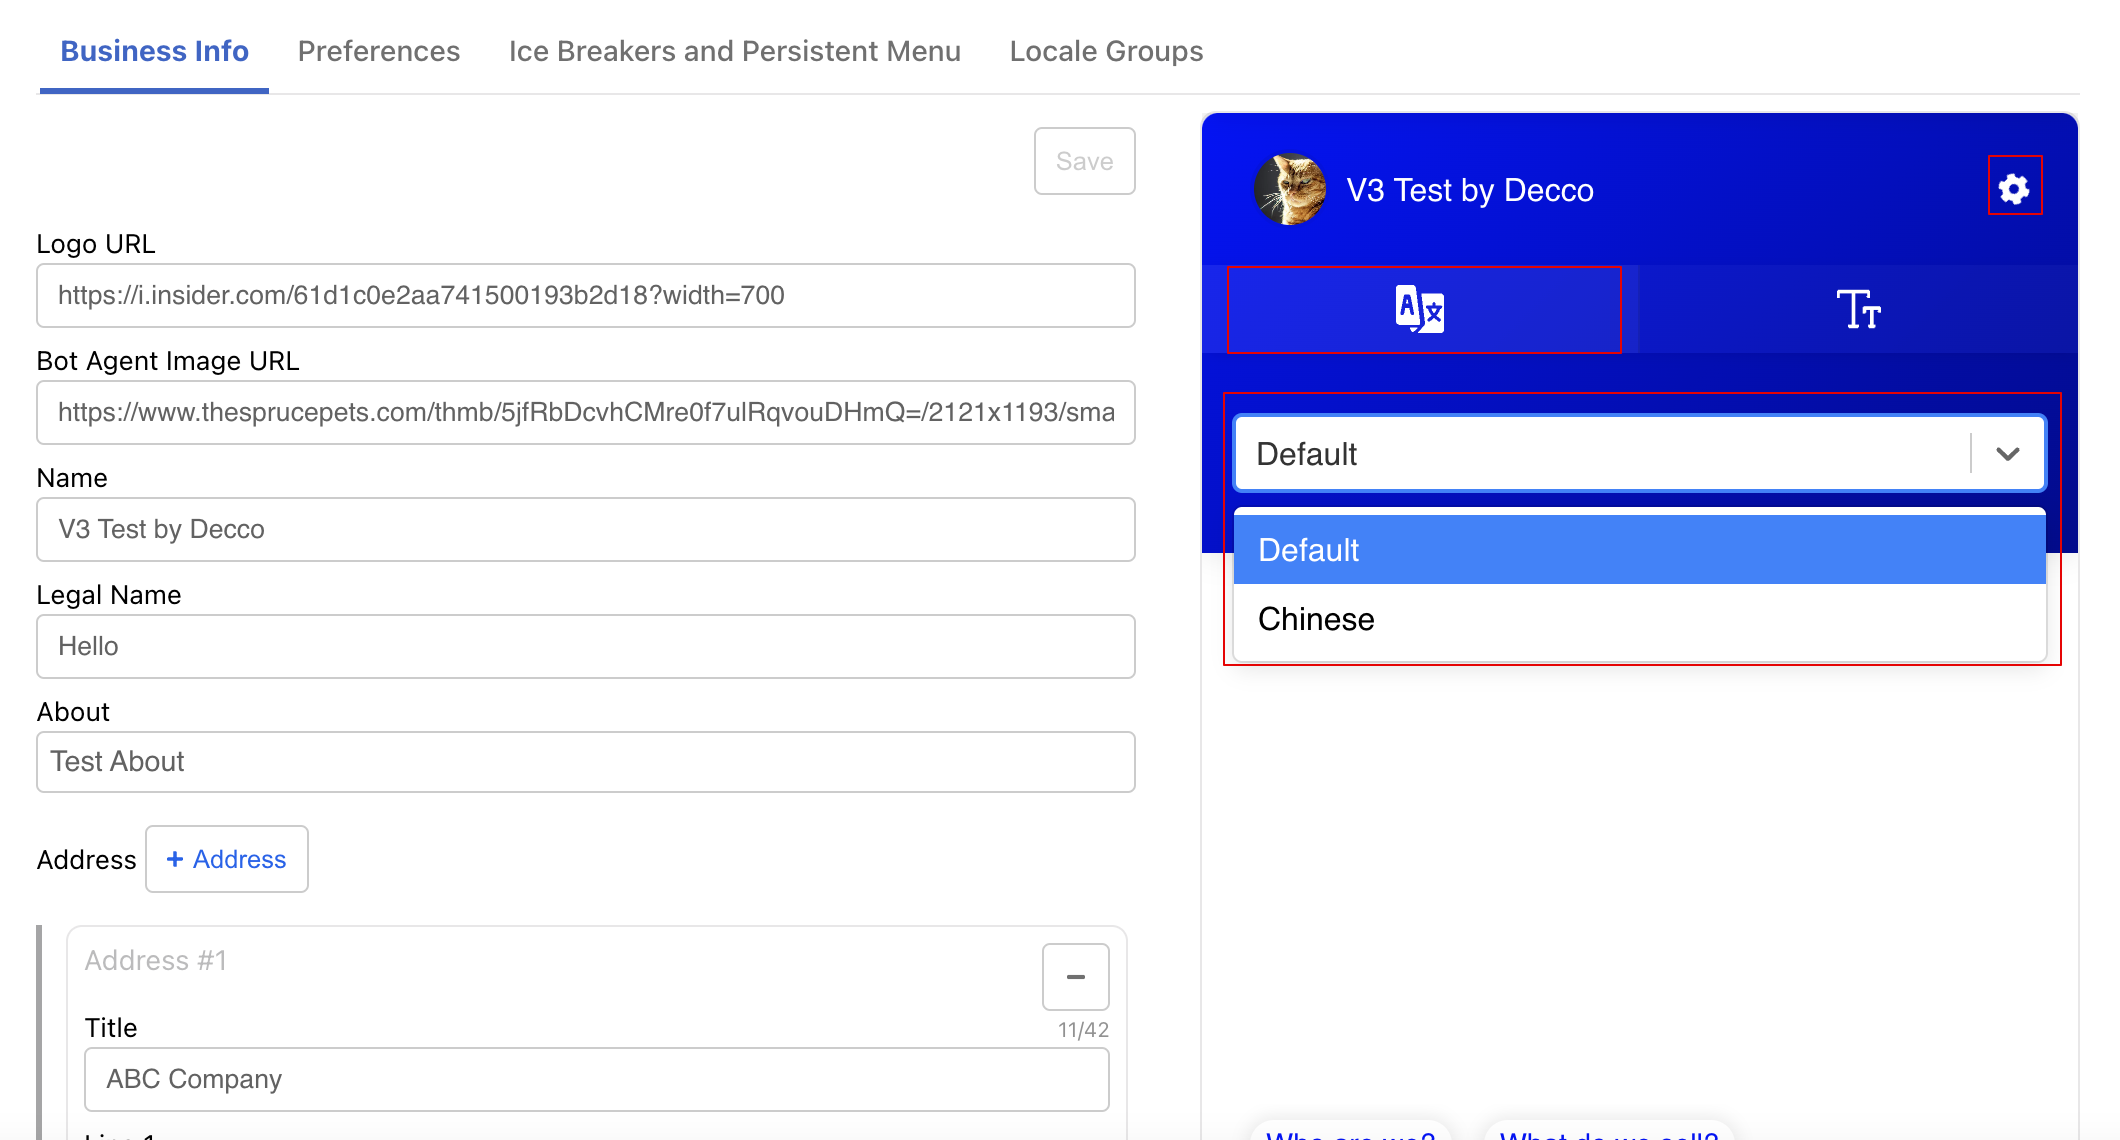
Locale Groups
In "Platform" of your Web Chat channel. Scroll down to the bottom sections.
The Locale Groups allows you to create multiple language settings for the web chat.
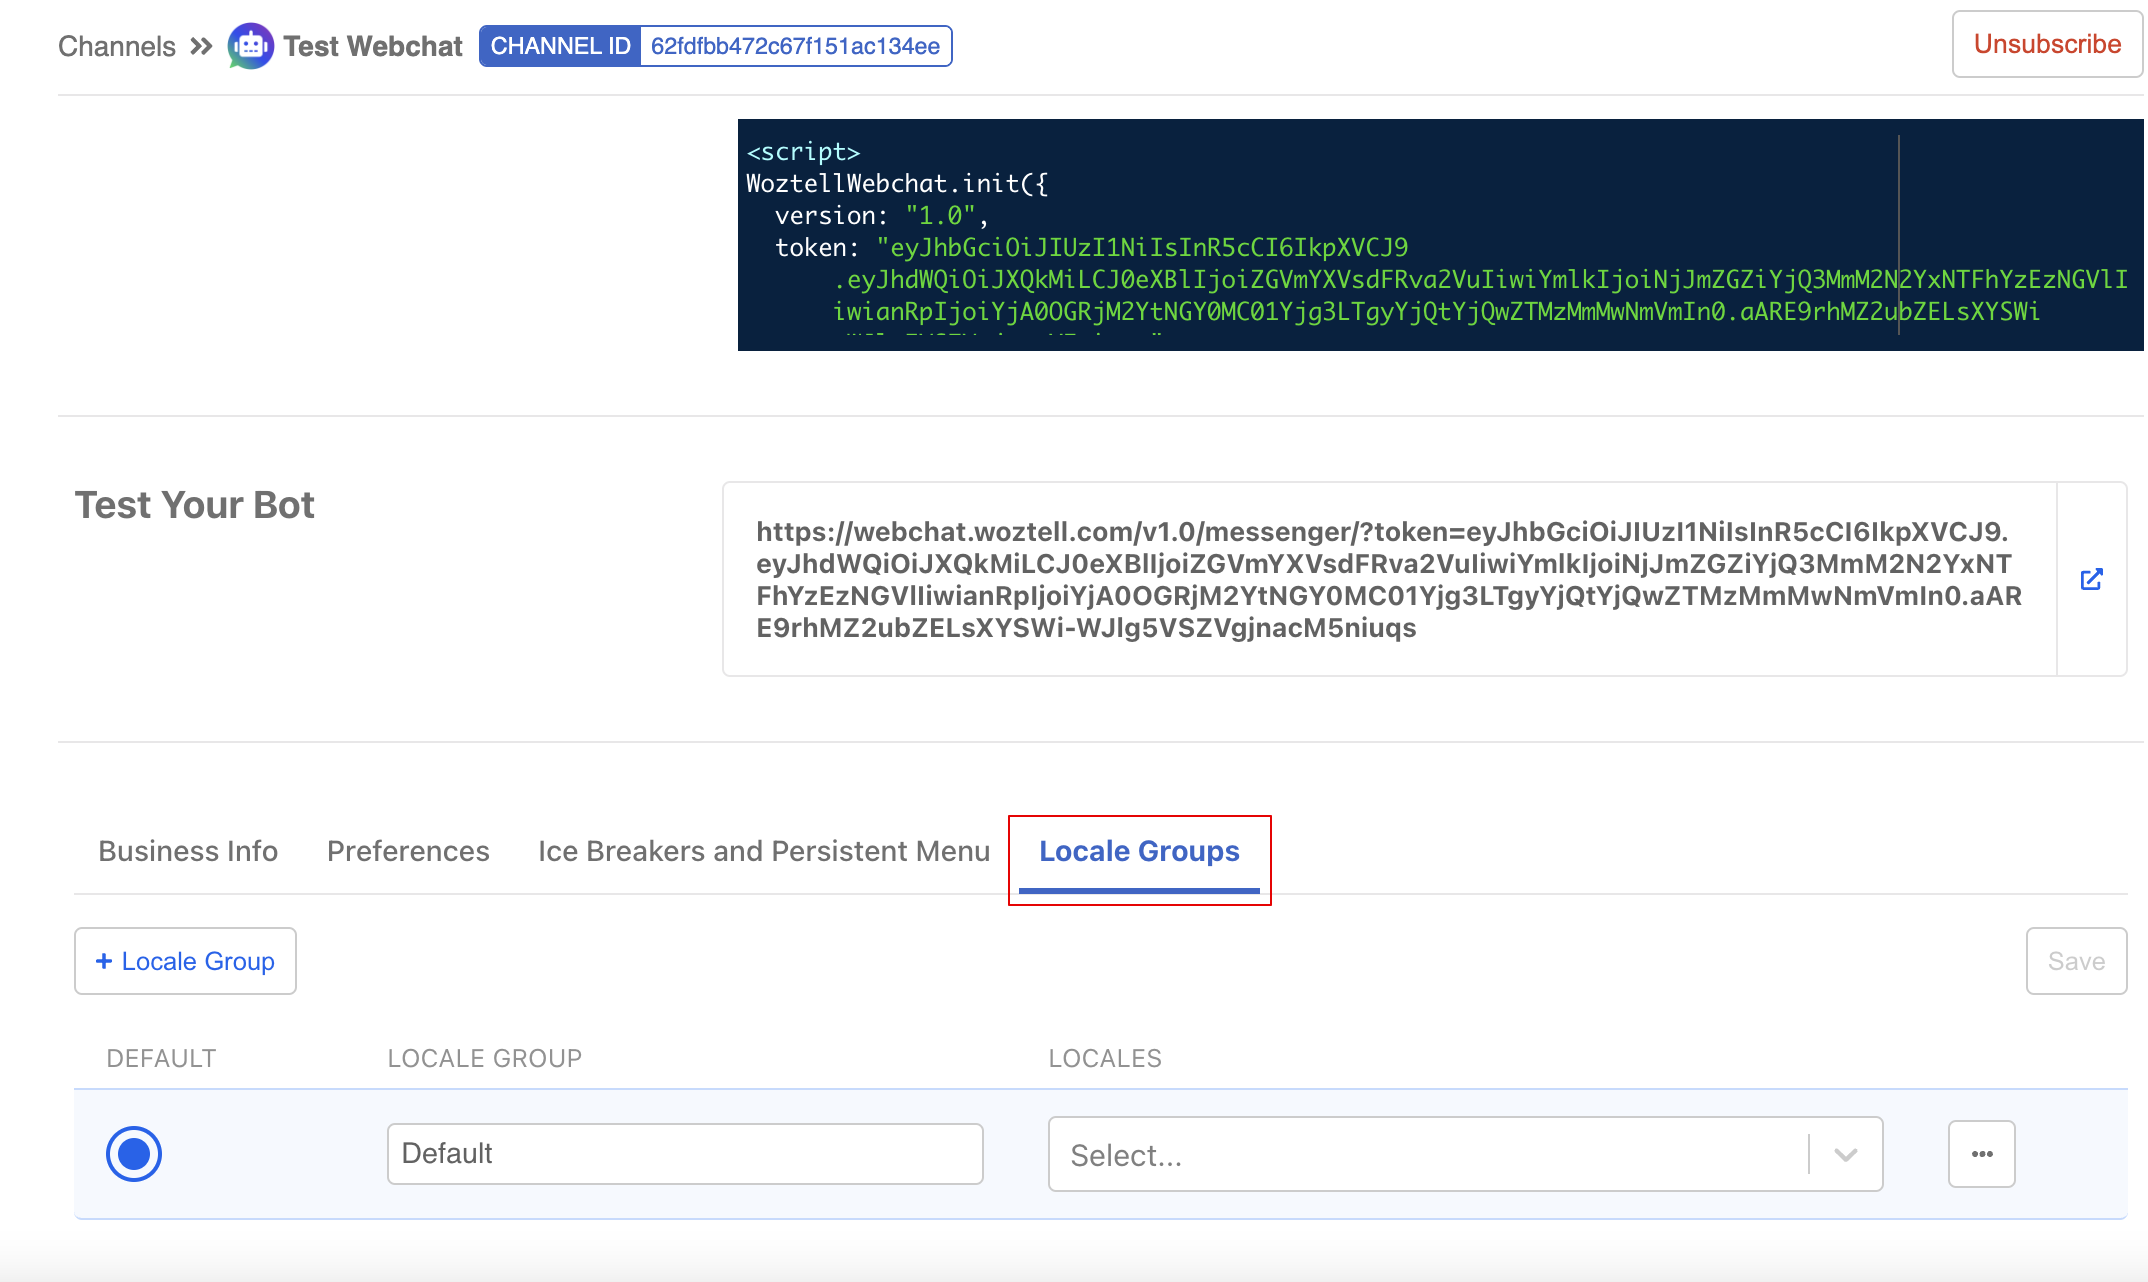
- Under the Locale Groups tab, the
Defaultlocale will always be present, you can assign aLocalefor this locale group.
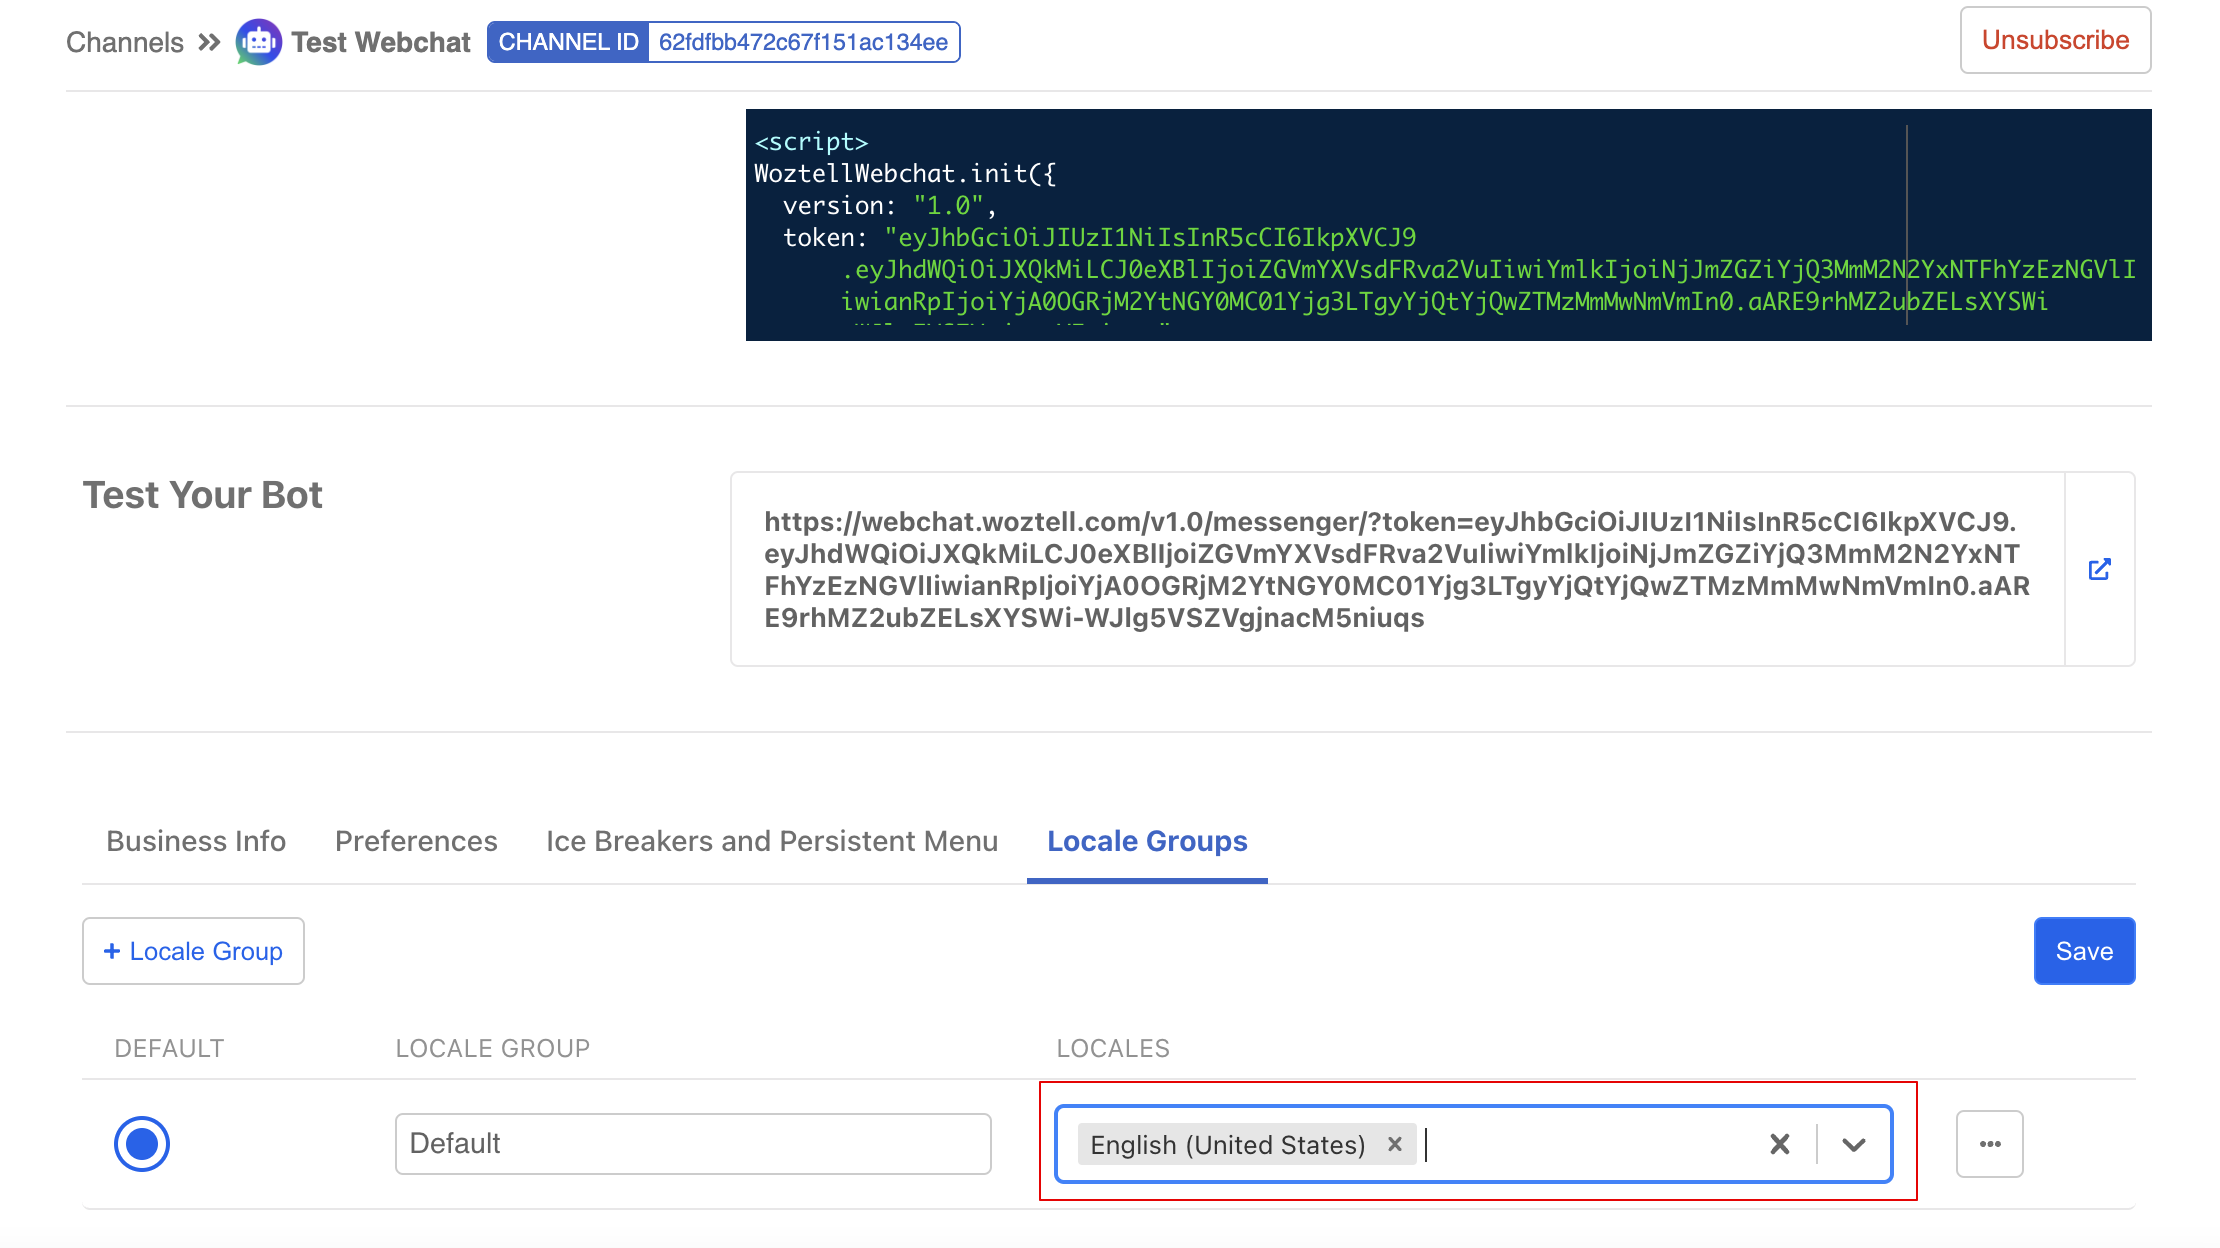
- Select "+ Locale Group" to create another locale group.
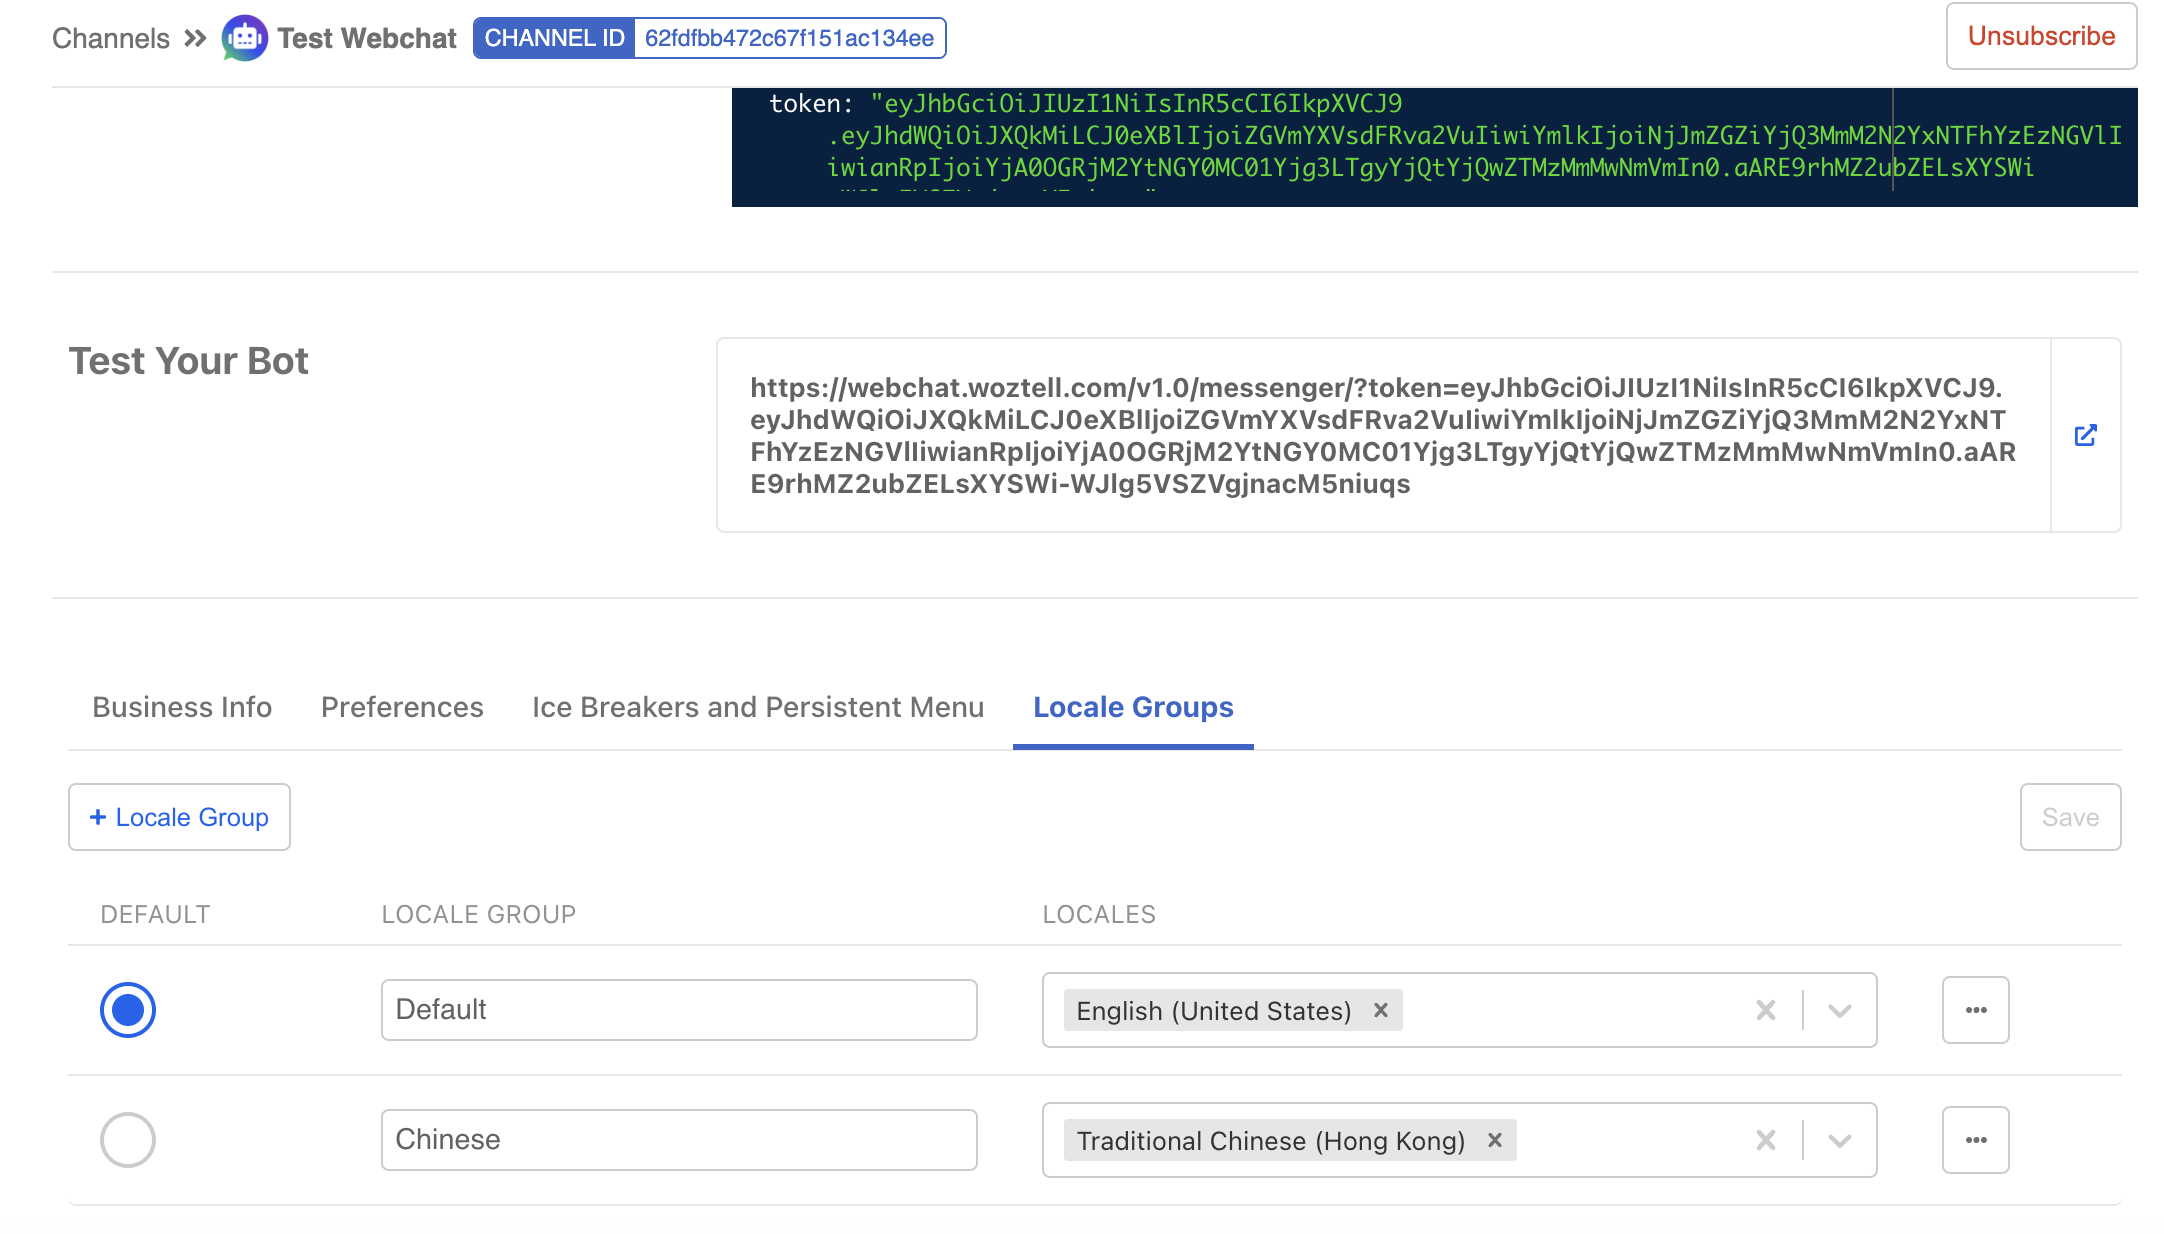
- As a result, a new language options will be available in the chatroom.
NOTE
We will explore more about multilingual settings in section 2.1.