Set up a Multilingual Web Chat
The Web Chat integration supports multilingual settings, so that users can select their preferred language.
In this section, let's learn how to set up the multilingual settings in Web Chat and create the chatbot response in another language. We can extend from the sample chatbot structure we have been following from chapter 1.3 - 1.6.
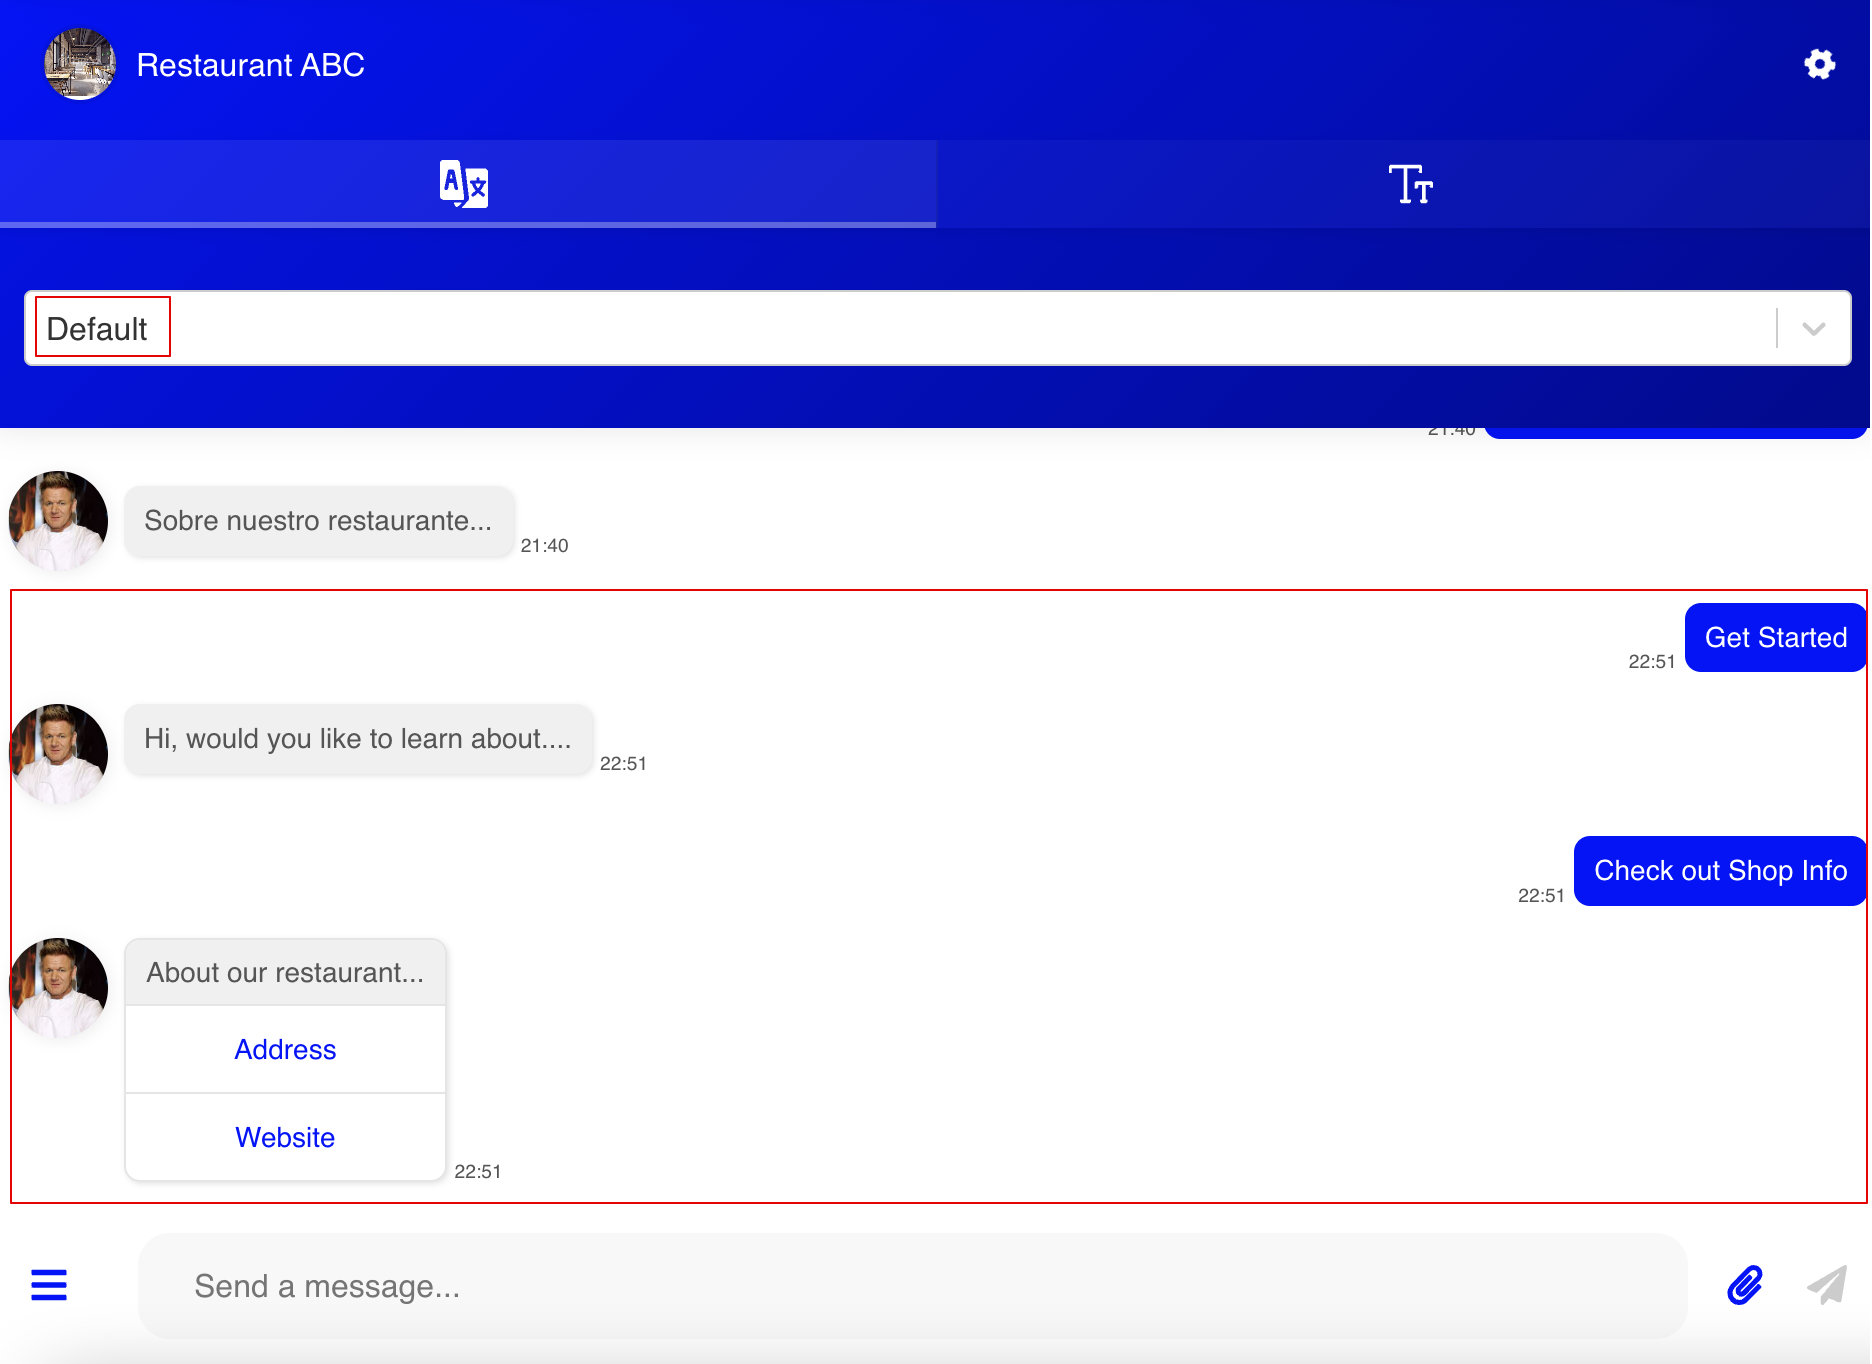
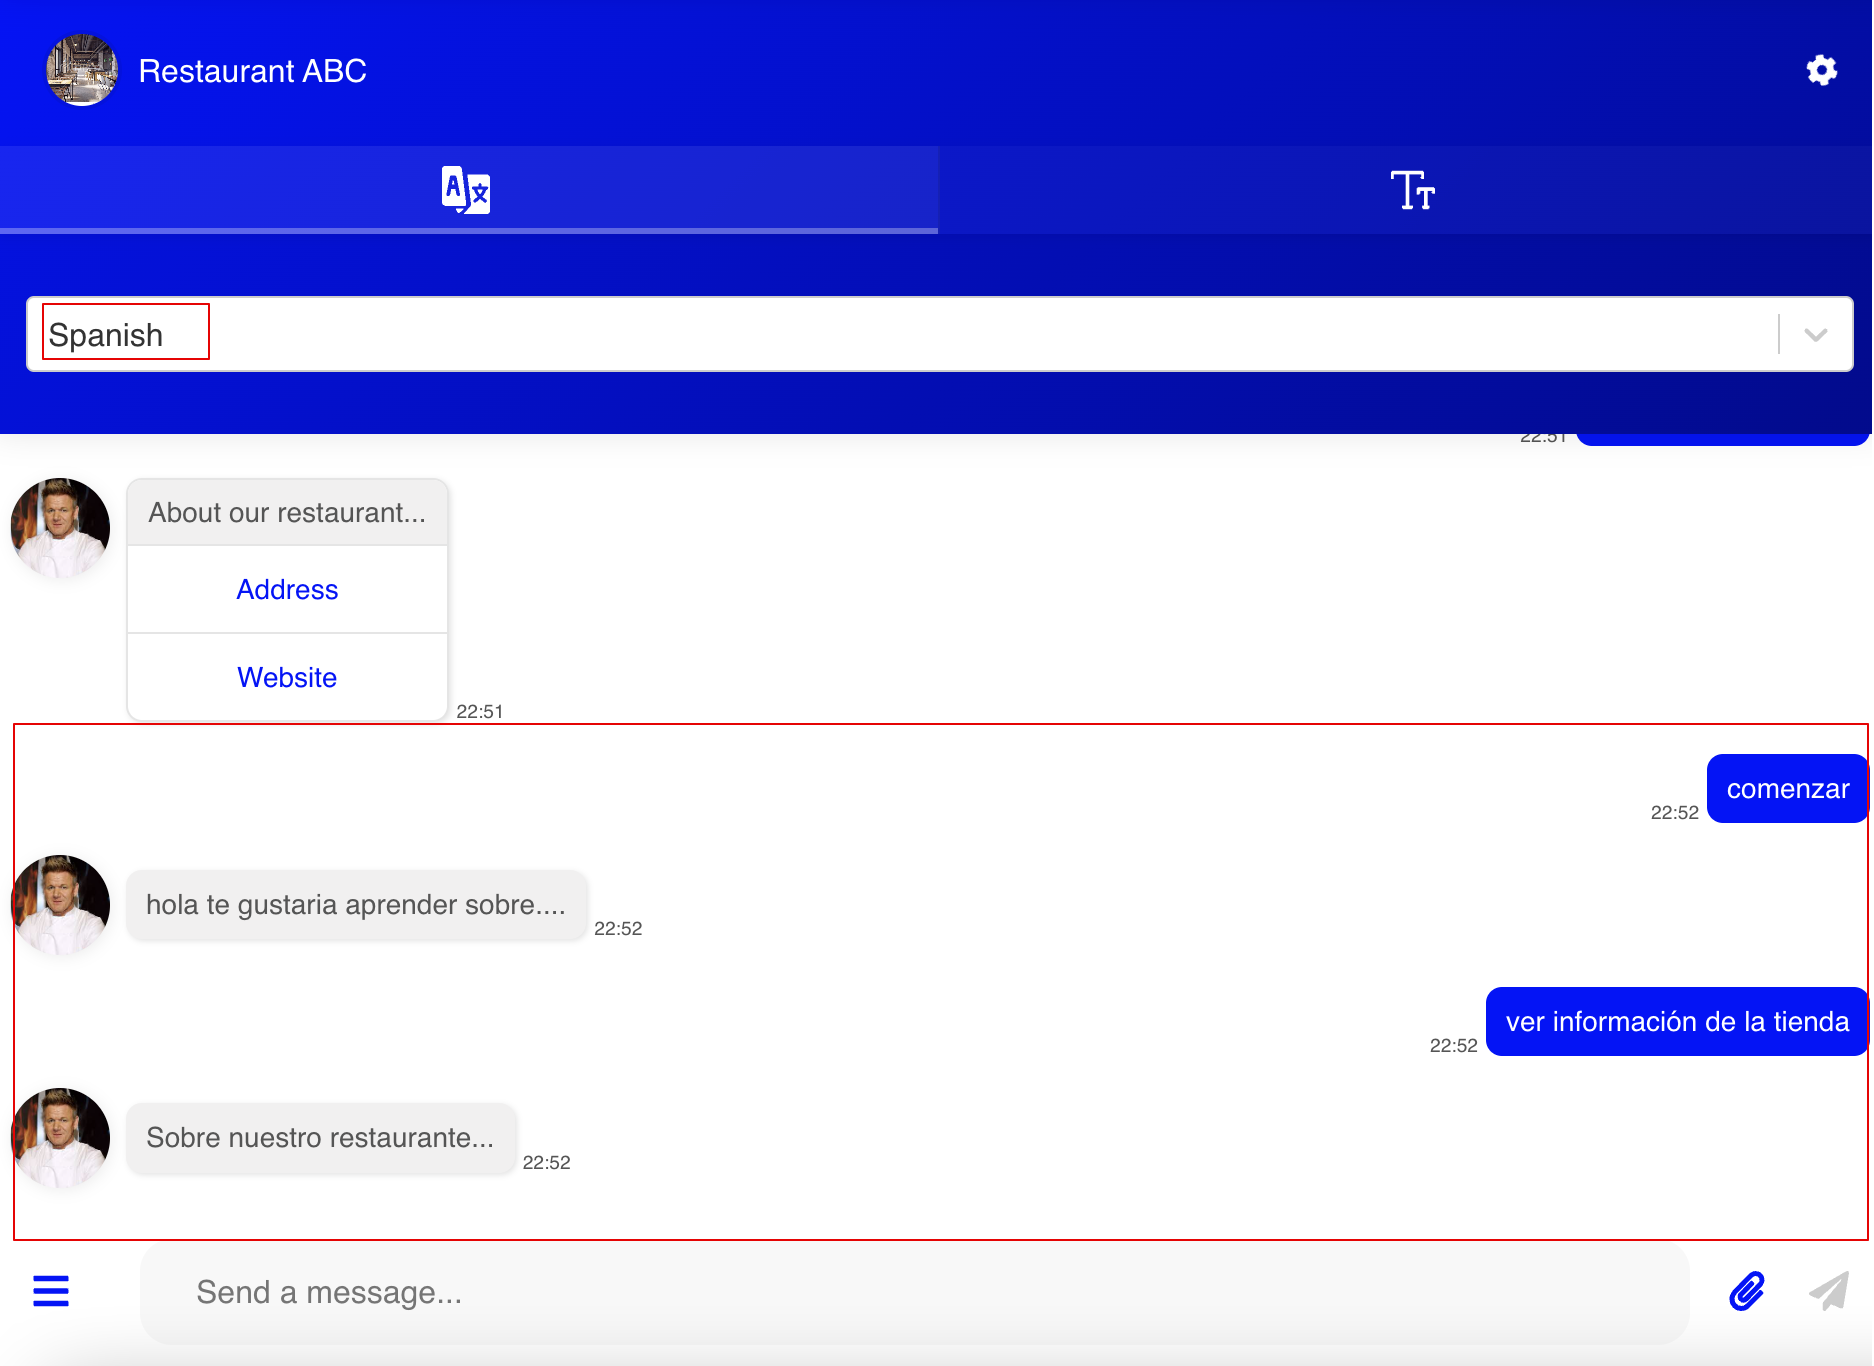
Expected Outcome
By switching to different language settings in the chatroom, the chatbot will be responding in the corresponding language.
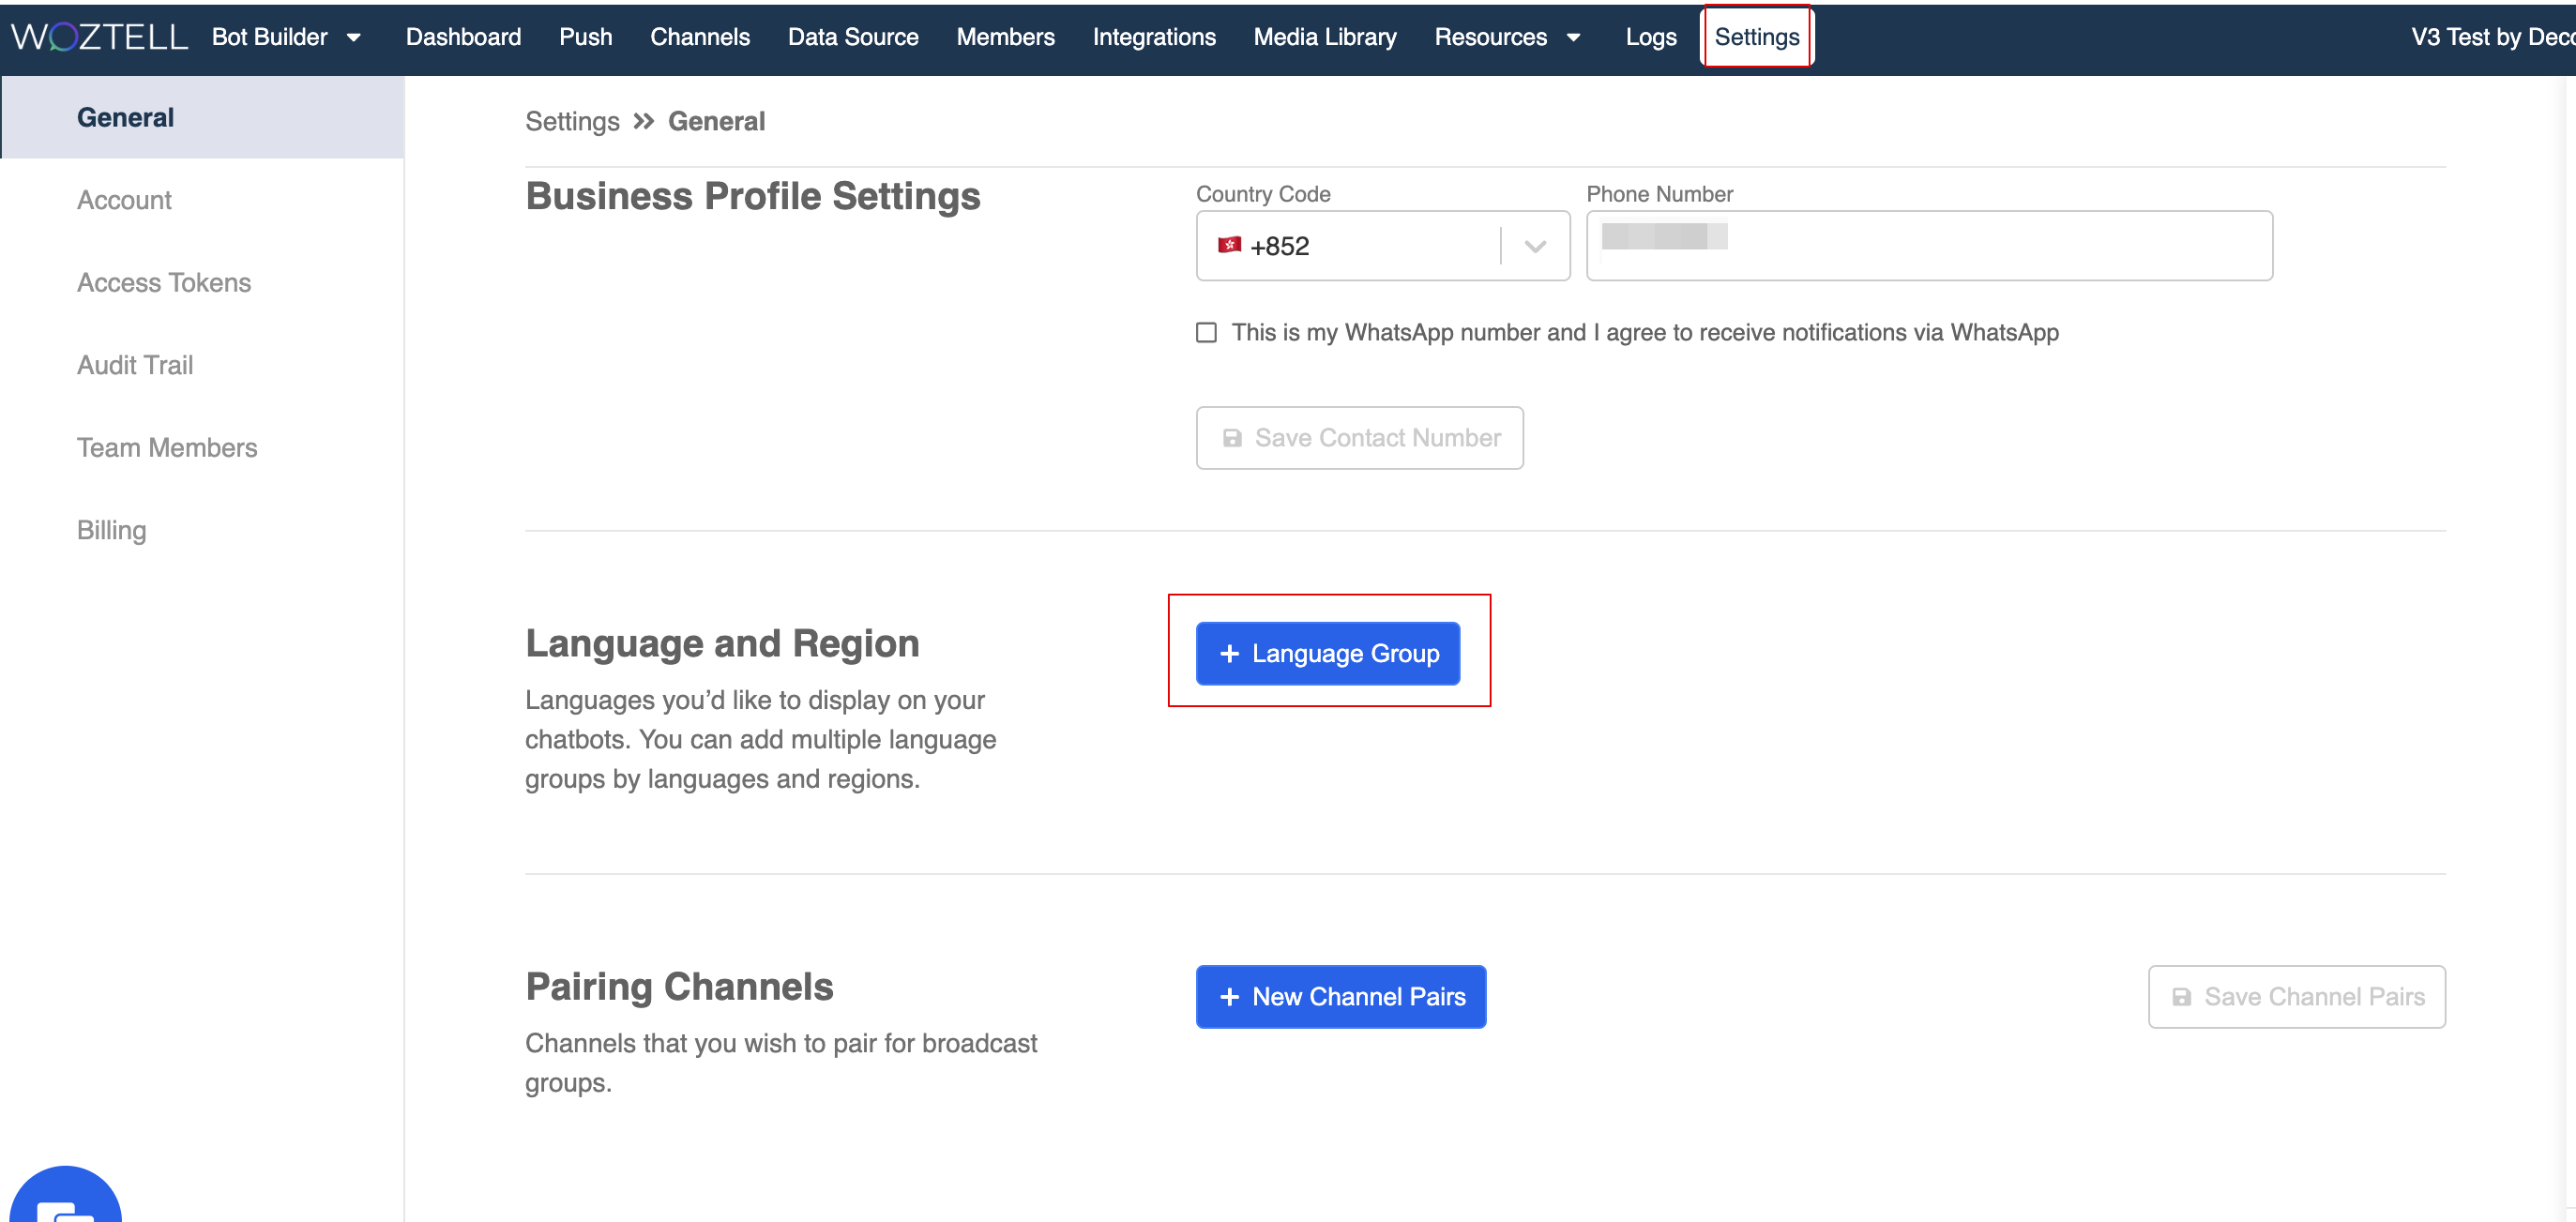
Create Locale Groups in Settings
First, we need to create additional locale group in the settings page, in order to provide an available locale for the response.
- Head to "Settings", select "+ Language Group".
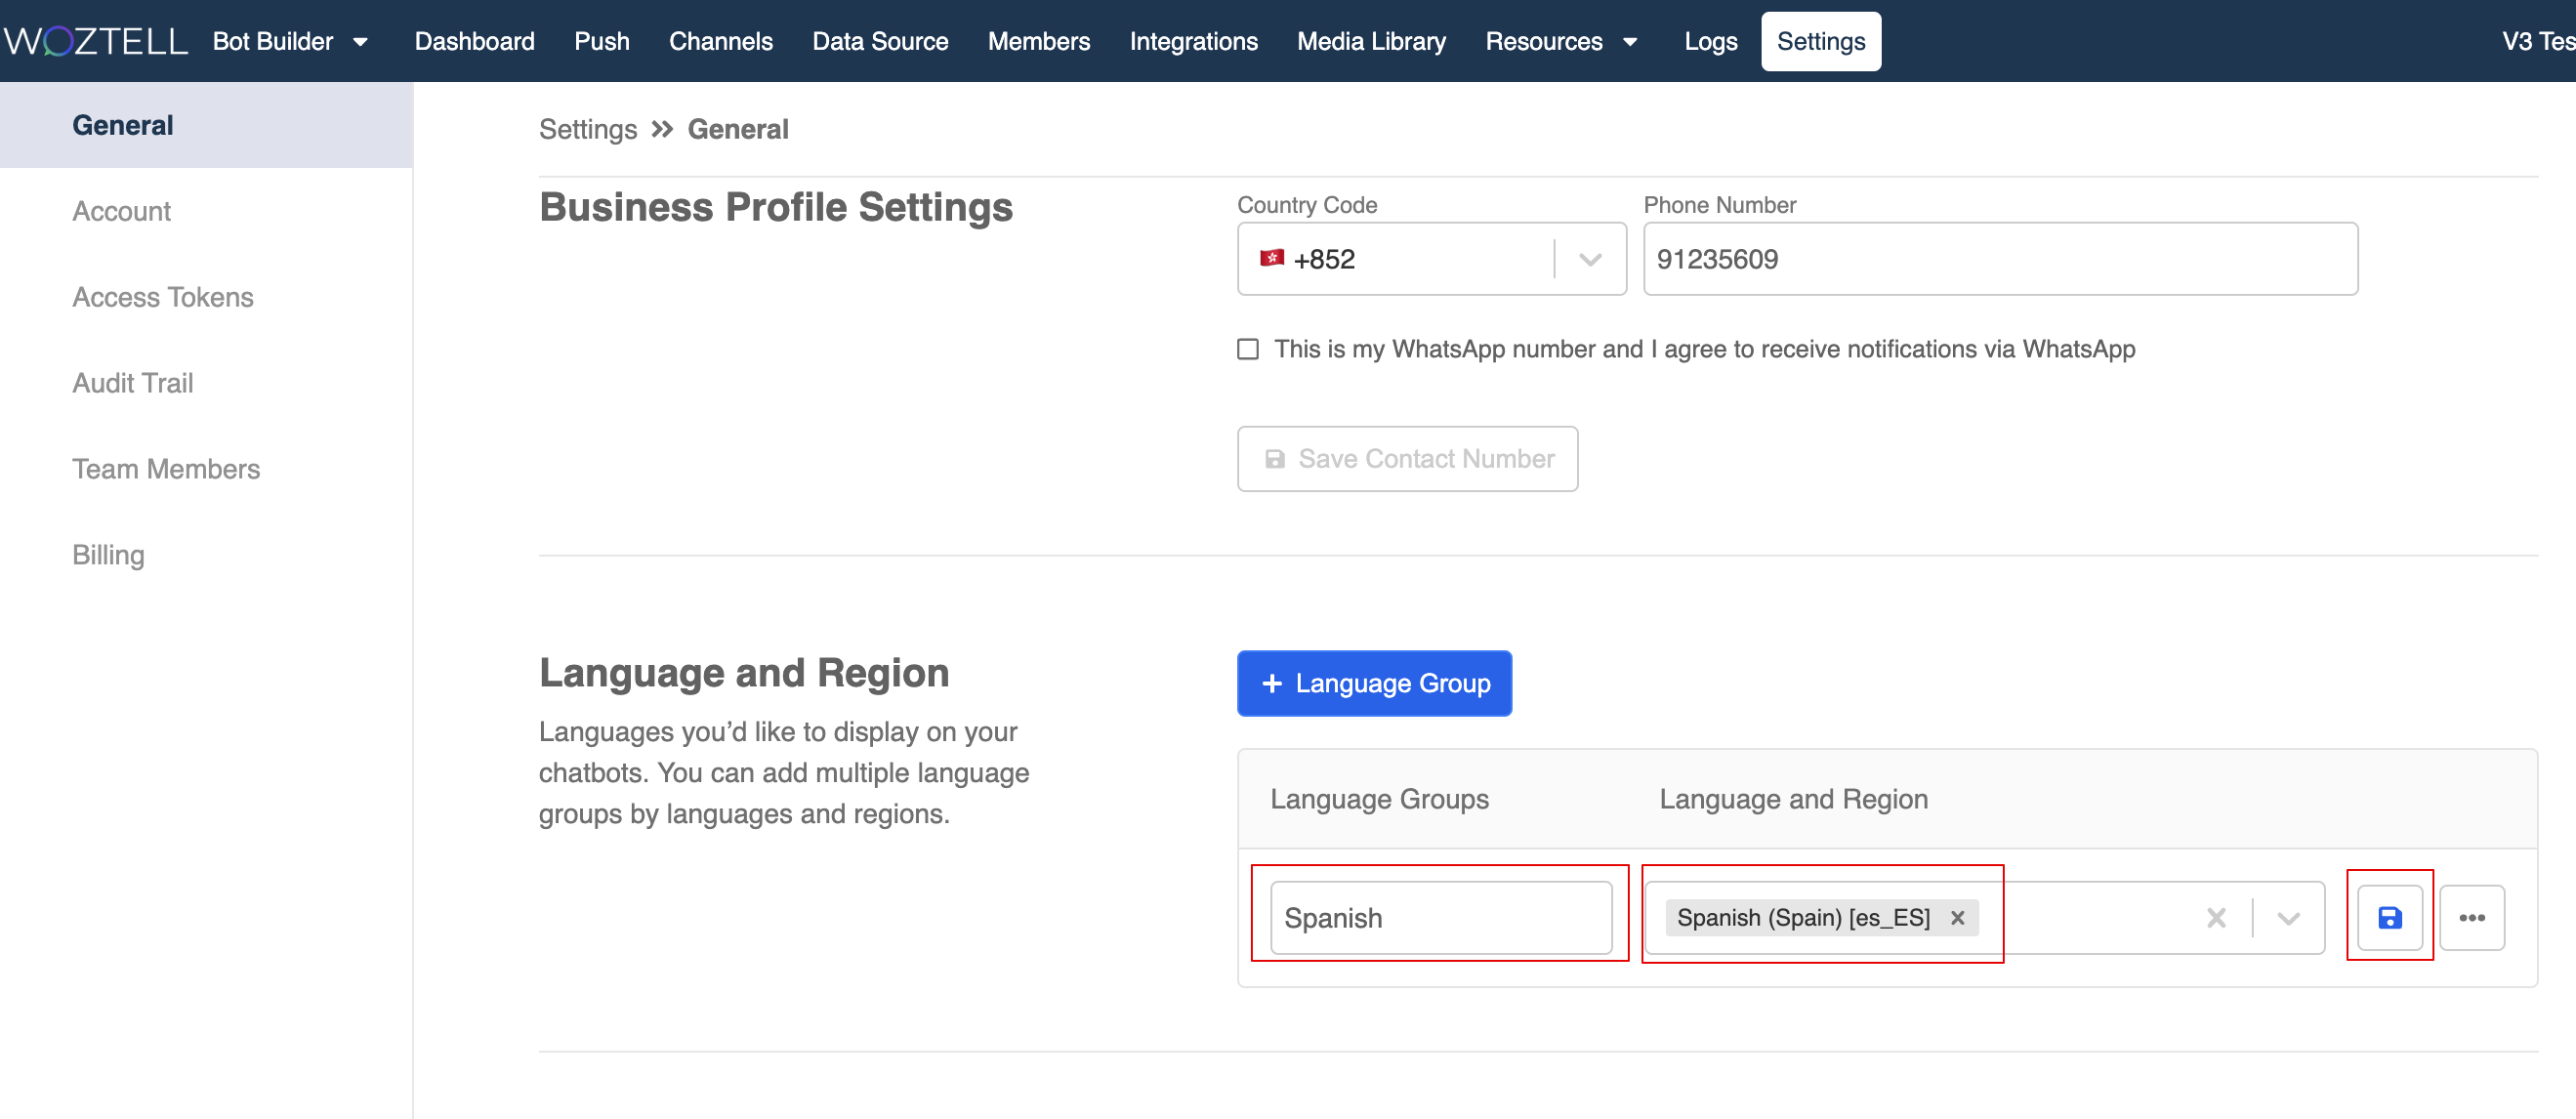
- Name the locale group and select a preferred language settings.
Create Locale Groups in Platform
Secondly, we need to create another set of locale group in the Web Chat integration. The selected locale must match with what you created in the settings page.
- Head to the Web Chat channel -> "Platform". Select "+ Locale Group" under "Locale Group".
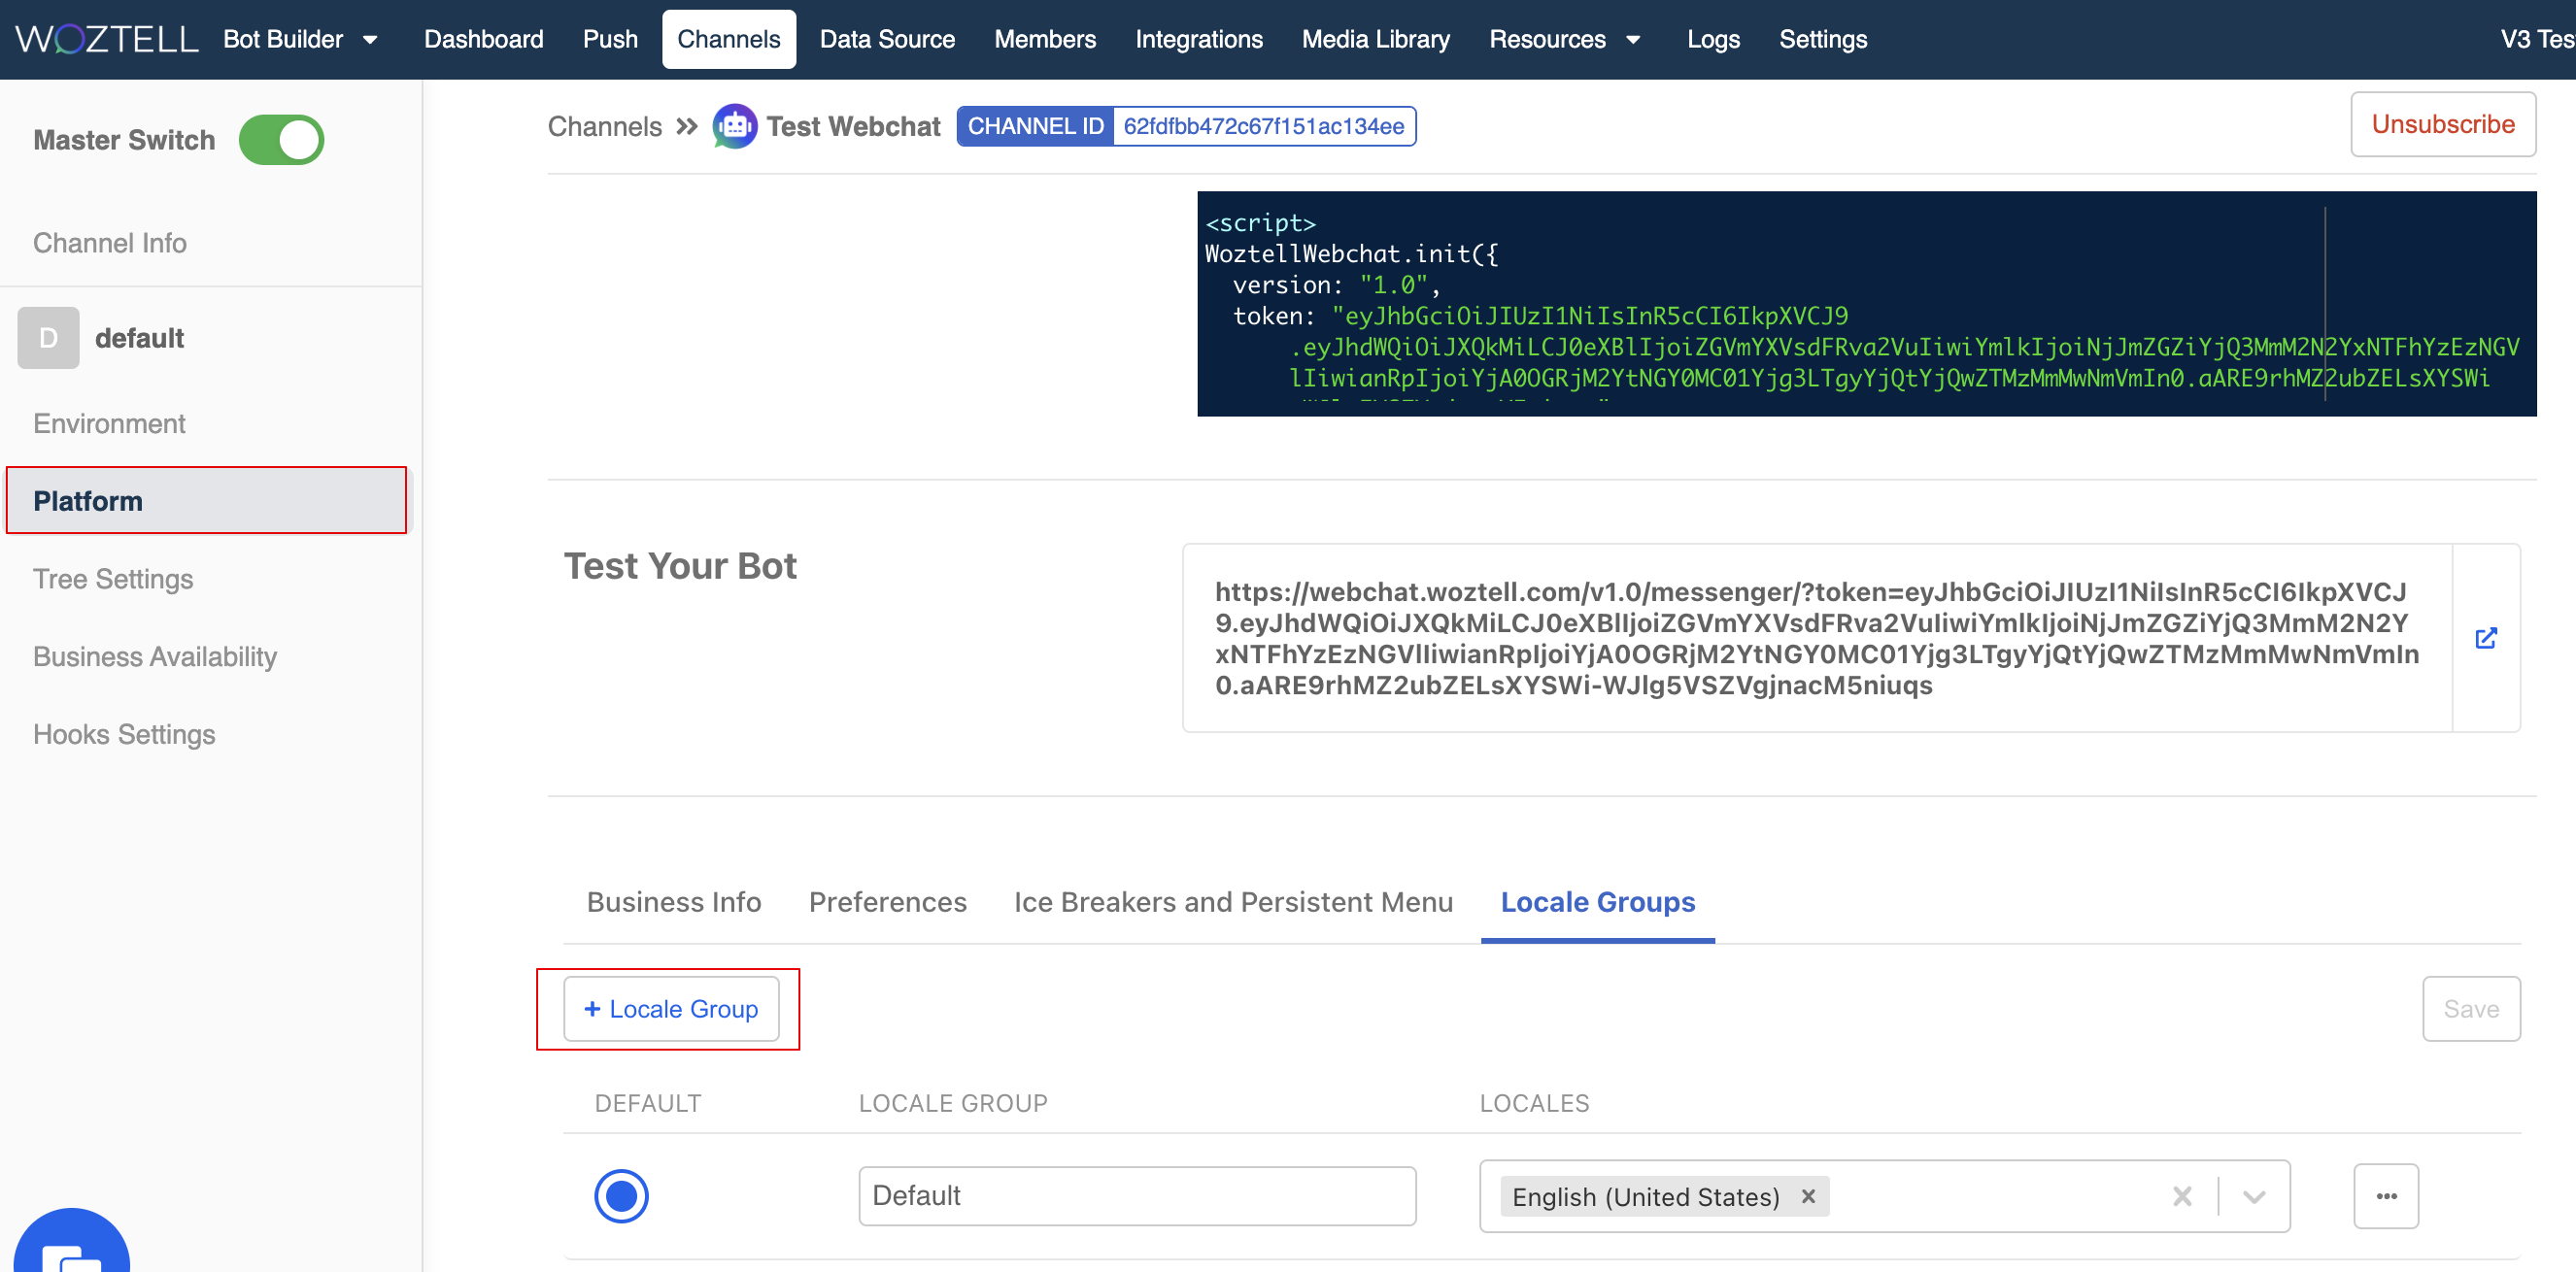
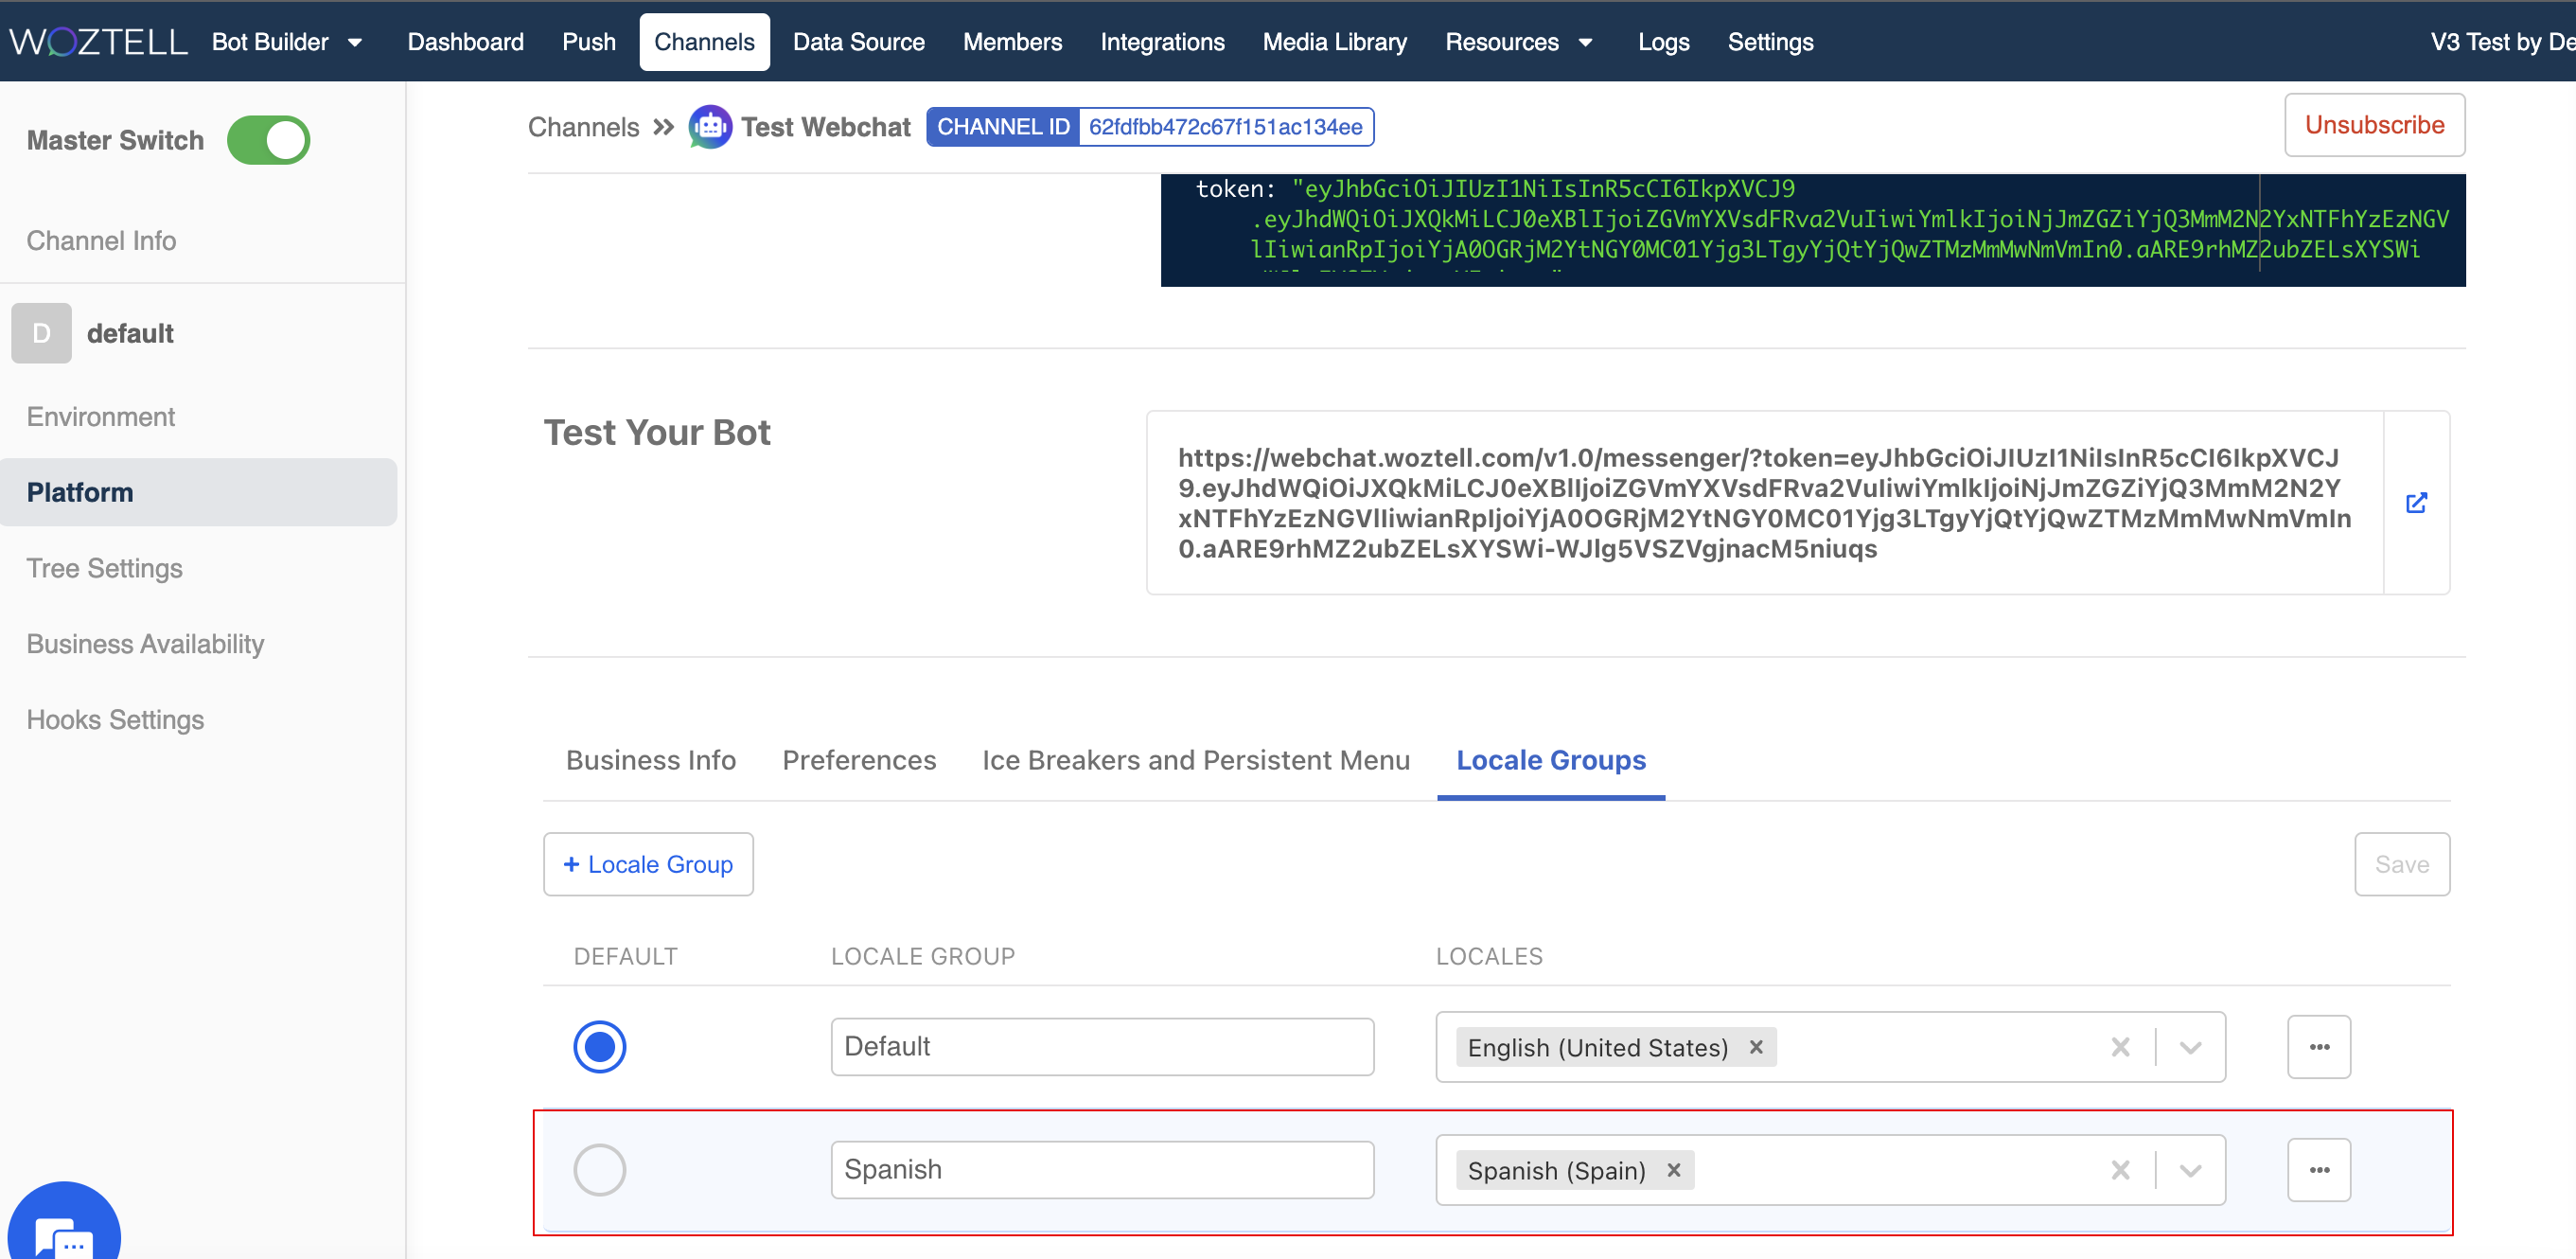
- Name the new locale group and assign a locale settings to it.
NOTE
The locale settings must match with what you created in the settings page. For example, Spanish (Spain).
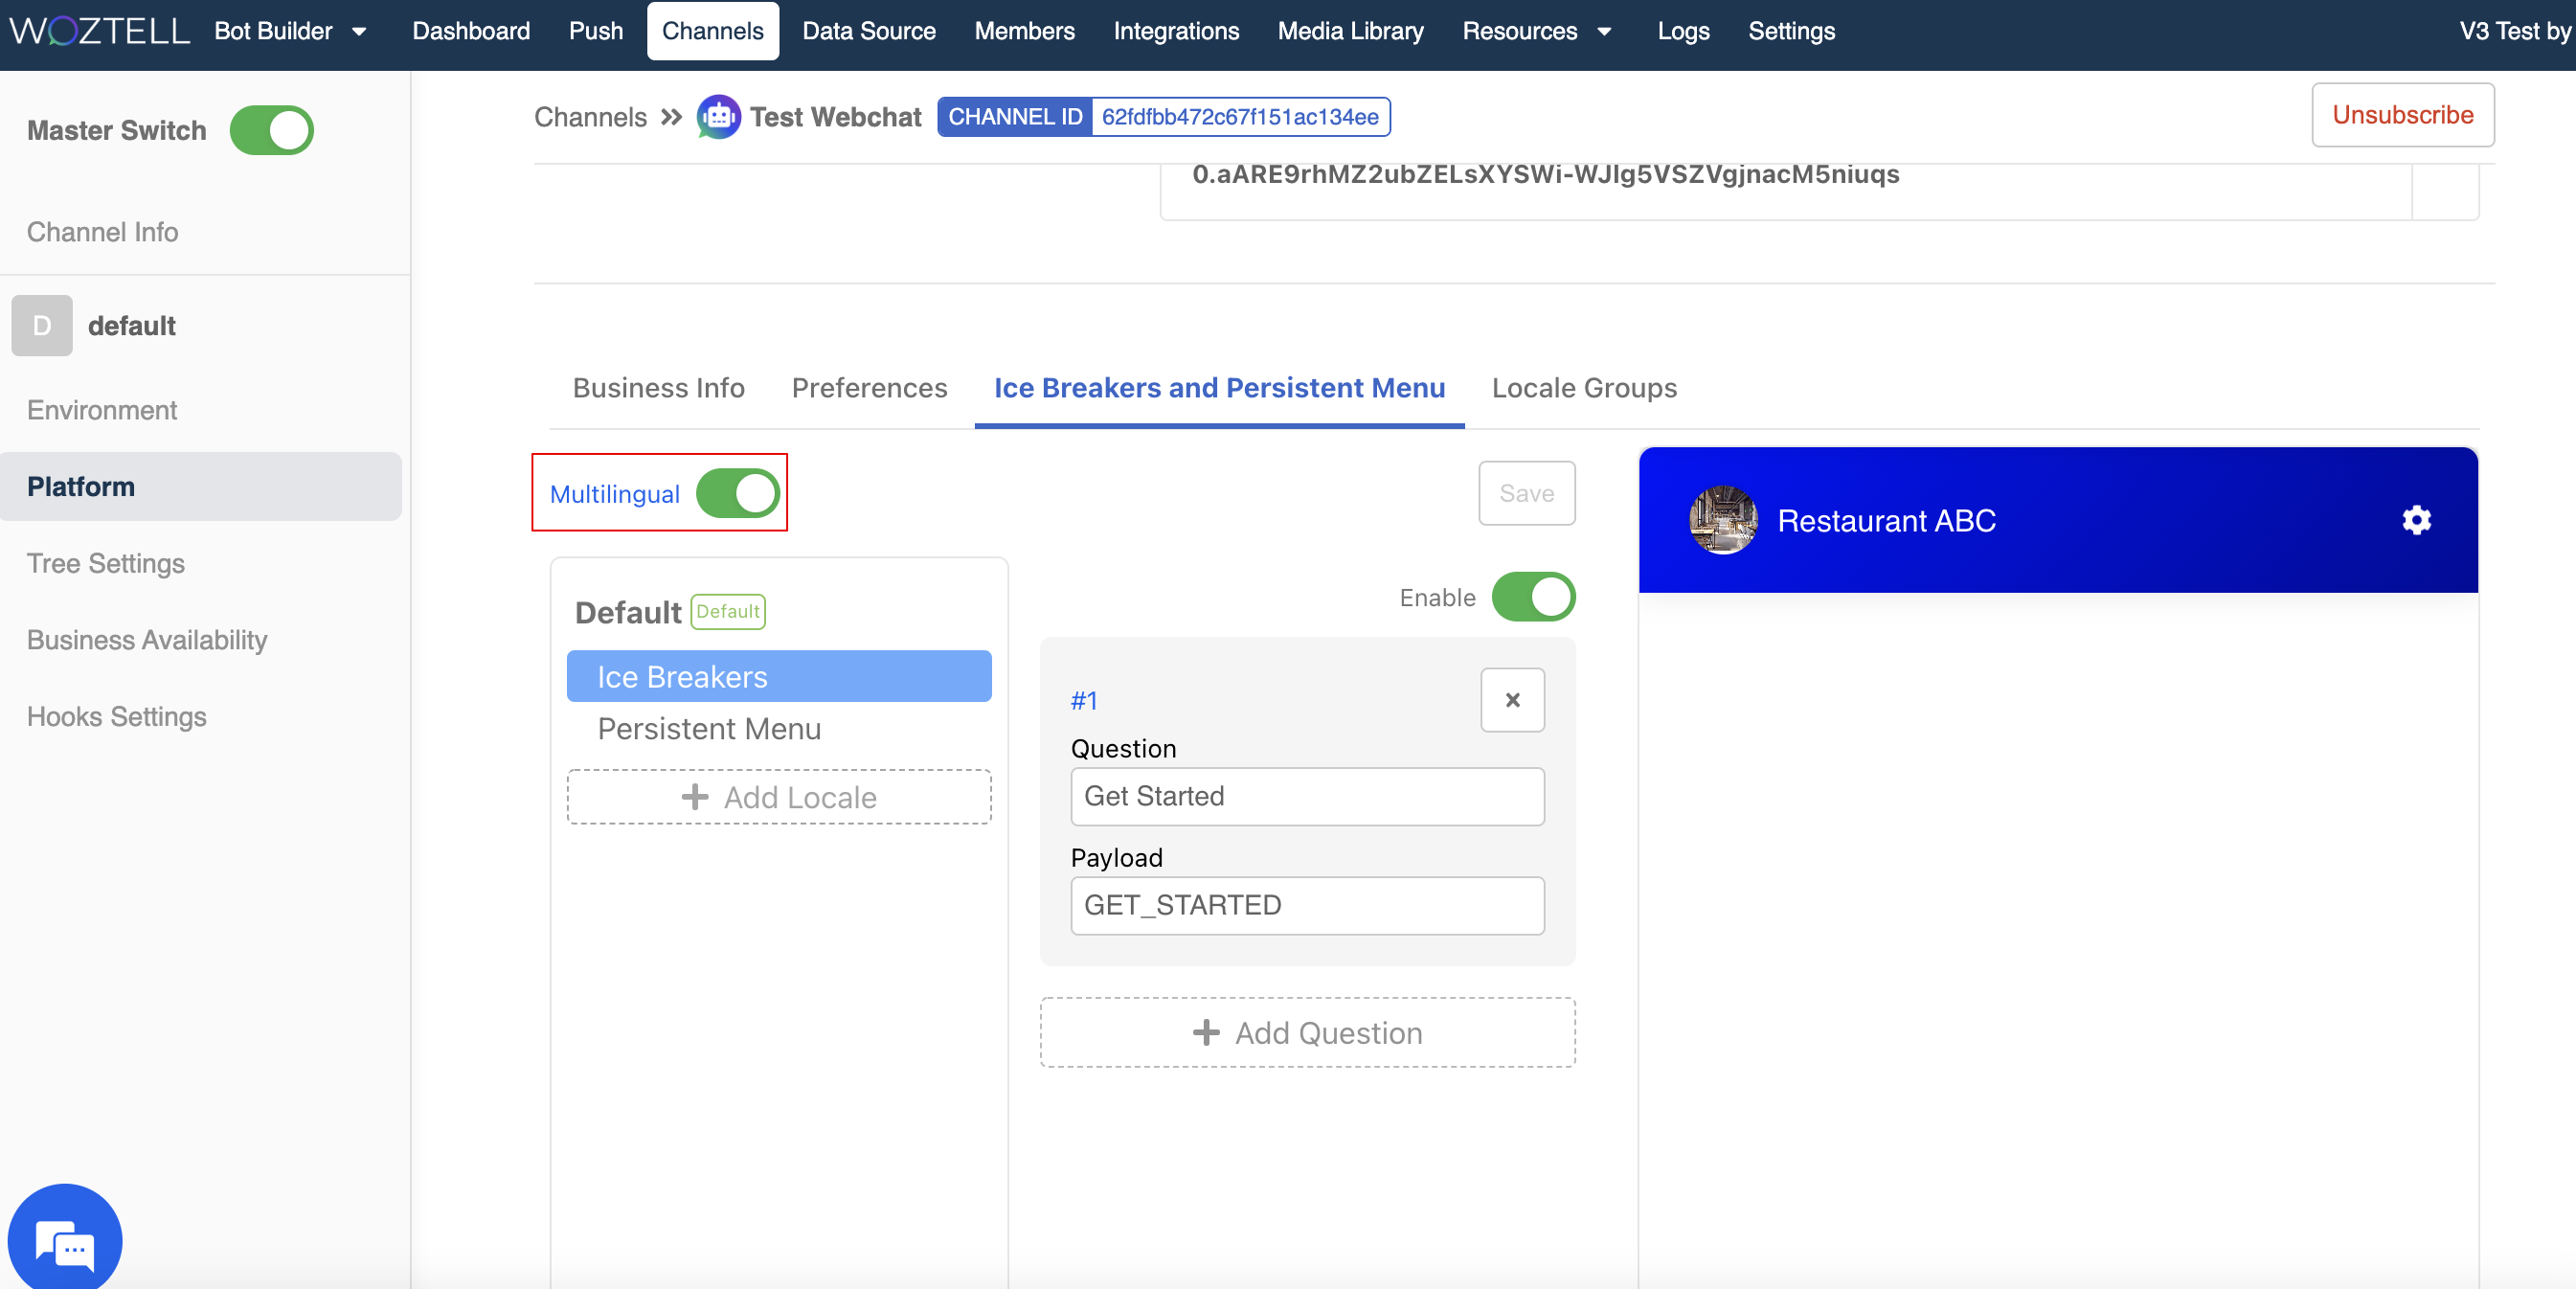
Create Multi-lingual Ice Breakers and Persistent Menu
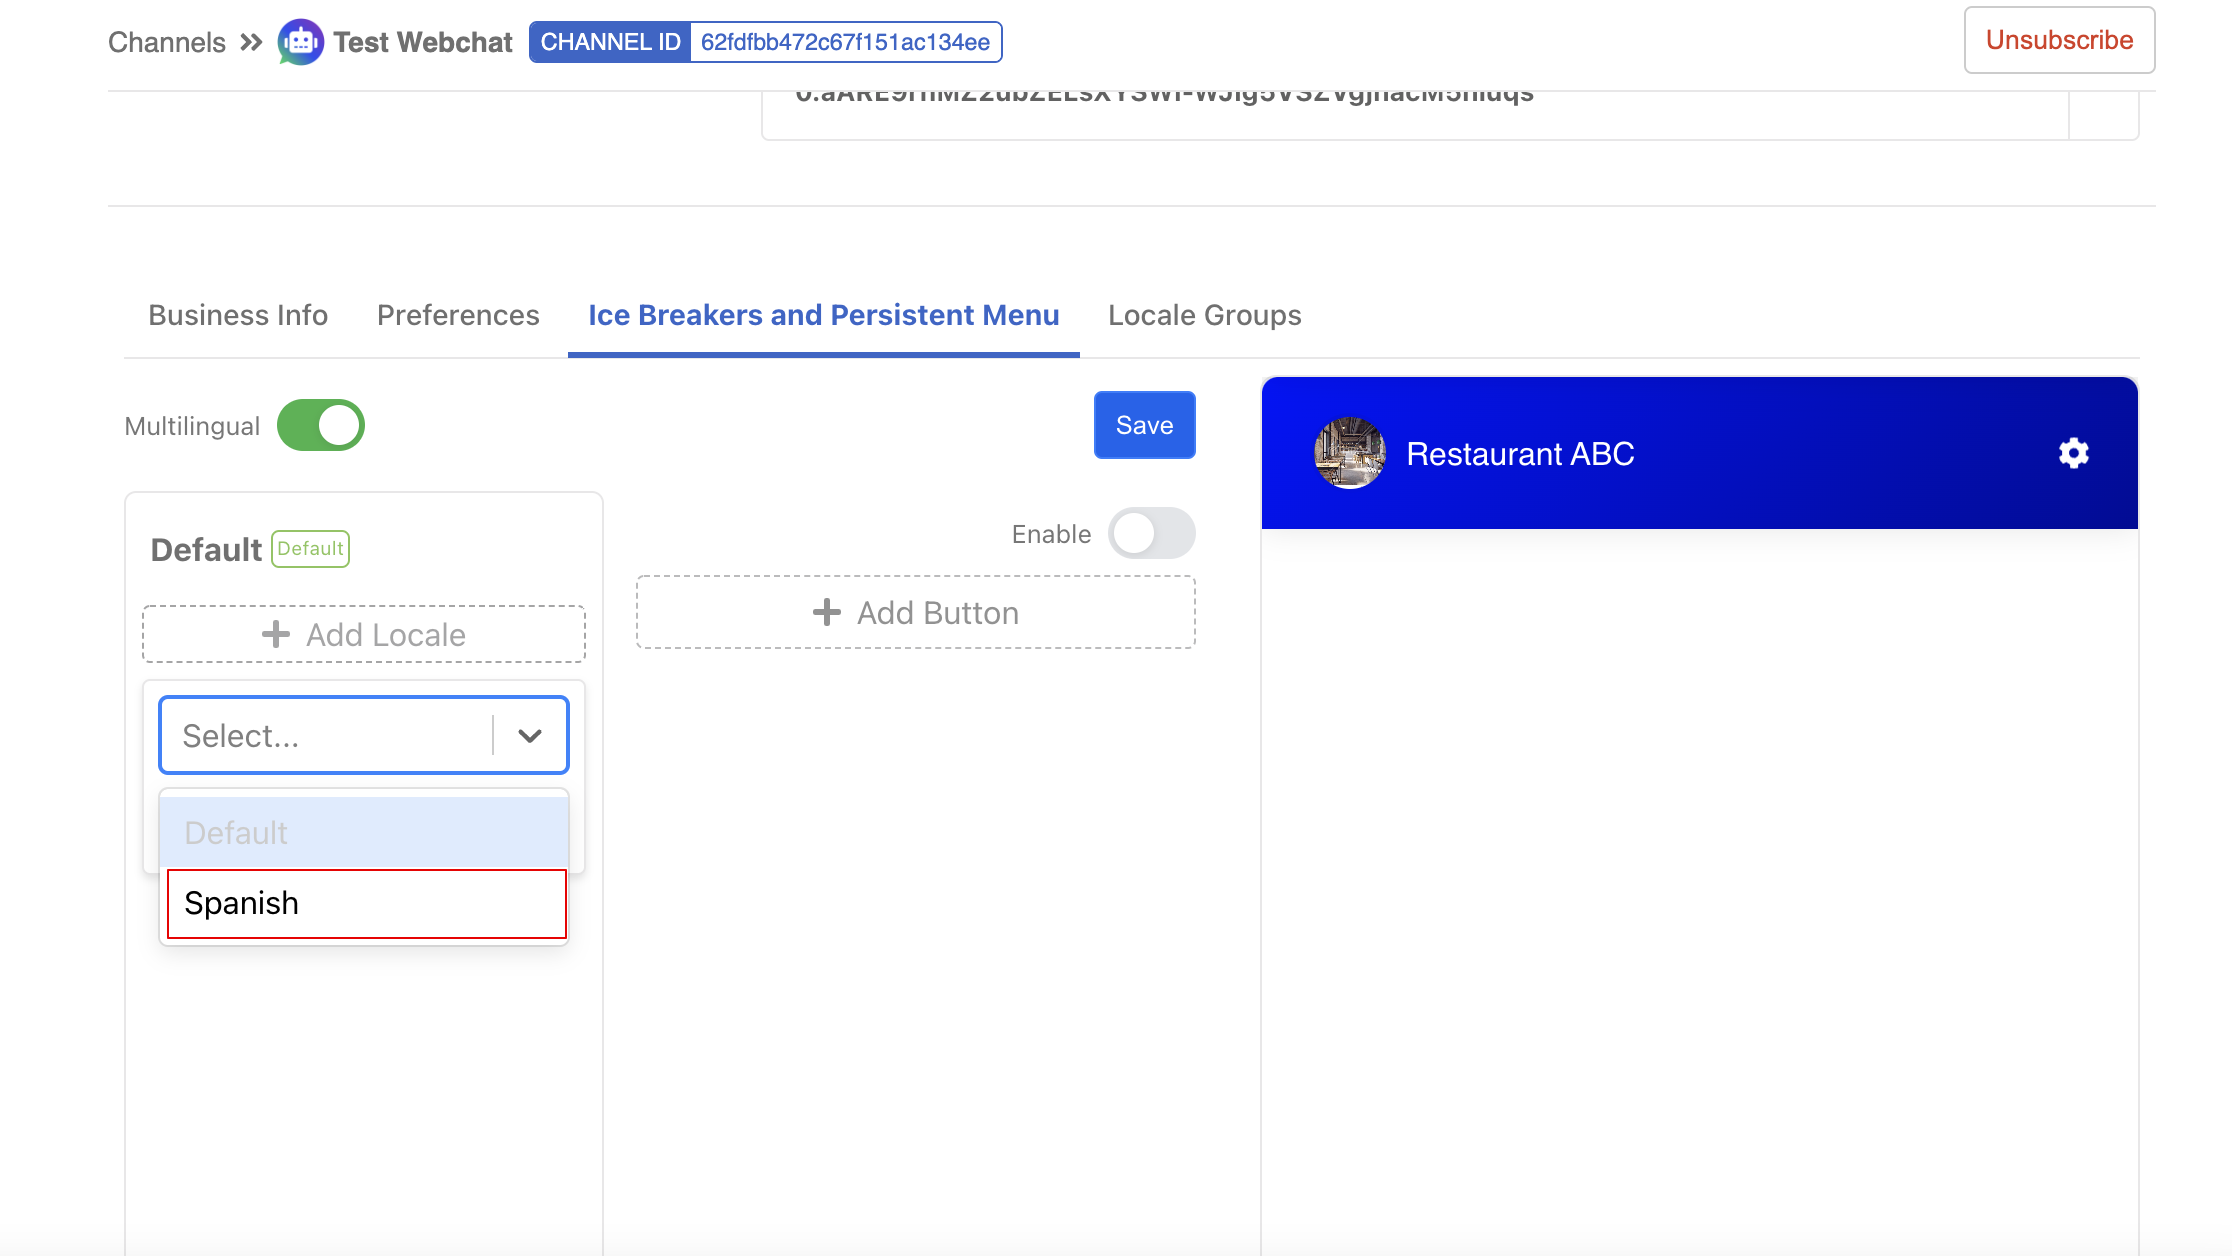
- Under "Ice Breakers and Persistent Menu", switch on "Multilingual".
- Select "+ Add Locale".
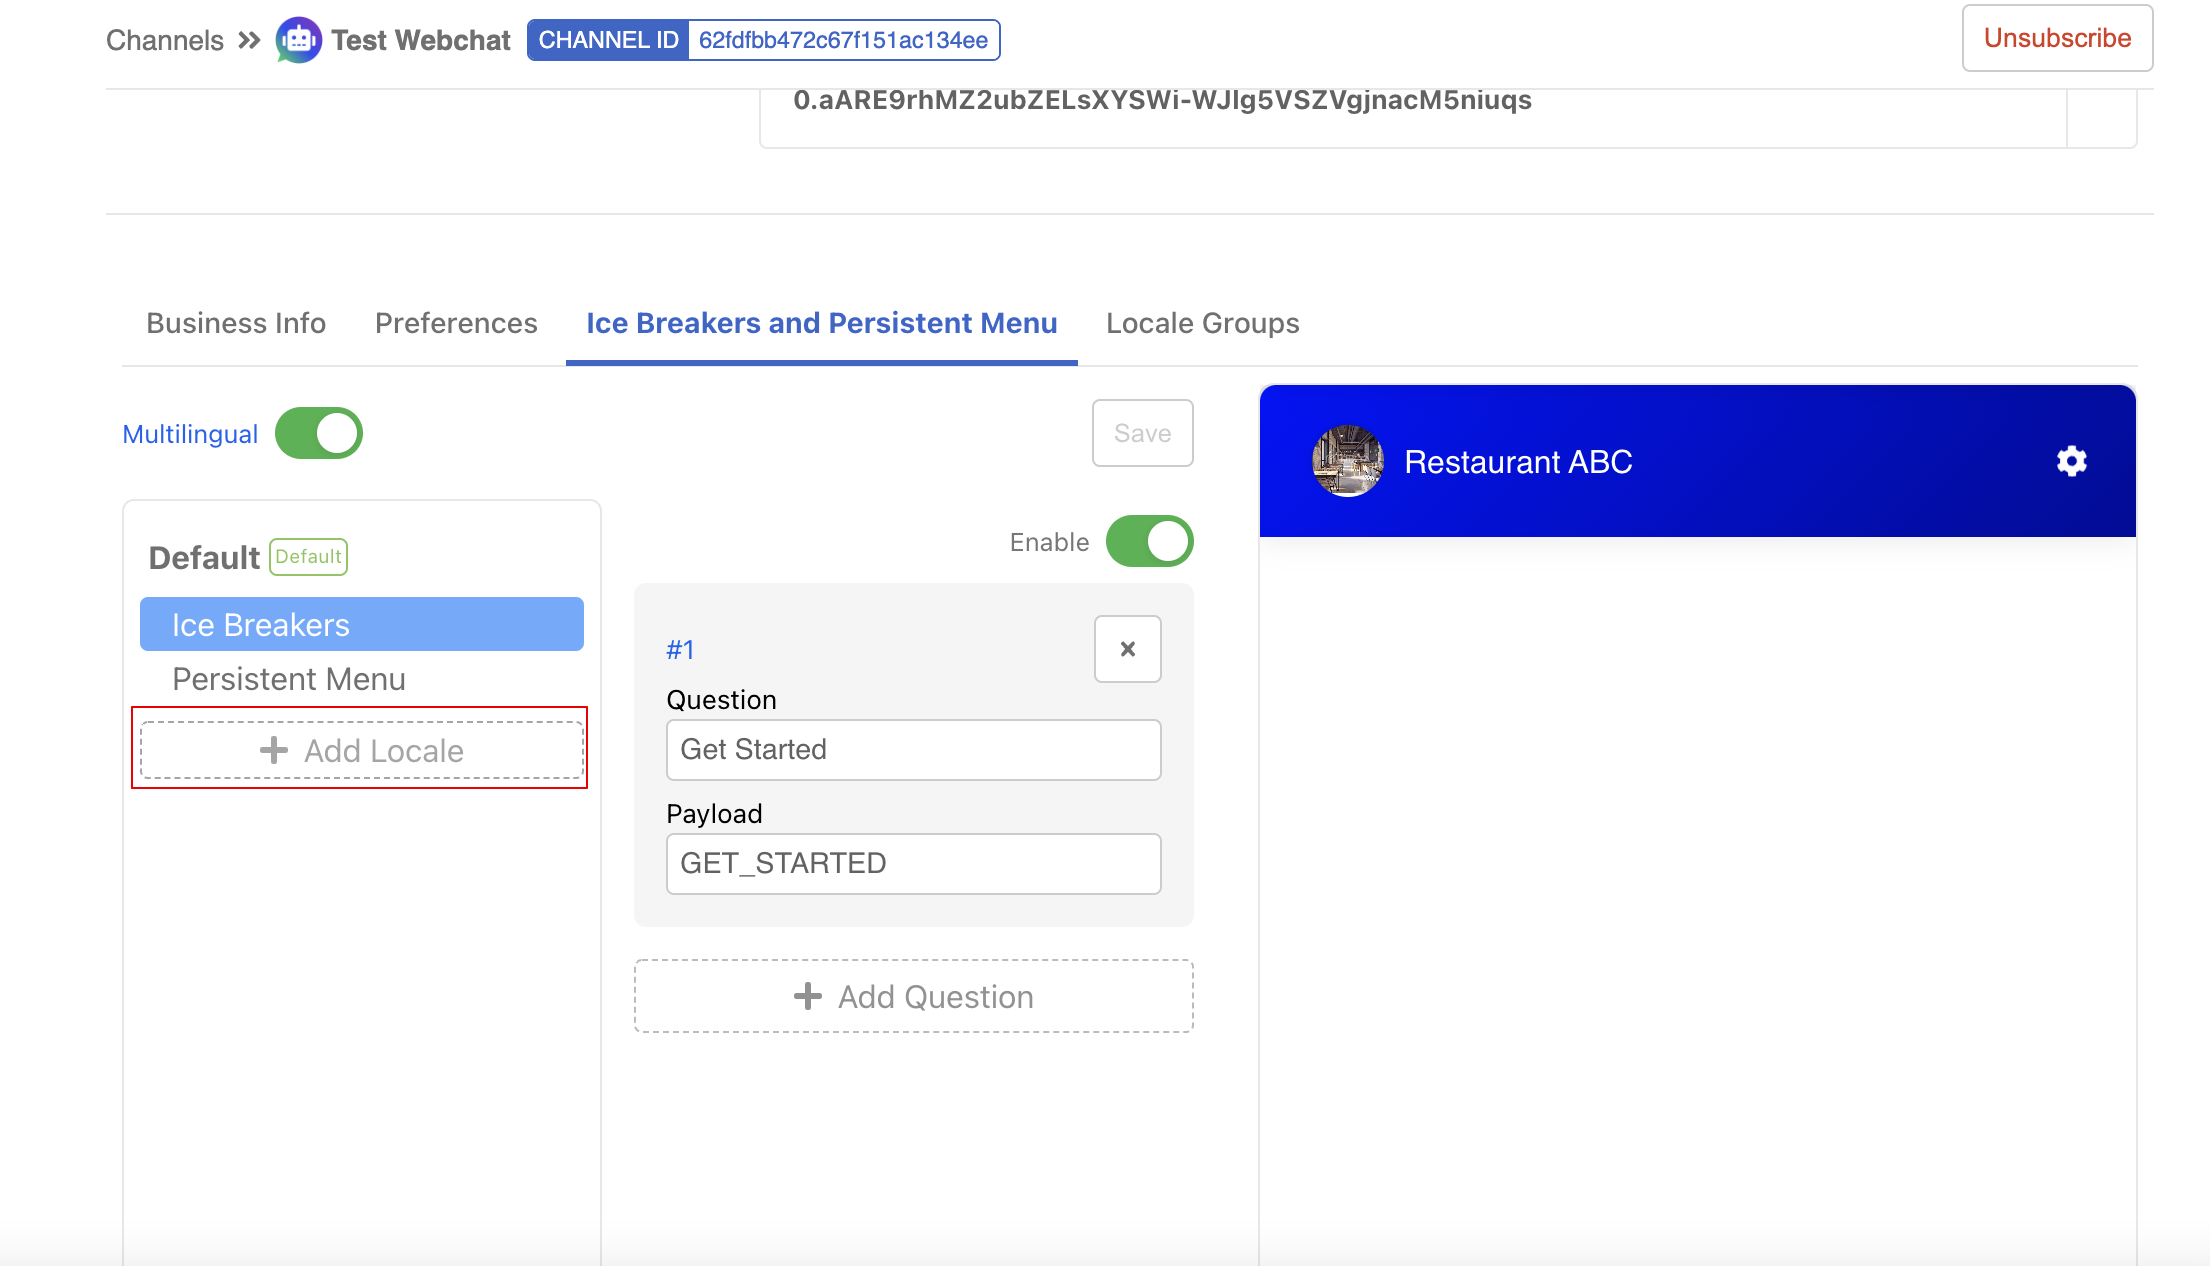
- Select the locale group you have just created. For example,
Spanish.
- Select "+ Add Button" to start adding new persistent menu button.
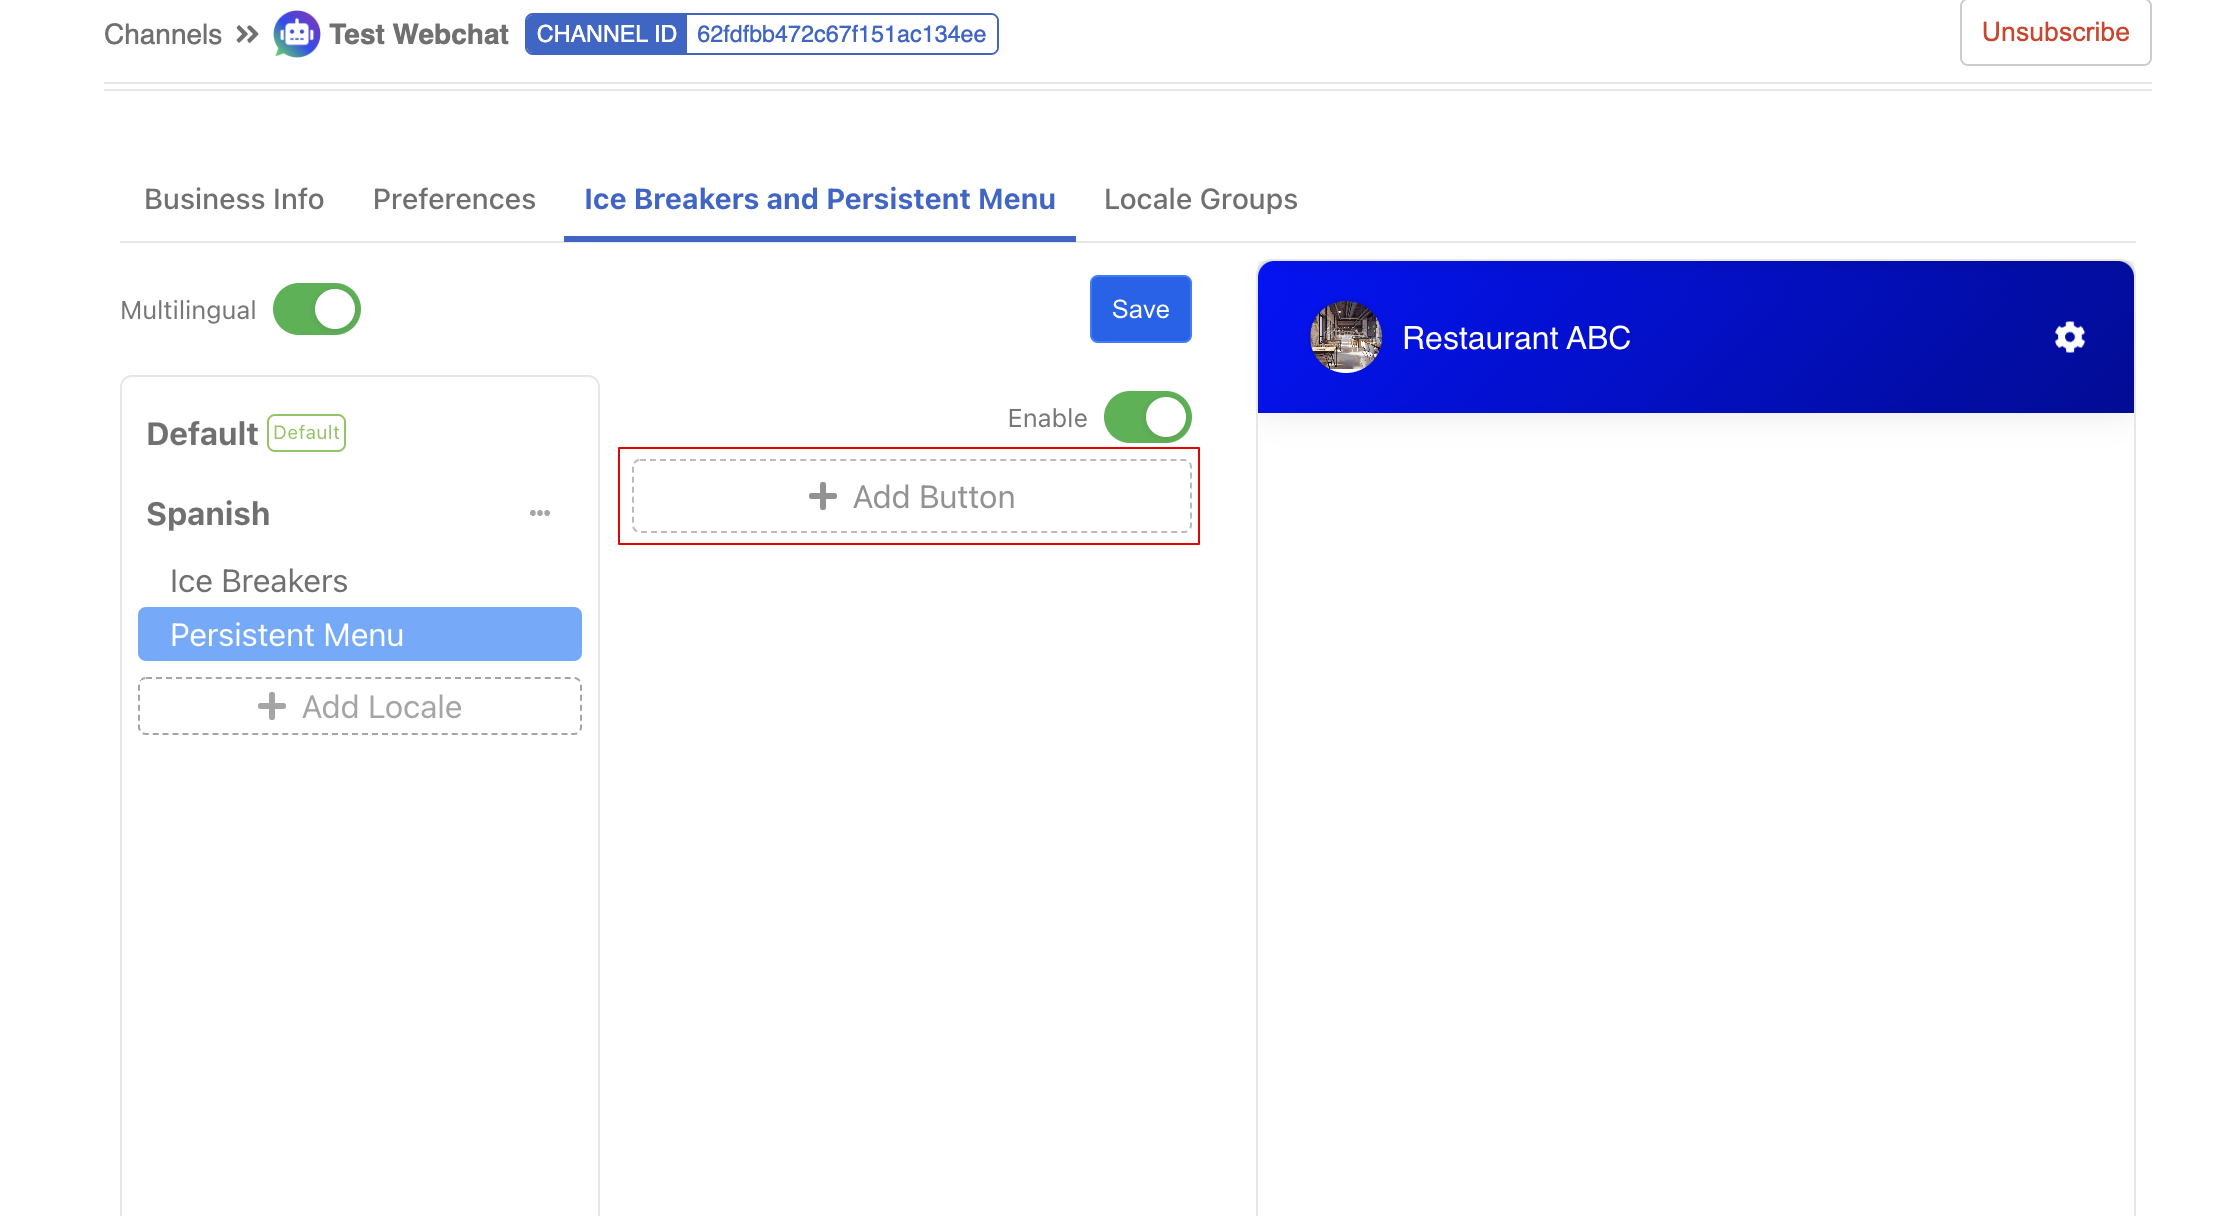
- The button created is another set of buttons under
Spanish, which is separate from the default buttons.
NOTE
The difference should be the language used in the text. The payload should be consistent in all locale settings.
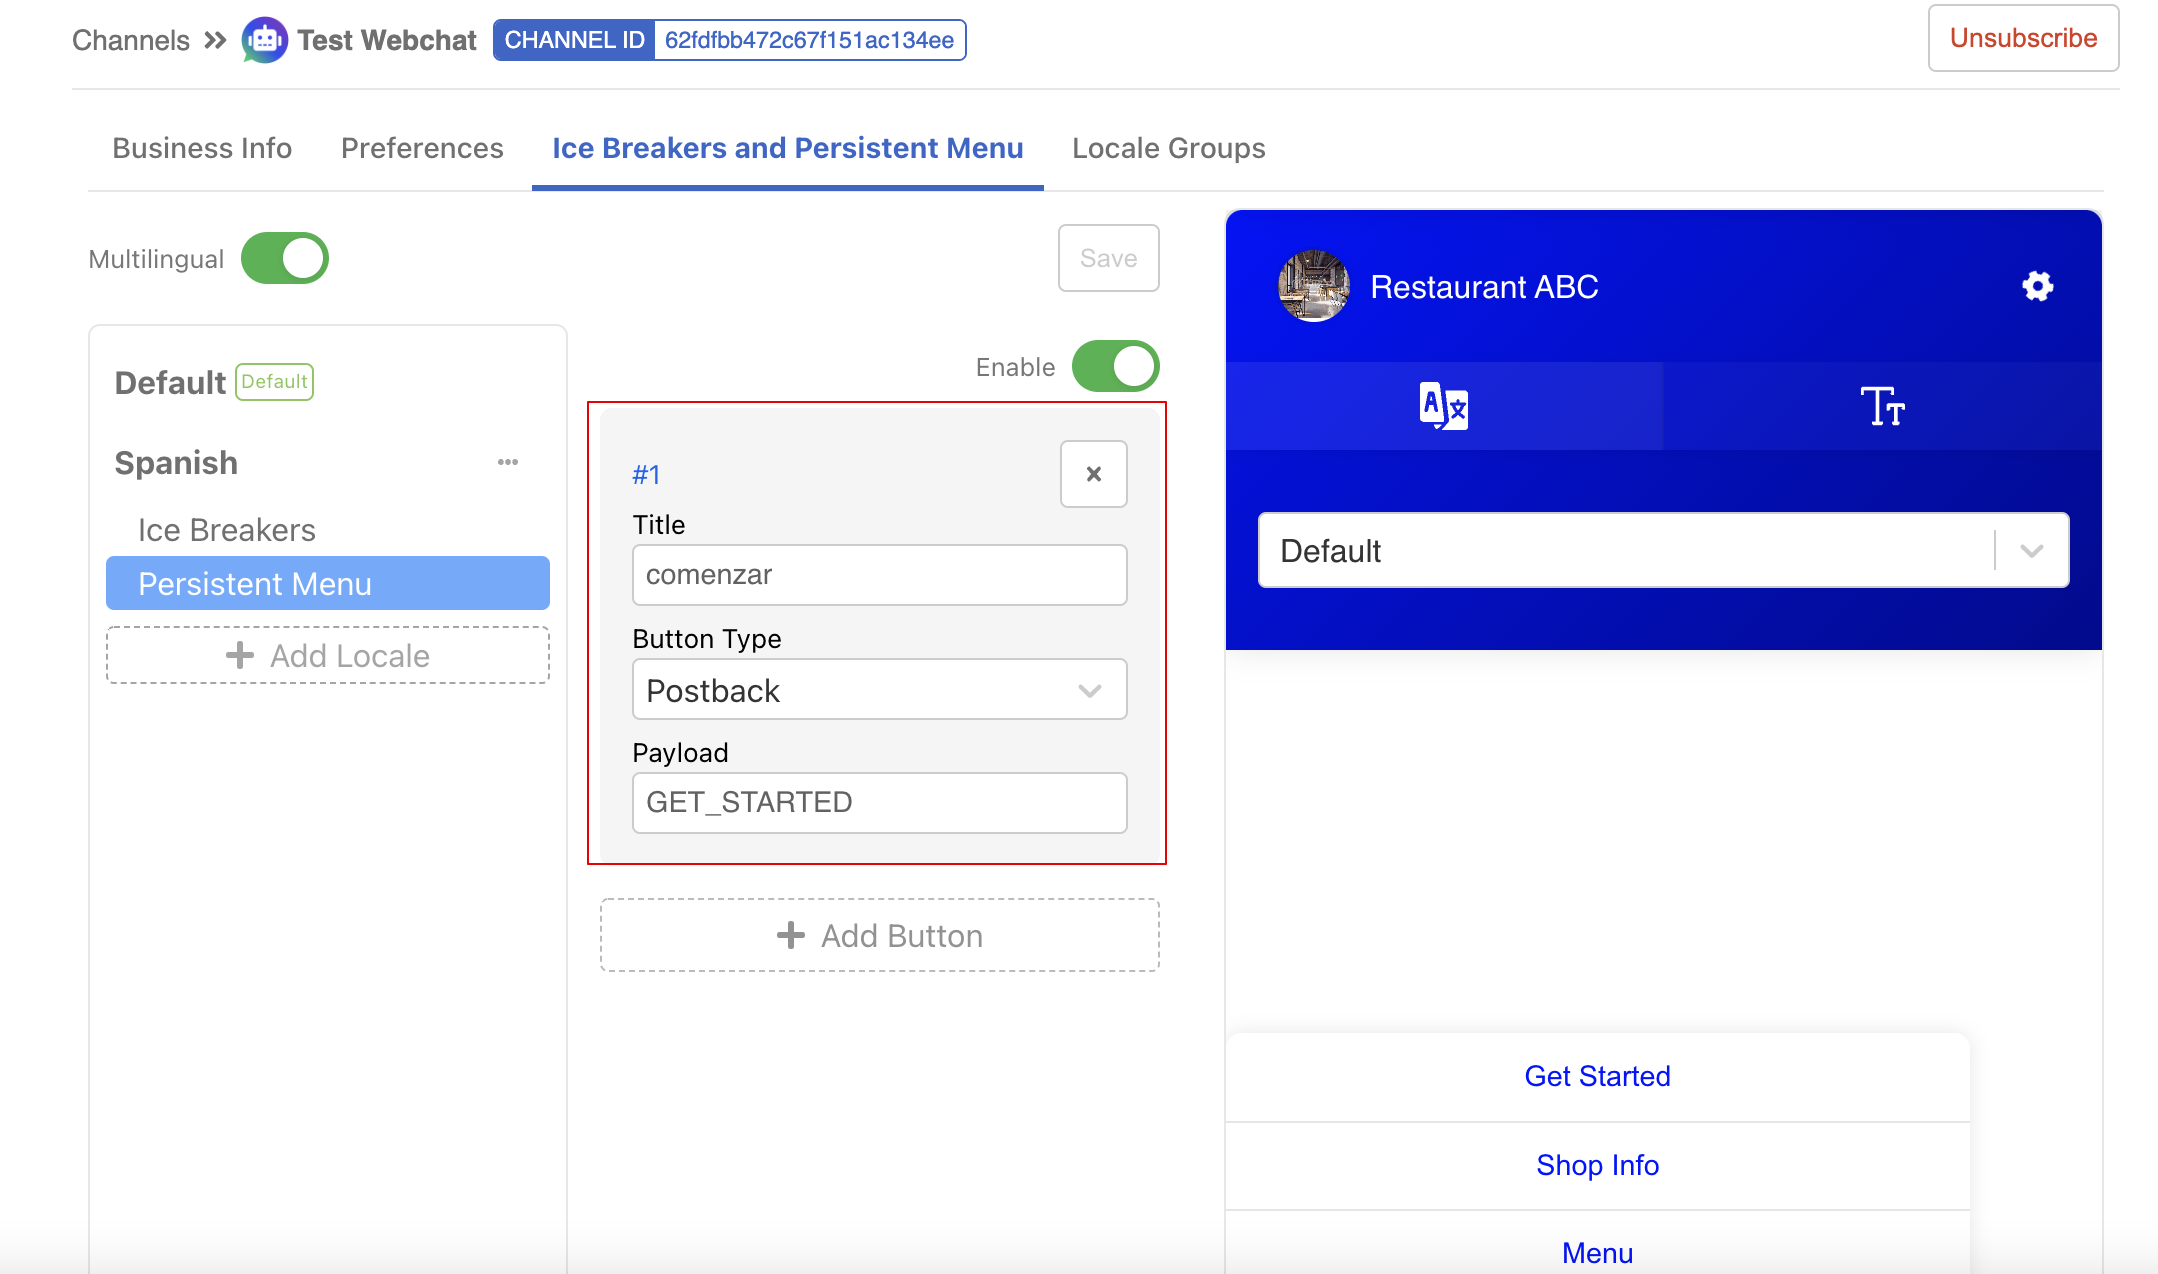
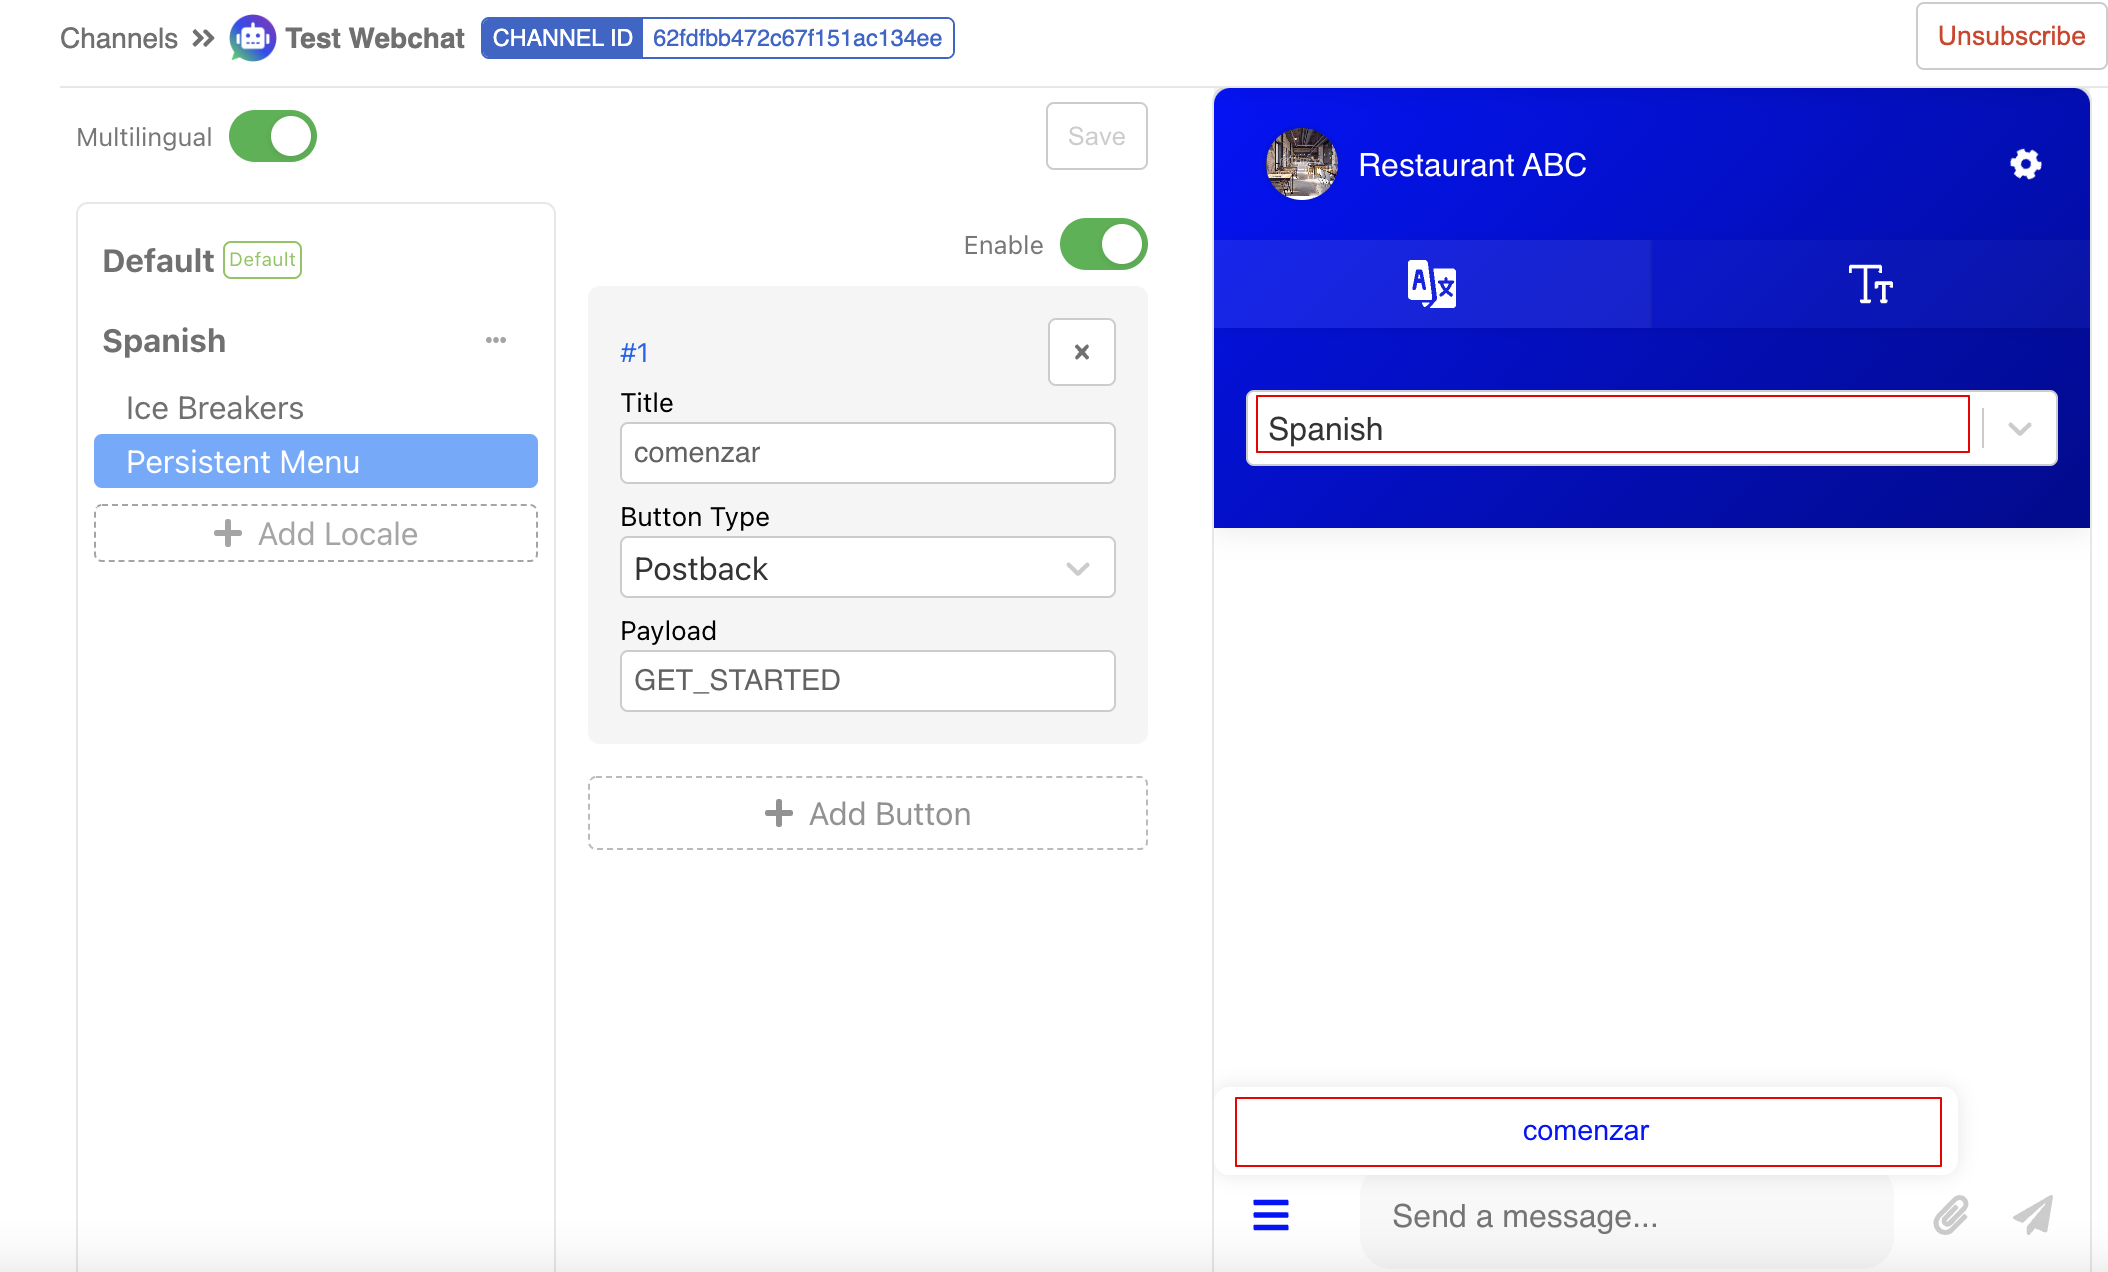
- The locale version of buttons will change according to the selected language settings.
Add Locale Group in Response
Next, we will need to create a locale variation for the existing response.
- Head to Web Chat chatbot, select the first general node which contains the greeting message.

- In the response, extend the tab and select "+ Add Locale Group".
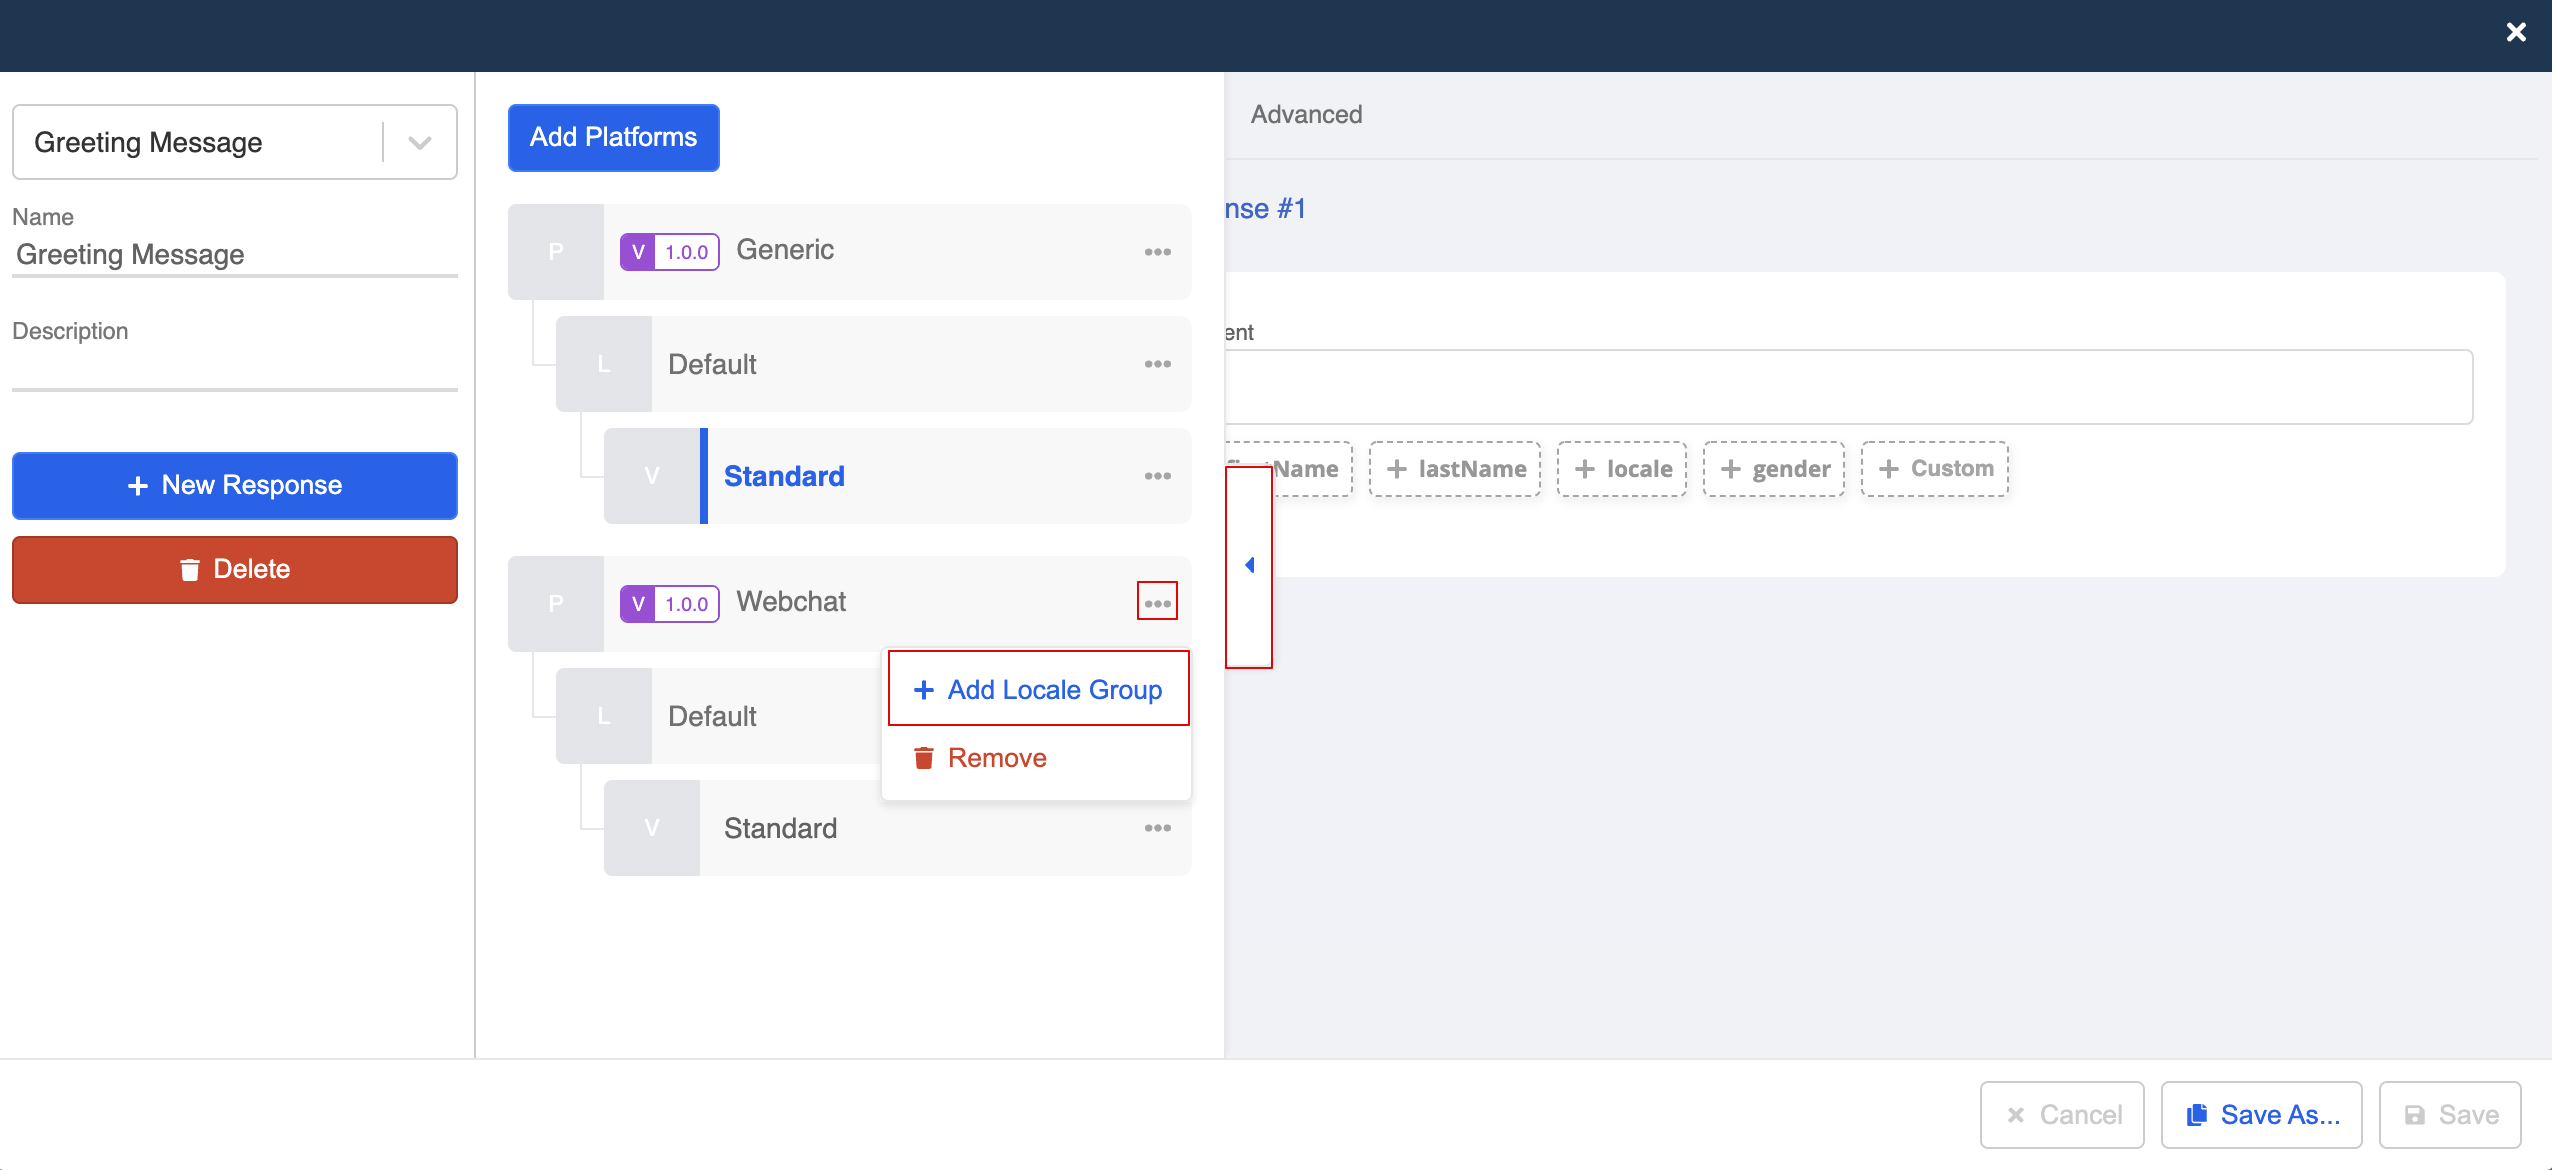
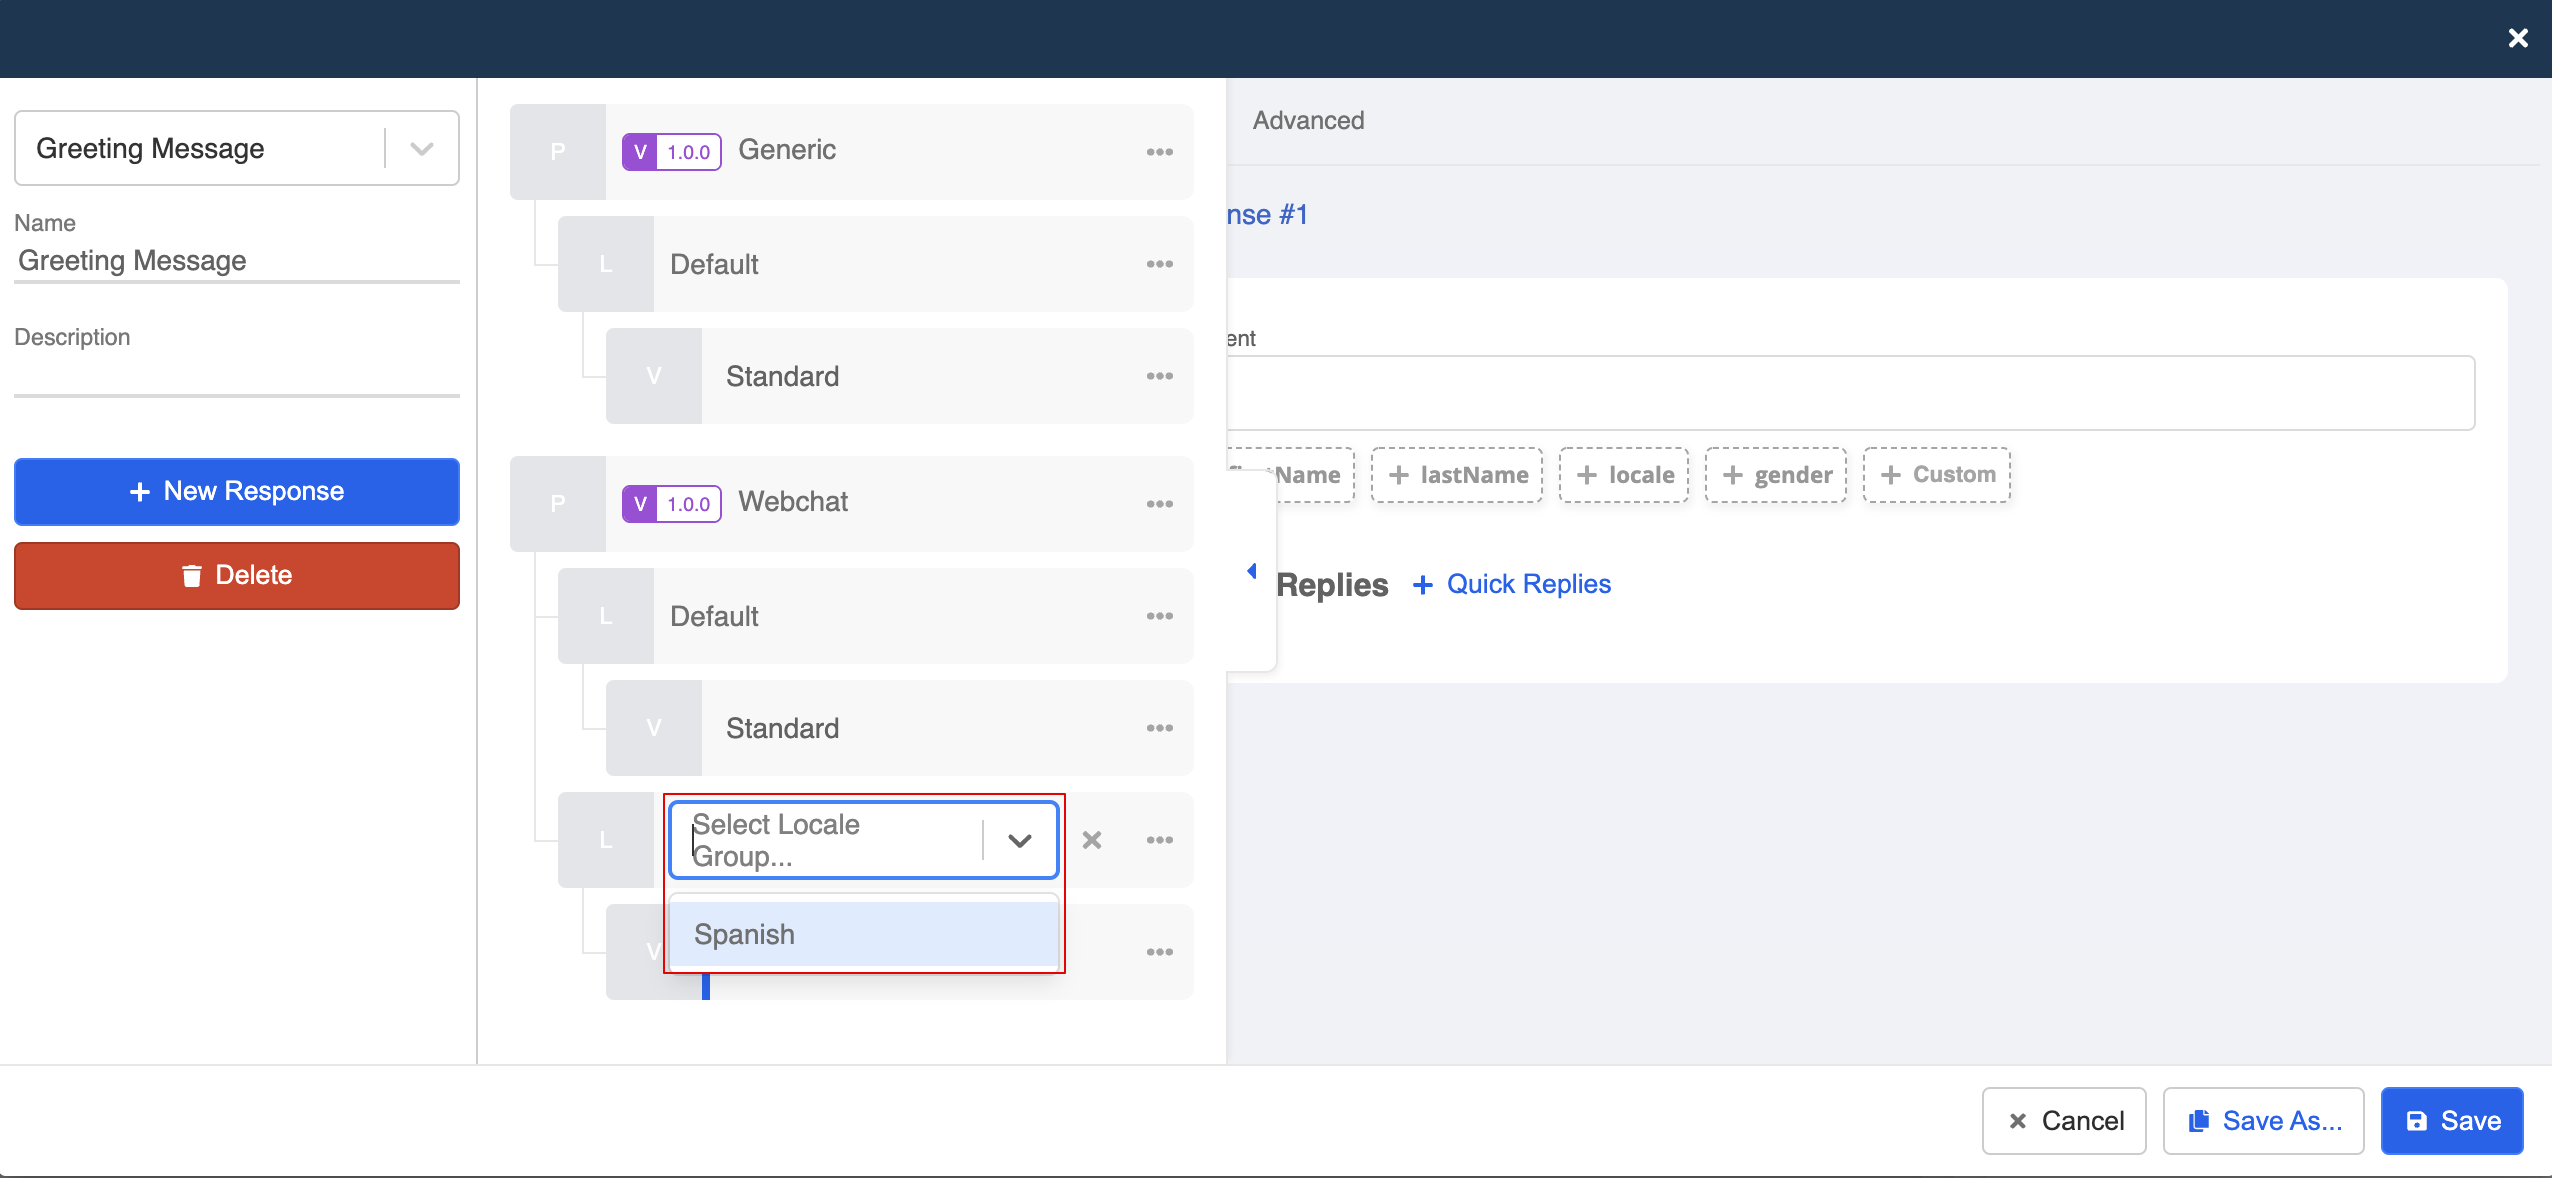
- Select a locale group. For example,
Spanish.
NOTE
The locale group available in response modal is based on what you have created in the settings page.
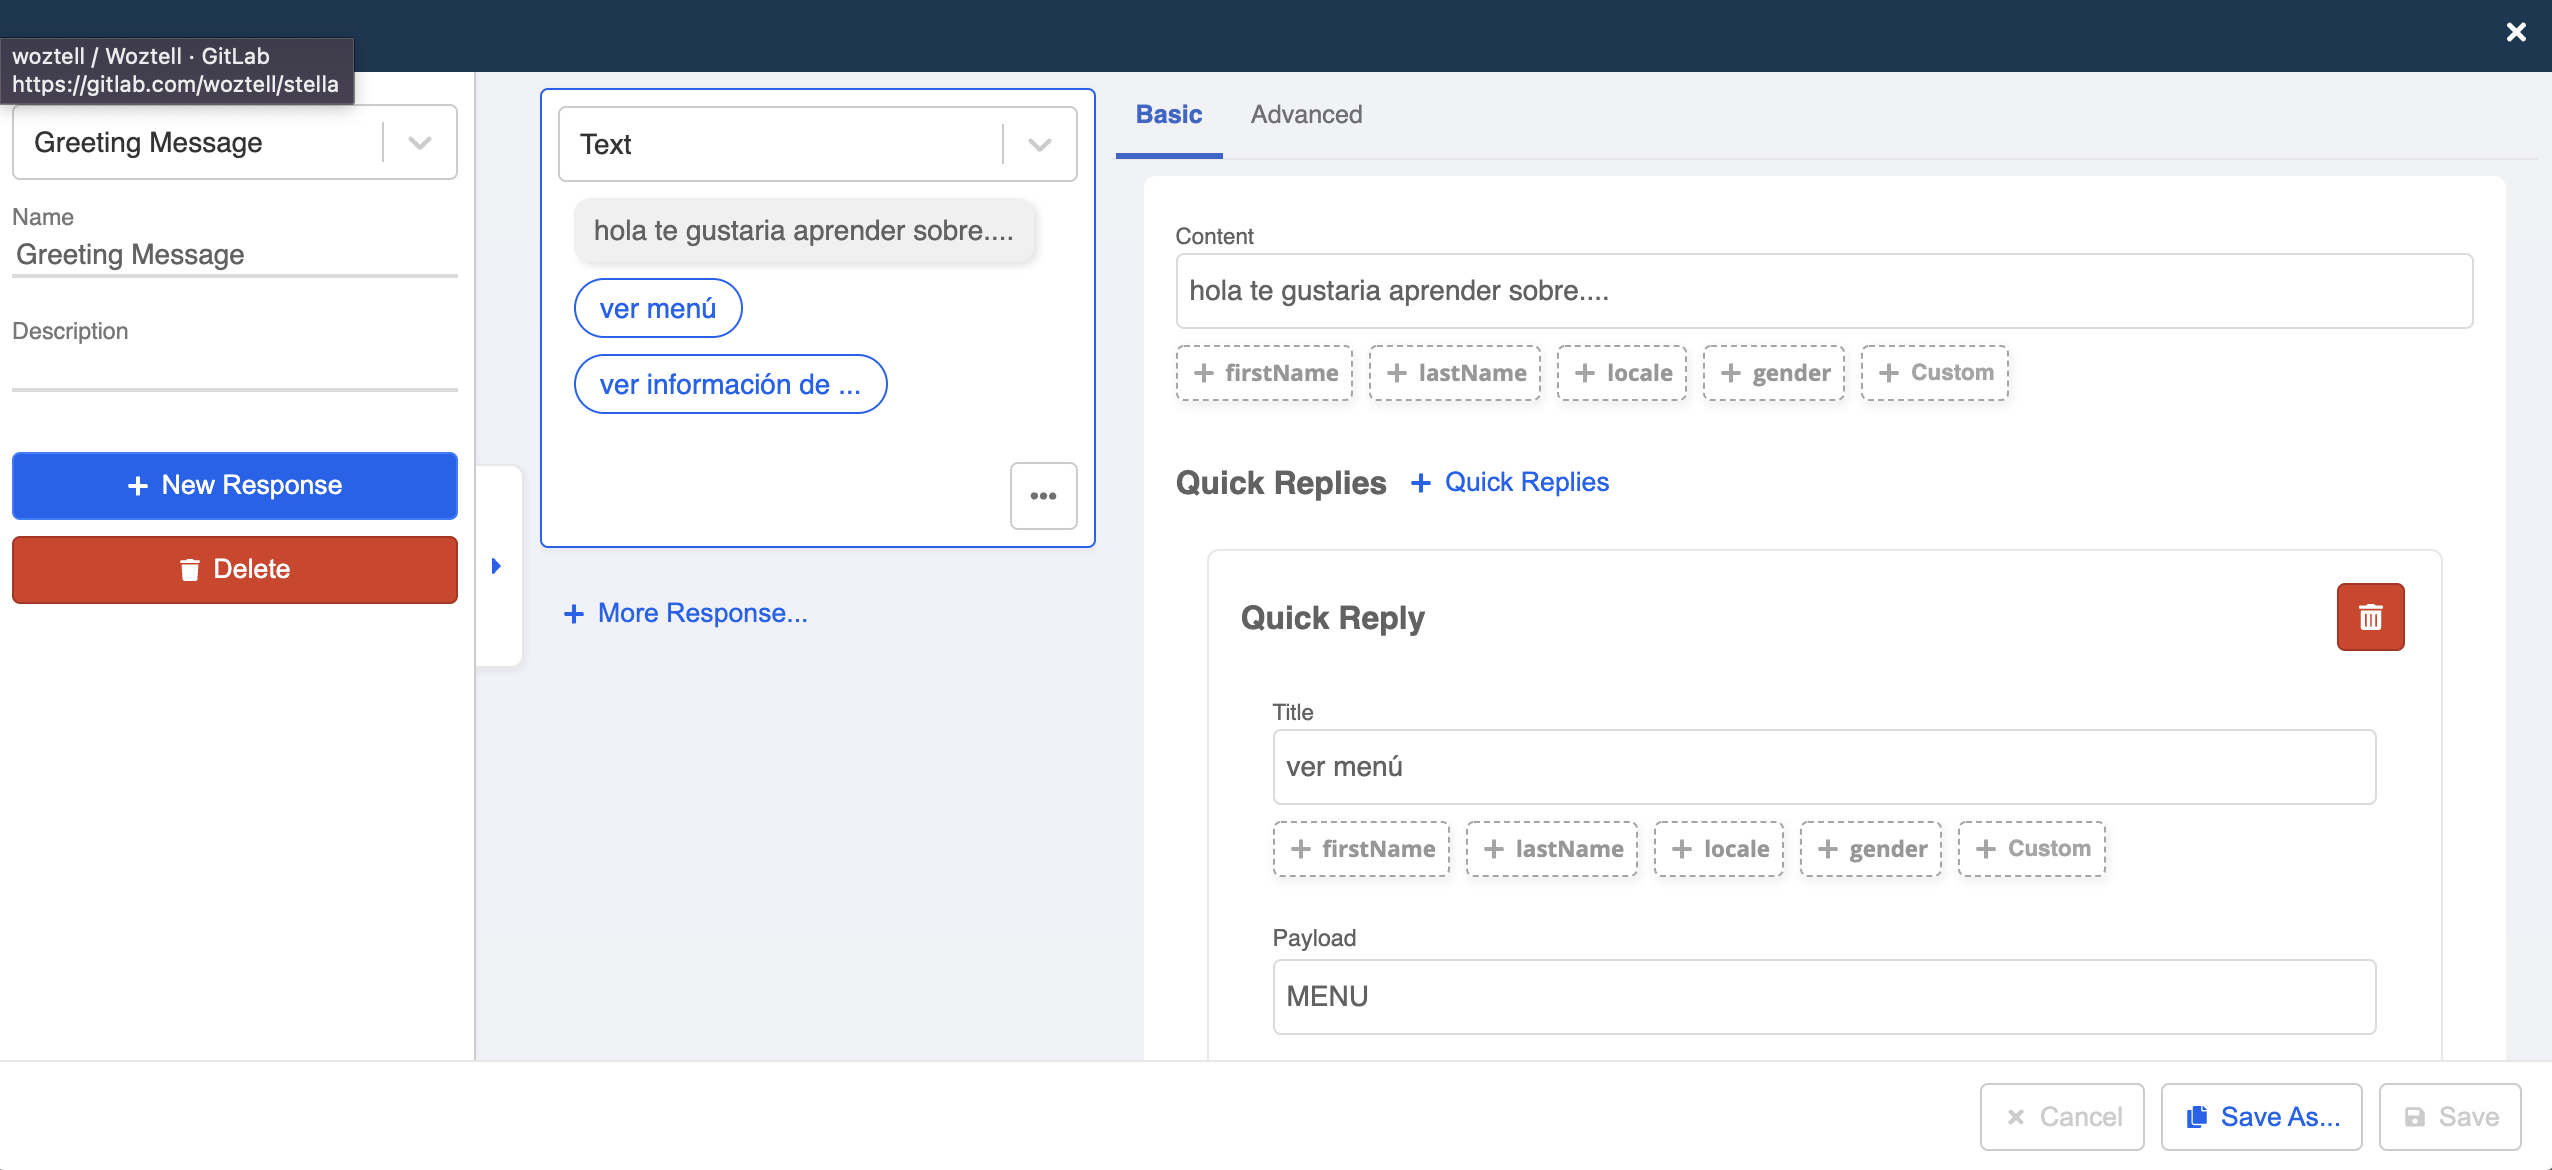
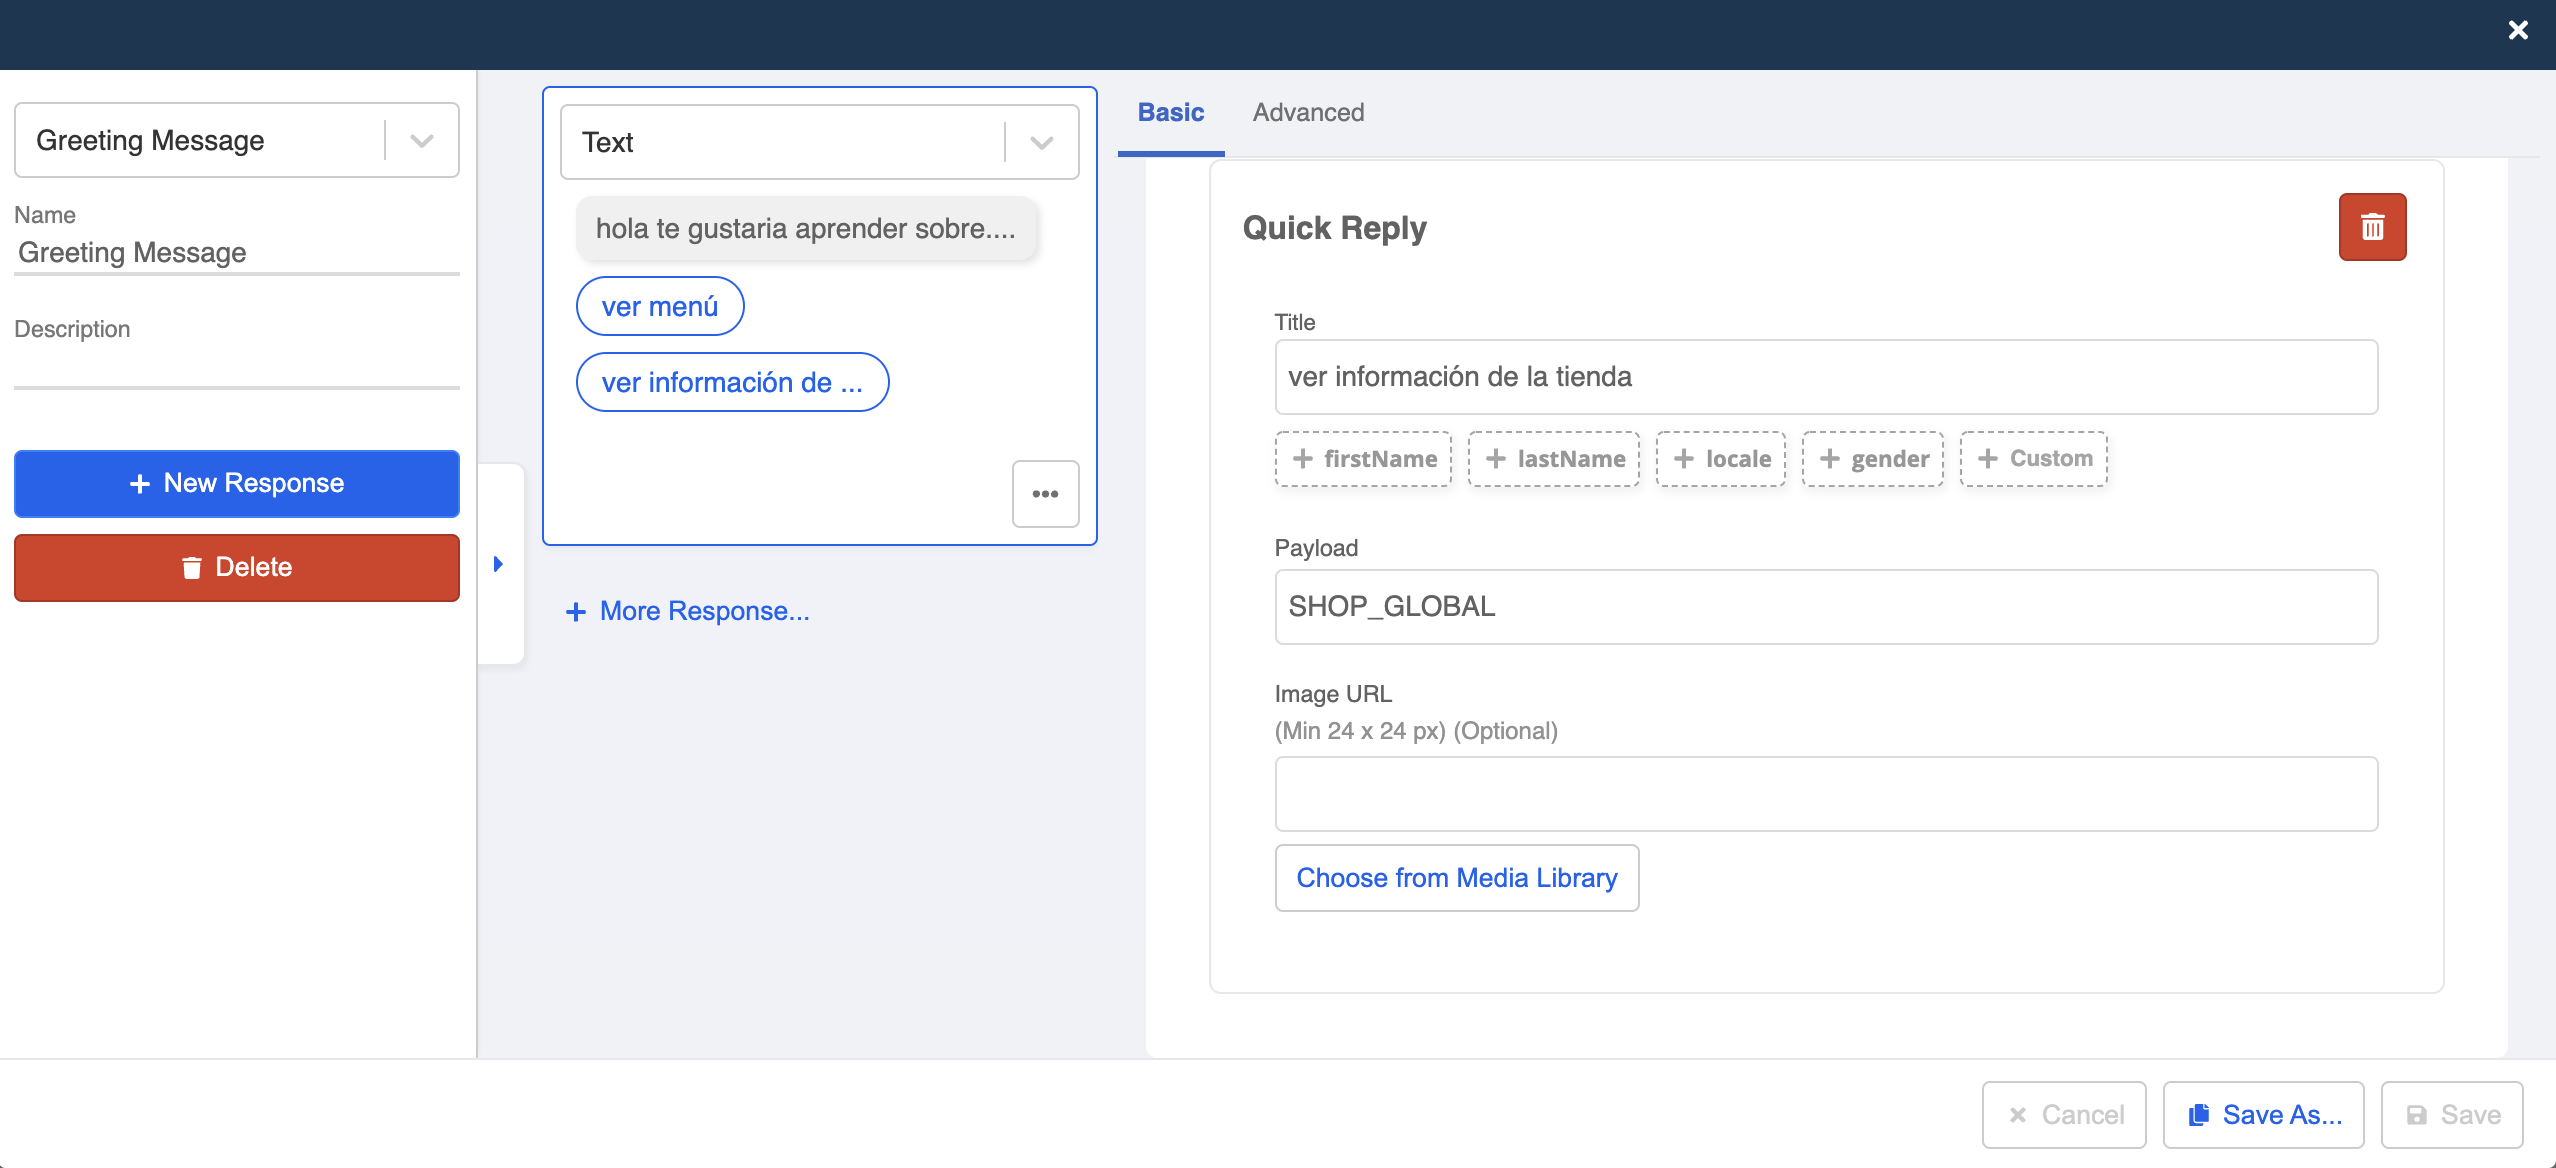
- Create an identical response, but translate the text content into the preferred language.
NOTE
The difference should be the language used in the text. The payload should be consistent in all locale settings.
- Now, in "Platform", open the full page web chat in "Test your bot" and try out the multilingual settings.