Build Child Nodes
Child Nodes are the nodes that come after the first node and they can be in the second layer, the third layer or even the layers after. Users cannot access any Child Node if they are not on the designated path.
In this section, we will complete the rest of the chatbot flow, and add more buttons to the persistent menu as shortcuts to different checkpoints of the flow.
Expected Outcome
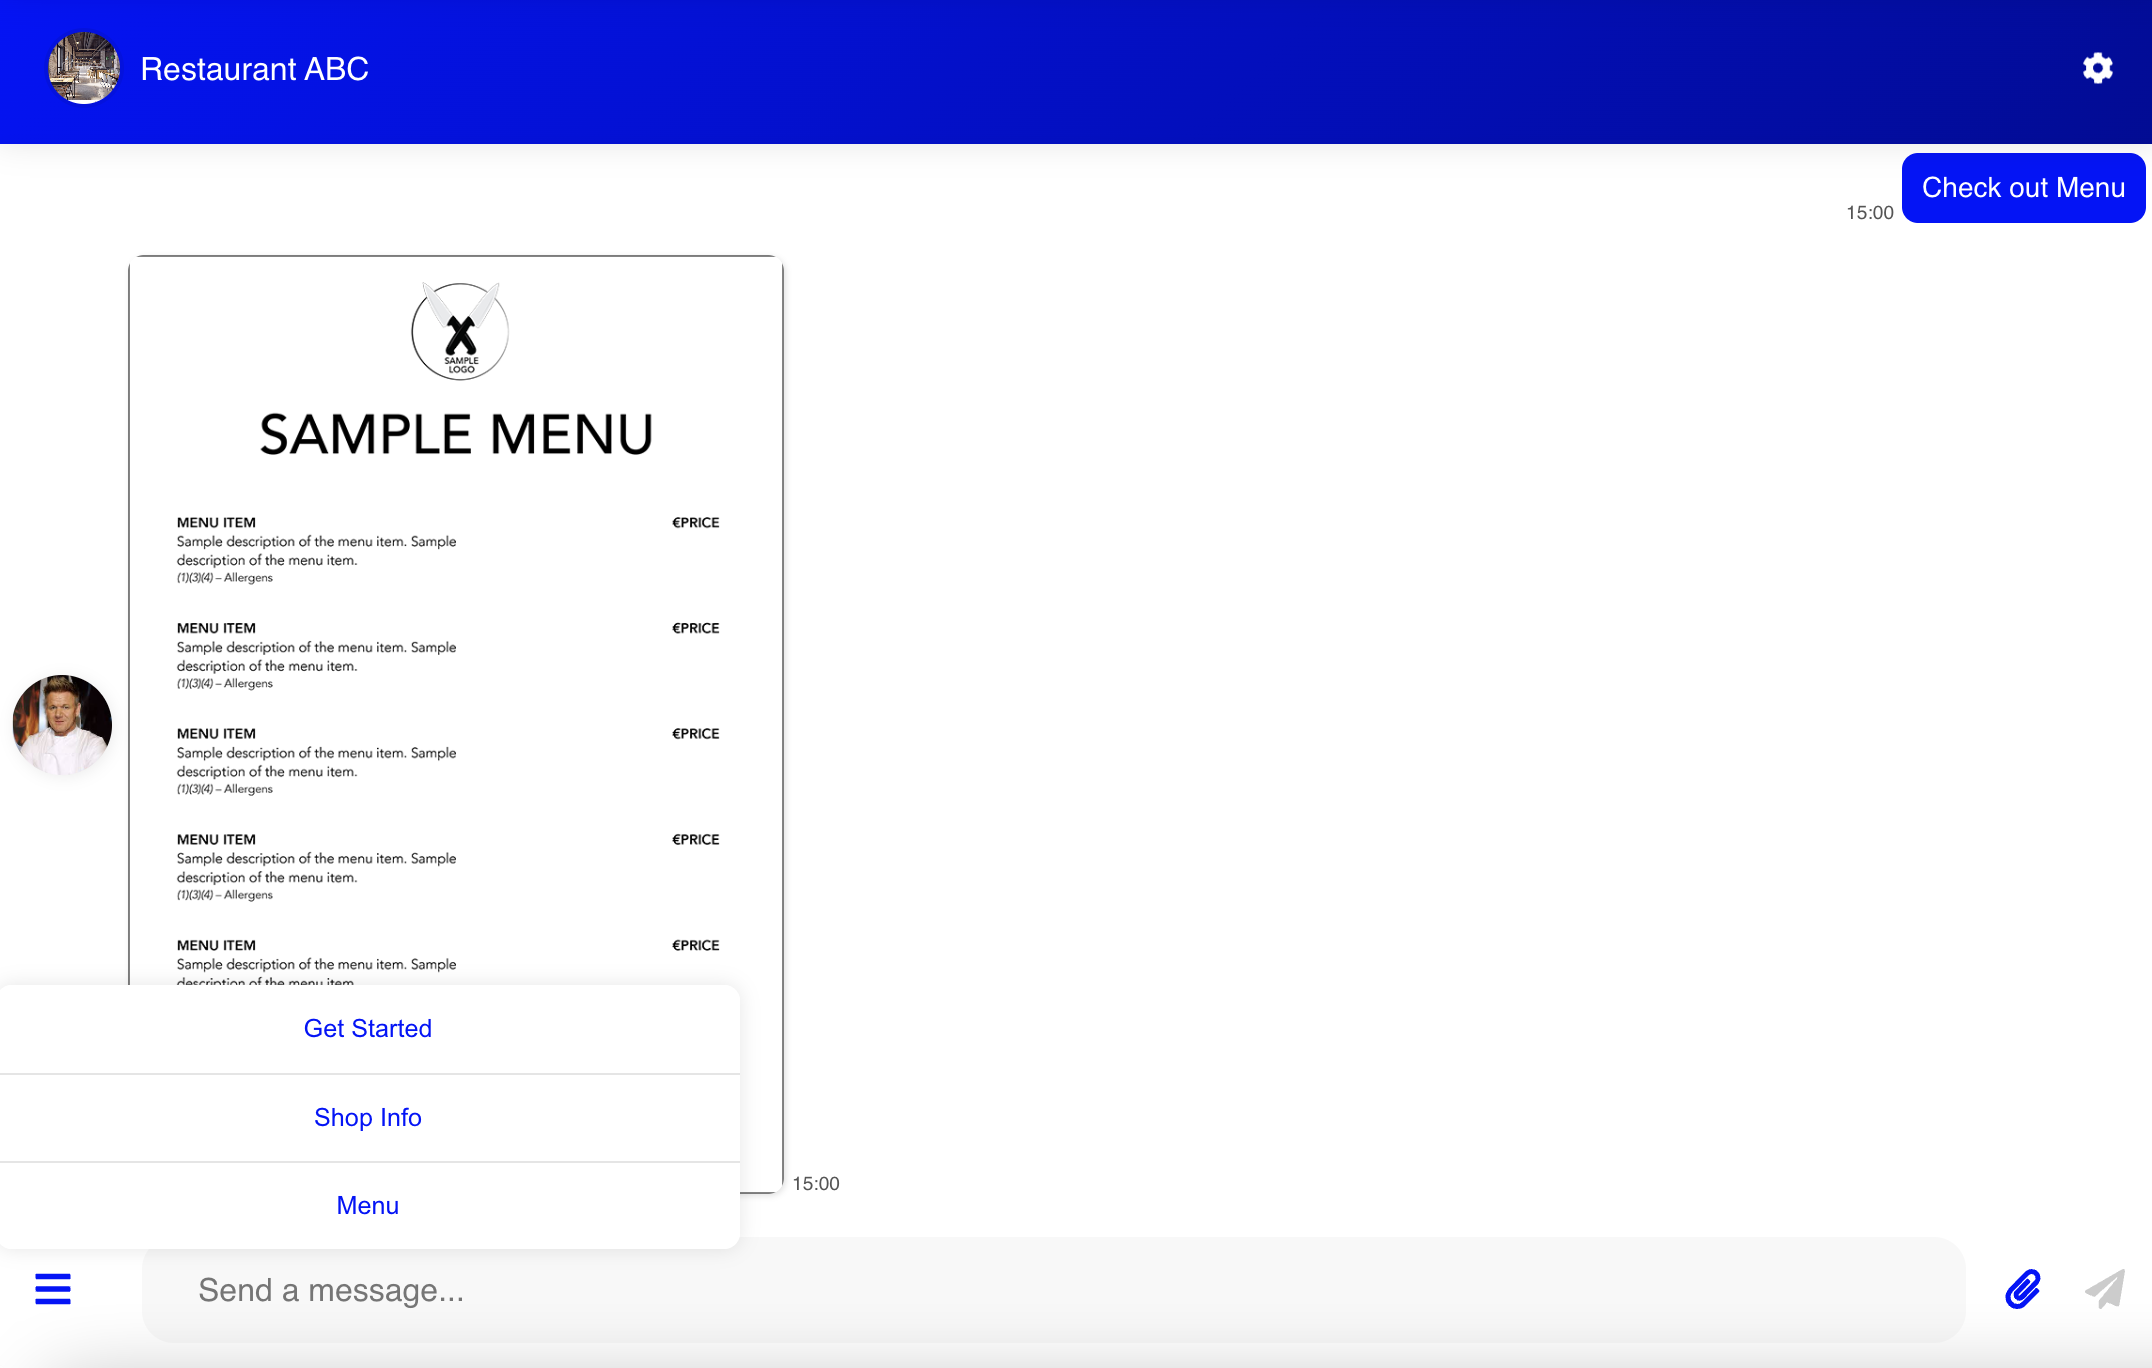
By selecting "Main Menu" or "Shop Info", user can receive the corresponding information. The additional buttons in persistent menu create shortcuts to these flow as well.

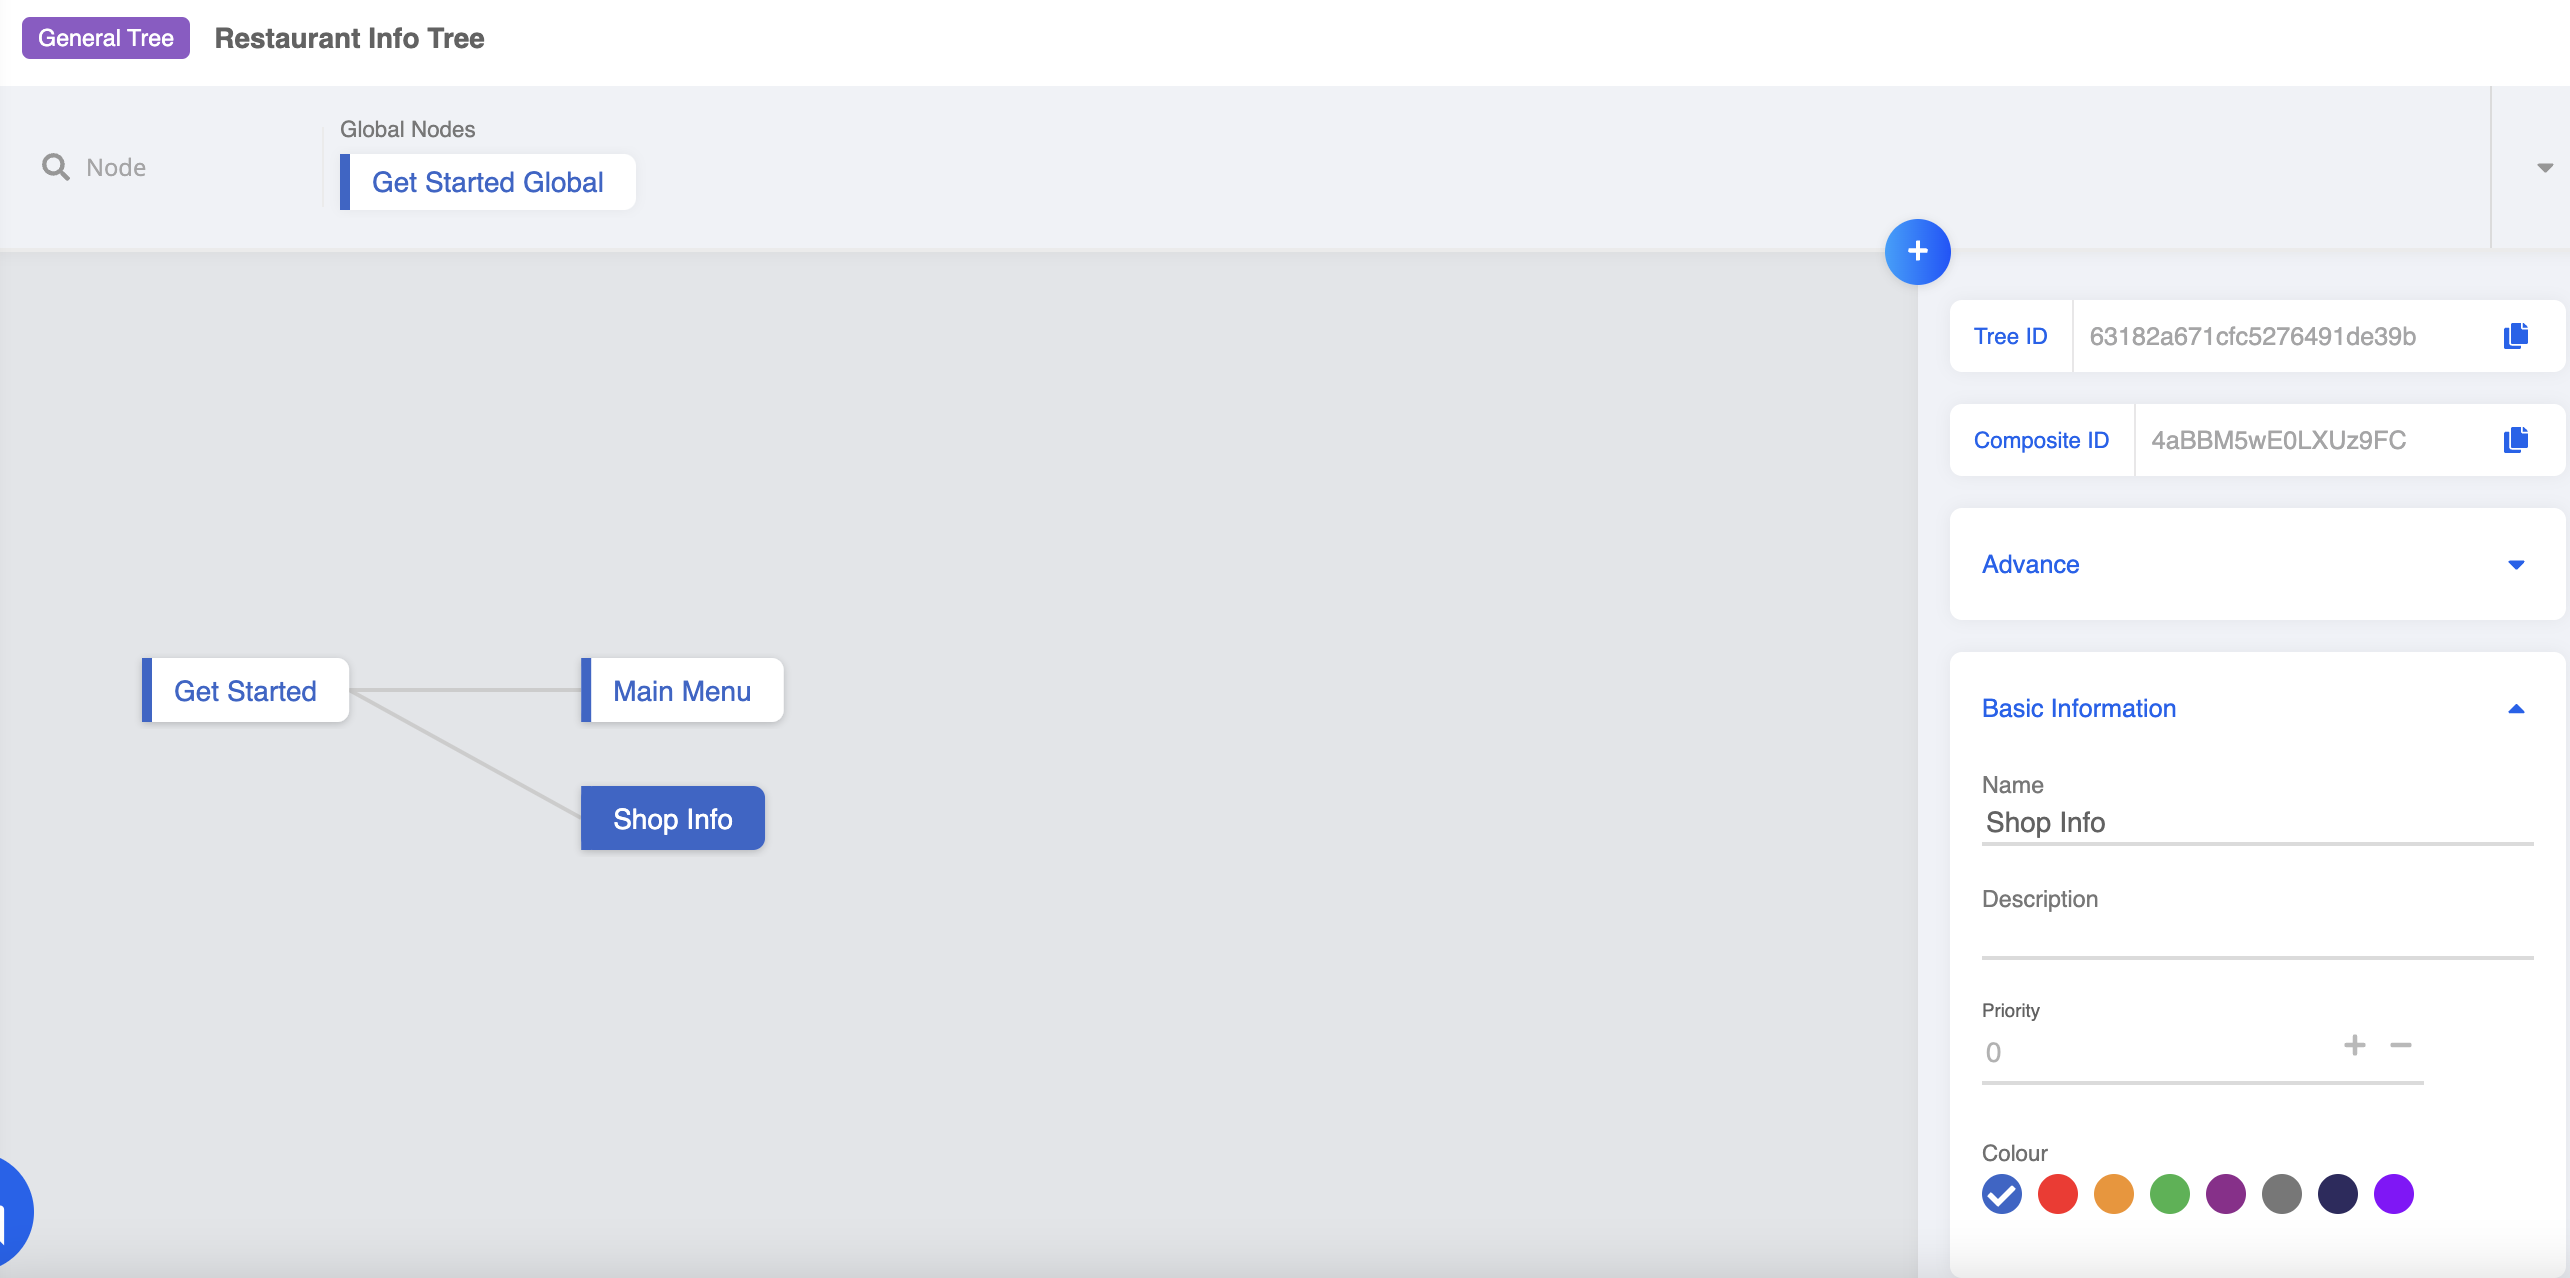
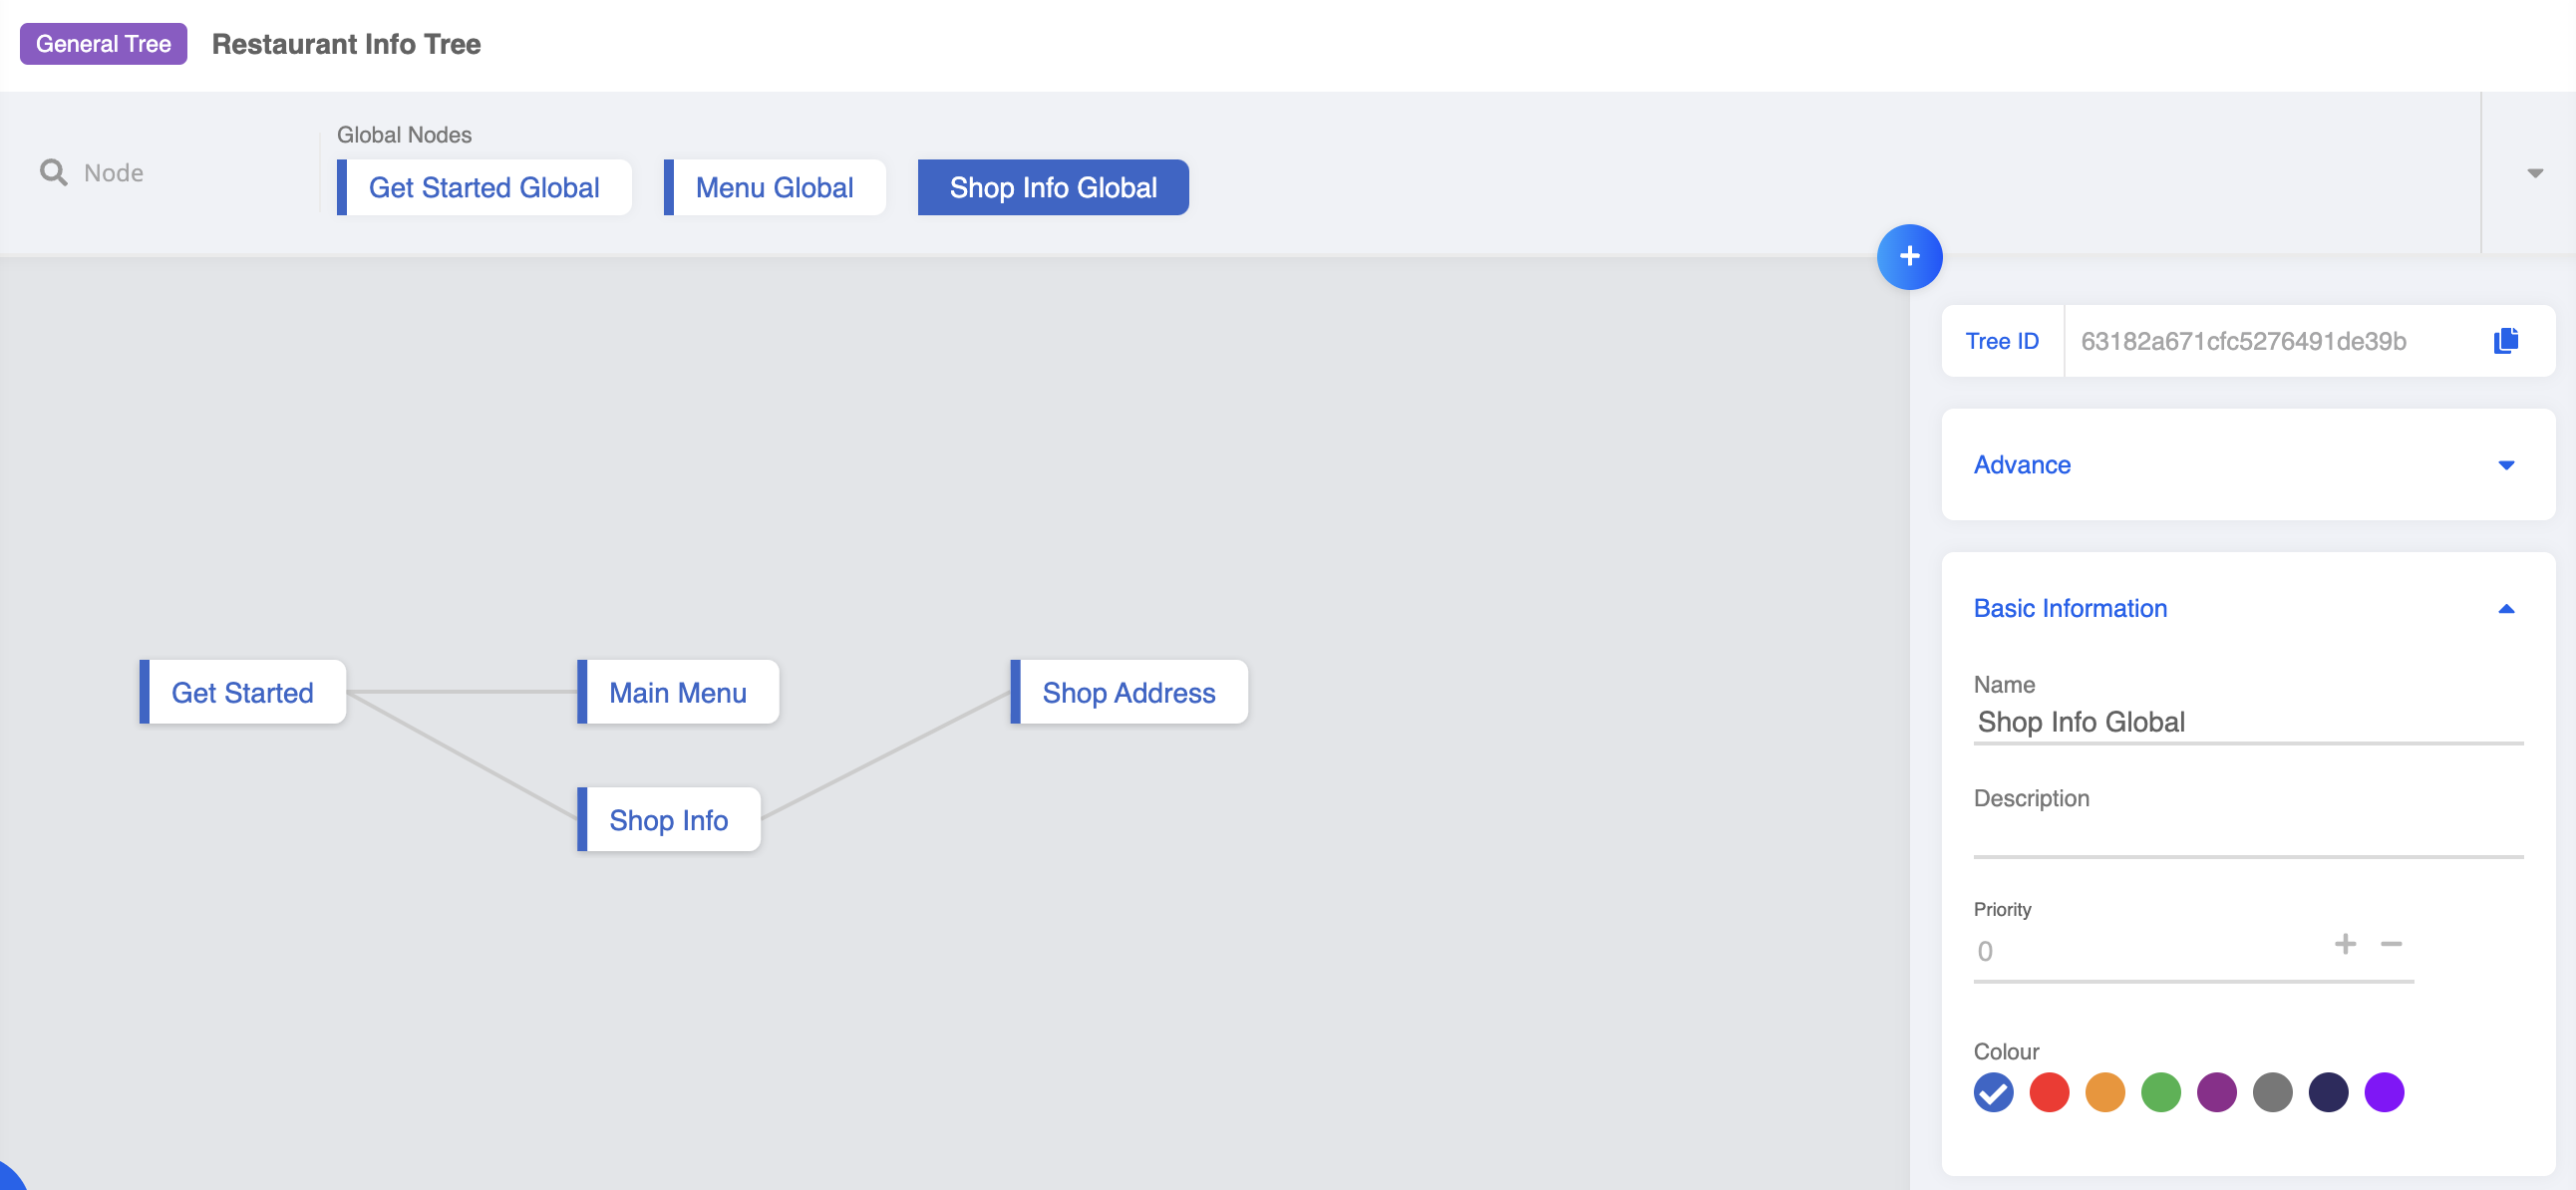
2nd Layer Child Node: Main Menu
In the greeting message, we provided two options to the user. Let's build a new general node to complete the user journey.
Head to Bot Builder and start working on your chatbot.
Create a new general node following "Get Started", this is for displaying the restaurant menu.

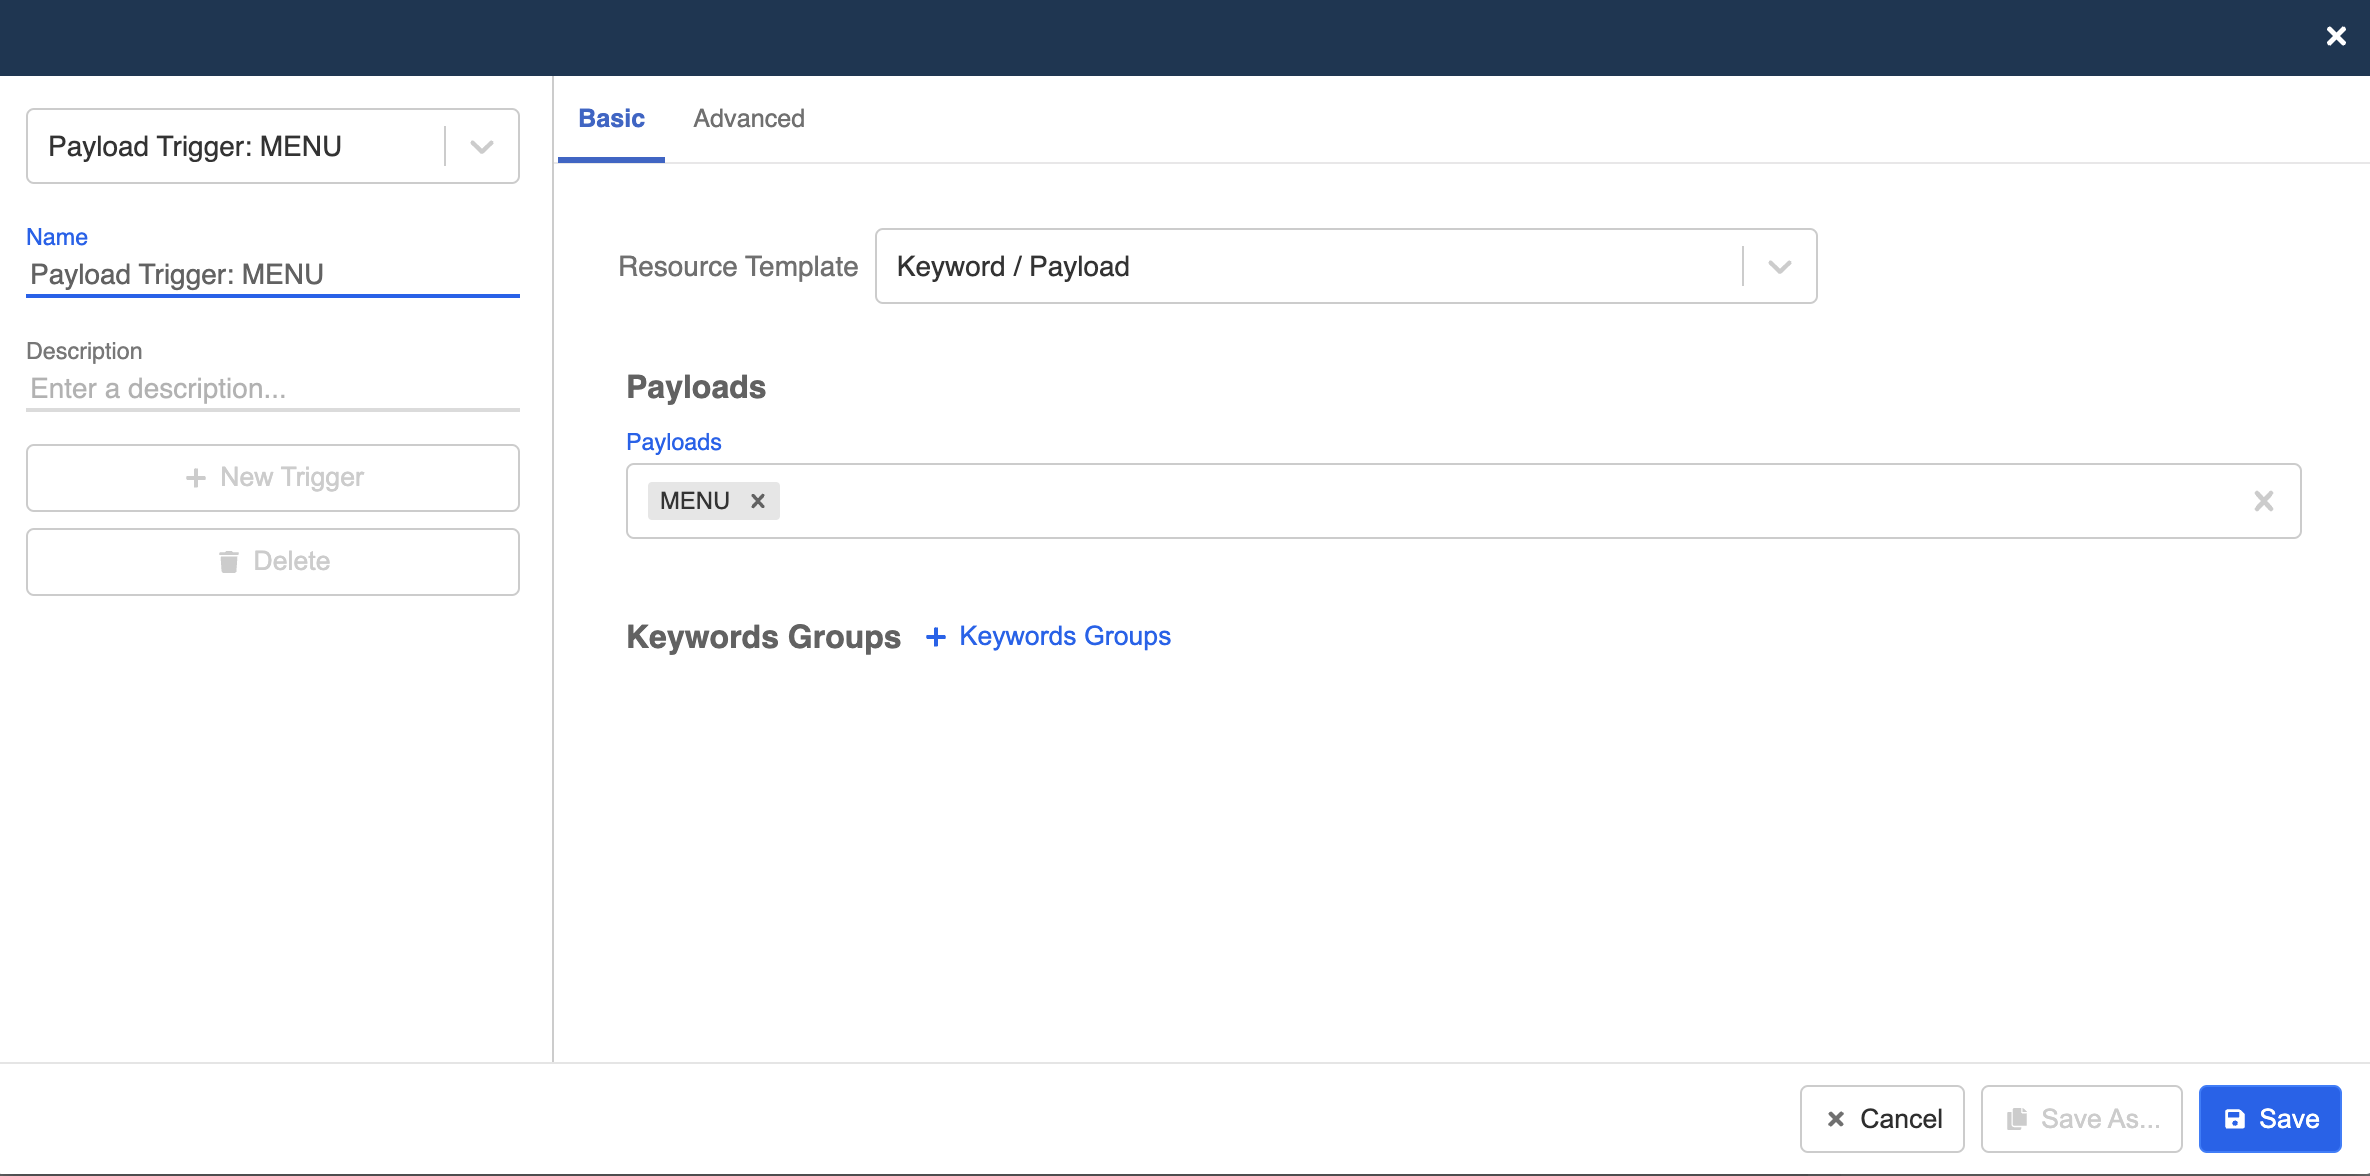
- Create new trigger. Select "Keyword/Payload" and enter the payload value. For example,
MENU.
NOTE
The payload value must match with the payload assigned to the button in the previous node.
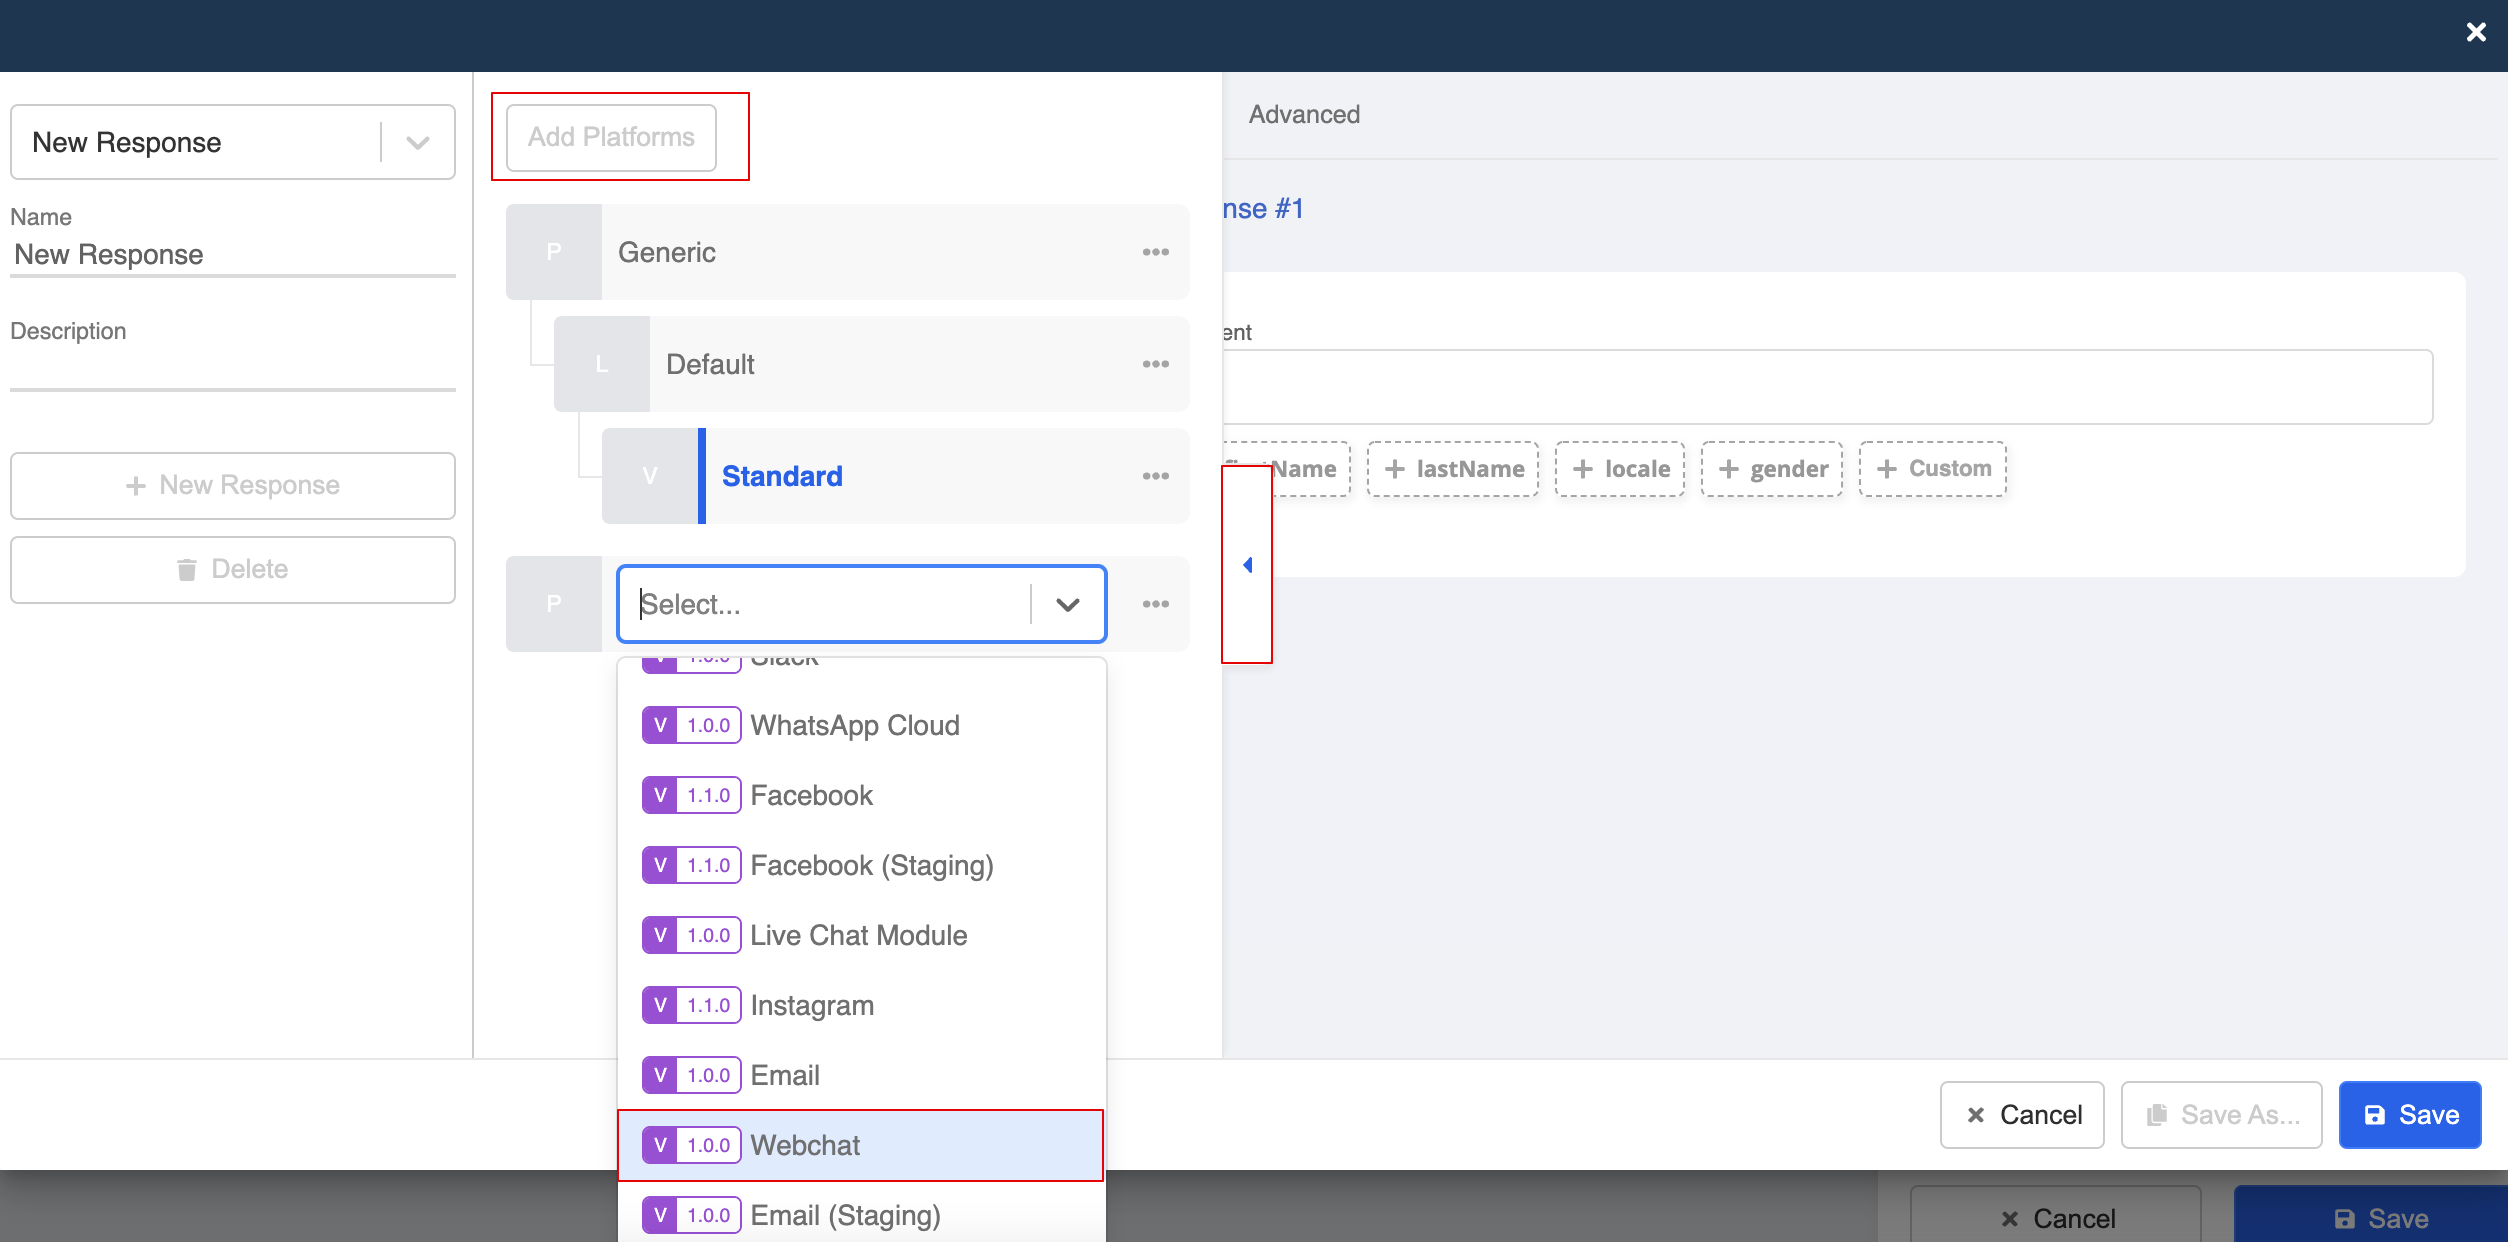
- Create a new response, select Web Chat response.
- Select image from the message types picker.
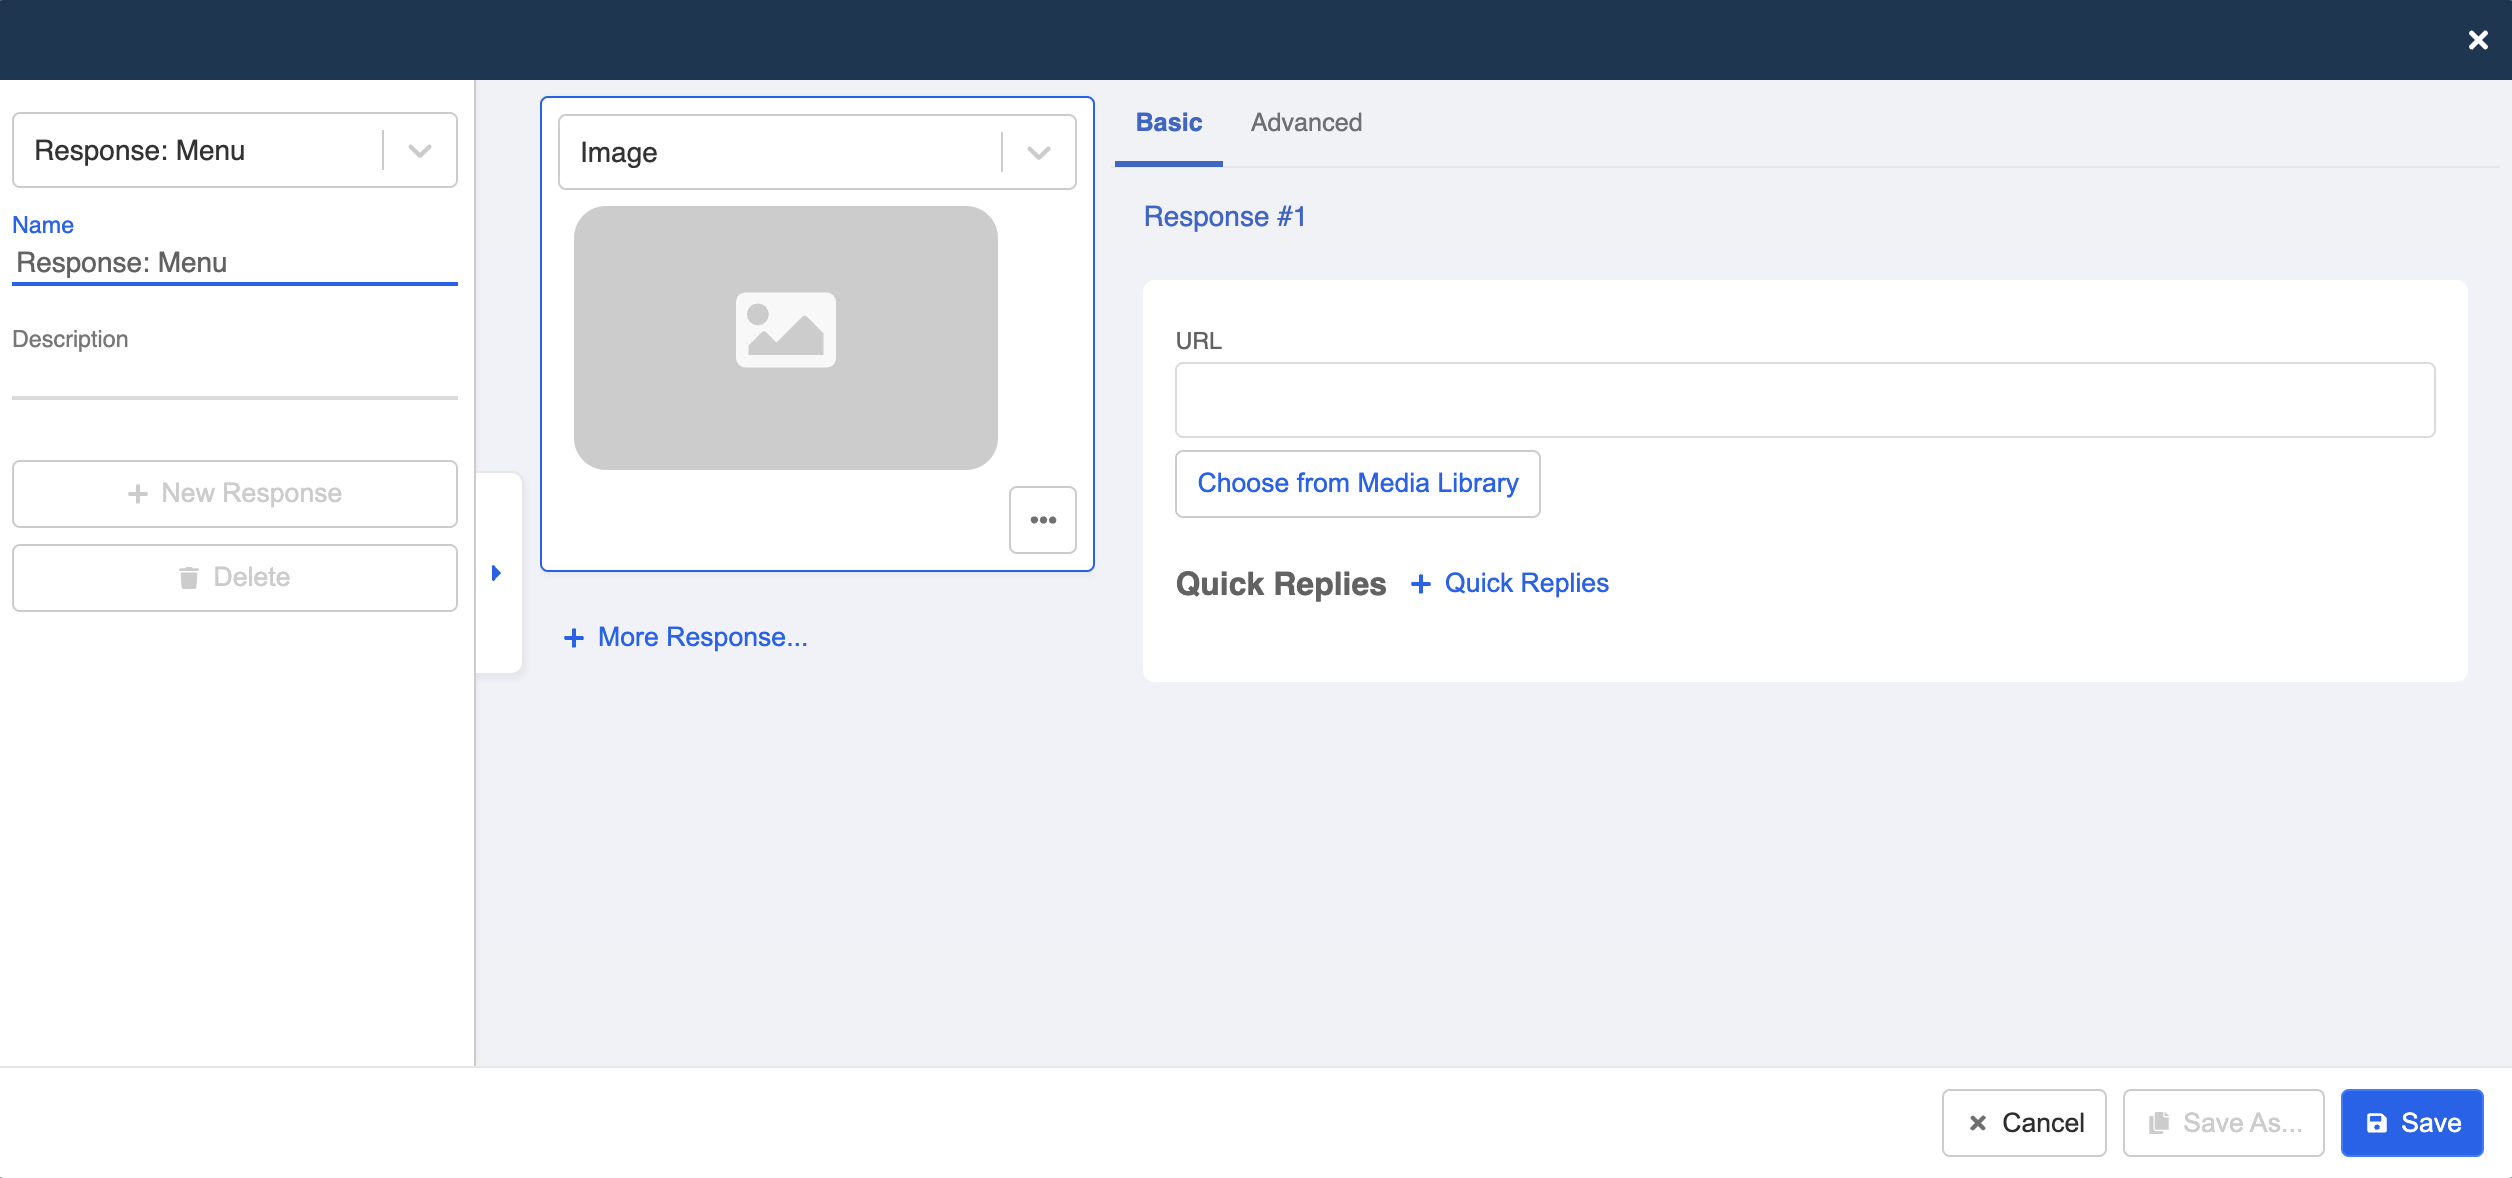
- Upload an image of the restaurant menu.

2nd Layer Child Node: Shop Info
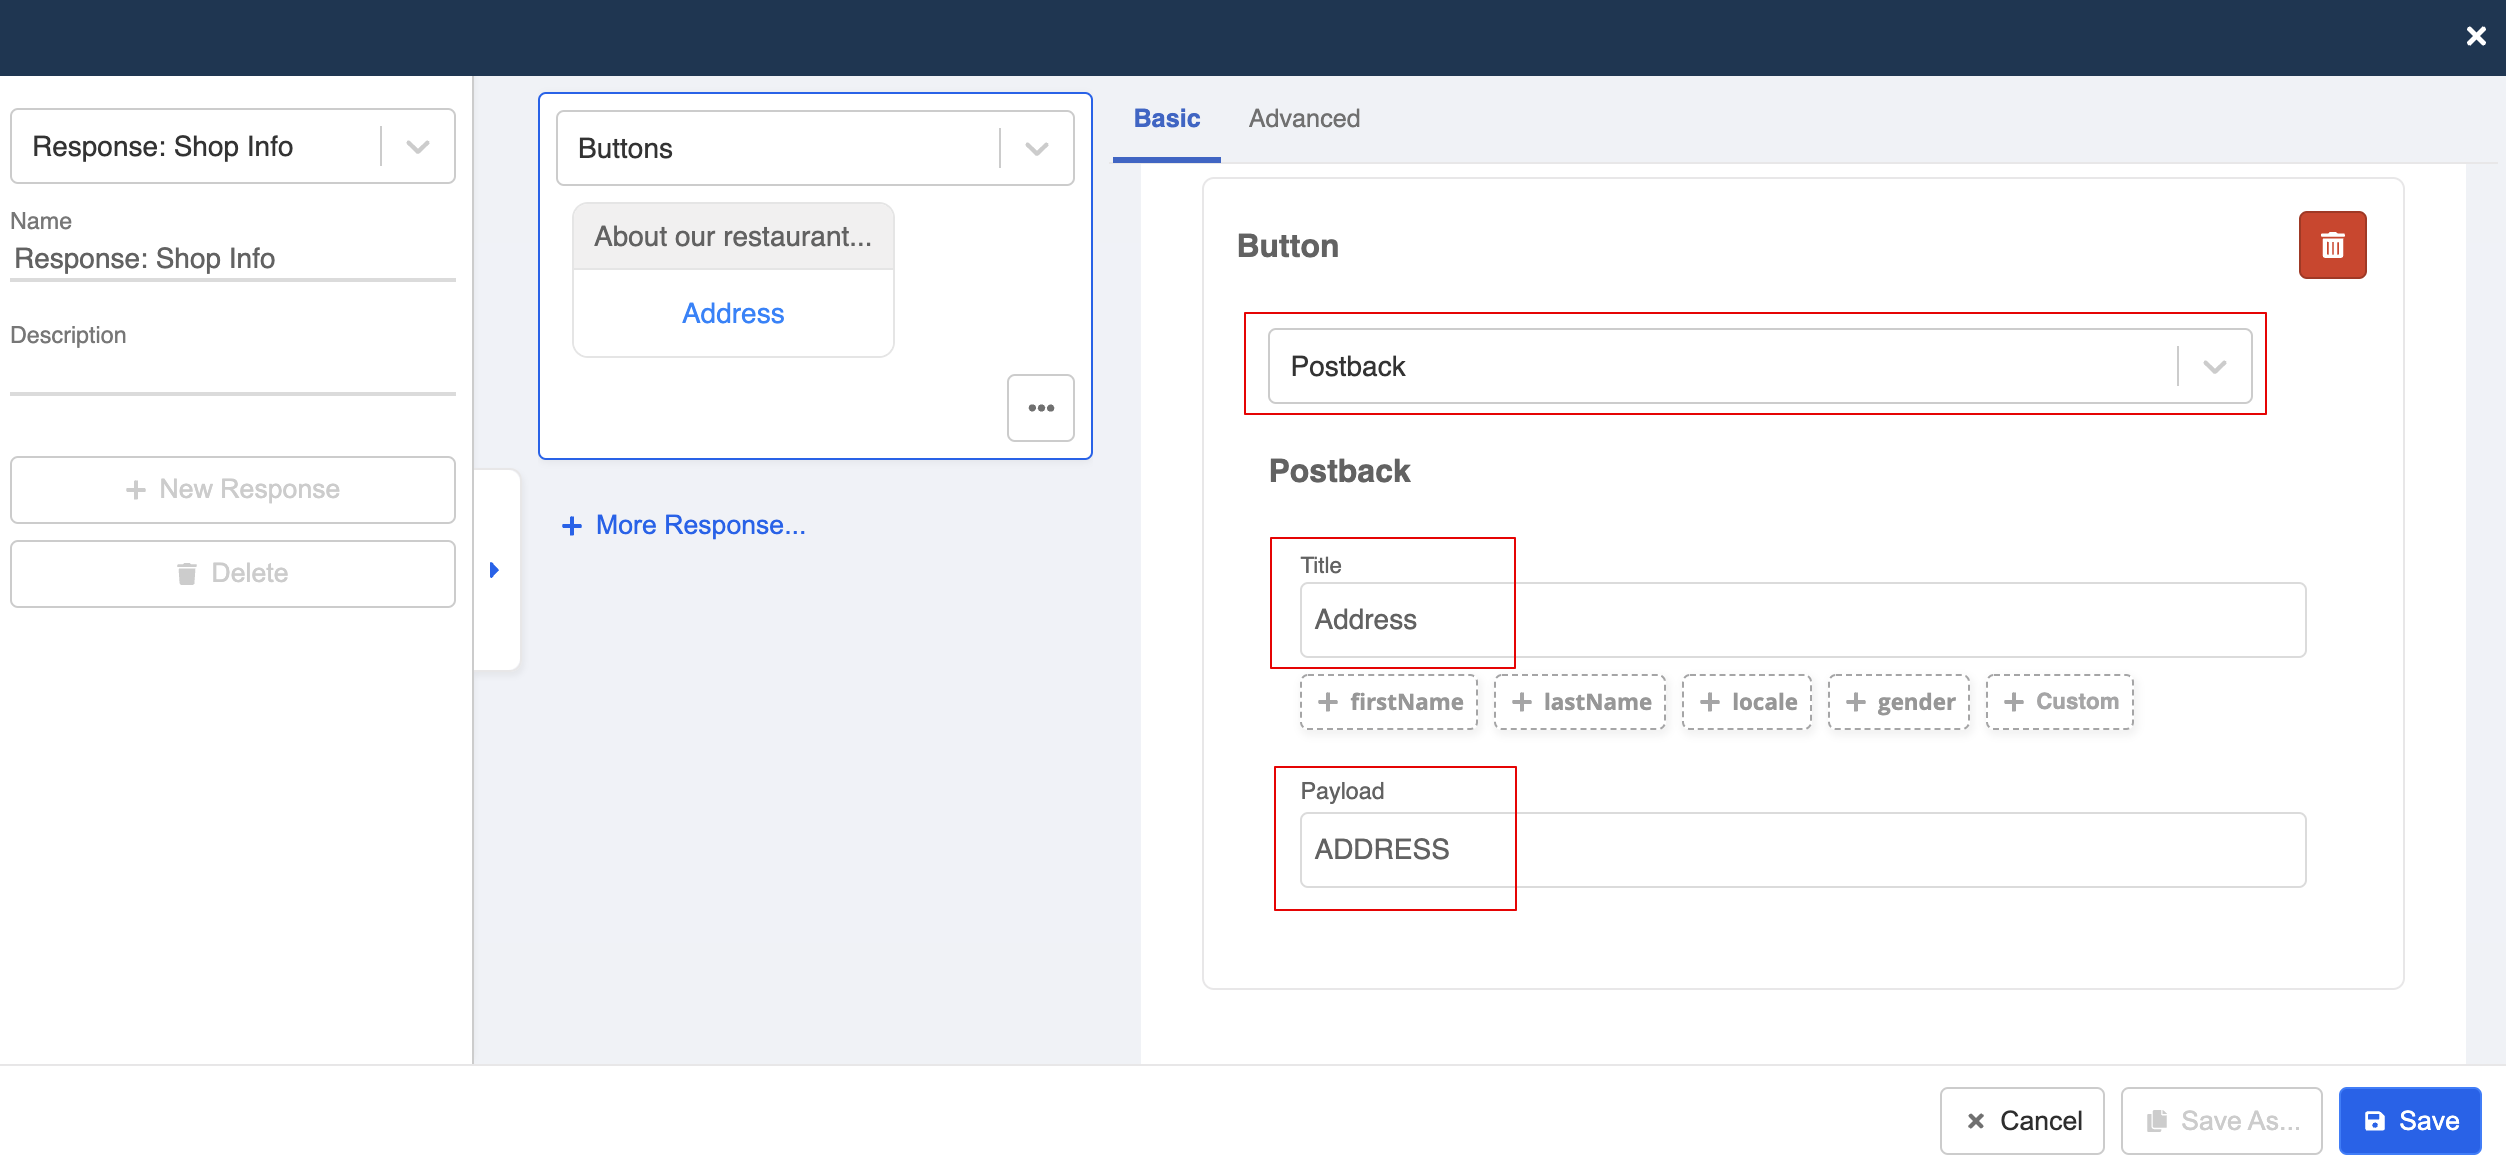
If the user wants to check out the "Shop Info", we can make use of "Buttons" to display multiple options.
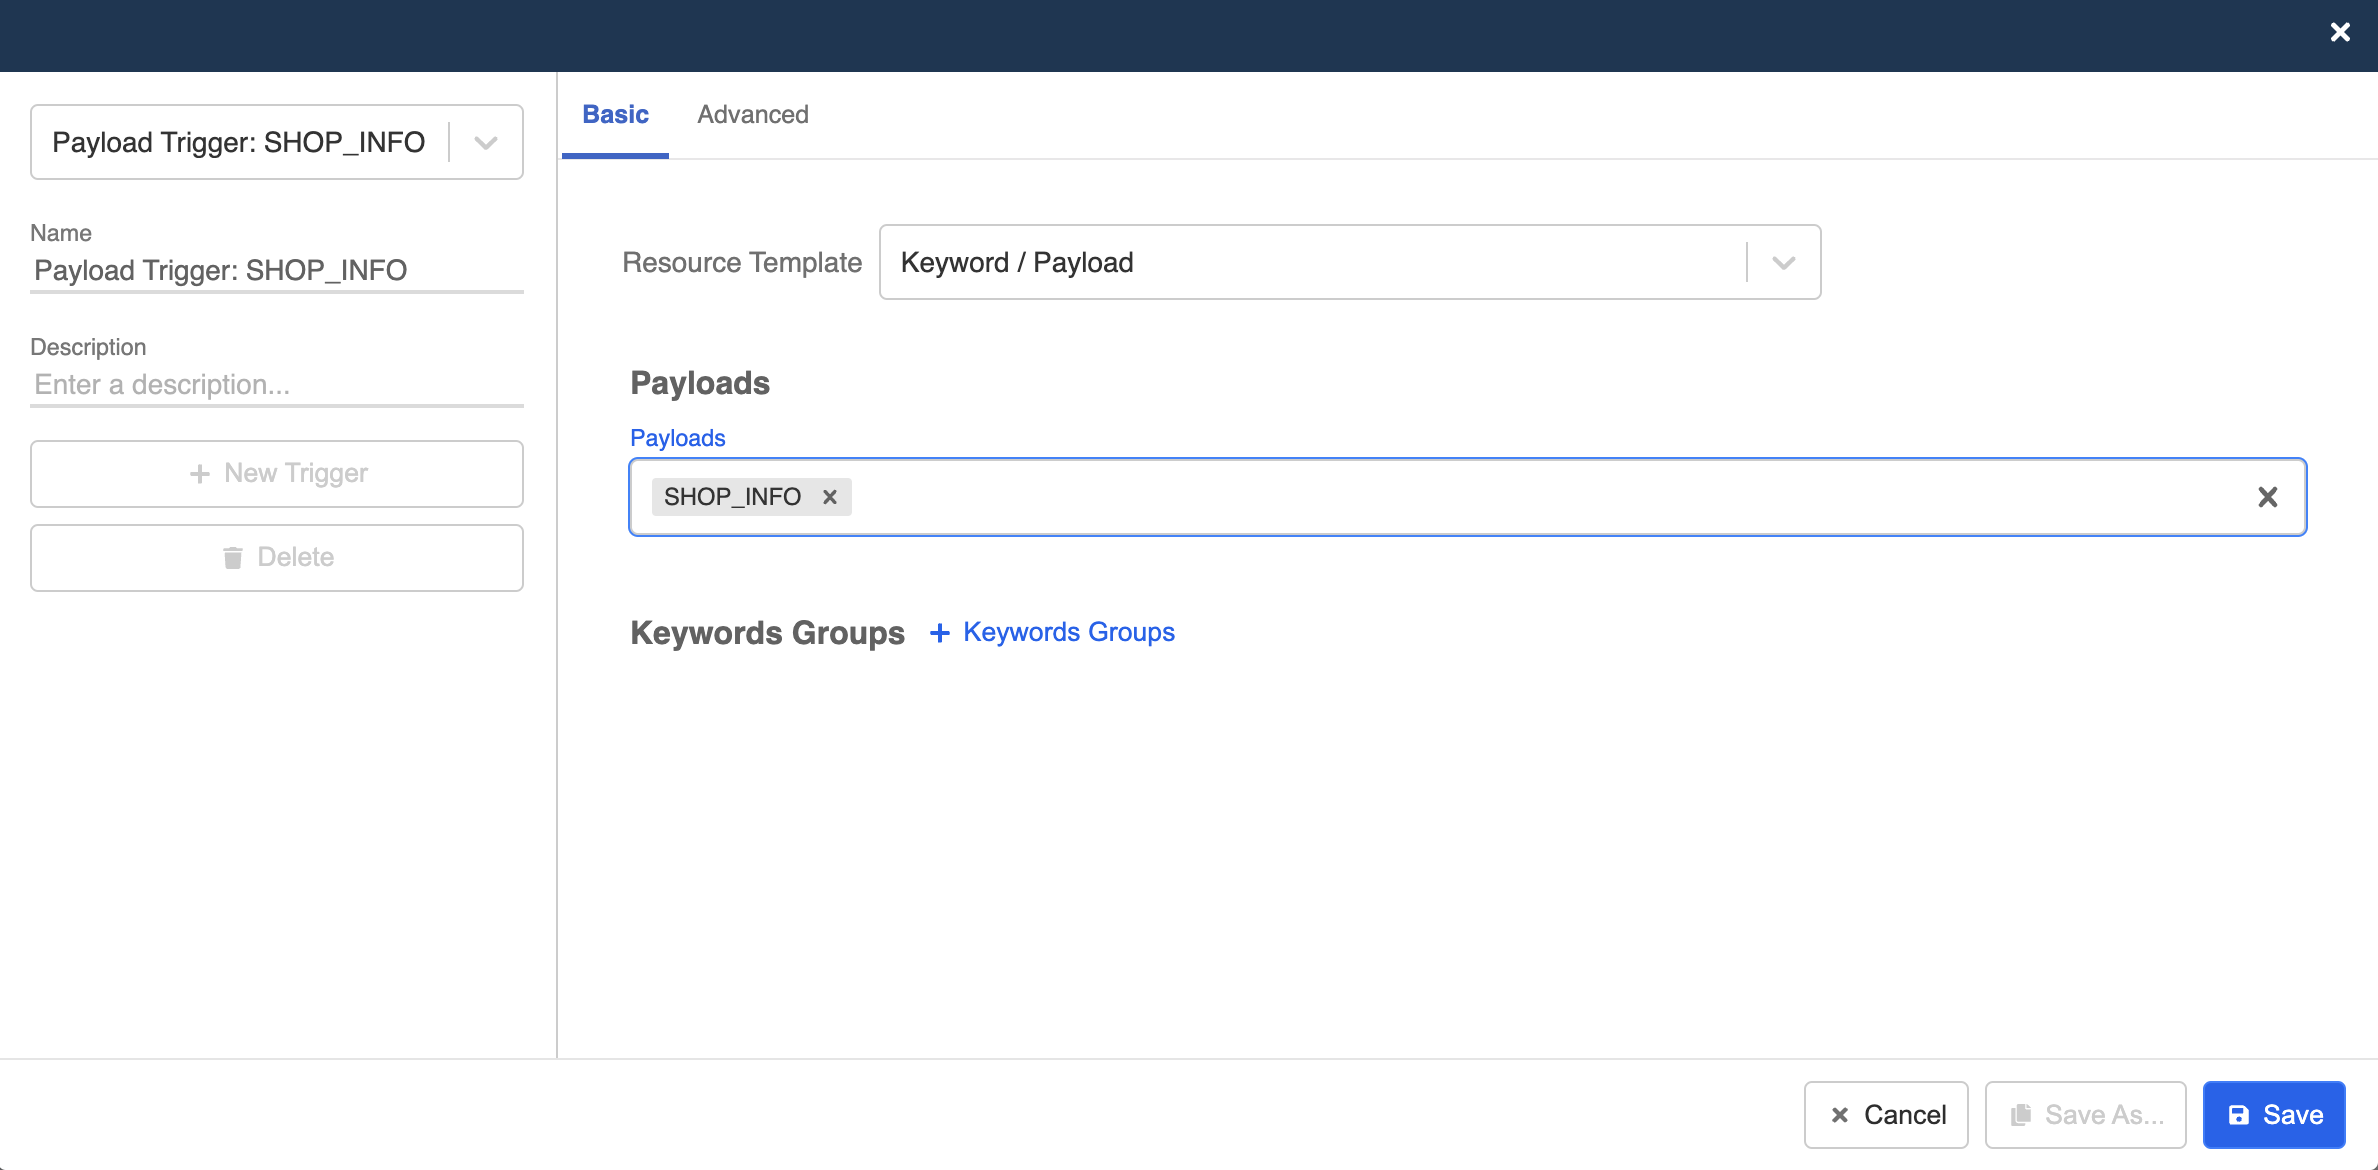
- Create a new general node following "Get Started".
- Create new trigger. Select "Keyword/Payload" and enter the payload value. For example,
SHOP_INFO.
NOTE
The payload value must match with the payload assigned to the button in the previous node.
- Create a new response, select Web Chat response.

- Select "Button" from the message type picker. Enter a title for the button, and select "+ Buttons".
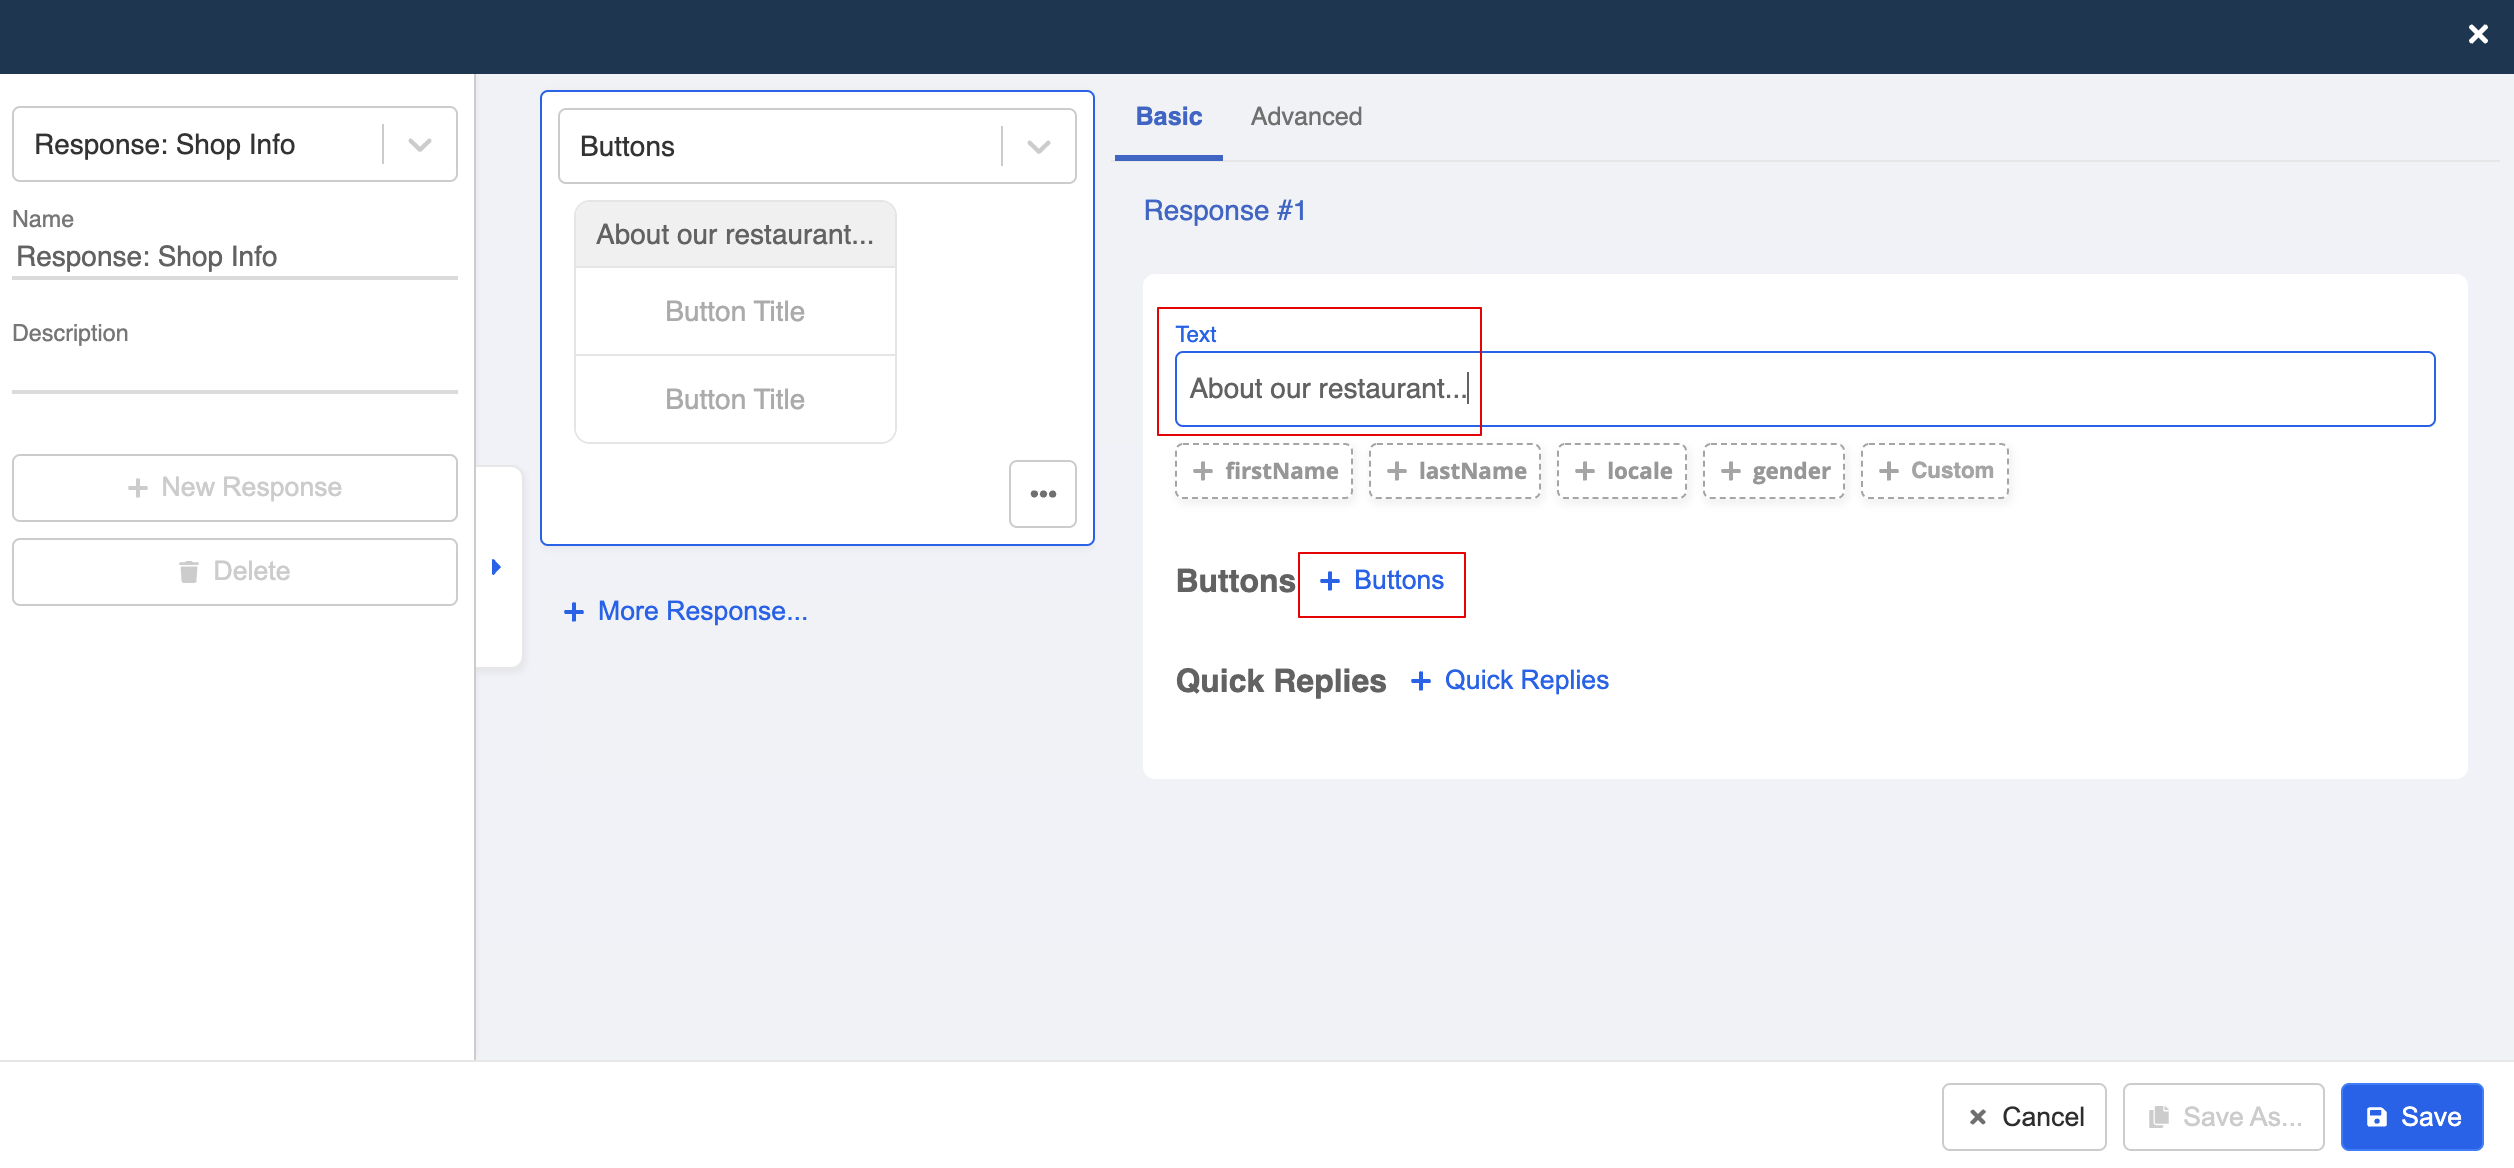
- Select "Postback", and enter a title and payload for this options. For example,
ADDRESS.
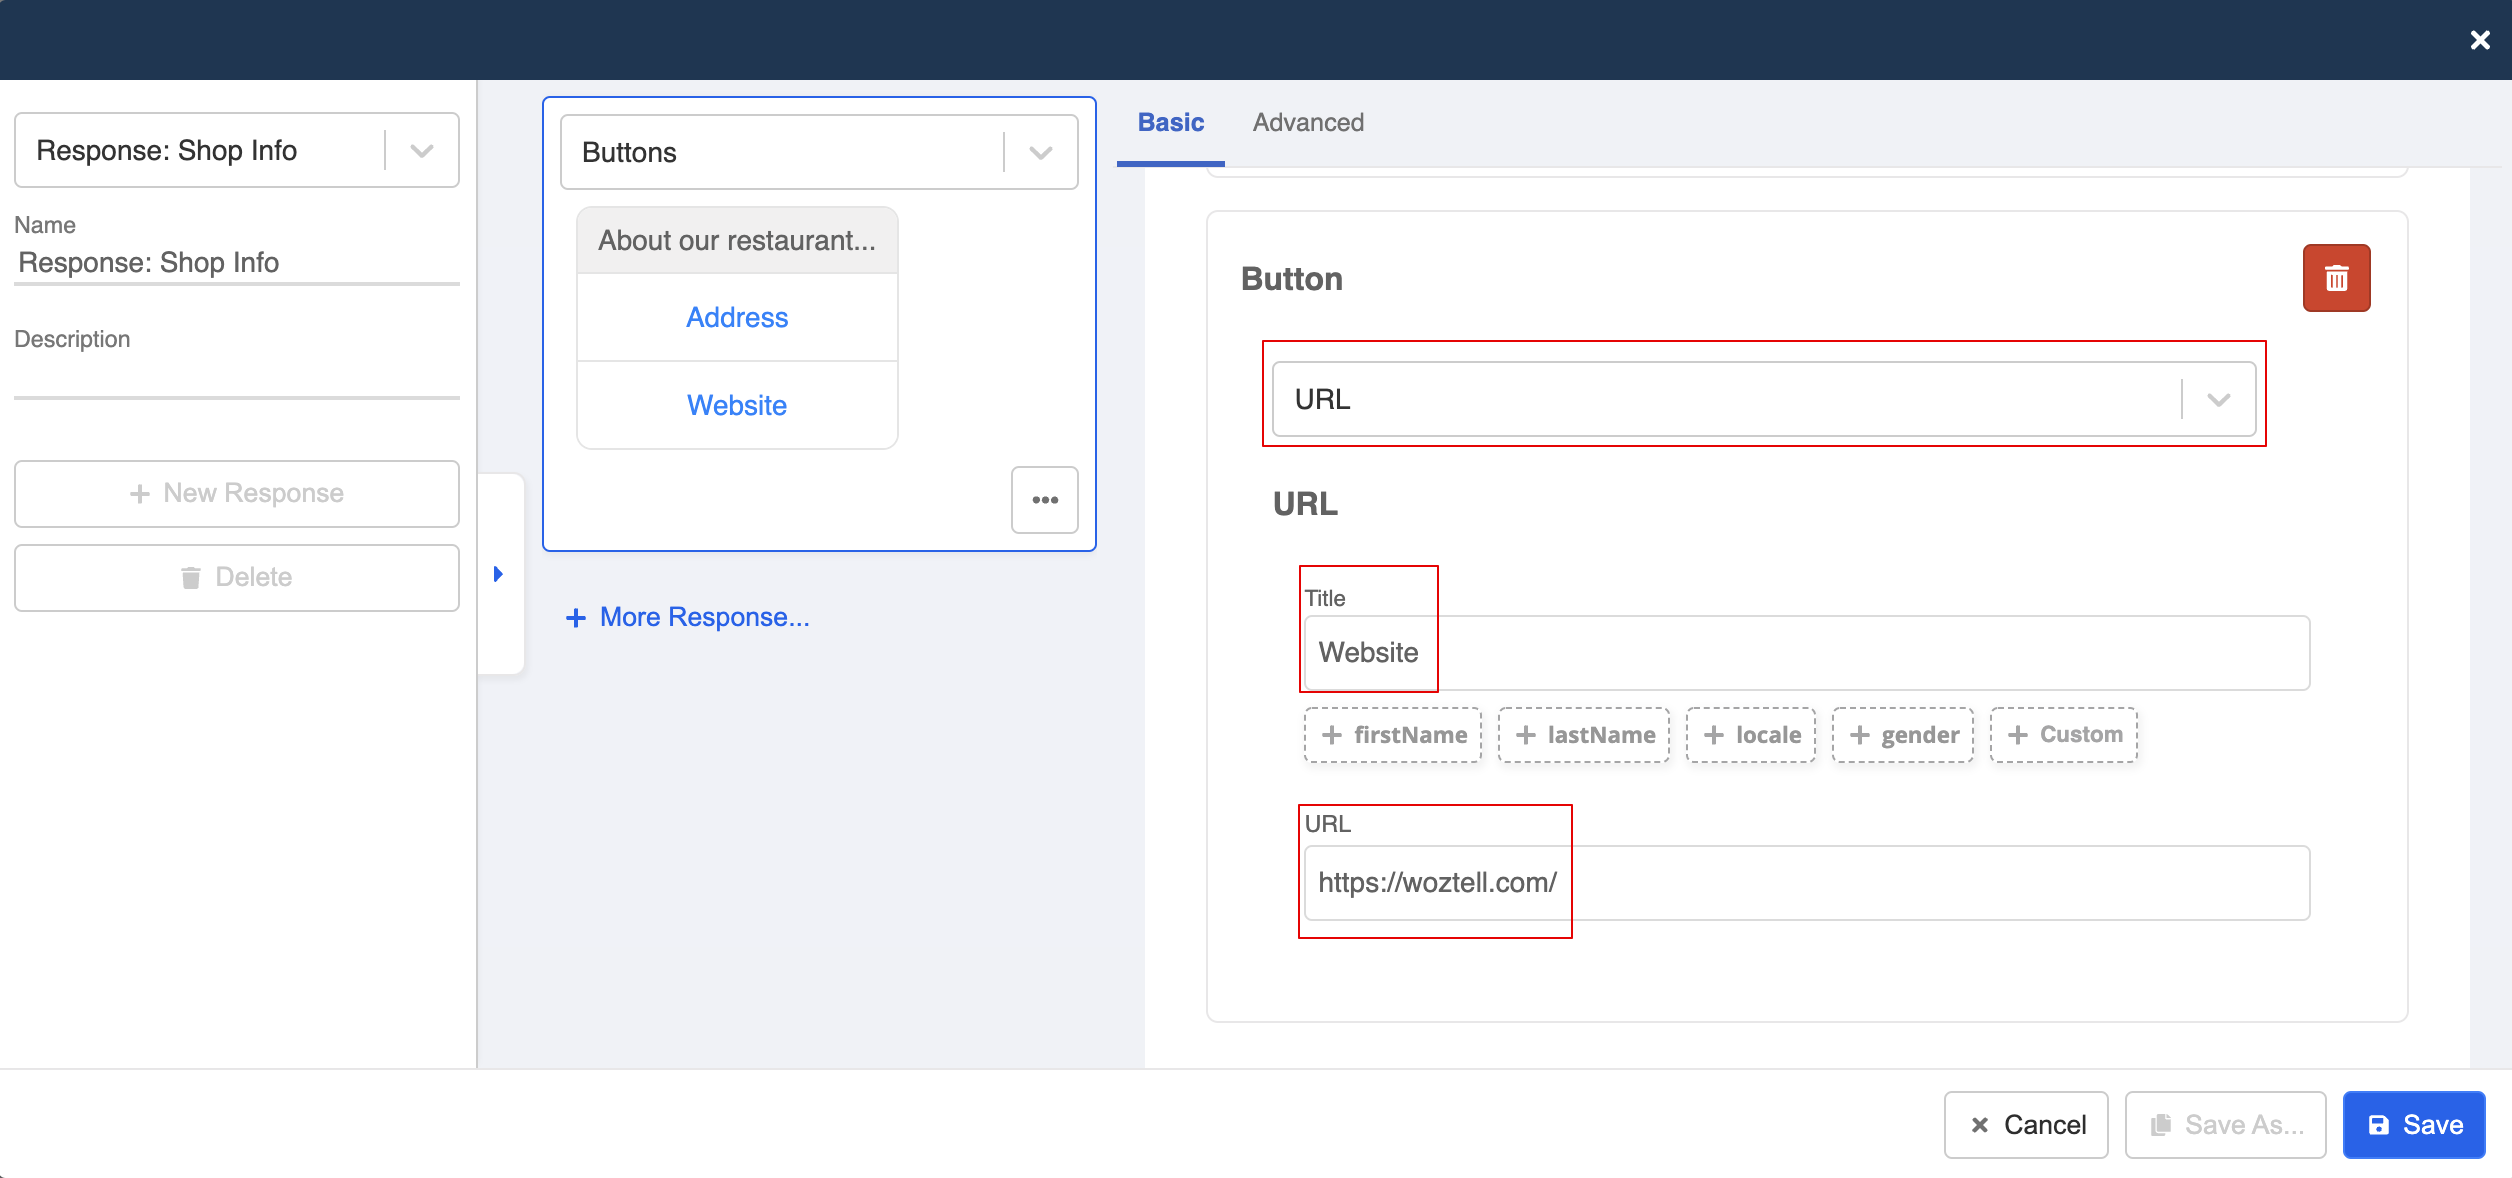
- Select "+ Buttons" again to create another button. Select "URL" and paste the link to a website.
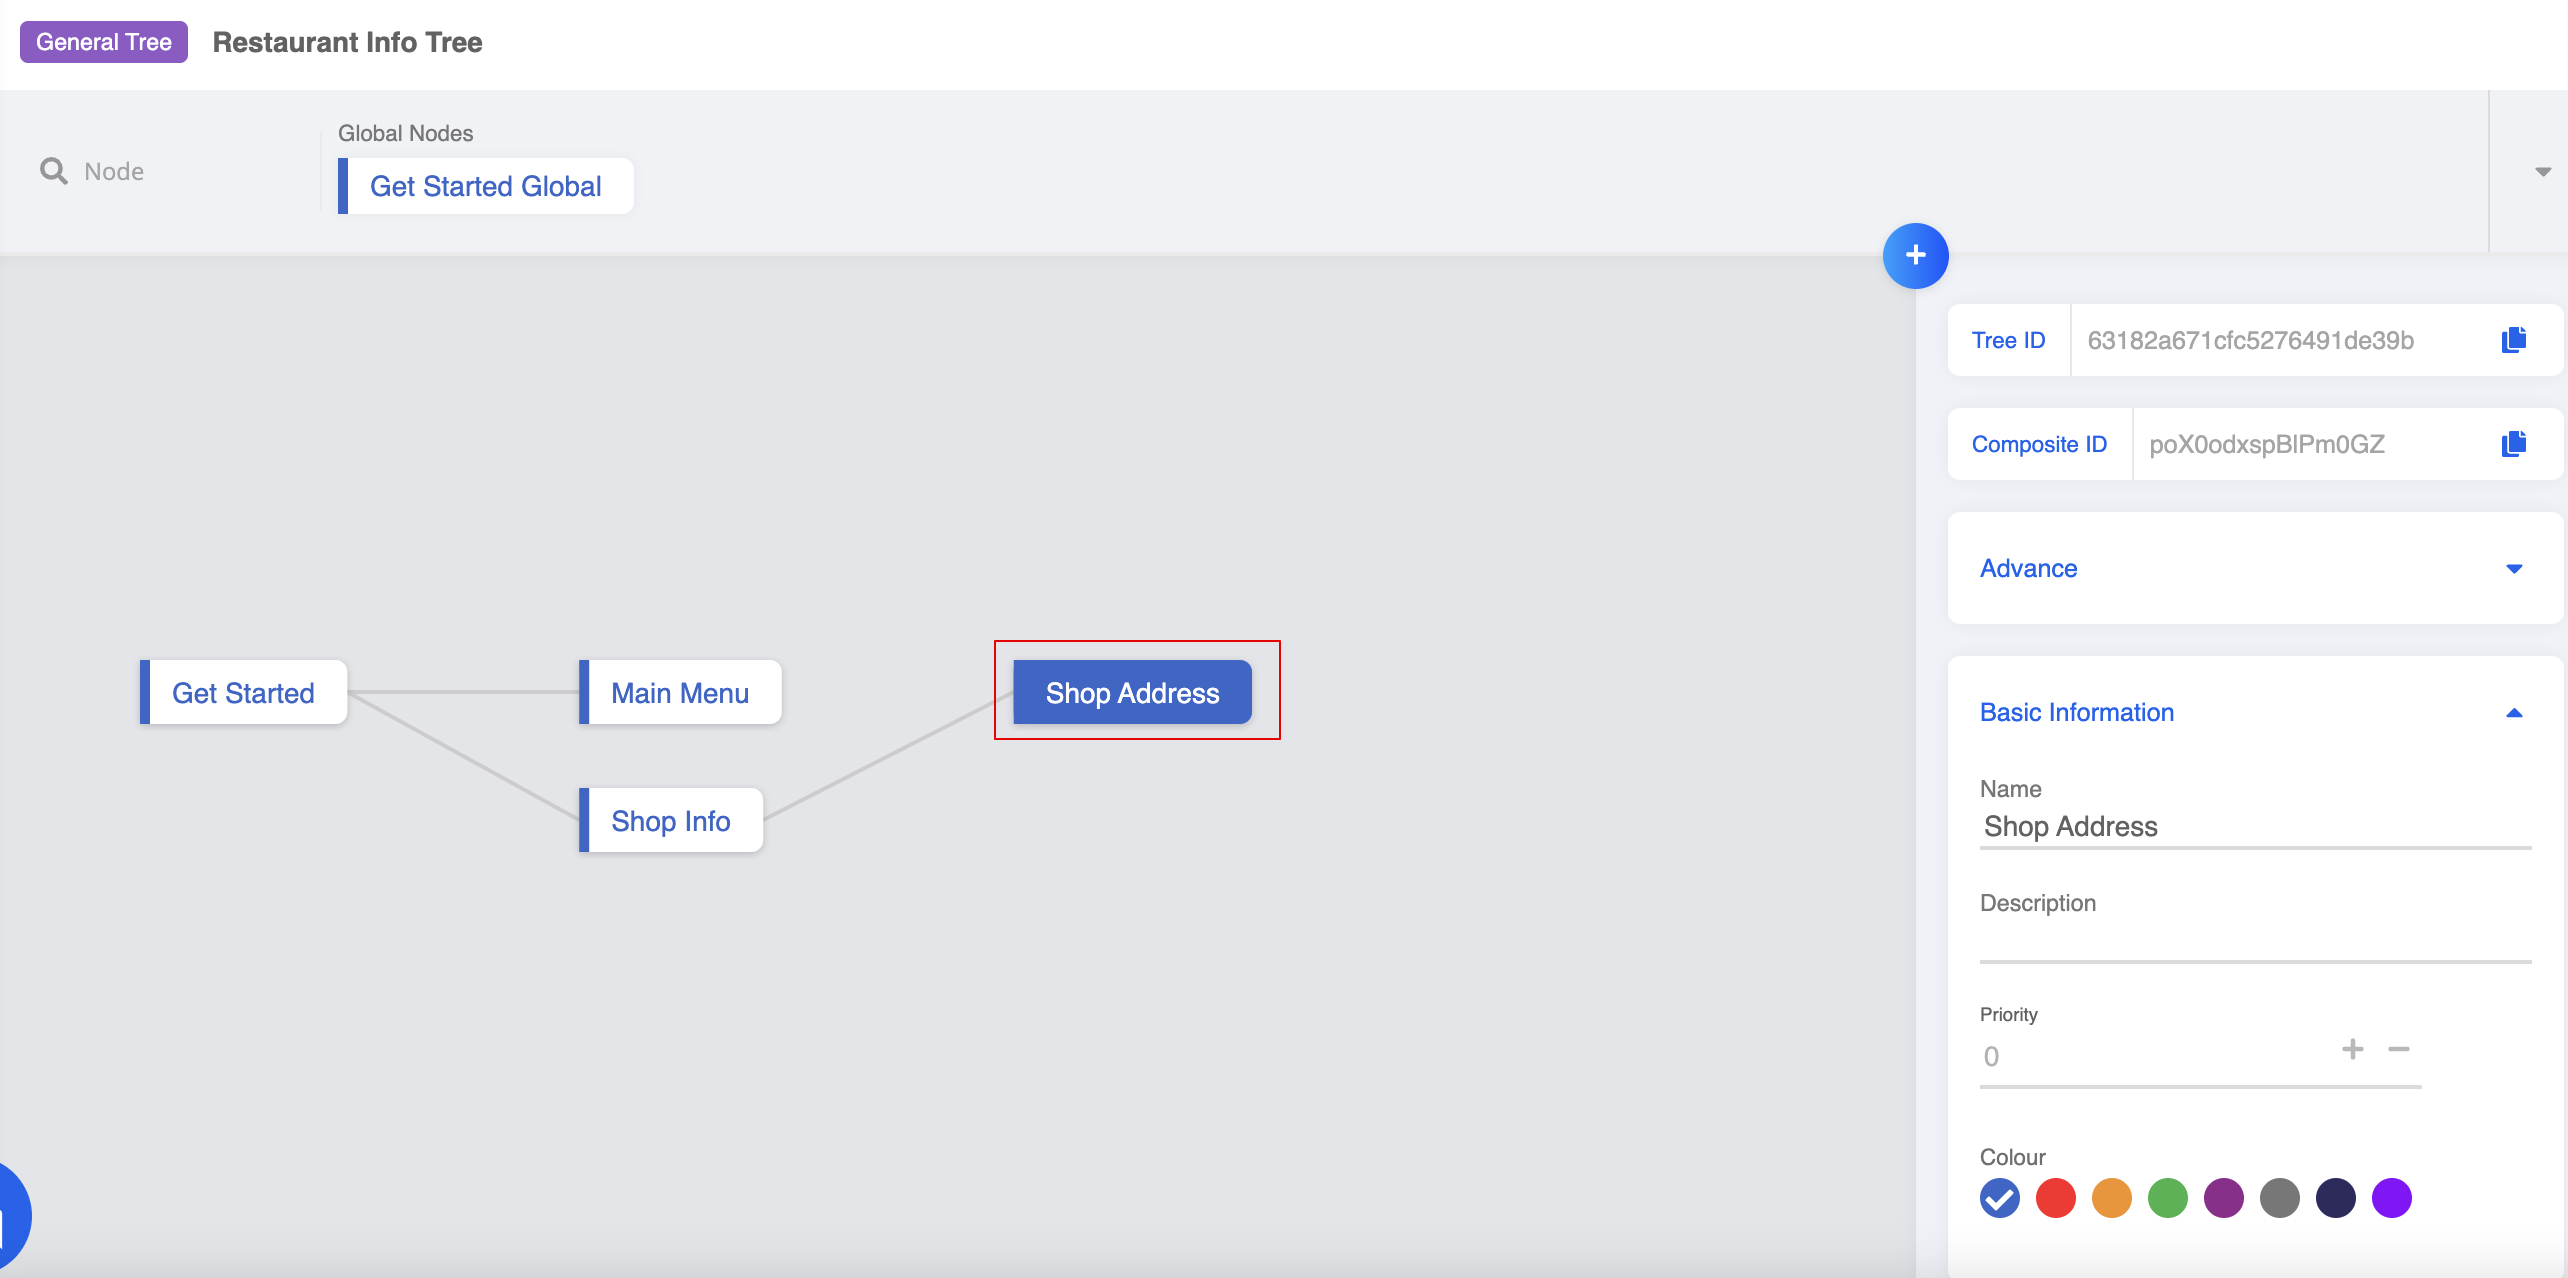
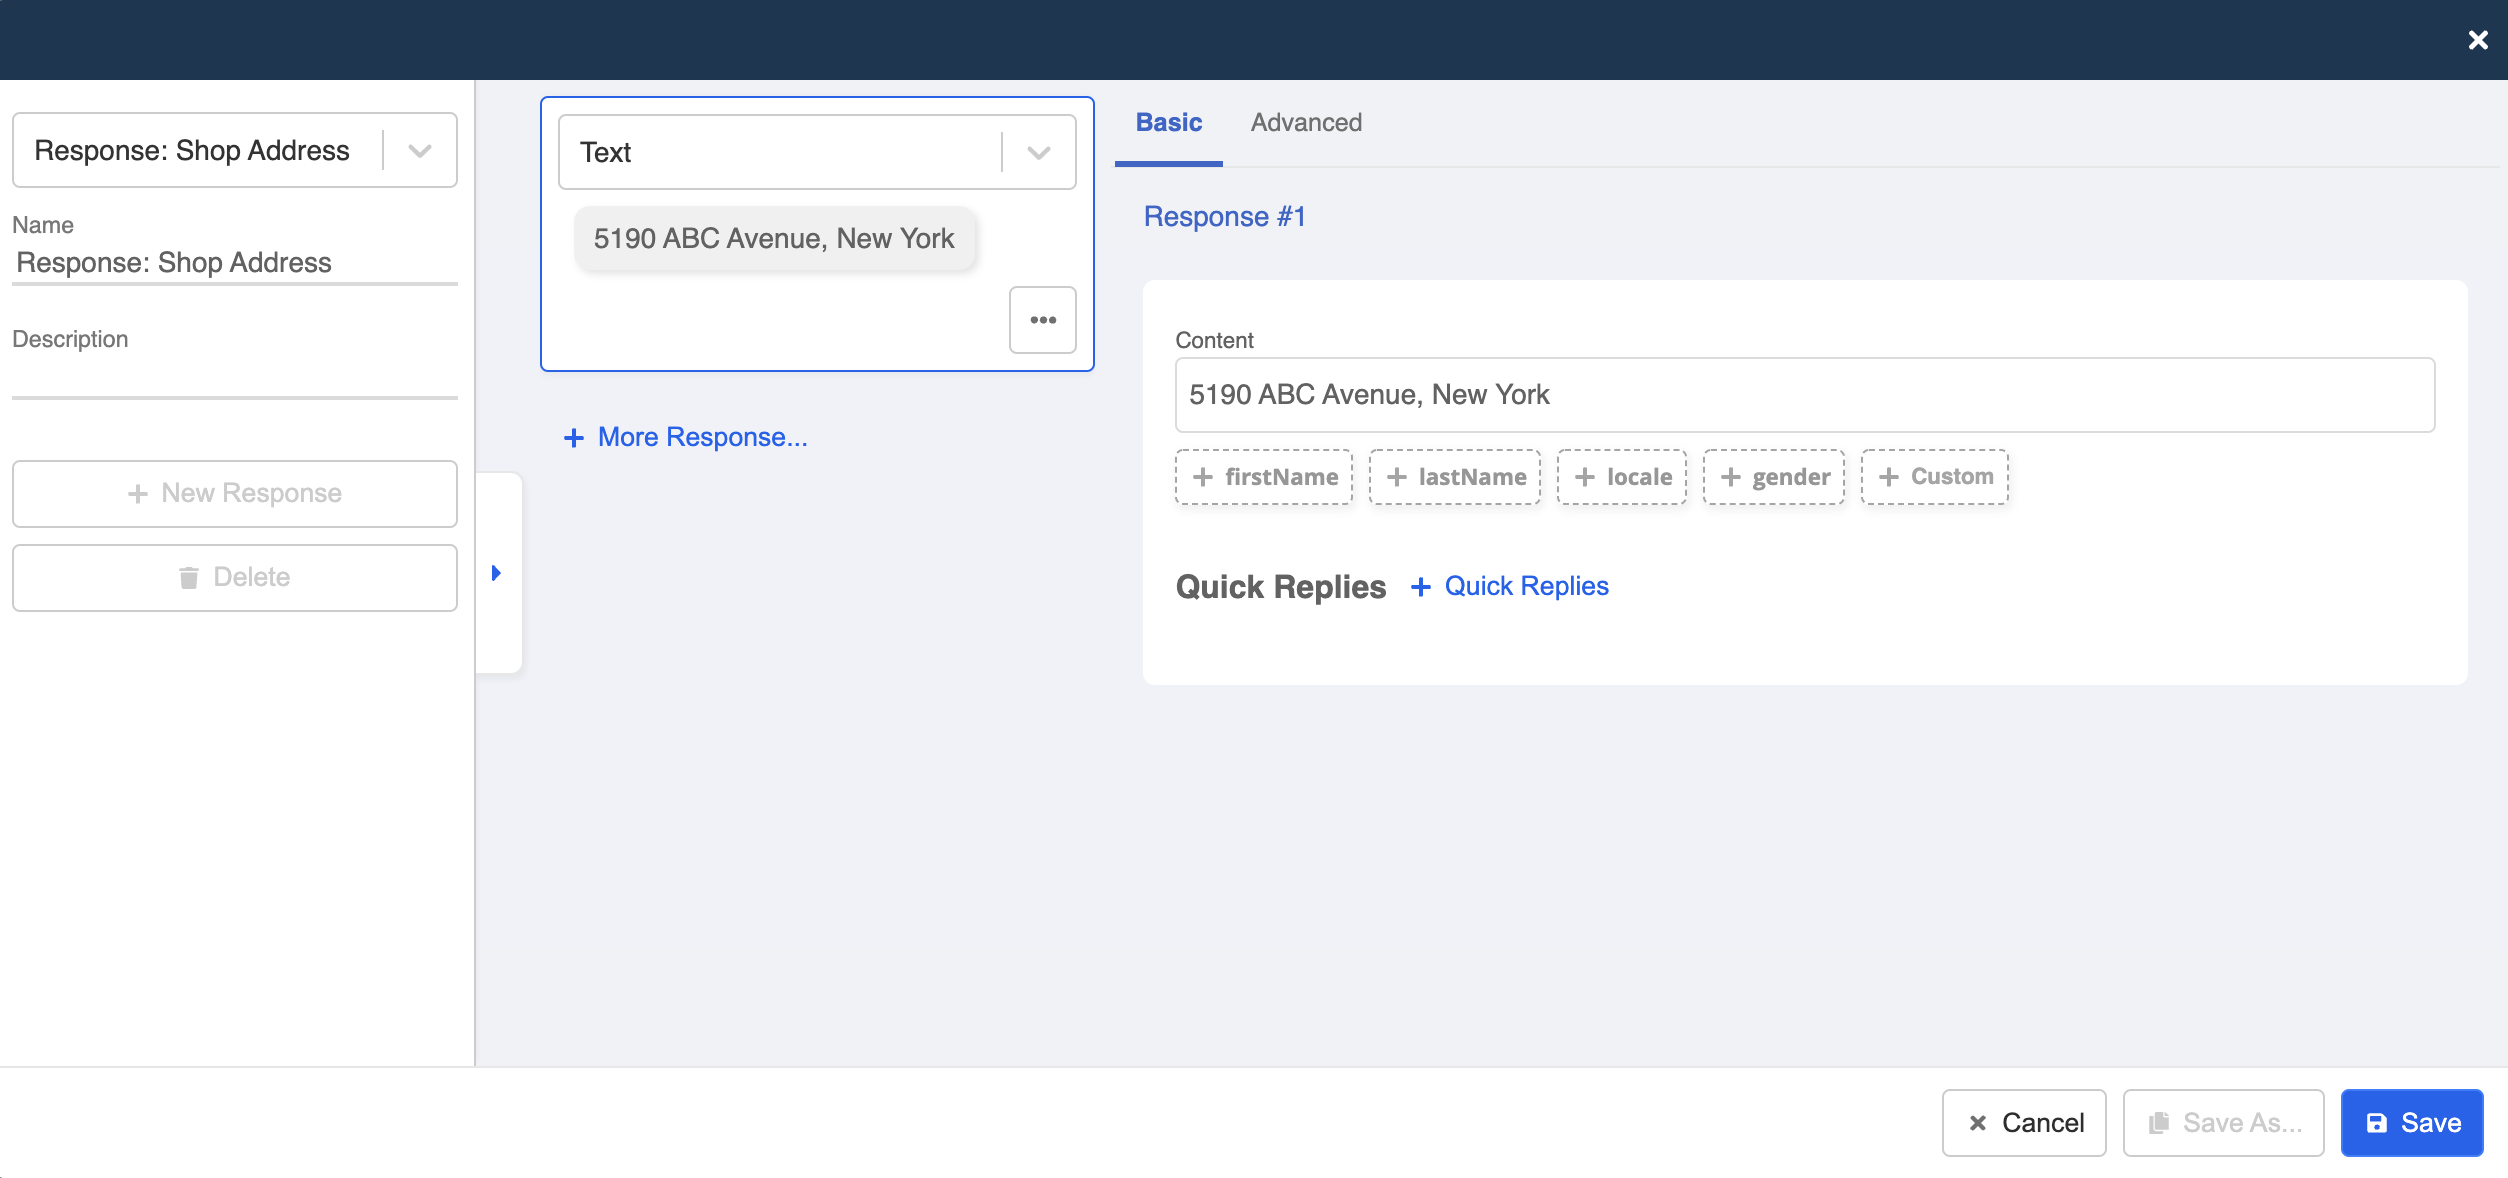
3rd Layer Child Node: Shop Address
If the user decide to check out the restaurant address, we need one more child node in the next layer, in order to display the address.
- Create a new general node following "Shop Info".
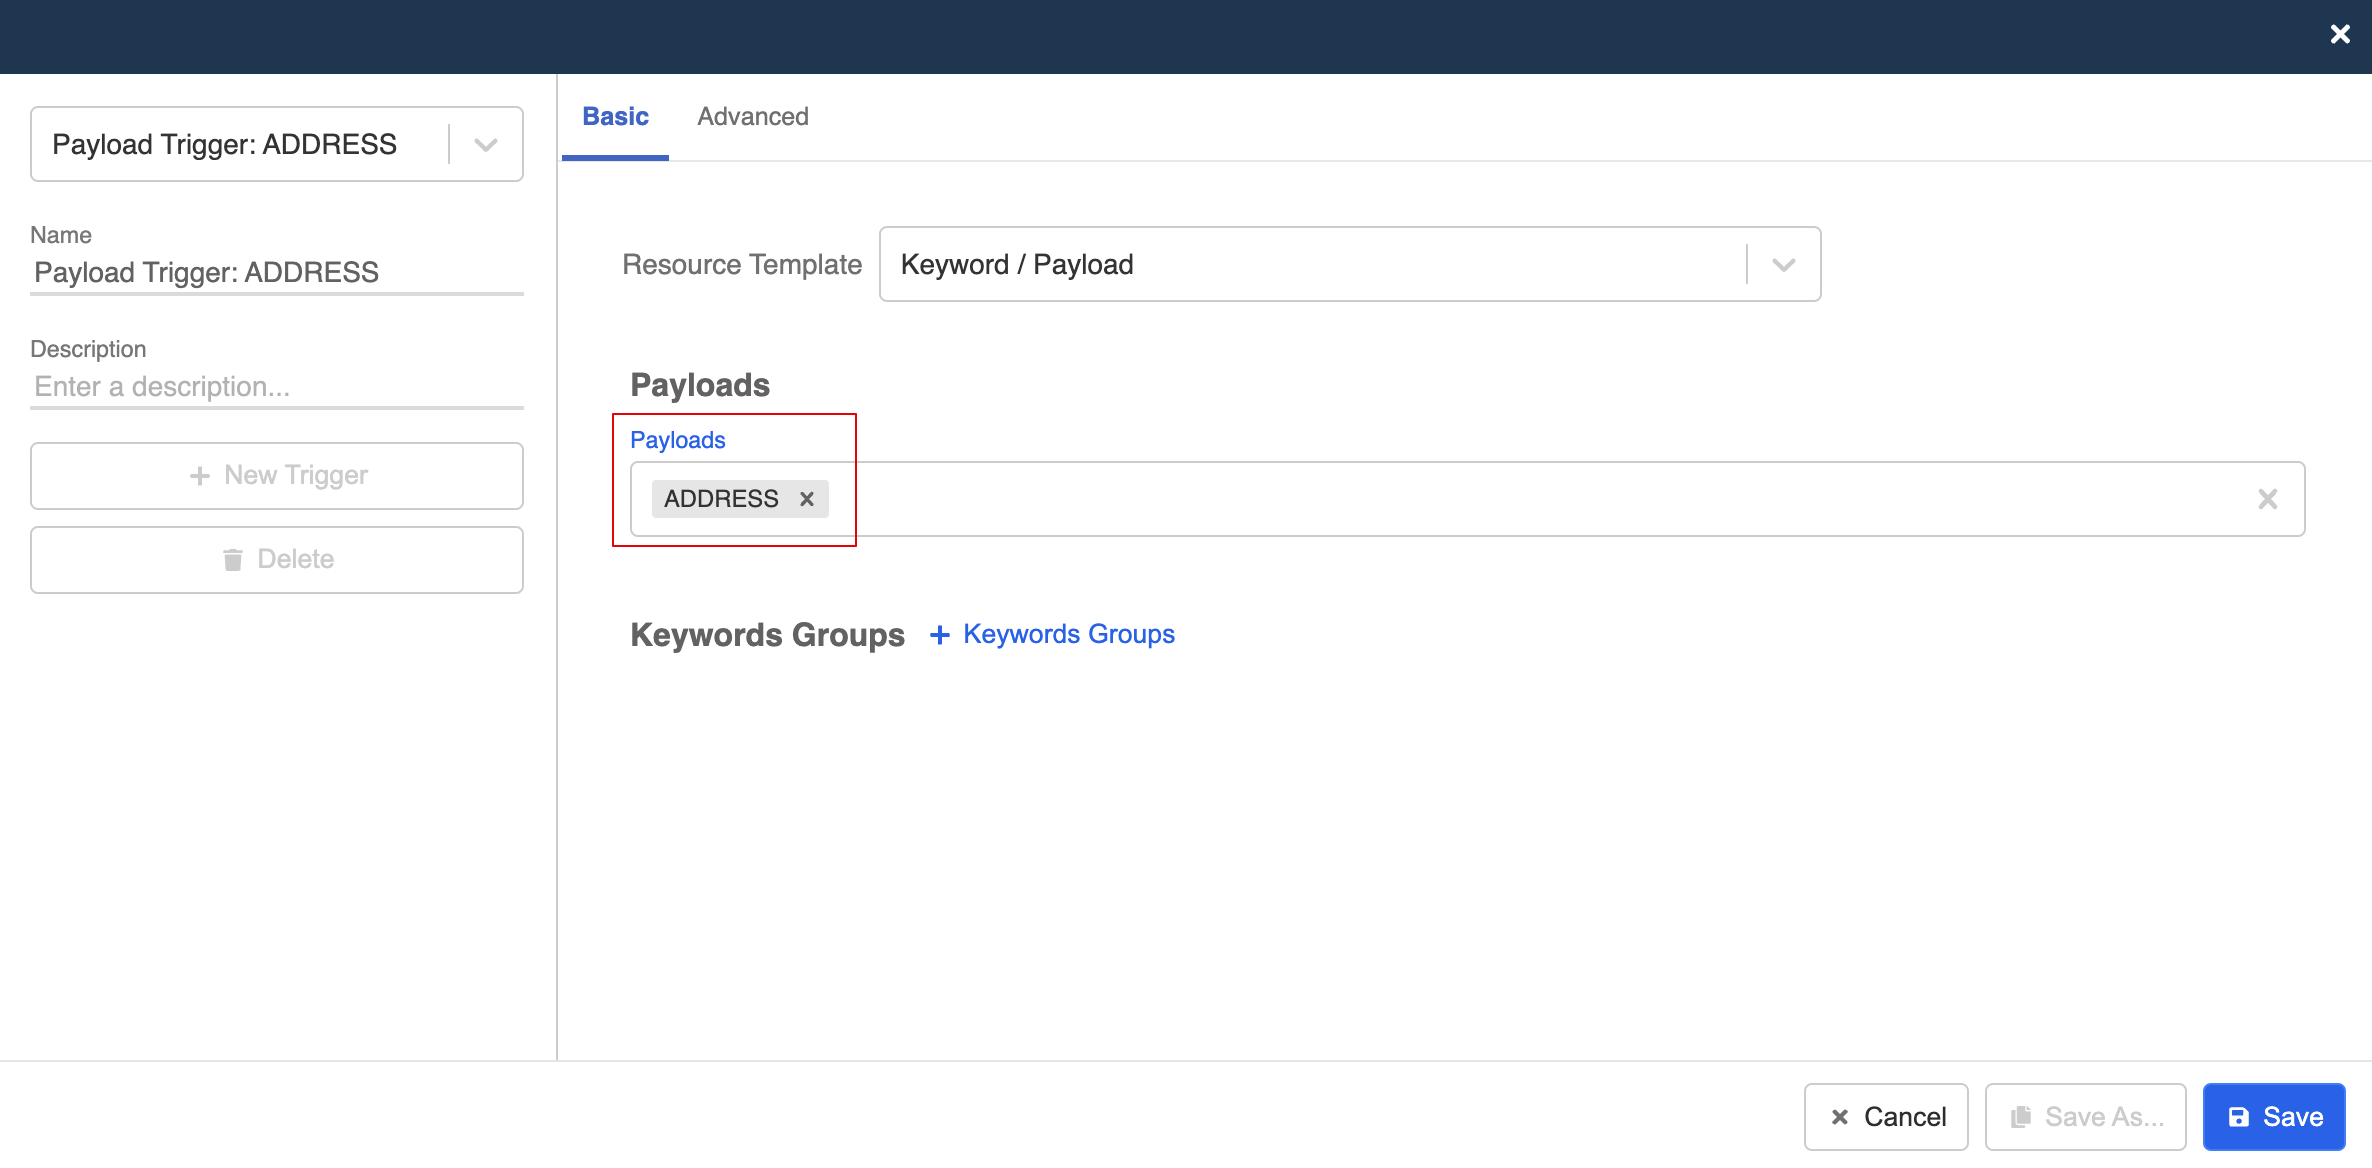
- Create new trigger. Select "Keyword/Payload" and enter the payload value. For example,
ADDRESS.
NOTE
The payload value must match with the payload assigned to the button in the previous node.
- Create a text response to display the address.
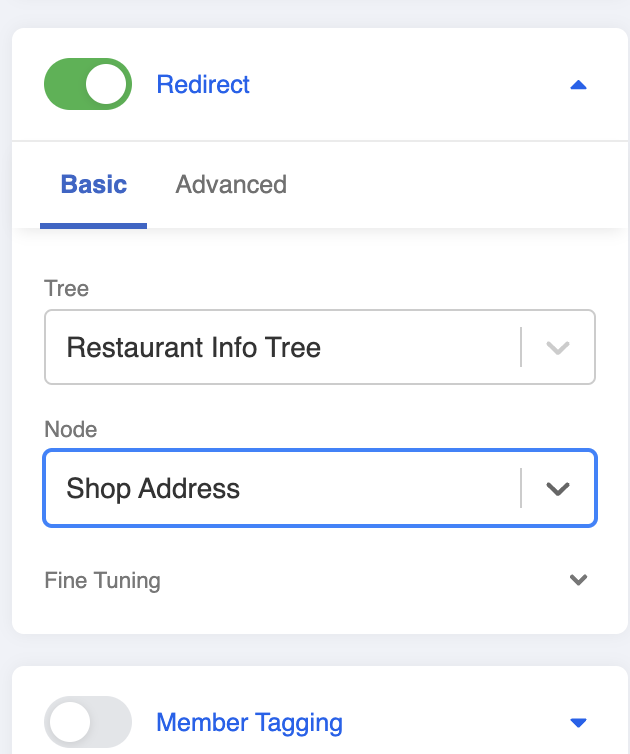
Create Global Nodes
To create a better user experience, we can add two shortcuts and allow the user to enter the "Main Menu" and "Shop Info" flow by clicking the buttons in persistent menu.
- Create a new global node for triggering "Main Menu".

- Create a new trigger and assign a payload. For example,
MENU_GLOBAL.

- Switch on "Redirect" and link to the "Main Menu" node.

- Create a new global node for triggering "Shop Info".
- Create a new trigger and assign a payload. For example,
SHOP_GLOBAL.

- Switch on "Redirect" and link to the "Shop Info" node.
Create Buttons in Persistent Menu
Head back to the Web Chat channel -> "Platform".
Create two more buttons in persistent menu.
NOTE
The payload value must match with the payload assigned in the new global nodes.

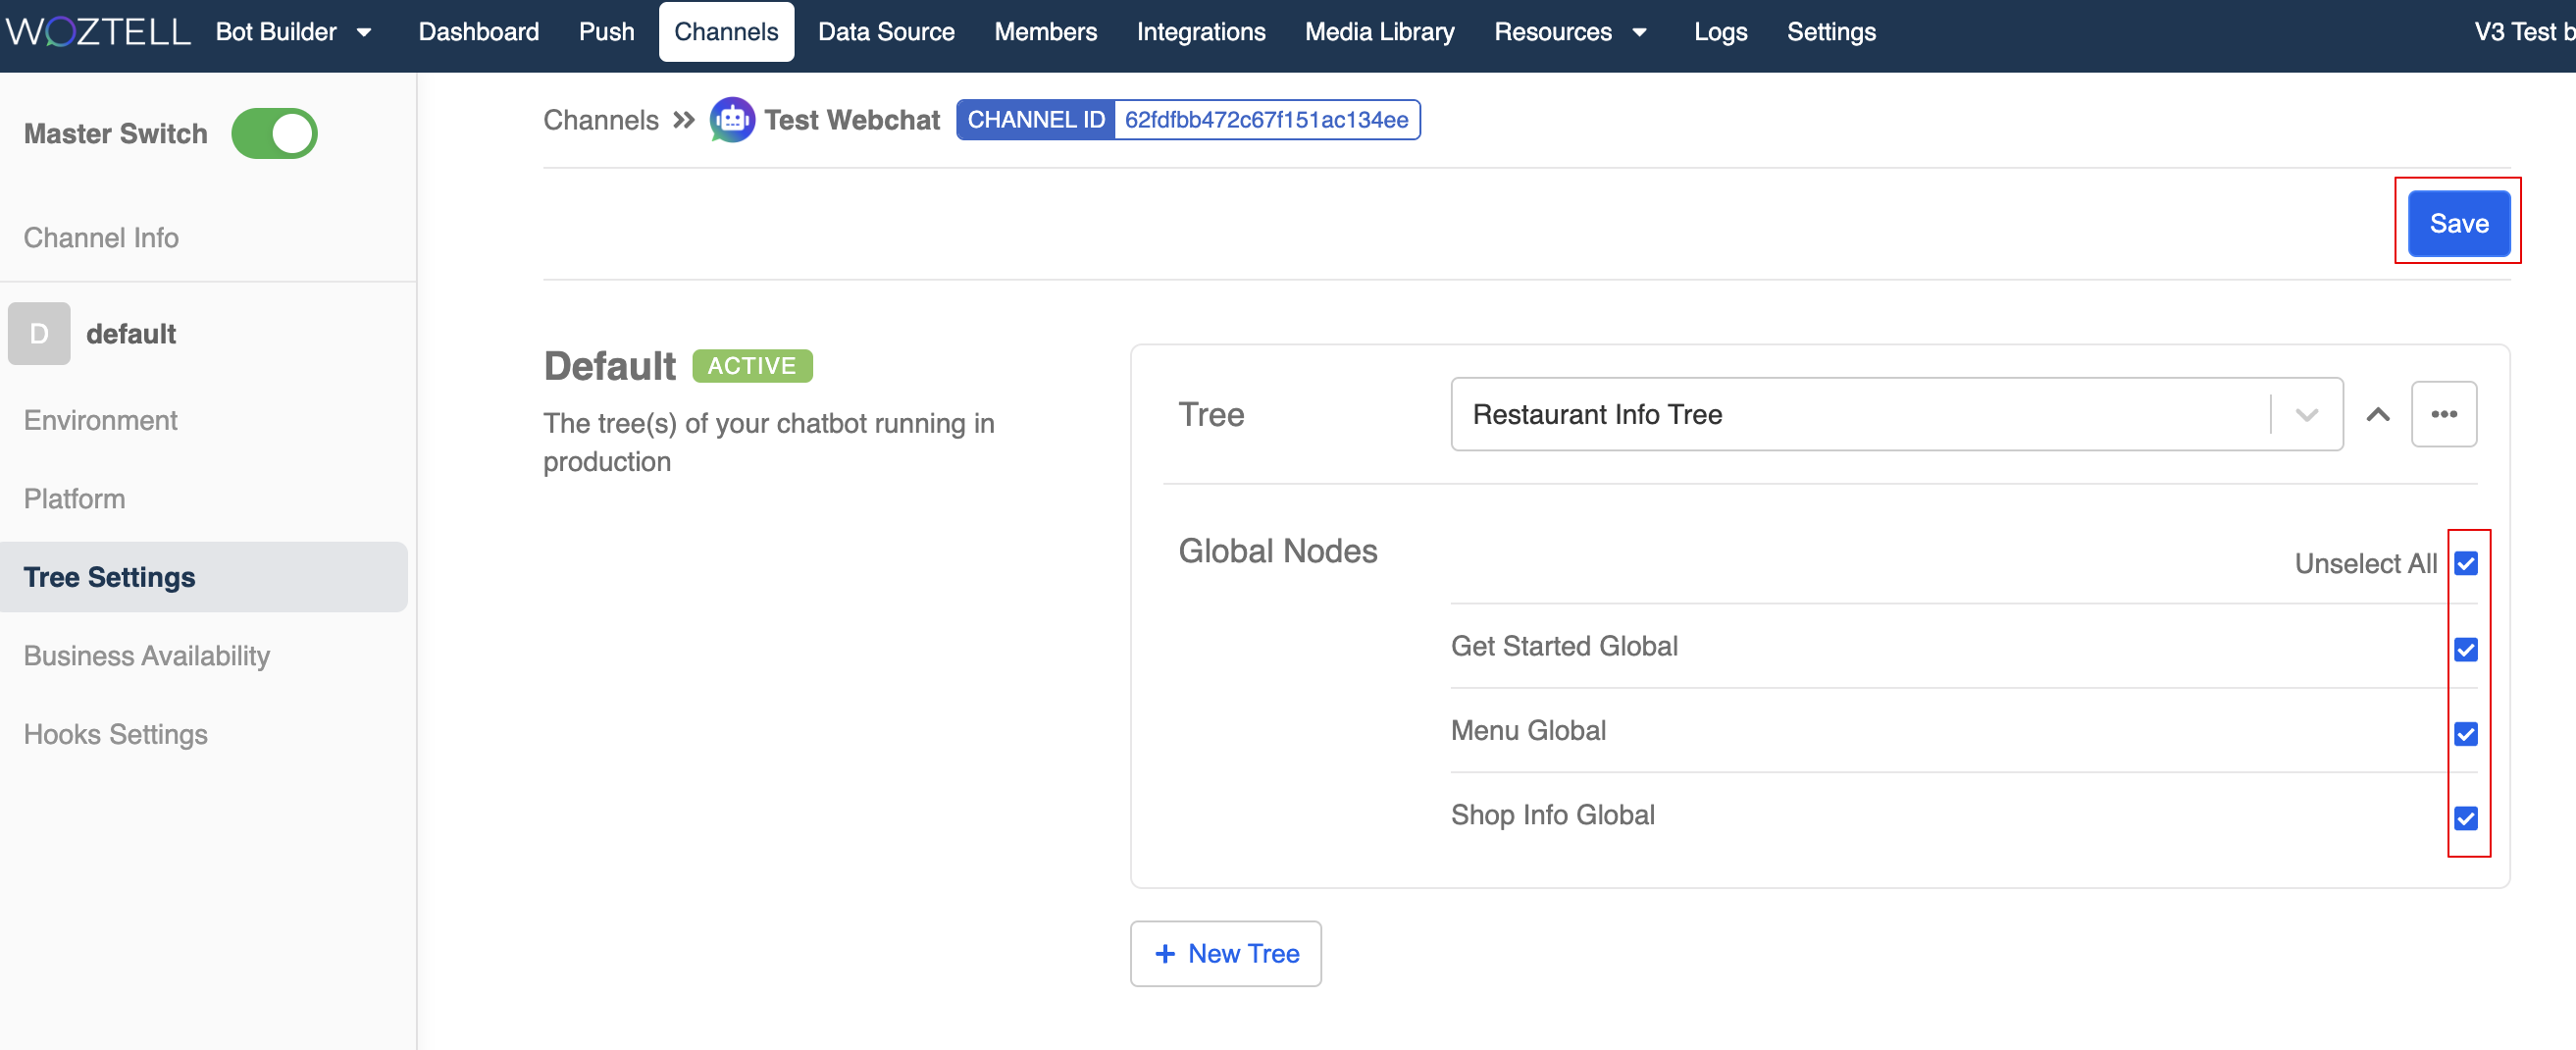
Add Chatbot to Channel
- Now go back to your testing channel and add back the two additional global nodes into the channel. Click "Save" to save the settings