Create Live Chat Flow
The first step of applying the live chat system, is to allow end users to trigger the live chat flow. For example, while interacting with your chatbot, the end user could enter a keyword "livechat" to request for live agent support.

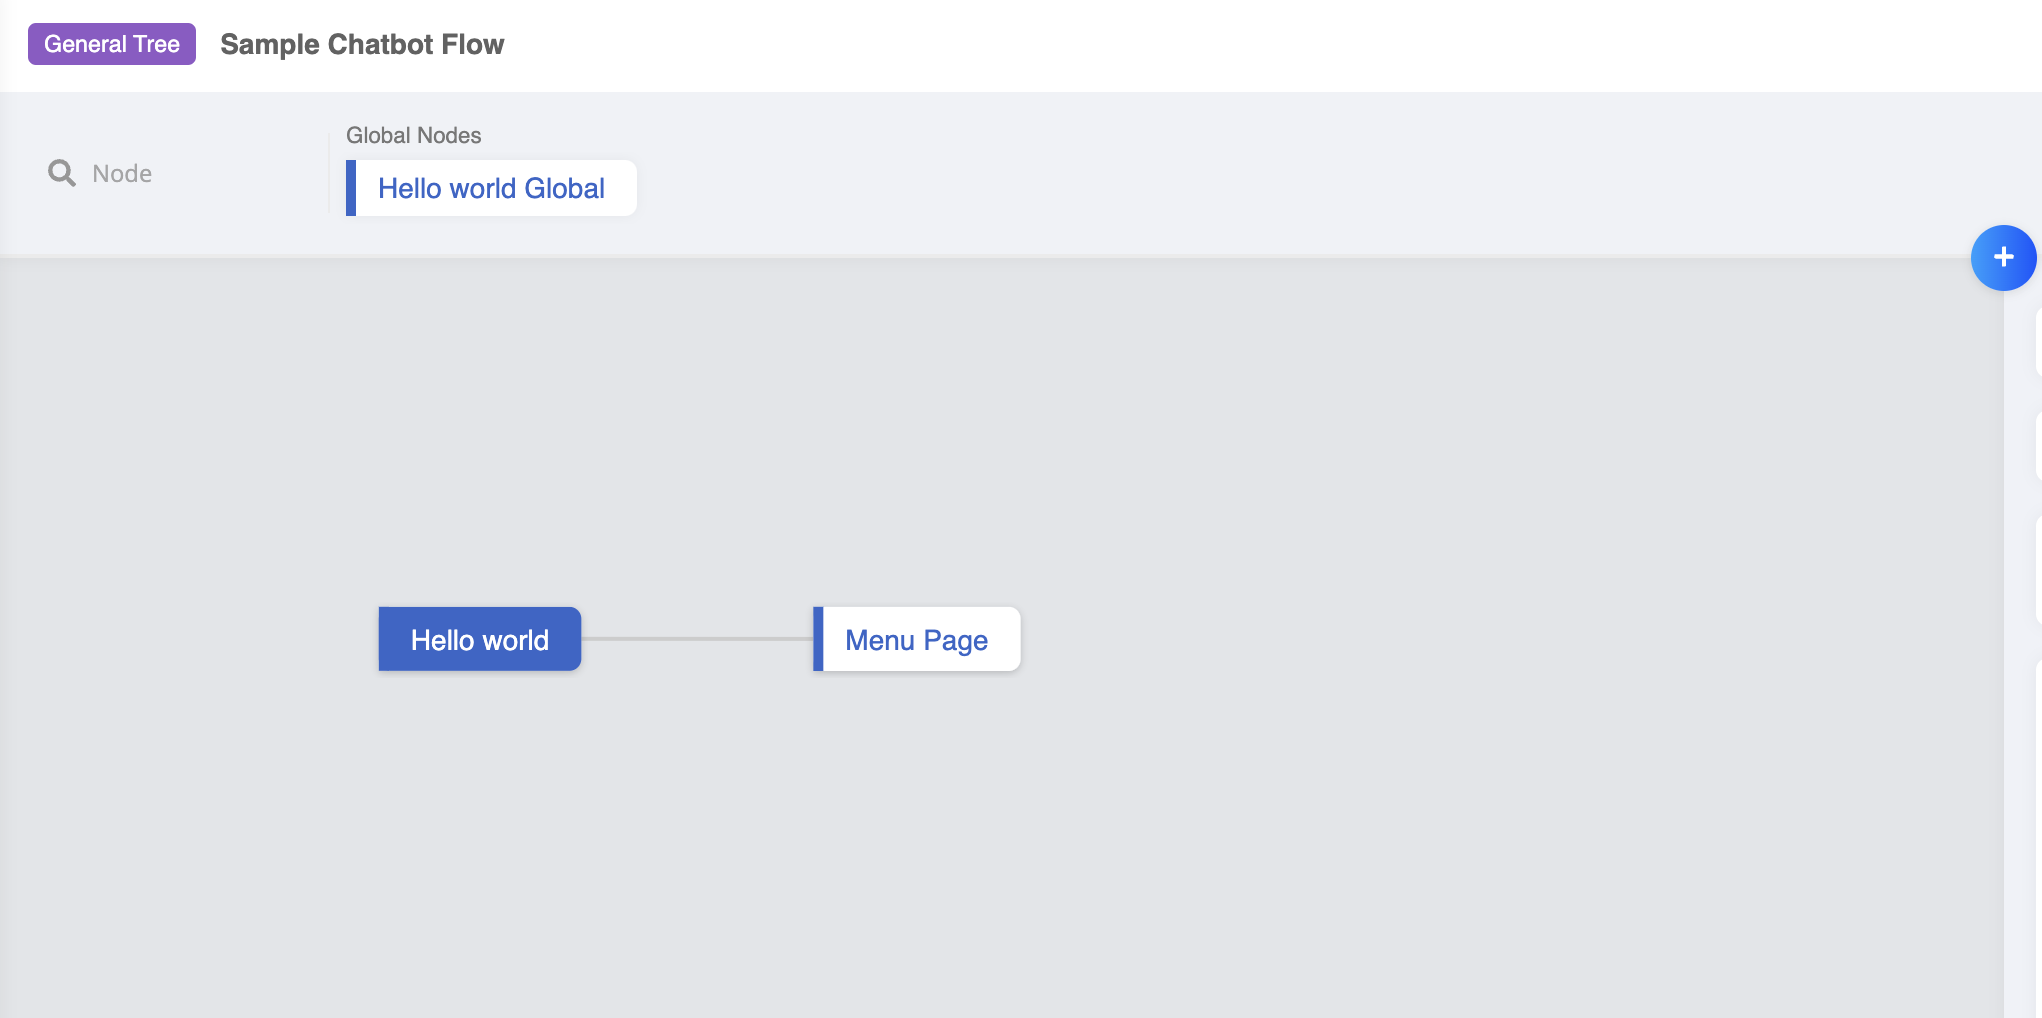
You may put the live chat settings in a separate individual chatbot, or incorporate the live chat nodes into your existing chatbot for inlet channel (i.e. WhatsApp).
Create a General Node for Requesting Live Chat
- Given you already have a chatbot flow, what you need to do is to add a new node to execute the live chat flow.
- Create new general node, and create a new pre-action.
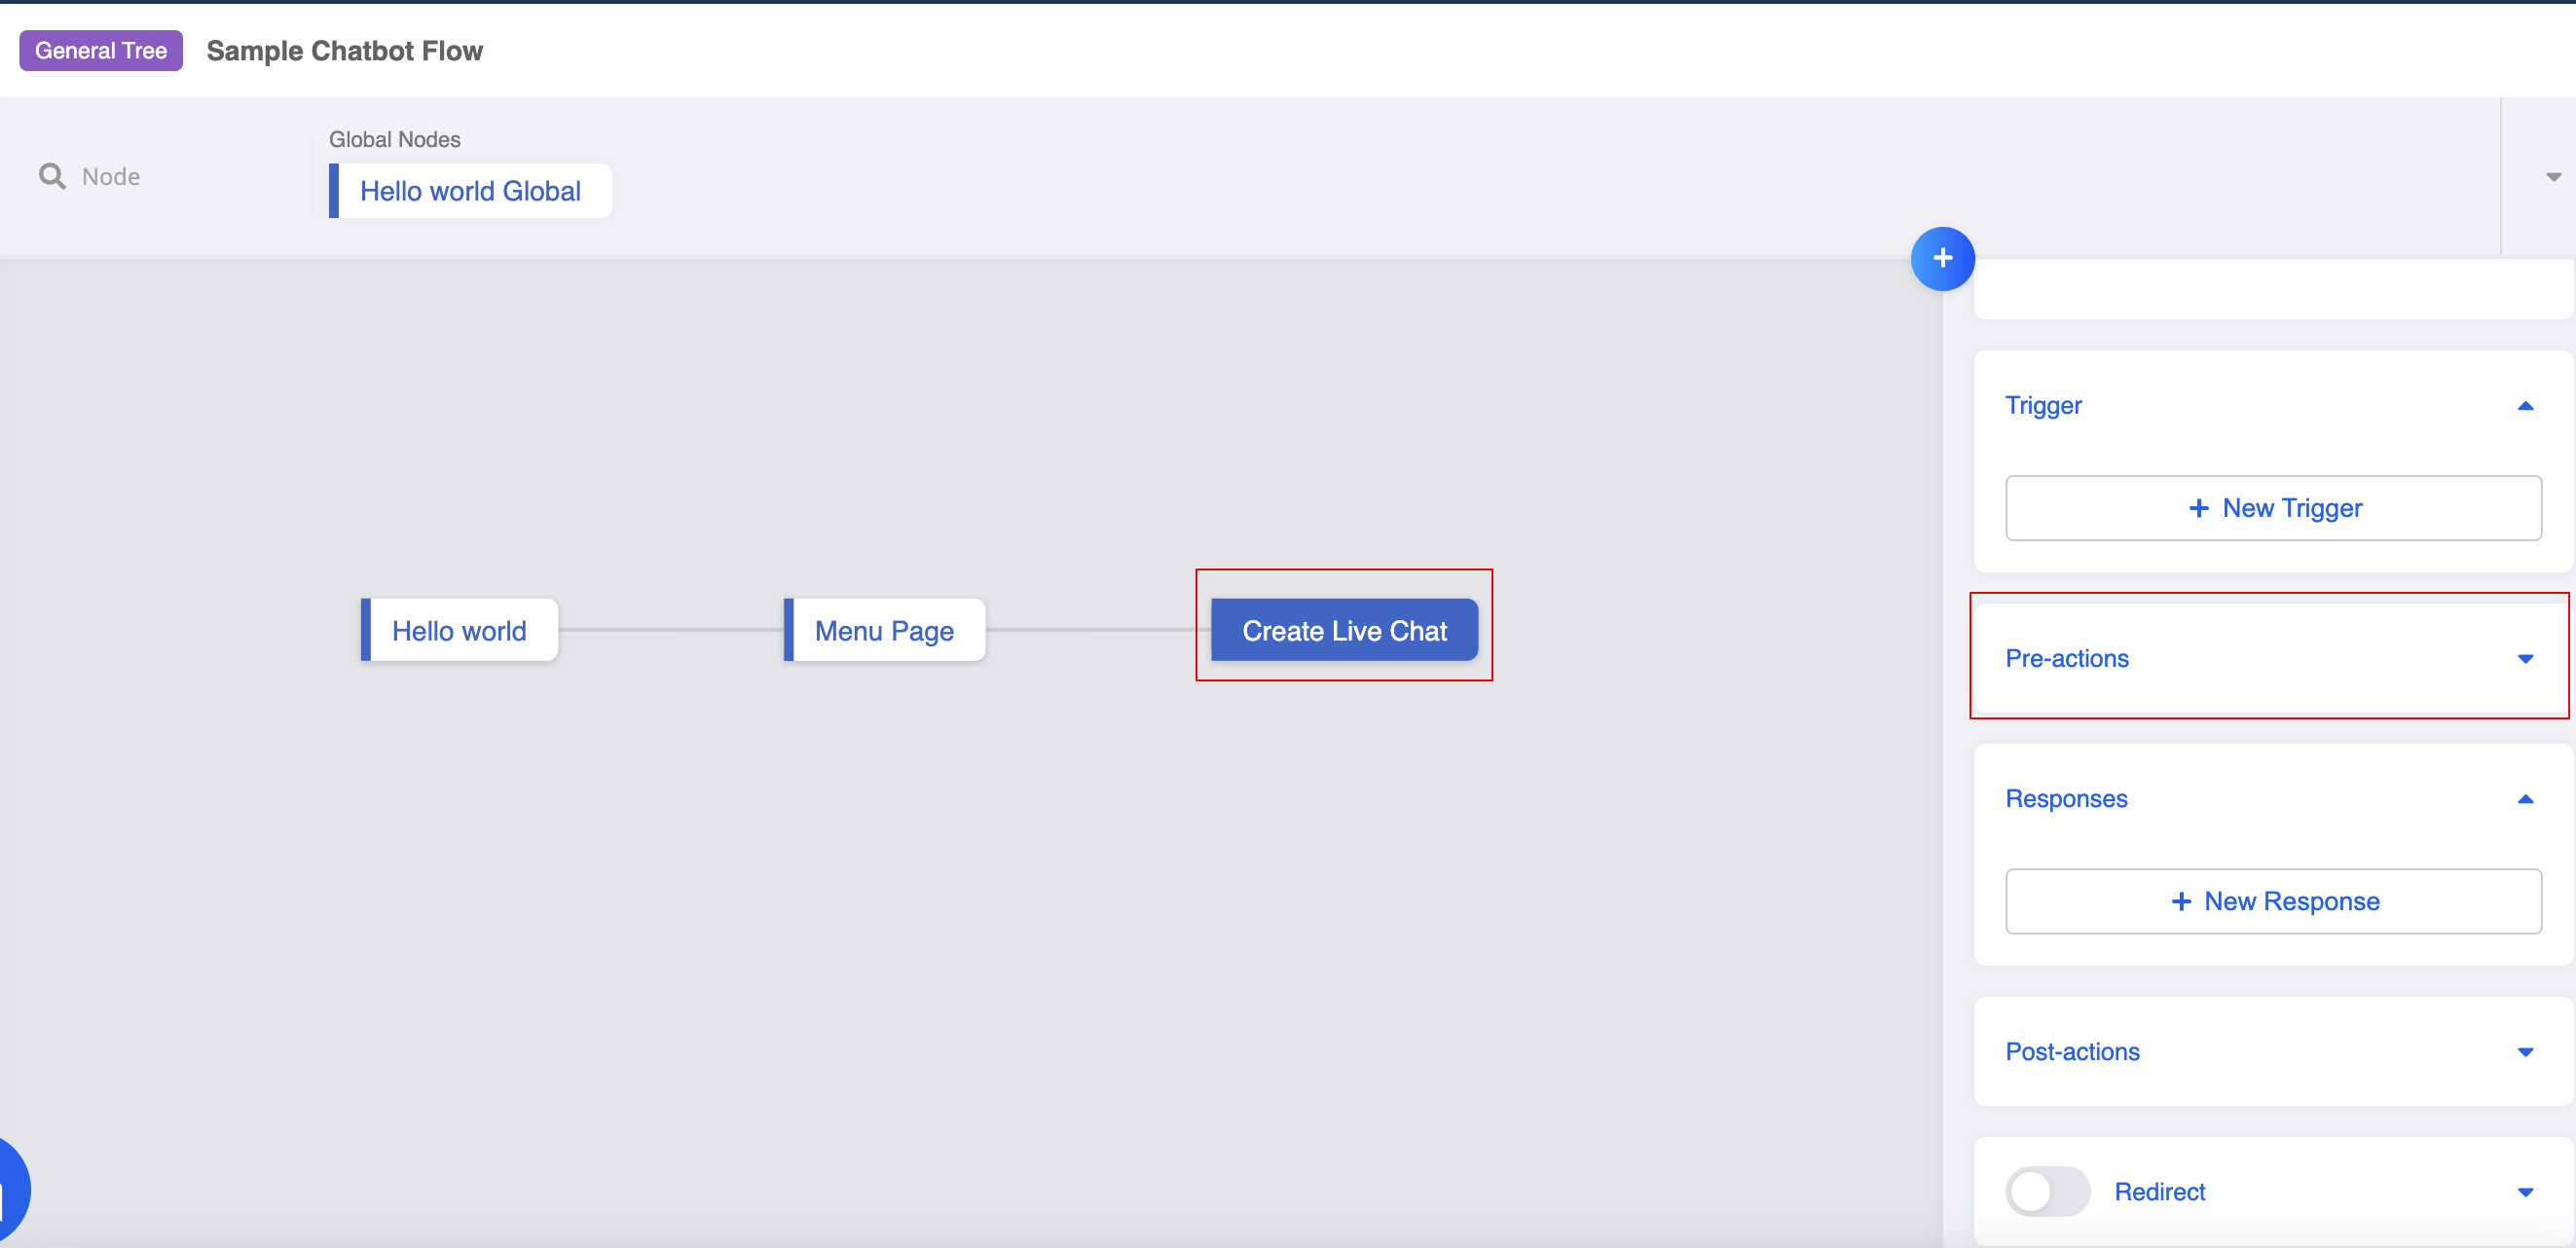
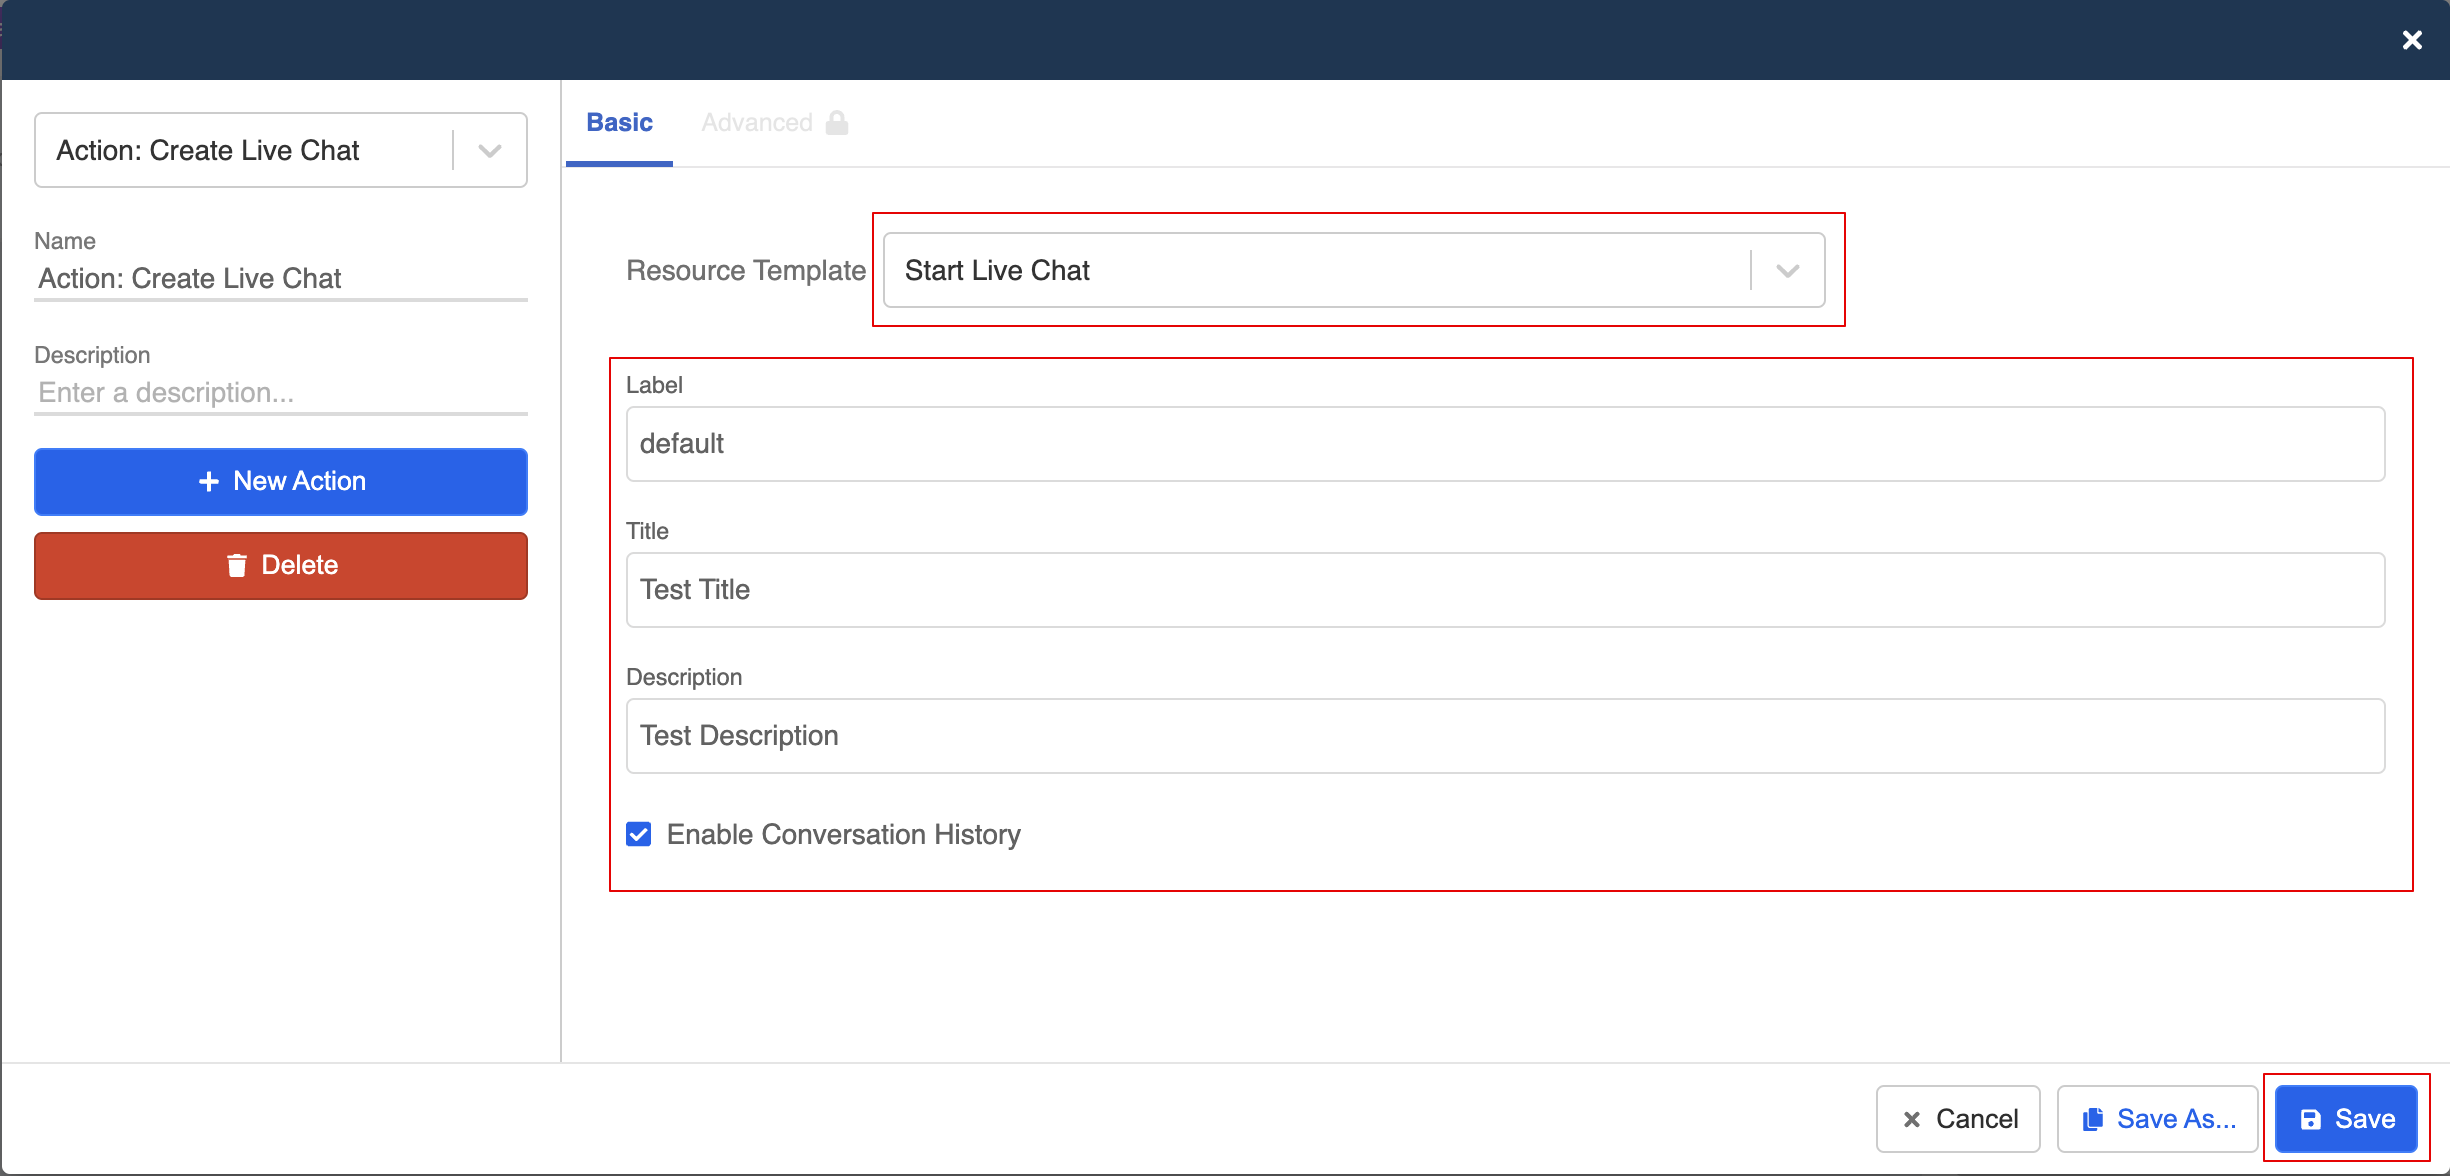
- Select "Start Live Chat". Enter the "Label" and "Title". "Enable Conversation History" would allow the live chat agent to view the end user's earlier conversation with the chatbot.
tip
- Label should match with the corresponding broadcast group.
- Title refers to the title of the ticket displayed in Slack.
- Description currently could not be applied to Slack.
- Enable Conversation History could display a link to the conversation history.
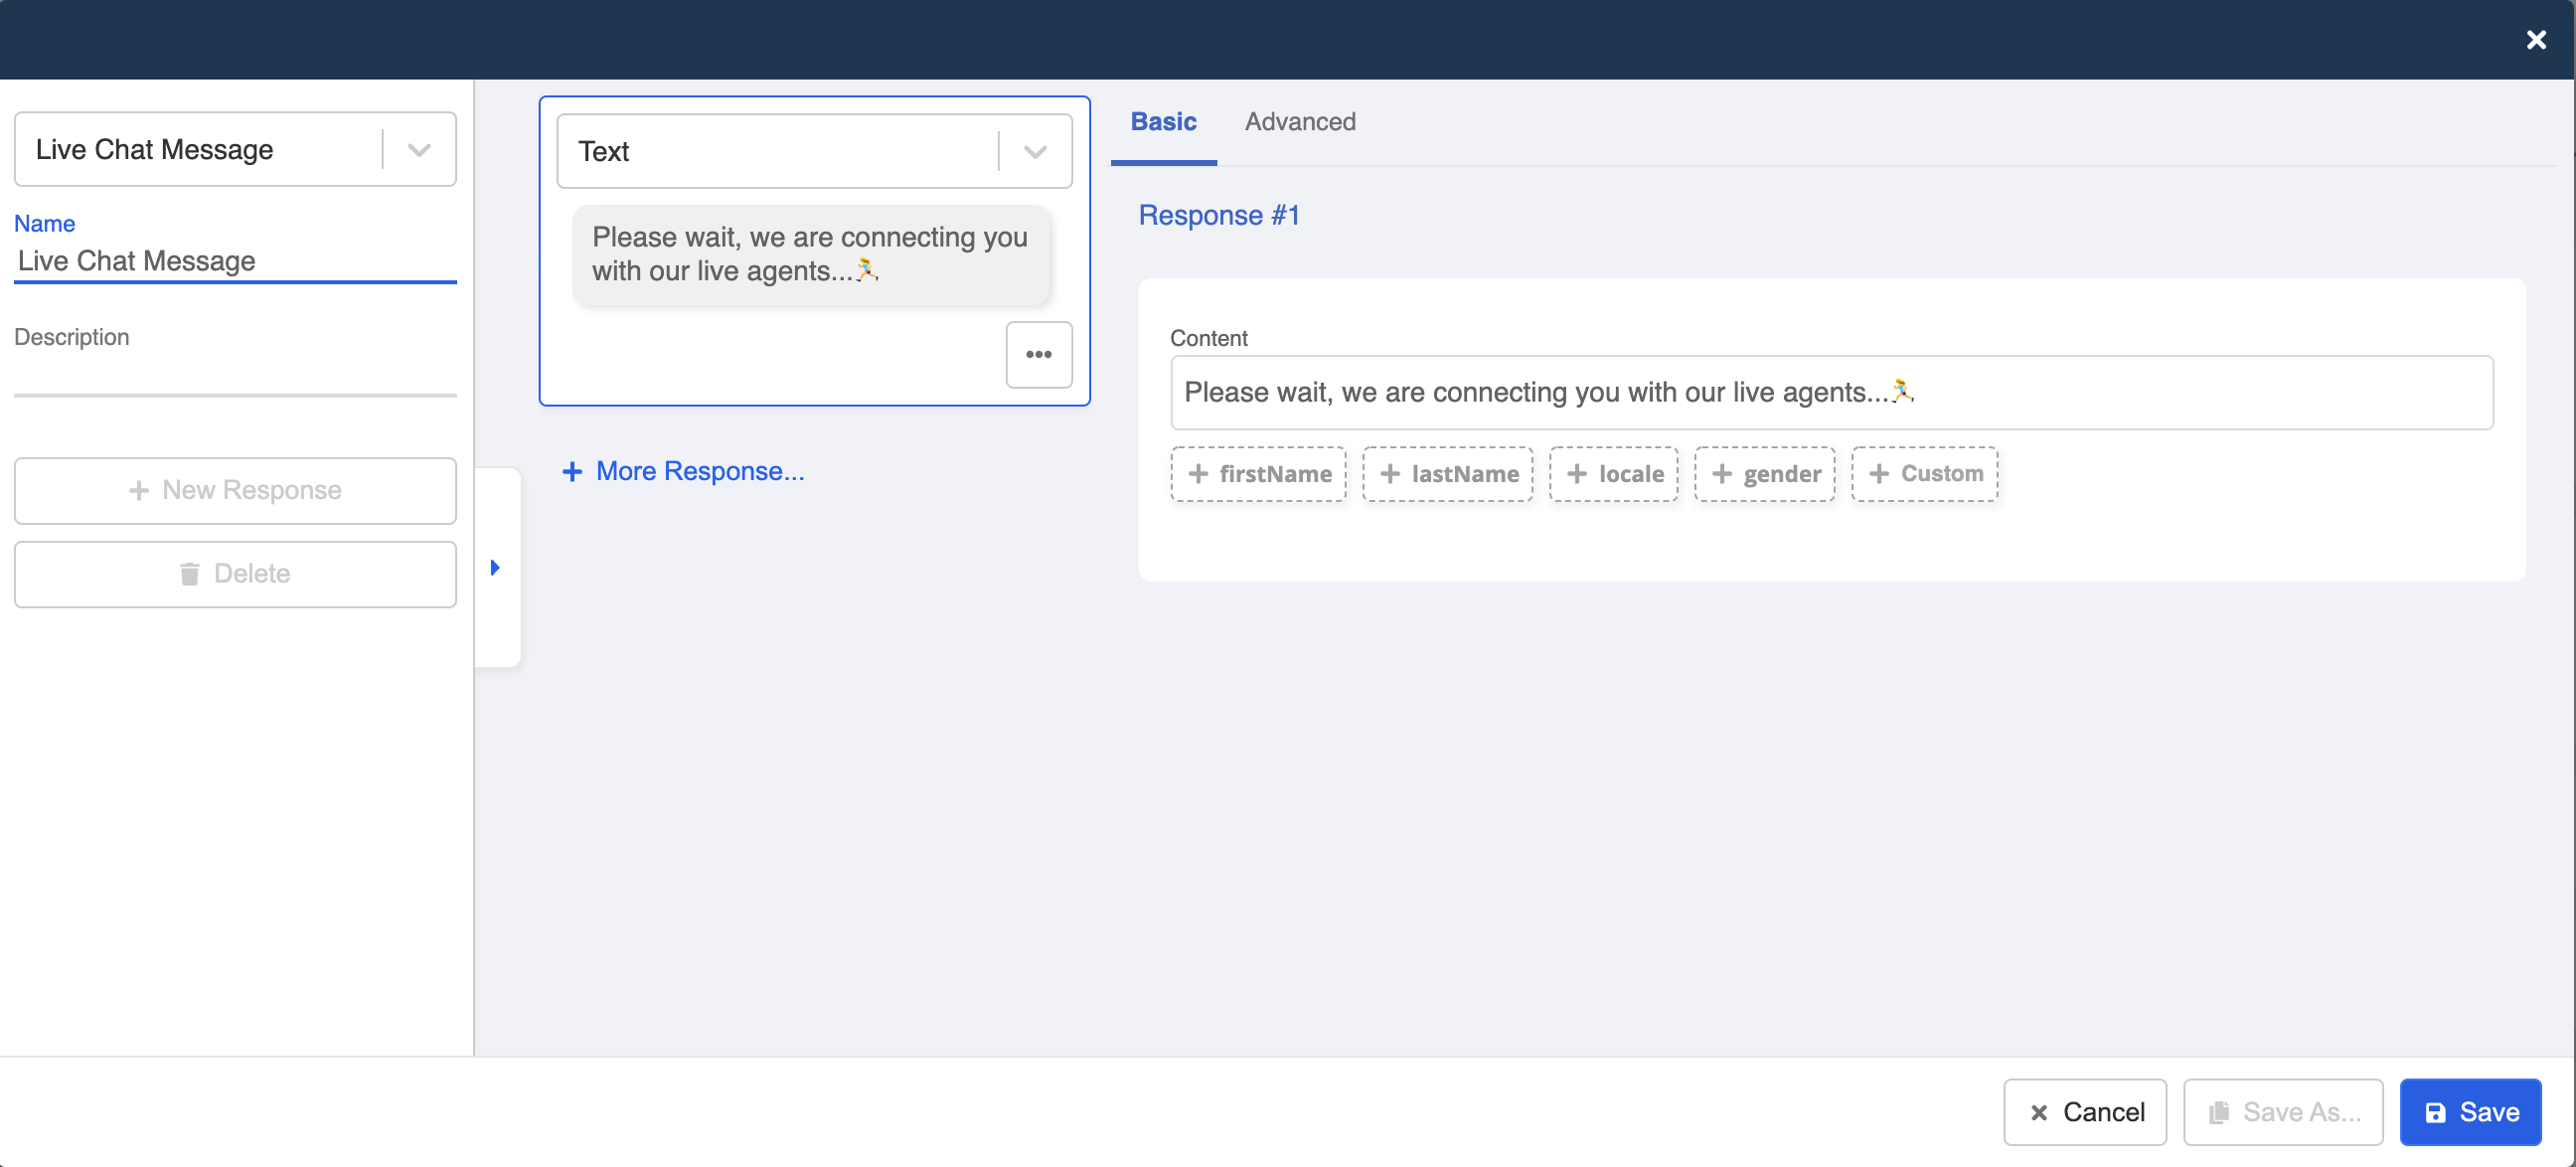
- Create a response to indicate the end user that the chat will be transferring to a live agent.
Create a Global Node
- Create a new global node for triggering the live chat general node.
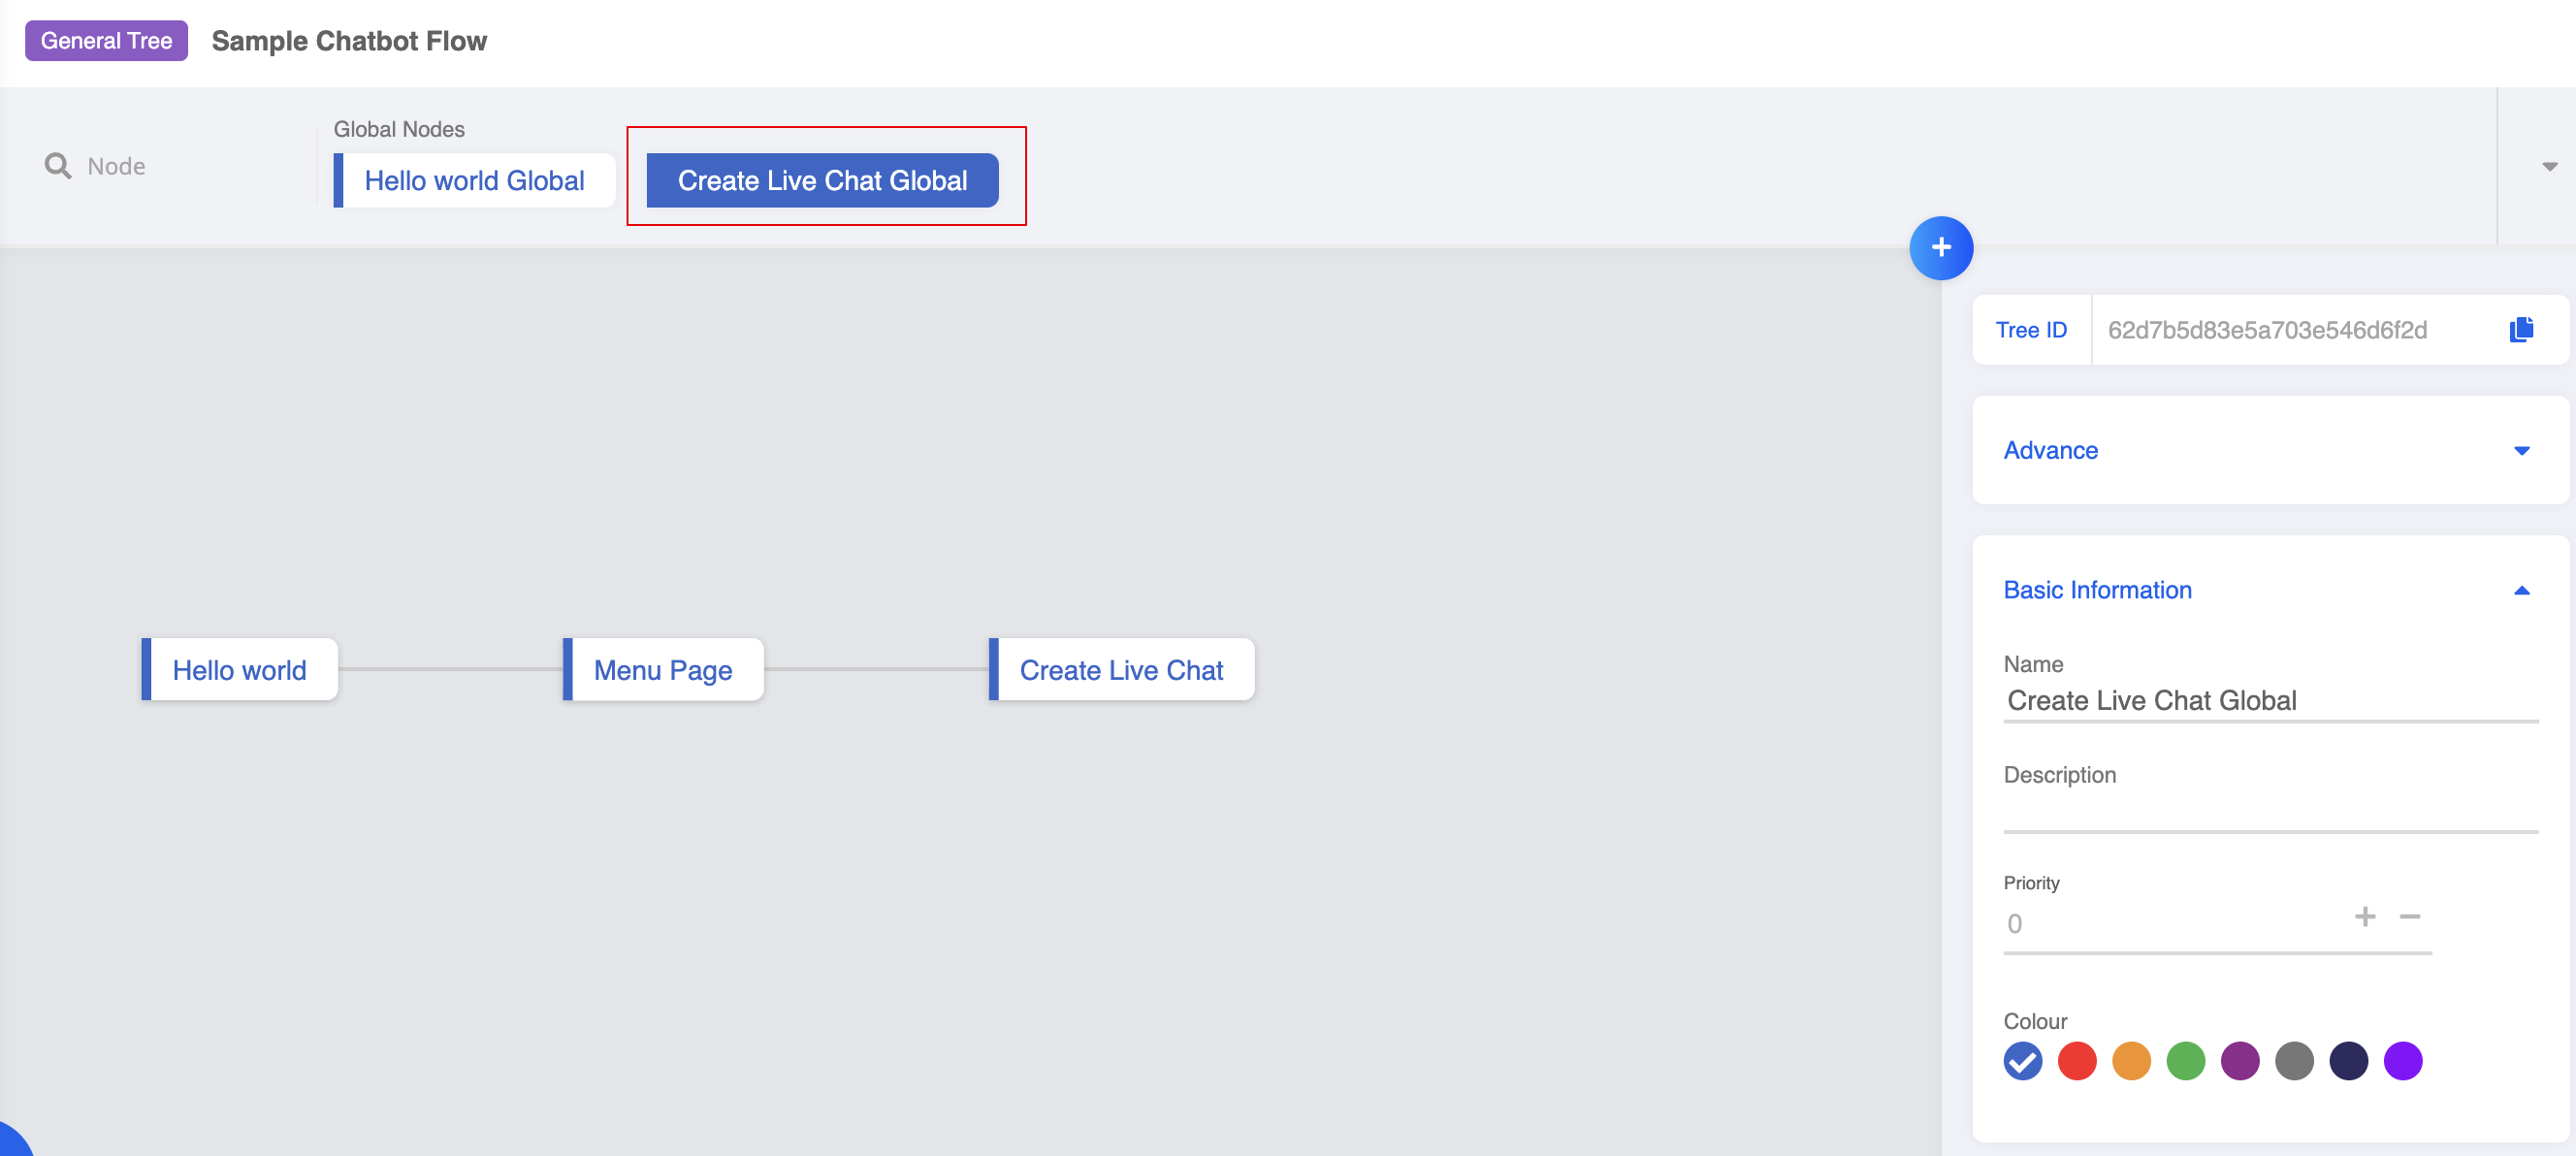
- Create a new trigger. In this case, let's set up a keyword: livechat

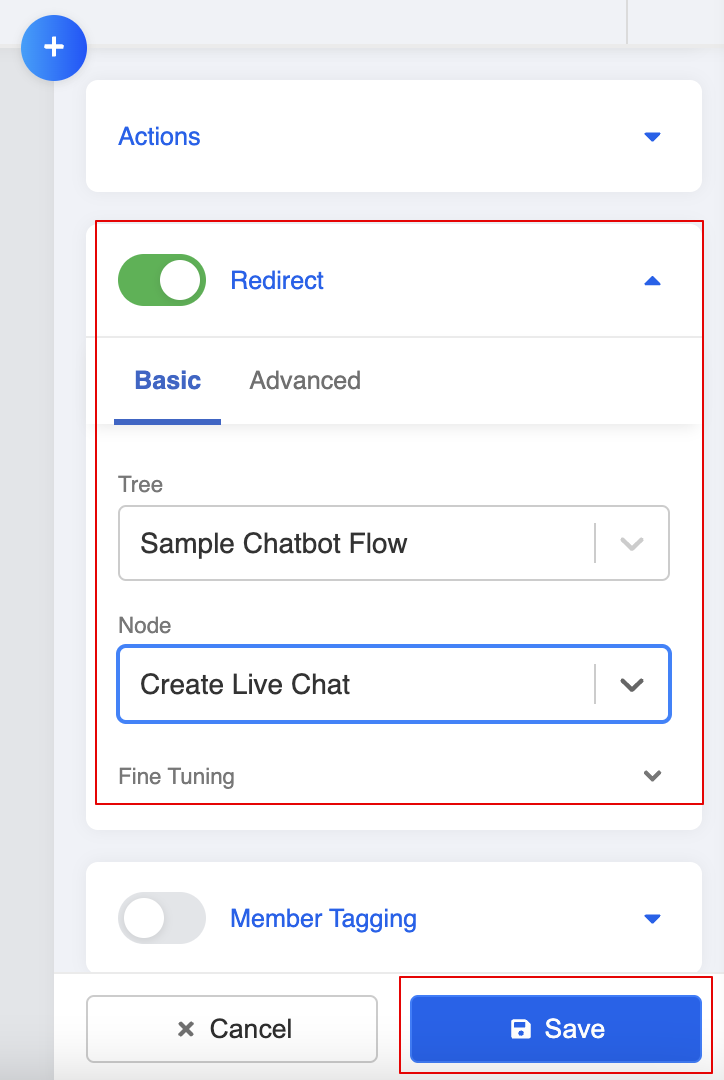
- Lastly, toggle on "Redirect" and point to the "Create Live Chat" general node.
- Now, you have created an entry to the live chat system. Let's continue with the live chat flow in the next section.