Create a Global Node
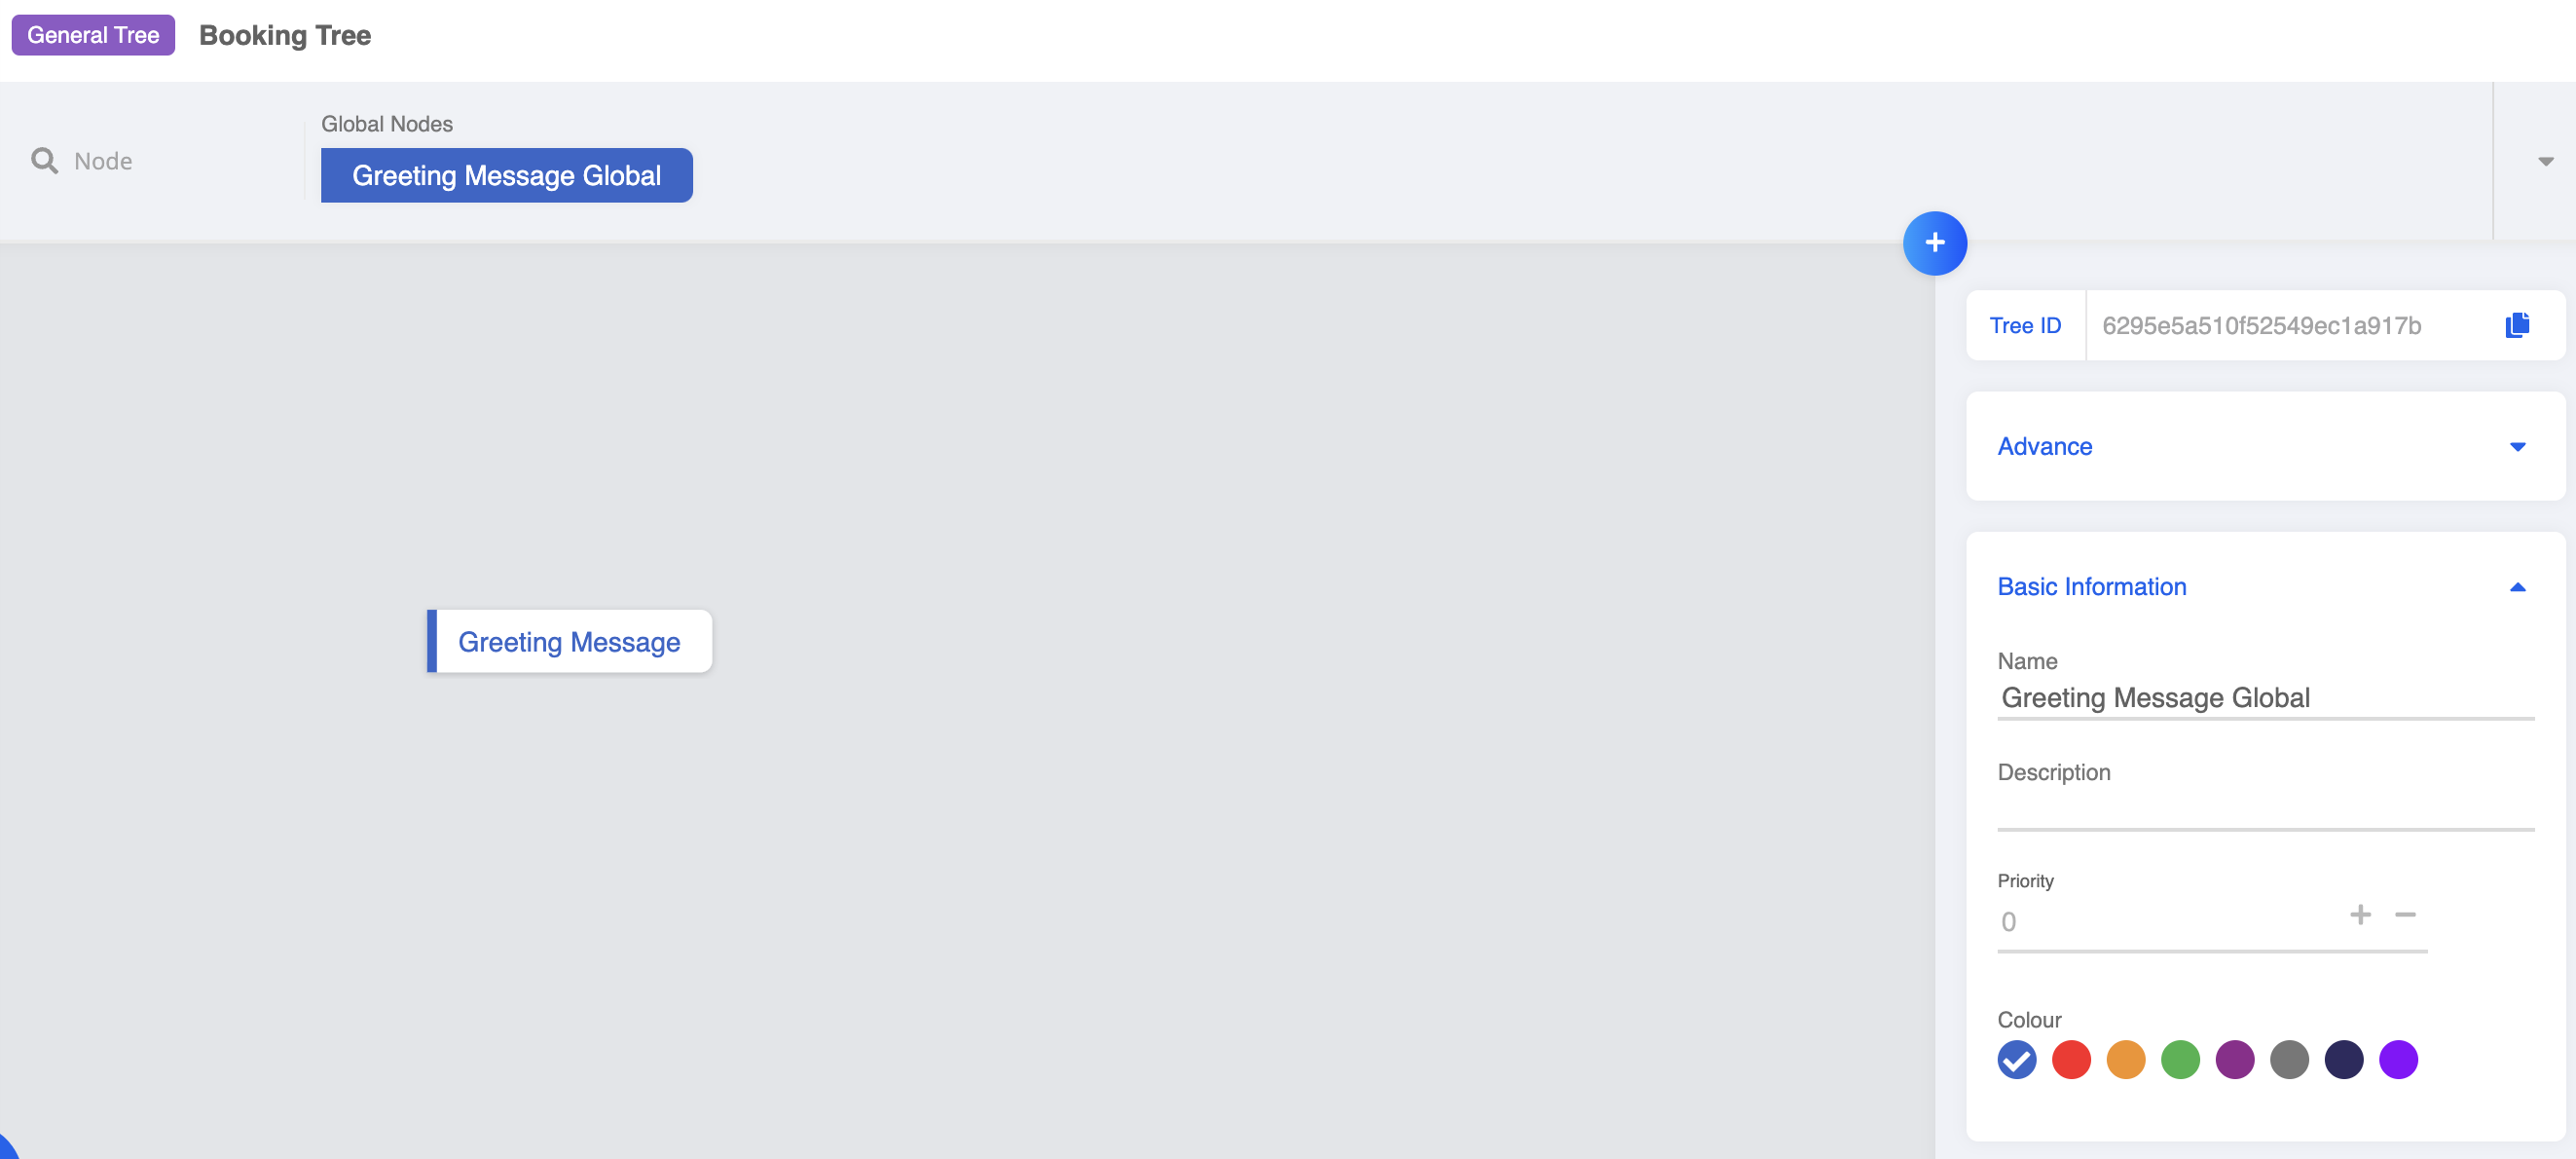
Now you can see your first node in the workspace, how about on your testing chatbot? In this section, we will teach you to create another type of node: Global node. It allows you to trigger the same node at any point of your conversation flow.
Once added to Channel, Global Node is often used as a "door" to kickstart a conversation.
Without a Global Node, no one can ever kick-start your chatbot.
Expected Outcome
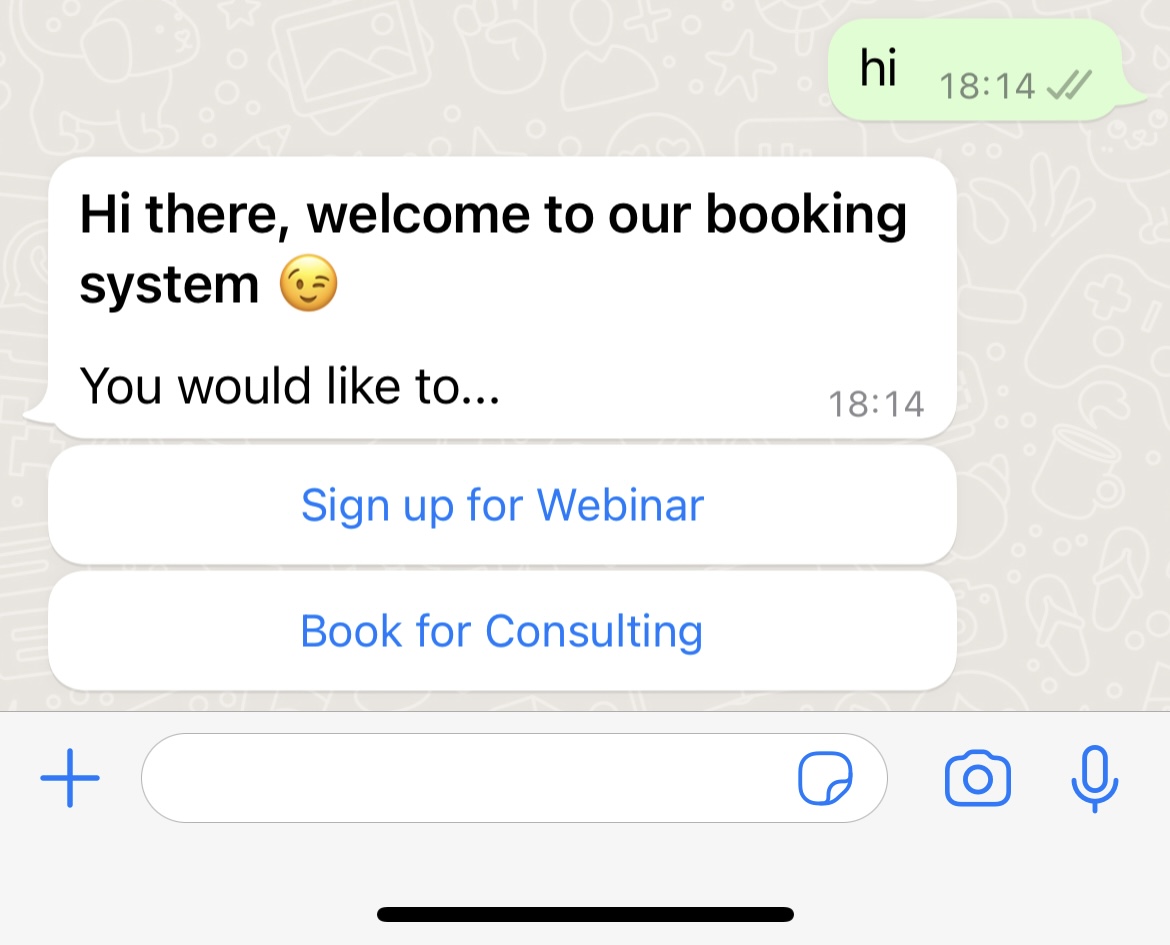
You can to trigger the first node on your testing chatbot in one way: say Hi to the chatbot.
Create a Global Node
Enter your Bot Builder and starting building your chatbot.
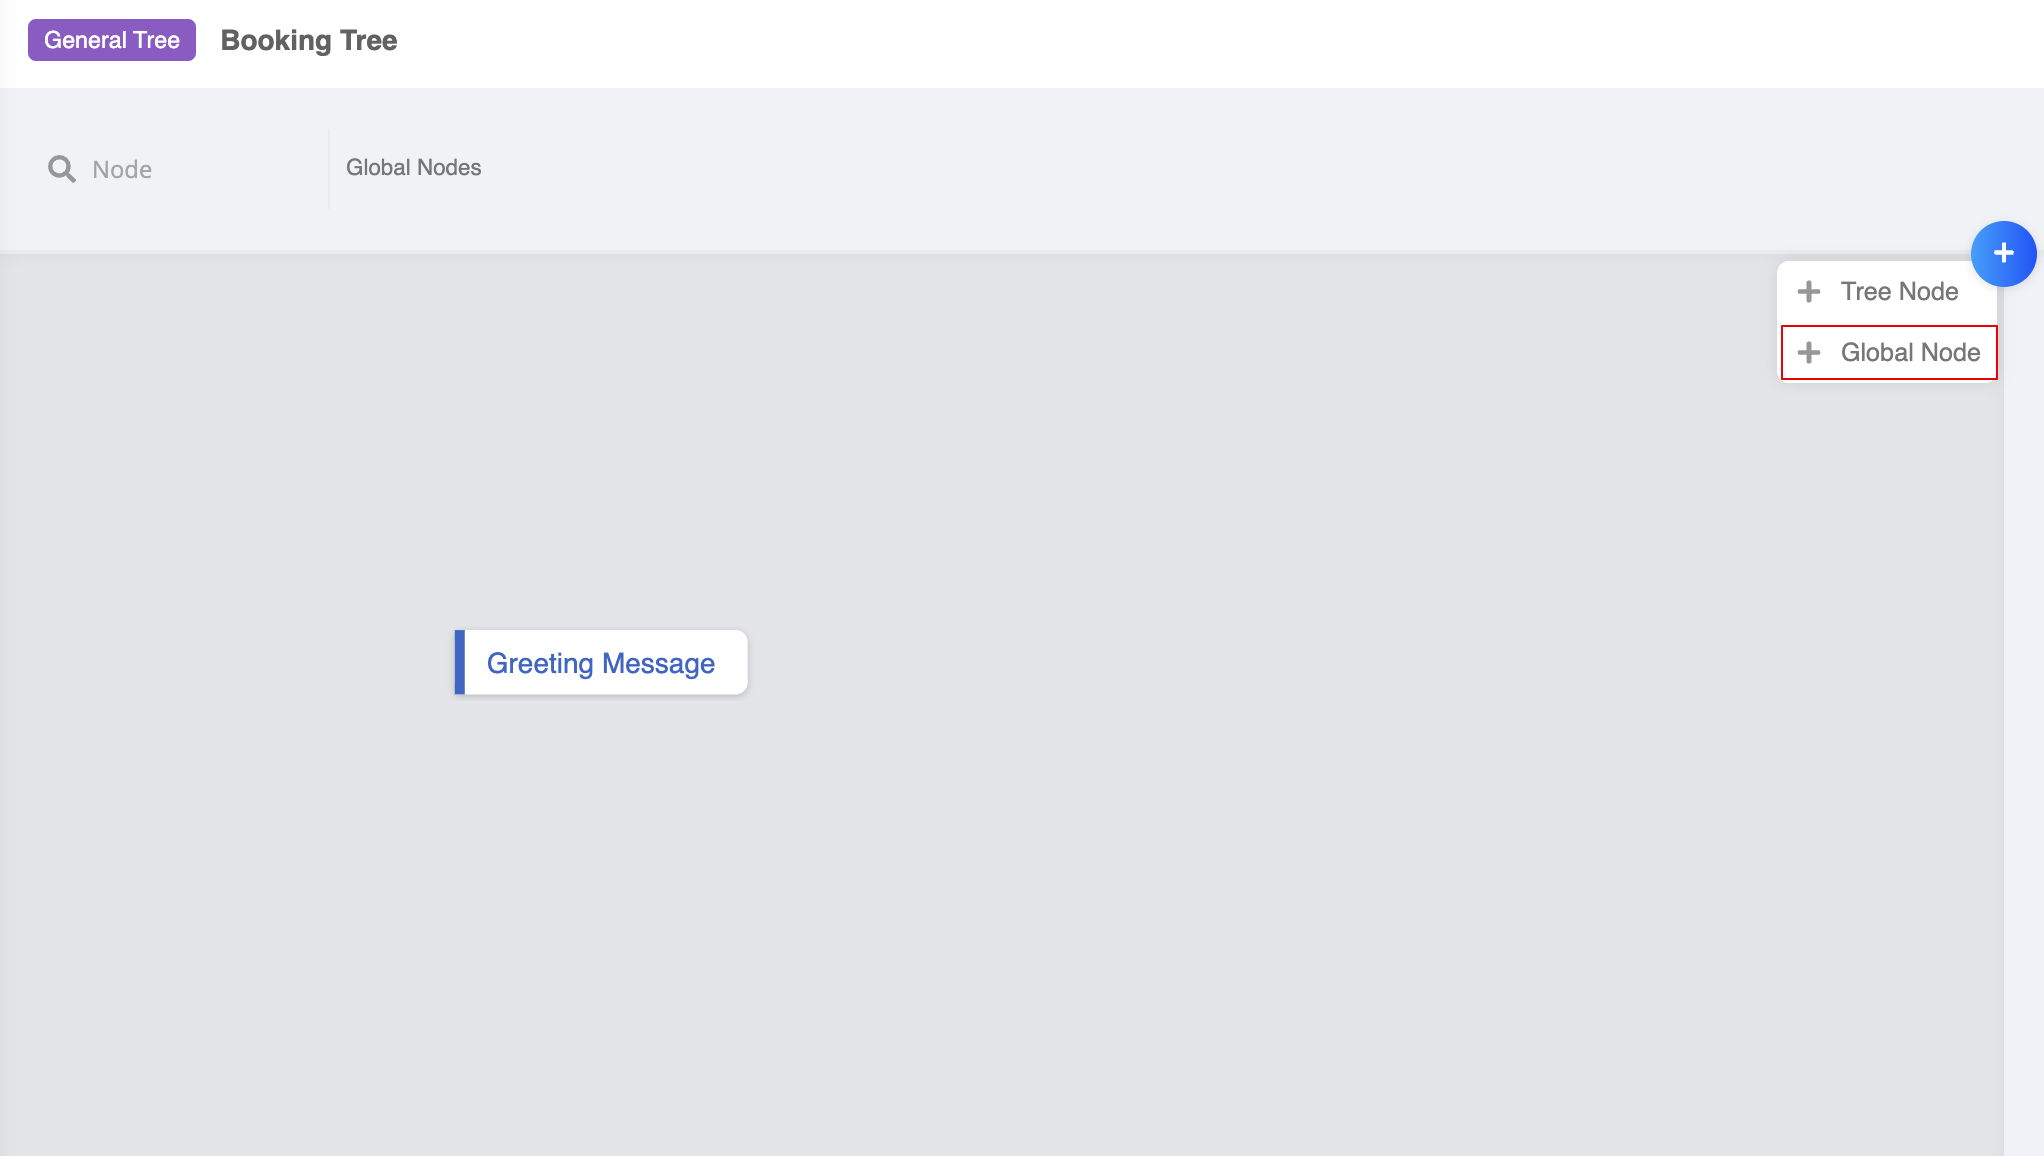
- Select "+" on right top corner of workspace. Select "+ Global Node".
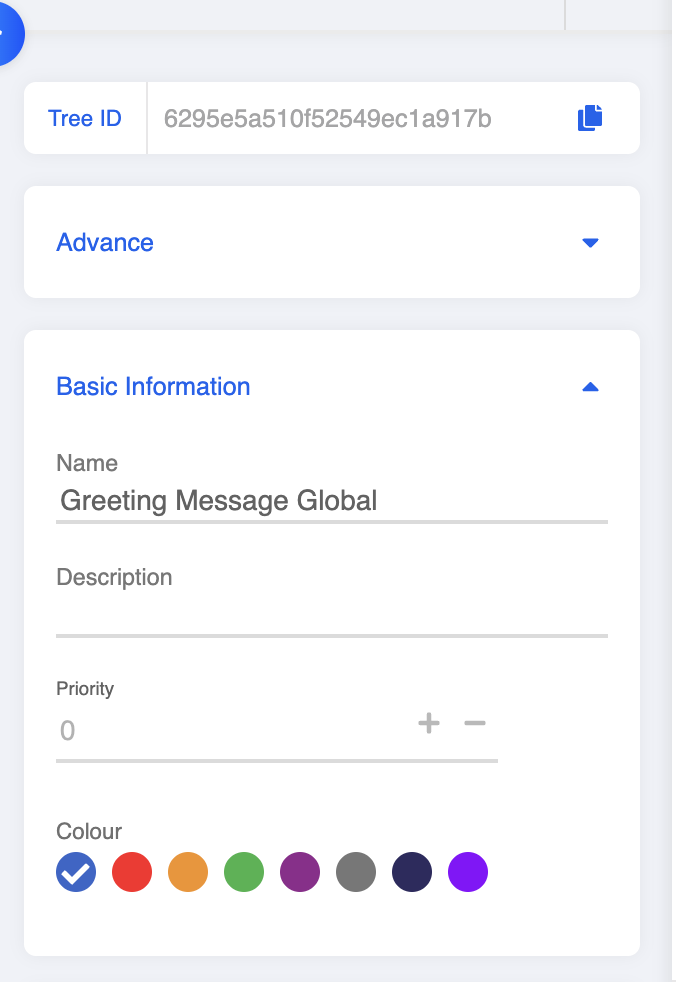
- In the "Node Inspector", name your global node. Usually we would put Global at the end of the global node to identify it from the node with the same name.
Create a Trigger
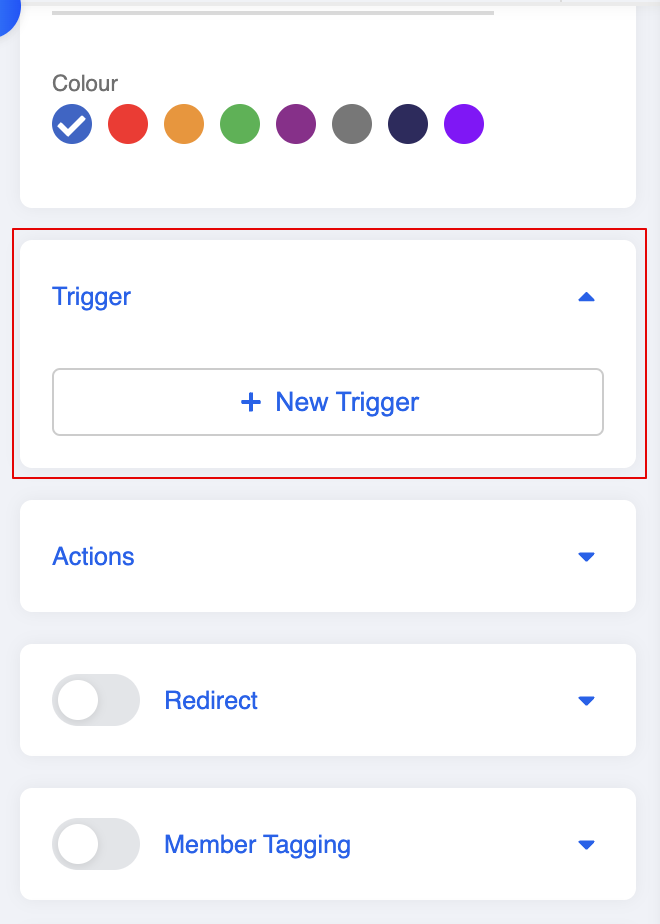
- Scroll down to "Trigger" and click "+ New Trigger".
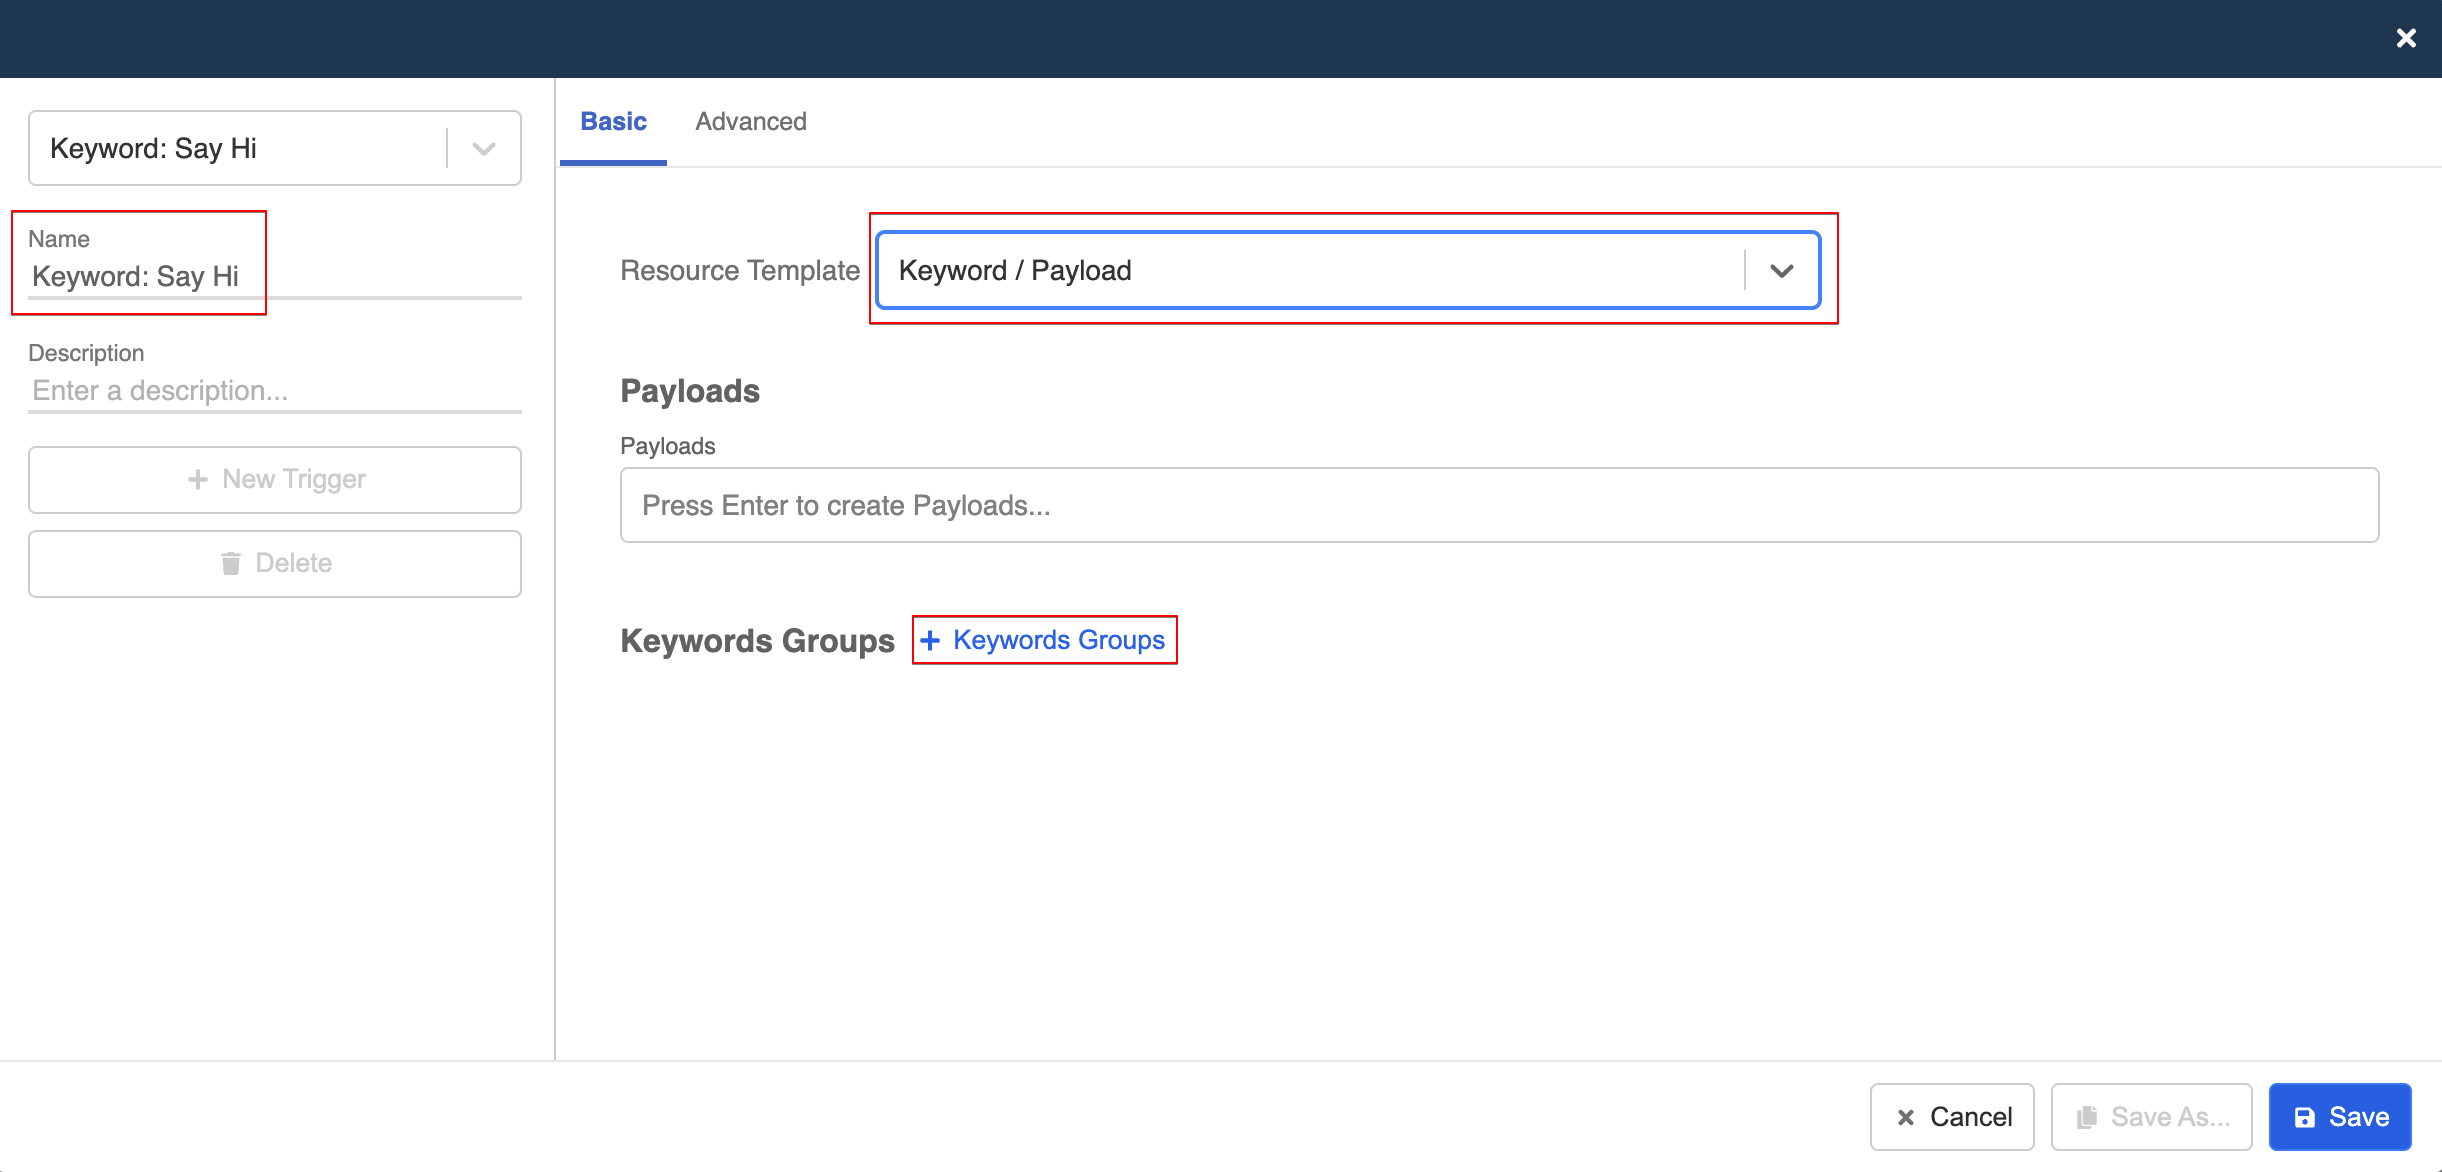
- Name your trigger. Select "Payload / Keyword" from the dropdown and then click on "+ Keyword Group".
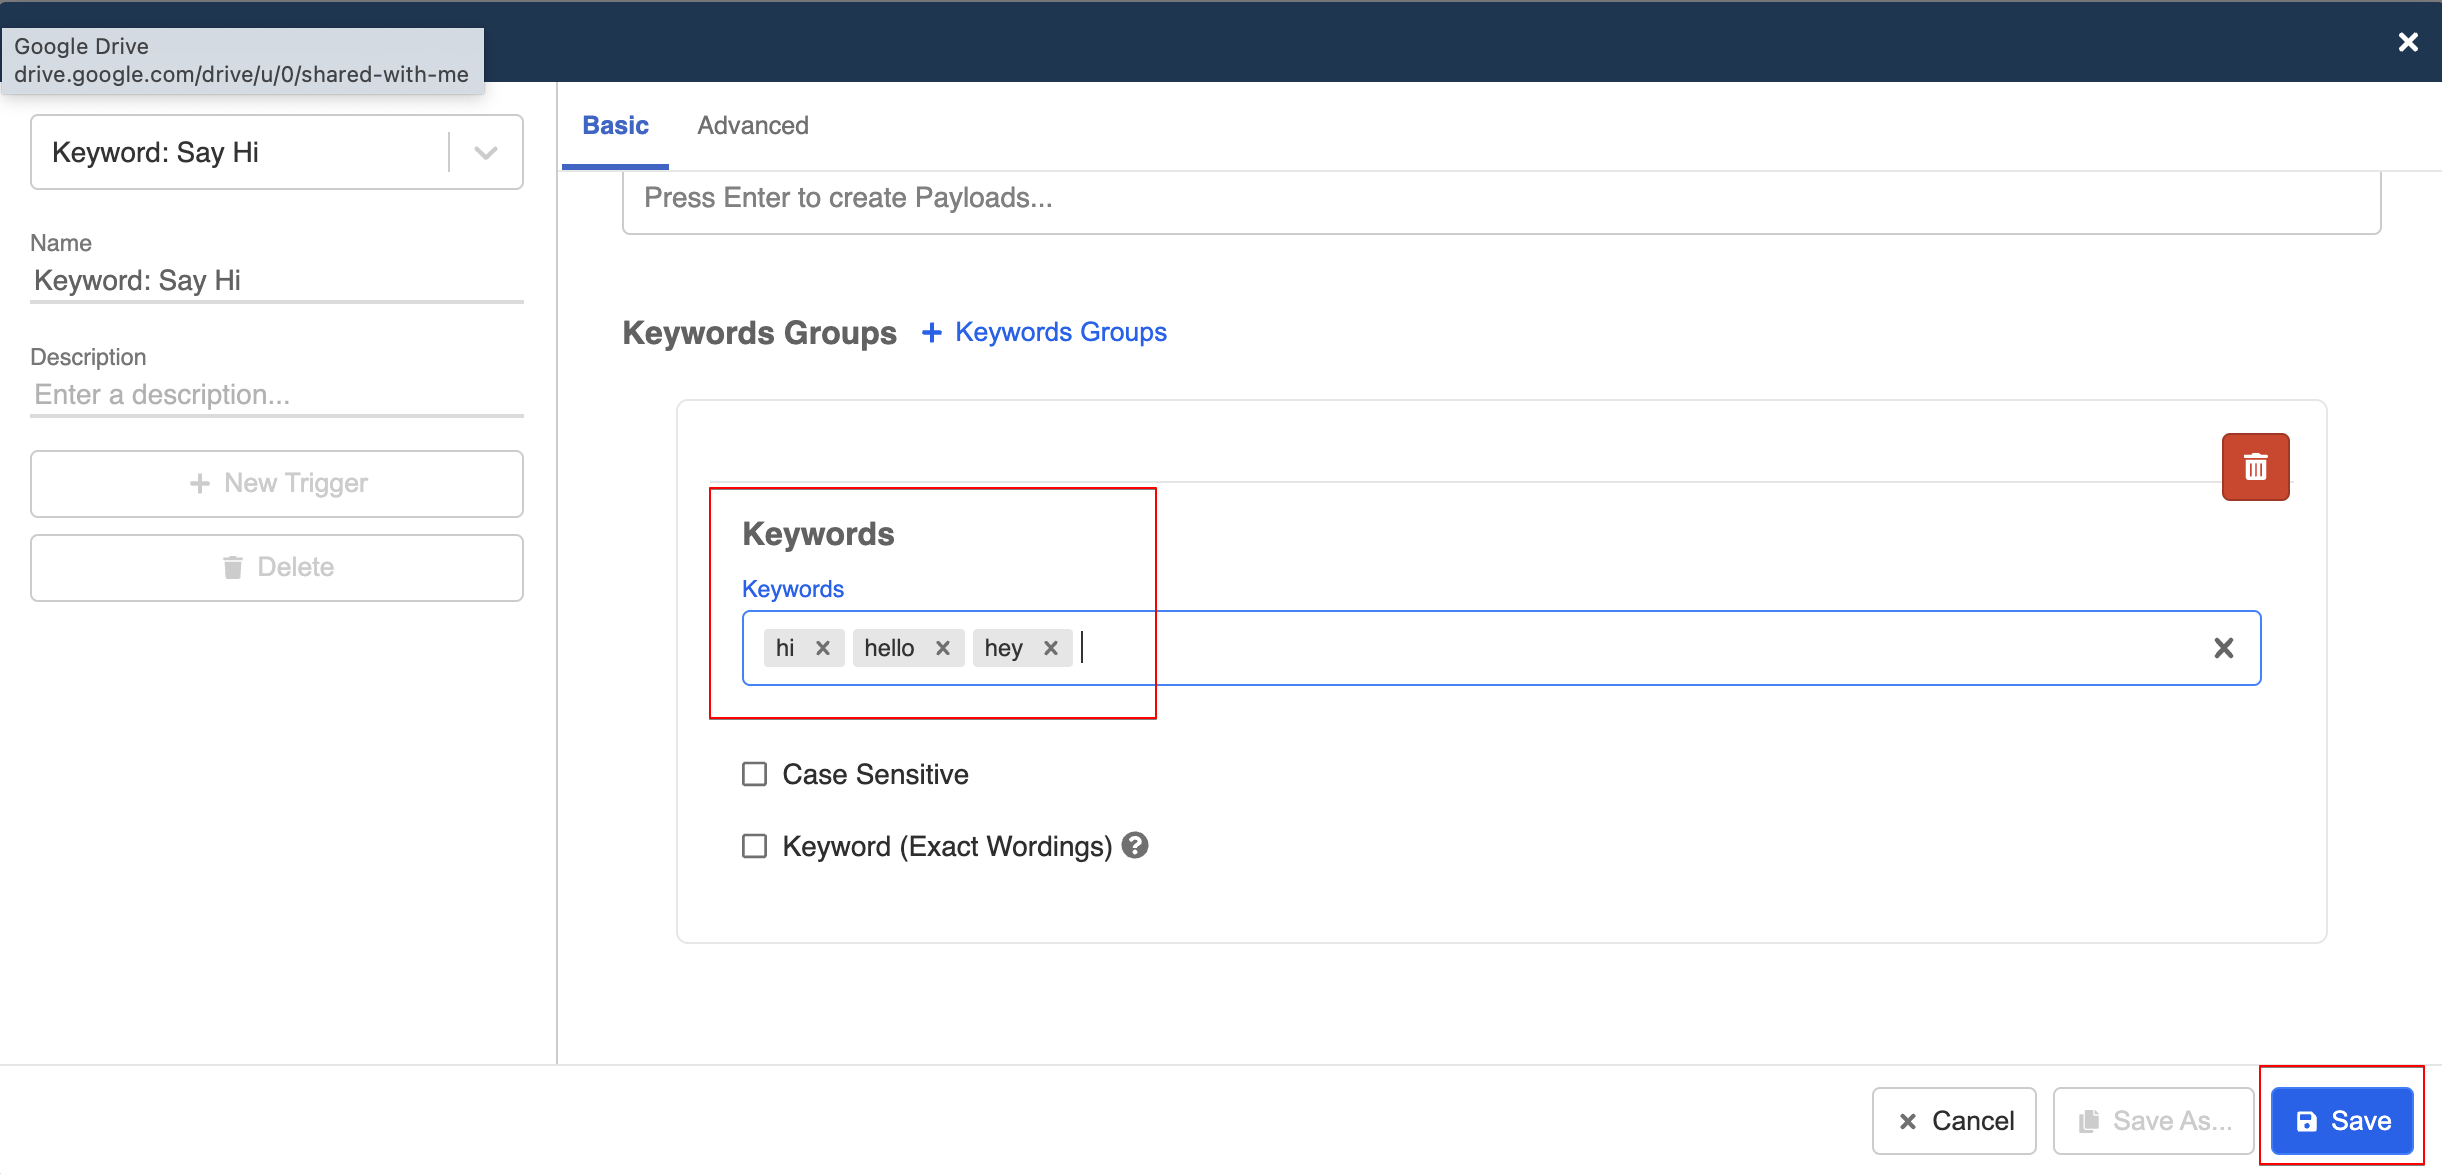
- Under Keyword, type some keywords related to greetings. You can confirm each keyword by clicking "Enter". Remember to "Save" the trigger.
Toggle on Redirect
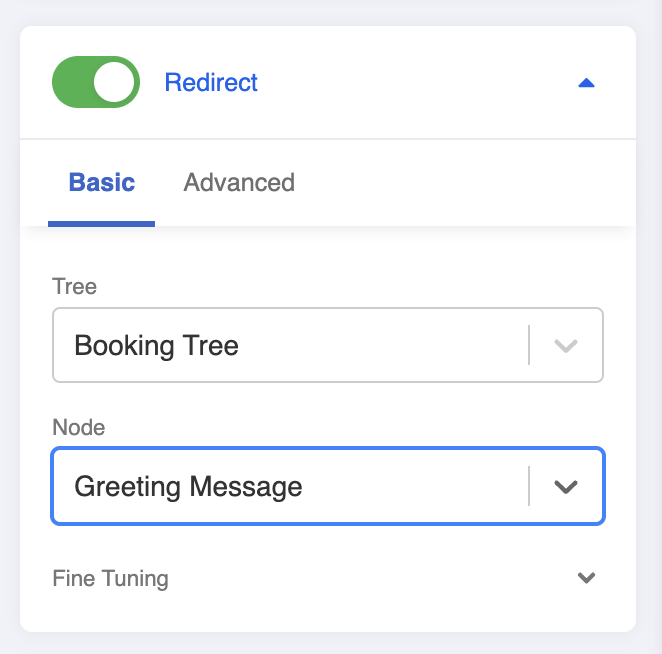
Scroll down to "Redirect" and toggle it on (it will turn green).
Select the chatbot and node you want to redirect your users to whenever they click on this global node.
tip
Sometimes we could also redirect users from one chatbot to another chatbot. It is applicable when you have multiple chatbot in your channel.
- Remember to click "Save" at the bottom to save the node.
Add Global Node in Channel
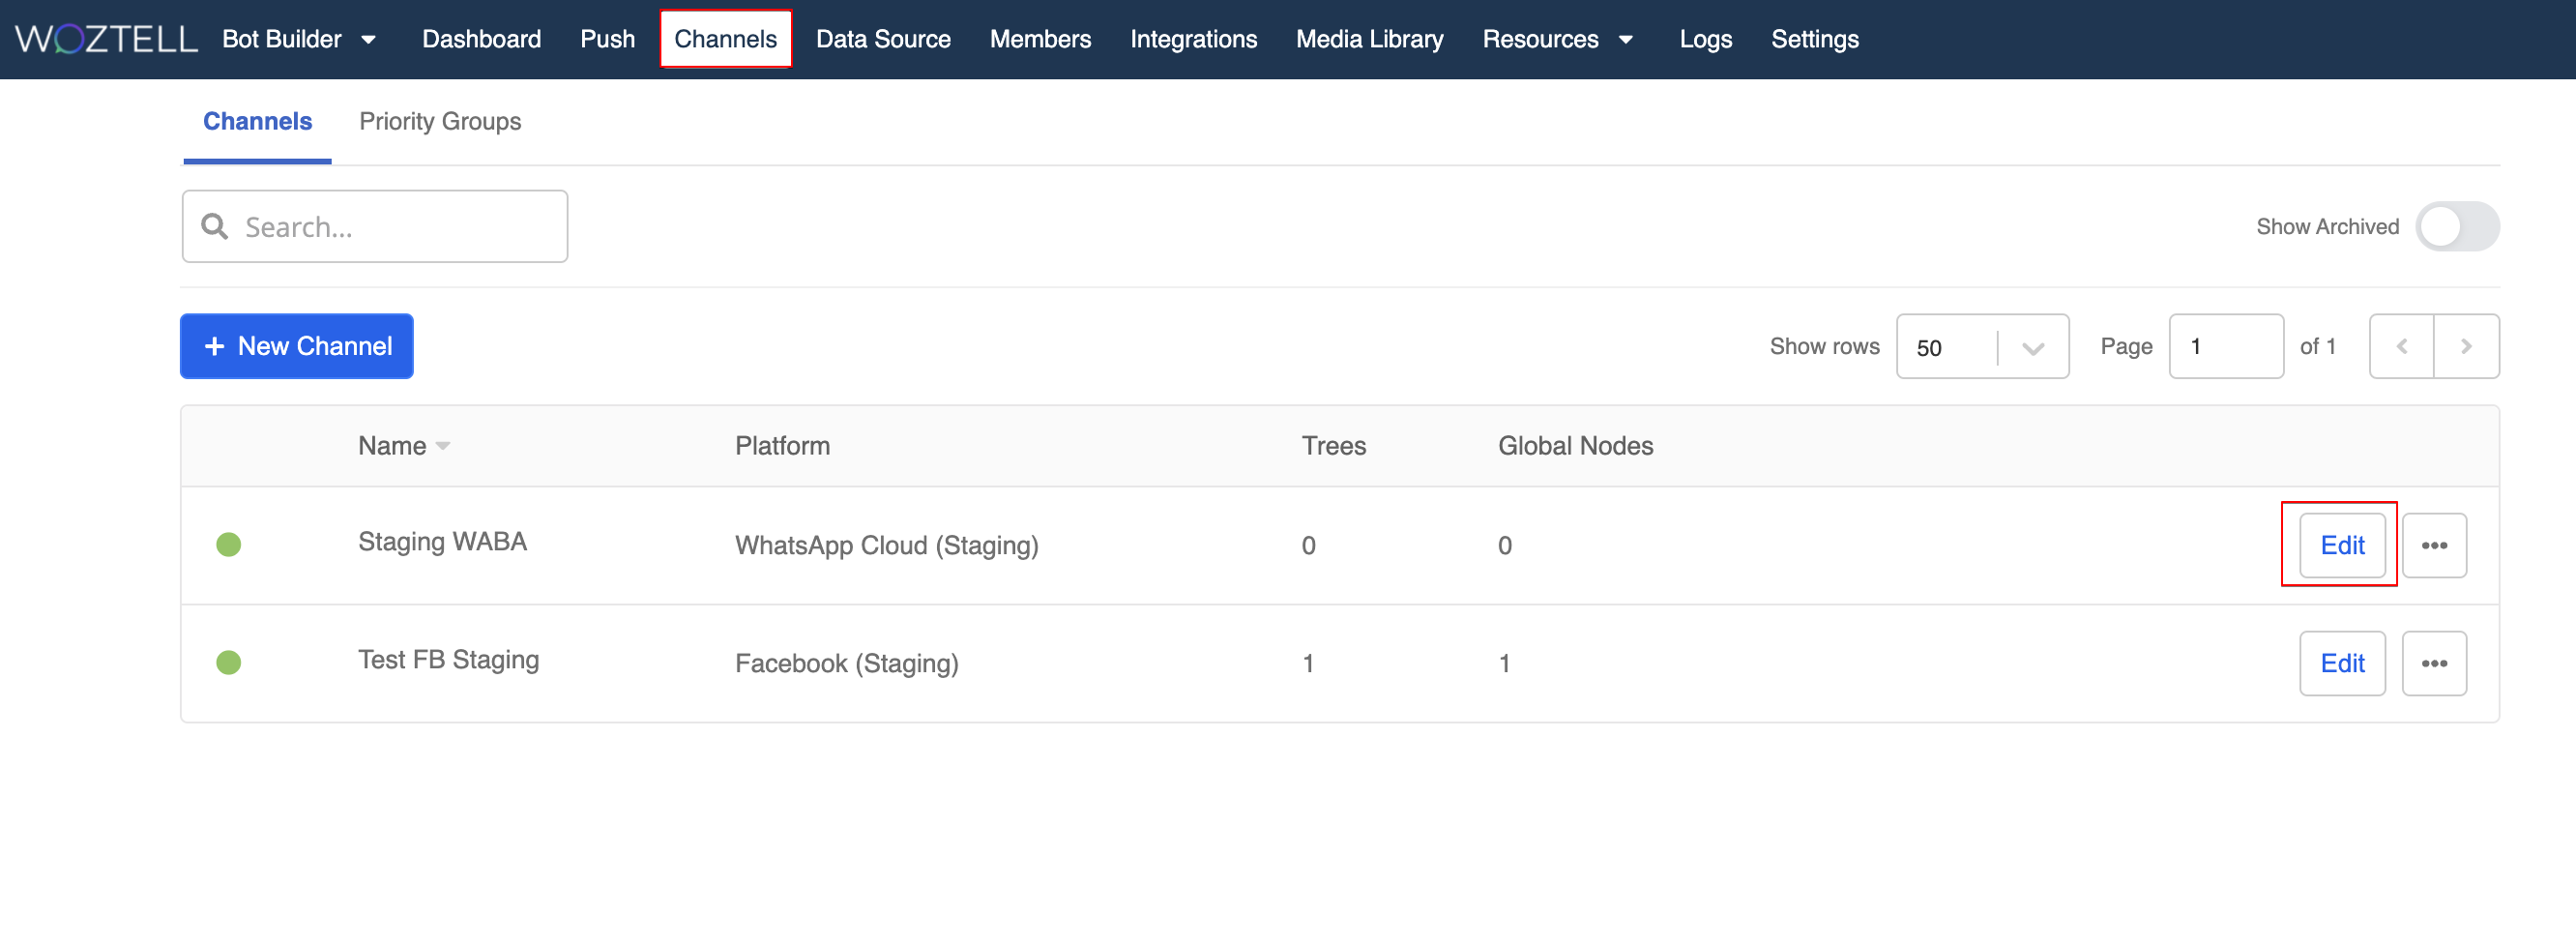
- Head to "Channels", click "Edit" to enter the WhatsApp channel.
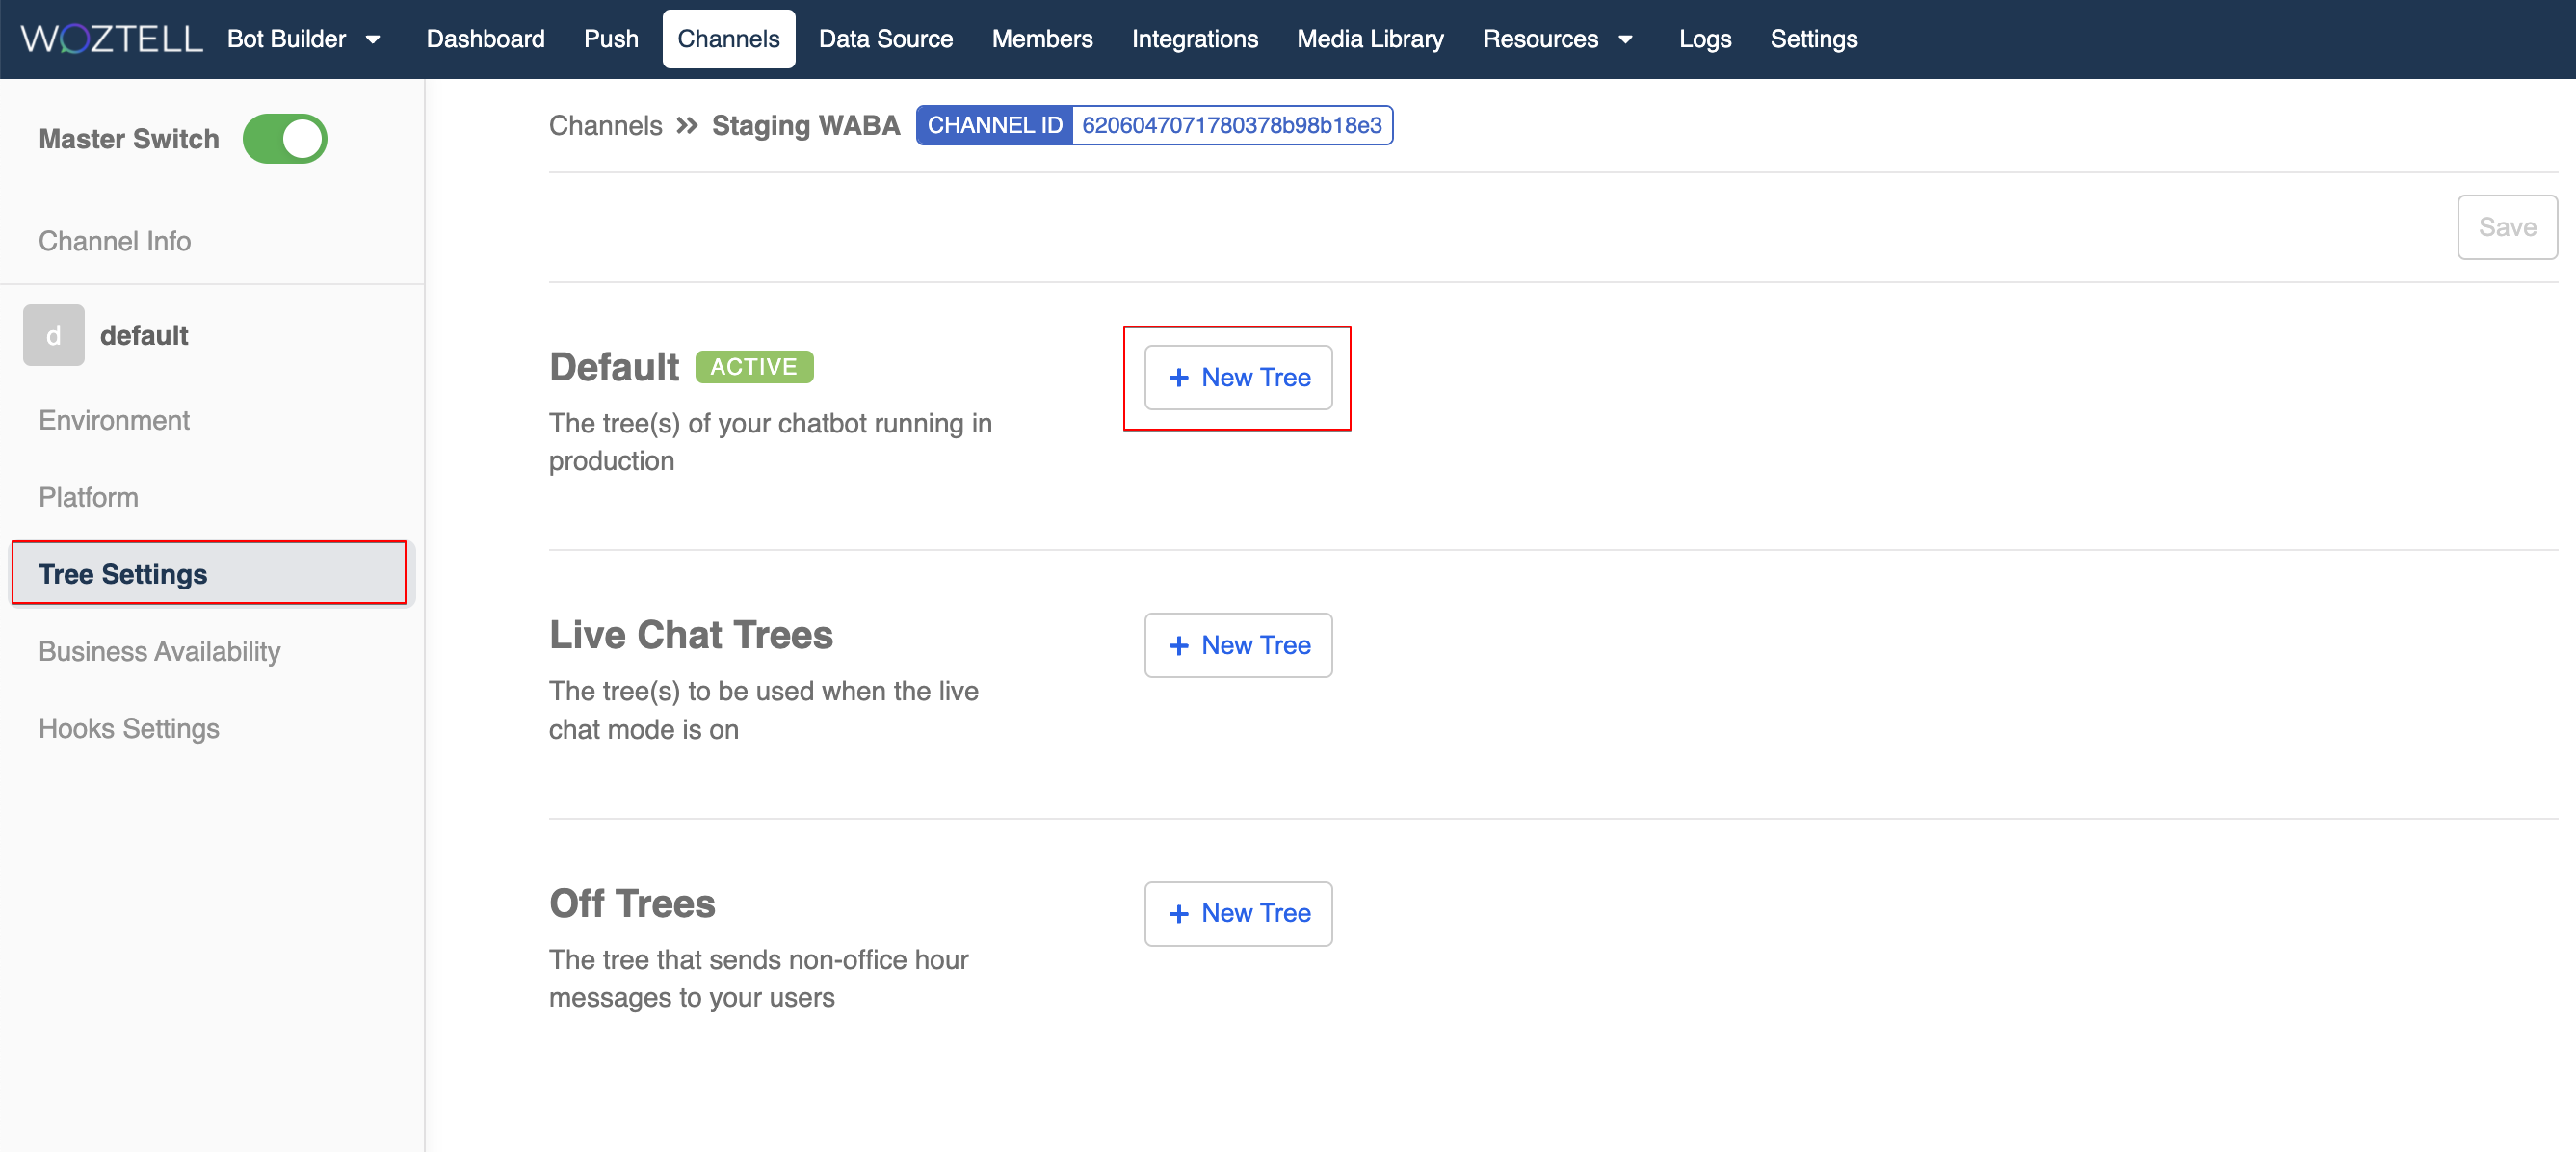
- On the left tab, click "Chatbot Settings". Click "+ New Chatbot" under "Default" to add chatbot.
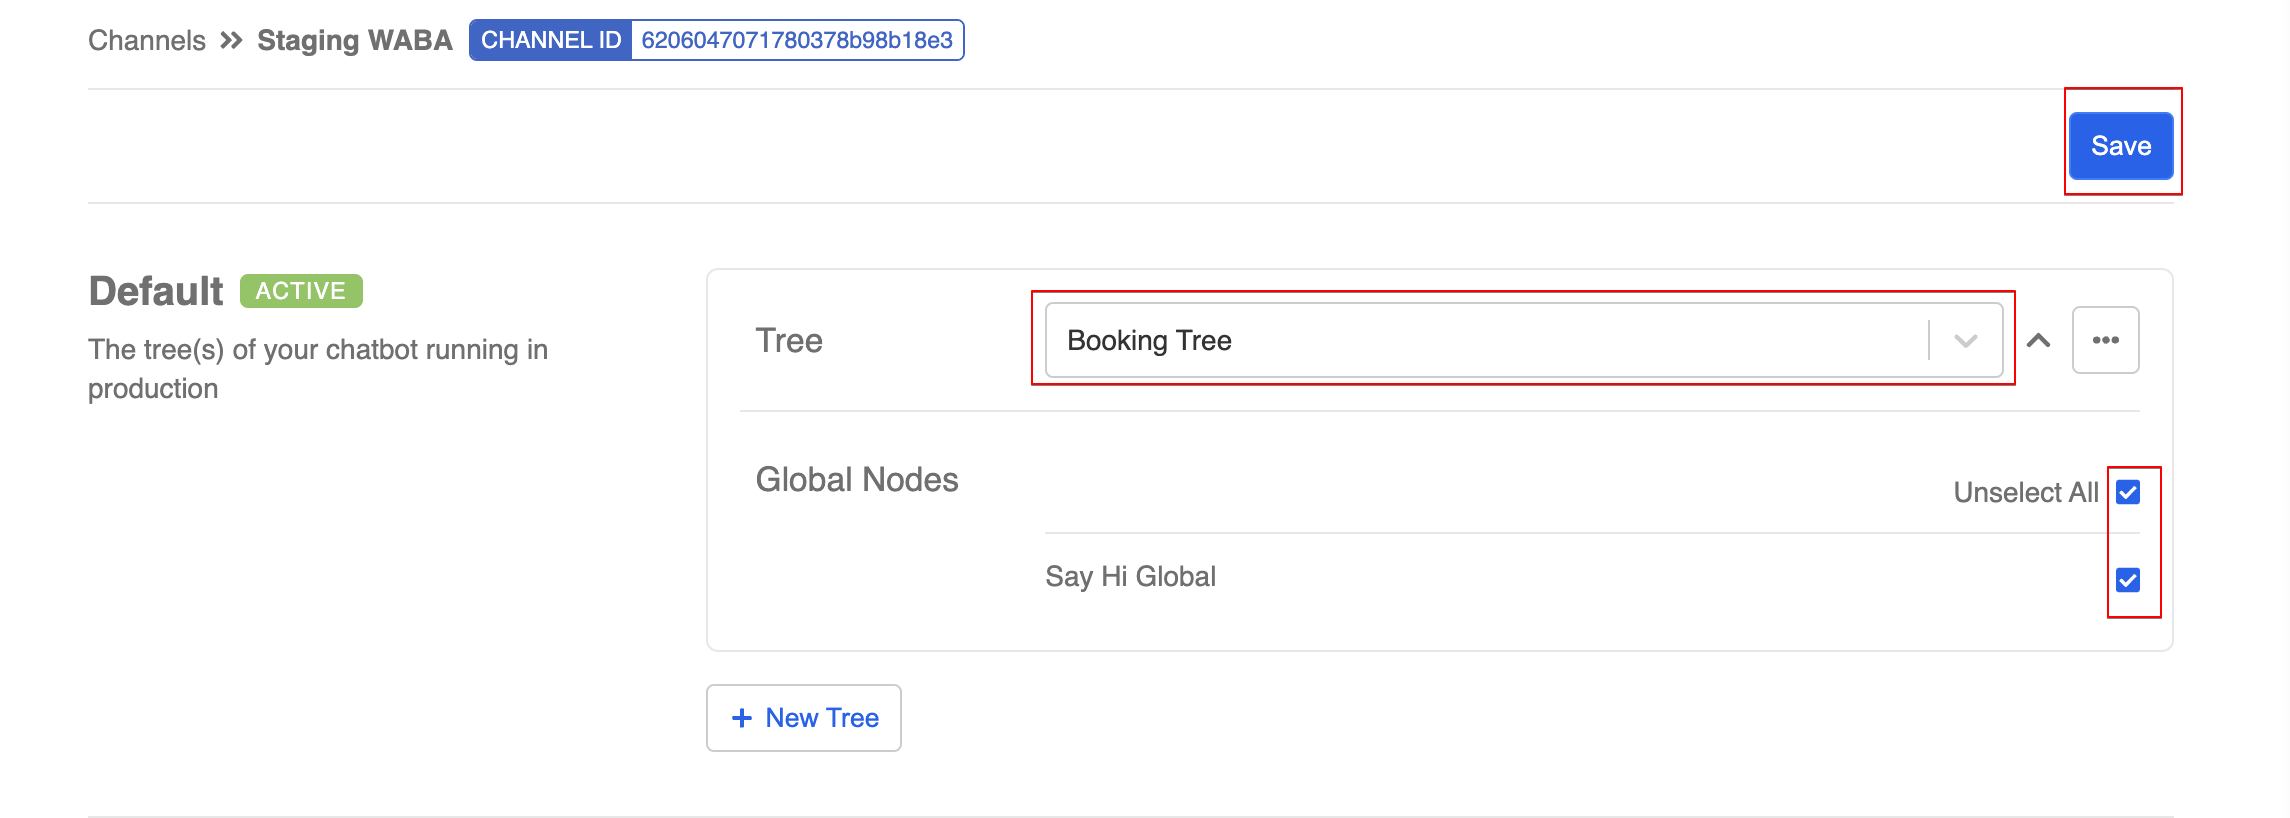
- Pick your chatbot from the dropdown, and select all the global nodes. Remember to "Save" the chatbot settings.
