Connect to Datasource
Now you have your first WhatsApp chatbot working properly and people can make a booking on your bot, but how to check the booking record?
In this section, we are going to teach you how to save user's data into Datasource so you can have a copy of the record.
Expected Outcome
You can check booking record in Datasource on WOZTELL.

Save Name
Create Pre-action
To save the user input, we must perform the action in the node of the following level. For example, if we want to save the user's name, we have to save it in the node of "Ask email address" because the bot can only receive the user's name input at the node comes after.
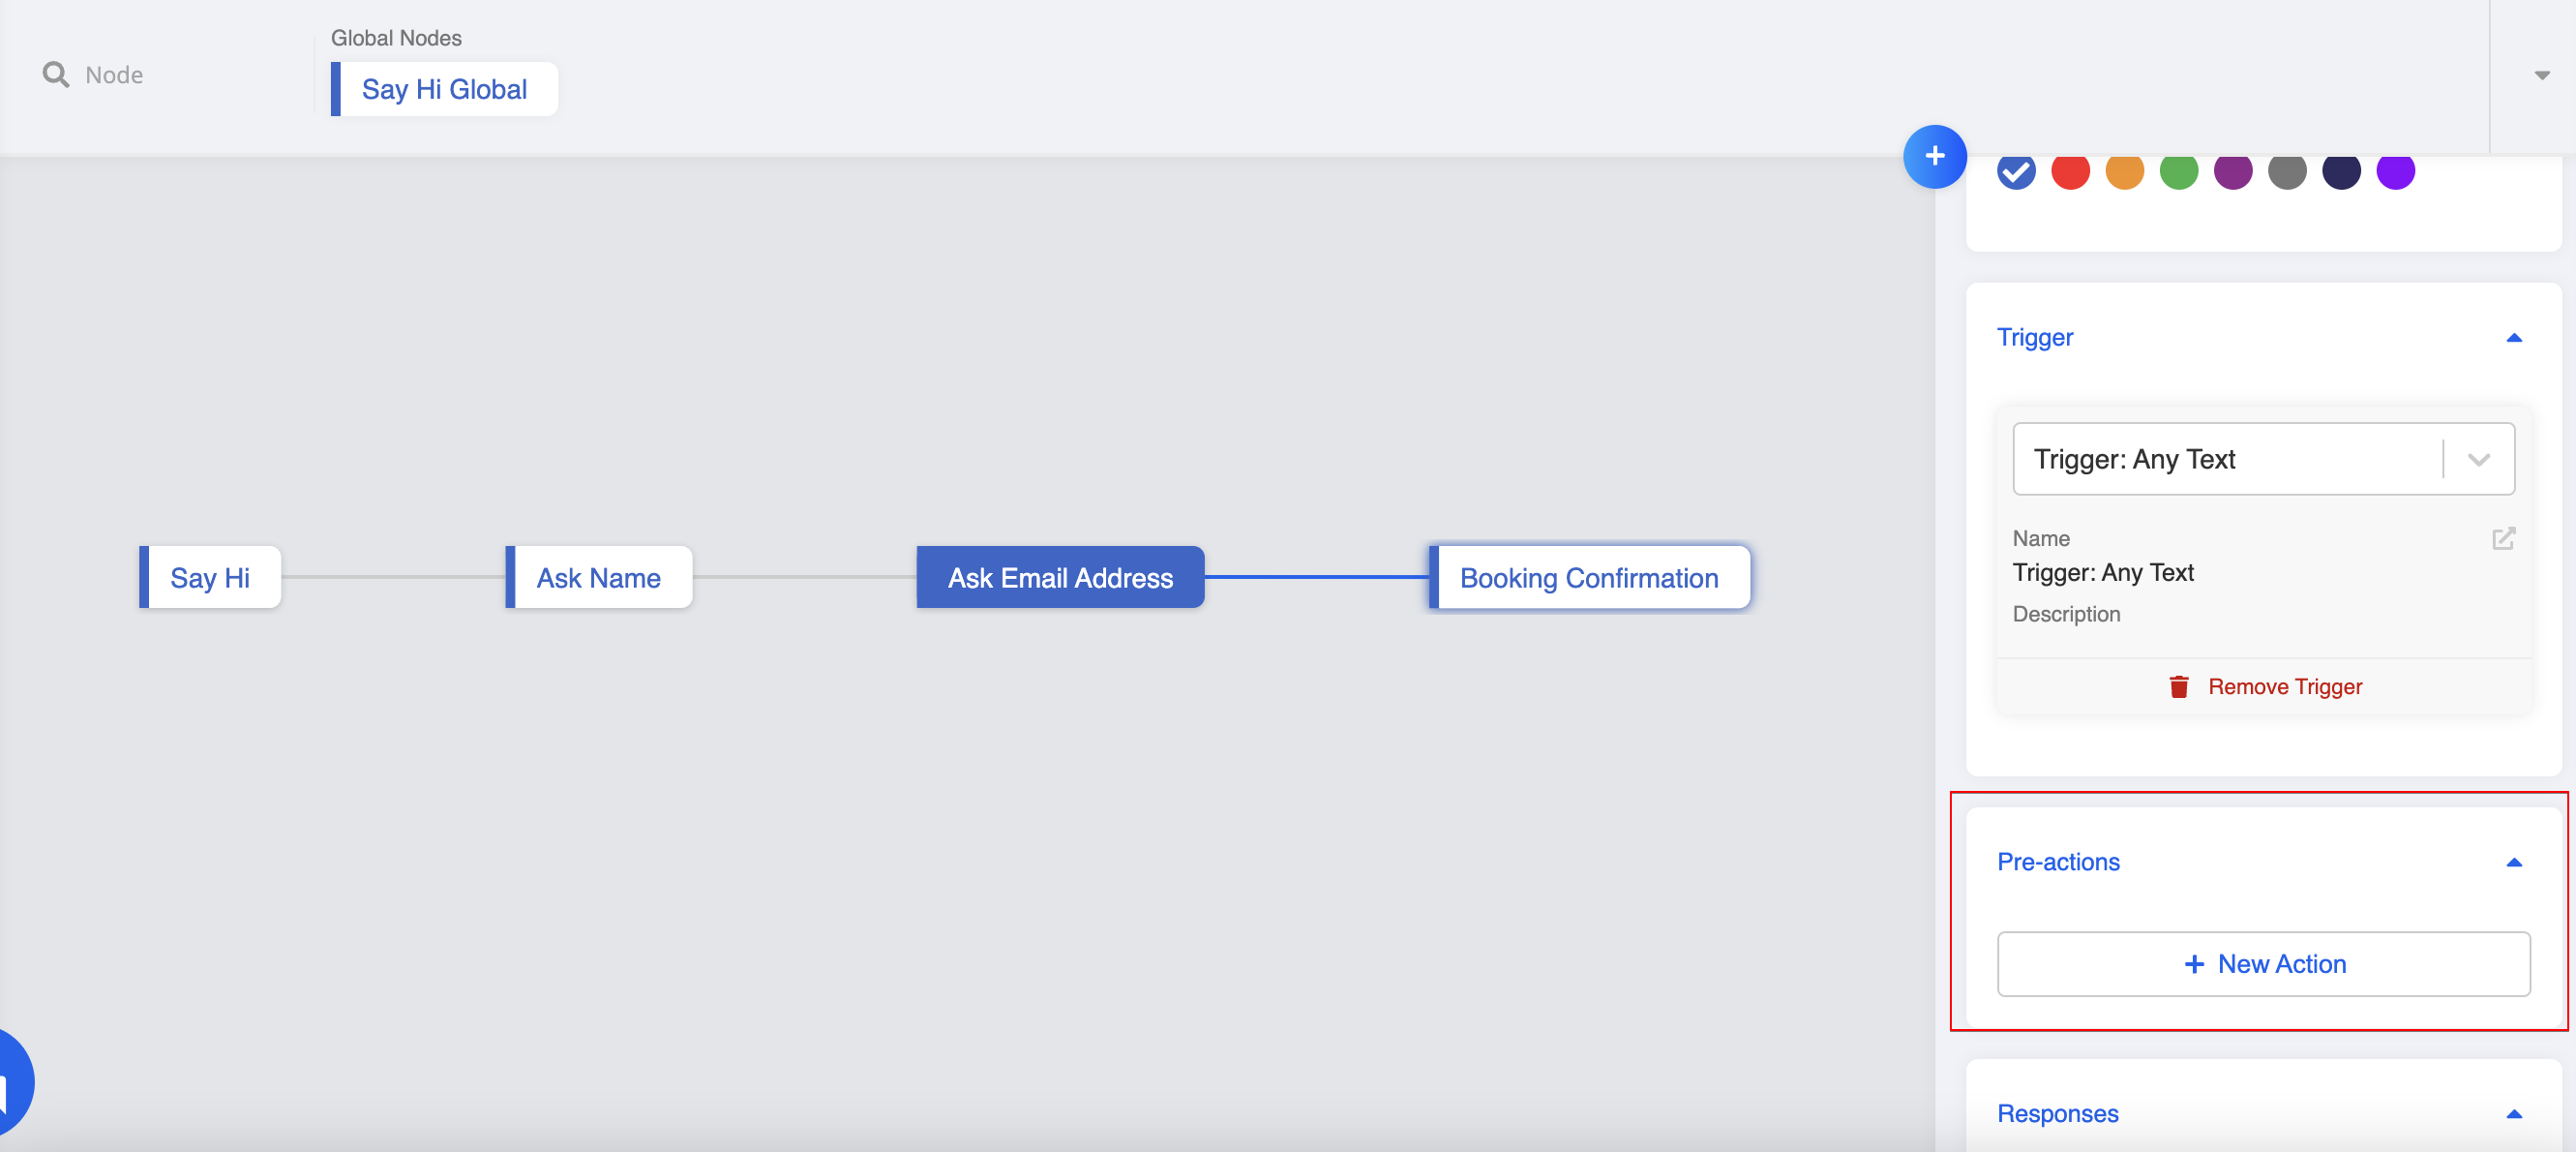
Click on "Ask email address" node, and click "+ New Action" under Pre-actions.
- Name this pre-action and select "Advance".
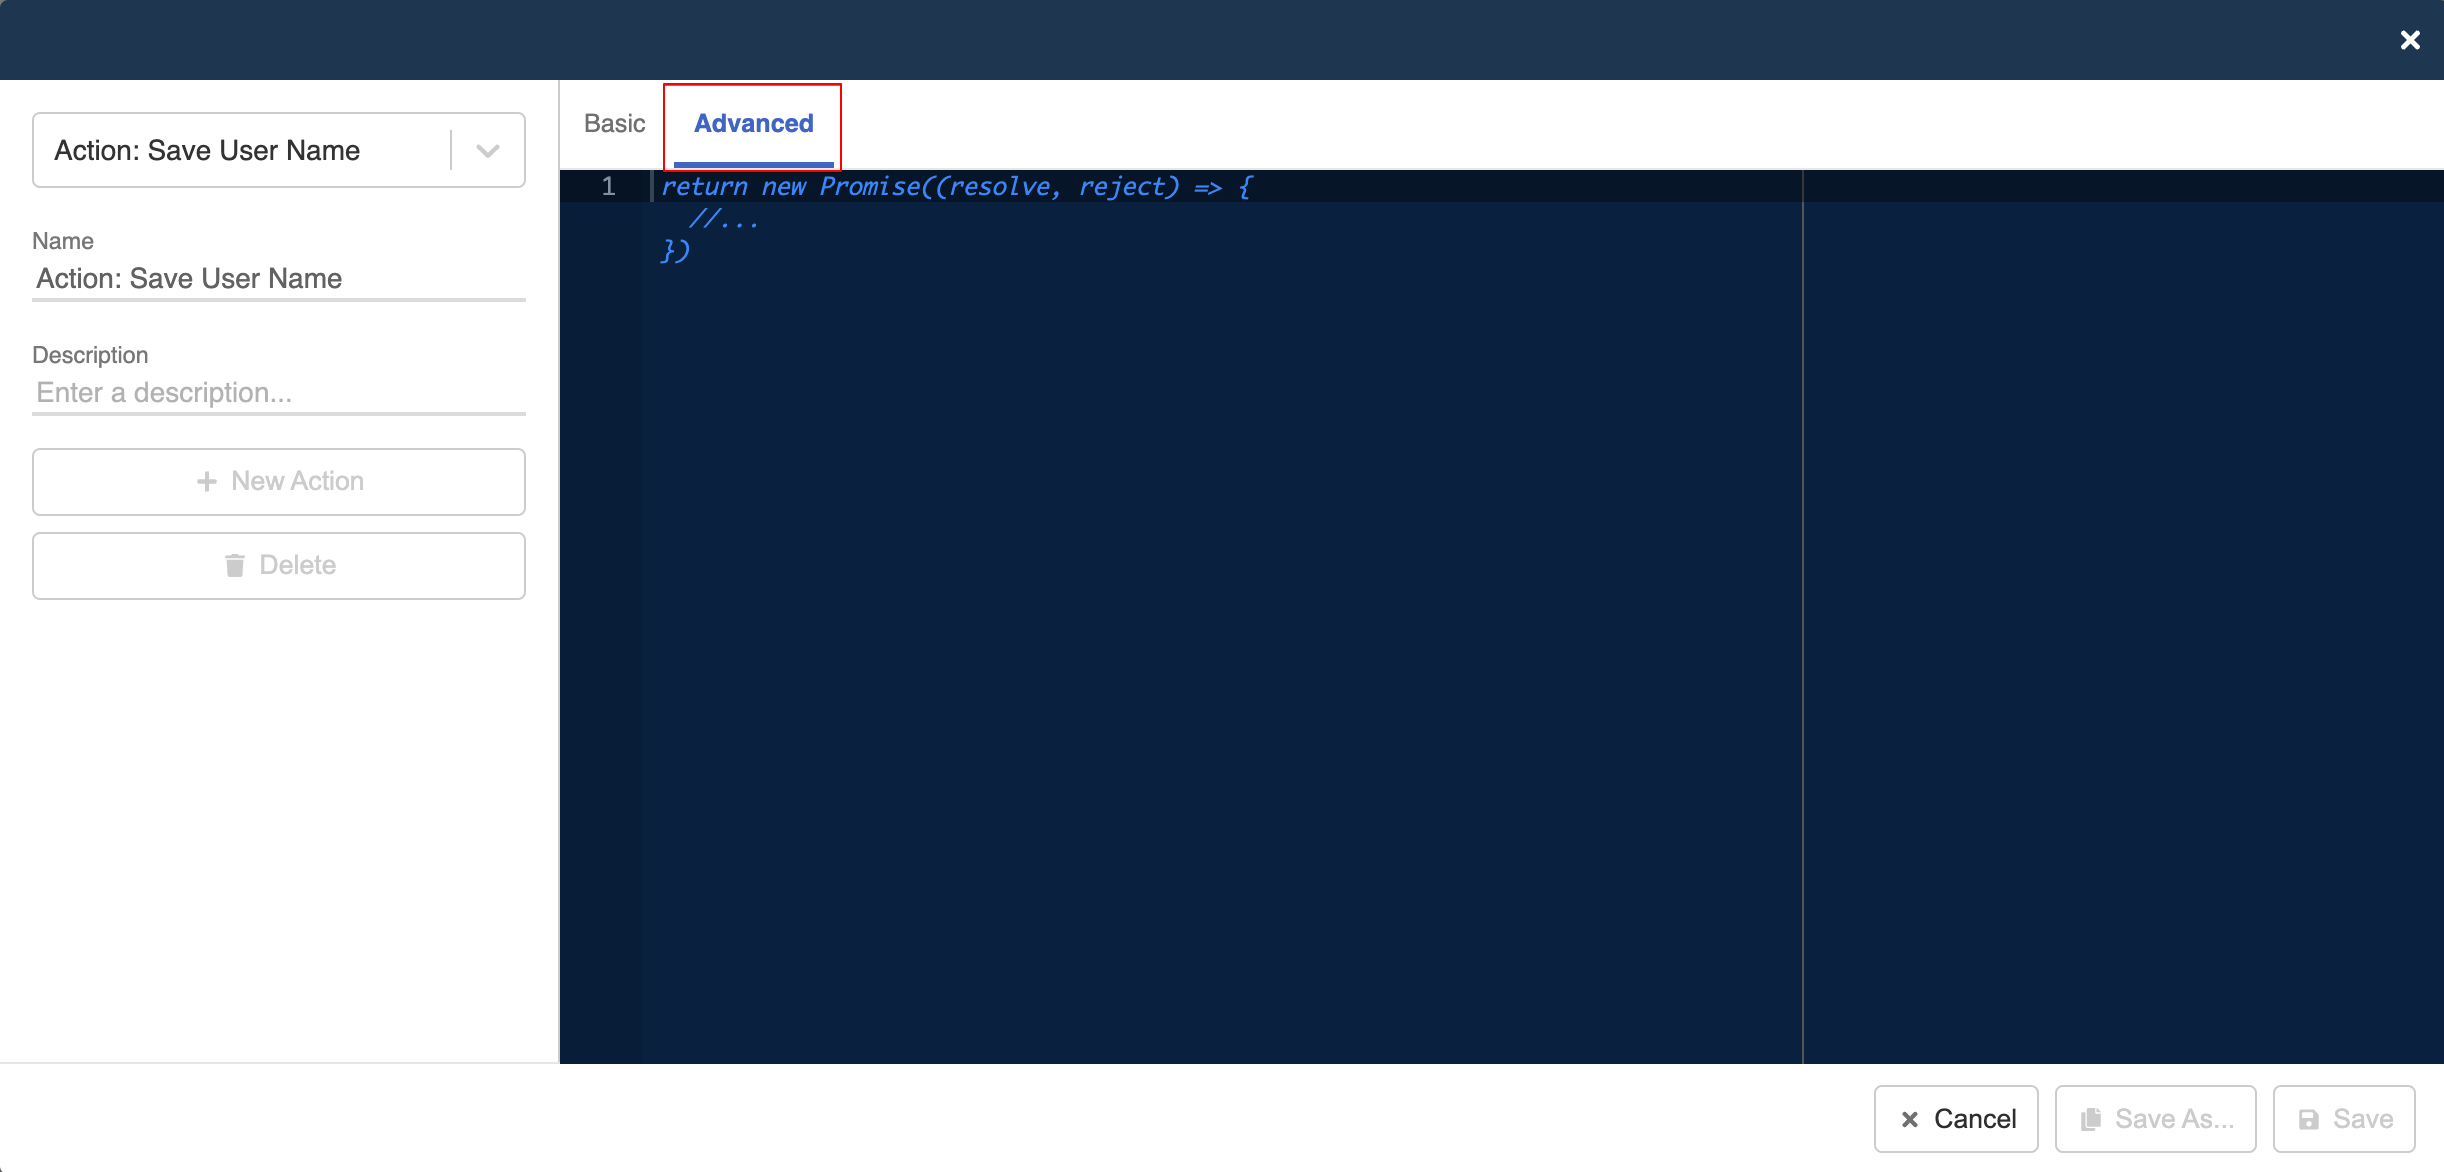
- Paste the following code into the action. It allows you to save the entered name in user's
tempDataand categorize it undernameofbooking.
return new Promise((resolve, reject) => {
  this.lodash.set(this.member, "botMeta.tempData.booking.name", this.messageEvent.data.text)
  resolve({
    member: this.member,
  })
})

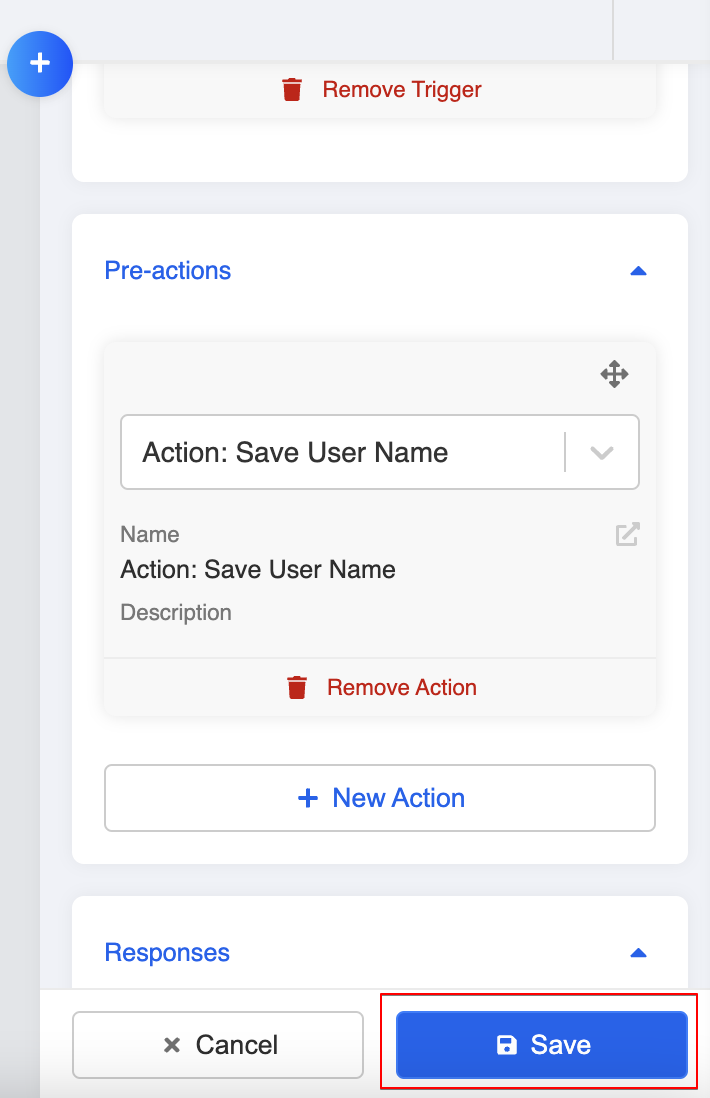
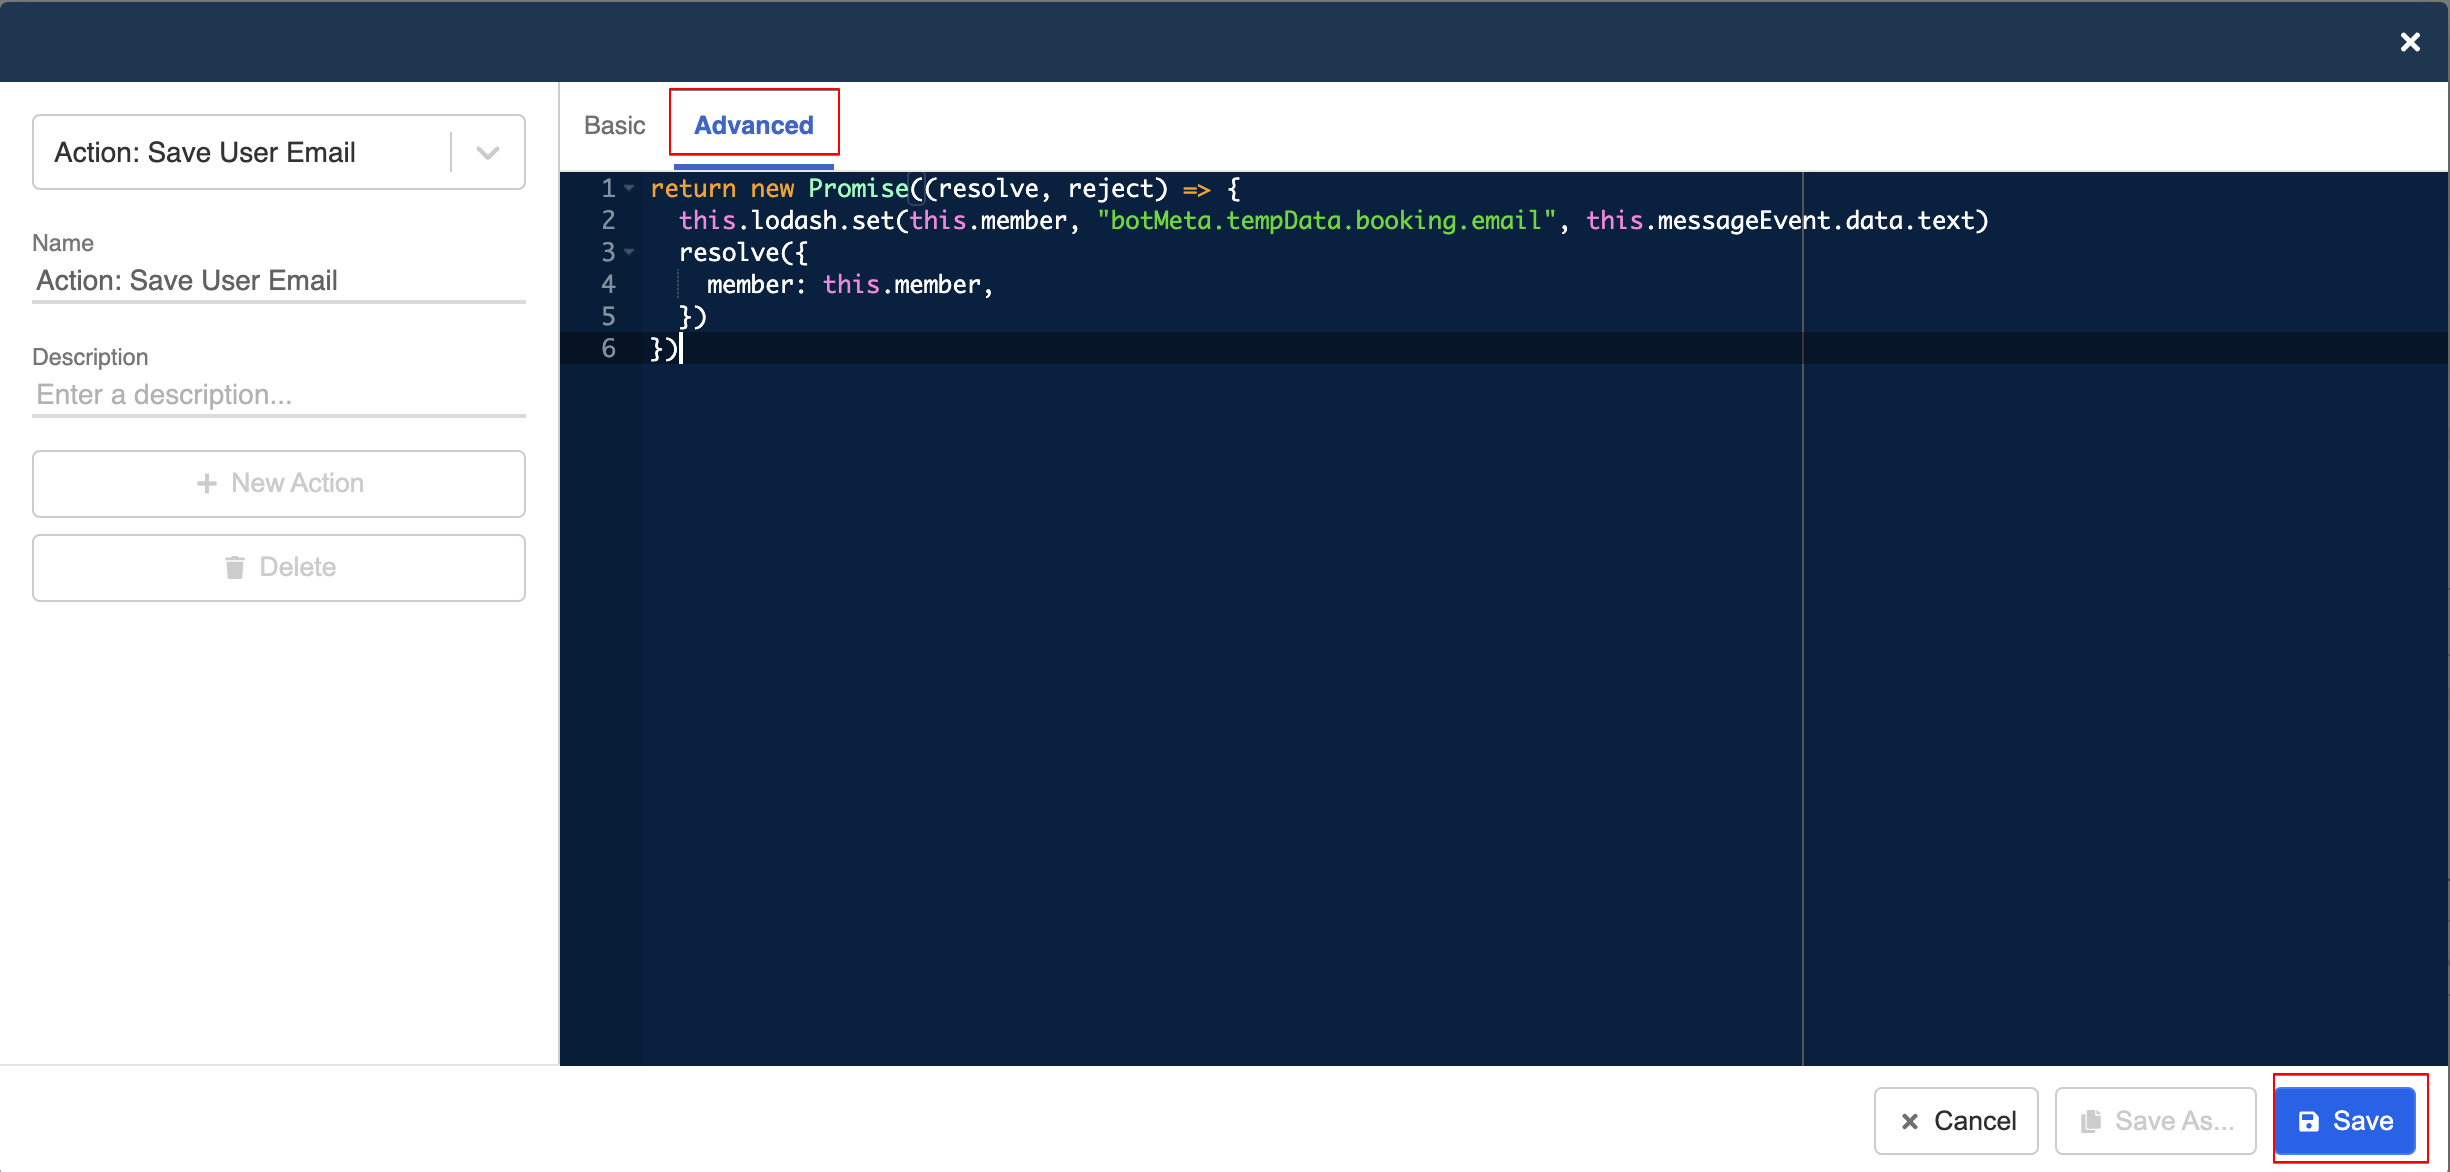
- Save the pre-action.
Save Email Address
Create Pre-action
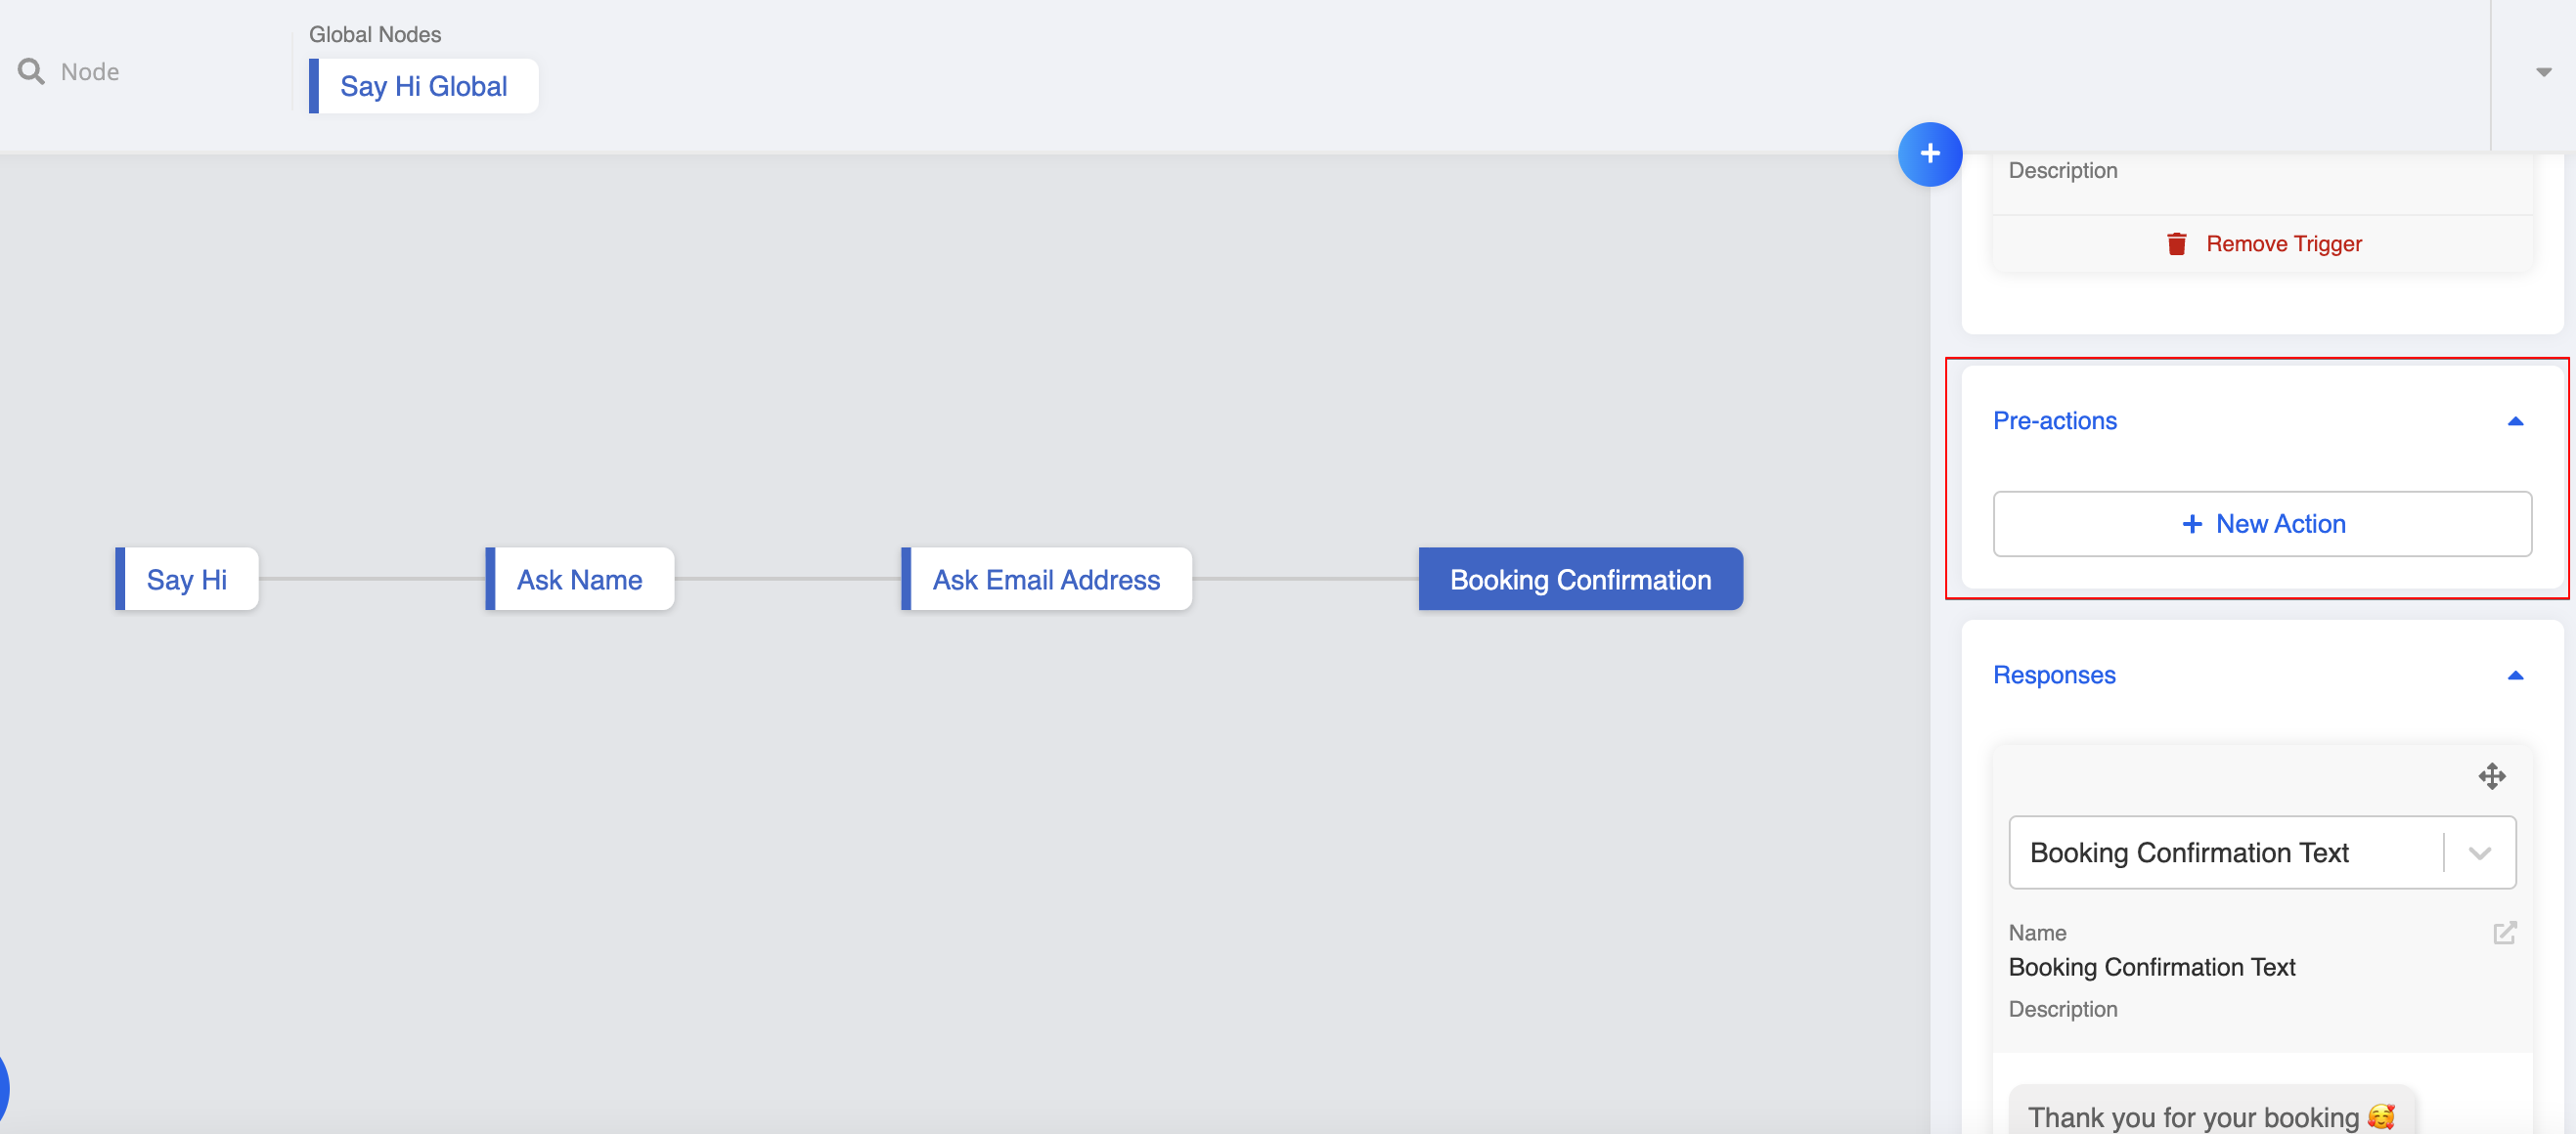
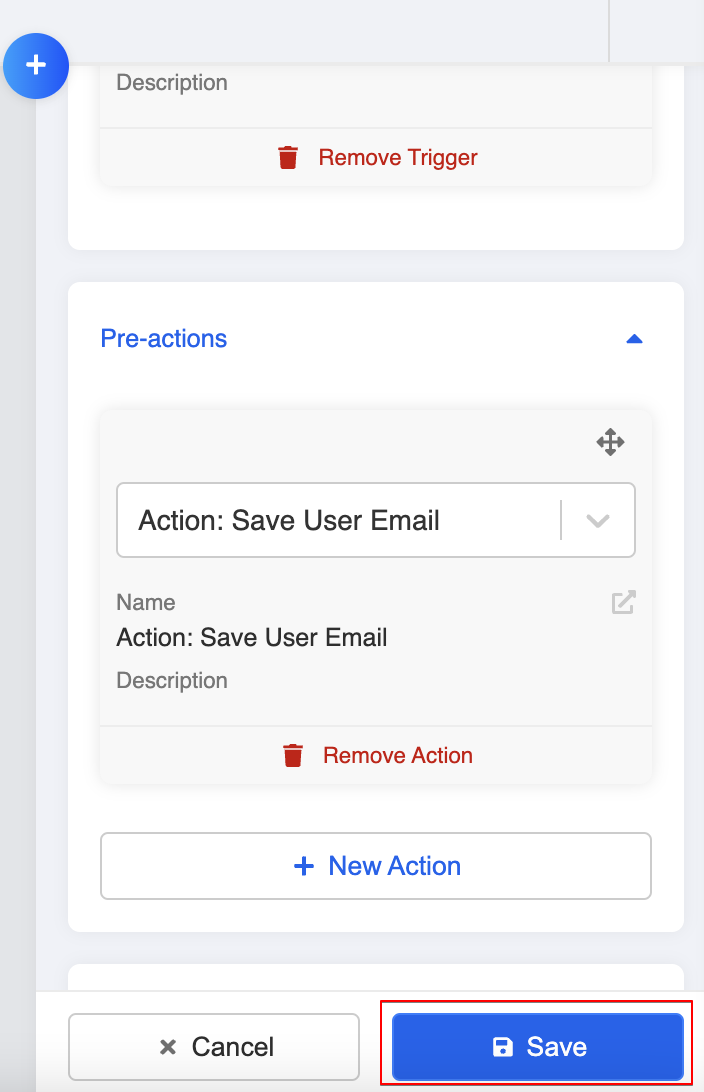
- Similarly, goes to "Booking confirmation" node, and click "+ New Action" under Pre-actions.
- Name the pre-action, and select "Advanced". Paste the following code, it allows you to save the email address in user's
tempDataand categorize it underemailofbooking.
return new Promise((resolve, reject) => {
  this.lodash.set(this.member, "botMeta.tempData.booking.email", this.messageEvent.data.text)
  resolve({
    member: this.member,
  })
})
- Save the post-action and the node.
Create Data Source
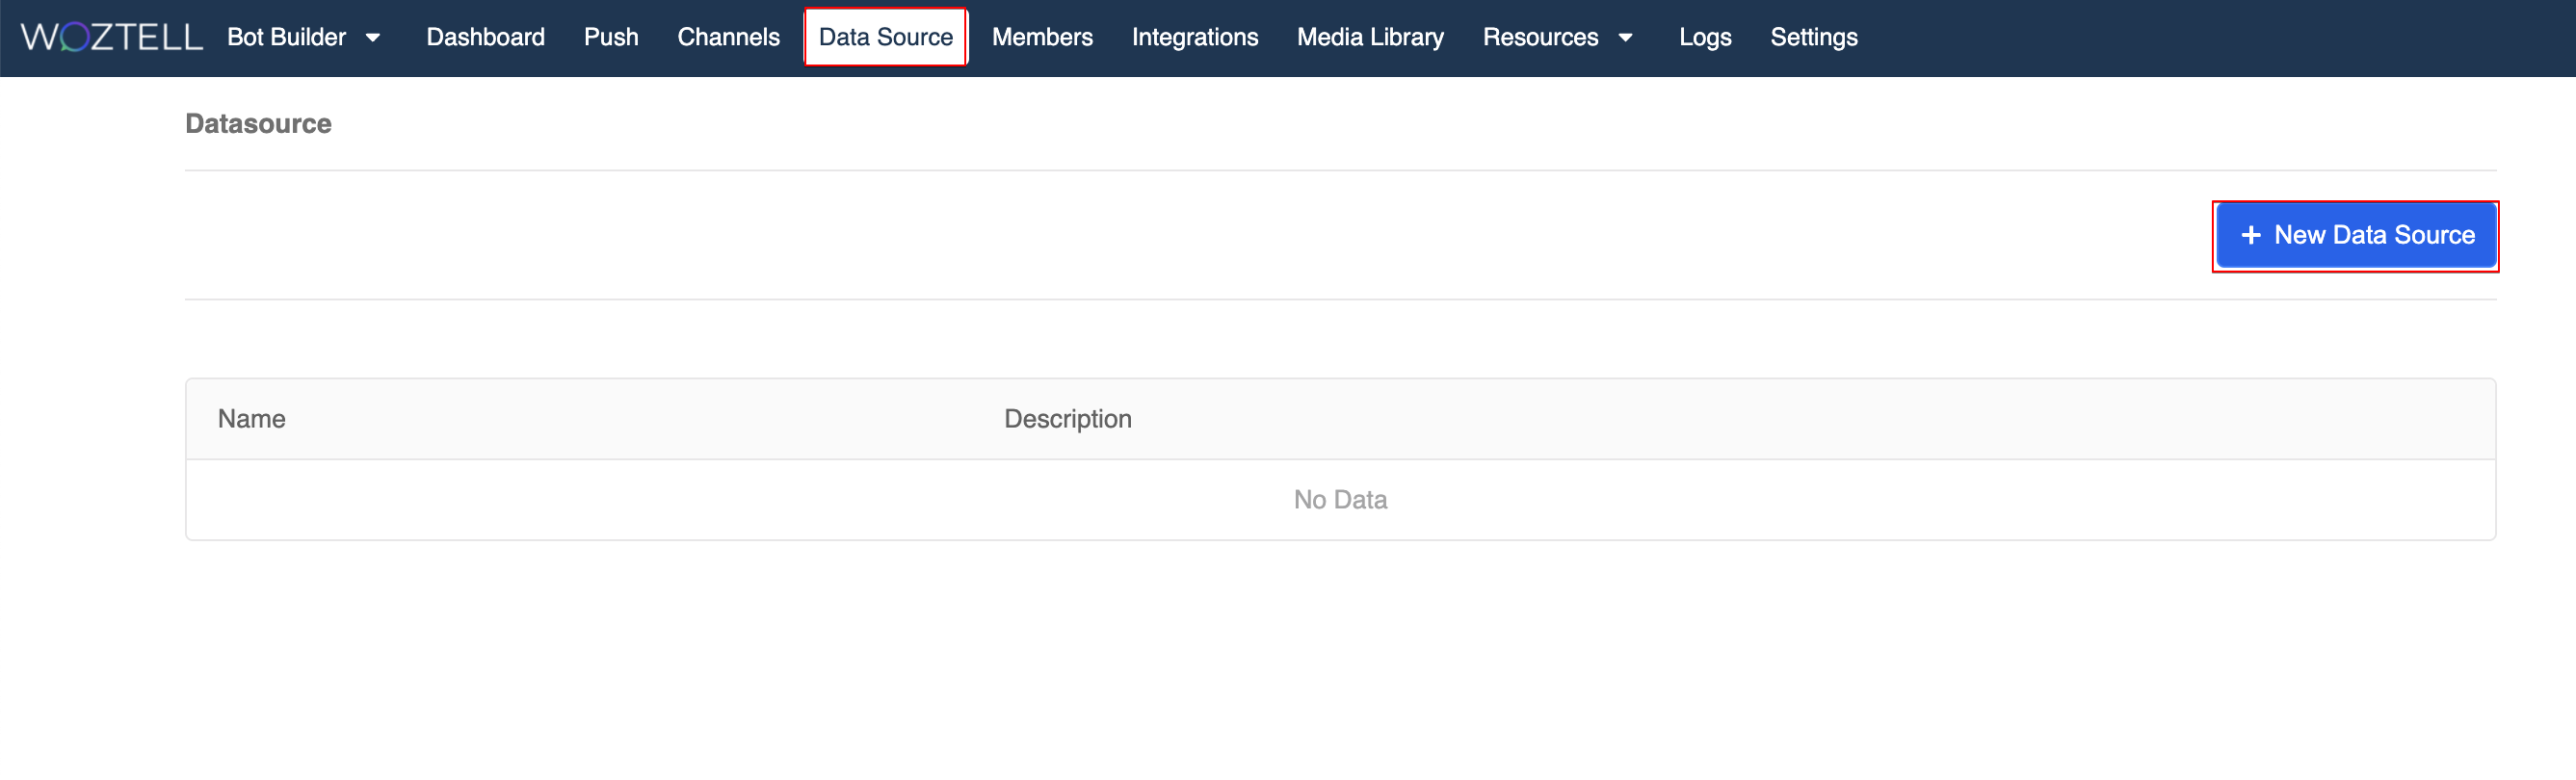
Now goes to Data Source at the top blue menu.
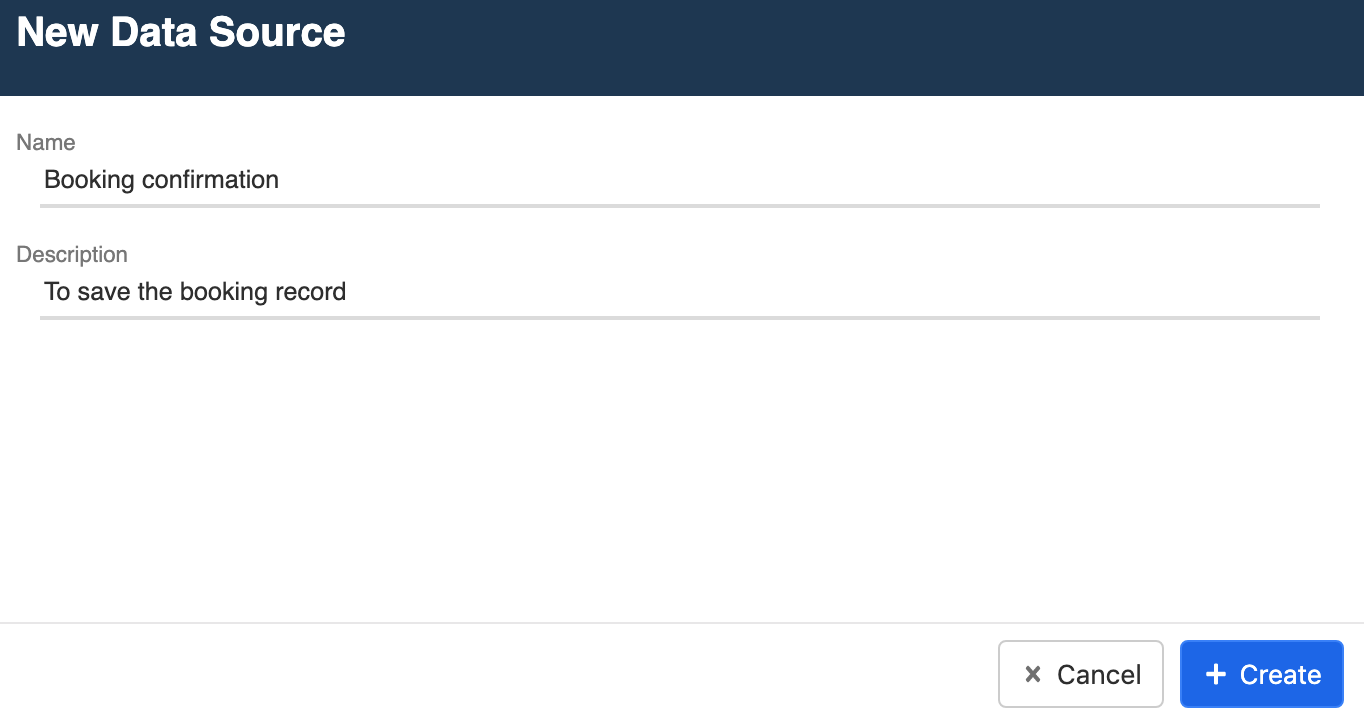
Click "+ New Data Source" to create a mini database to store your booking confirmation.
- Name your Data Source: Booking Confirmation and click "+ Create" to save it.
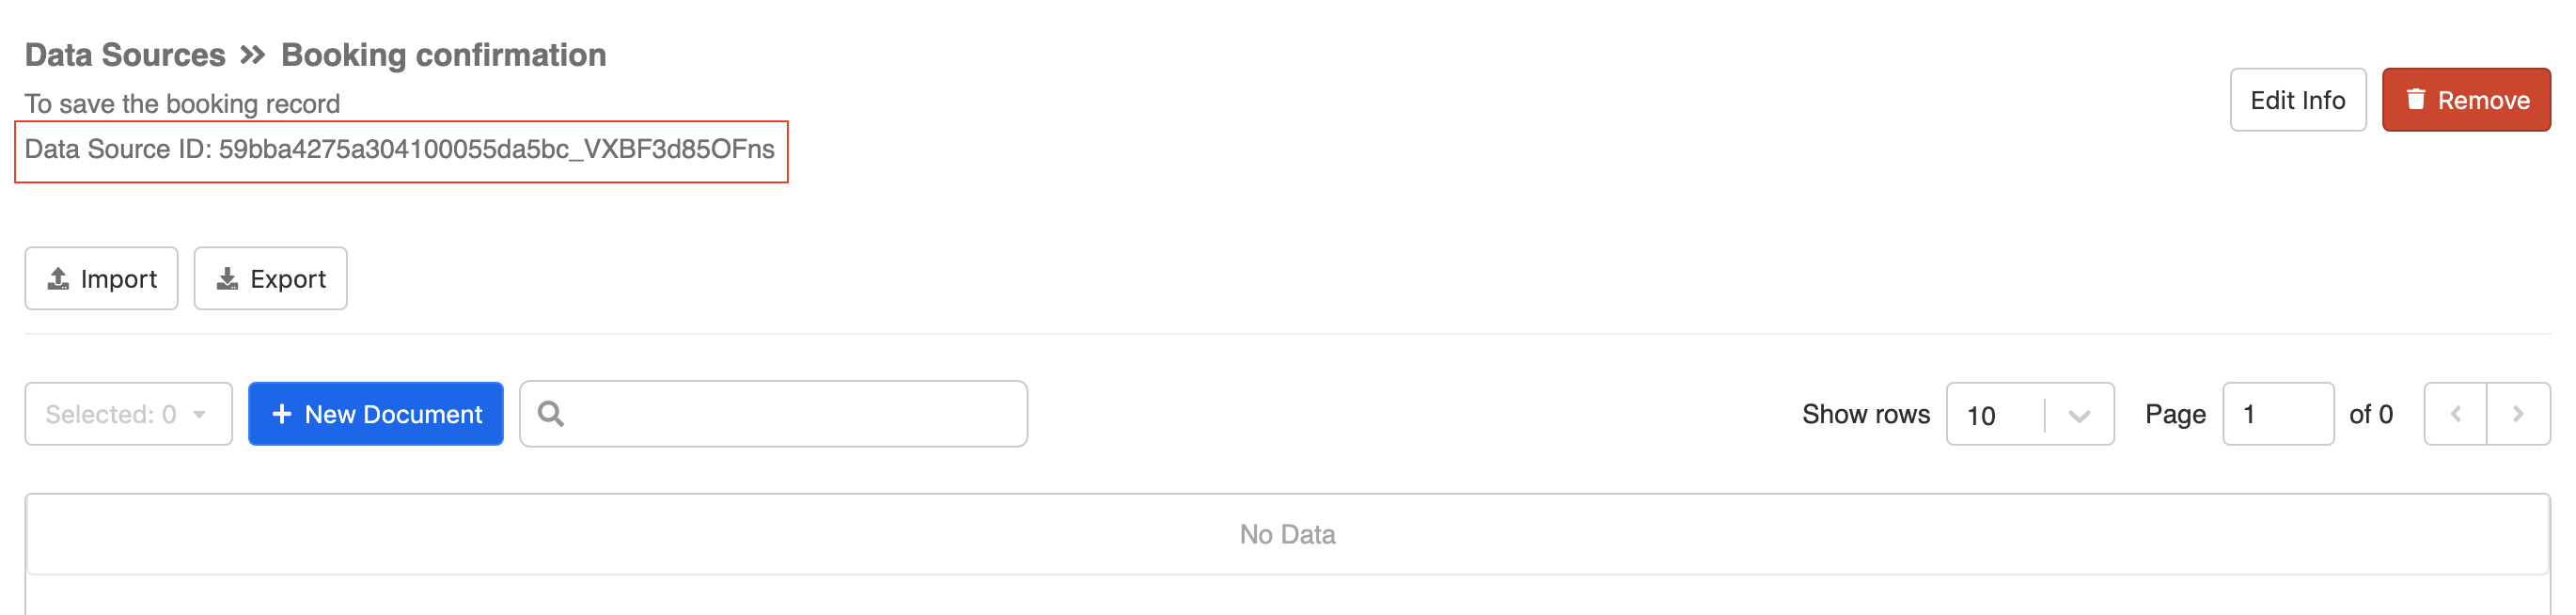
- You have created your Data Source now. You can see it on the Datasource list and click "View" to see the Data Source details.

- You can see that there is no data now for your Datasource but don't worry, we will add the booking record in this database later. Now copy the Data Source ID in your notes and save it for later use.
Save Record in Data Source
Create Post-action
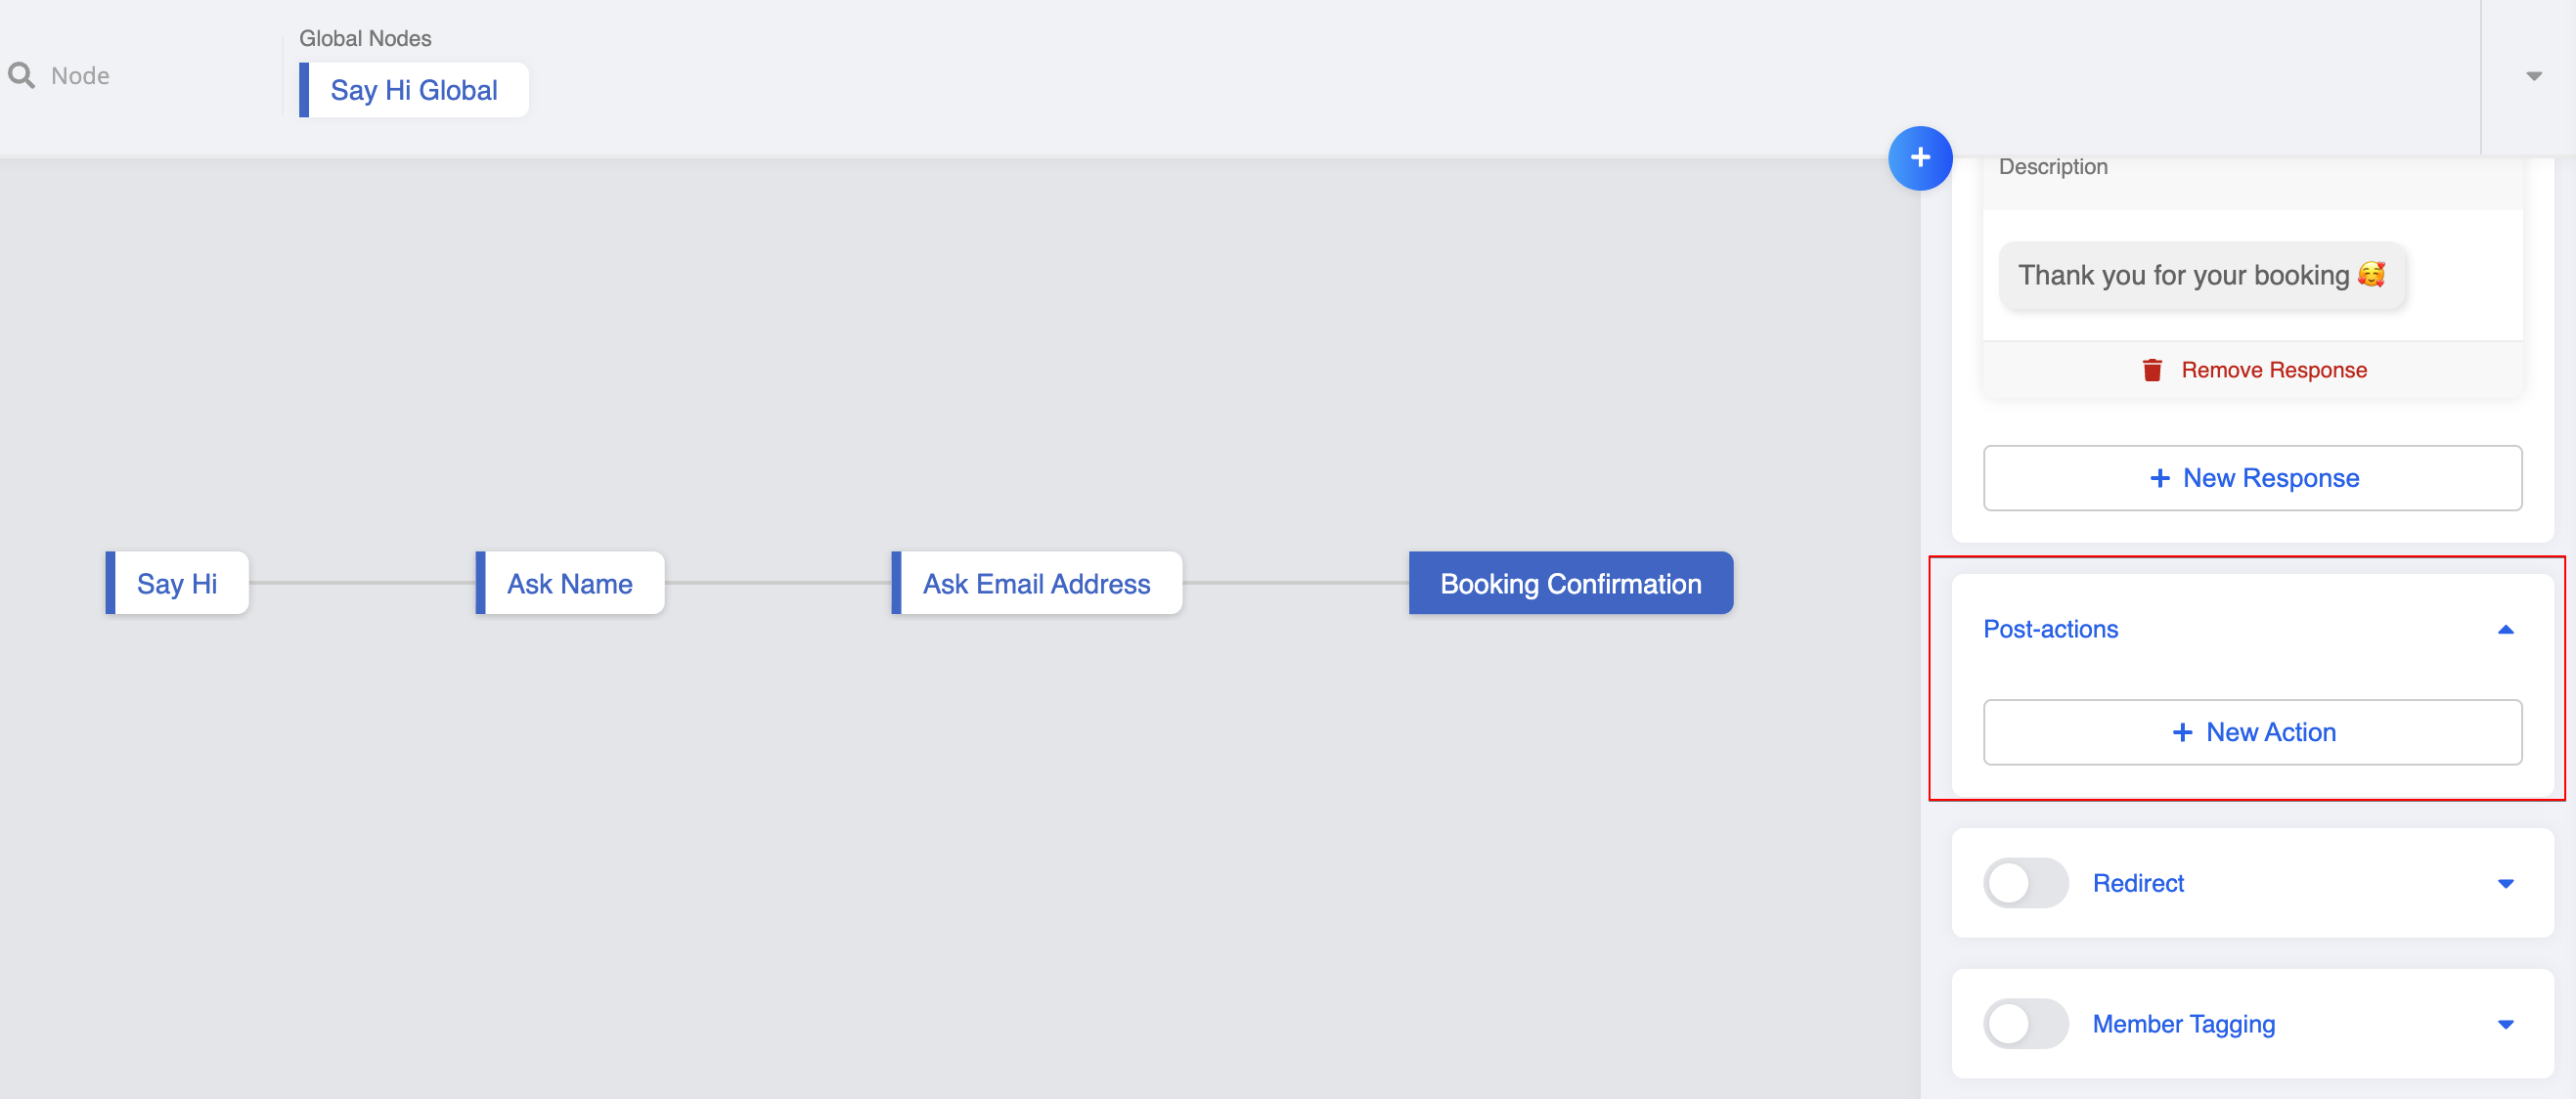
- Now you can go back to your workspace and goes to "Booking confirmation" node. Click "+ New Action" under Post-actions.
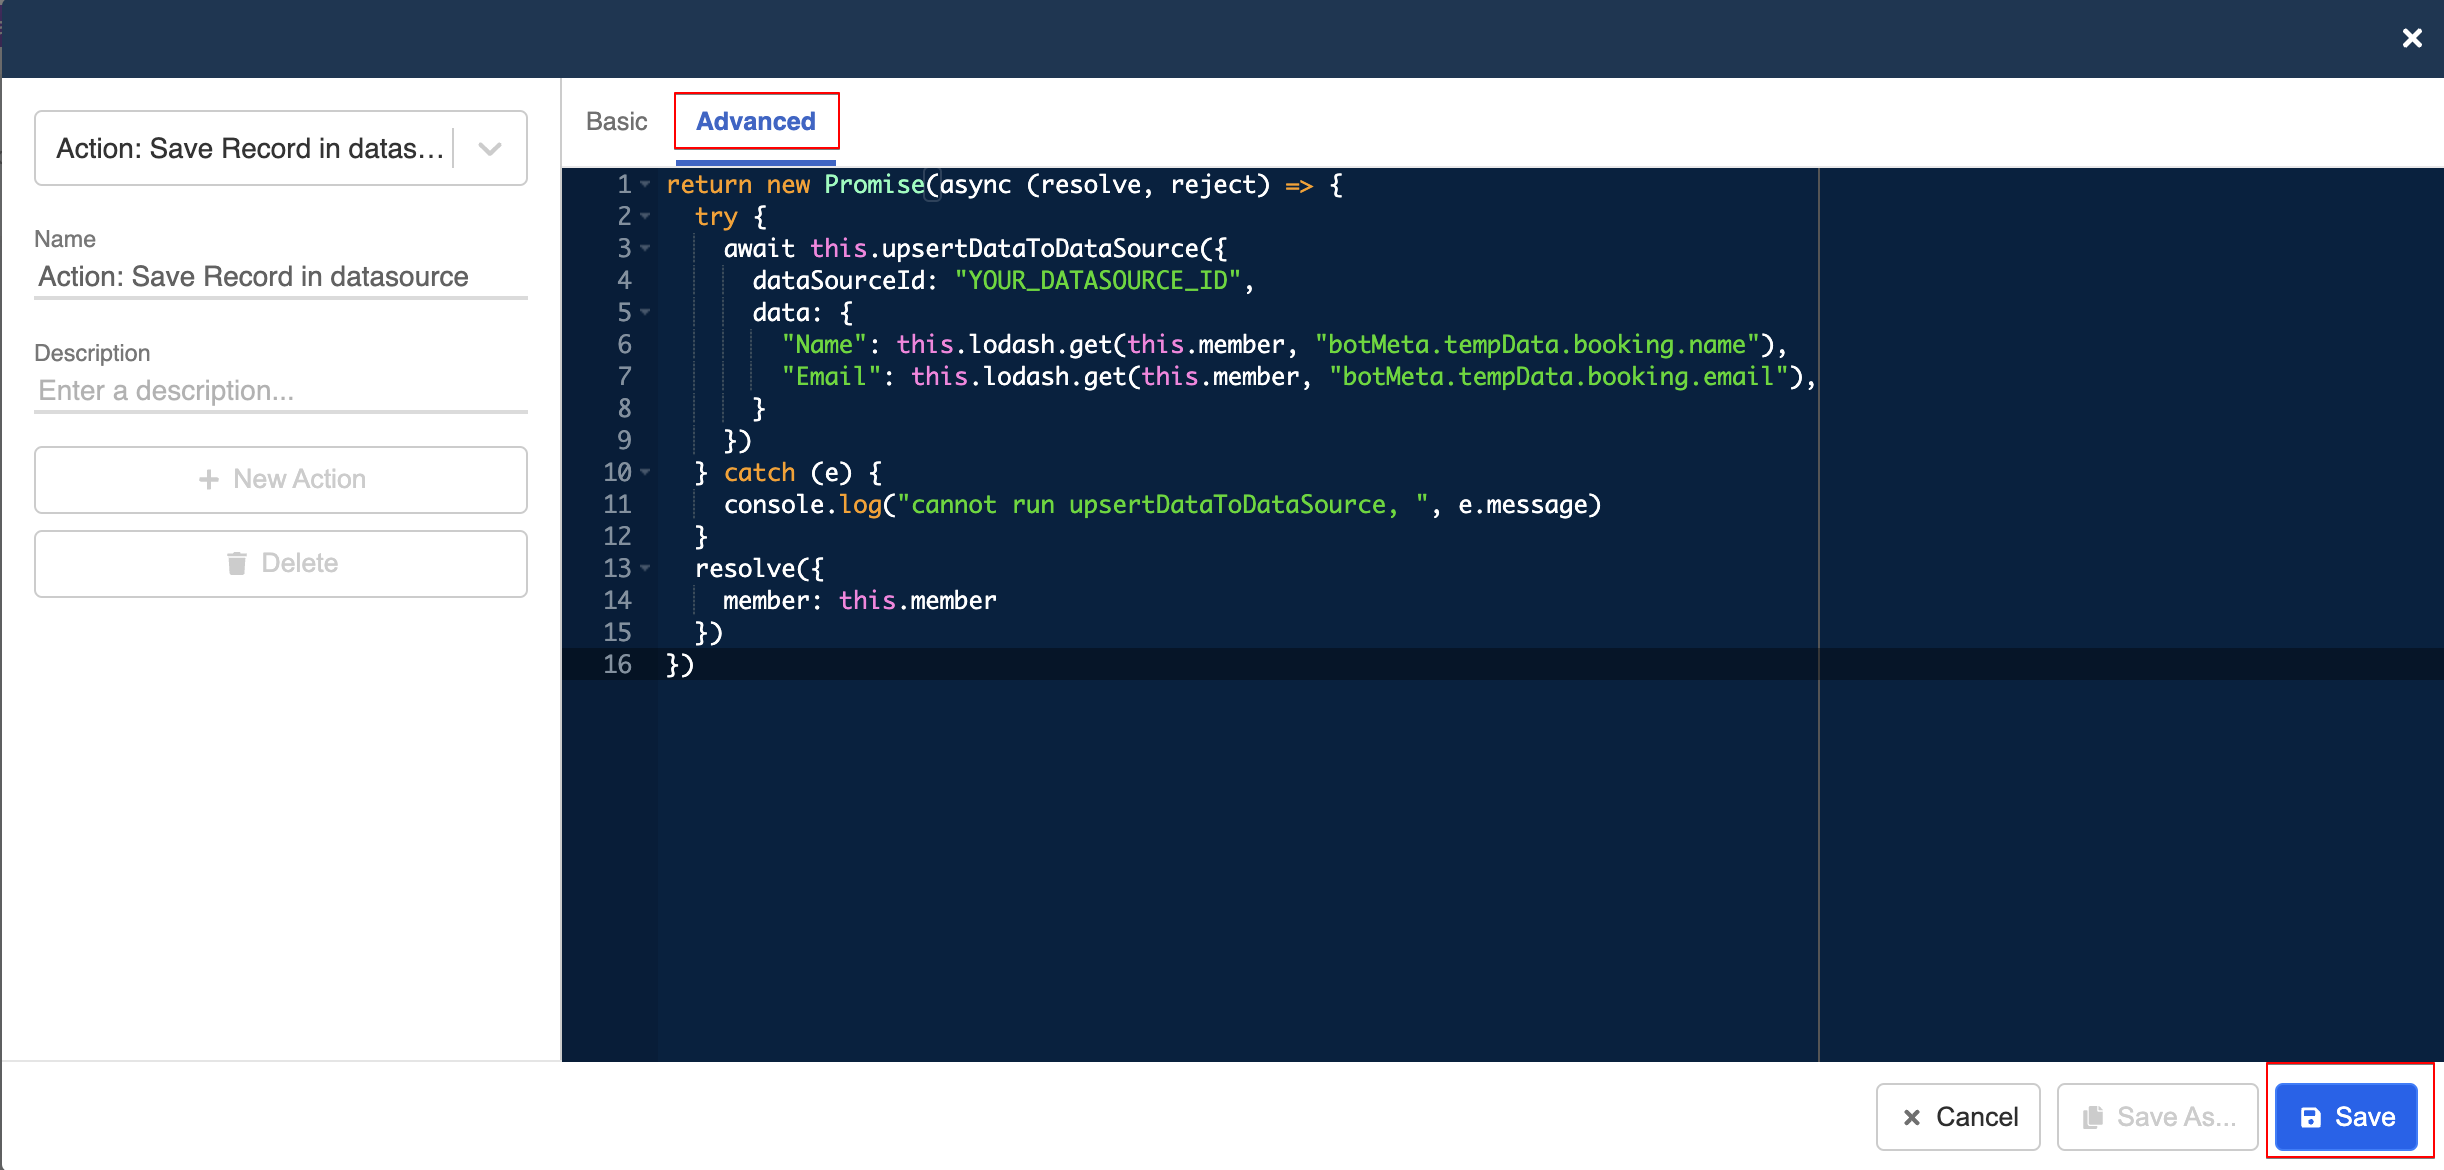
- Click "+ New Action". With the following code, you can now retrieve the user's
tempDataand save it back in the Datasource.
return new Promise(async (resolve, reject) => {
  try {
    await this.upsertDataToDataSource({
      dataSourceId: "YOUR_DATASOURCE_ID",
      data: {
        "Name": this.lodash.get(this.member, "botMeta.tempData.booking.name"),
        "Email": this.lodash.get(this.member, "botMeta.tempData.booking.email"),
      }
    })
  } catch (e) {
    console.log("cannot run upsertDataToDataSource, ", e.message)
  }
  resolve({
    member: this.member
  })
})
tip
- Remember to input the copied Data Source ID in the script.
- The pairs inside
datarepresents the column head ("Name") and the value (this.member.botMeta.tempData.booking.name) filled in the field per record entry.
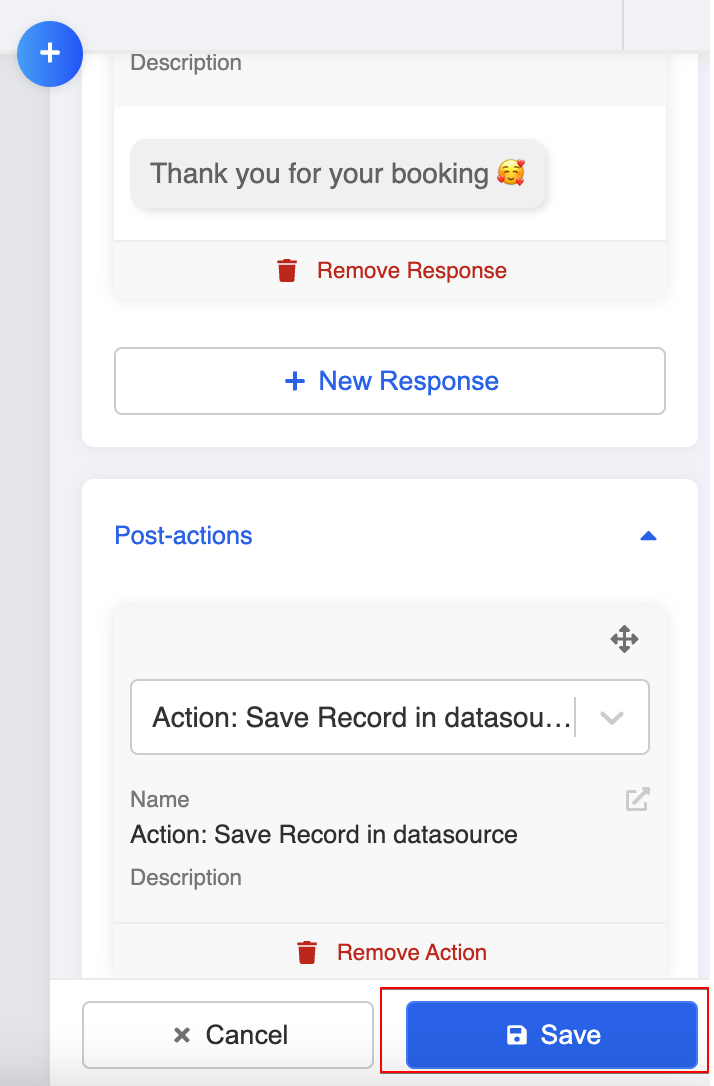
- Save the action and save the node.
- Now, you can try going through your chatbot as a user. The information typed by the users should be saved to the Data Source.