Set up Dialogflow Integration
In order to enhance the user experience with your chatbot, one way is to apply Natural Language Processing (NLP) to the conversation flow. As a result, your chatbot will be able to interpret more complex input and provide more appropriate response to the end user.
Dialogflow is a NLP platform, that incorporates Google's machine learning expertise and products and is built on Google infrastructure which can be optimized for the Google Assistant. It can process both voice and text-based conversation.
In this section, you will learn how to install the Dialogflow Integration to your WOZTELL app for processing text input from end users.
Dialogflow Setup
Create a Project
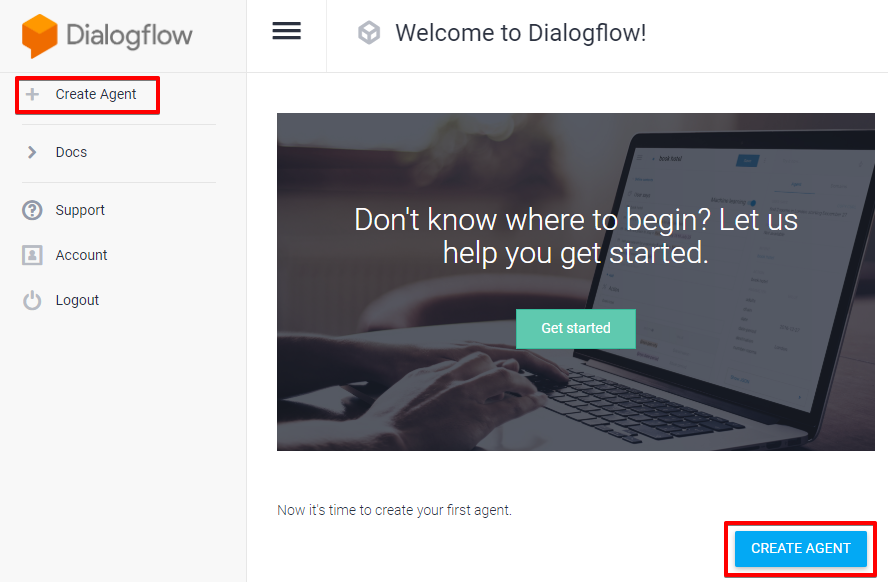
- Go to Dialogflow with your Google account and click "Create Agent".
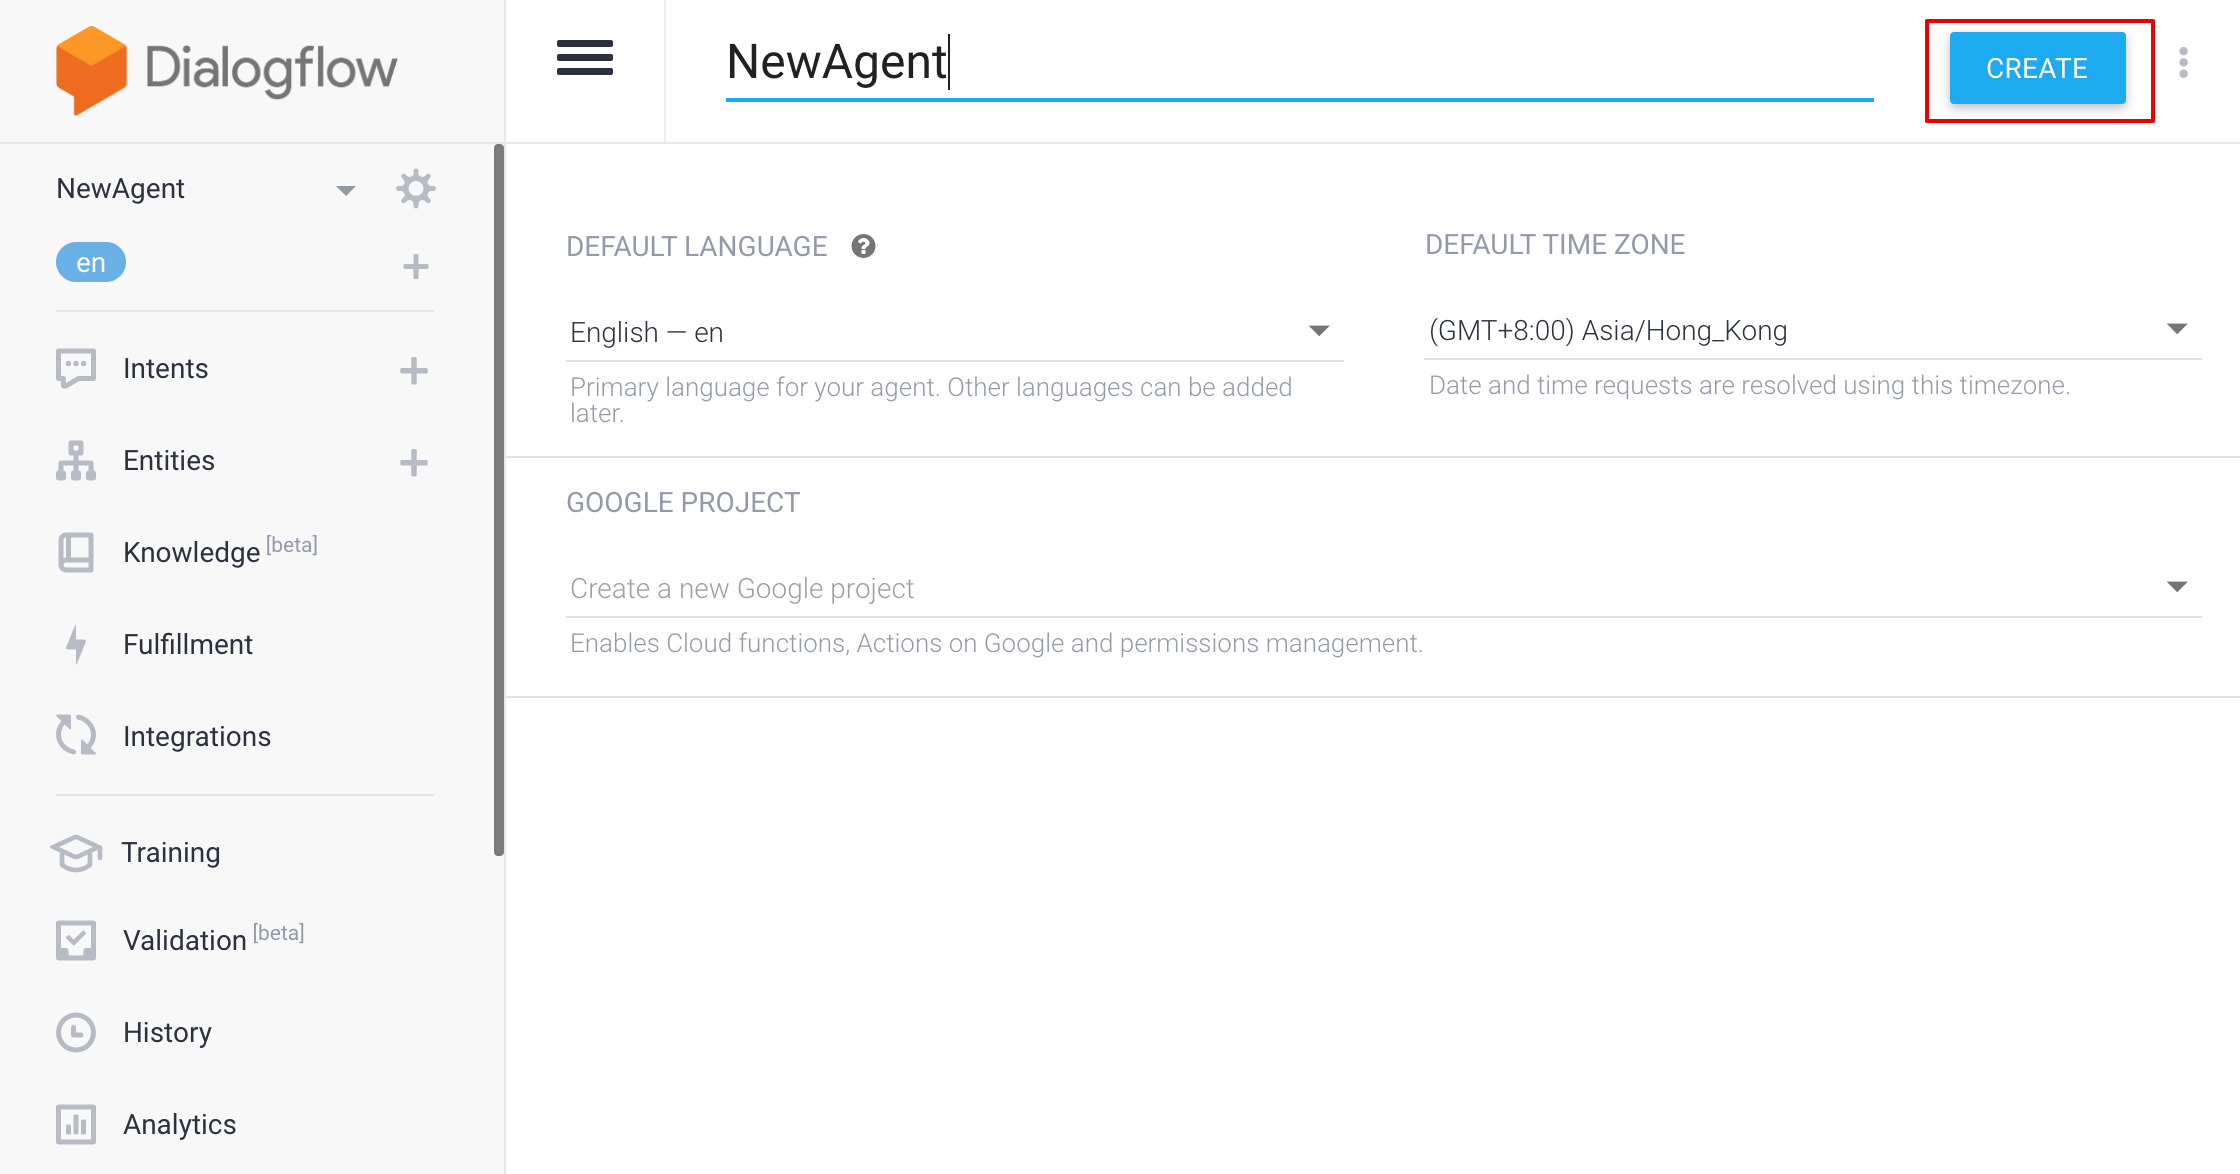
- Name your agent and create a new project
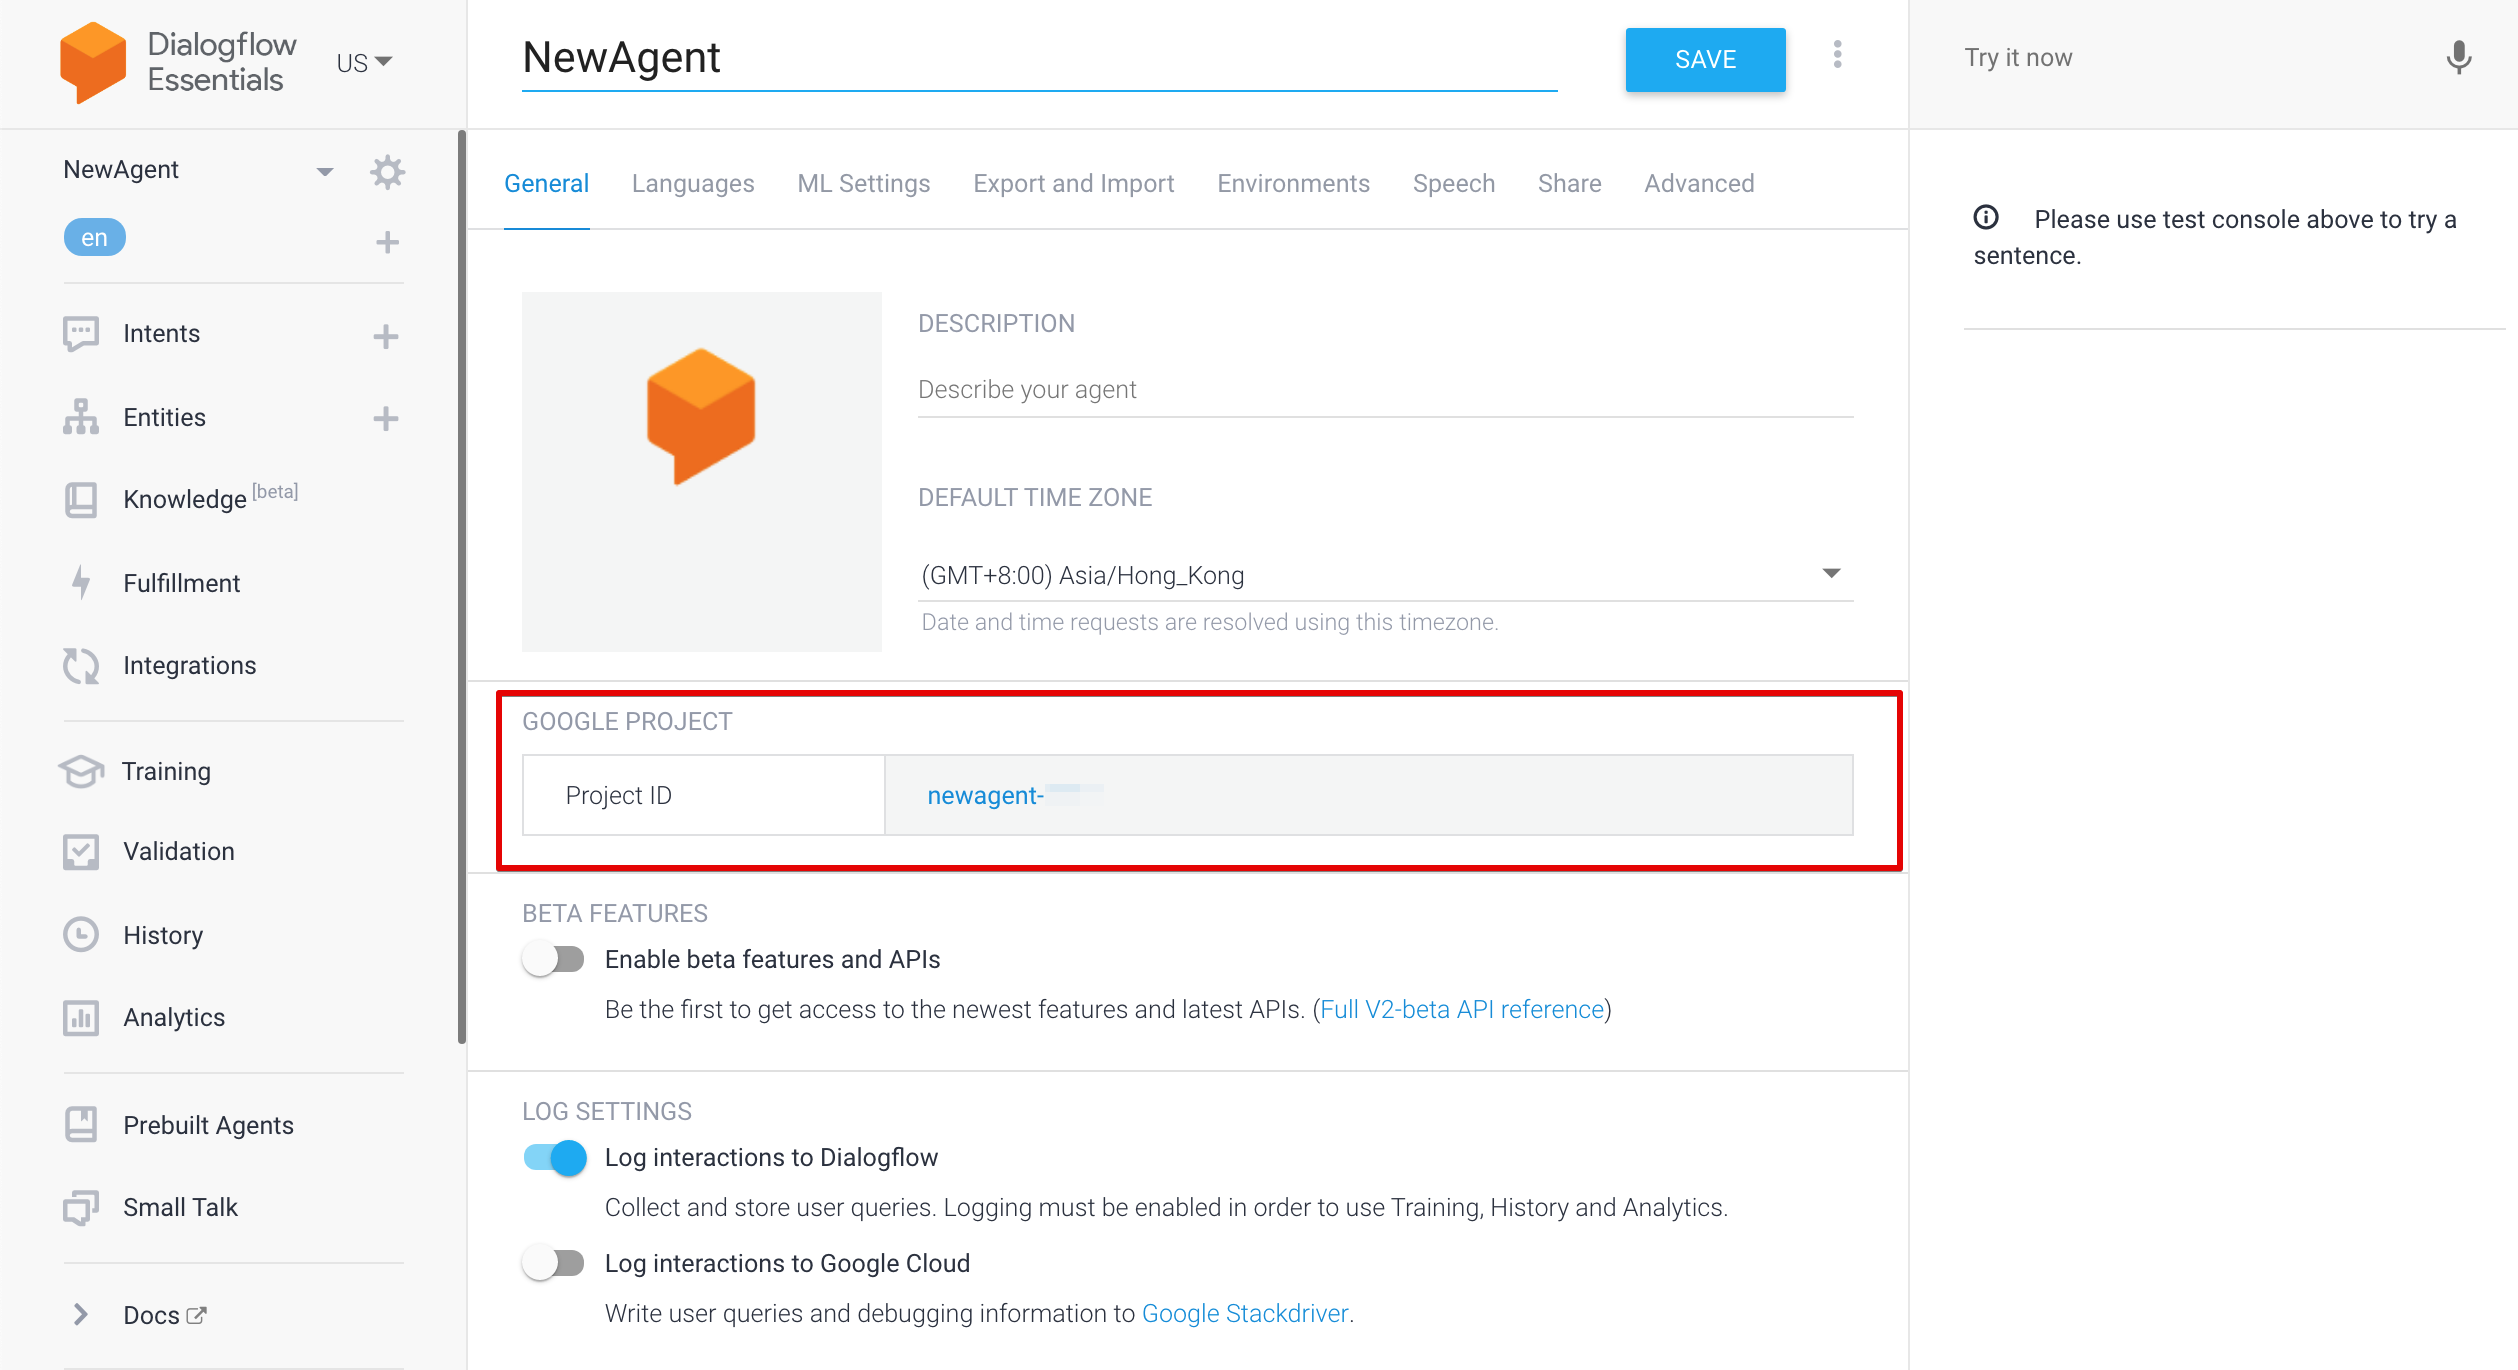
Click the gear icon and enter the settings page.
Click the link under "Project ID".
Create Service Account
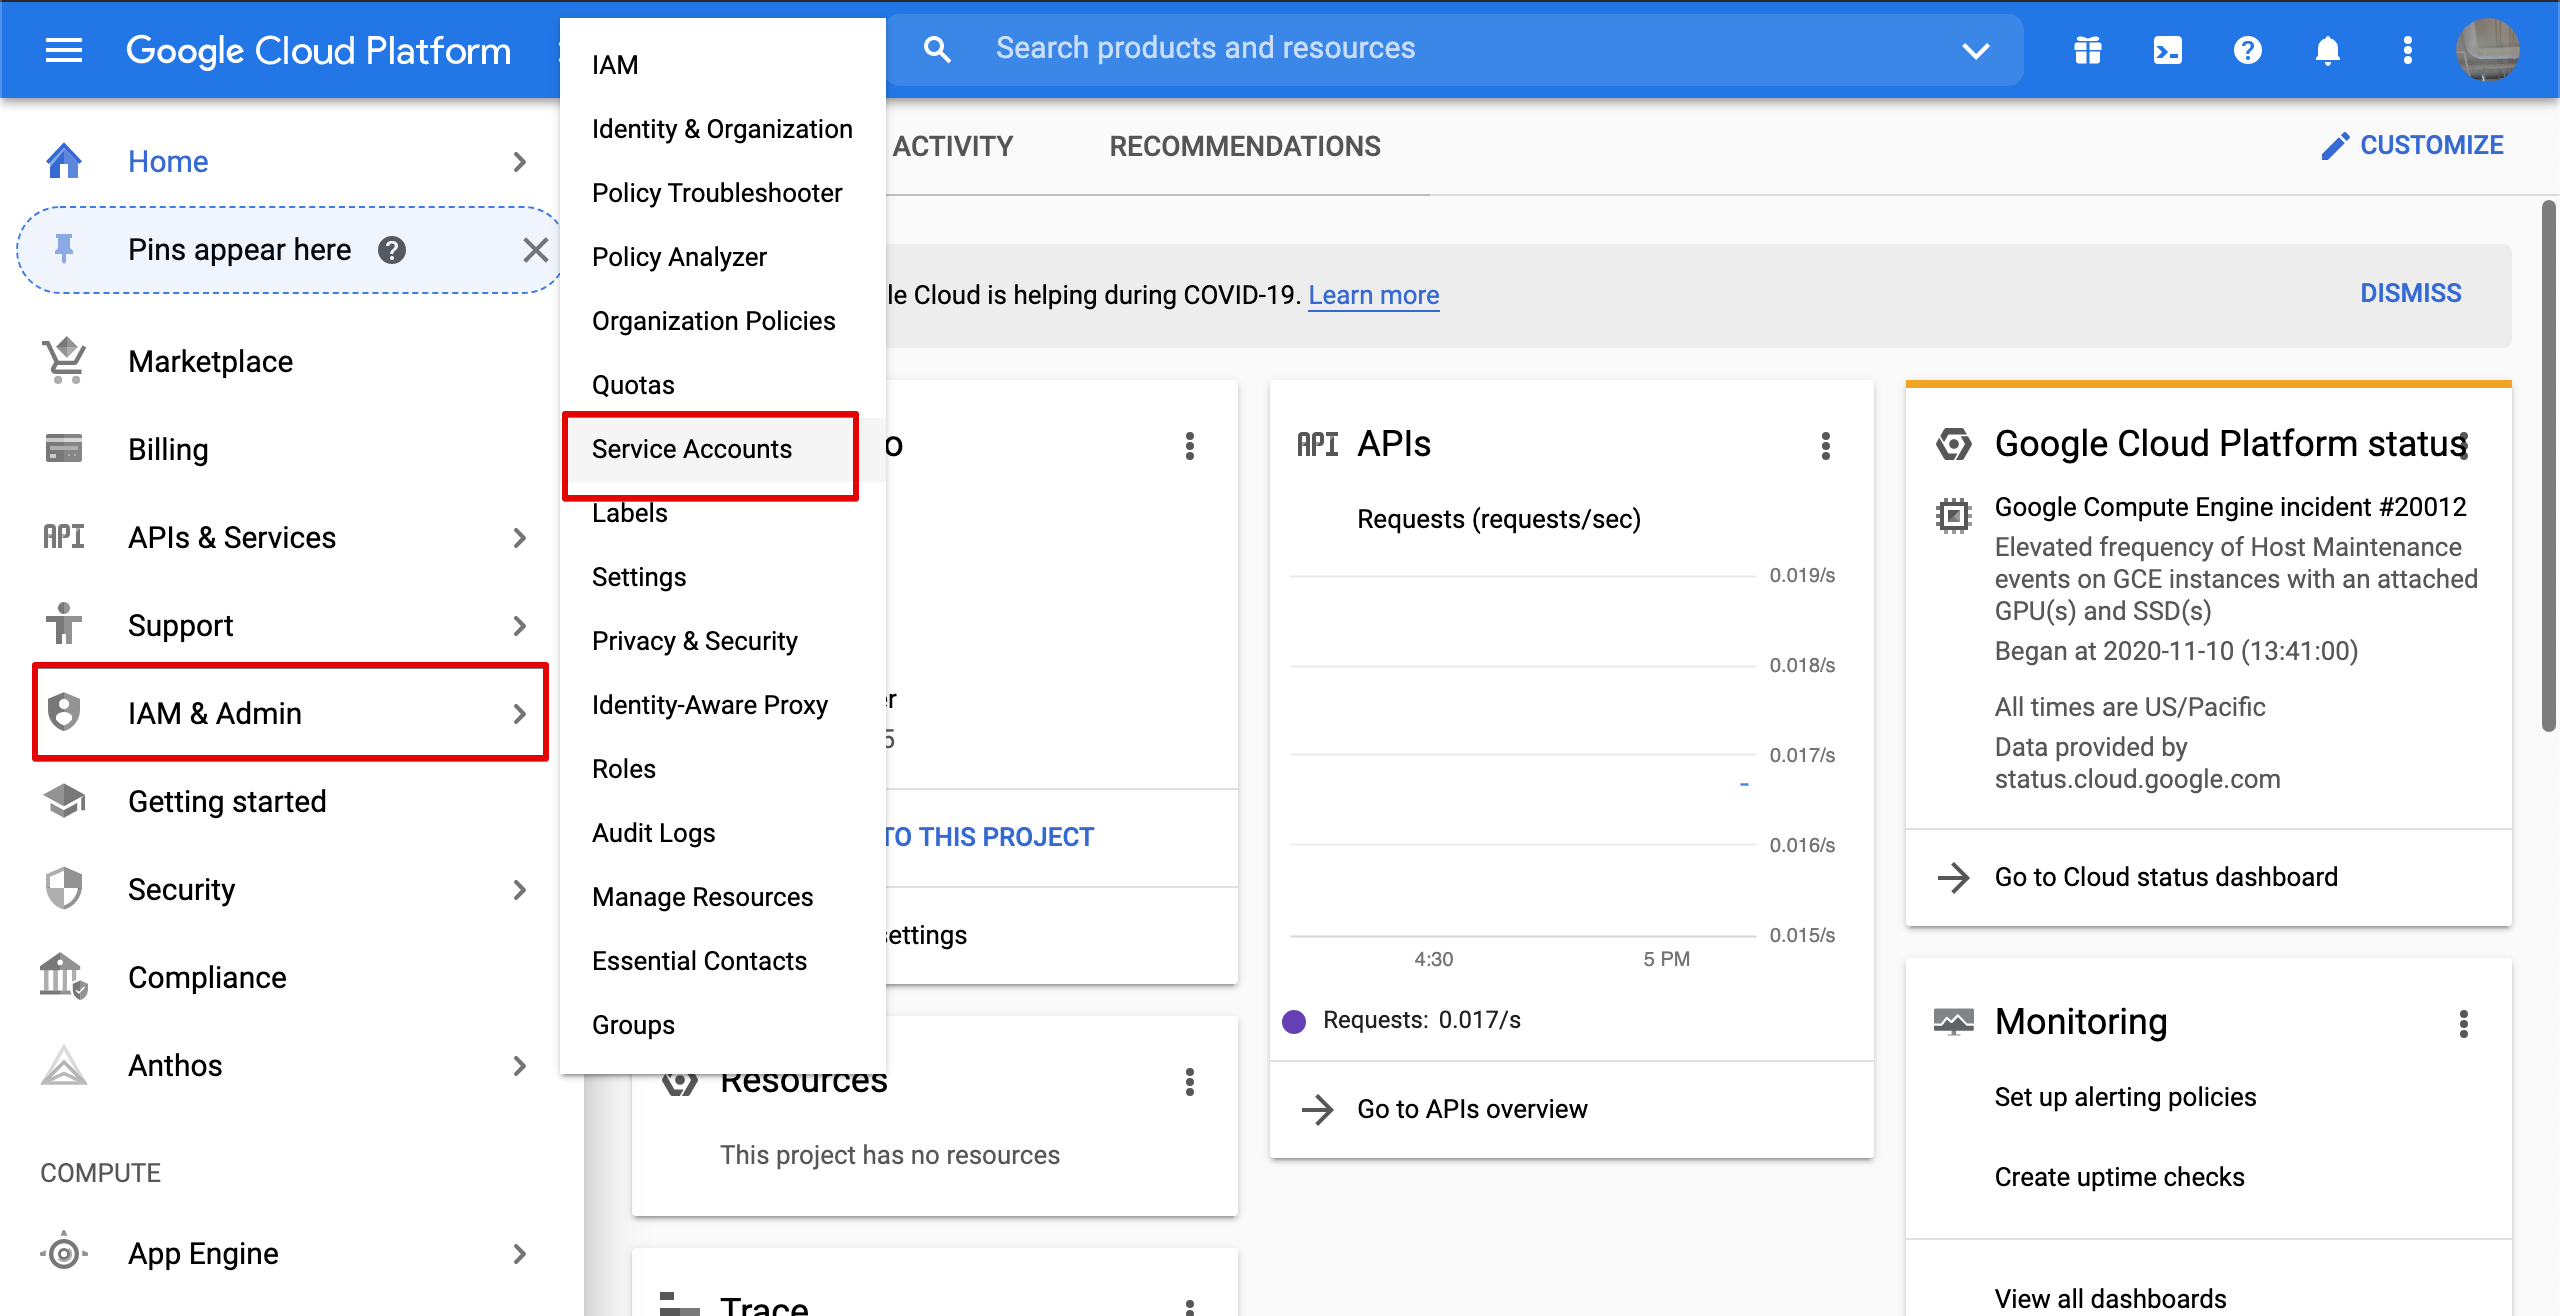
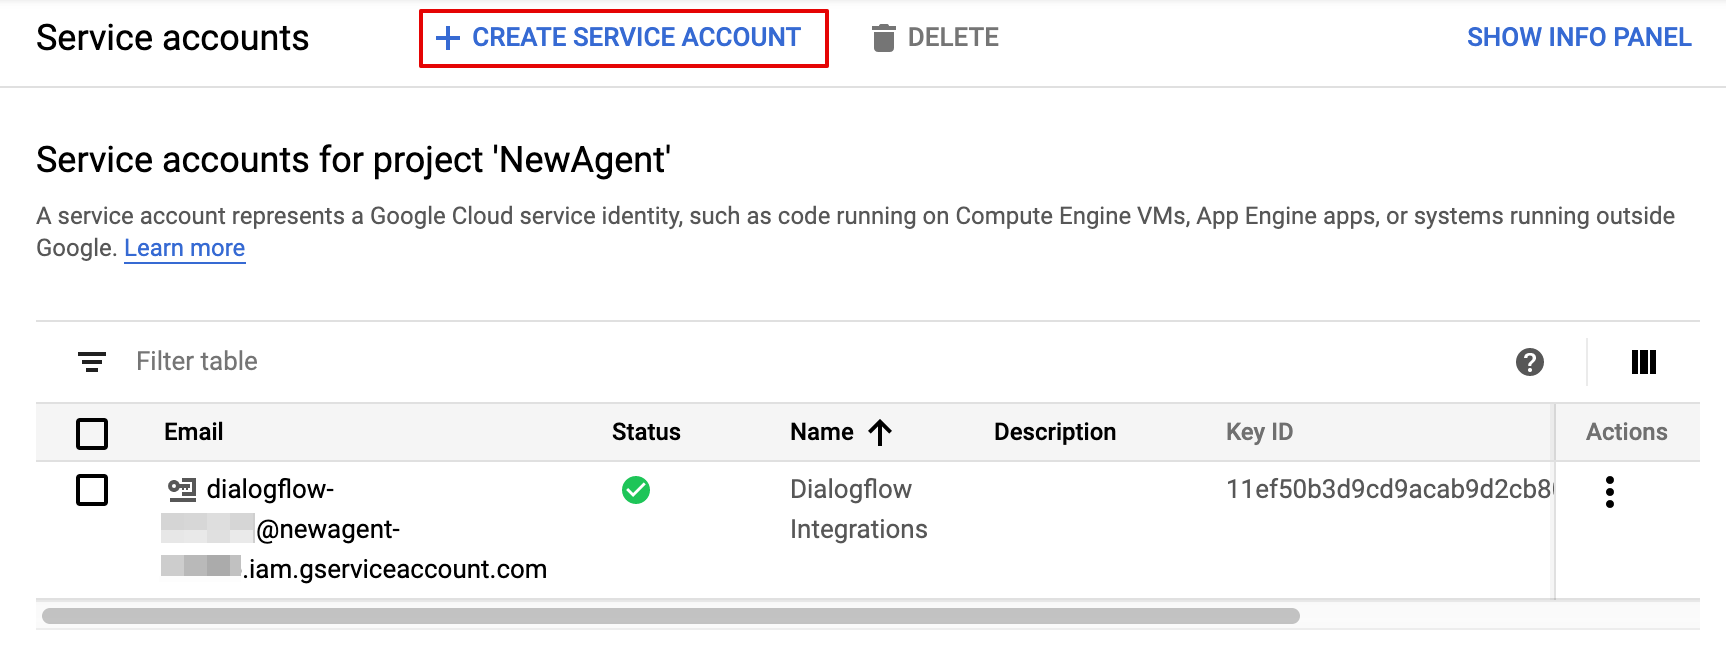
- Head to the "Service Accounts" settings under "IAM & Admin". Click "+ CREATE SERVICE ACCOUNT".
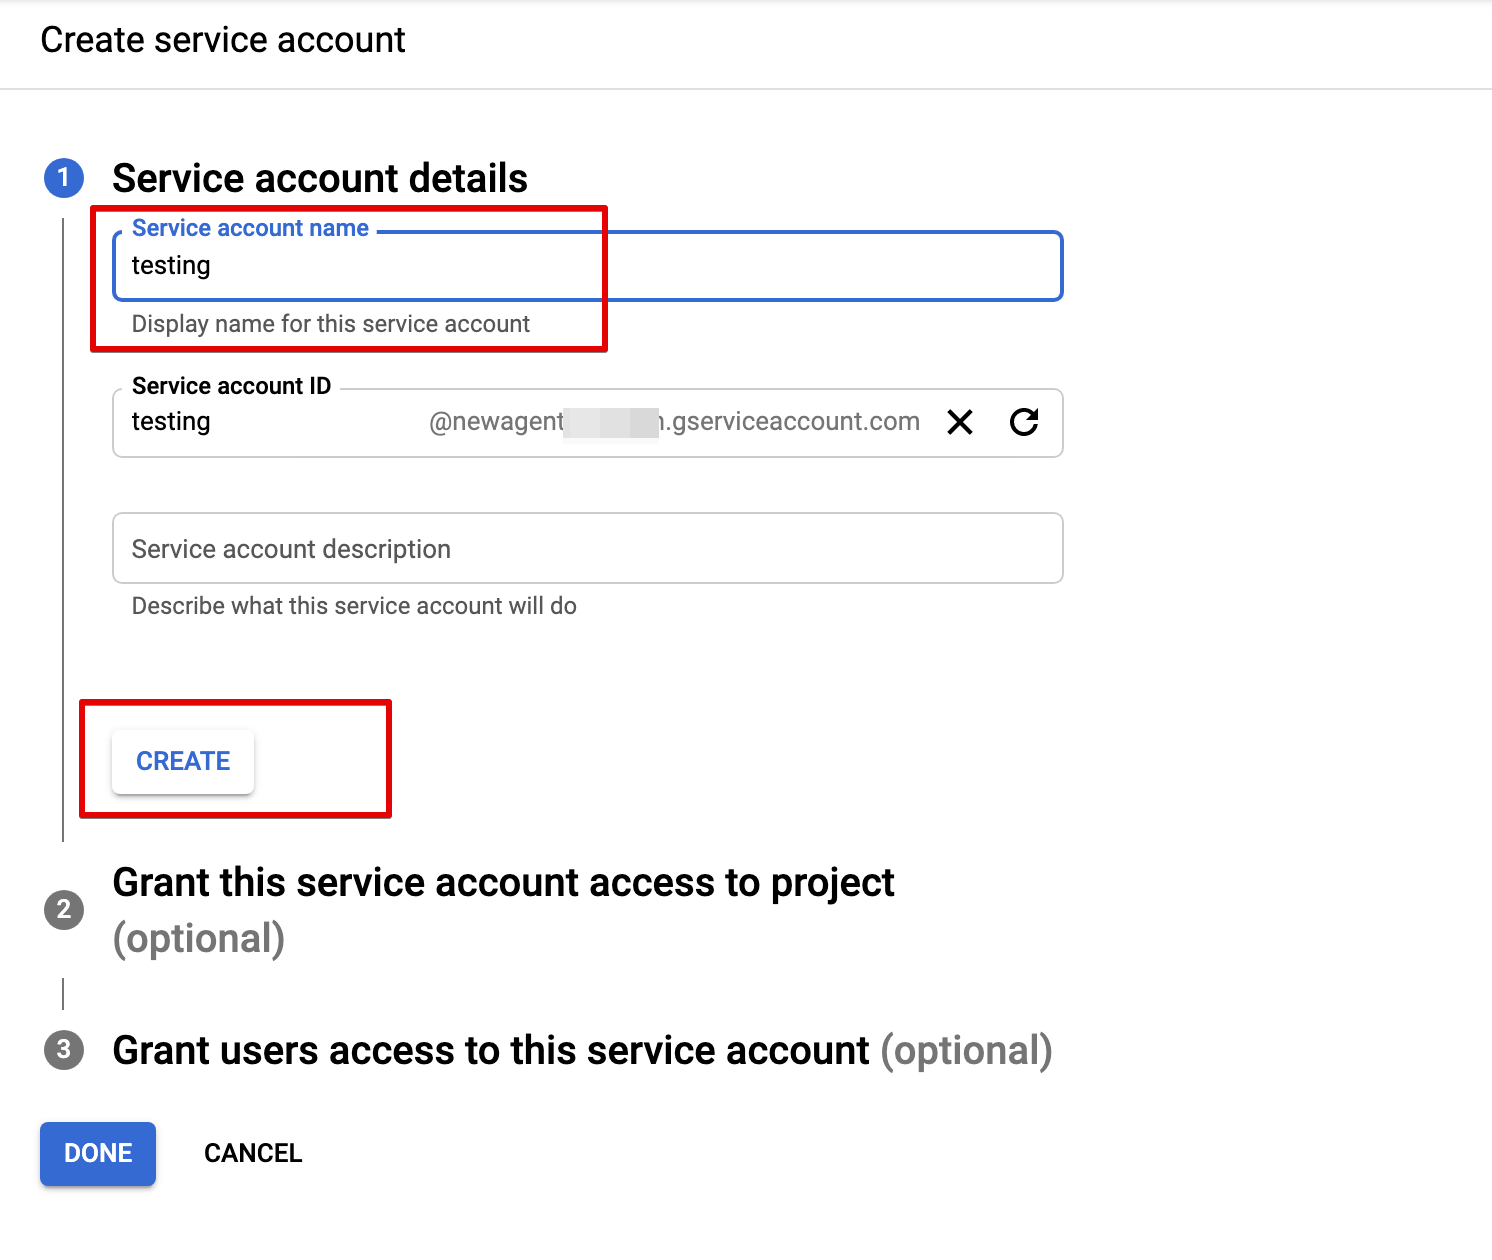
- Fill in the service account details and select "Create".
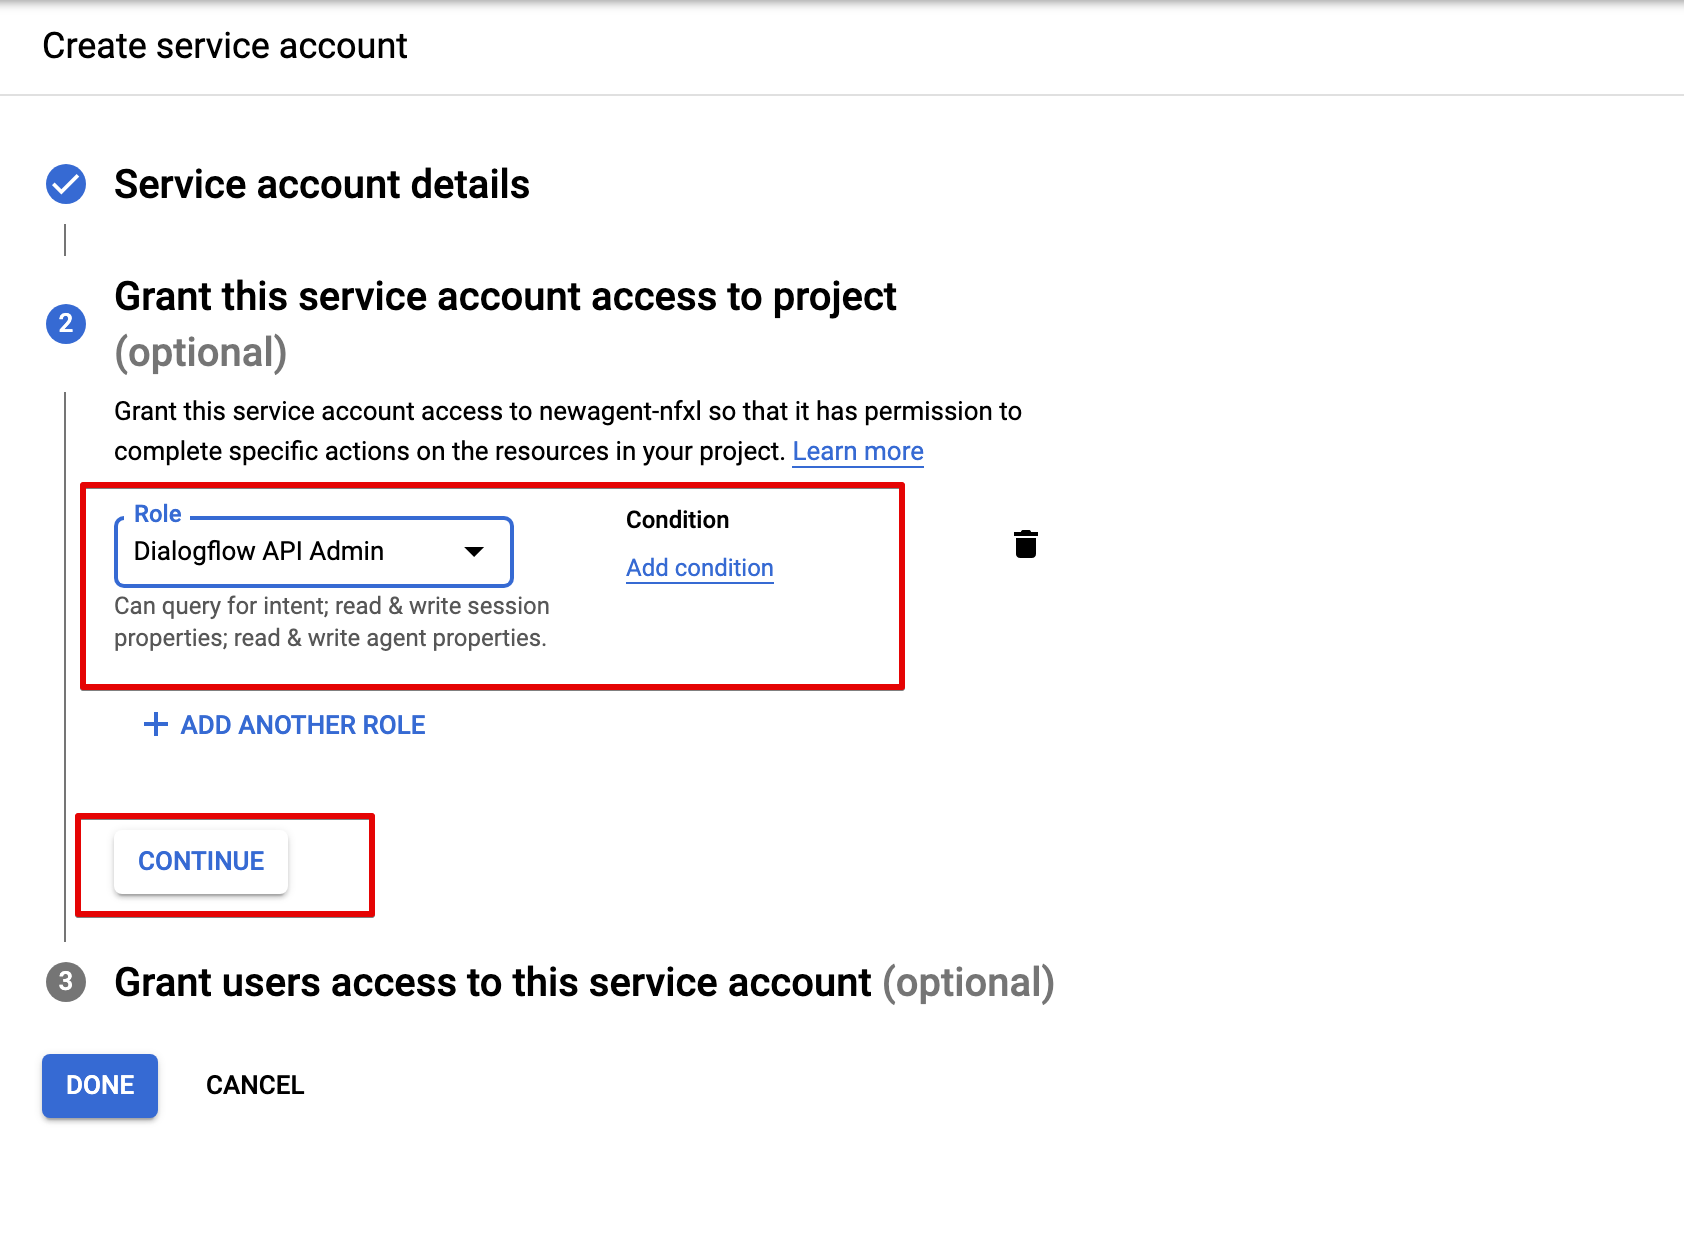
- Select "Dialogflow API Admin" for role.
Create Key
- Select the created "Service Account" and click "+ CREATE KEY".

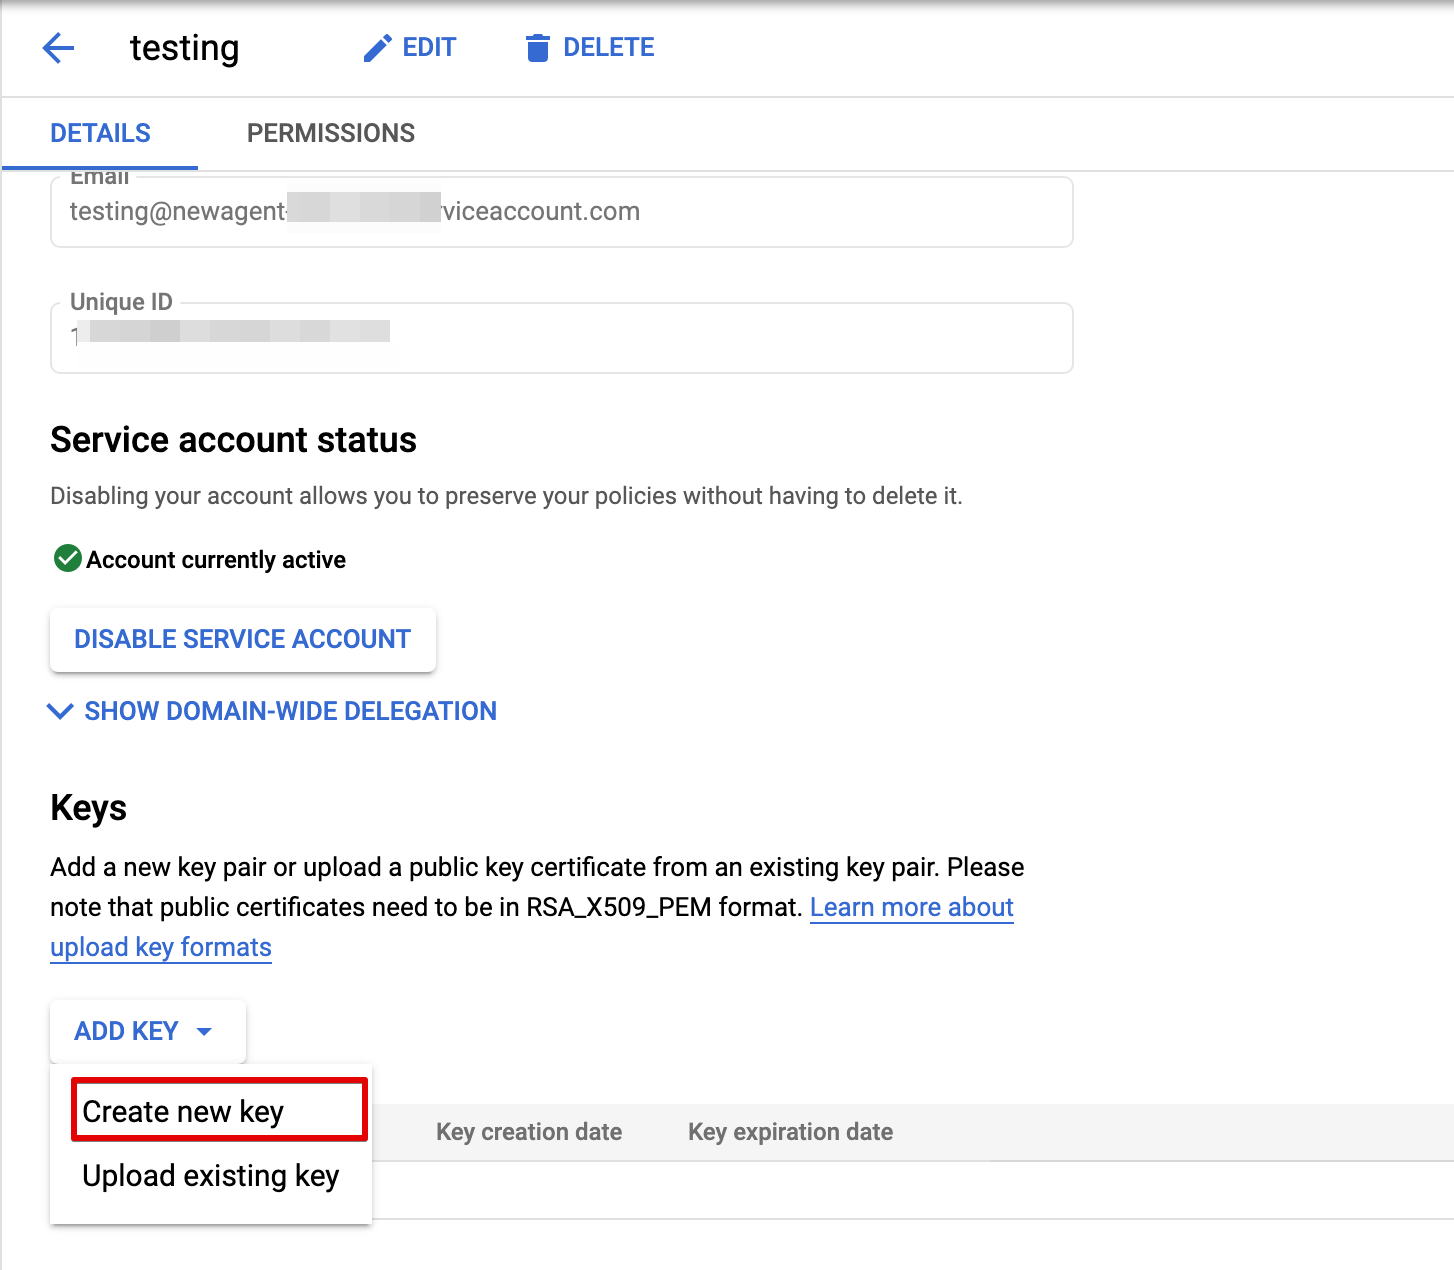
- Choose
JSONfor key type.
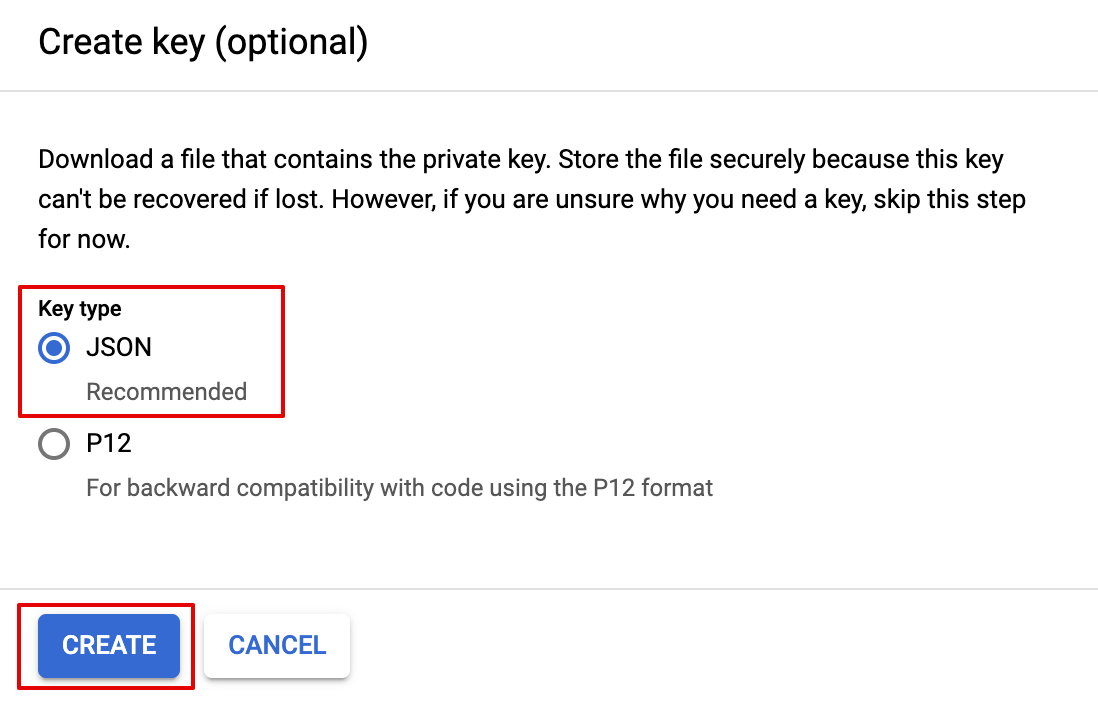
- Download the new private key in
JSON.
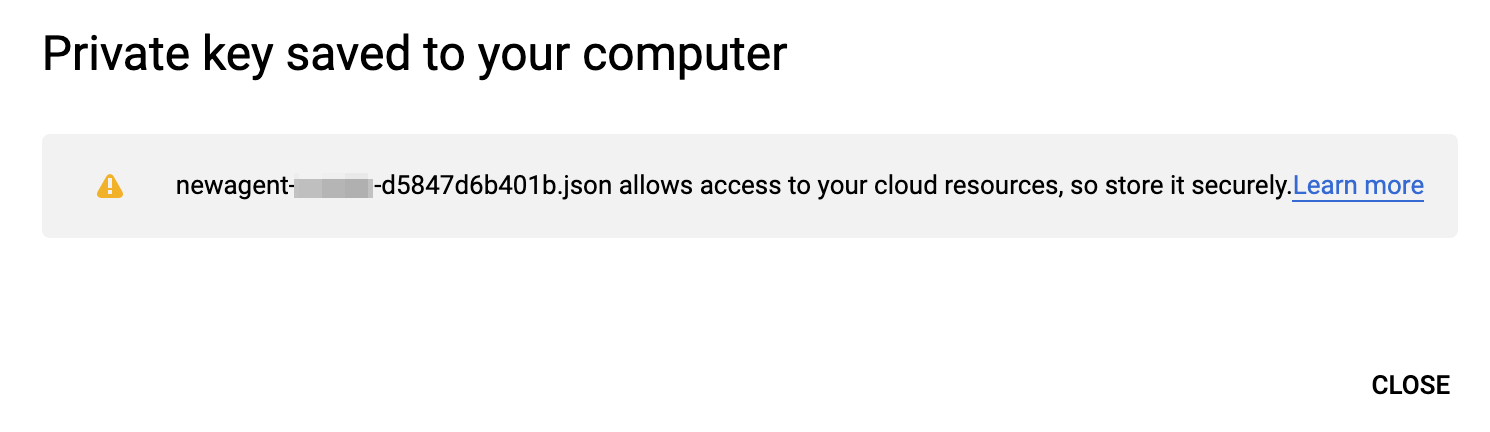
You have now saved a new JSON file in your computer. Open the file in any text editor and you will get the private key for connecting Dialogflow on WOZTELL.
Install Dialogflow Integration
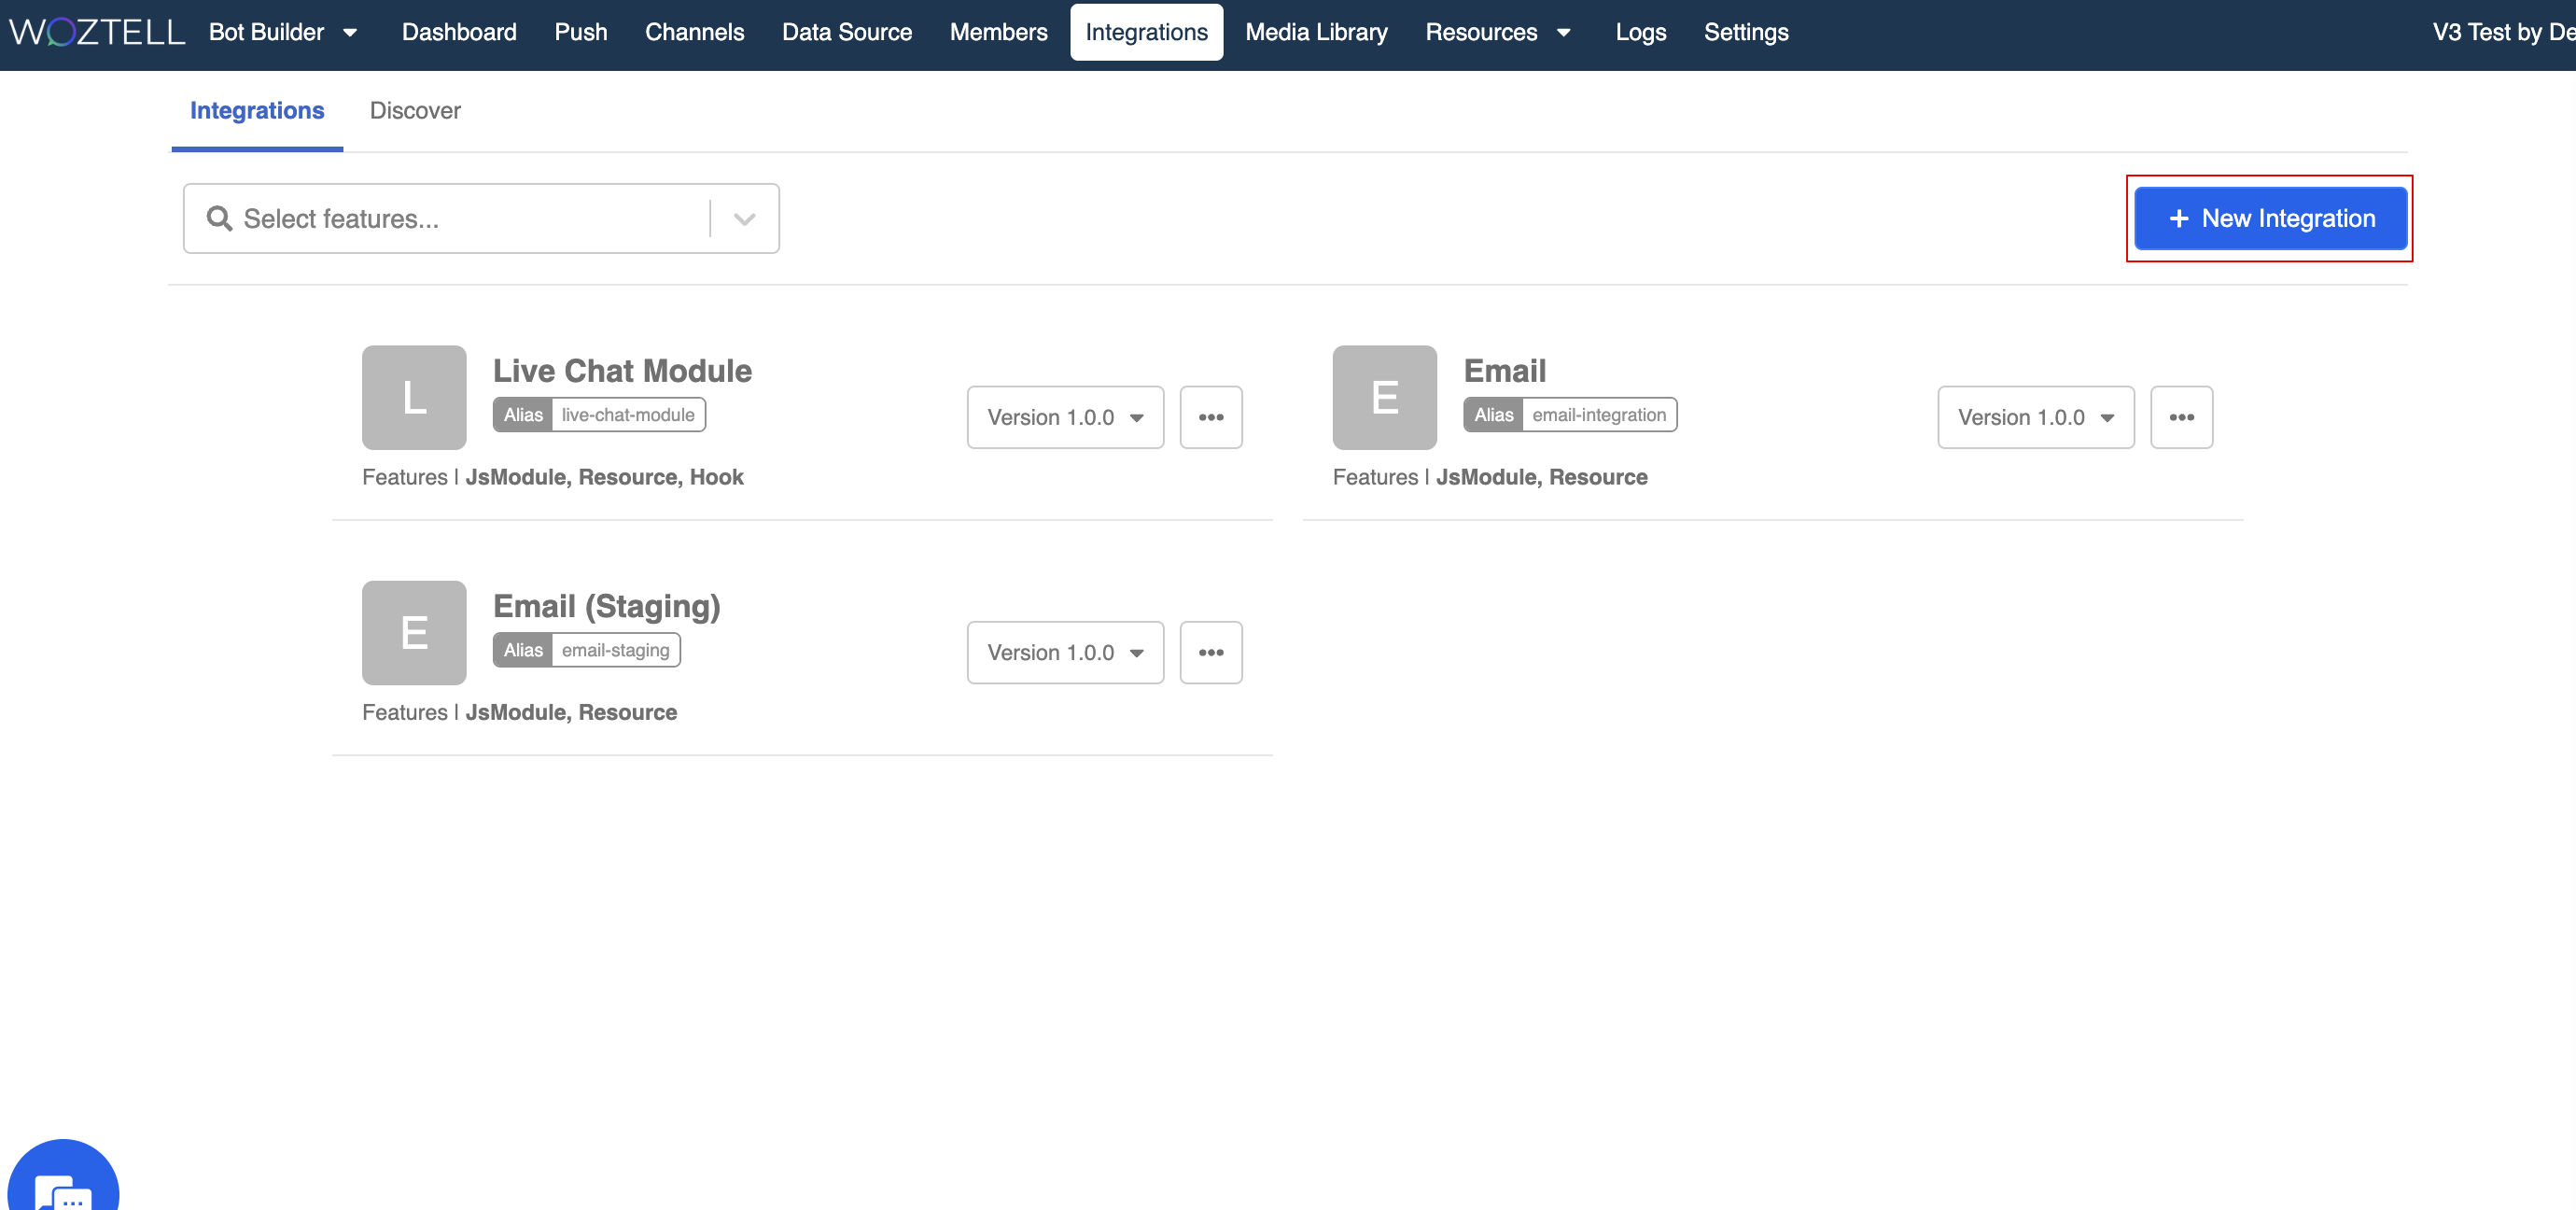
Select "Integrations" at the top menu bar.
Select "+ Integration" button to add new integration.
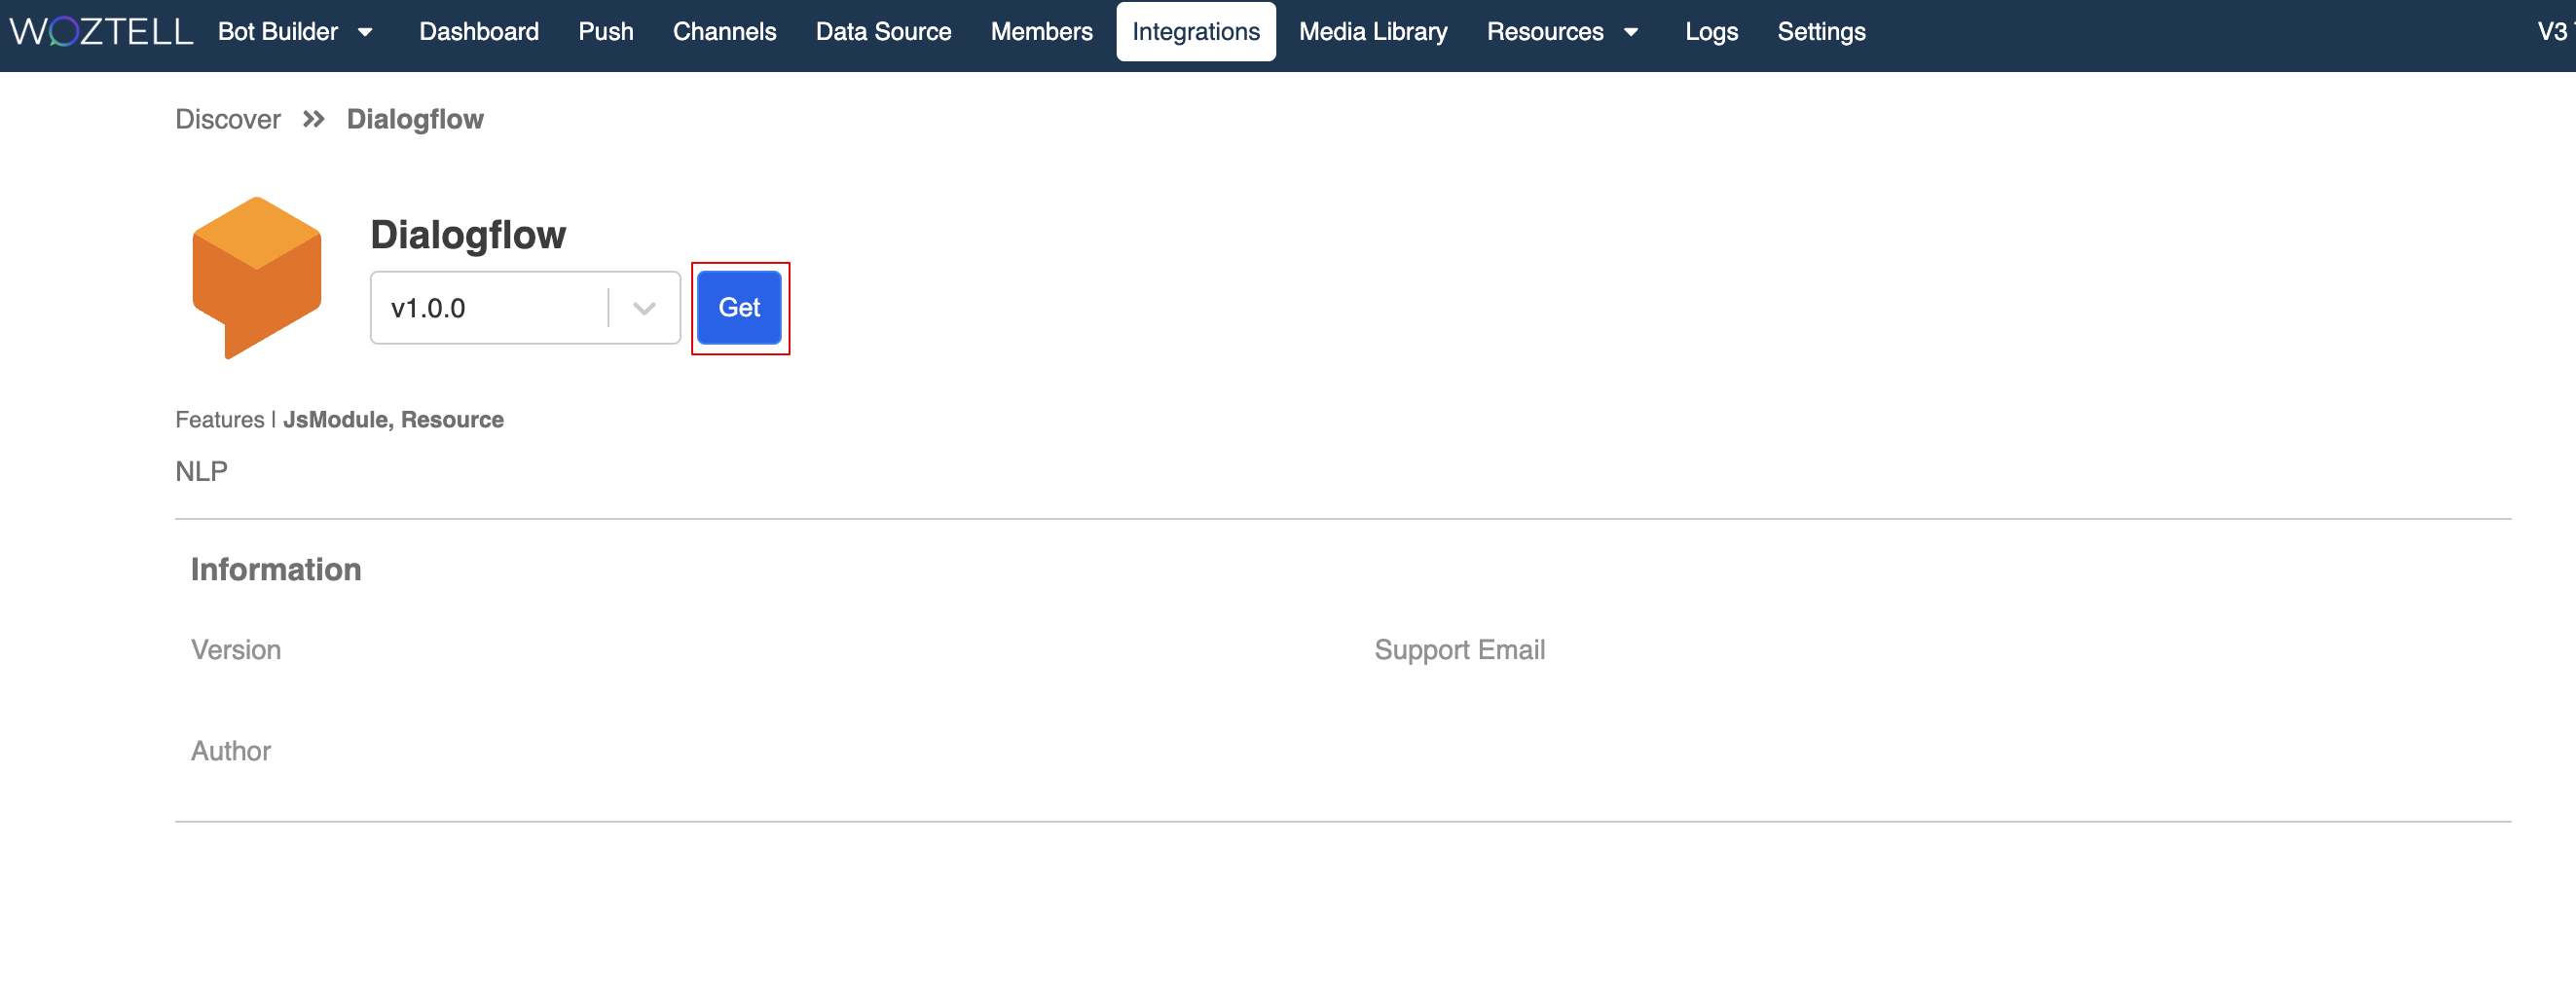
- Find and select "Dialogflow".
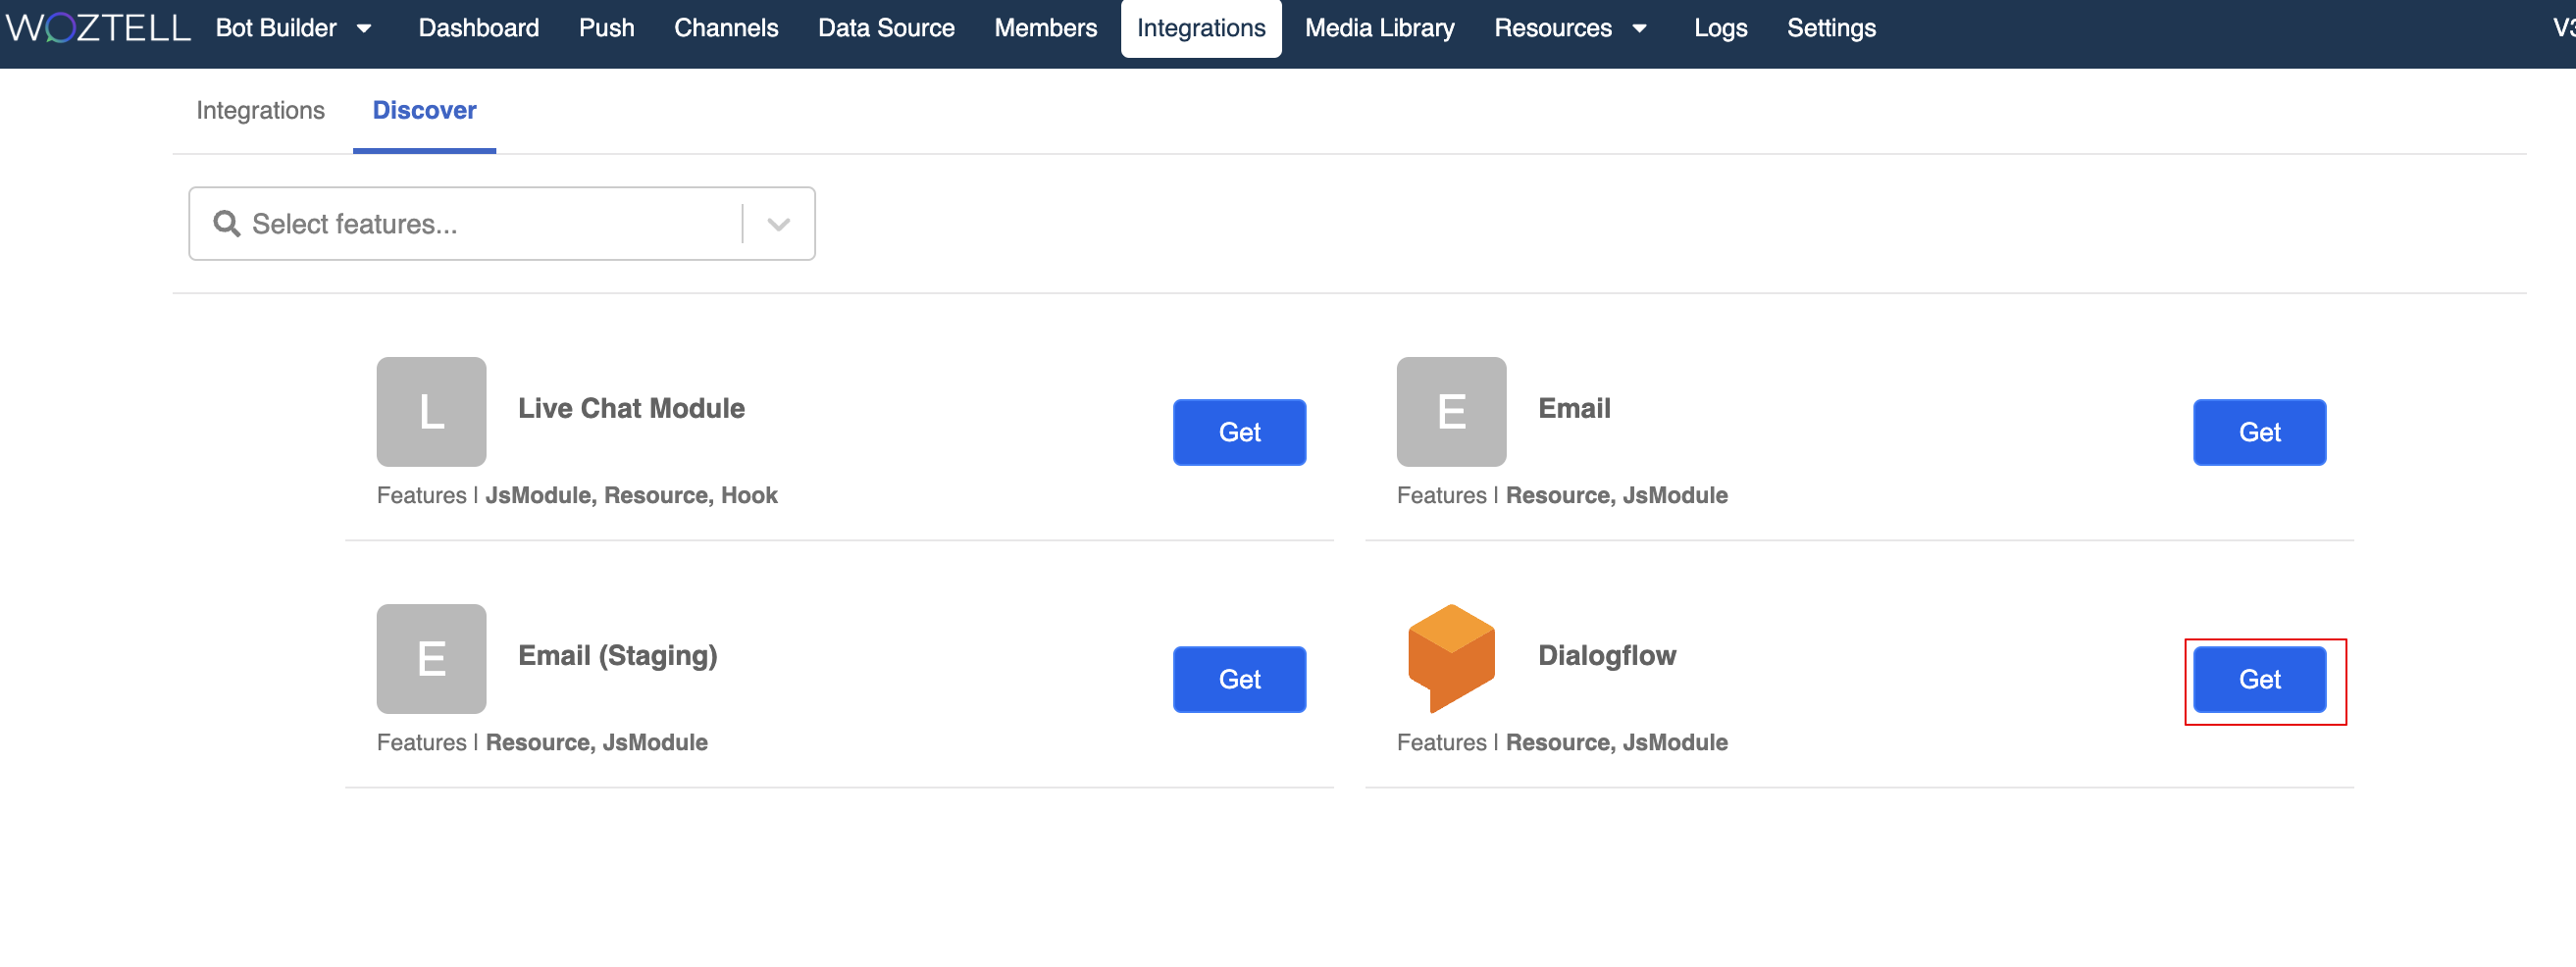
- Select the latest version and proceed by "Get".
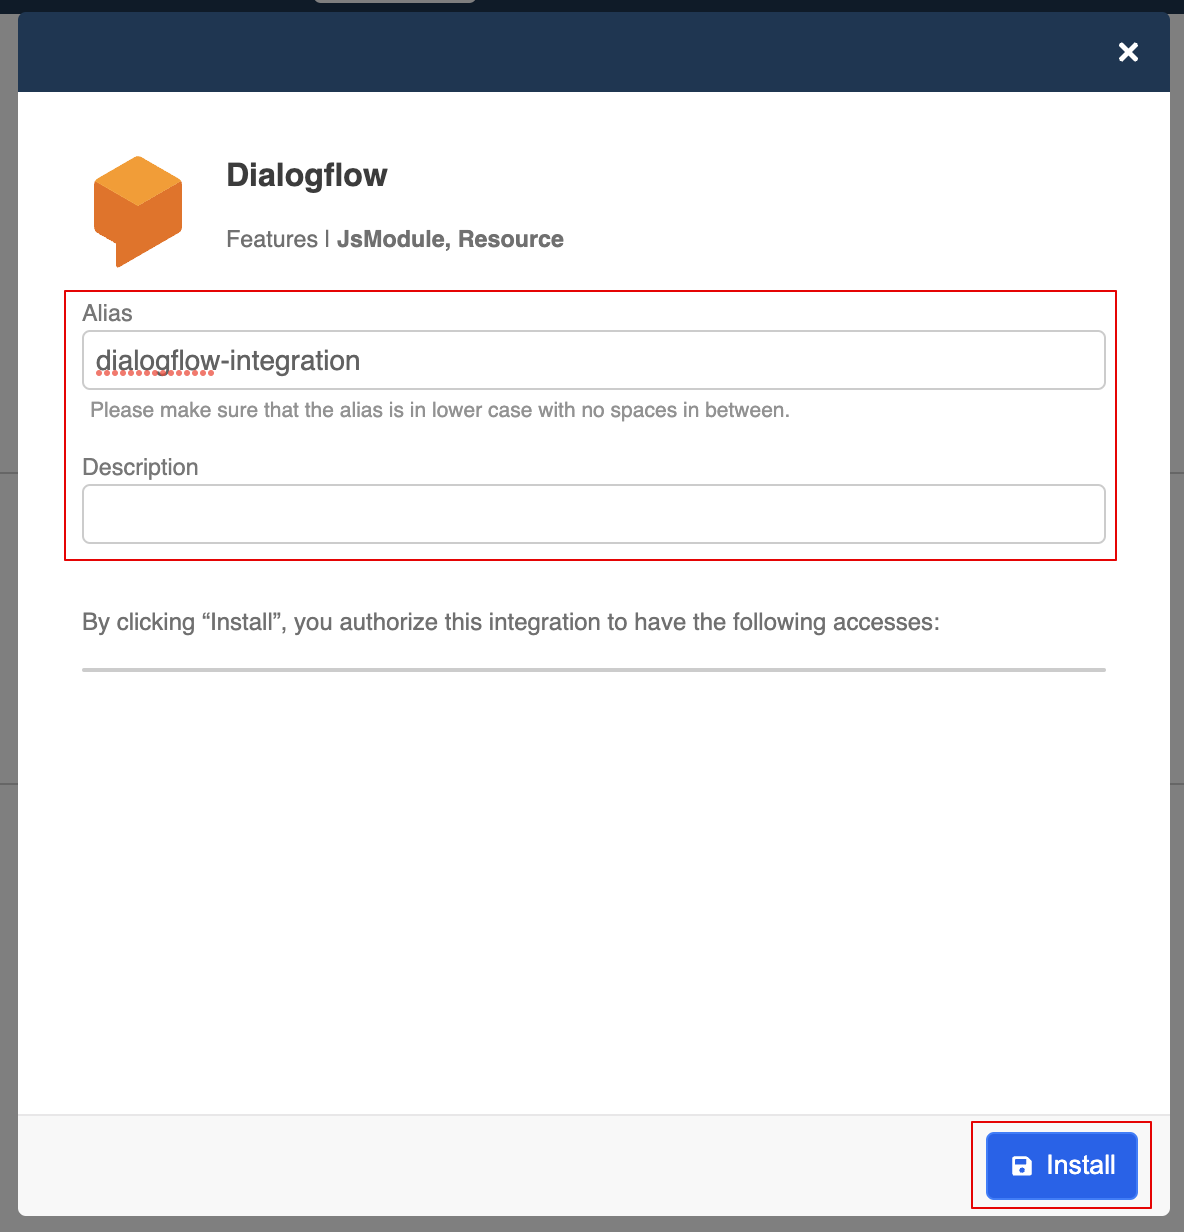
- Enter a name to the "Alias" field for identifying this integration. The description is optional. Click "Install" to complete the installation.
Set up Dialogflow Integration
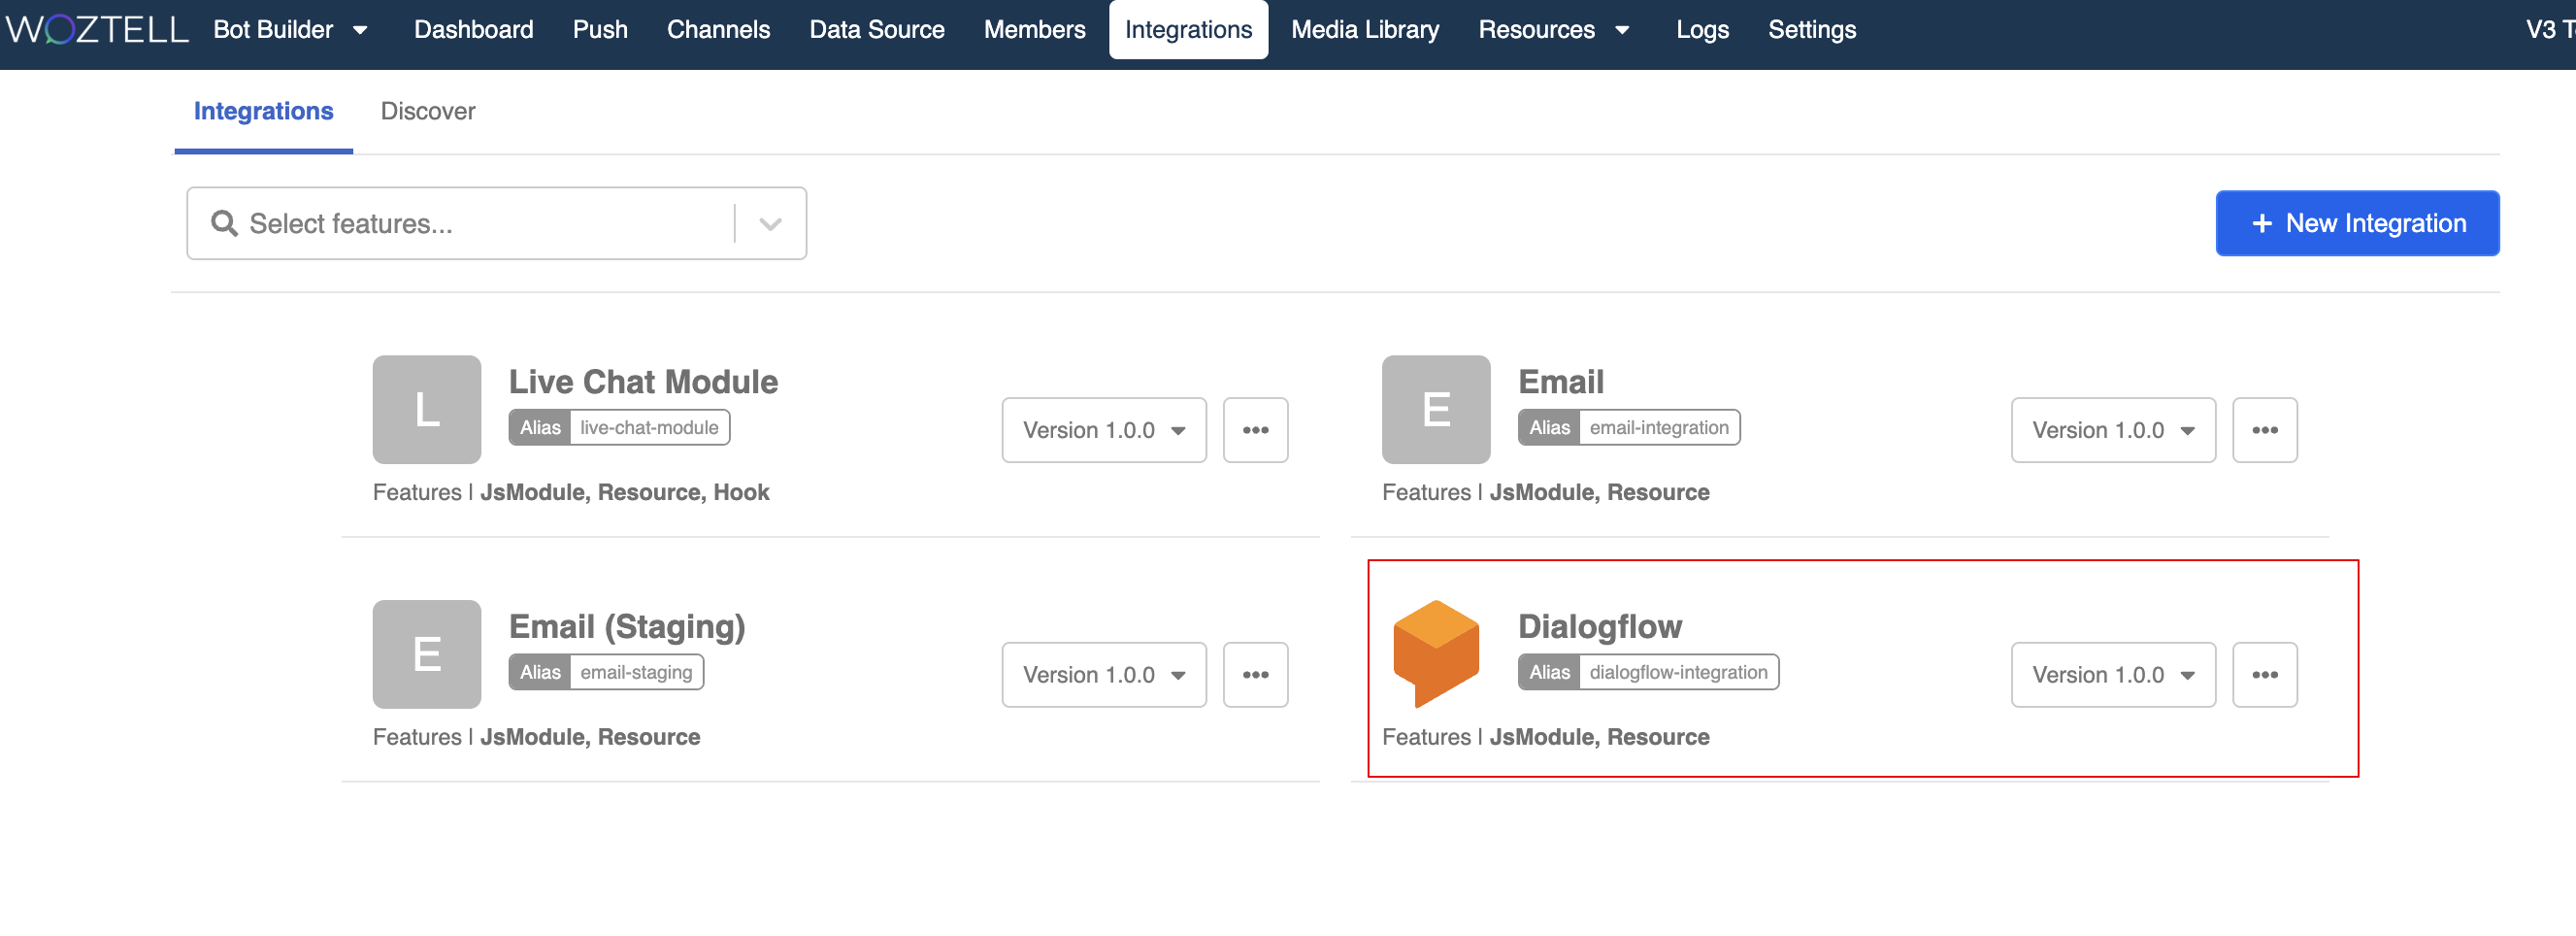
- Select the installed Dialogflow integration.
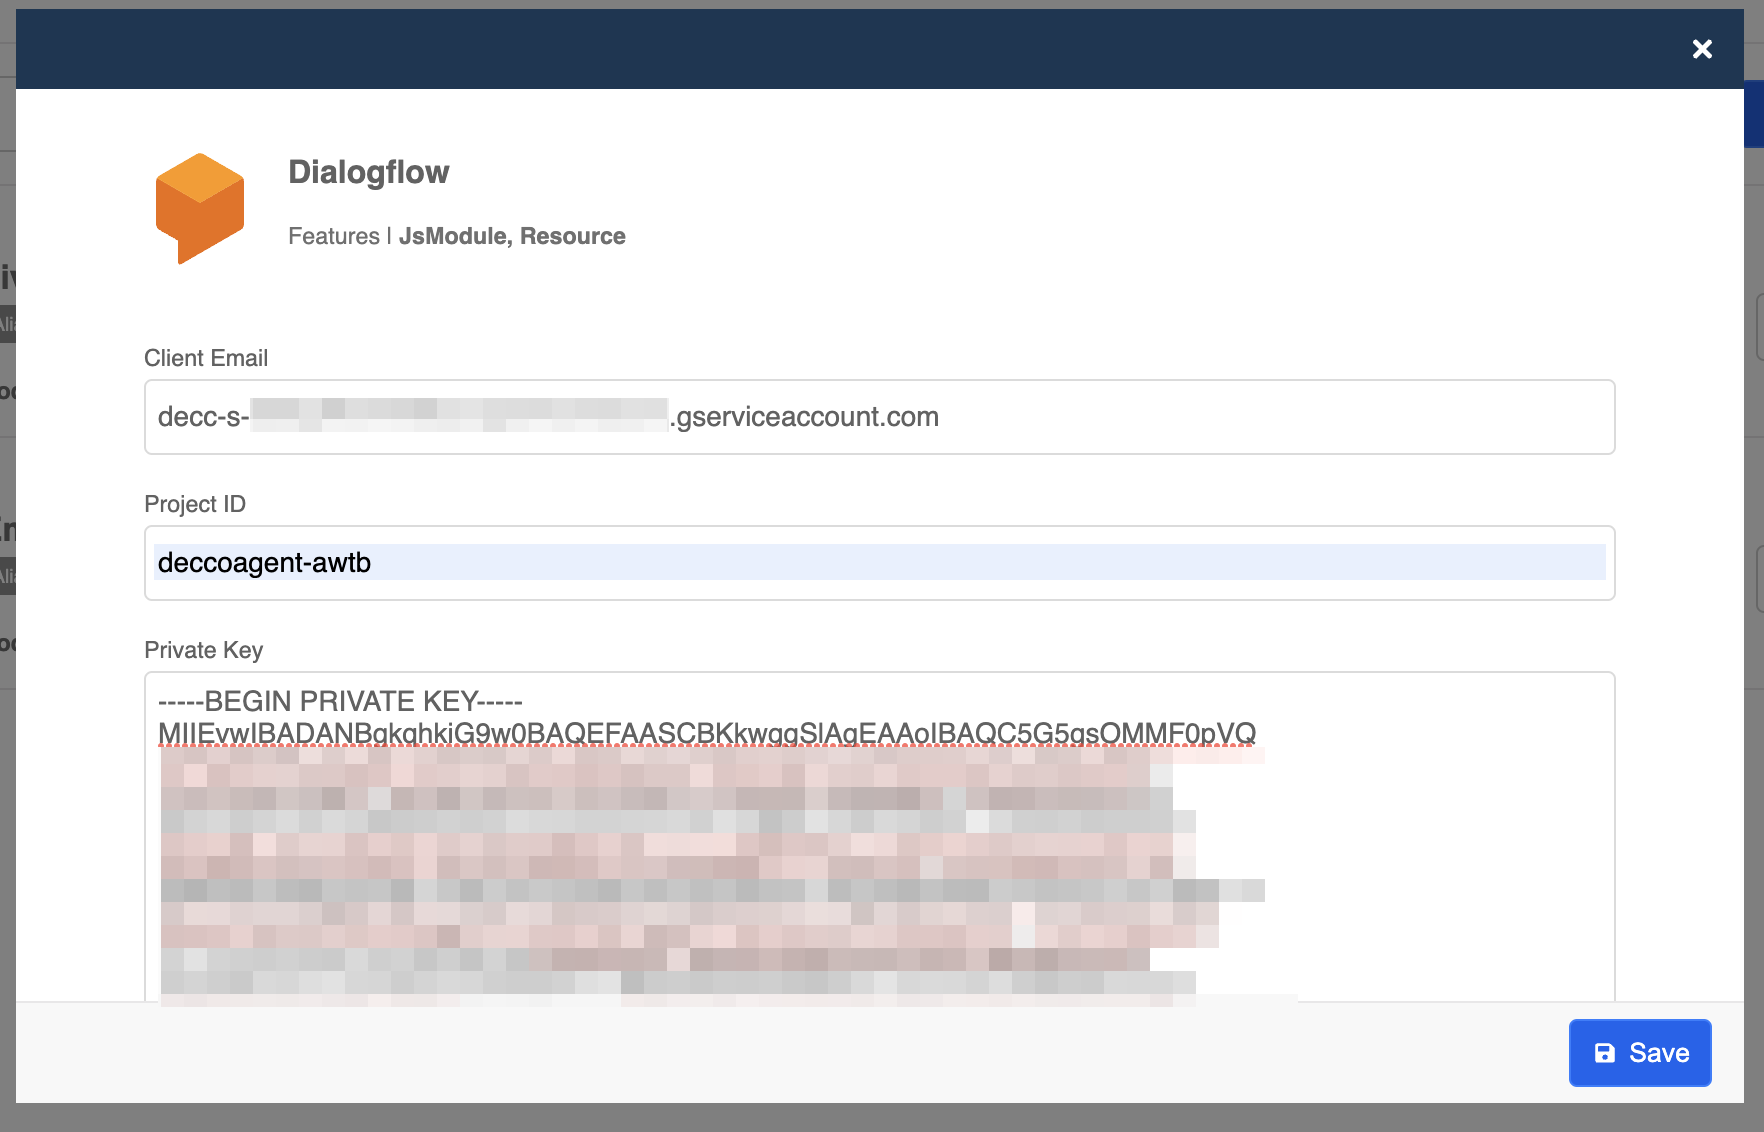
- To complete setting up the Dialogflow integration, you need to fill in the Client Email, Project ID and Private Key.
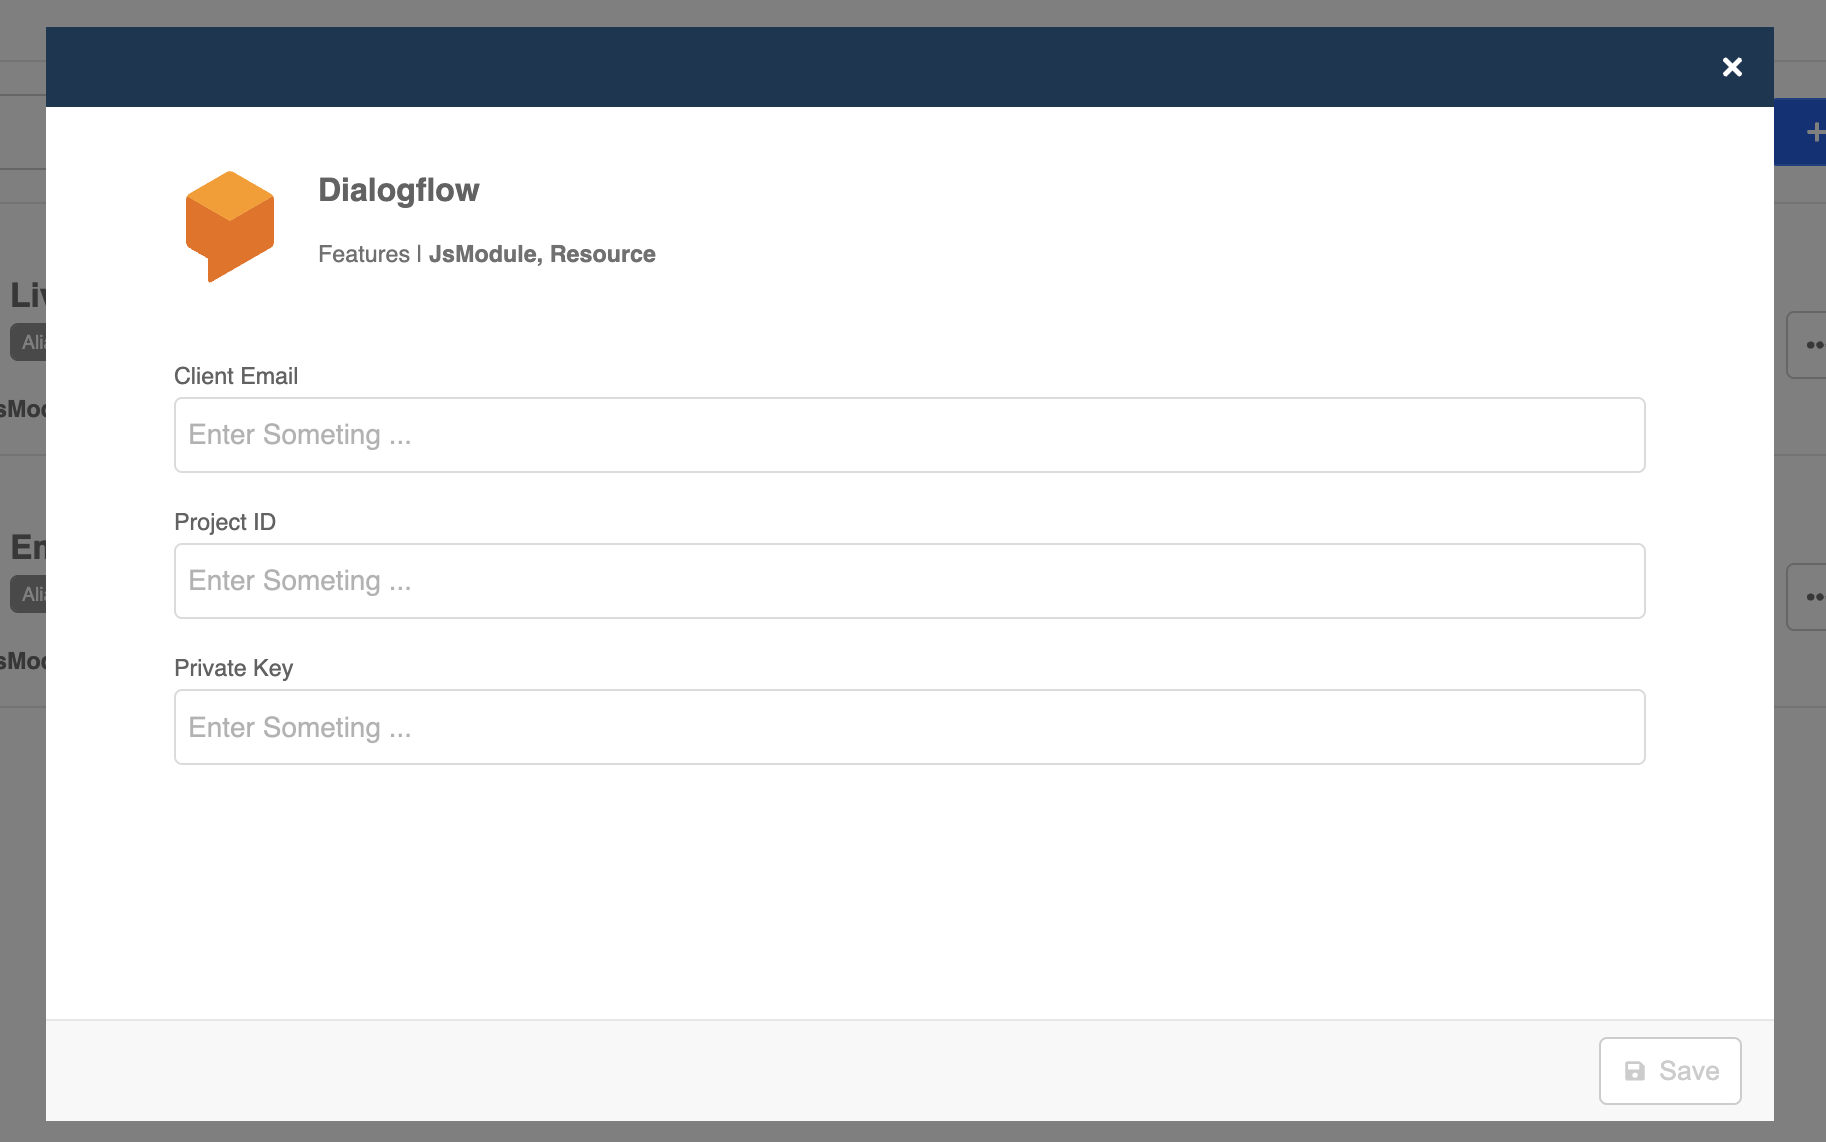
- You can find these information from the
JSONkey downloaded previously.
NOTES
For the Private Key, please remove all the "\n" in the key and break the lines properly.
- You have completed setting up the Dialogflow integration! Let's move on to the next section and learn how to apply it to your chatbot.