Create the Action for Sending Email
After installing and setting up the Email Integration, it's time to apply it to your chatbot flow.
In this section, we will show you how formulate the details and content of the email inside a general node, so that the chatbot could execute the email sending for you.
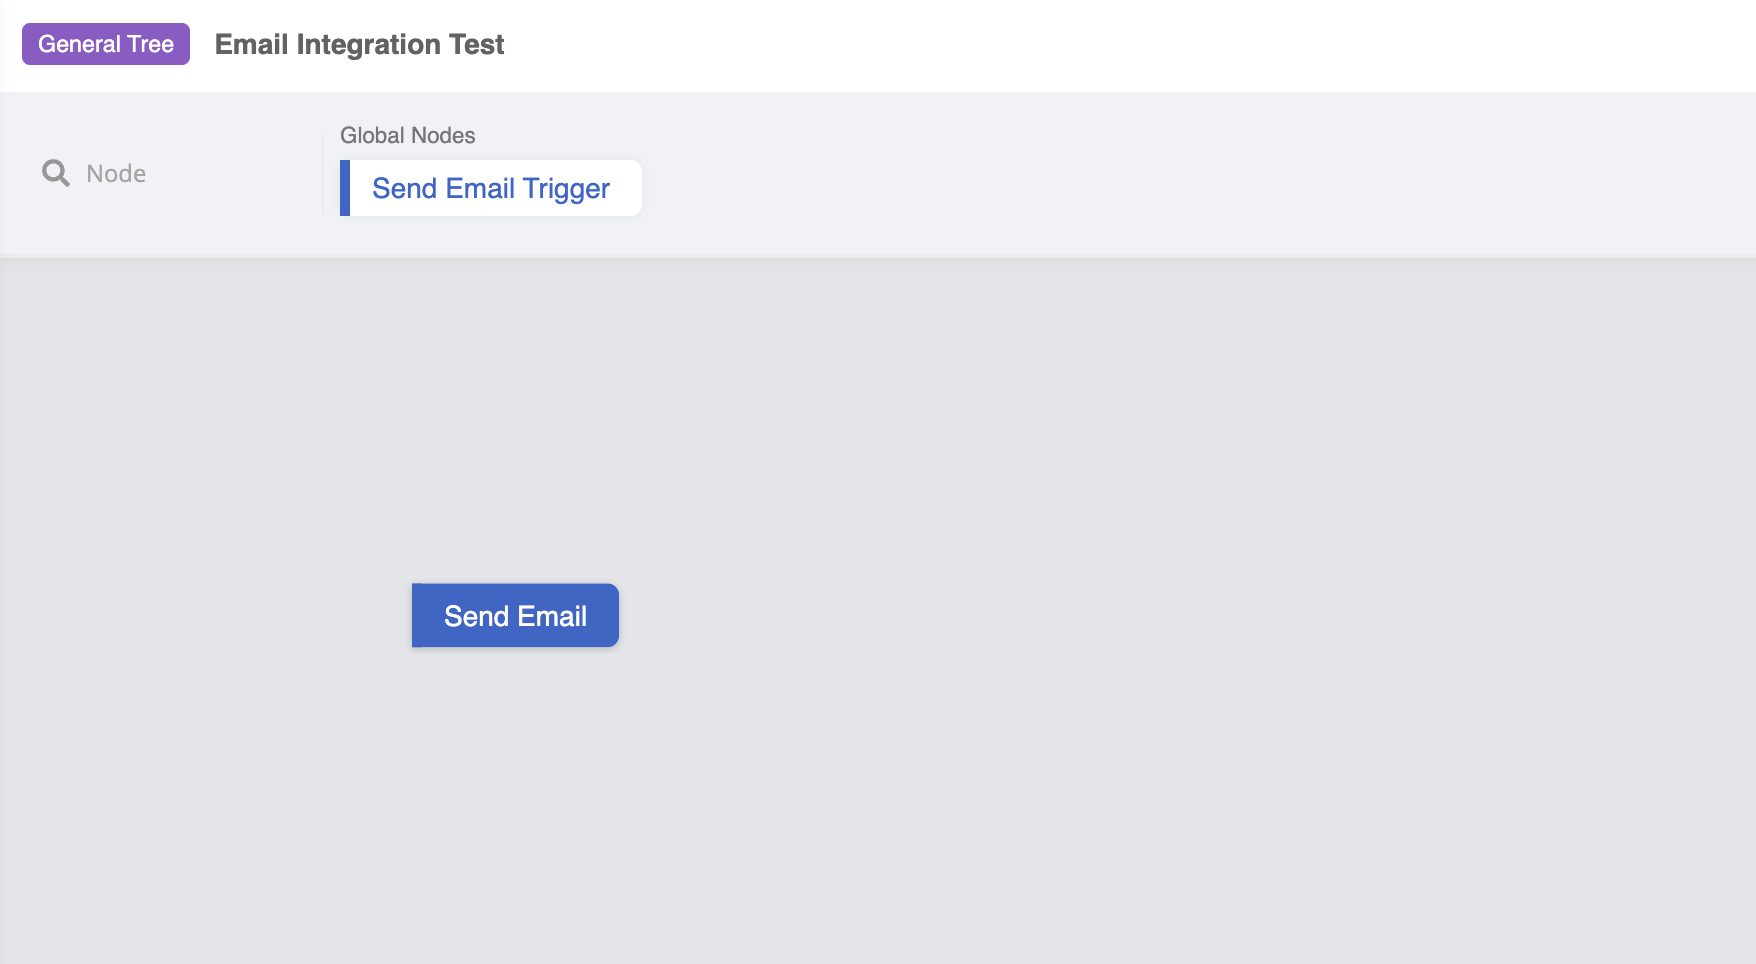
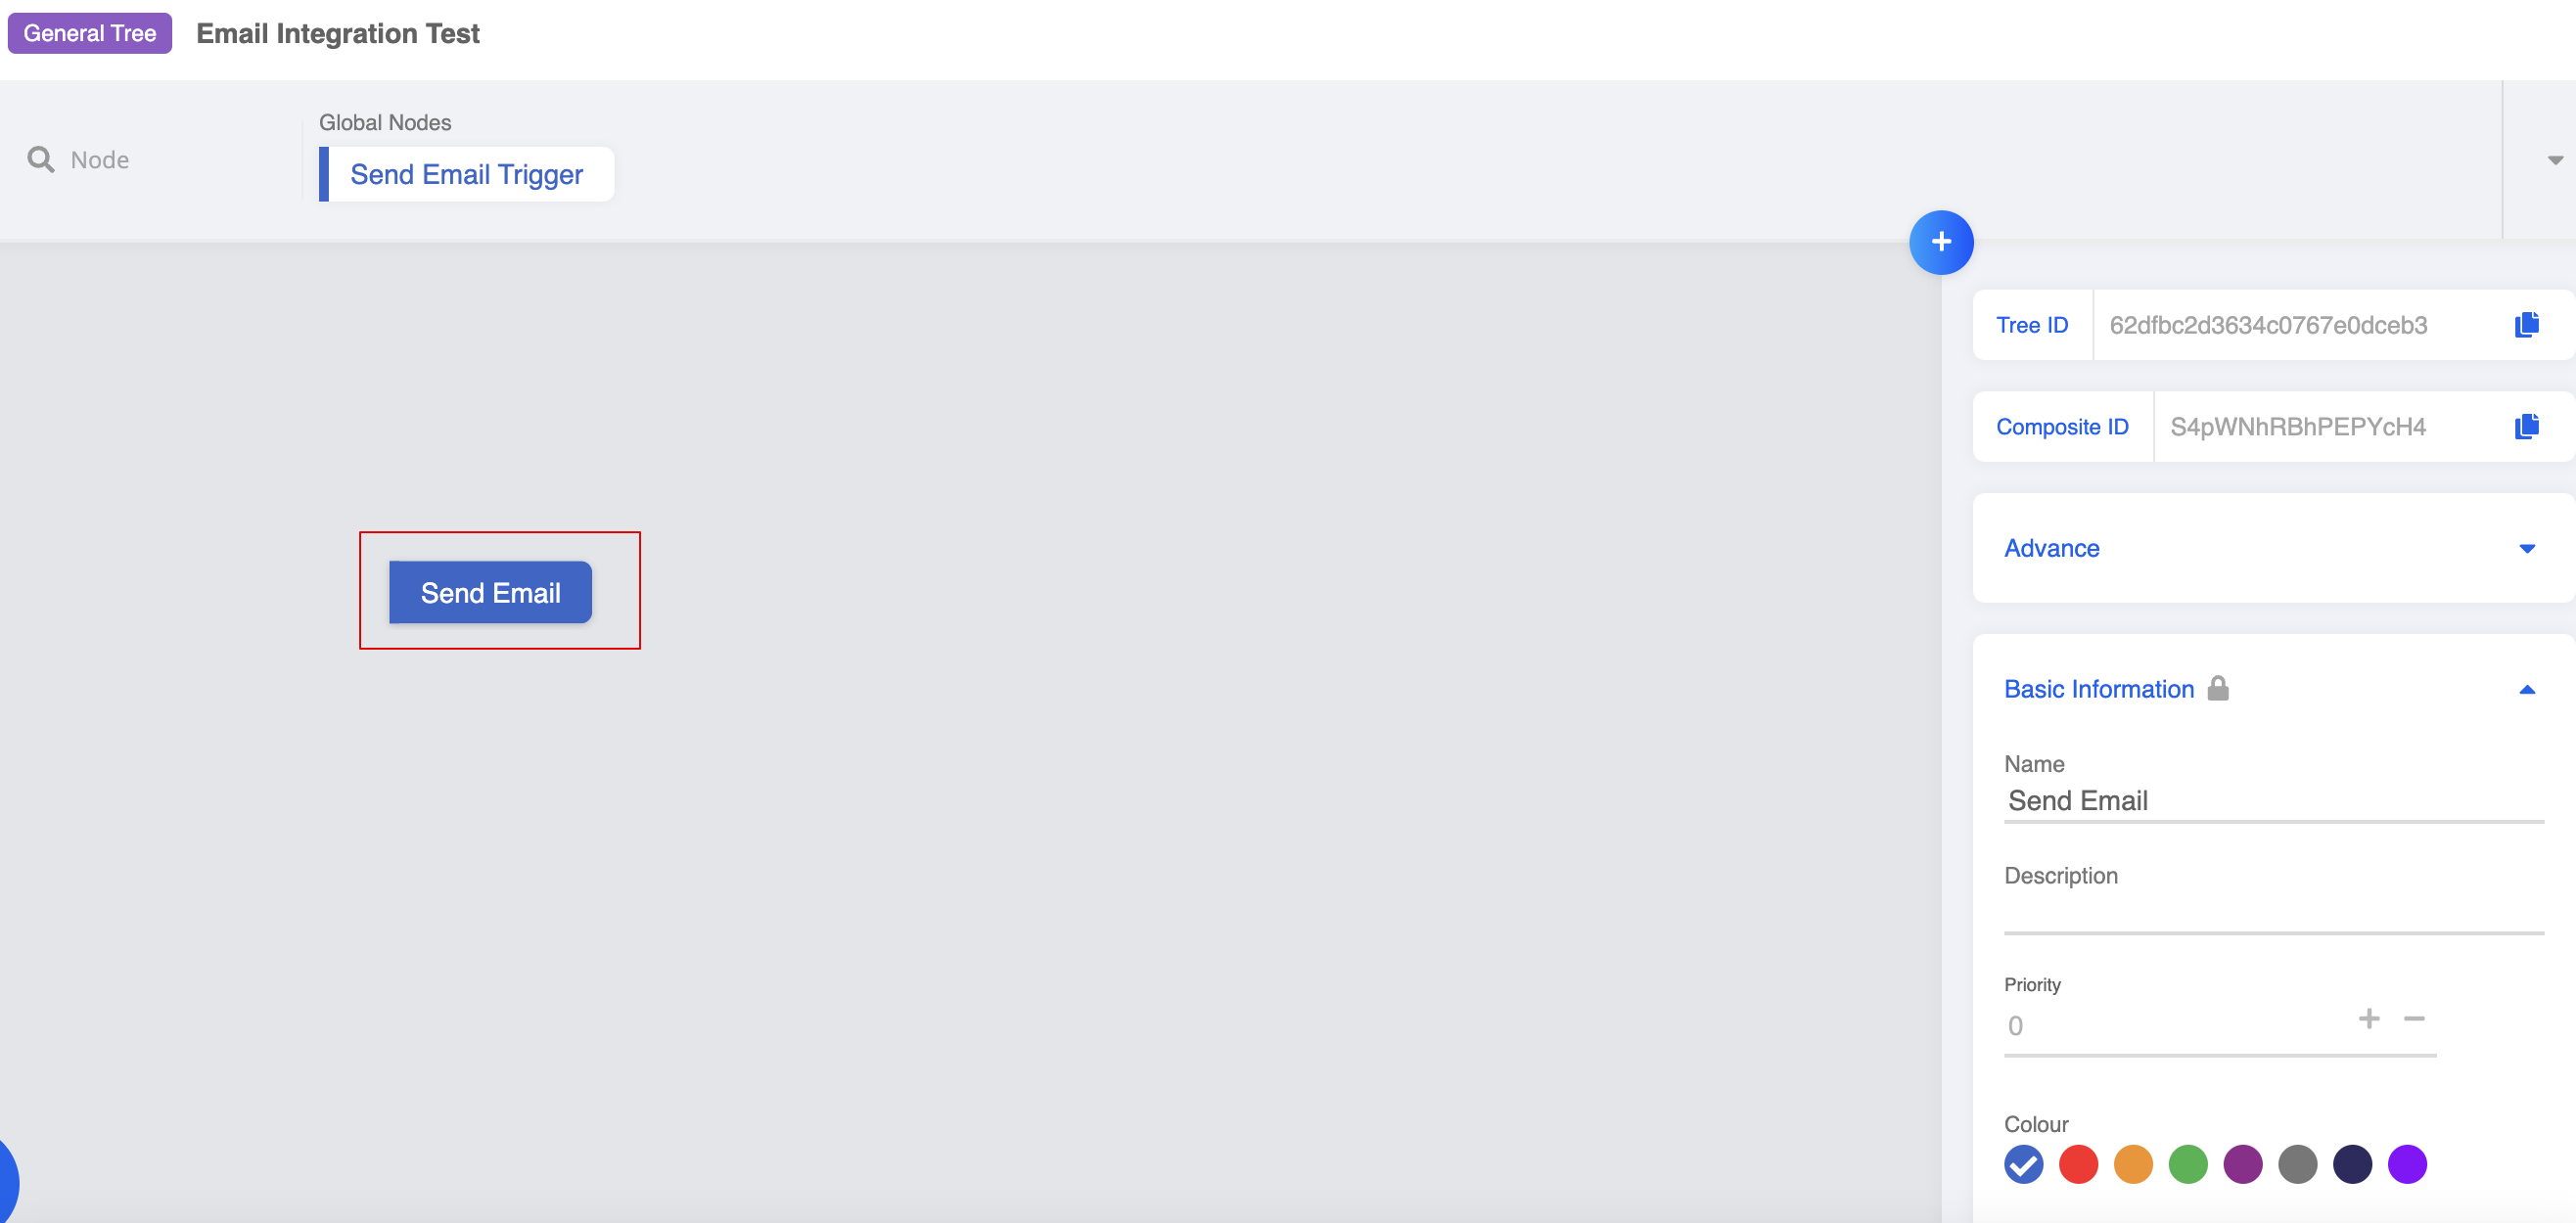
Send Email Node
- Create a general node for sending the email.
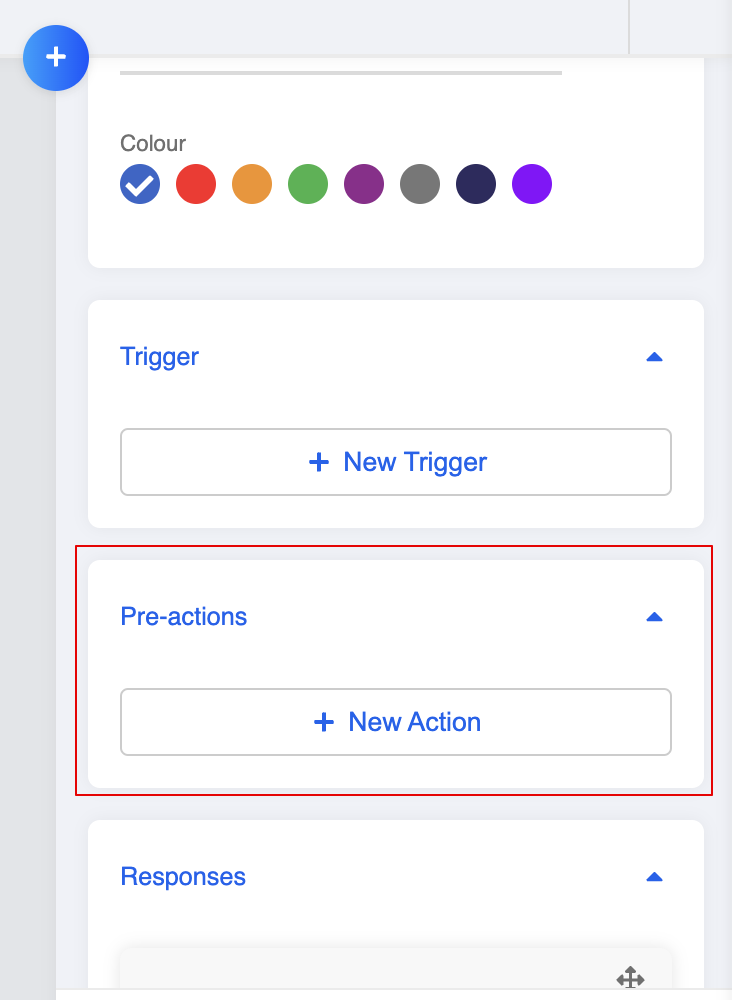
Create a pre-action
- Create a new pre-action.
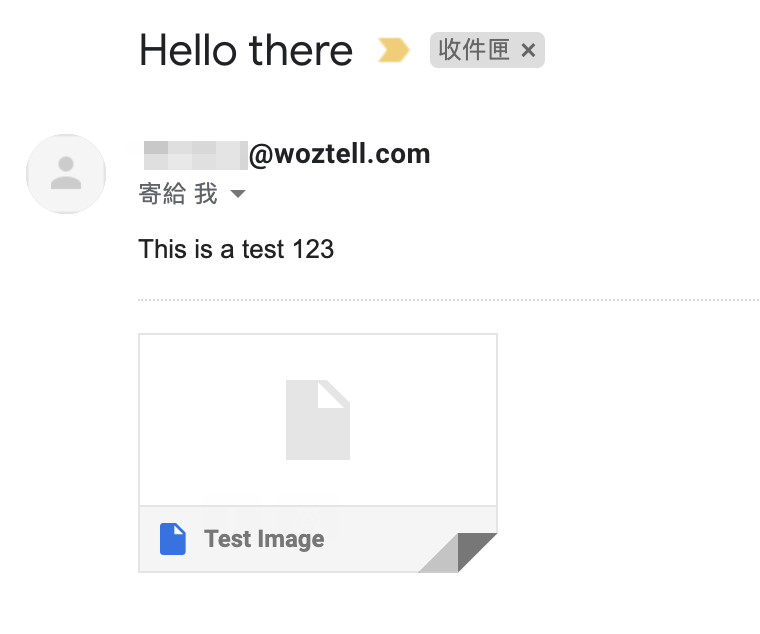
Draft the Email
- Select "Send Email" from the resource template. Then you can set up the sender and receiver email address.
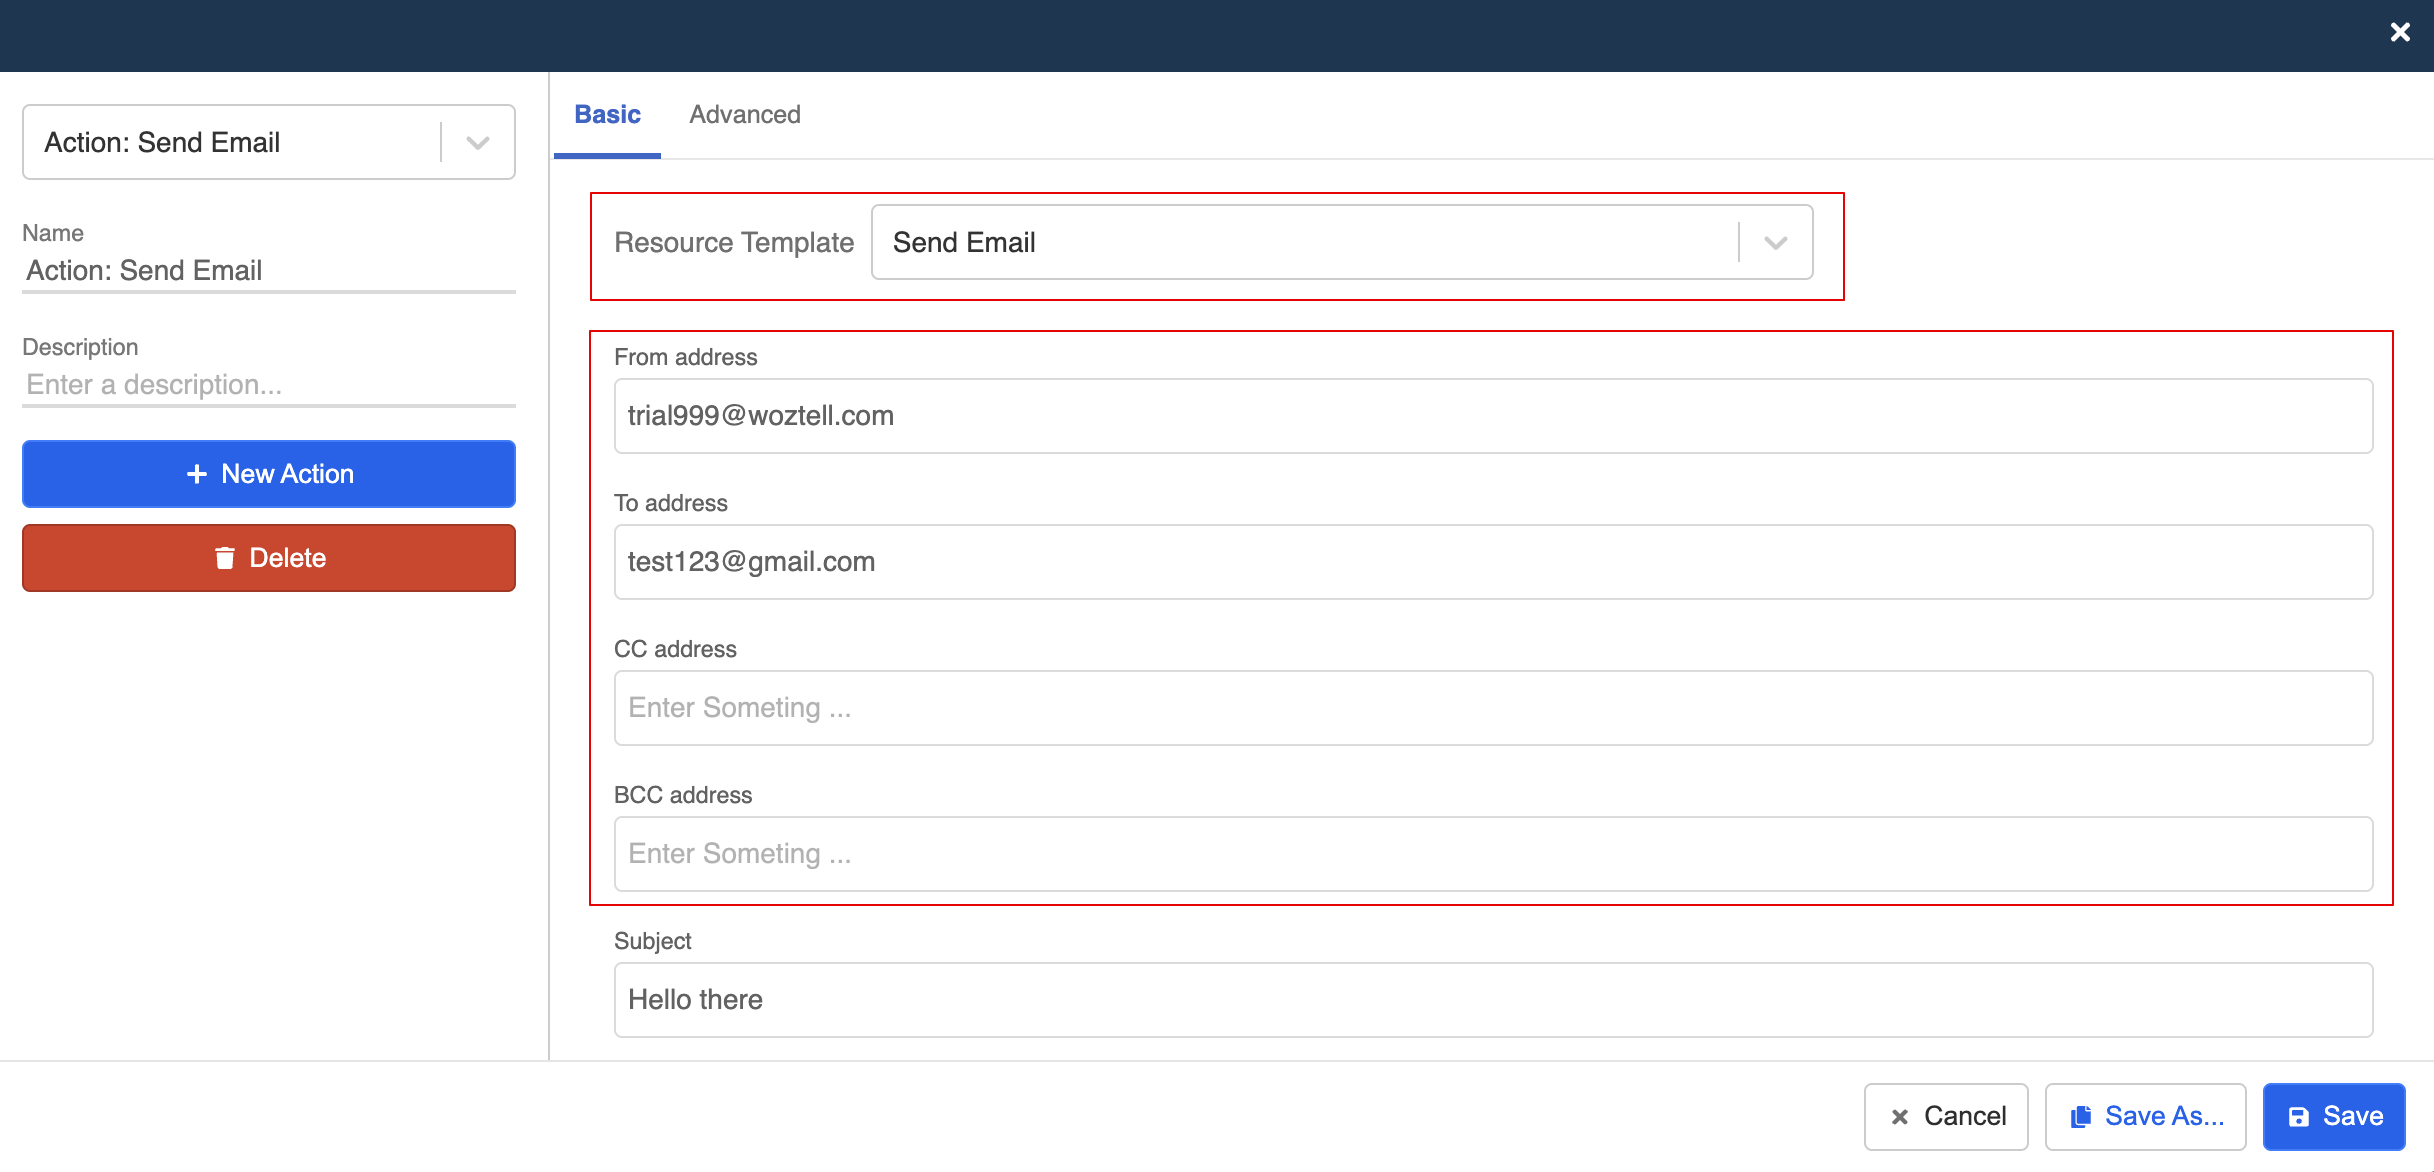
- Write the Subject and Text of the email. You can formulate the email in HTML.

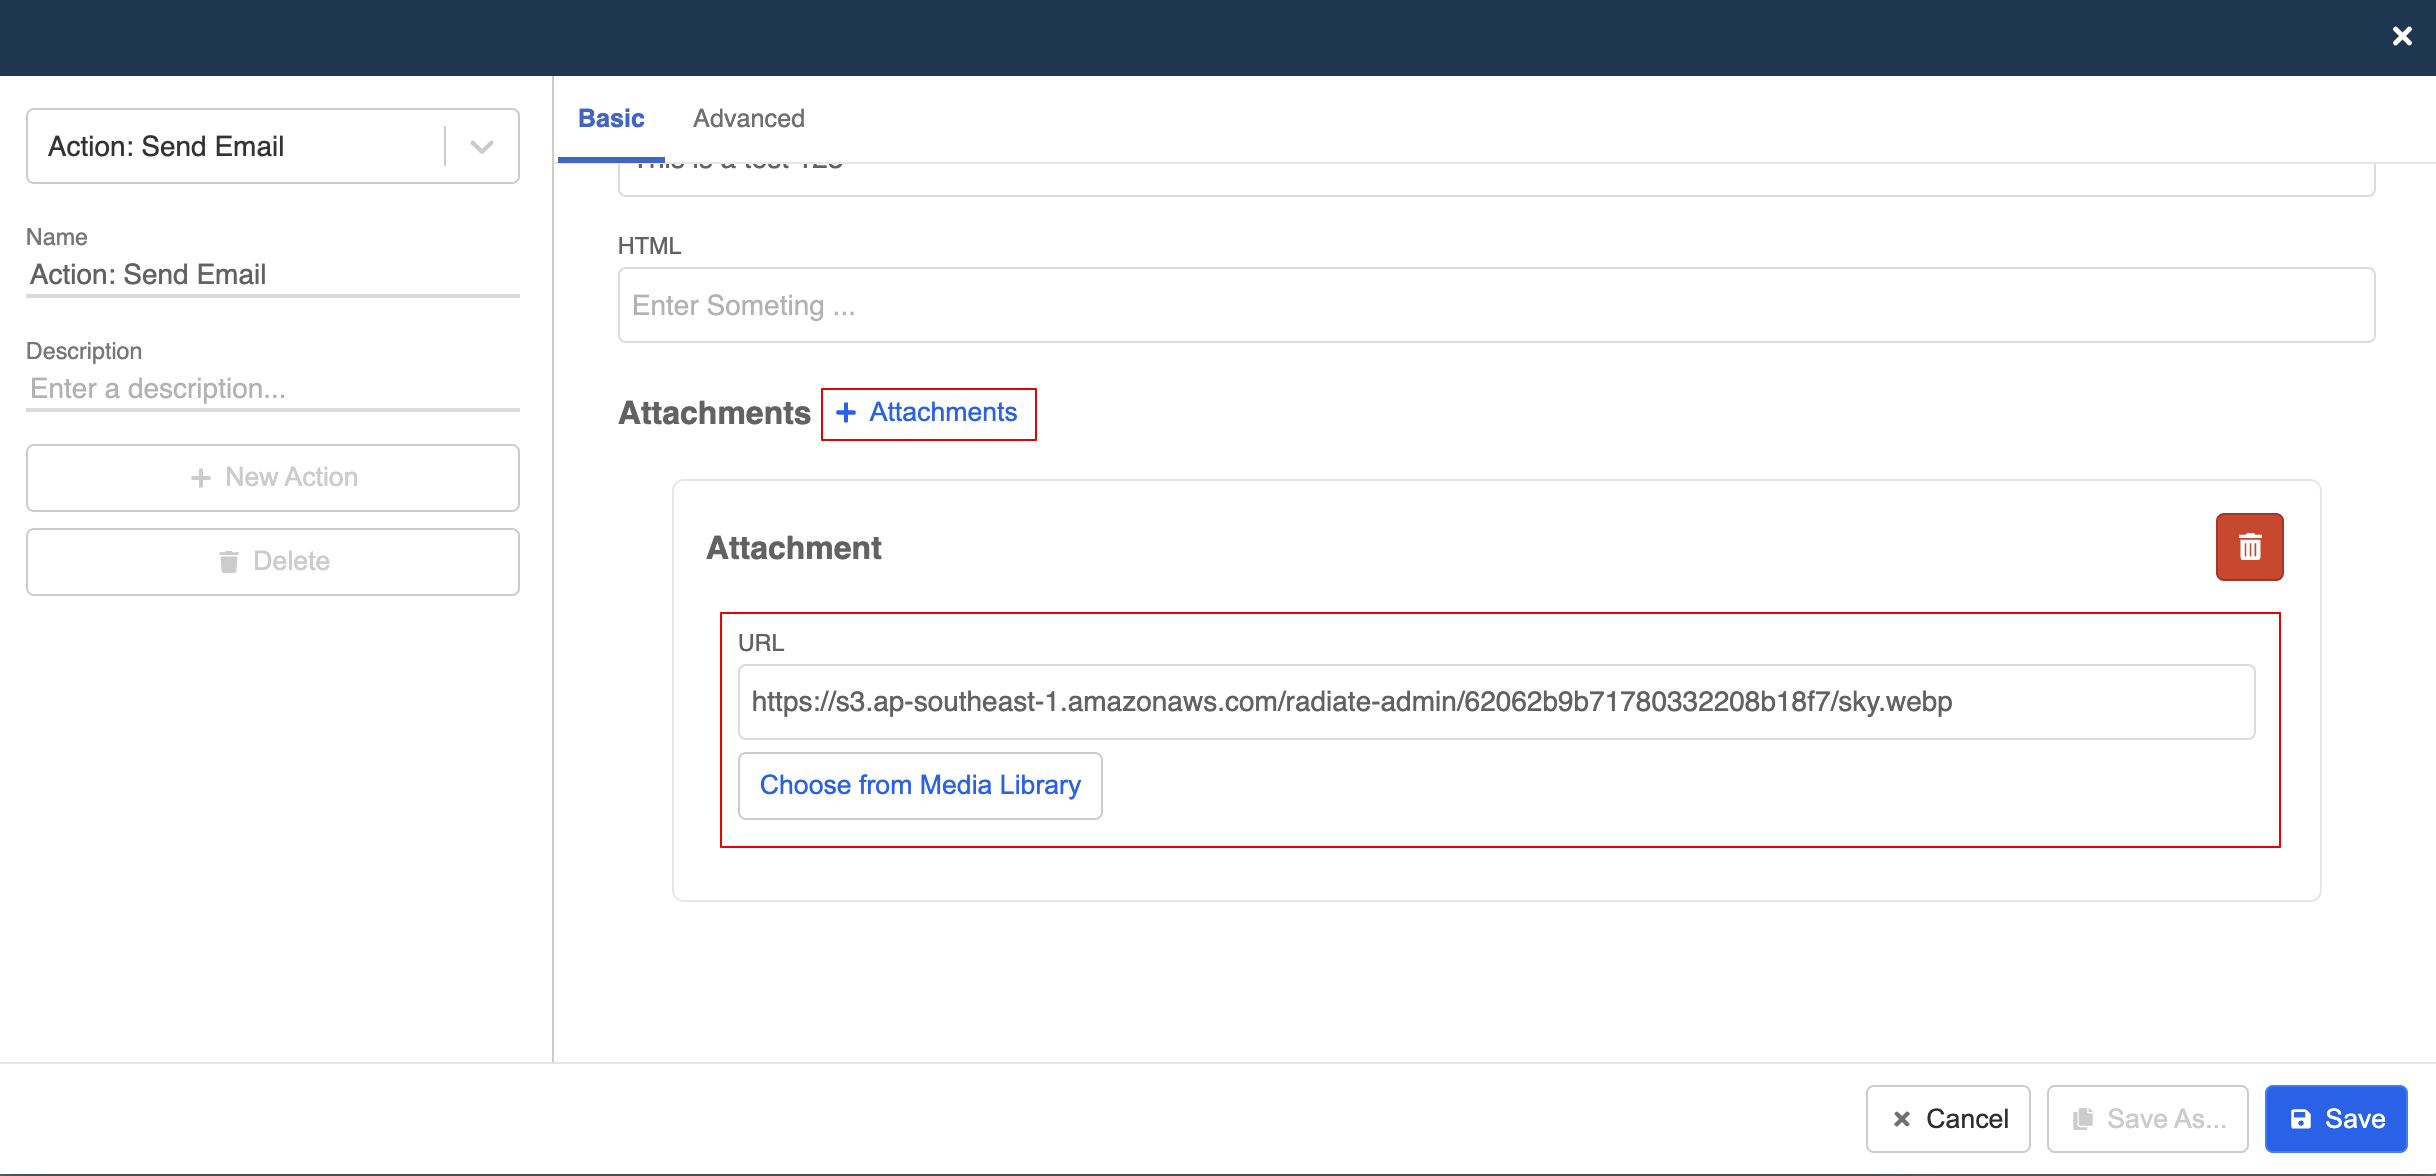
- Click "+ Attachments" to add attachment. Then, enter the URL to the media or select one from the Media Library. Remember to "Save" the settings.
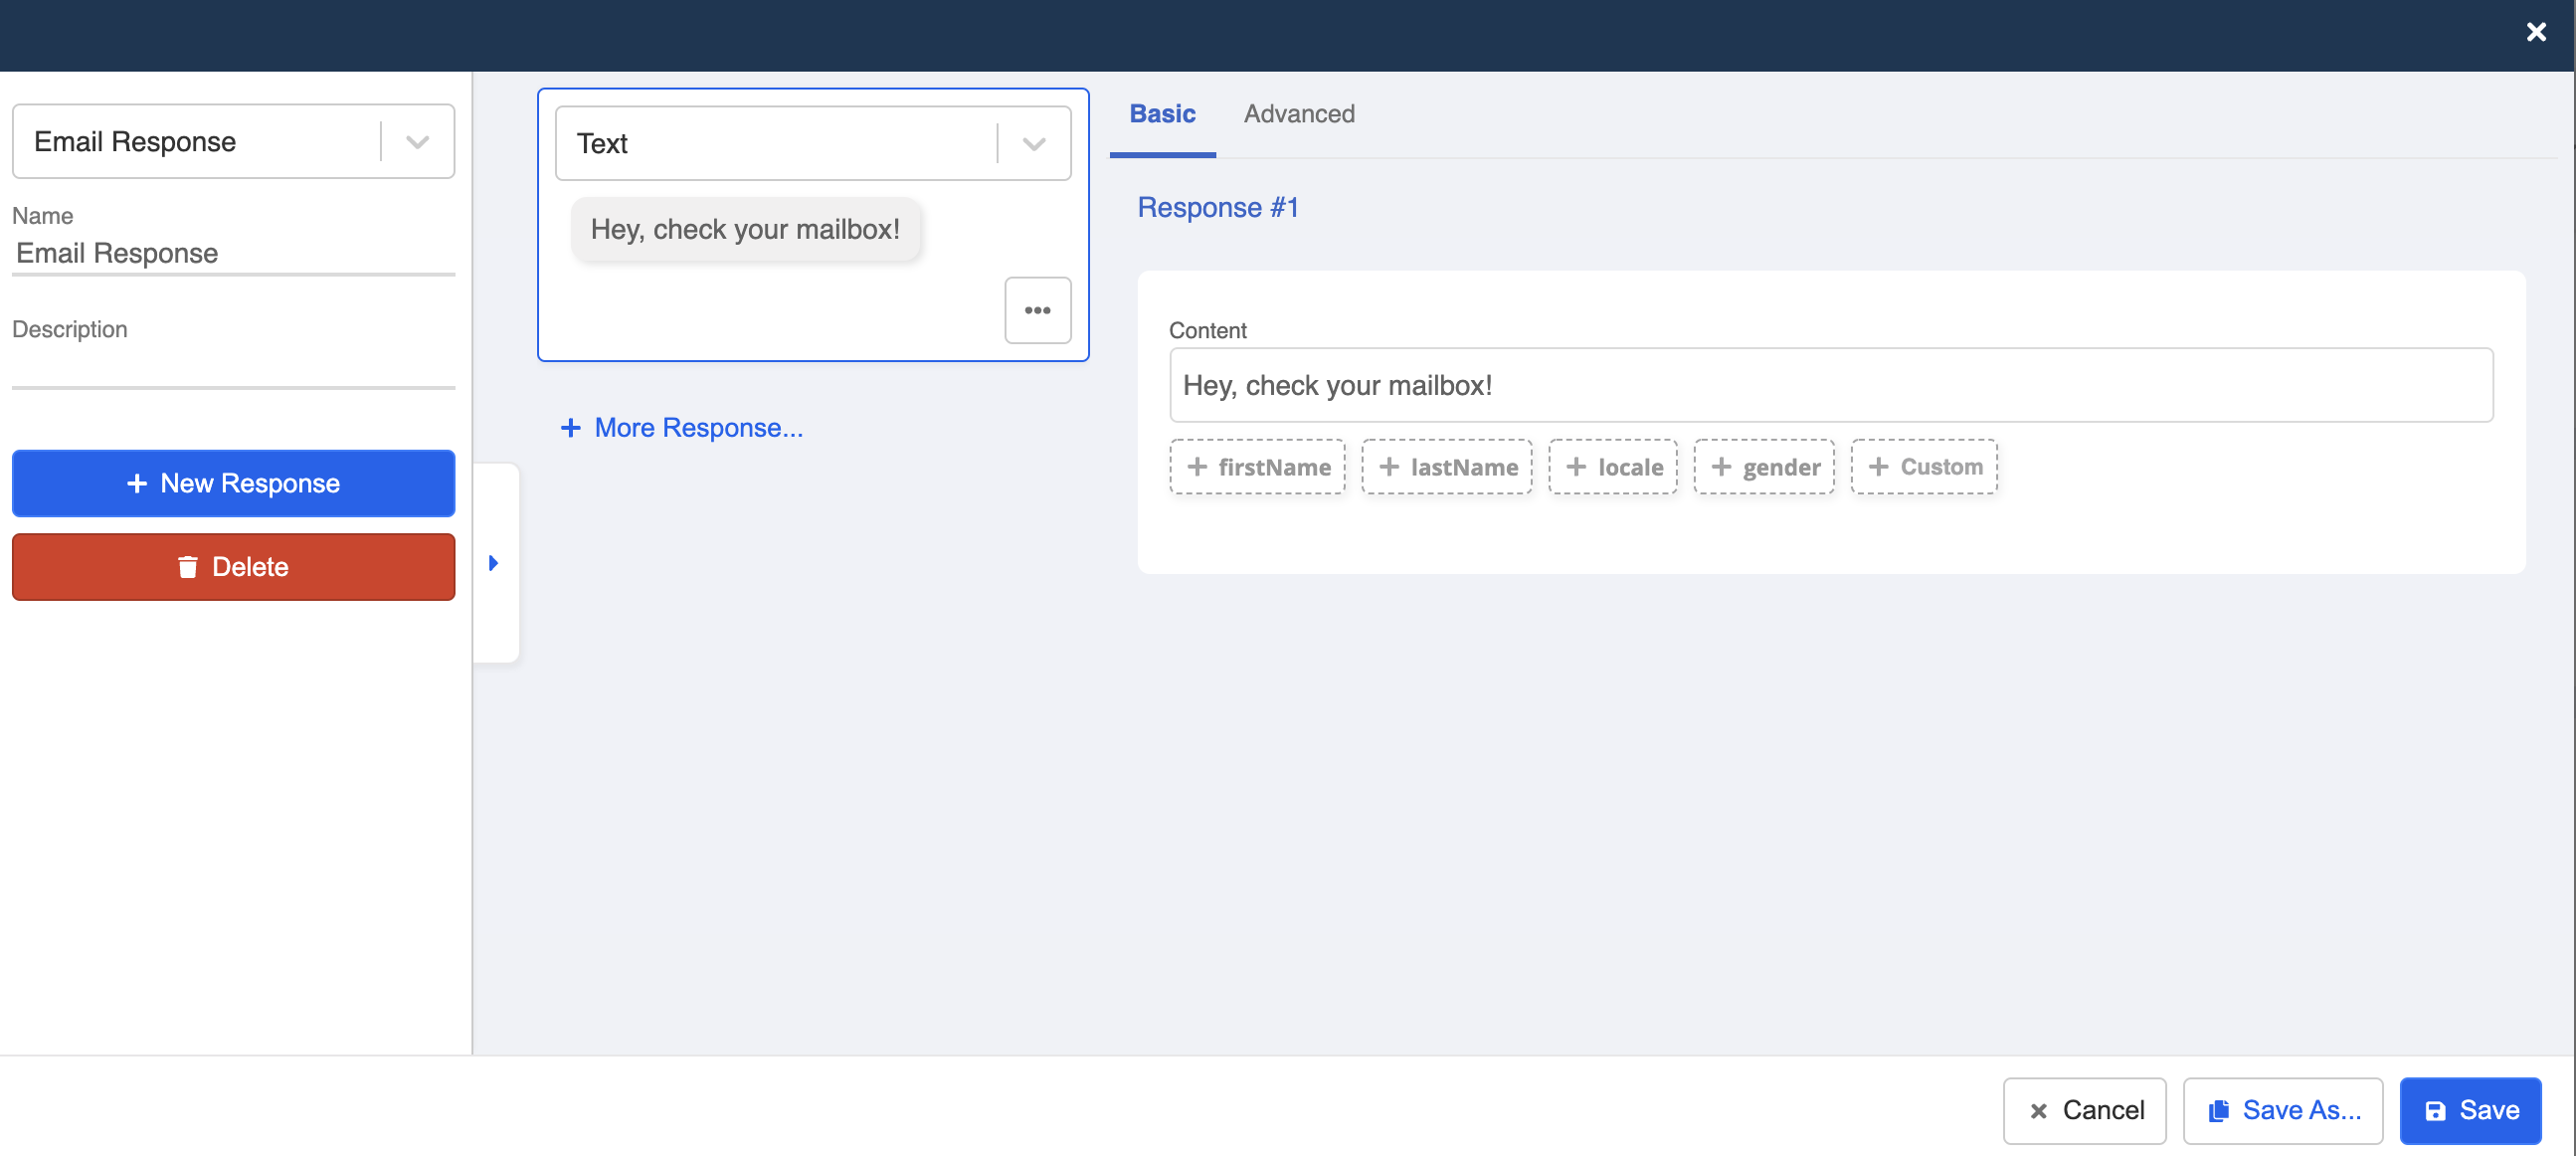
Create a Response
- Create a response to notify the user about the email sent.
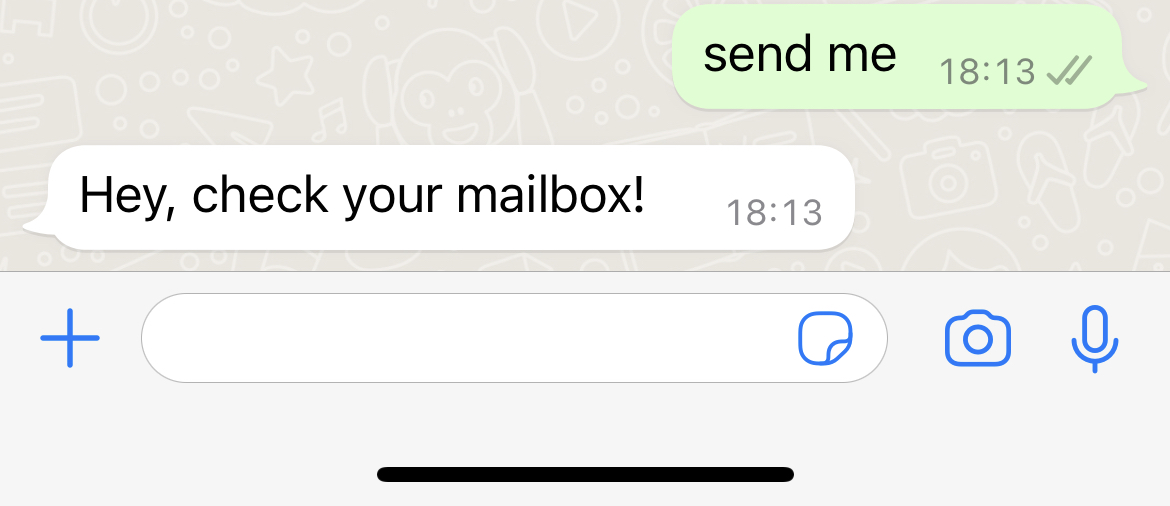
Trigger the Send Email node
tip
The following is an example of how to trigger the "Send Email" node, you can apply any other type of trigger.
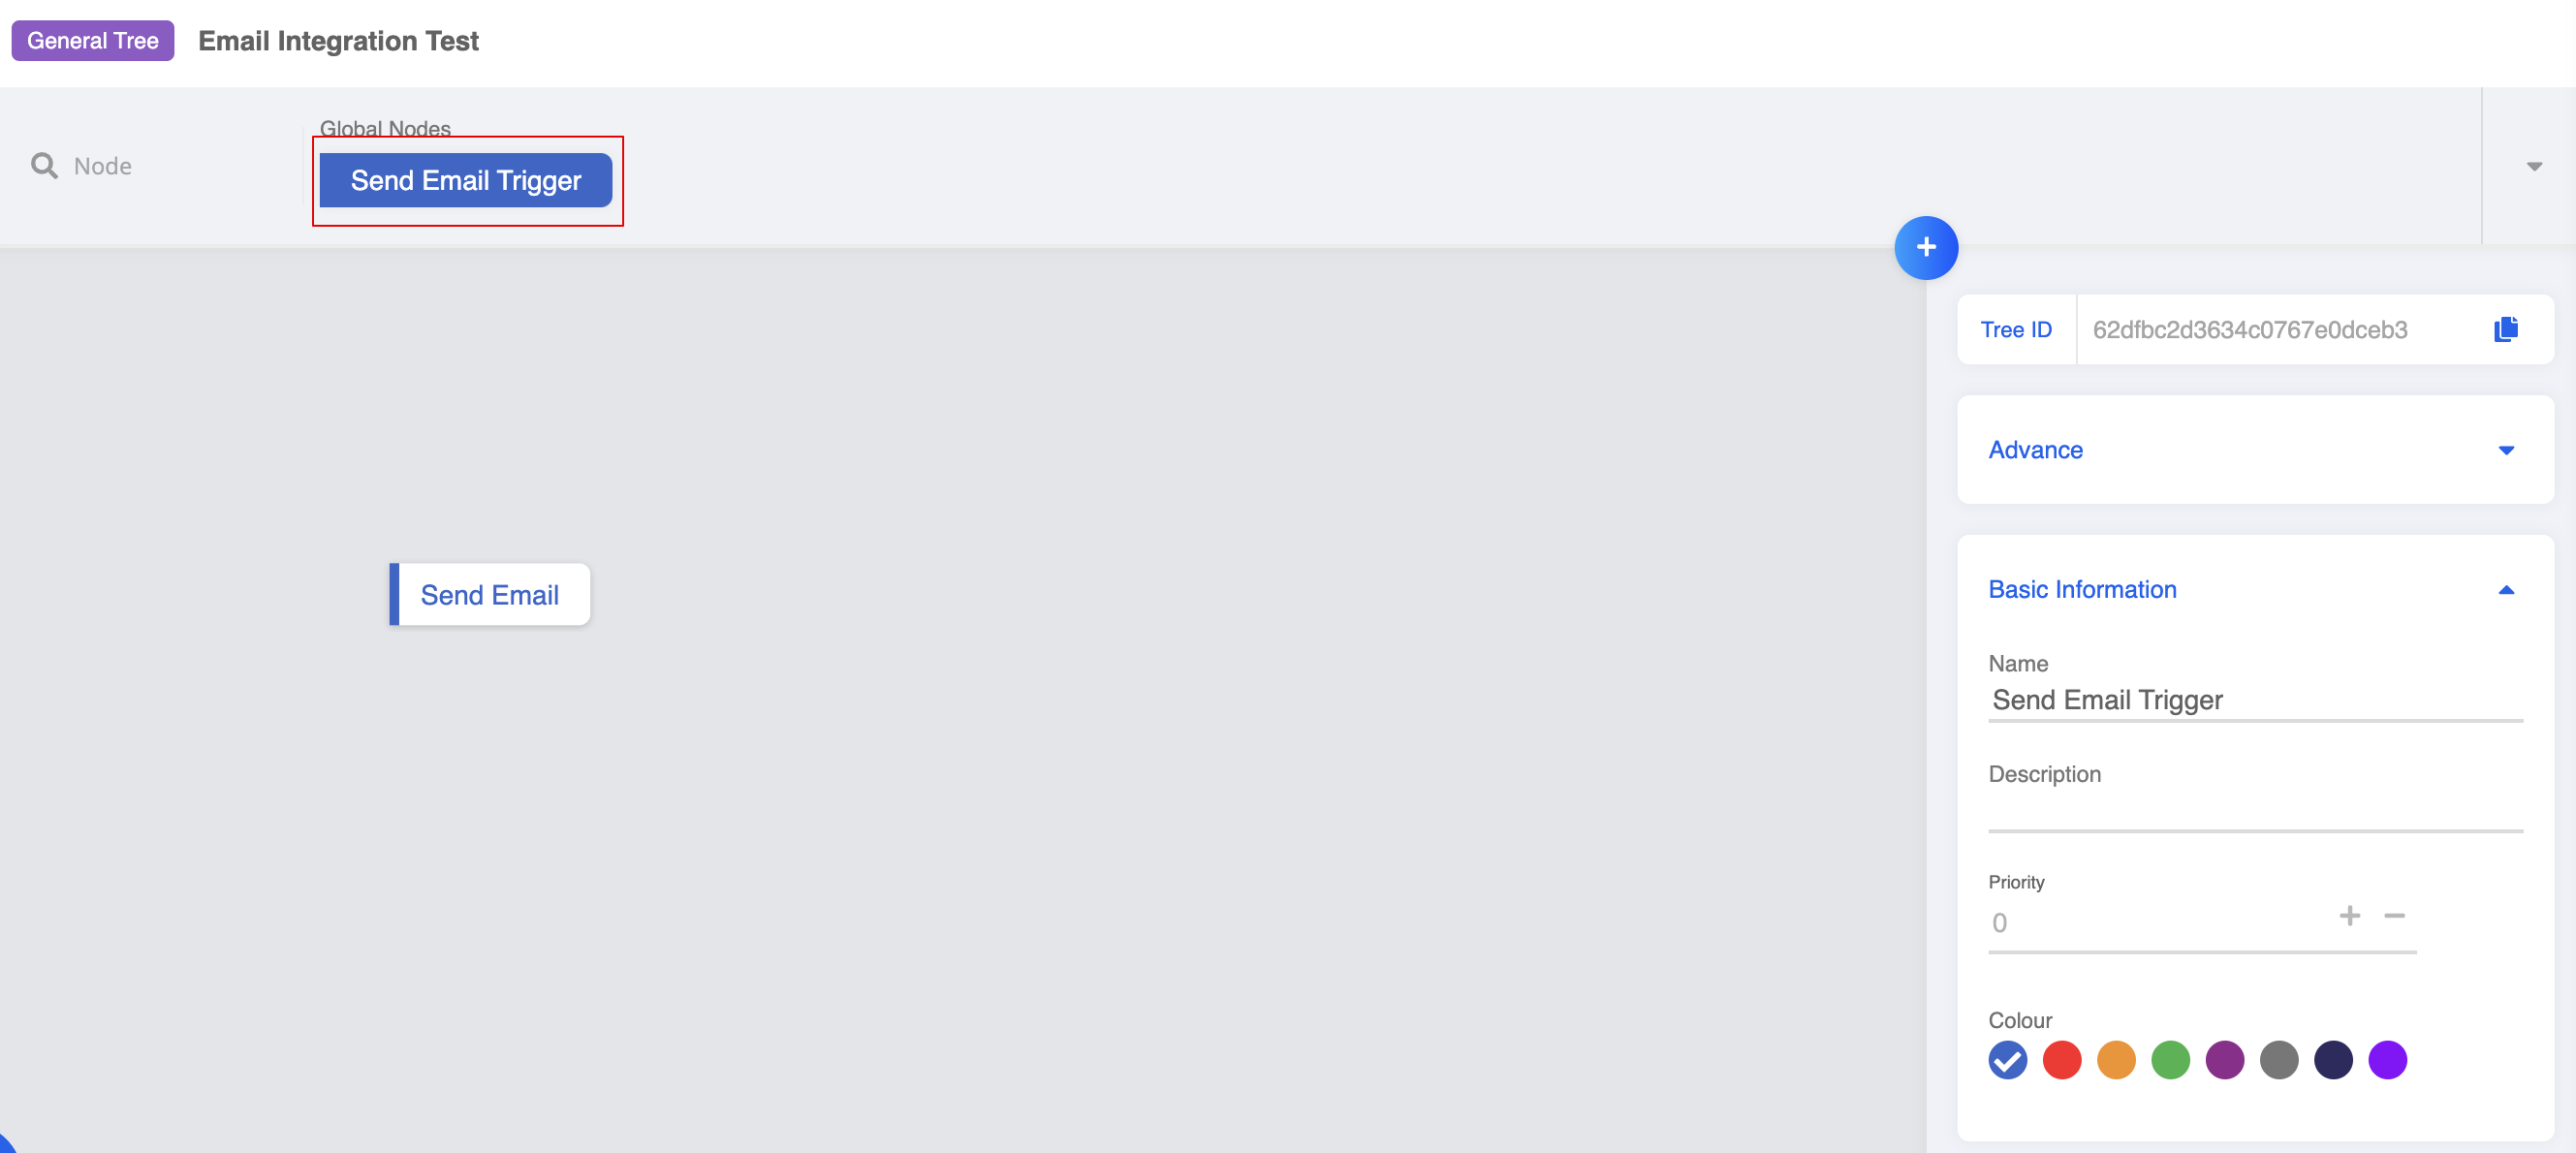
- Create a global node for triggering the "Send Email" node.
- Select "Keyword / Payload", create a keyword and "Save" the settings.

- Toggle on "Redirect" and point to the corresponding node.

- Finally, add this chatbot to a channel and test it out!