Dialogflow
Getting bored of having just a button-clicking chatbot and looking for something more intelligent? We have adopted Google's natural language processing engine, Dialogflow, to provide a higher level of experience to you.
Dialogflow incorporates Google's machine learning expertise and products and is built on Google infrastructure which can be optimized for the Google Assistant. It can process both voice and text-based conversation.
You need to first go to Dialogflow to create a project agent and then fill out the necessary information on our builder for setup: Client Email, Project ID, Private Key.
Dialogflow Setup
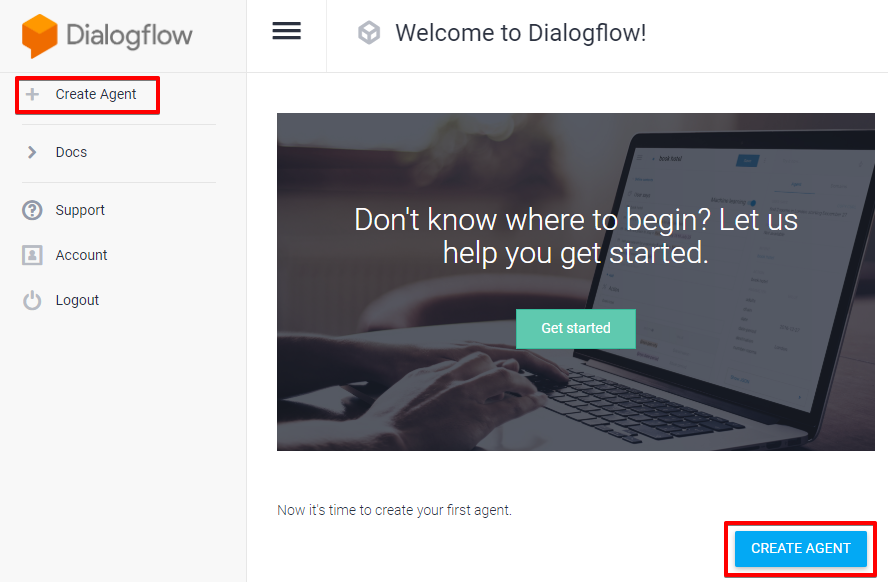
- Go to Dialogflow with your Google account and click "Create Agent".
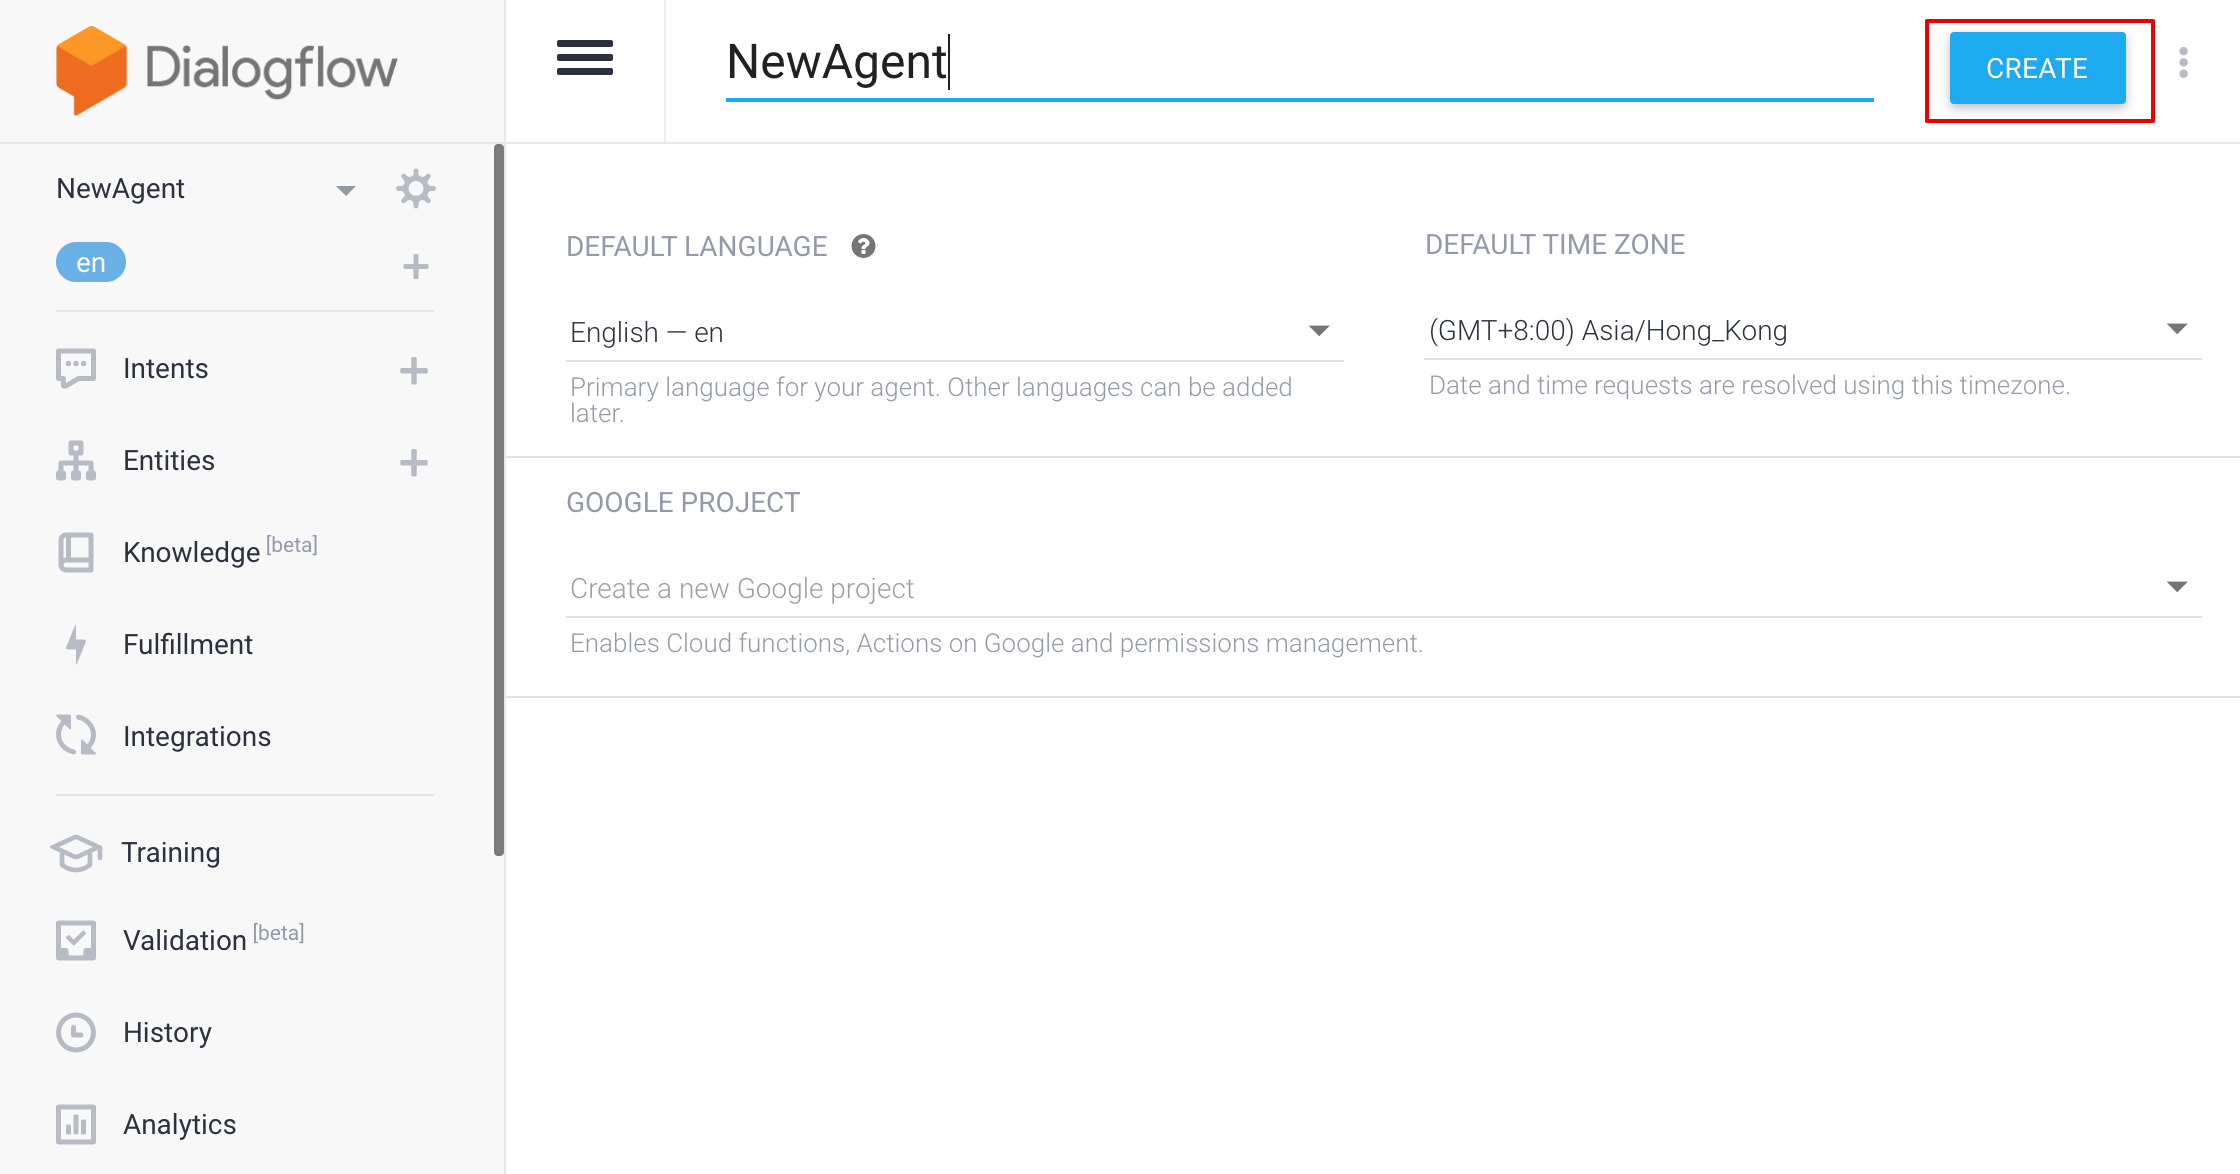
- Name your agent and create a new project
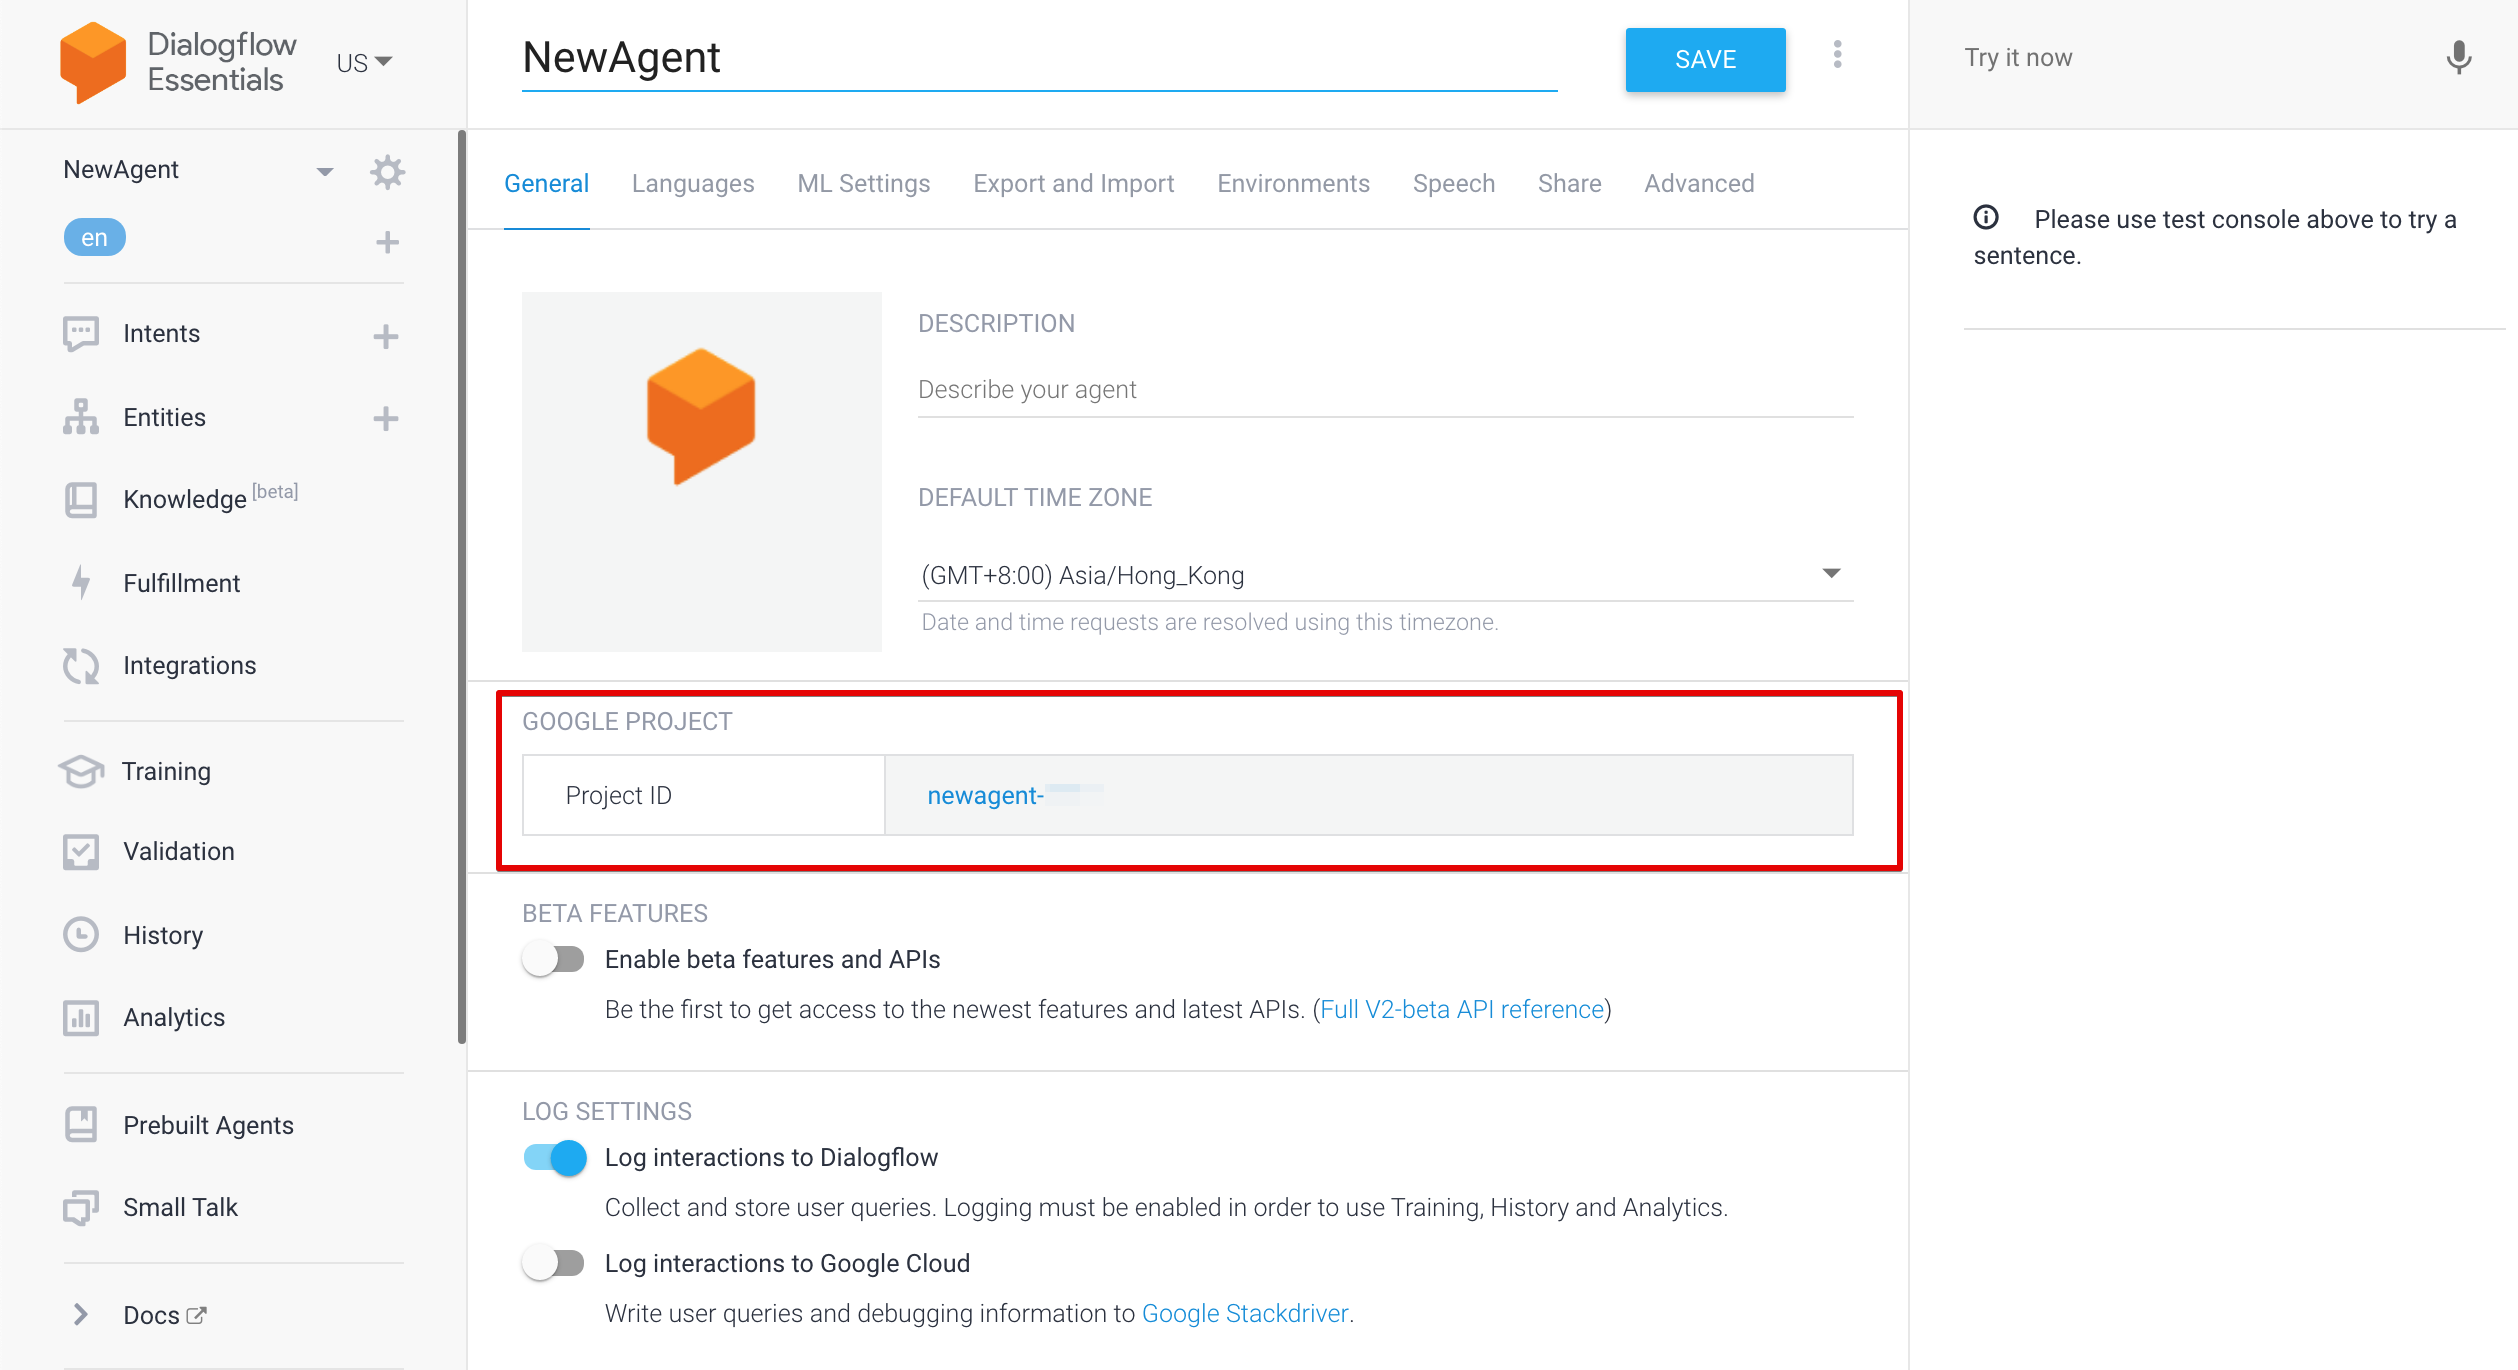
Click the gear icon and enter the settings page.
Click the link under "Project ID".
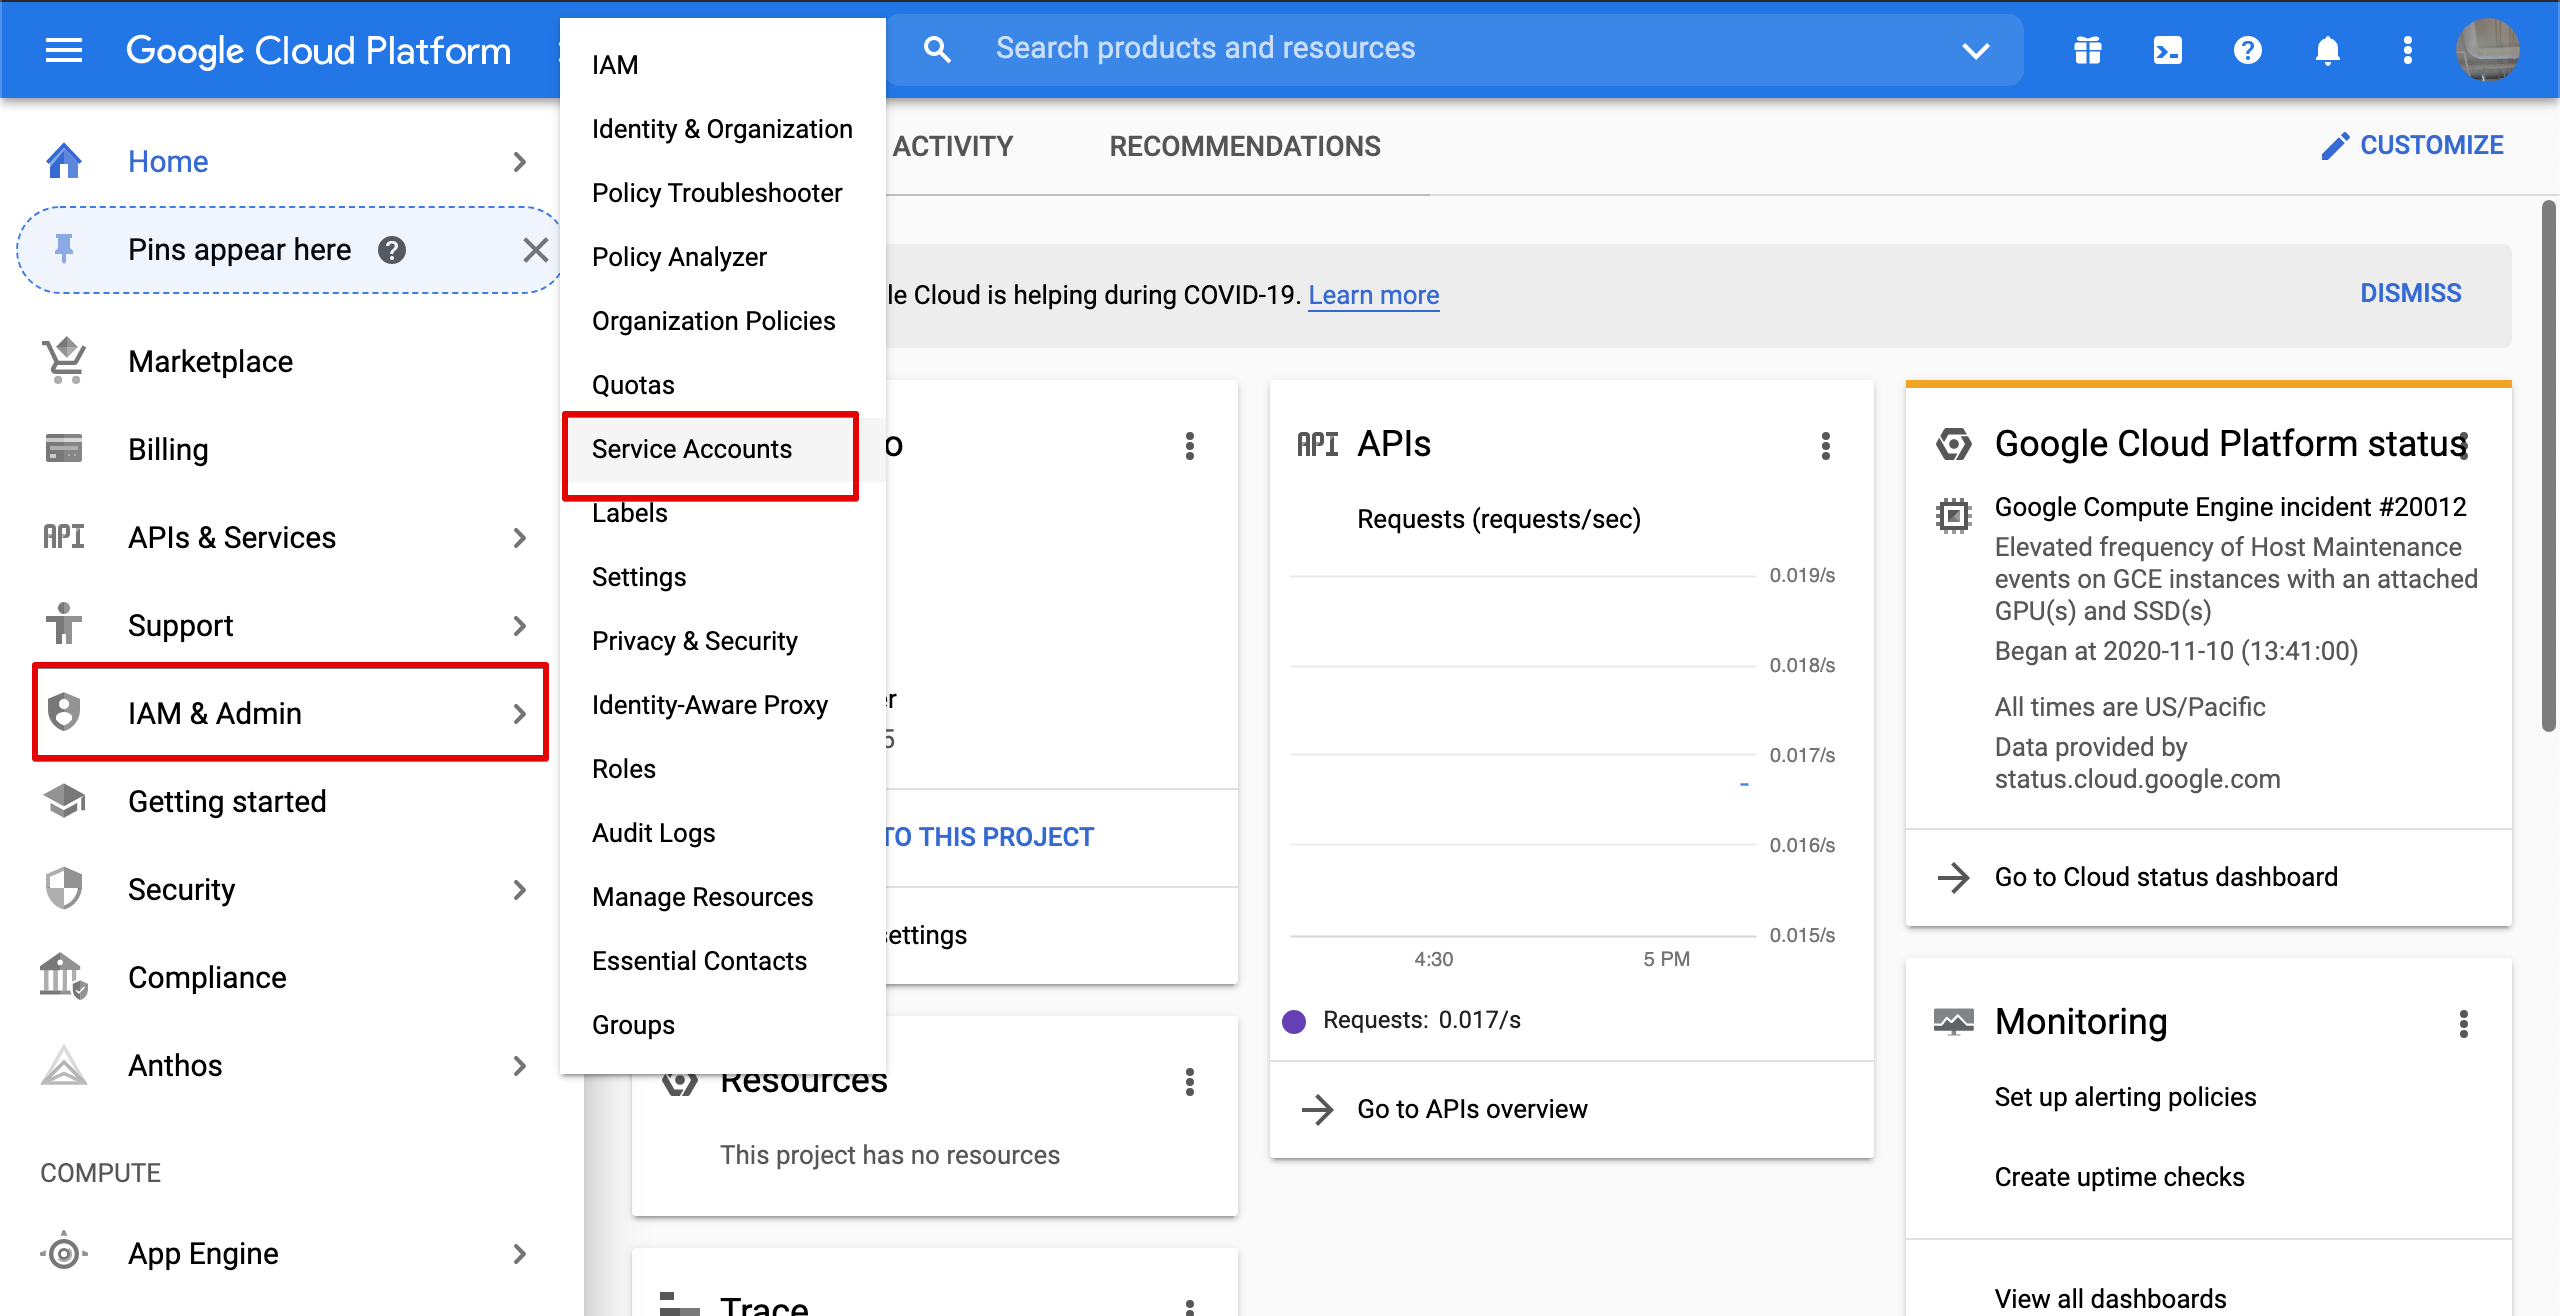
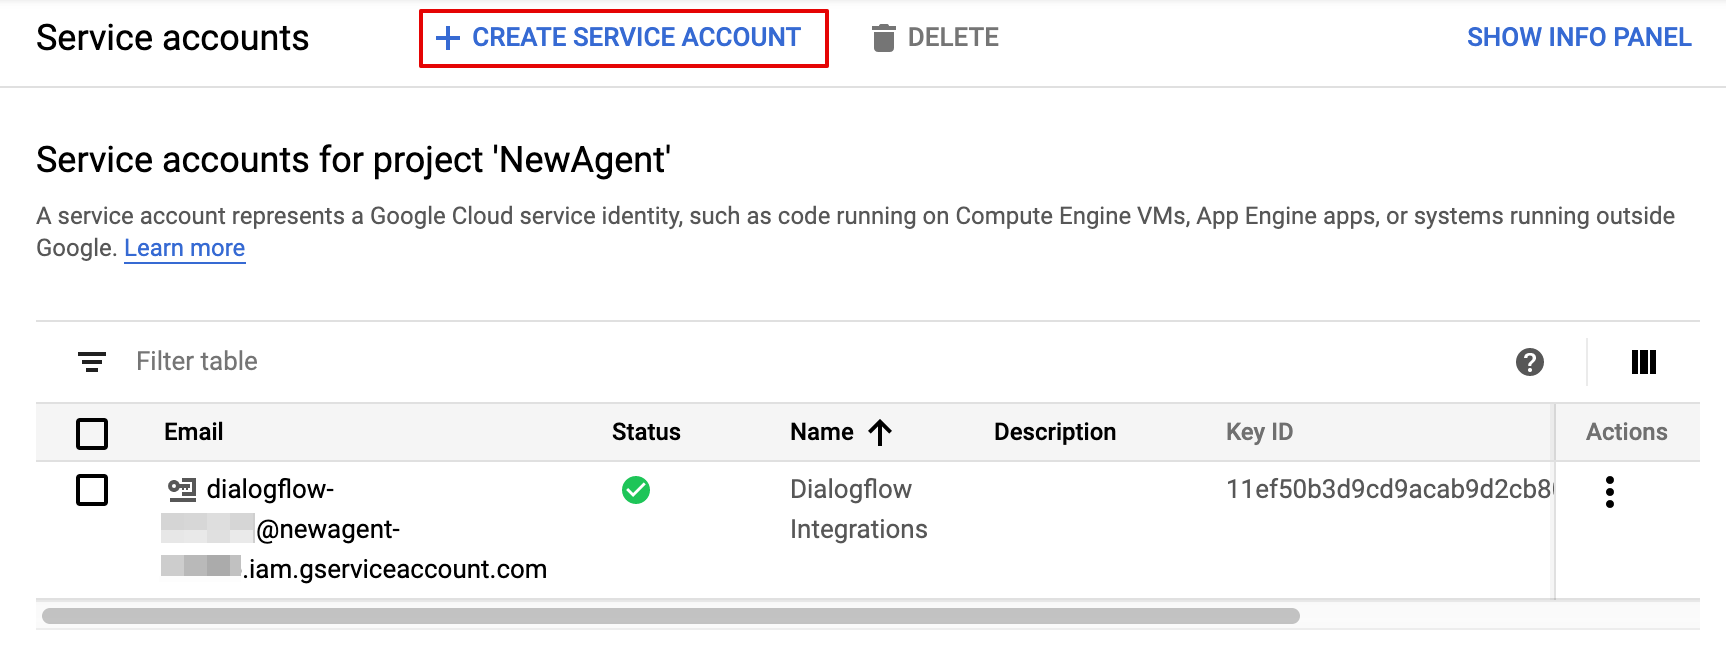
- Head to the "Service Accounts" settings under "IAM & Admin". Click "+ CREATE SERVICE ACCOUNT".
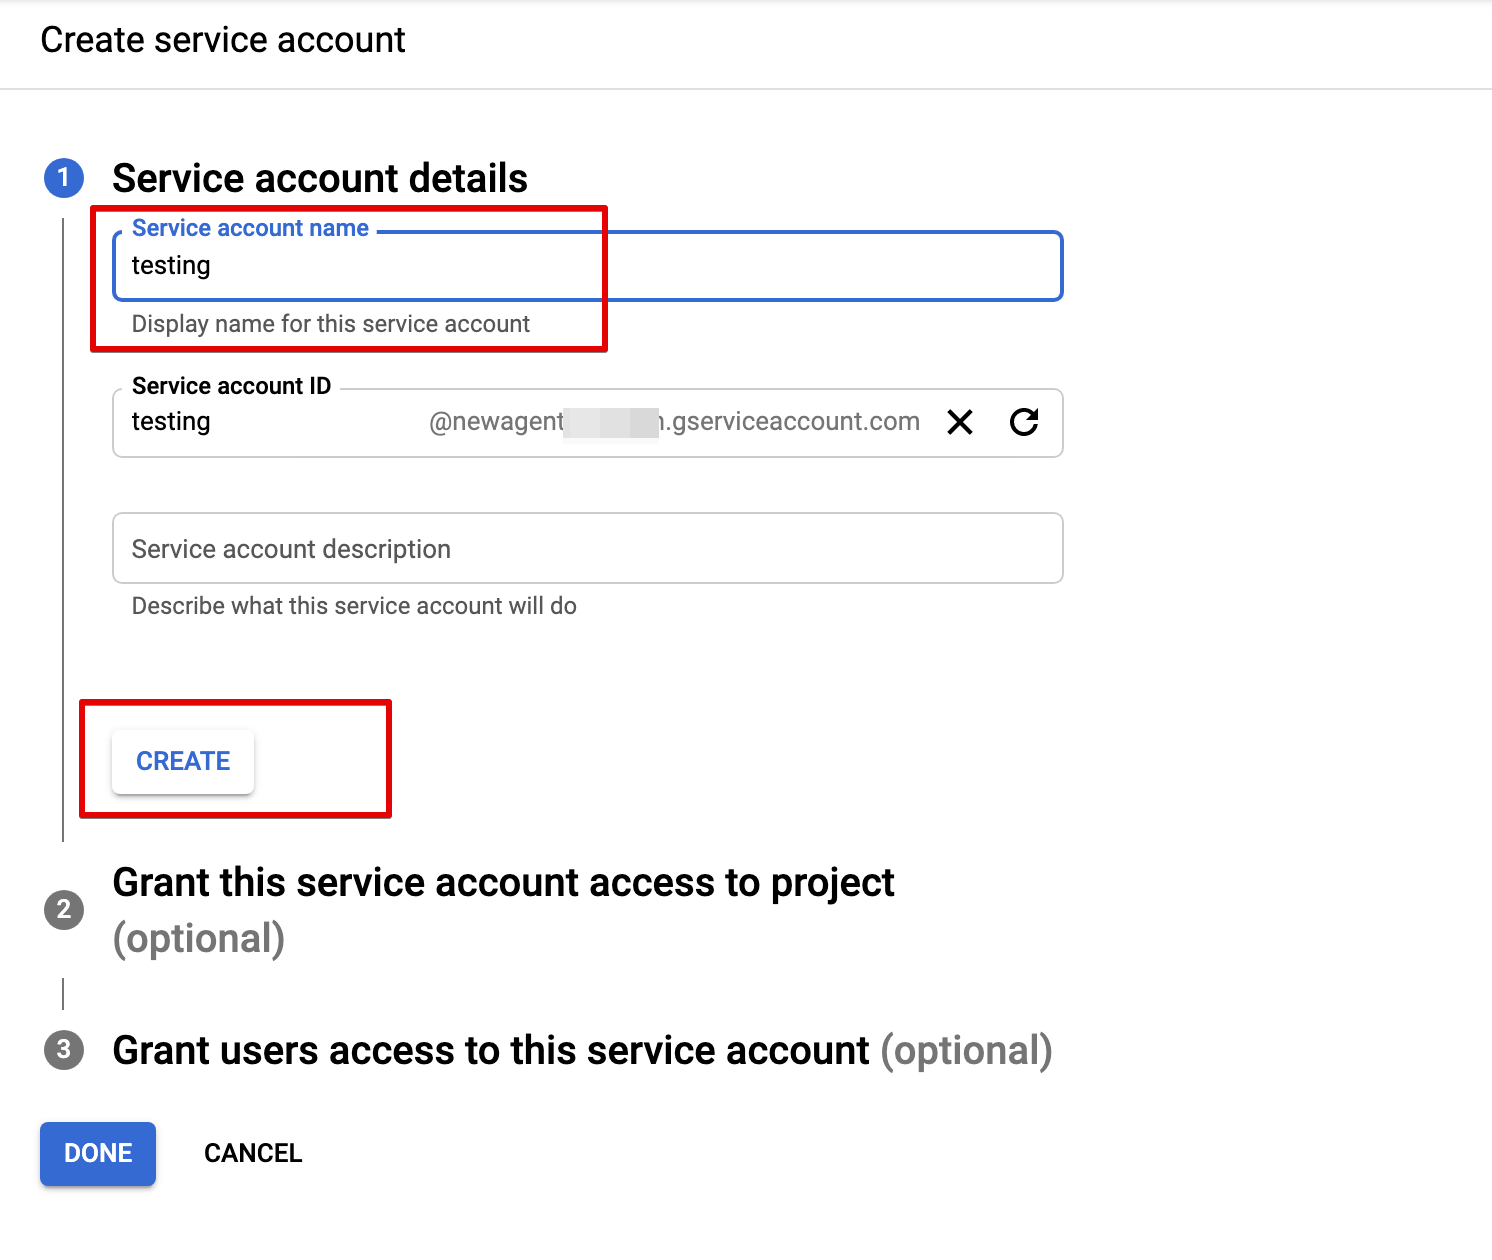
- Fill in the service account details and select "Create".
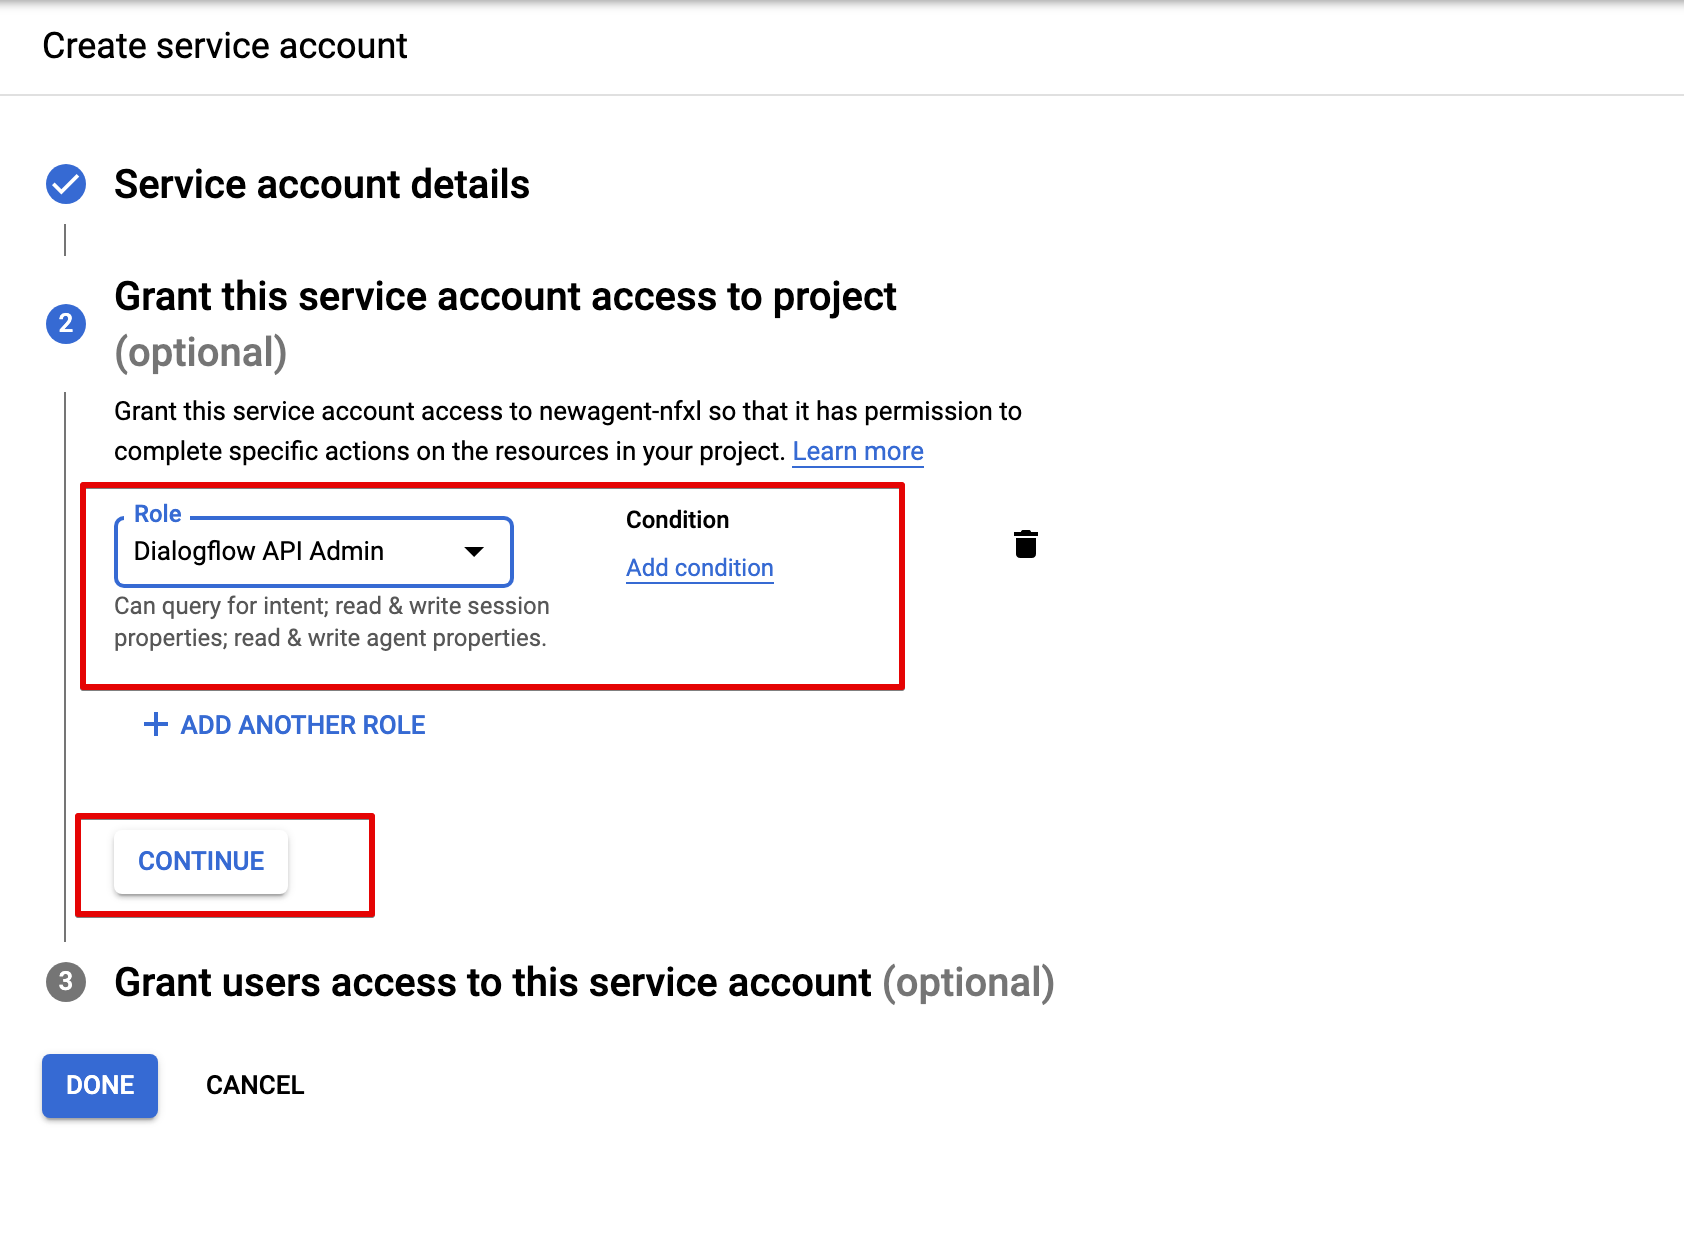
- Select "Dialogflow API Admin" for role.
- Select the created "Service Account" and click "+ CREATE KEY".

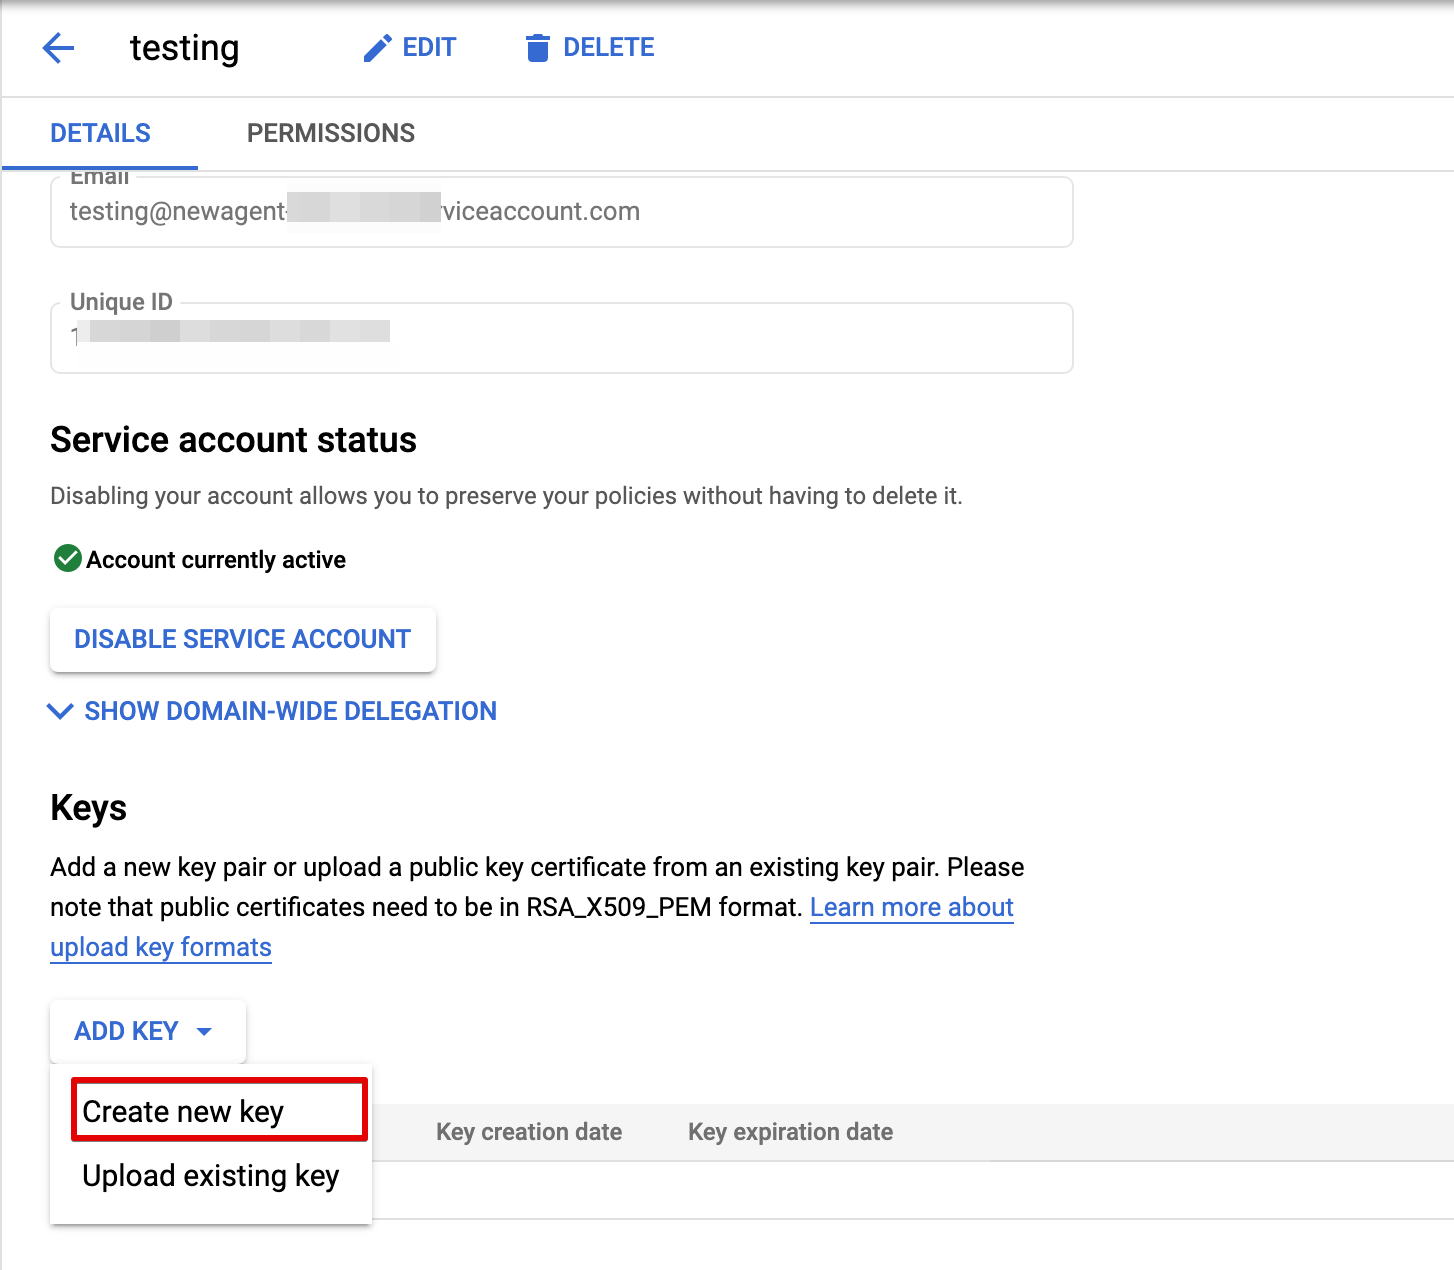
- Choose
JSONfor key type.
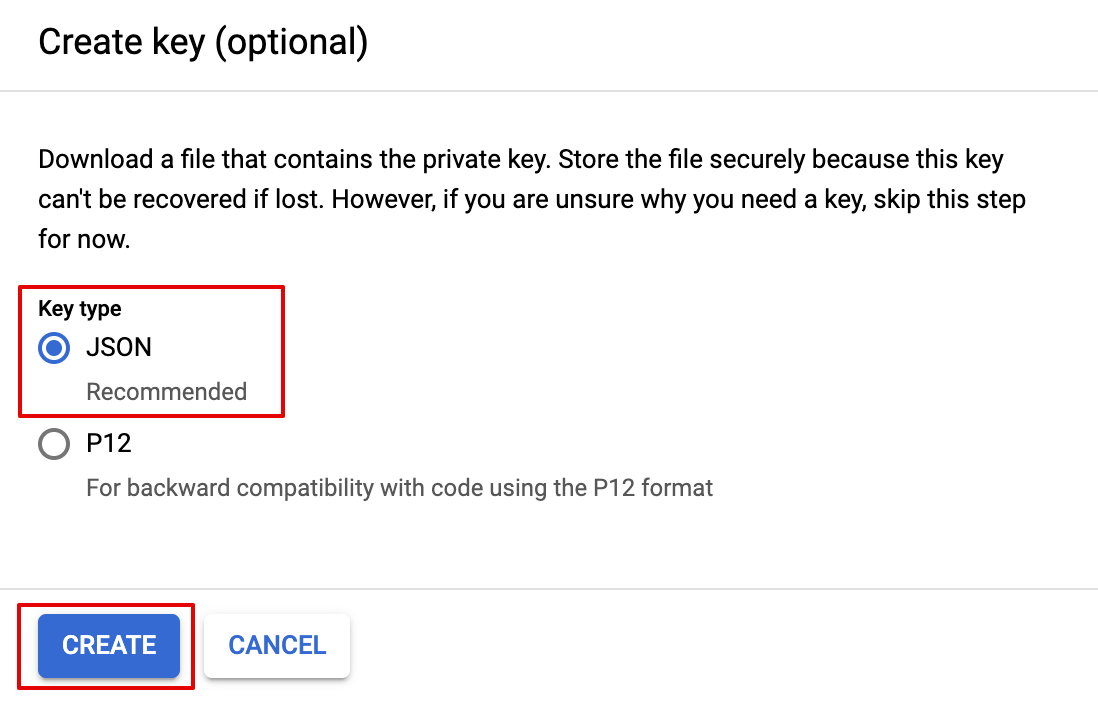
- Download the new private key in
JSON.
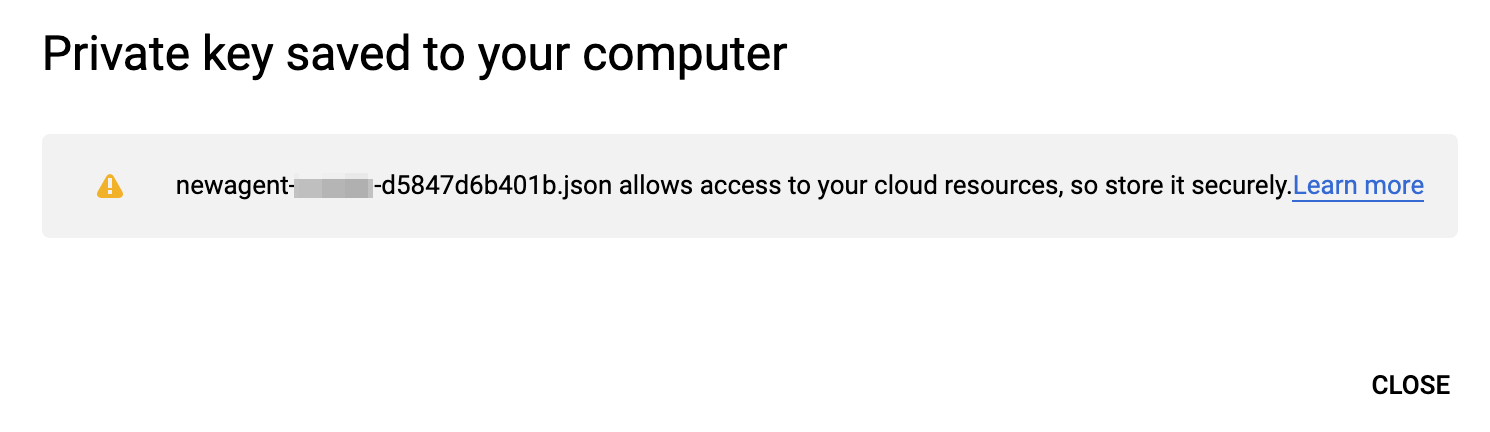
You have now saved a new JSON file in your computer. Open the file in any text editor and you will get the private key for connecting Dialogflow on WOZTELL.
Connect Dialogflow to WOZTELL
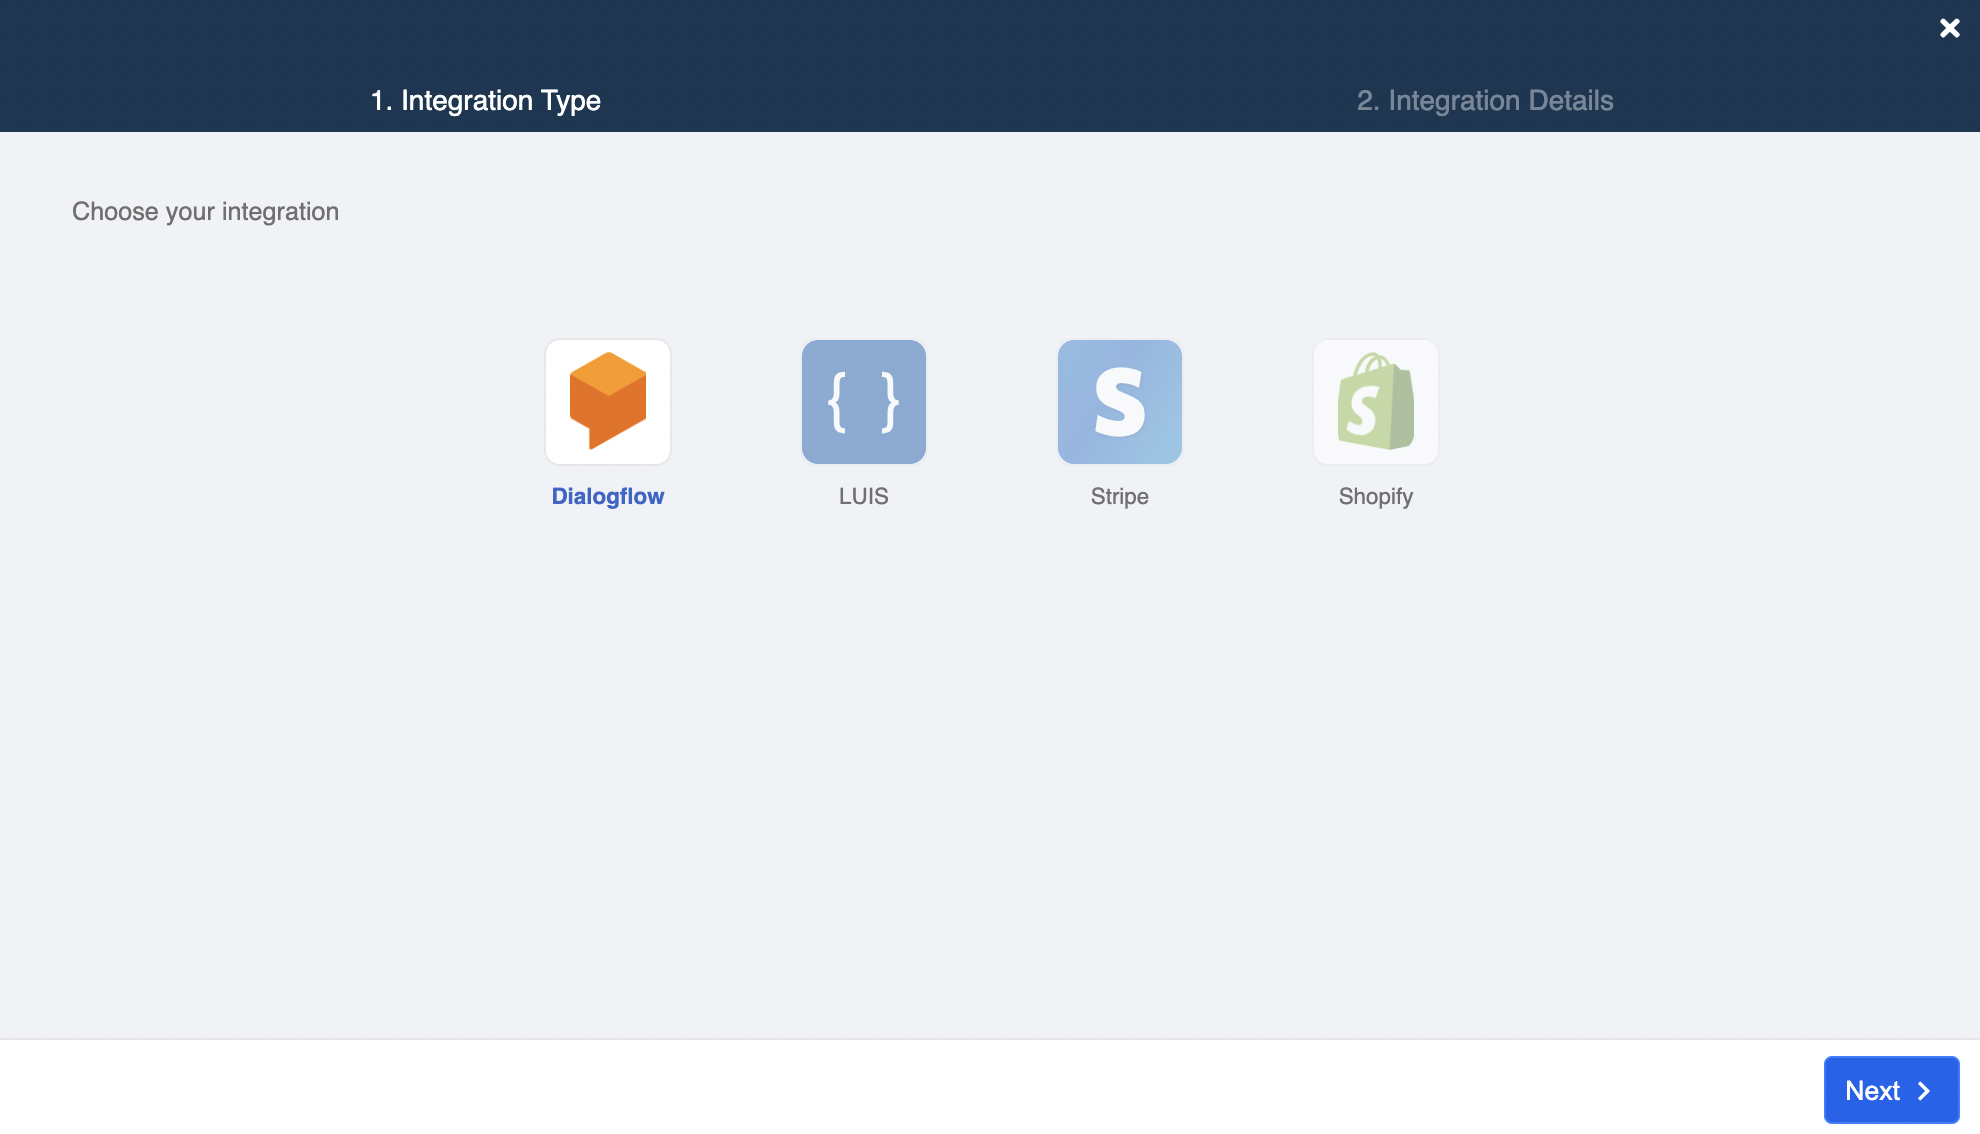
Select Integrations at the top menu bar.
Select "+ Integration" button to add new integration.

- Select Dialogflow and click Next.
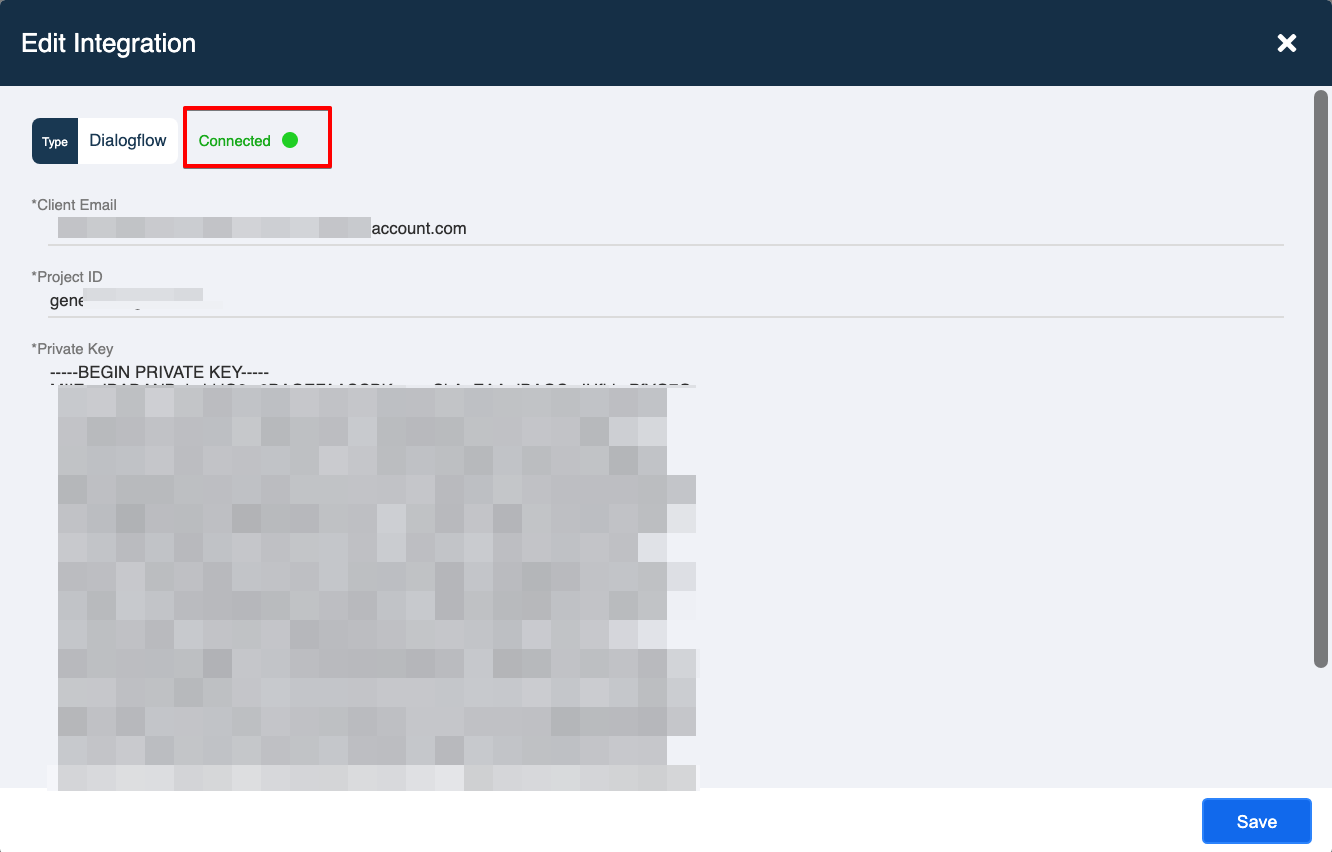
- Fill in all required details for integration.
- Client Email is the email connected with Dialogflow.
- You could find the Project ID in the Dialogflow settings and the Private Key in the
.JSONfile after you've created a project agent in Dialogflow.
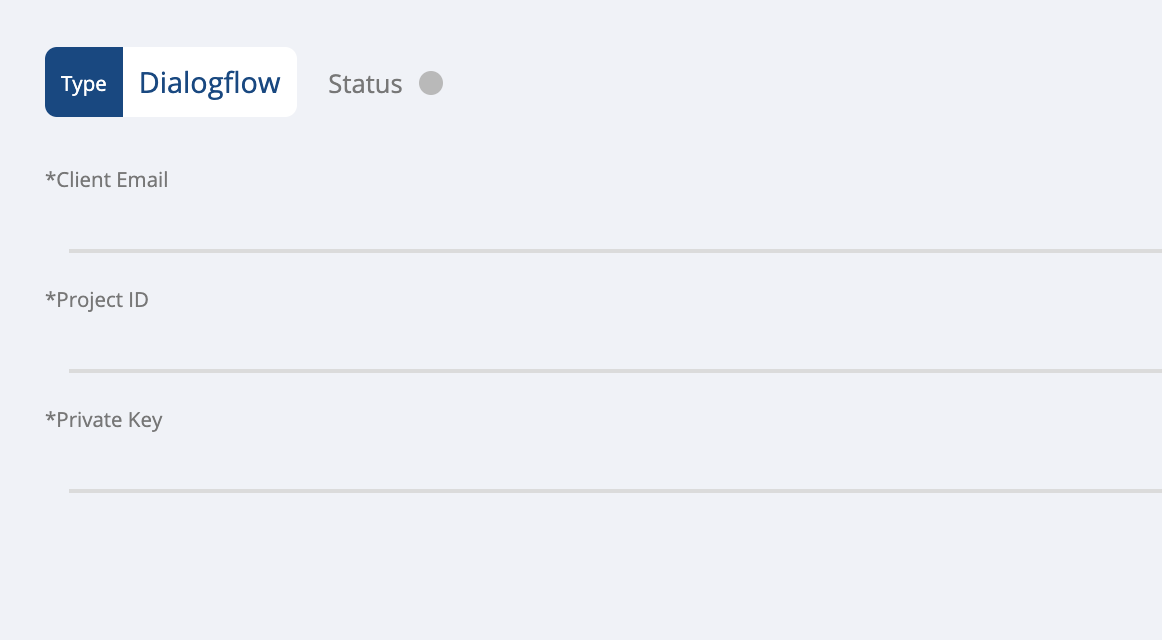
- Click Create to connect Dialogflow when the status is Connected.
note
Remember to remove all the "\n" in the key and break the lines properly.
Usage
There are two things you need to manage to create a functioning Dialogflow chatbot:
- Perform training on Dialogflow console
- Set up responses to different intents on WOZTELL
For training on Dialogflow, you may refer to Dialogflow's documentation.
When you have completed setting up intents, you can select the created intents in Trigger and that node will be processed through Dialogflow. Click here for more details on how to set up a chatbot with NLP capability.
Dialogflow Trigger
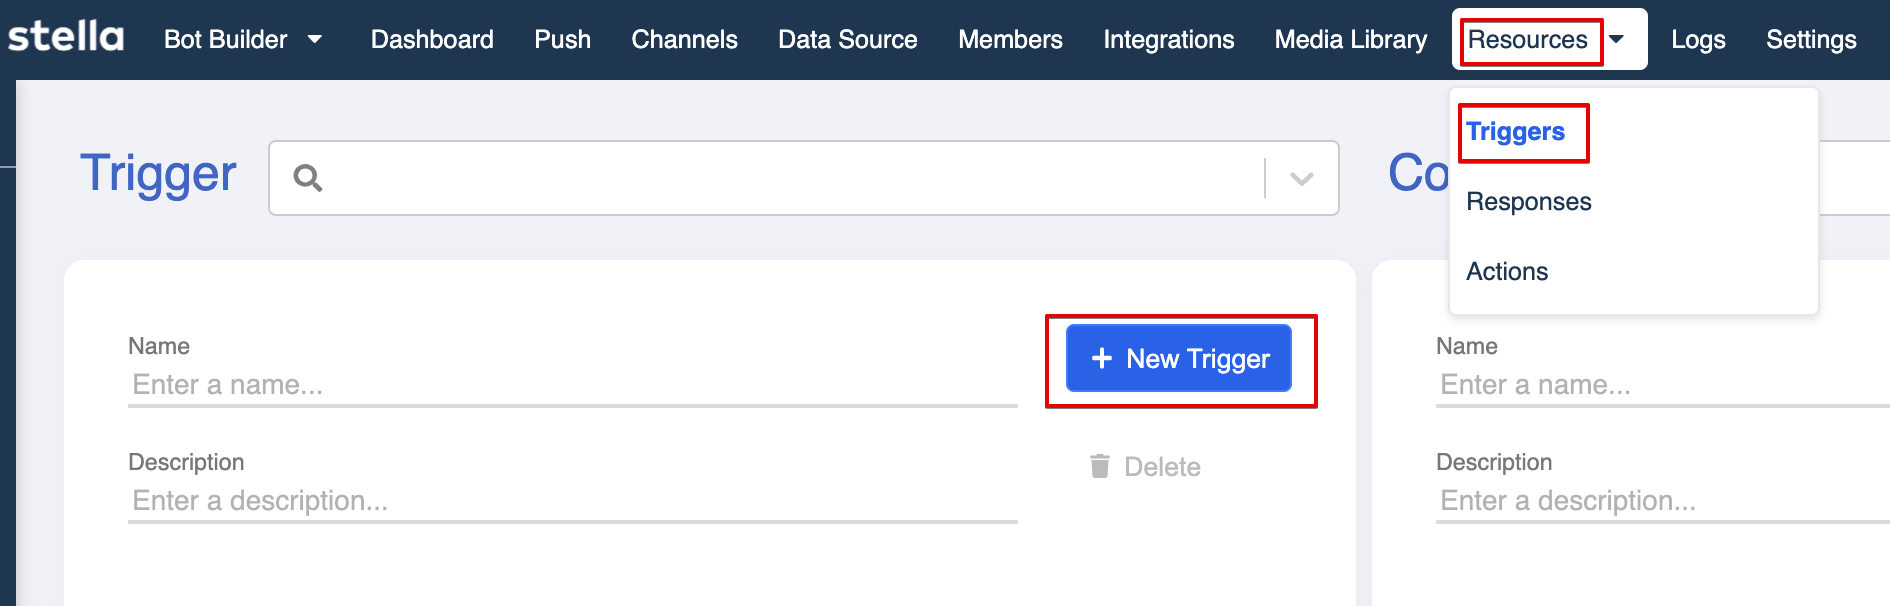
- Select Triggers at the top menu bar or click "+ New Trigger" button at the node inspector to create a trigger.
- Select "+ Trigger" button to add a new Trigger.
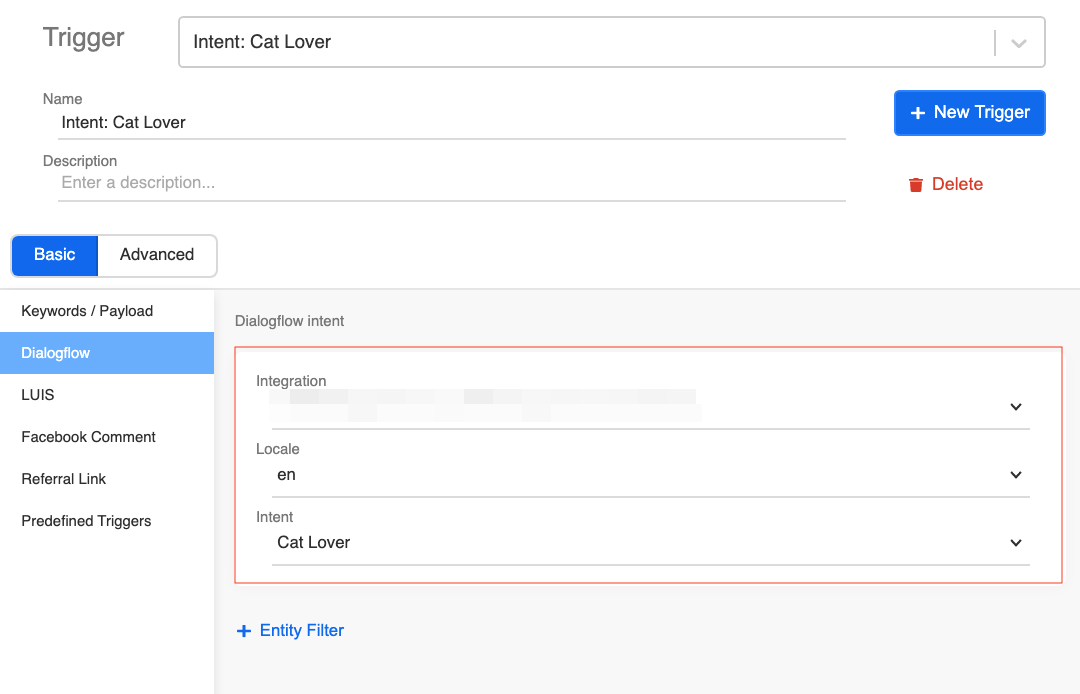
- Select Dialogflow in the Basic tab to add a Dialogflow trigger.
- Select created intent with following steps:
- Select the connected Dialogflow agent from Integration dropdown
- Select a Locale with your trained intent (E.g. en, zh-hk, etc)
- Select the specific Intent as trigger (the intent is "Cat Lover" in the below example)
- You can now select the created Dialogflow trigger for your node at the Trigger section.
tip
Remember to change the trigger name and then click "Save" to save the new trigger.